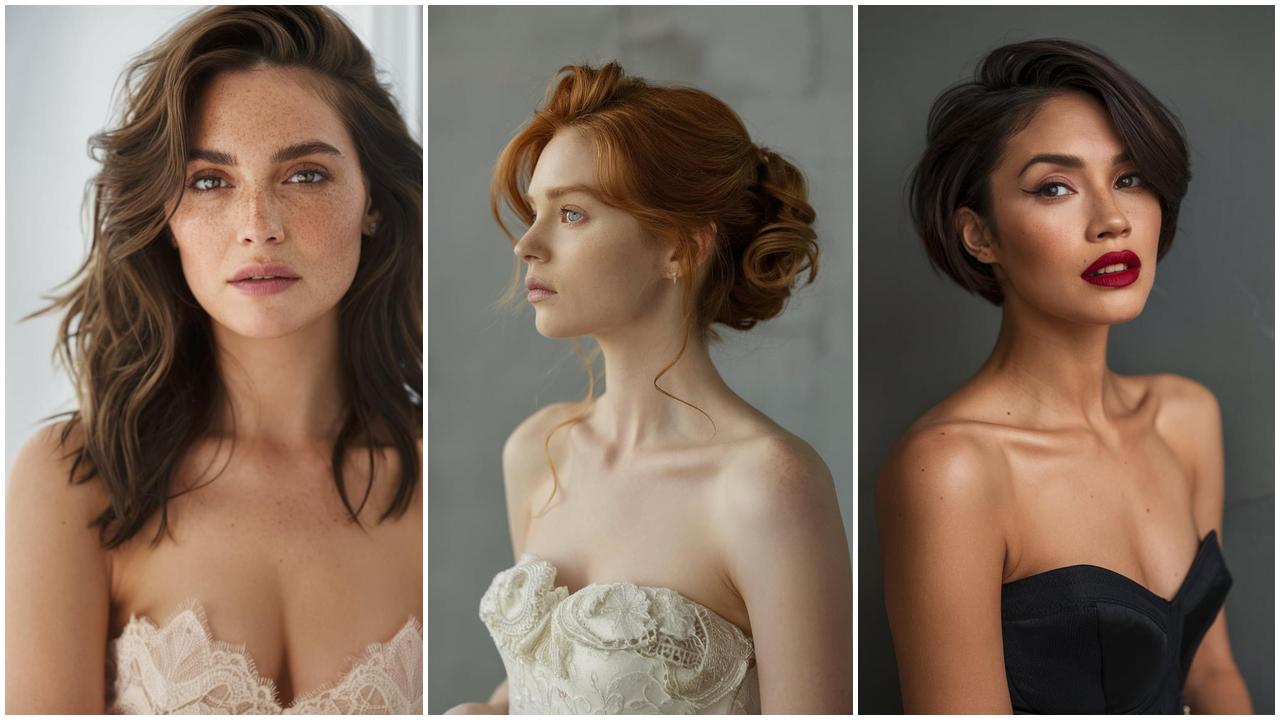
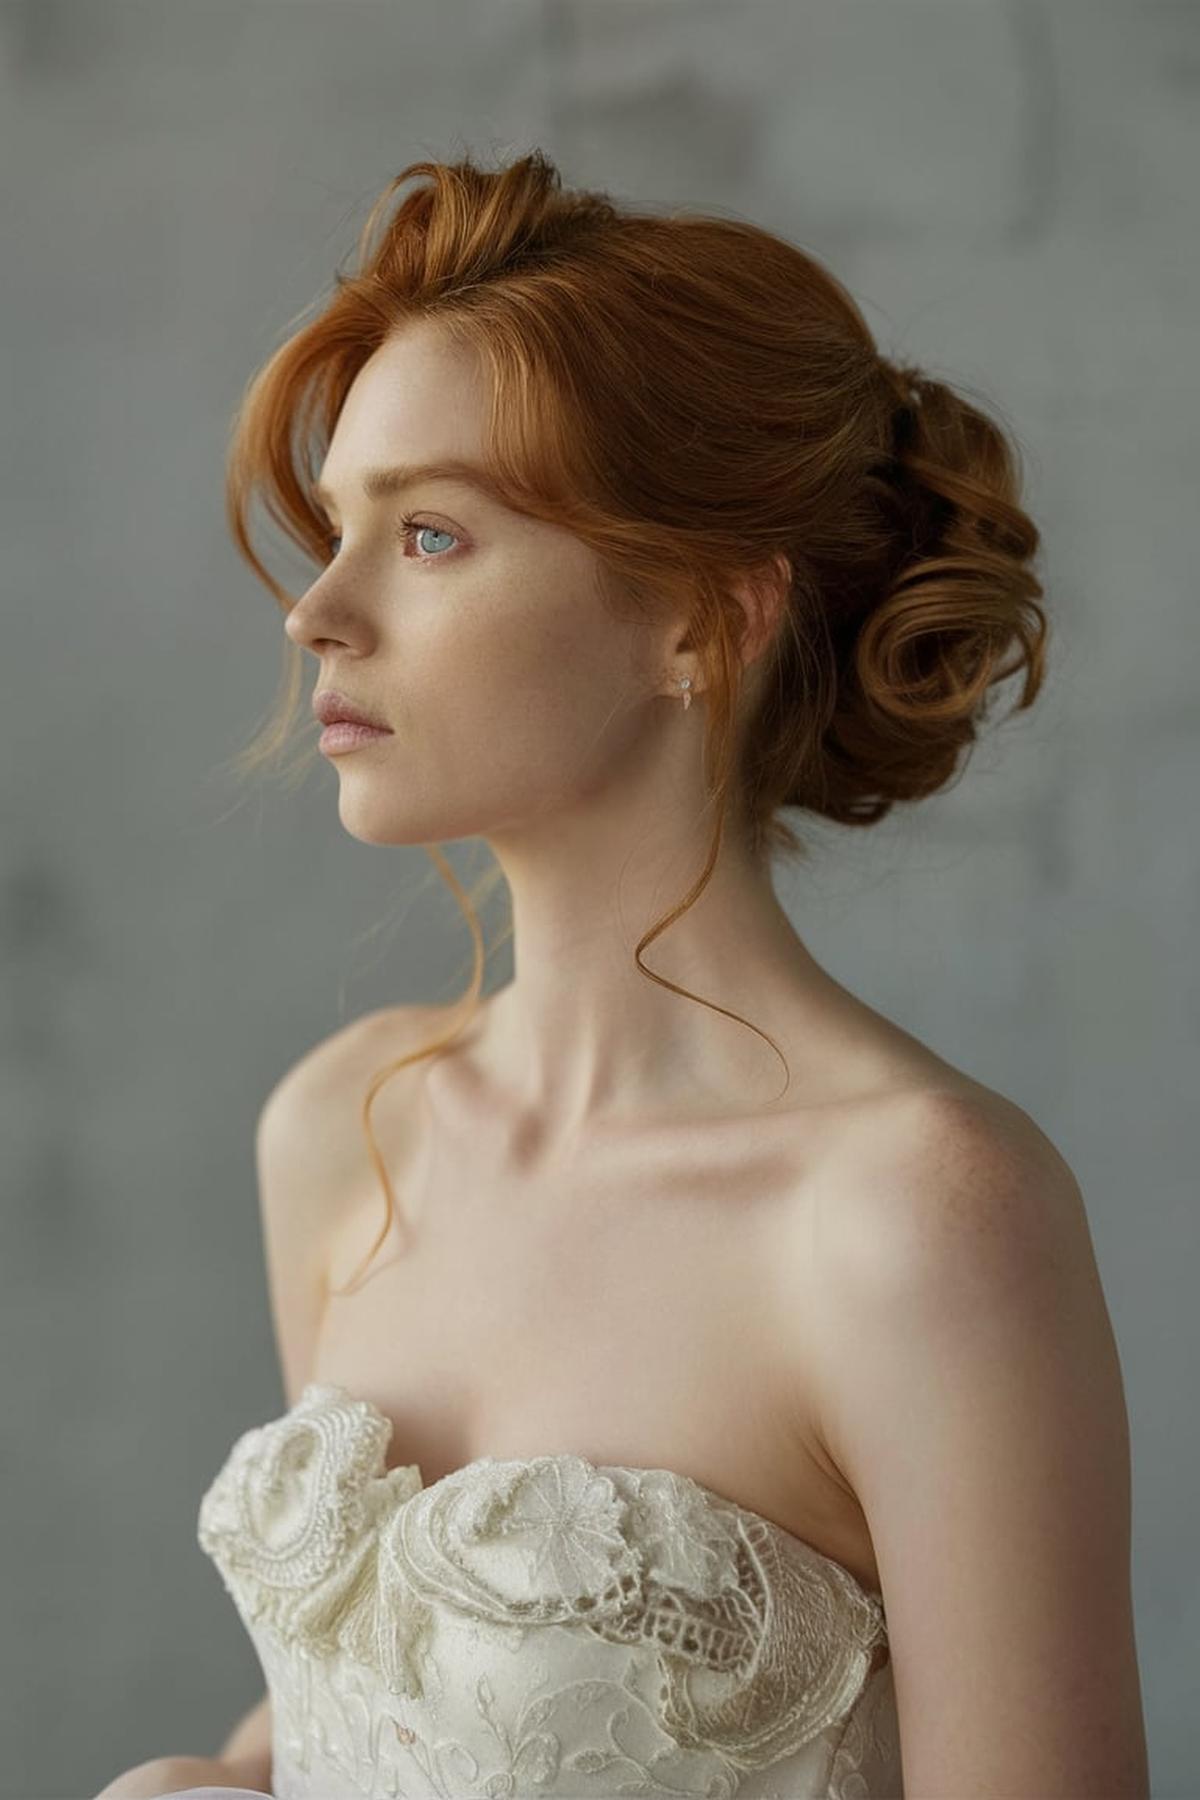
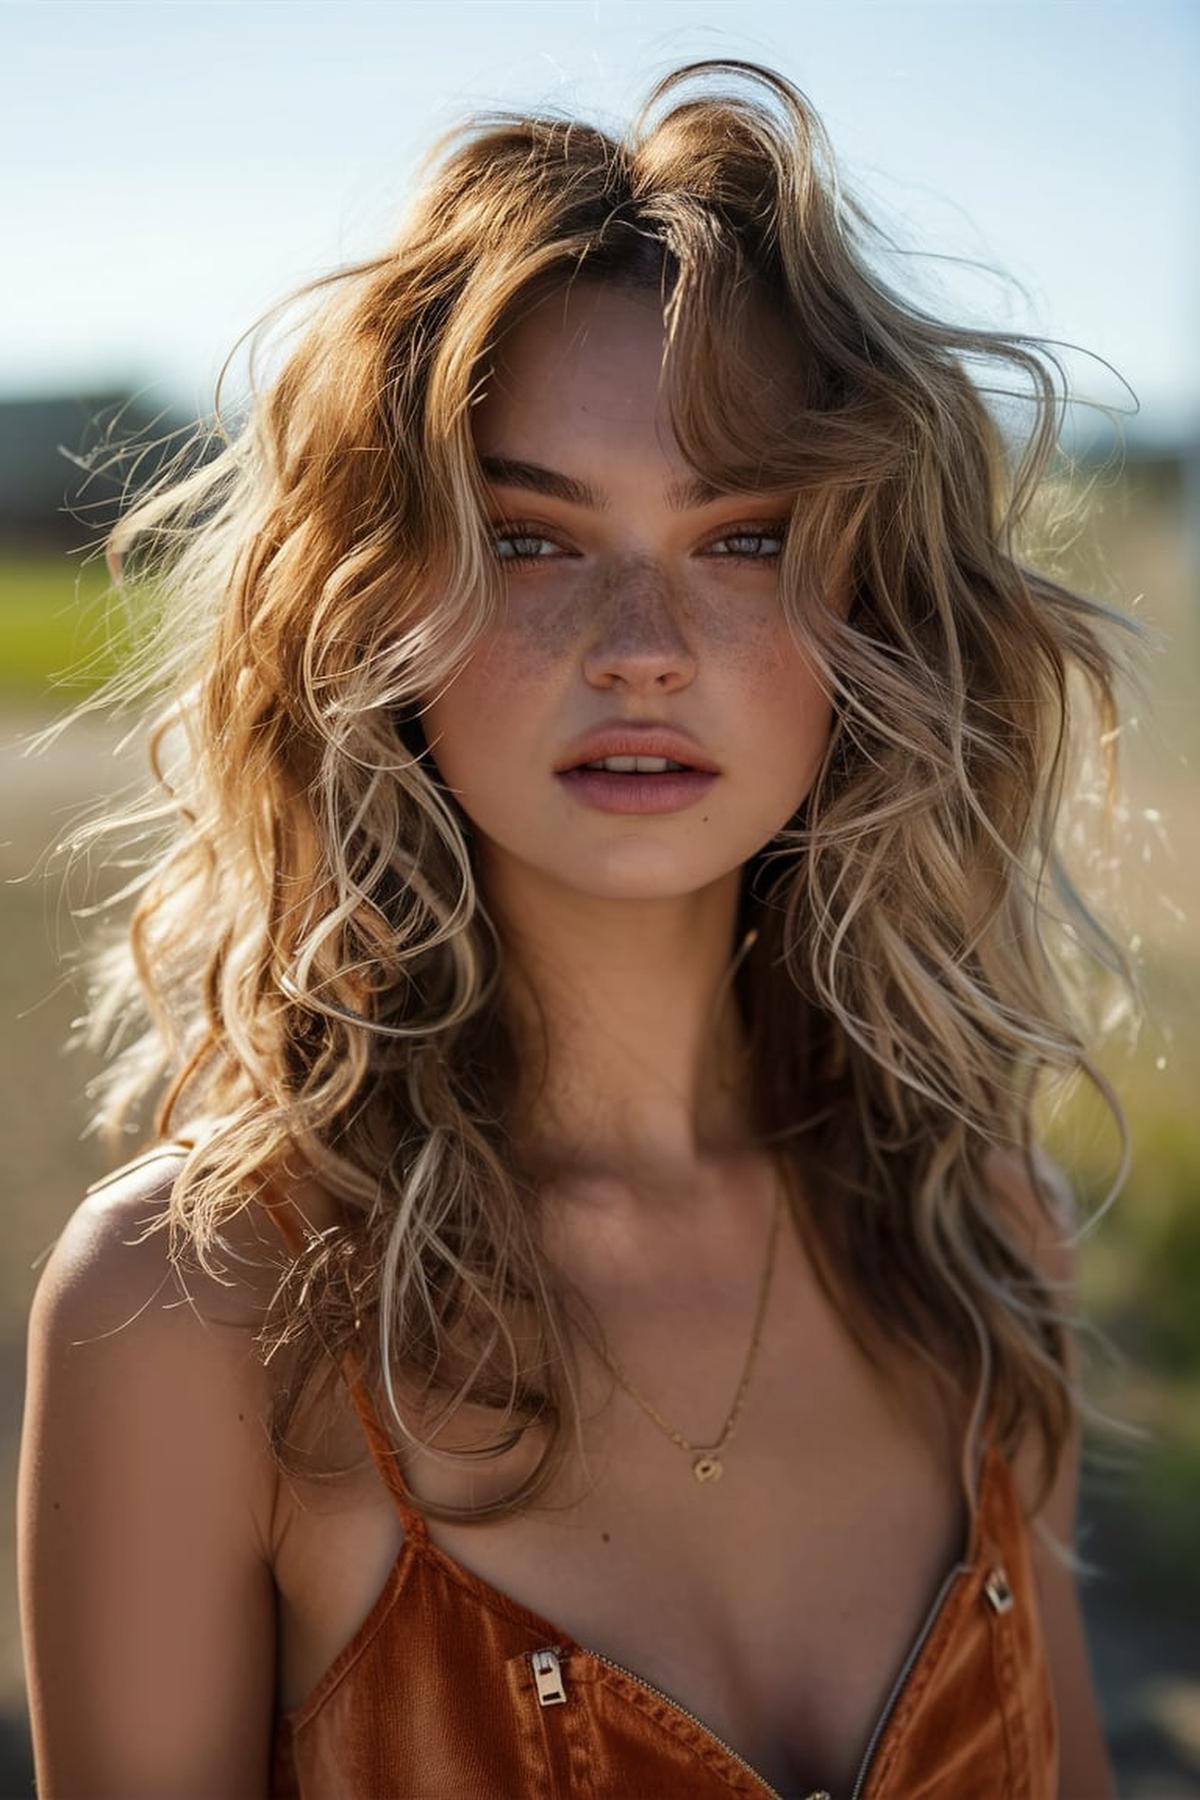
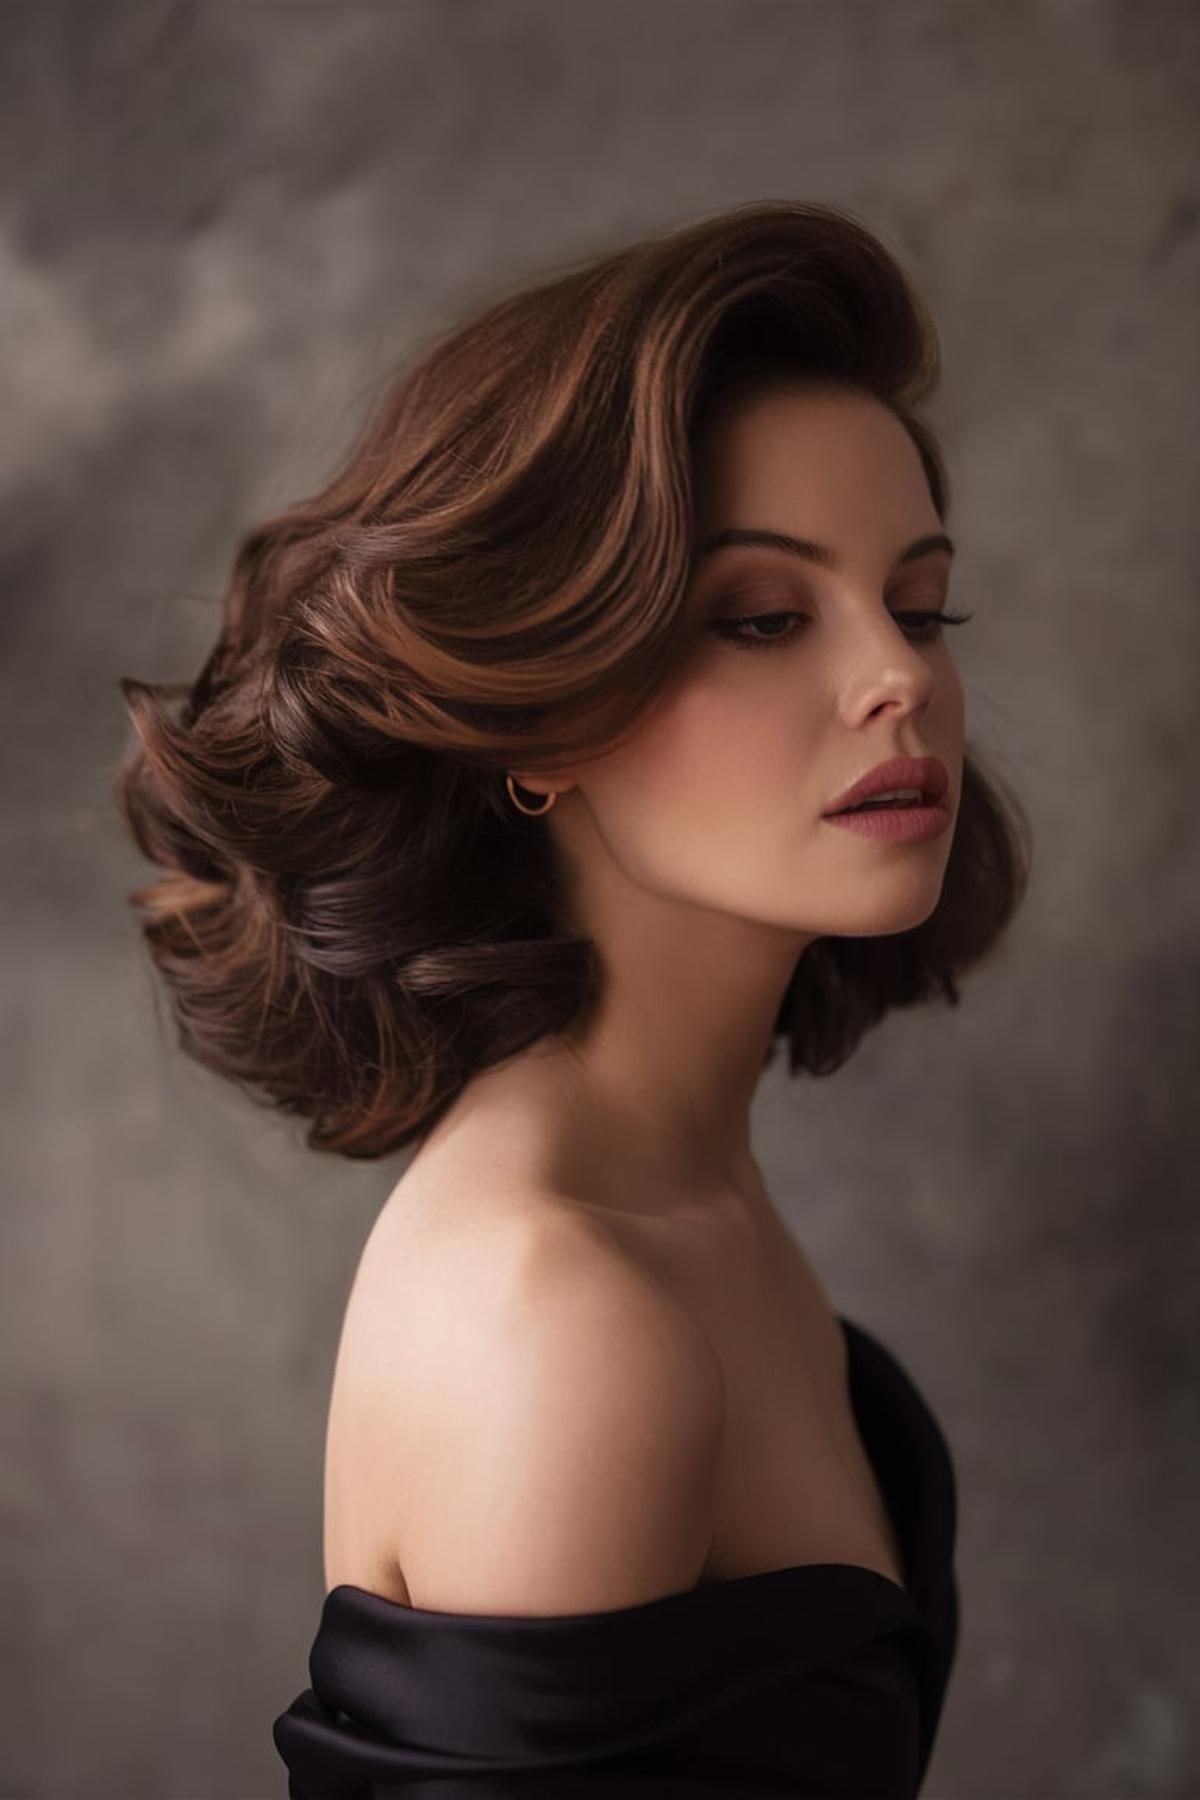
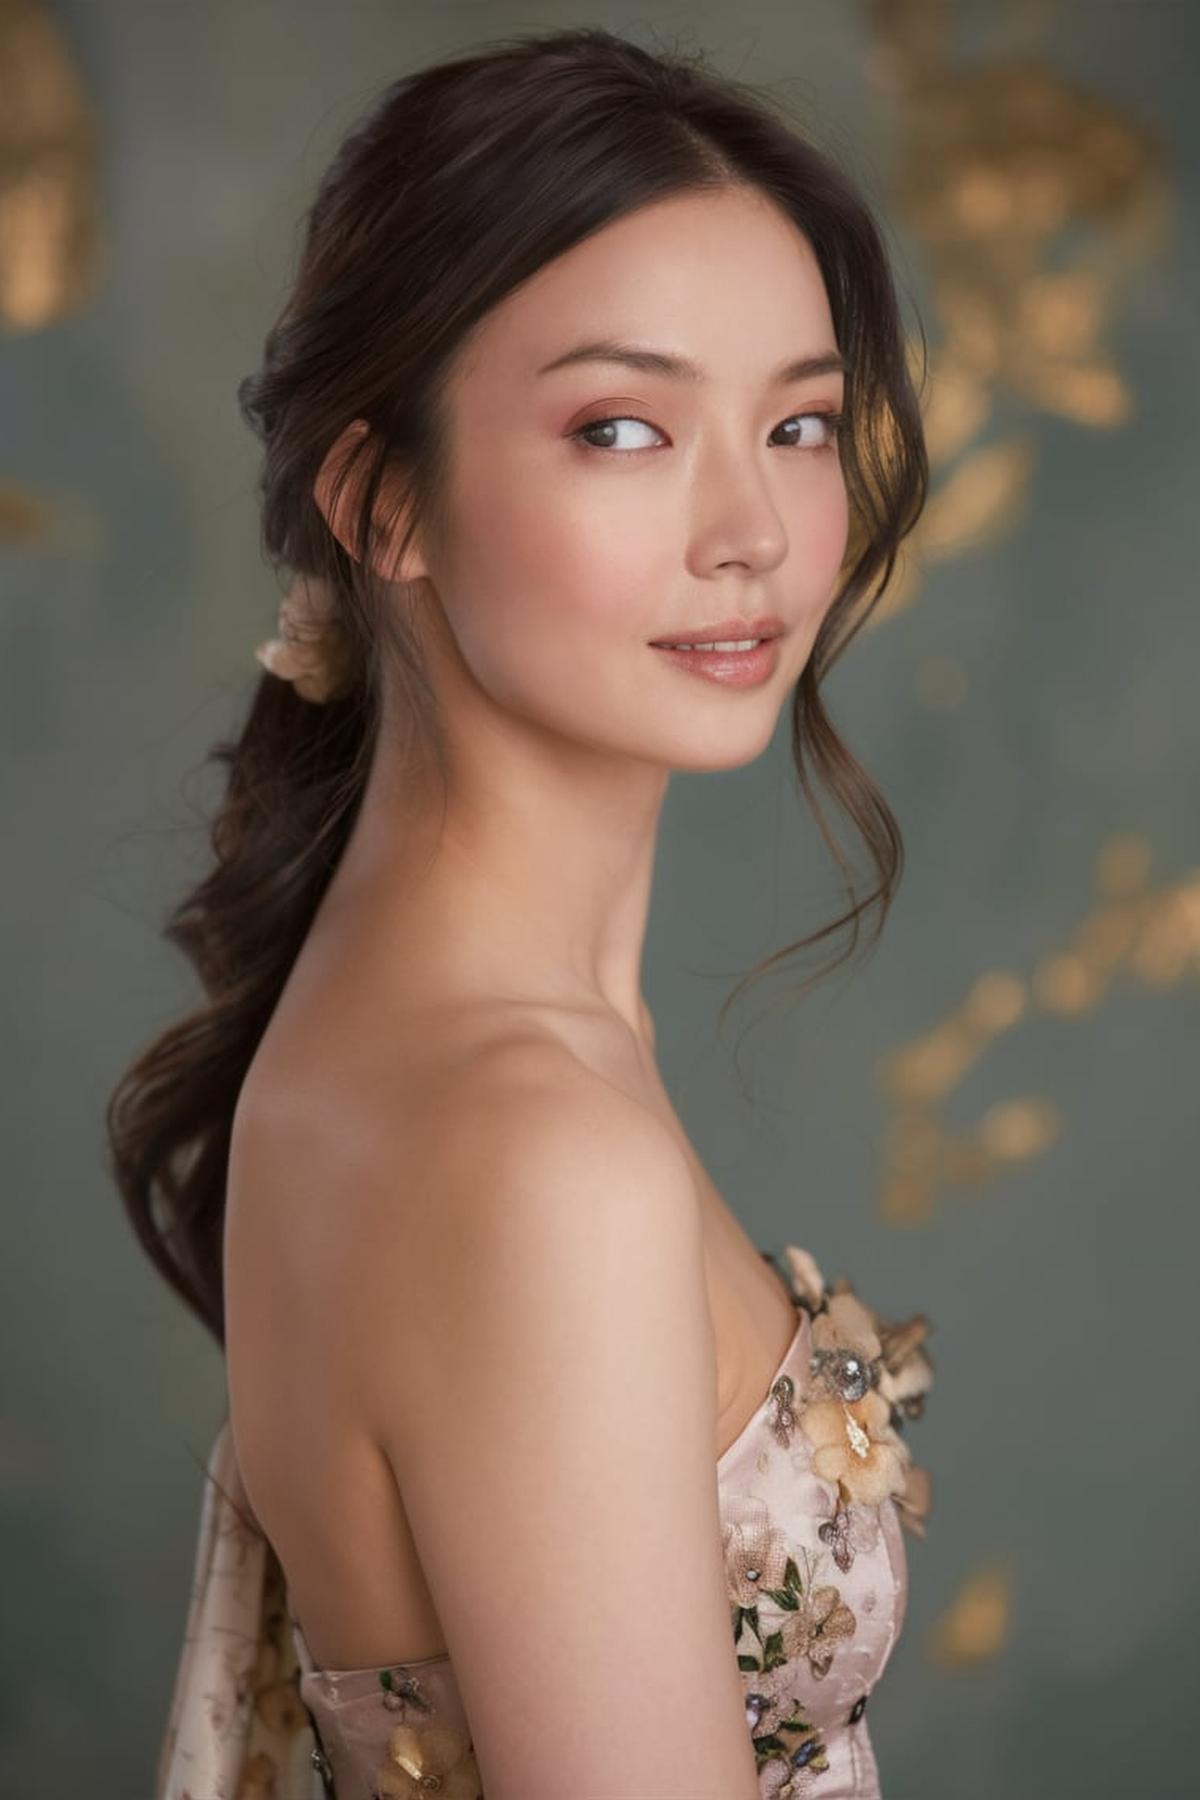
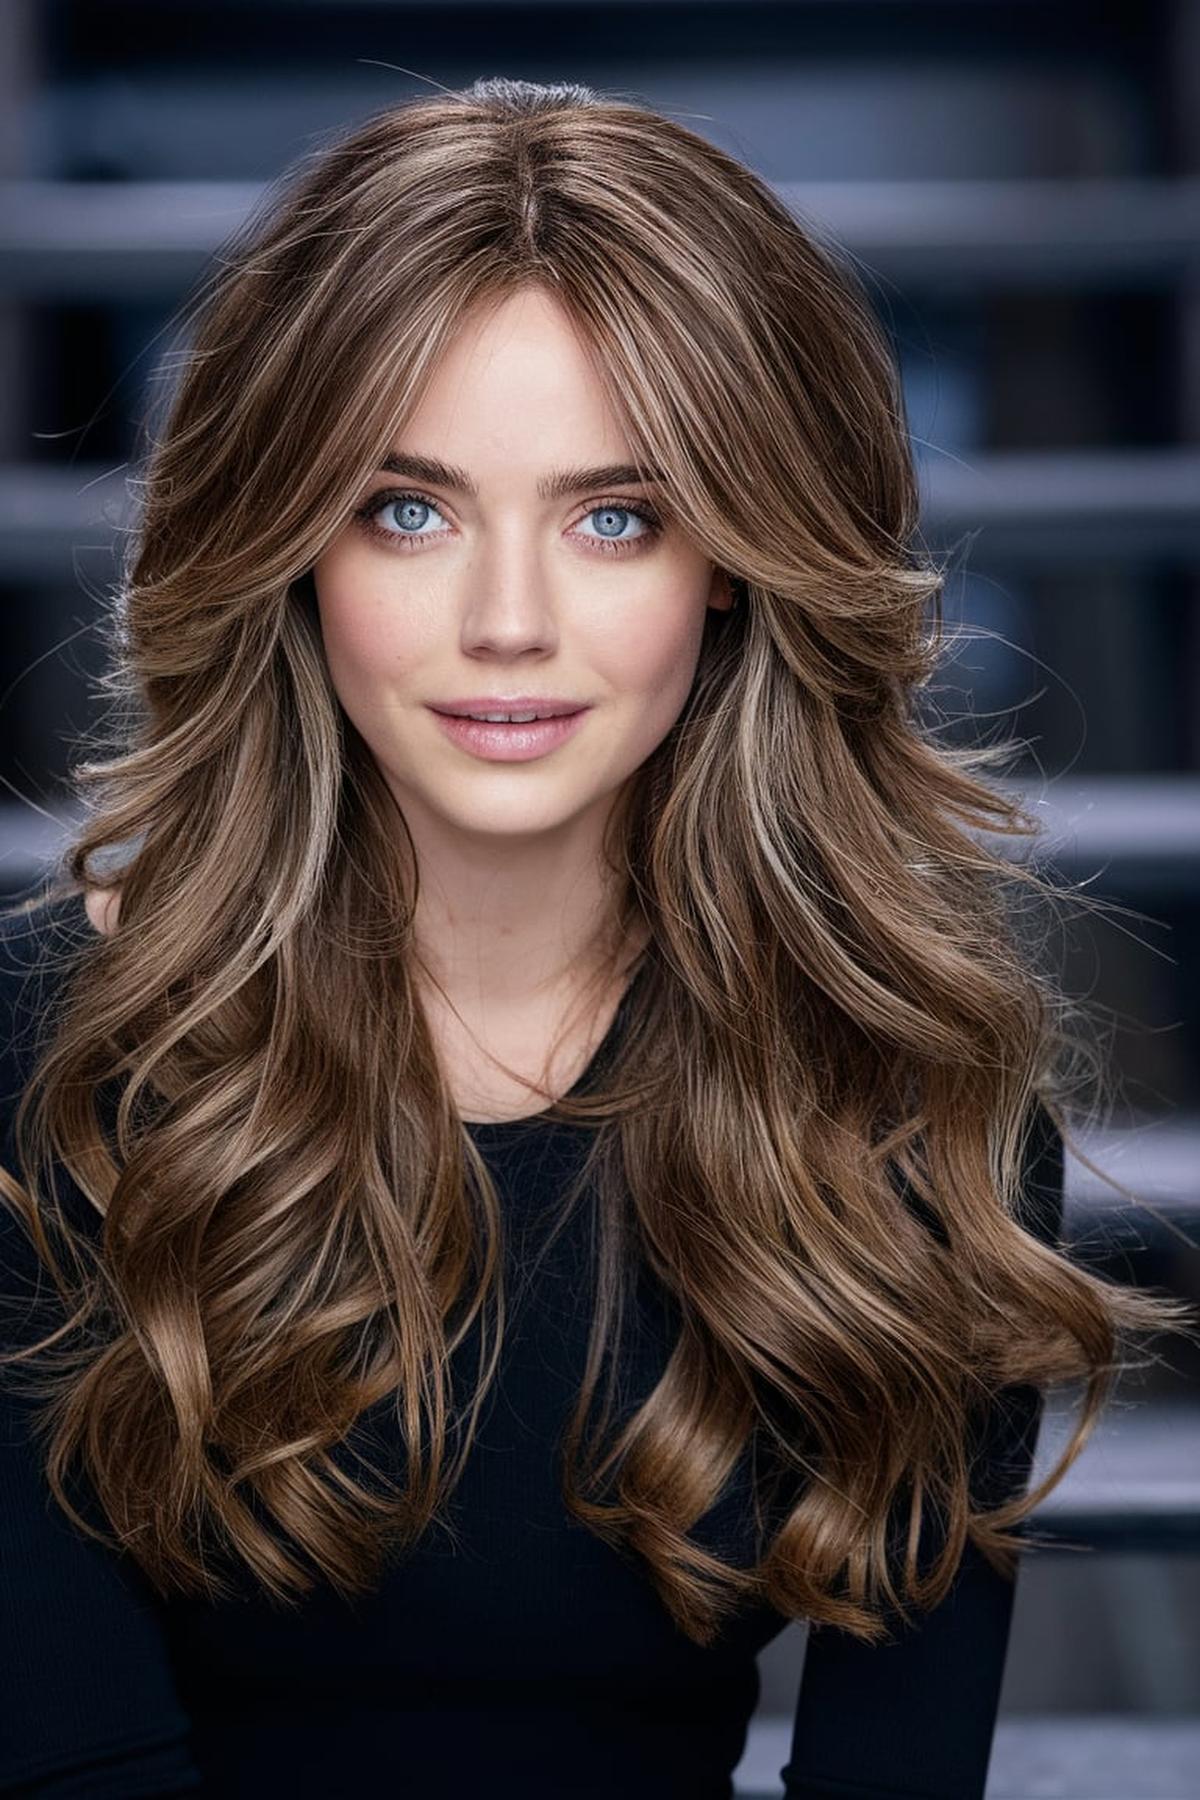
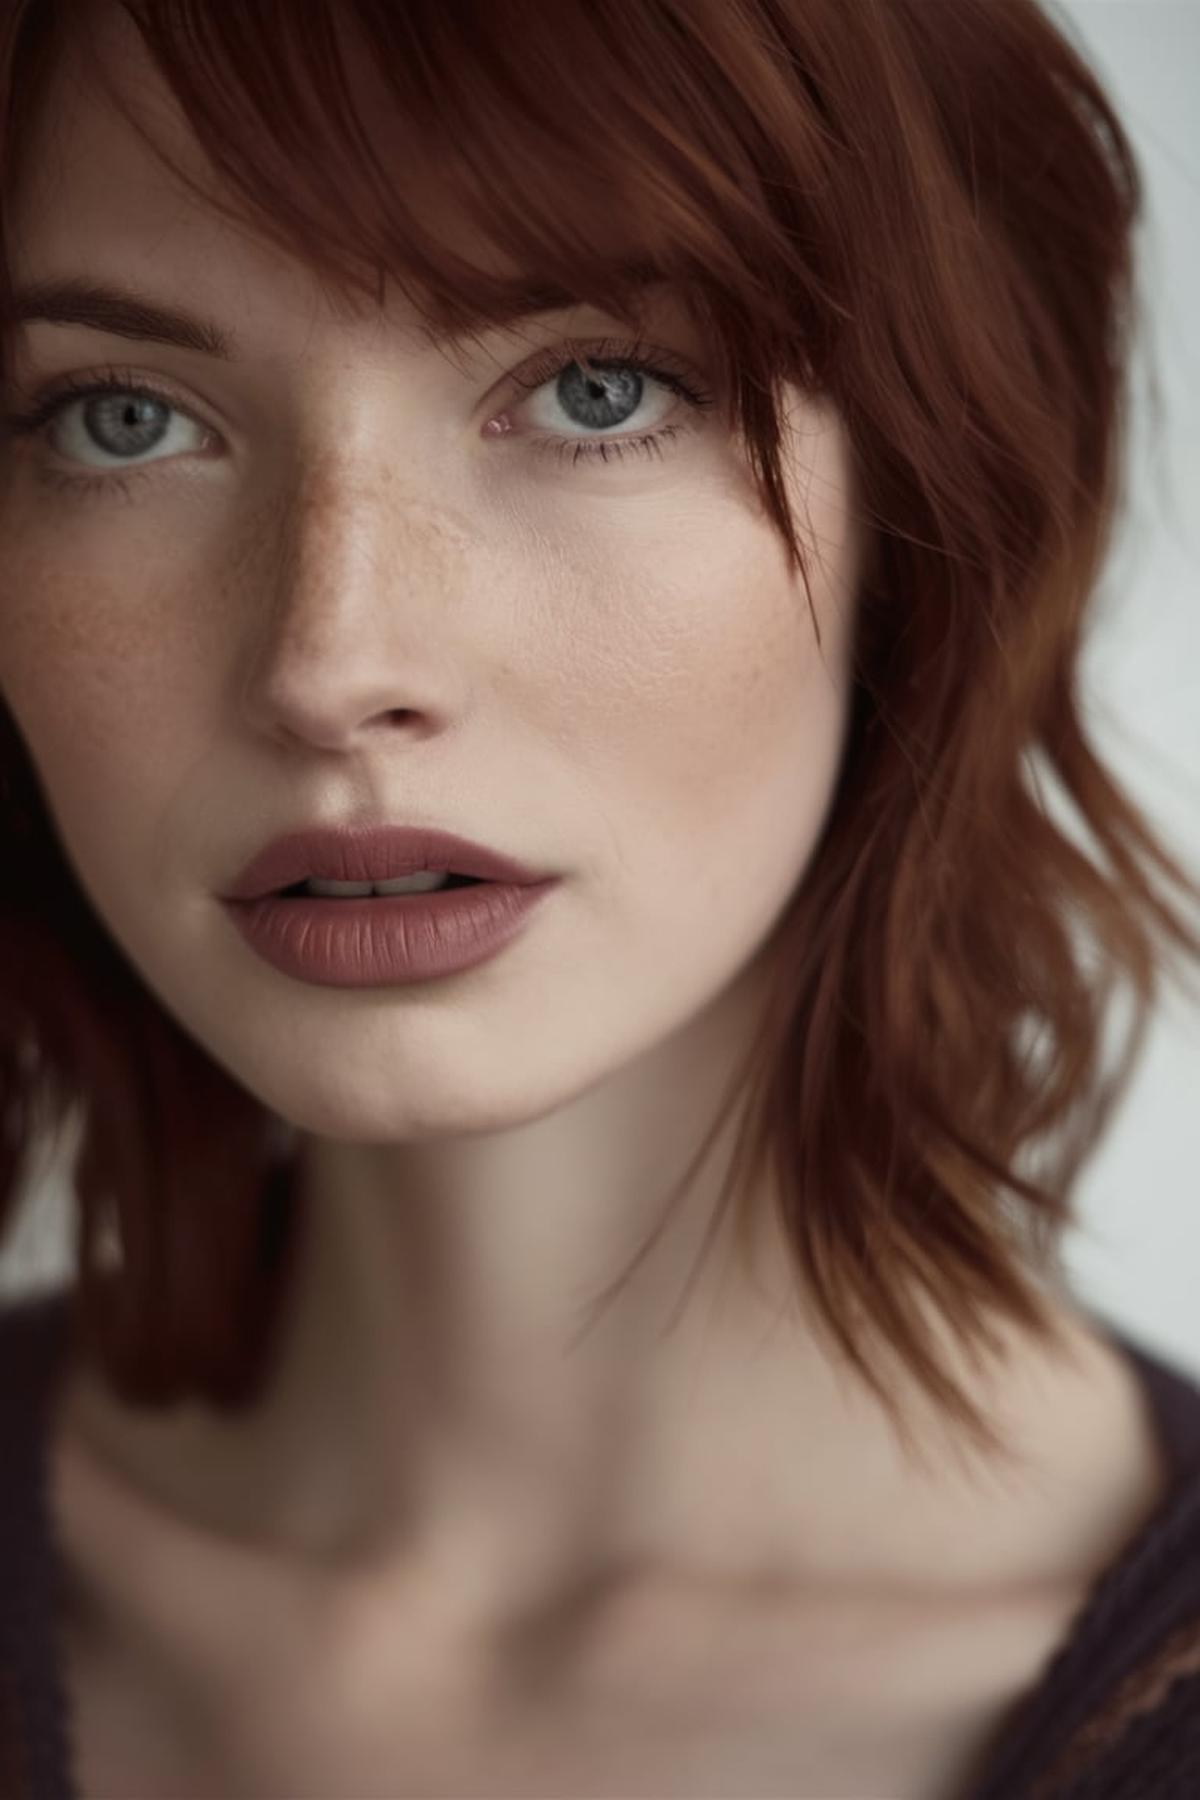
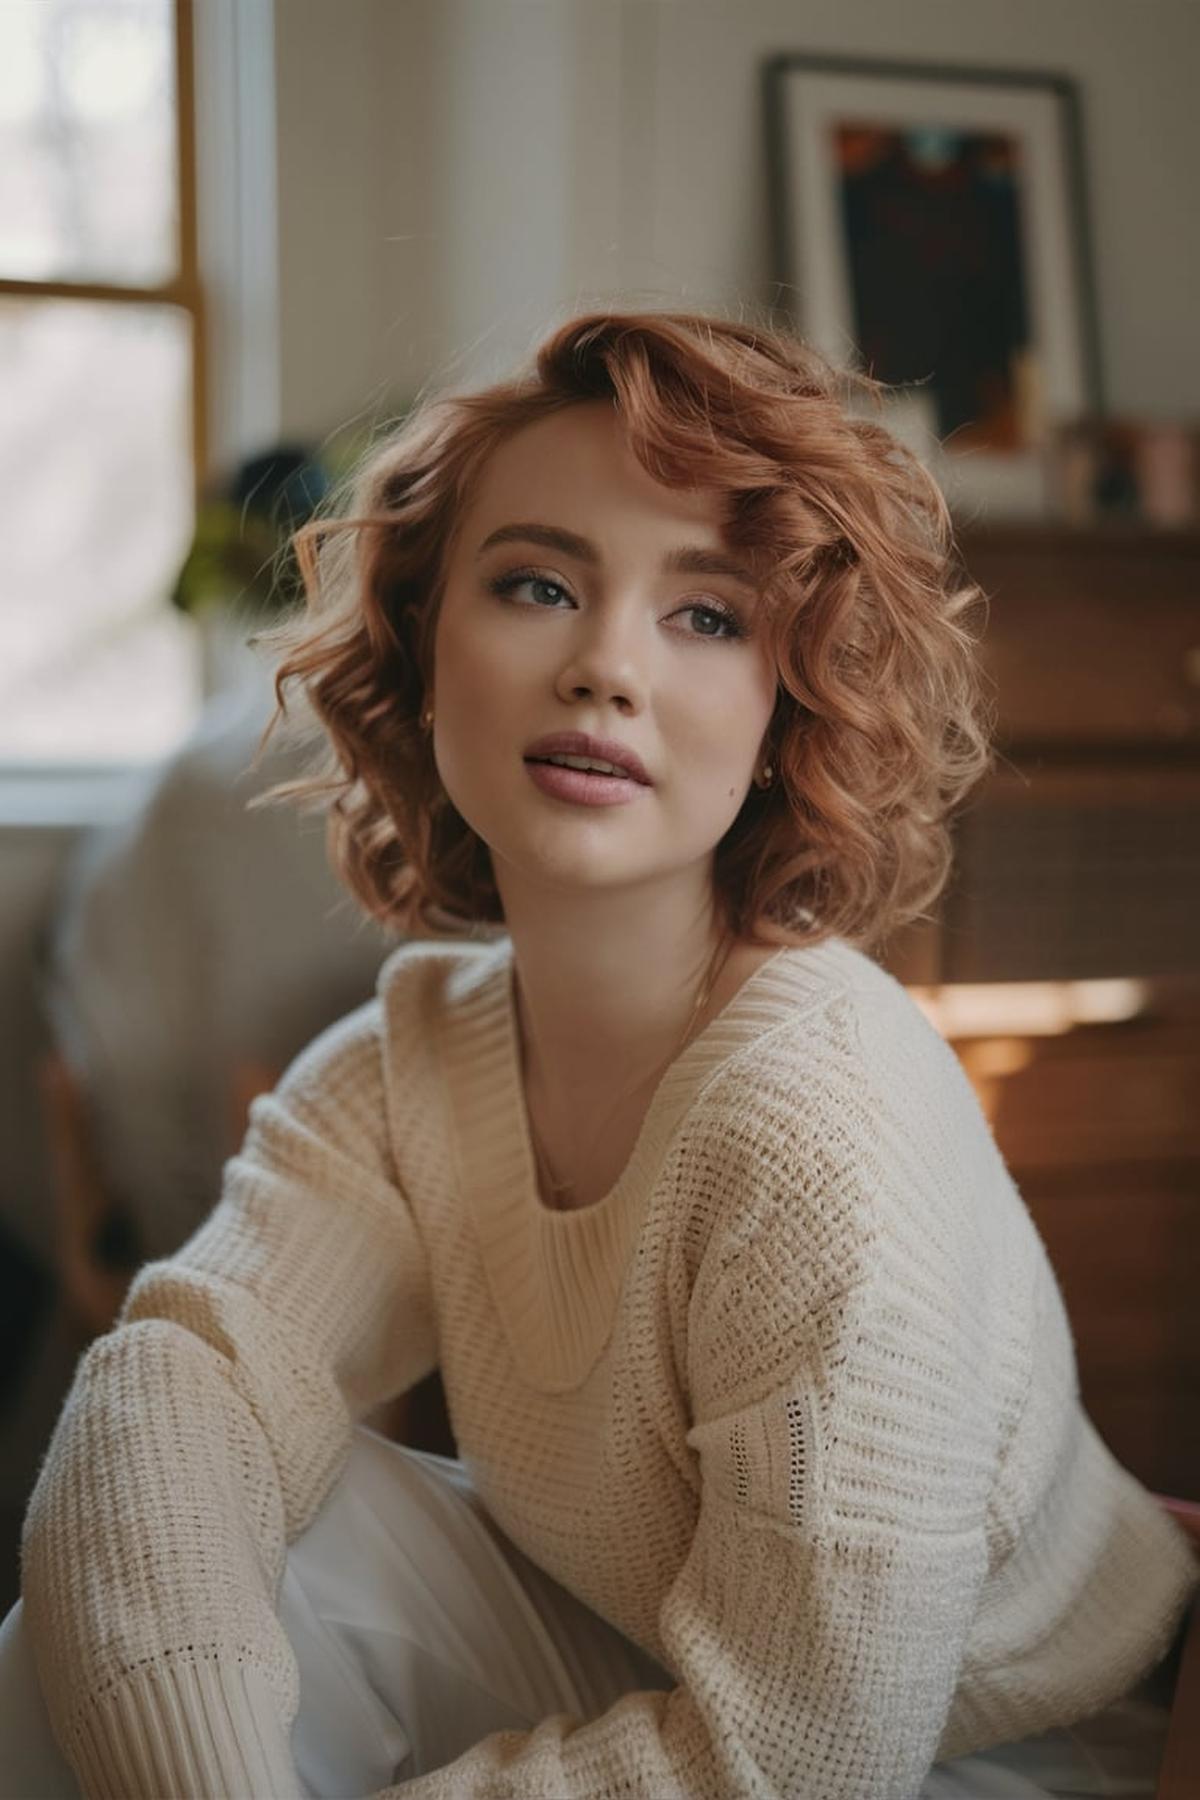
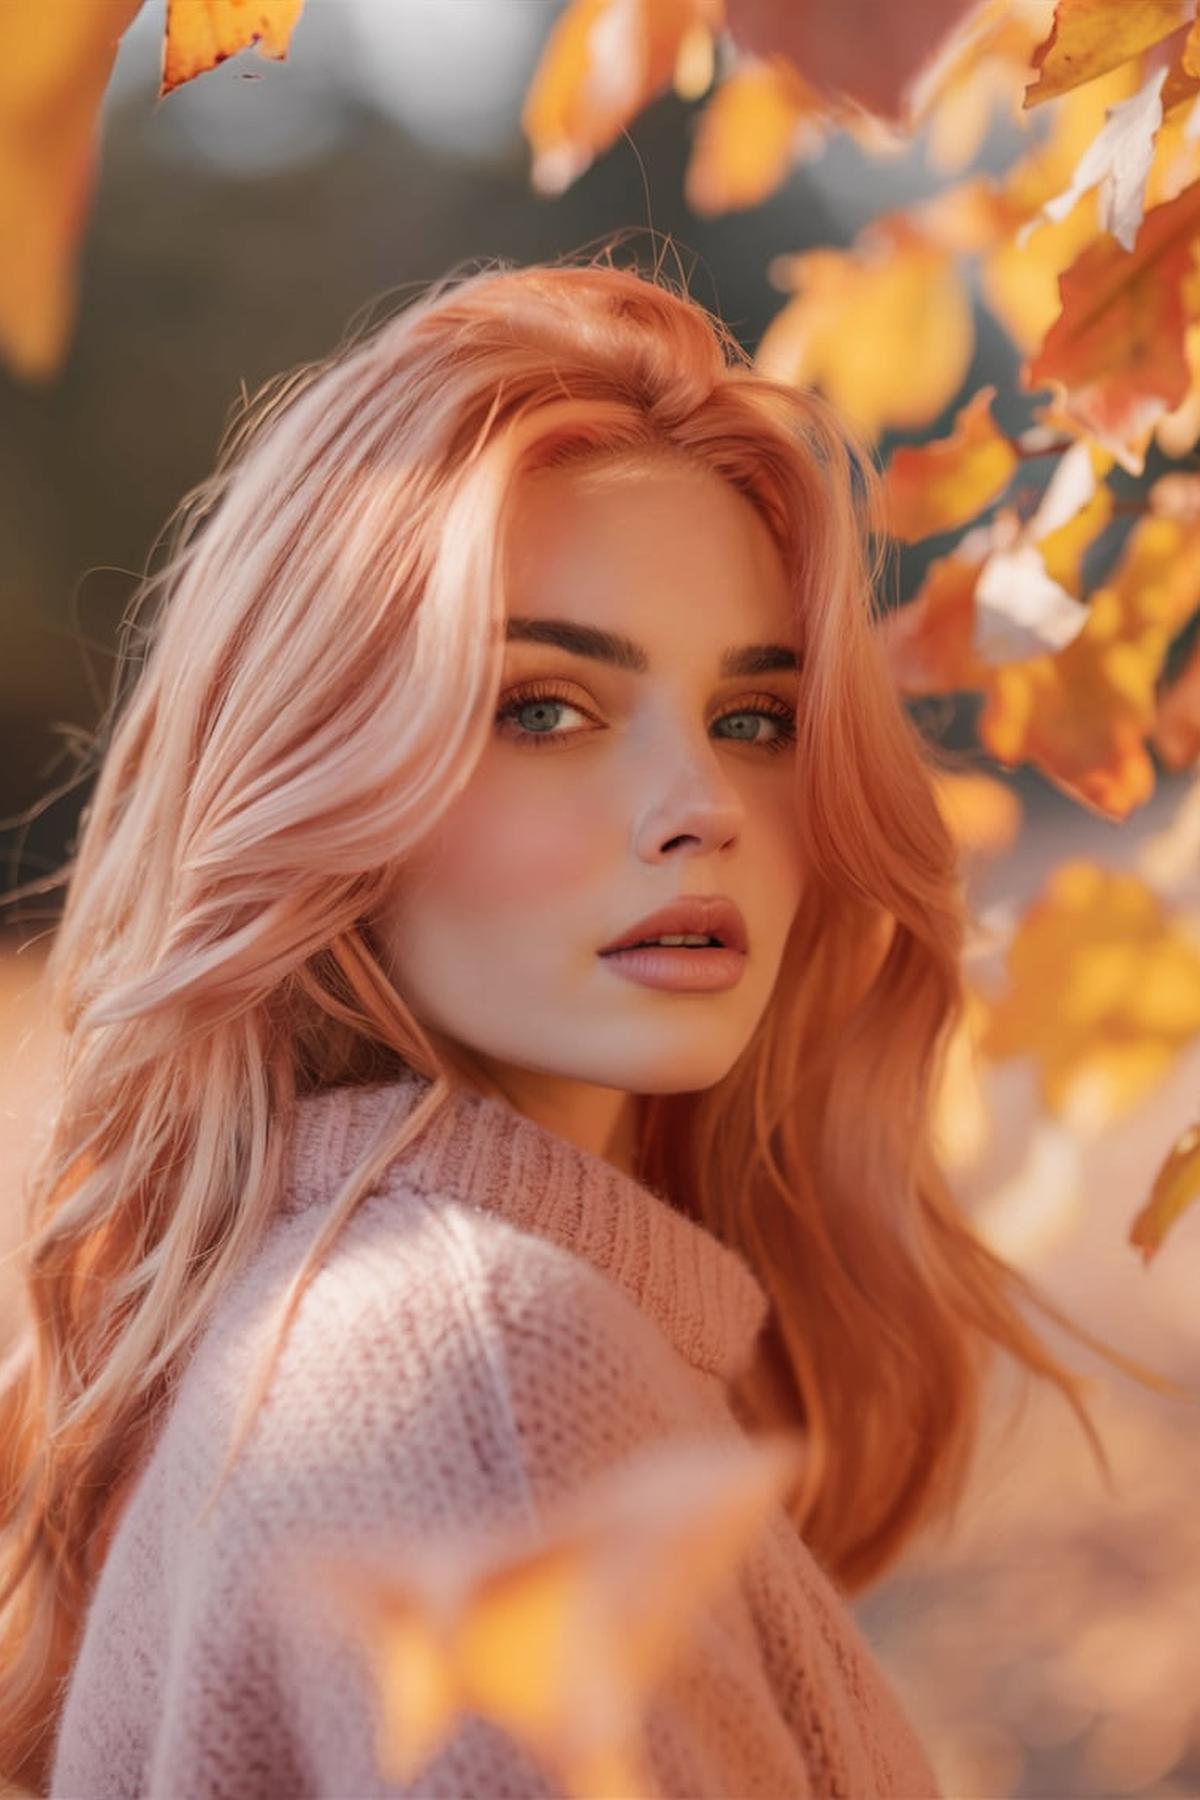
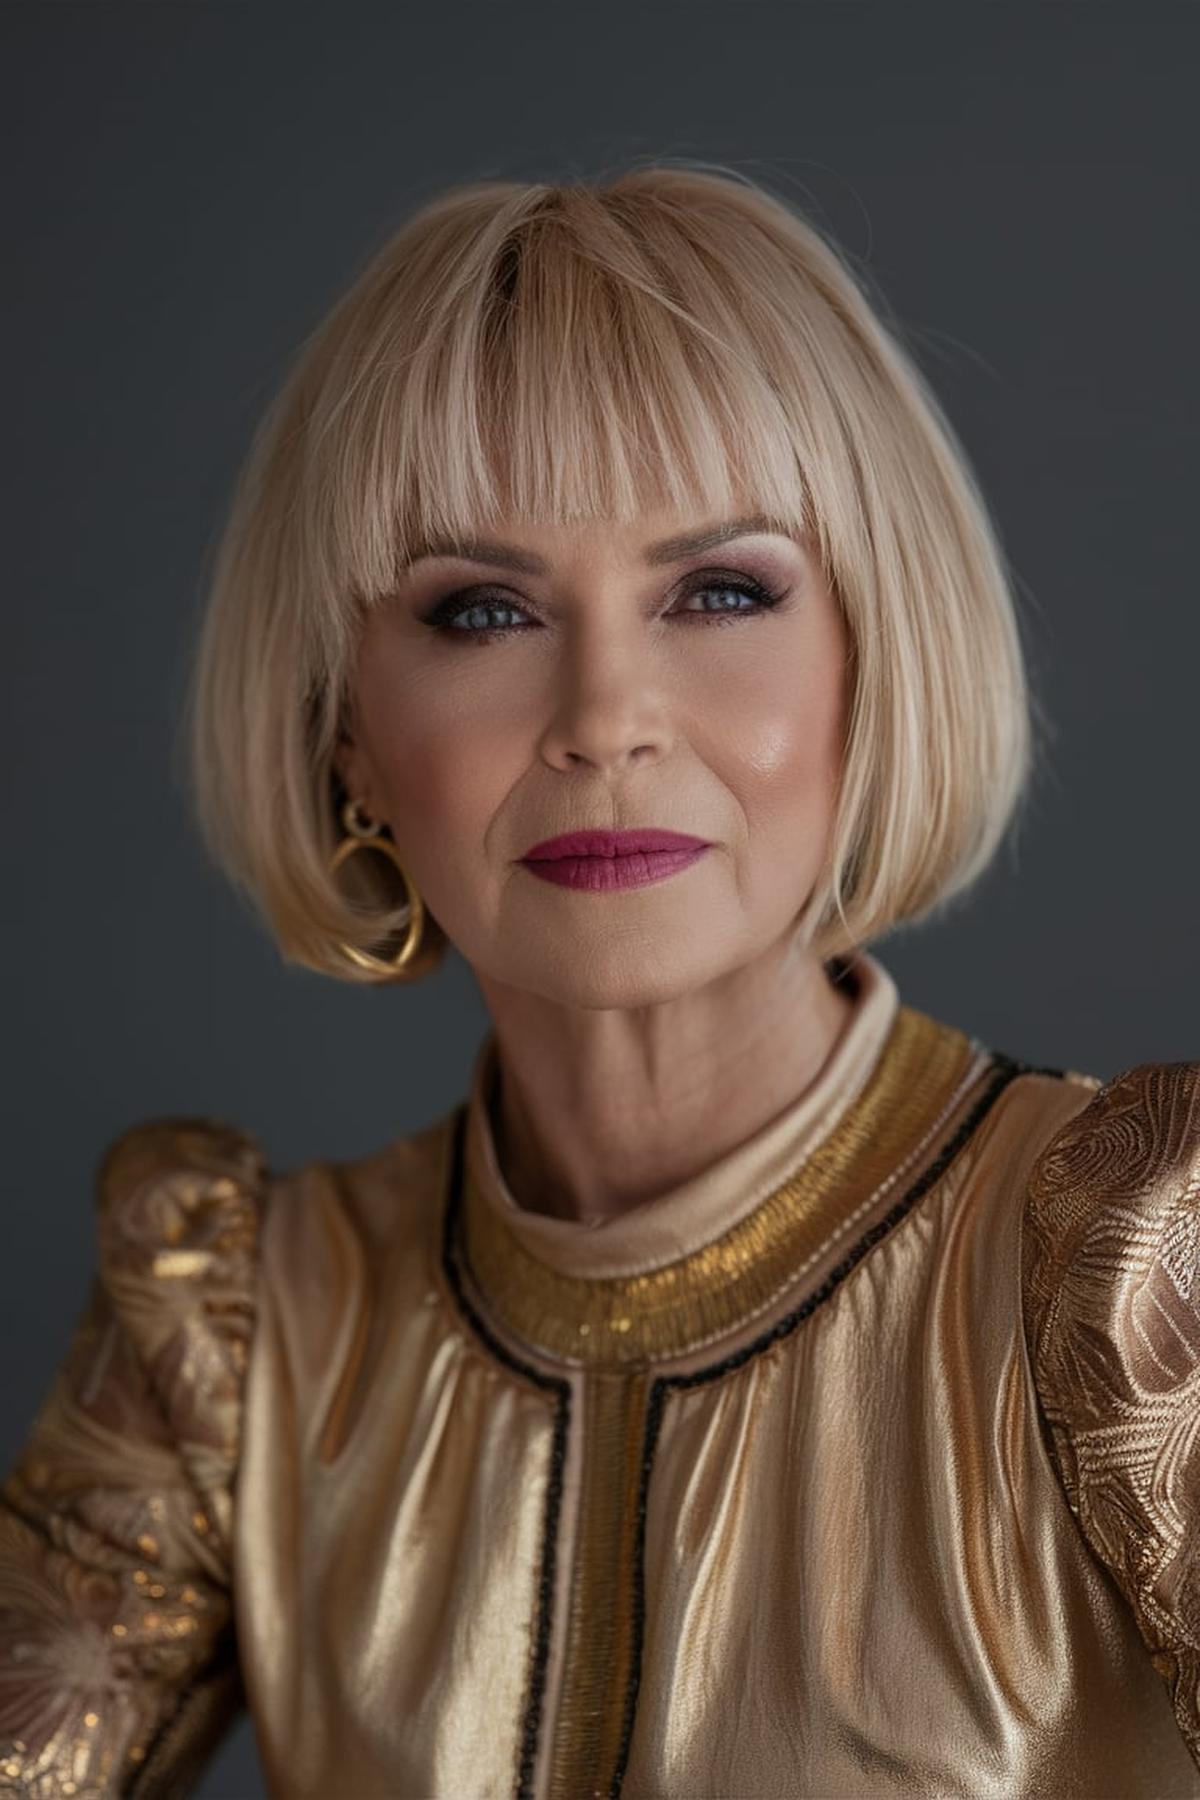
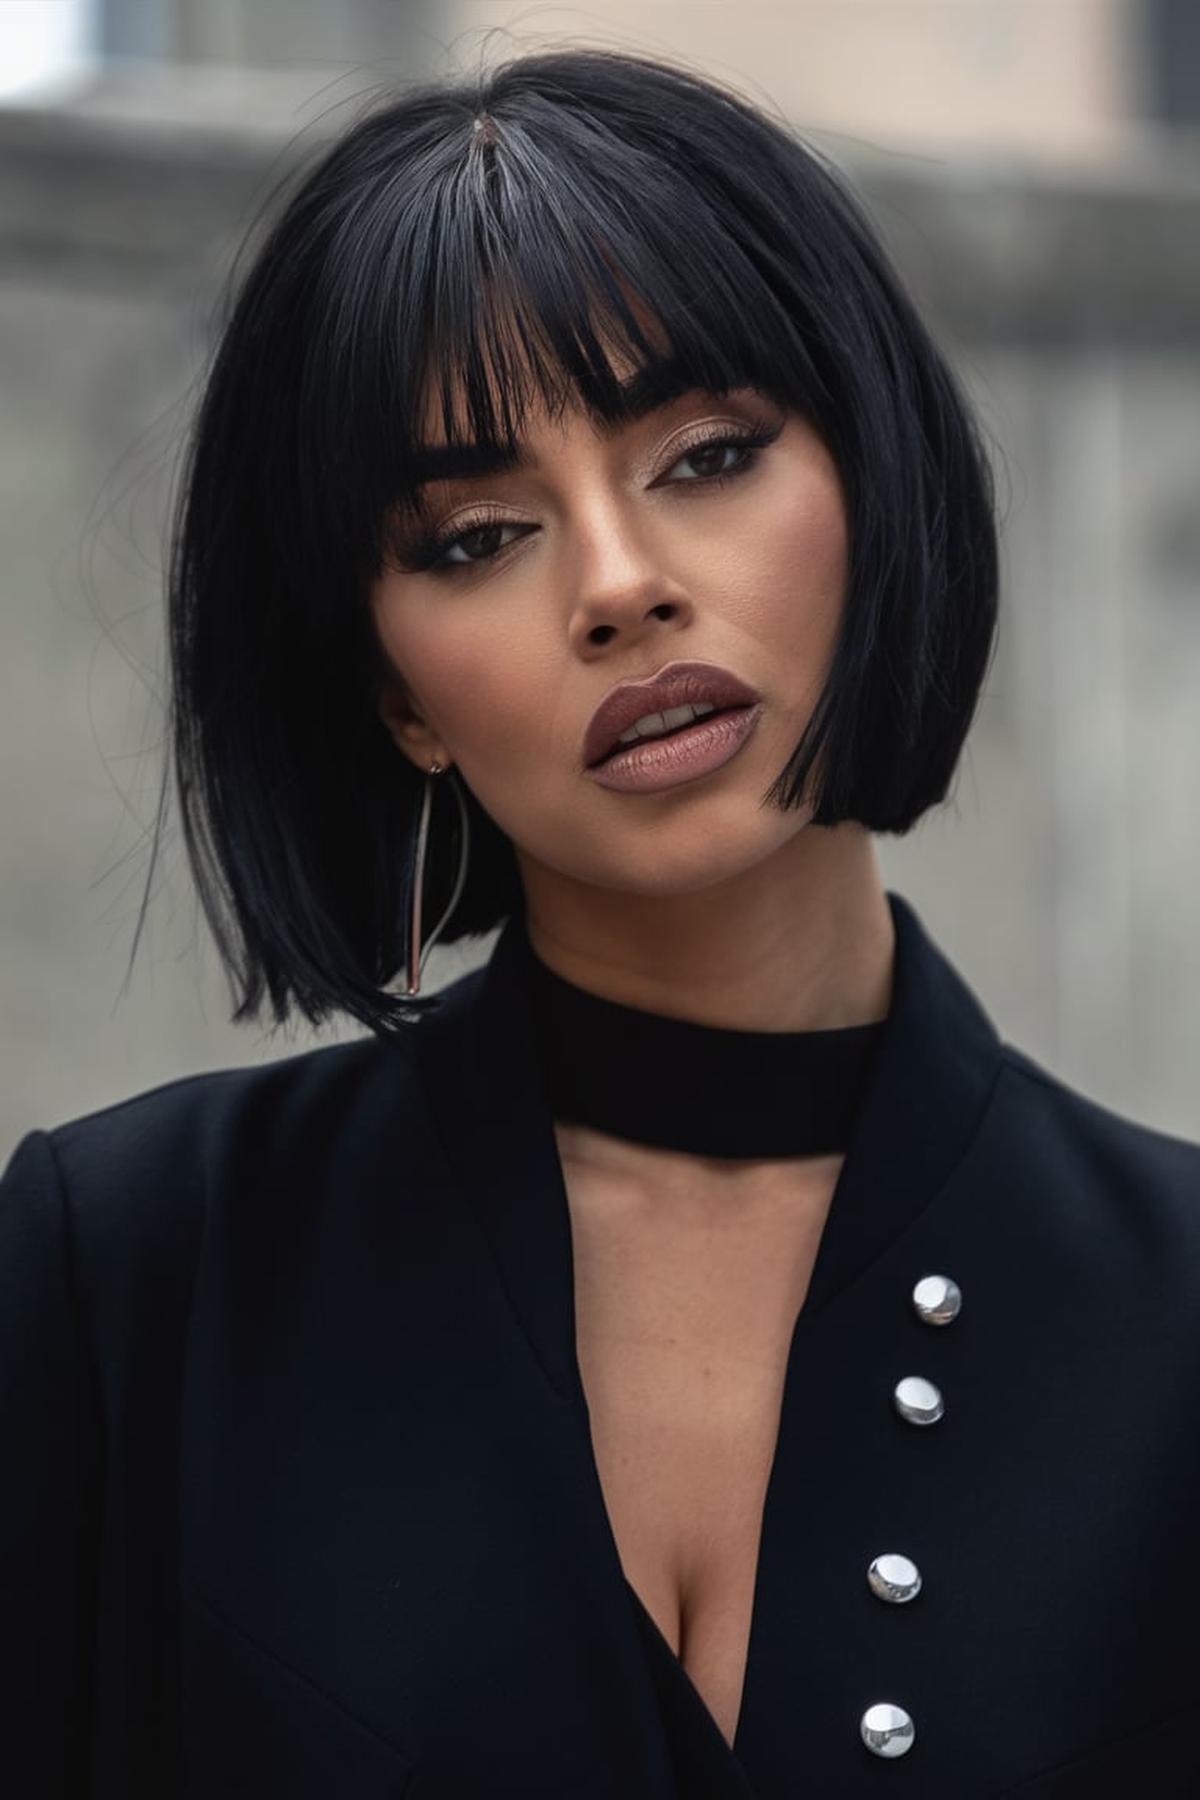
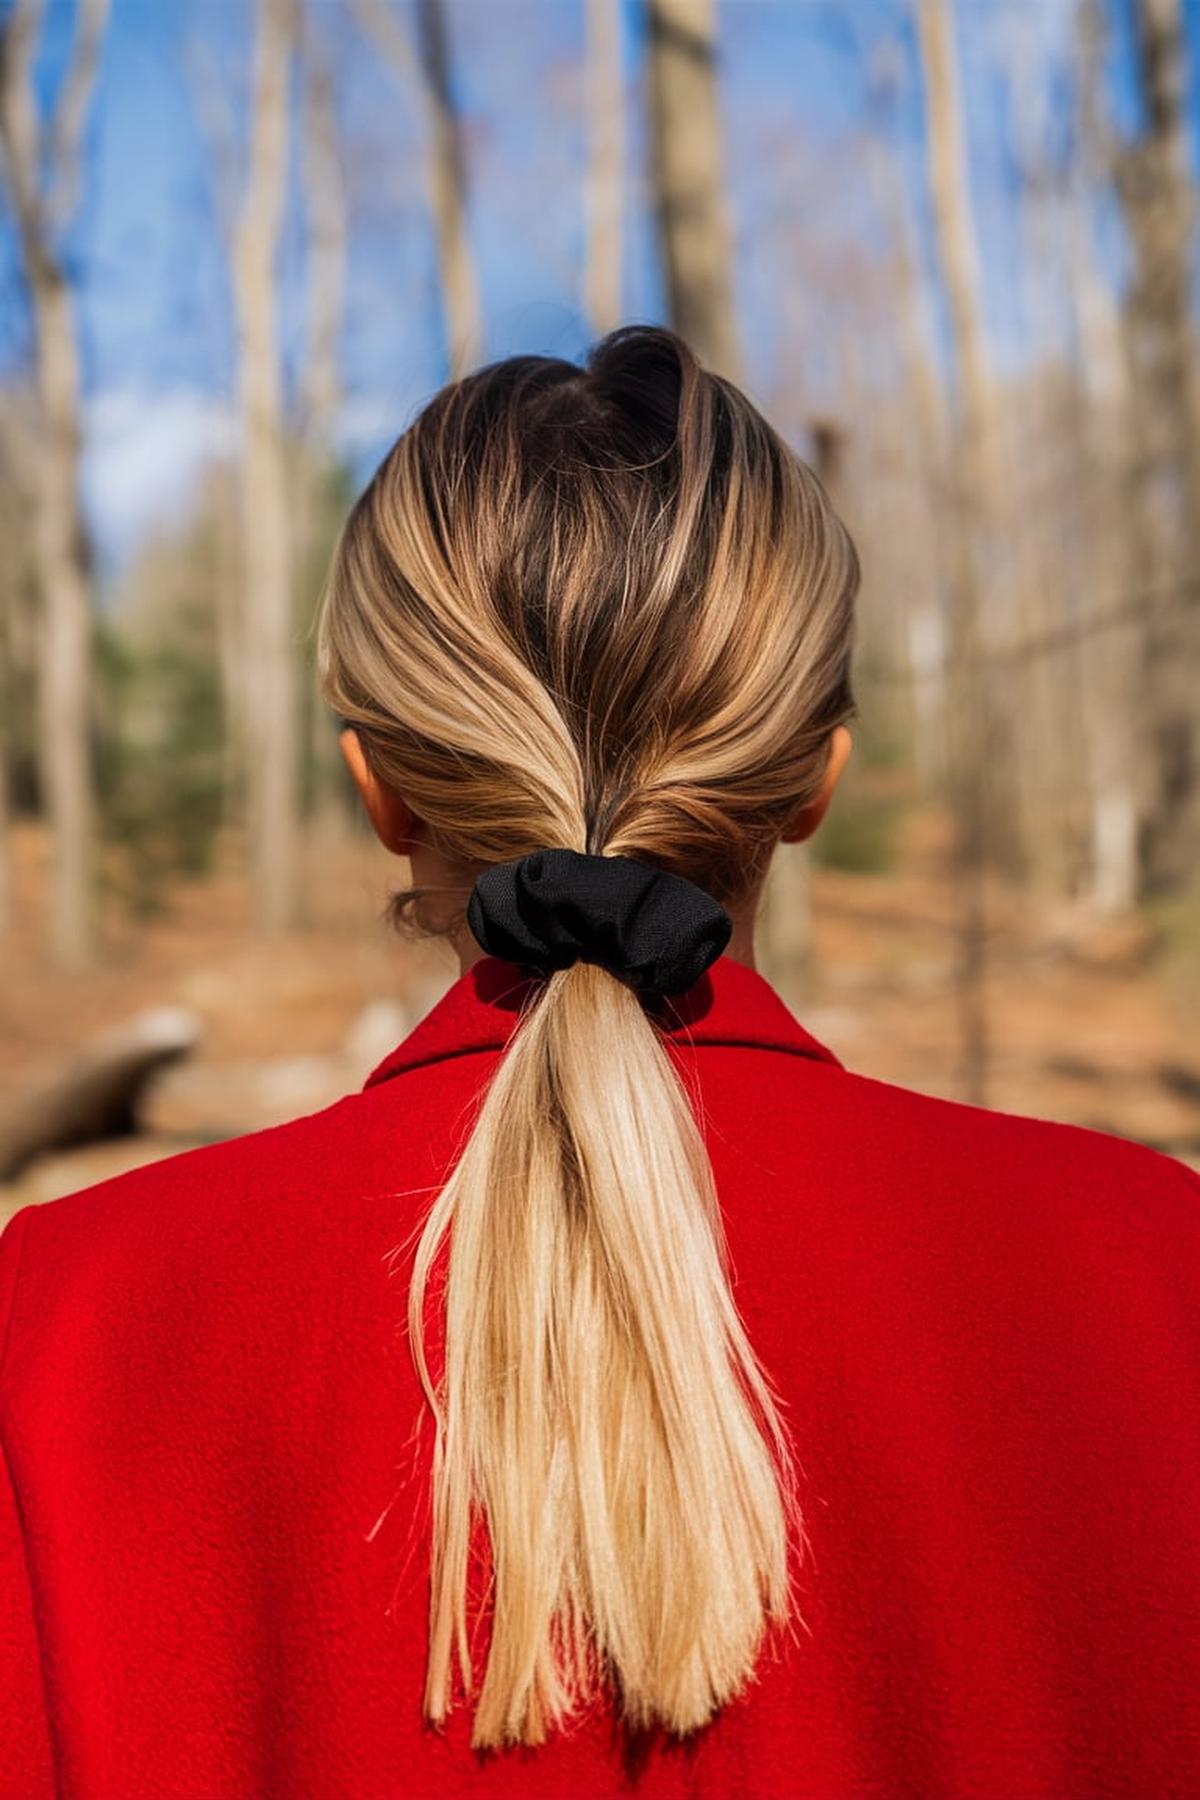
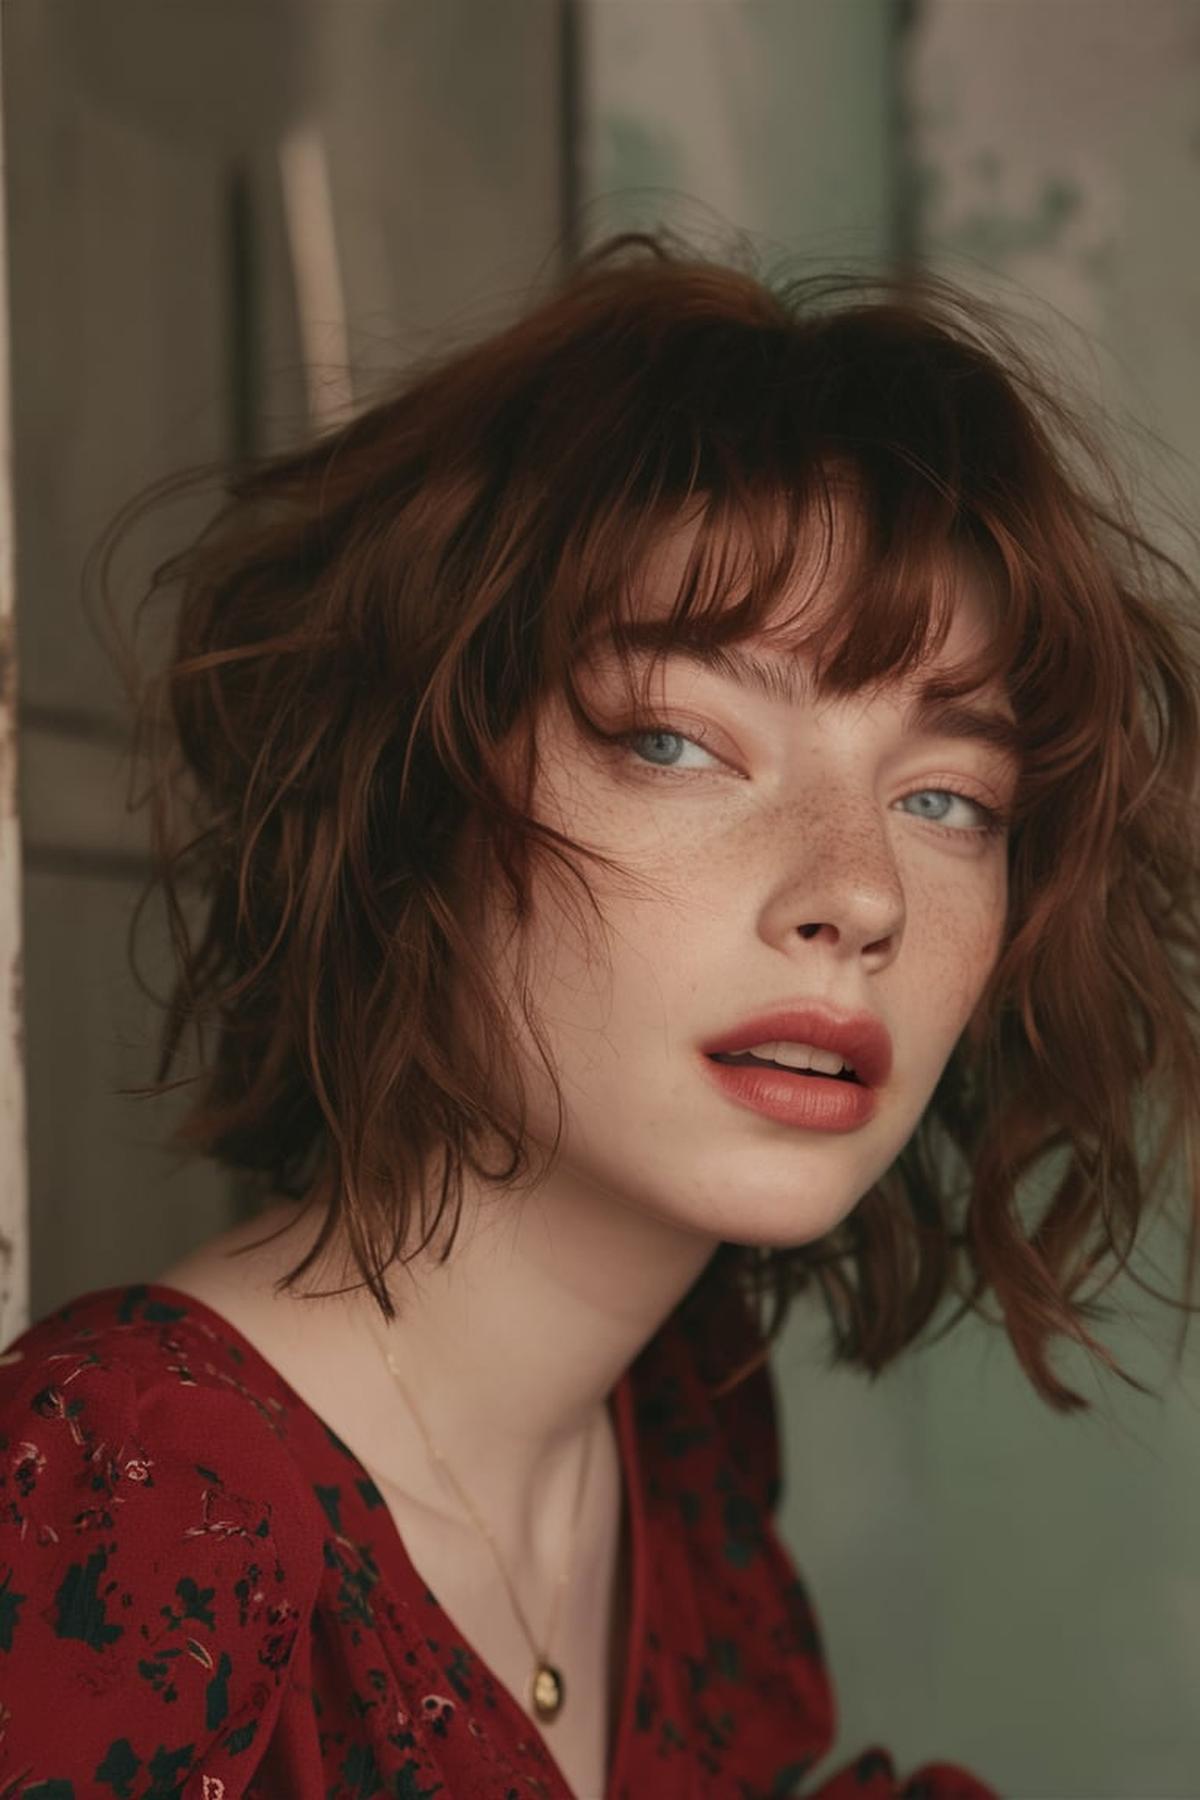
A sleek shoulder-grazing lob is a chic option that frames the face beautifully while keeping the focus on your neckline. For a more relaxed vibe, tousled beach waves add a carefree touch, perfect for casual outings or summer events.
These styles not only add texture but also draw attention to your face and shoulders. If you want something fun and playful, voluminous side-swept curls or a messy top knot can create a youthful look.
A polished low ponytail or textured low knot can also be great choices for a sleek appearance.
Now, without further ado, let’s dive into 24 timeless hairstyles for strapless dresses that wow.
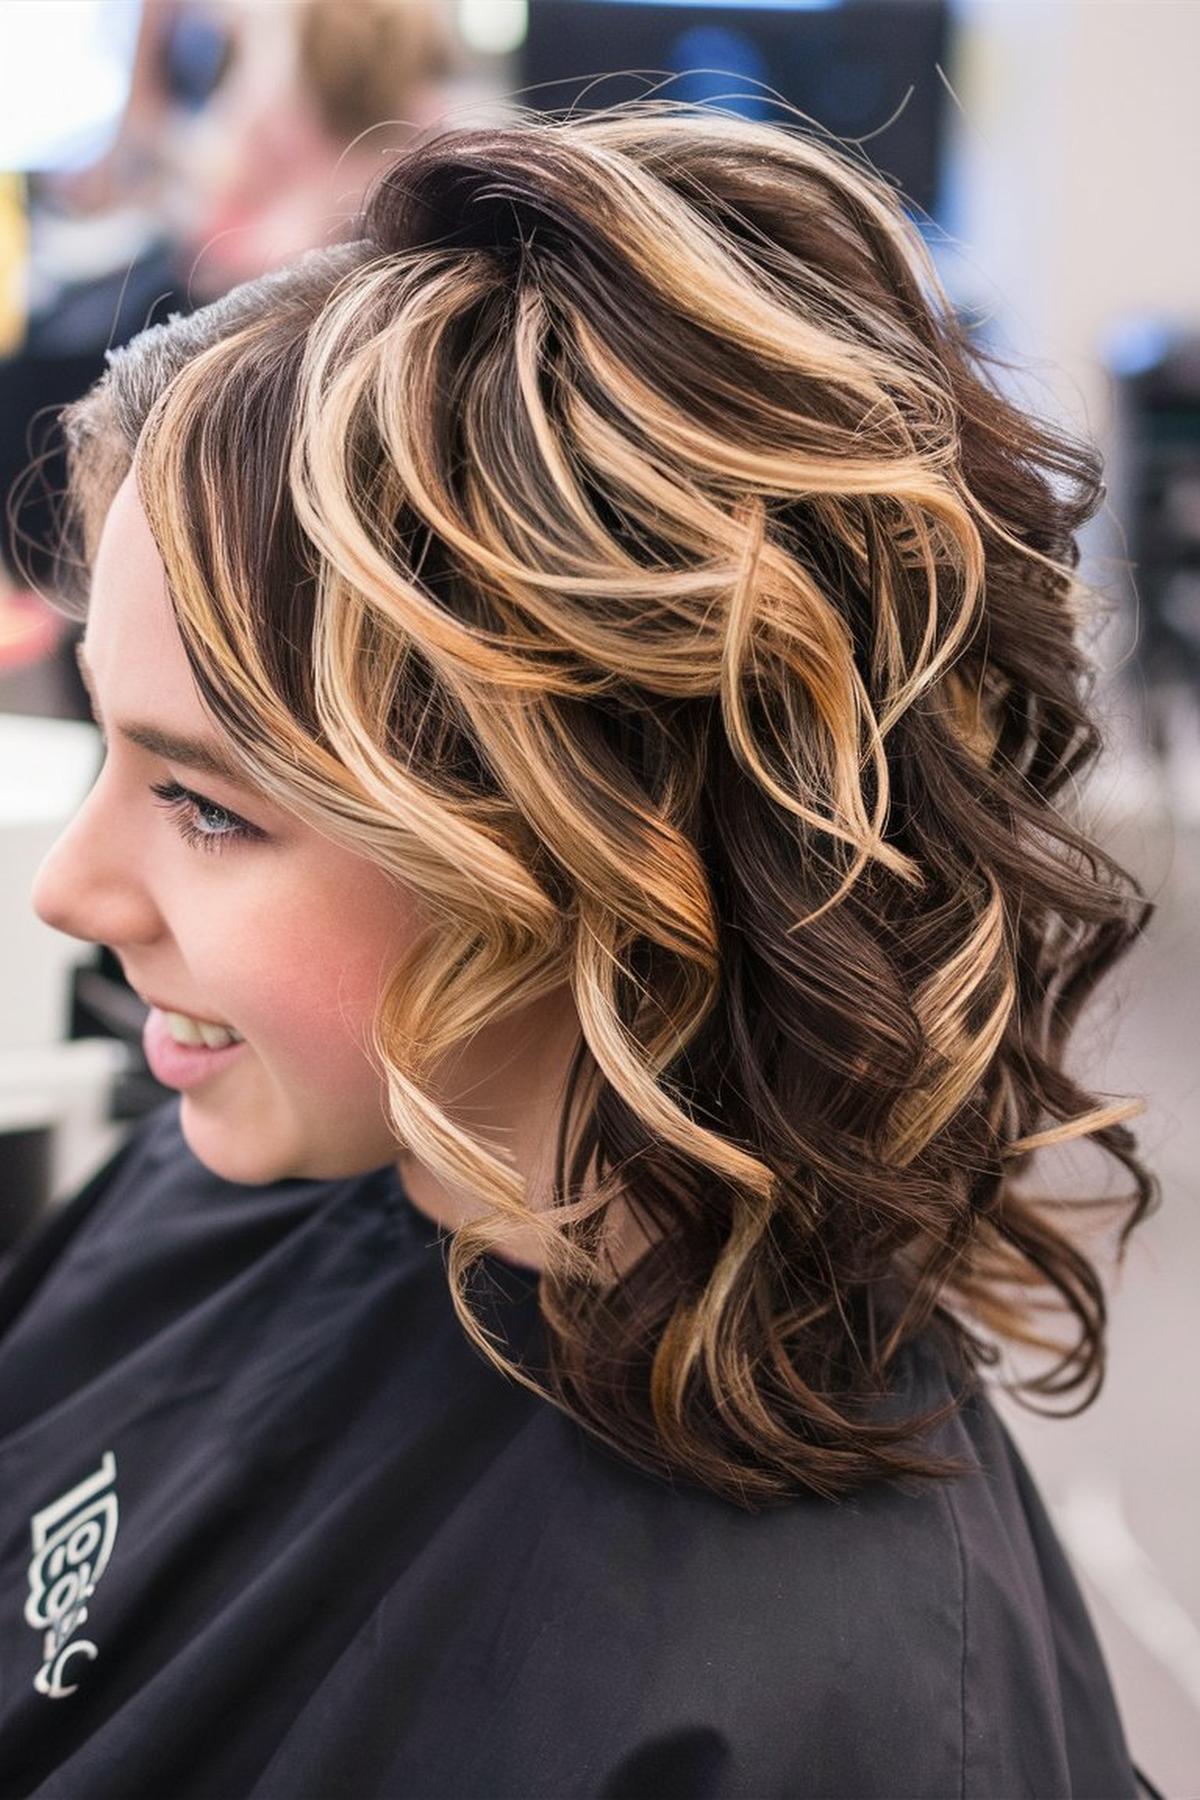
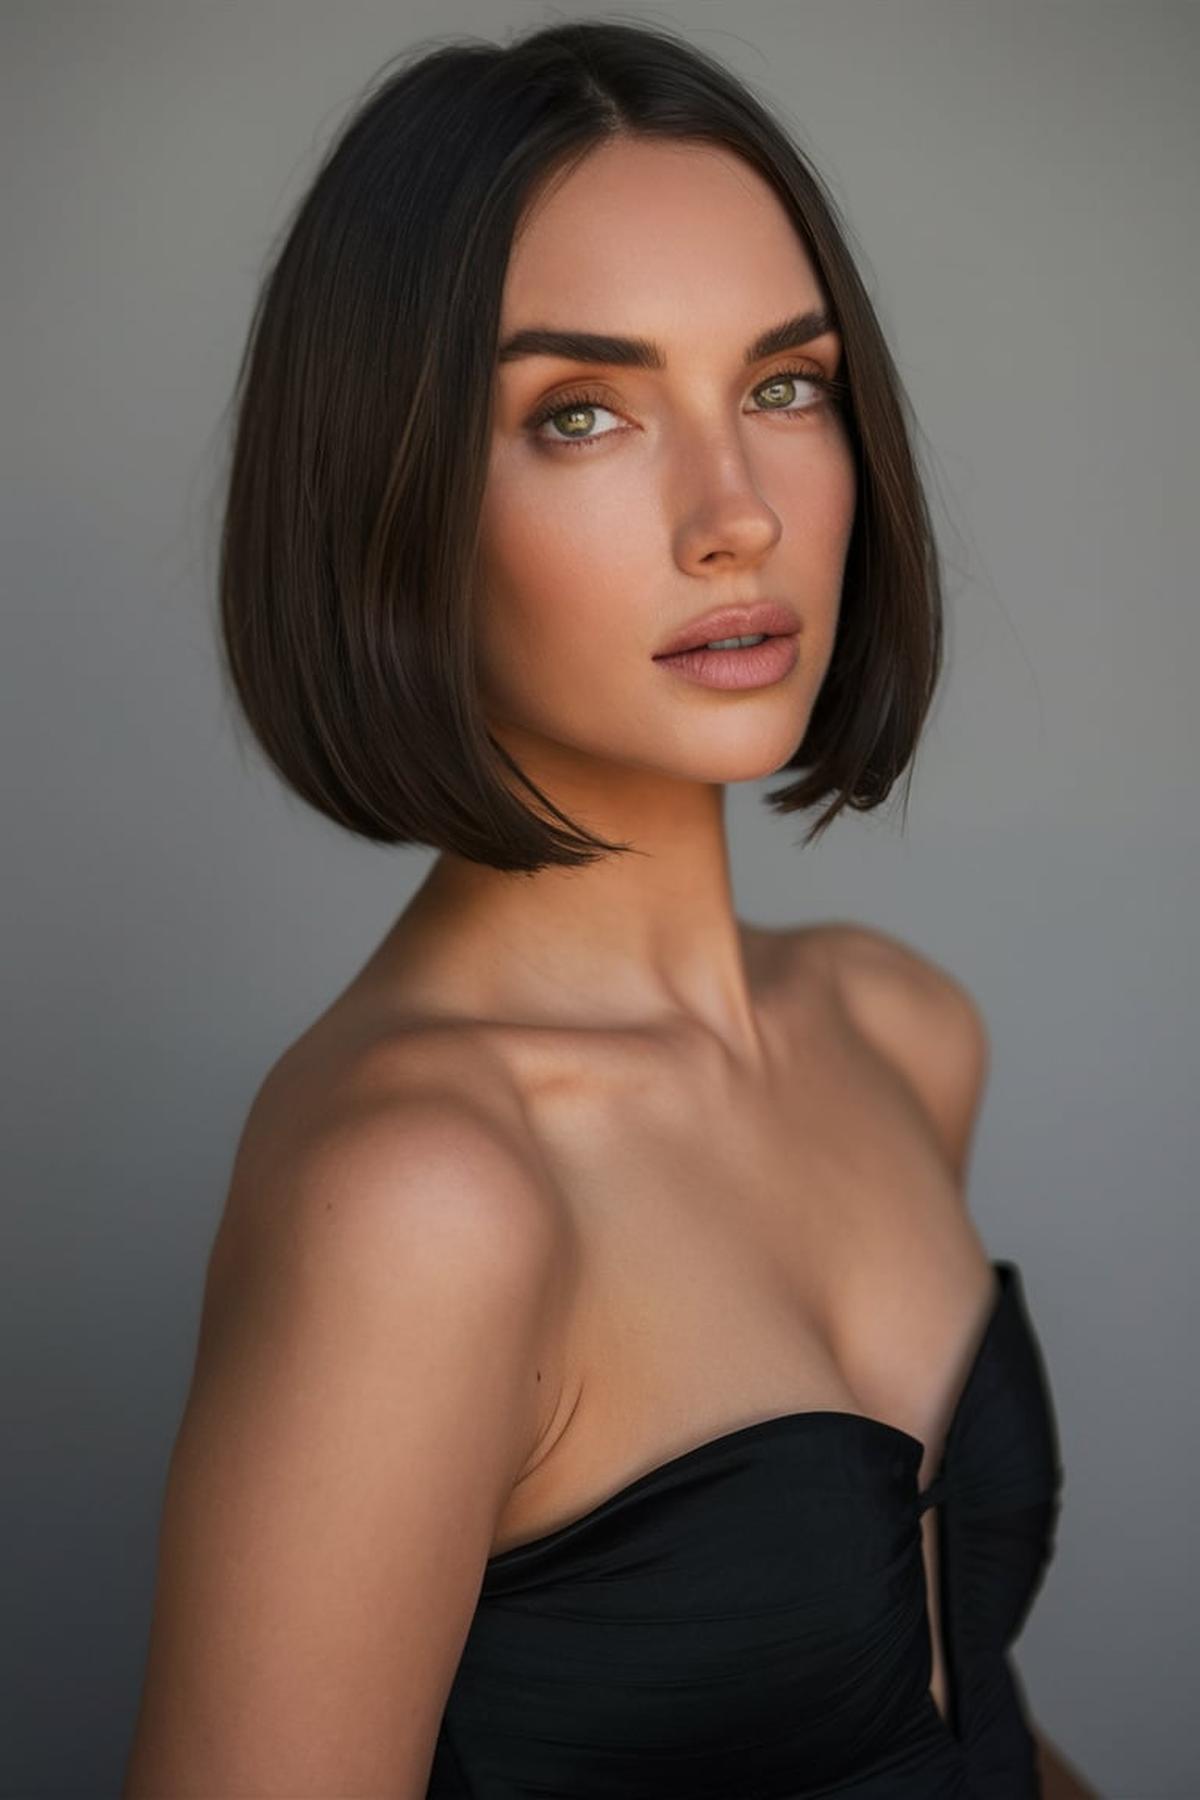
Sleek Shoulder-Grazing Lob
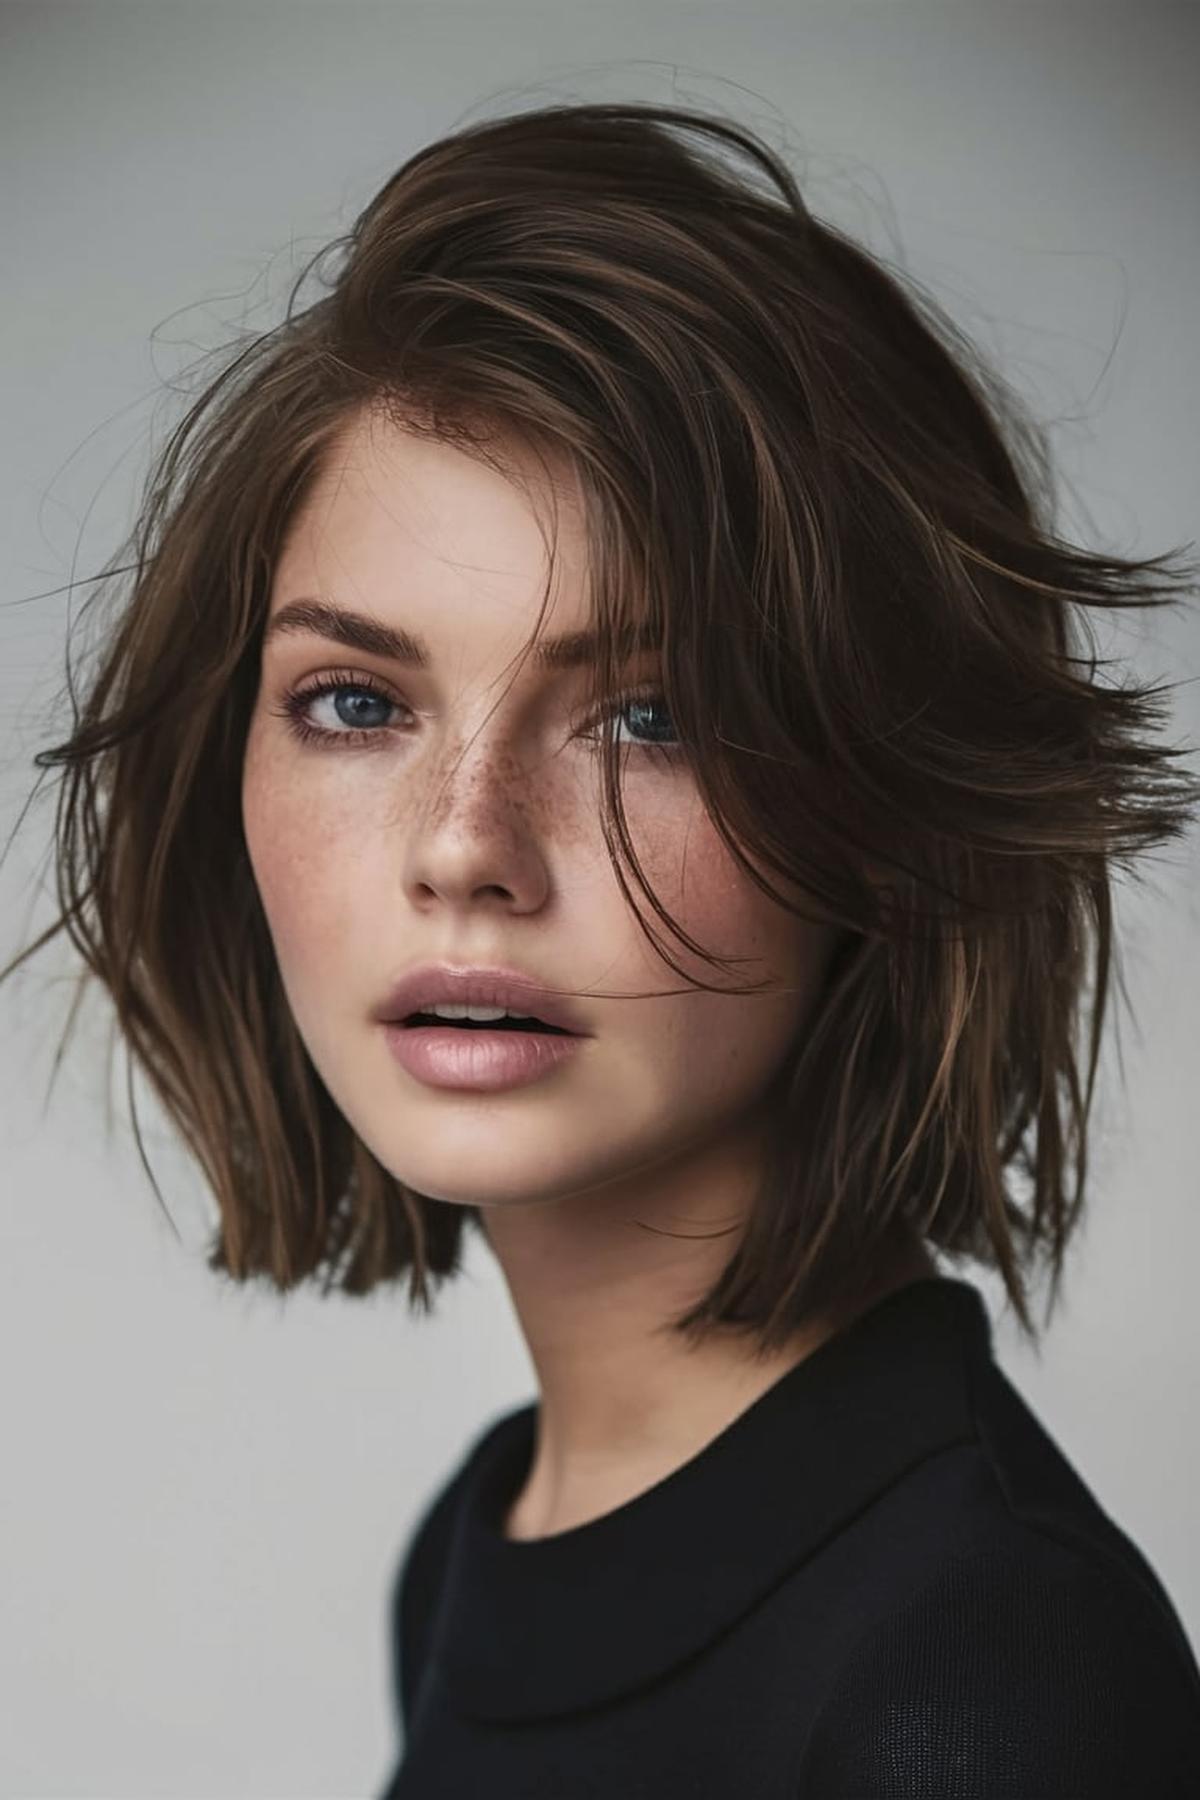
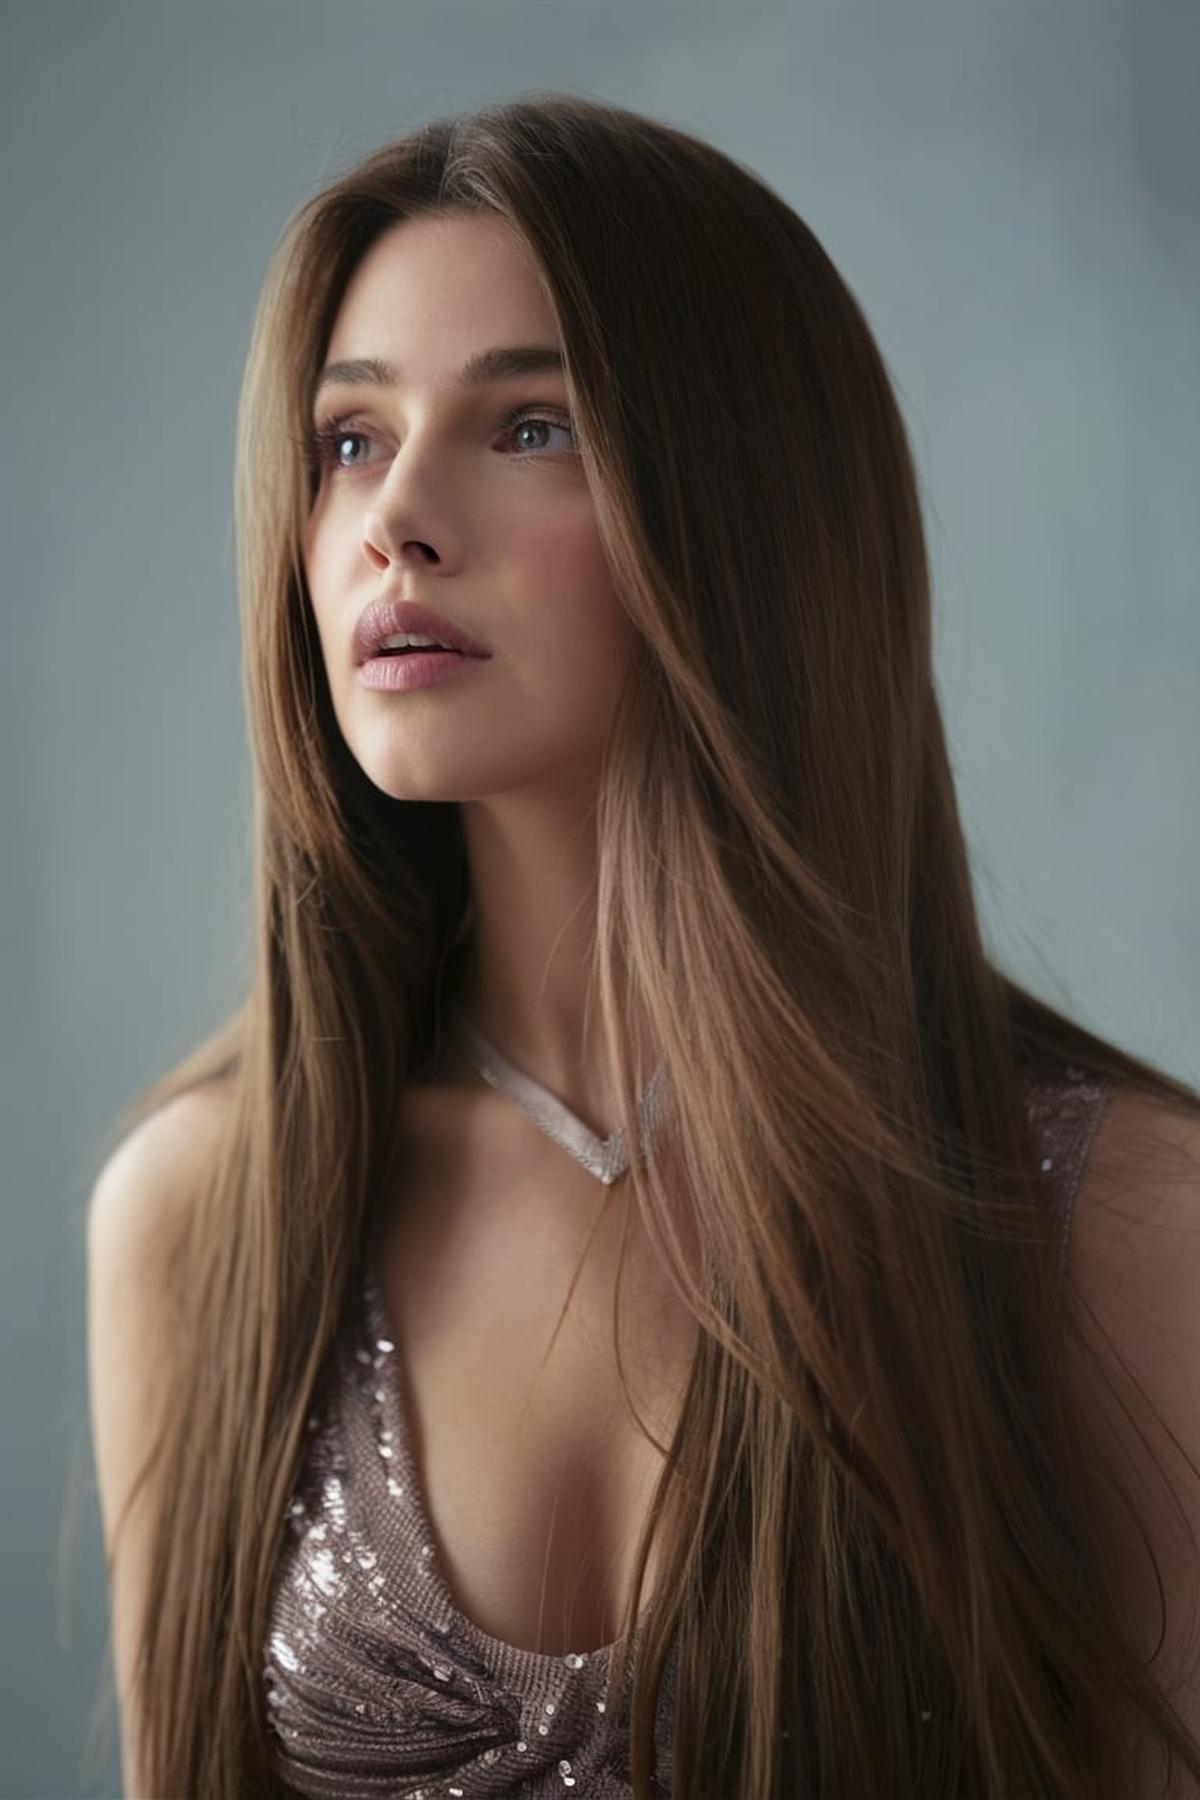
A lob, or long bob, is a haircut that typically falls around the shoulders and is slightly longer in the front than in the back. This style is great because it’s versatile; you can easily pull it back into a ponytail or leave it down for a polished look. When getting this haircut, ask your stylist for a slight angle towards the front and minimal layers to keep it looking sleek and modern.
Blow-dry your hair straight while brushing it downwards to avoid frizz. After drying, you can use straighteners to achieve a glass-like finish.
You can create soft waves by using a curling iron or a straightener, alternating the direction of the curls for a more natural look. This adds movement without making your hair look too messy. Finally, using a serum can help tame any flyaways and enhance the overall shine of your hair, making your lob look effortlessly chic.
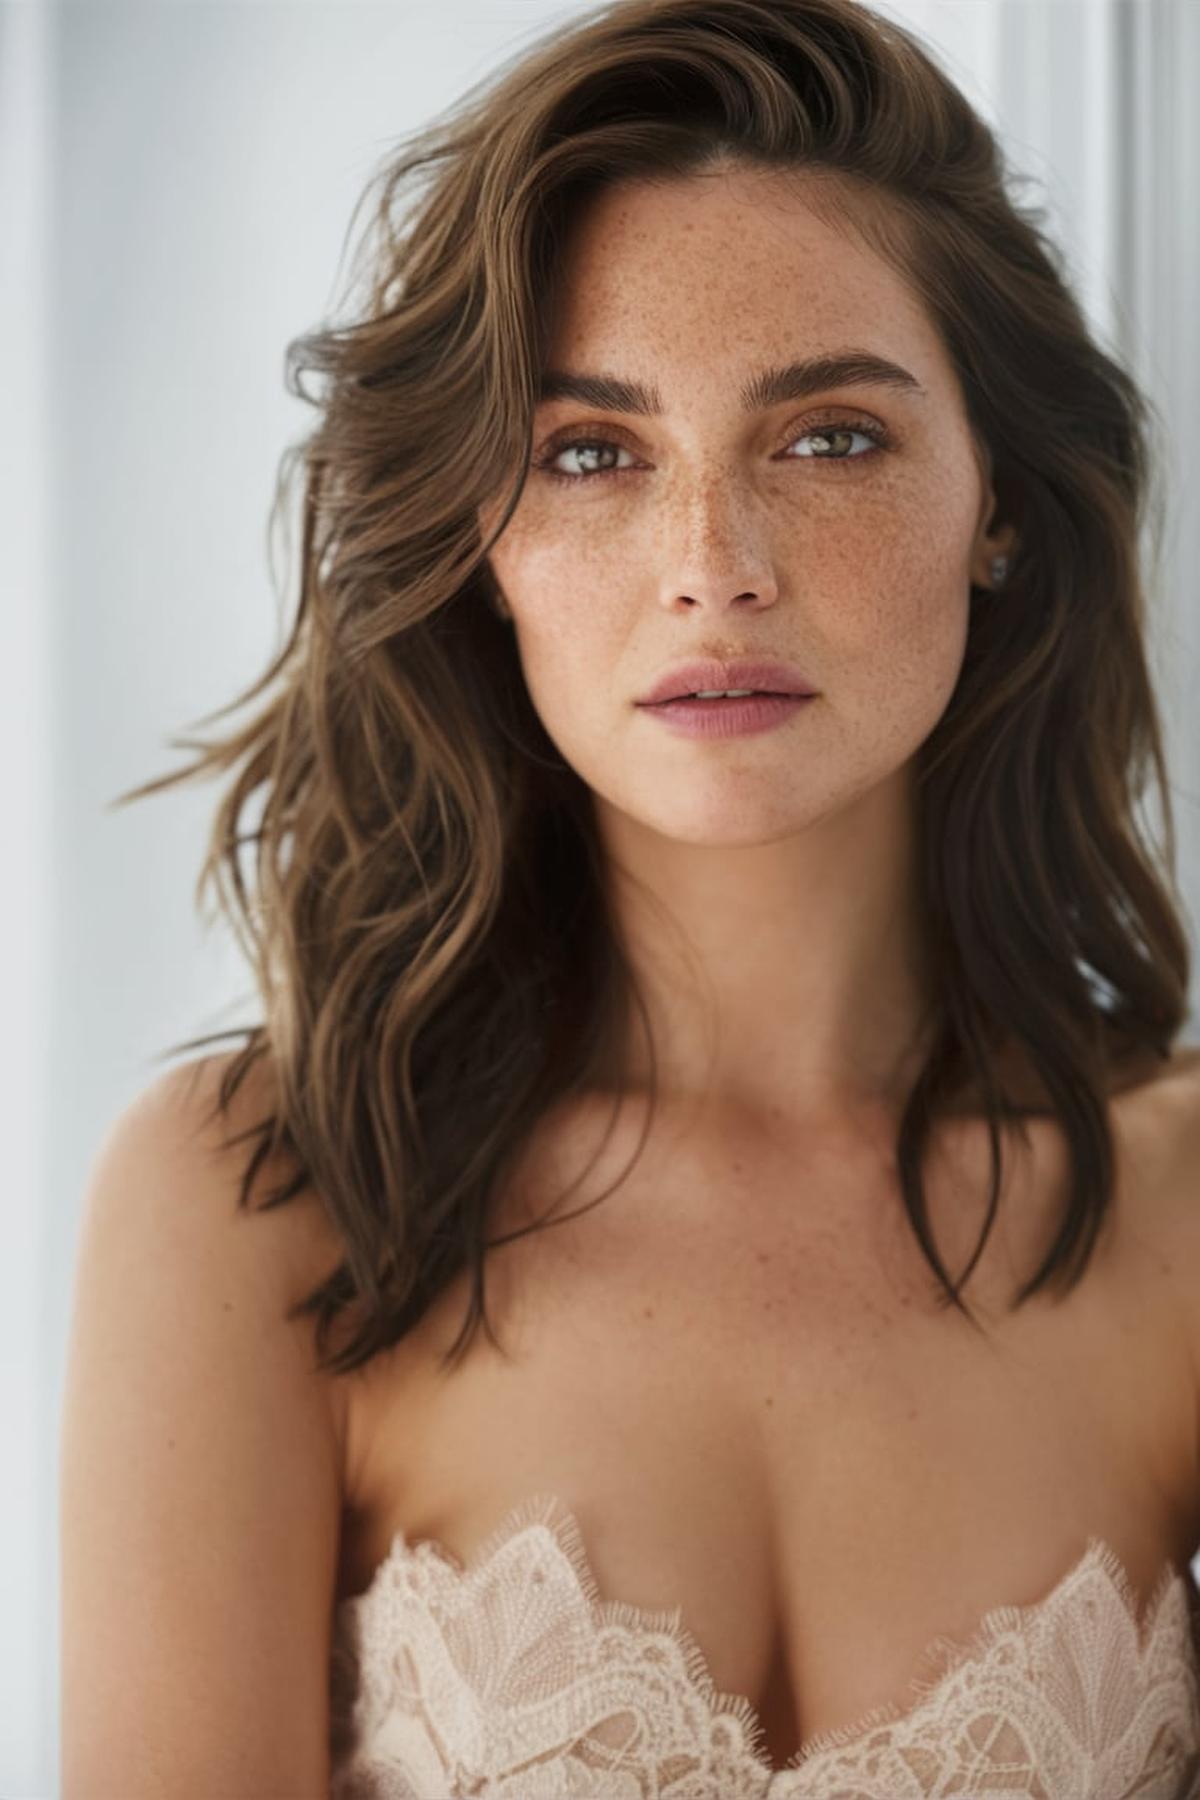
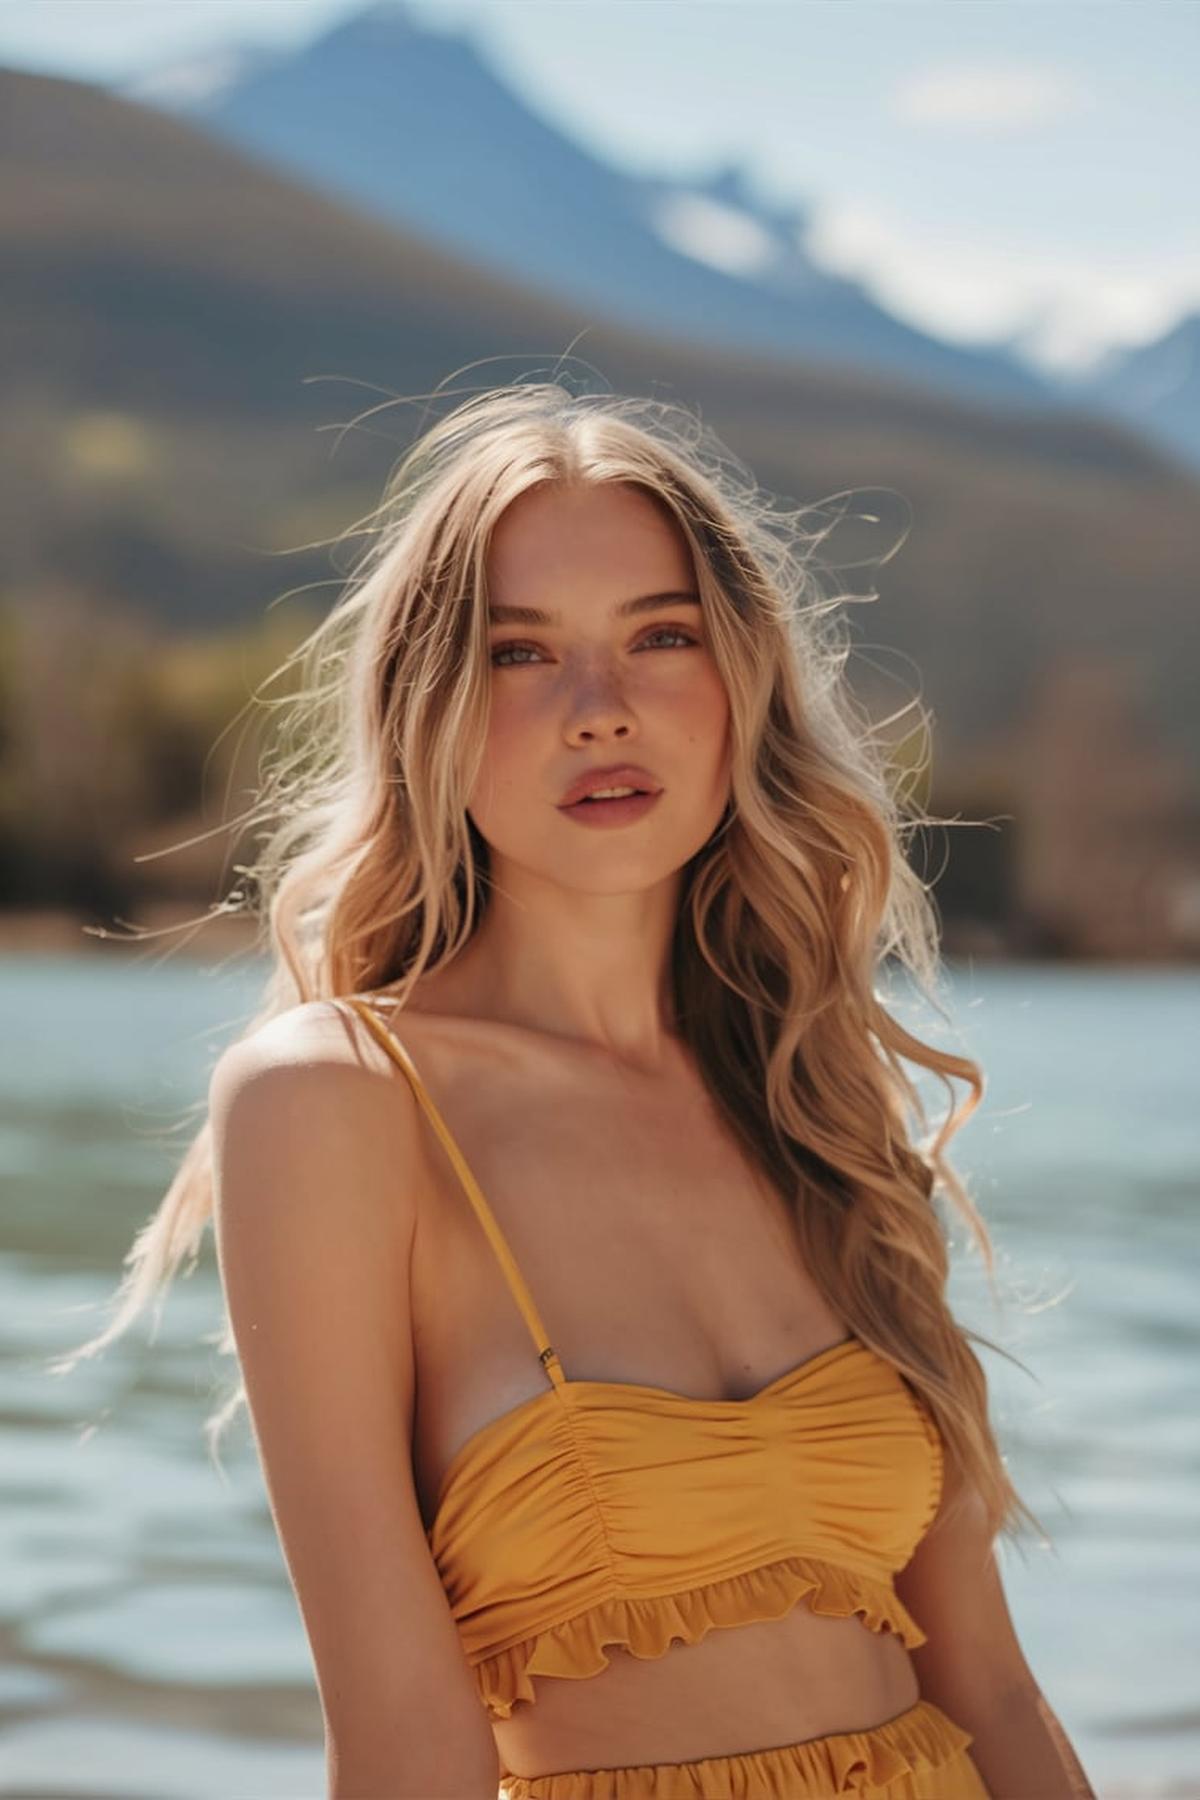
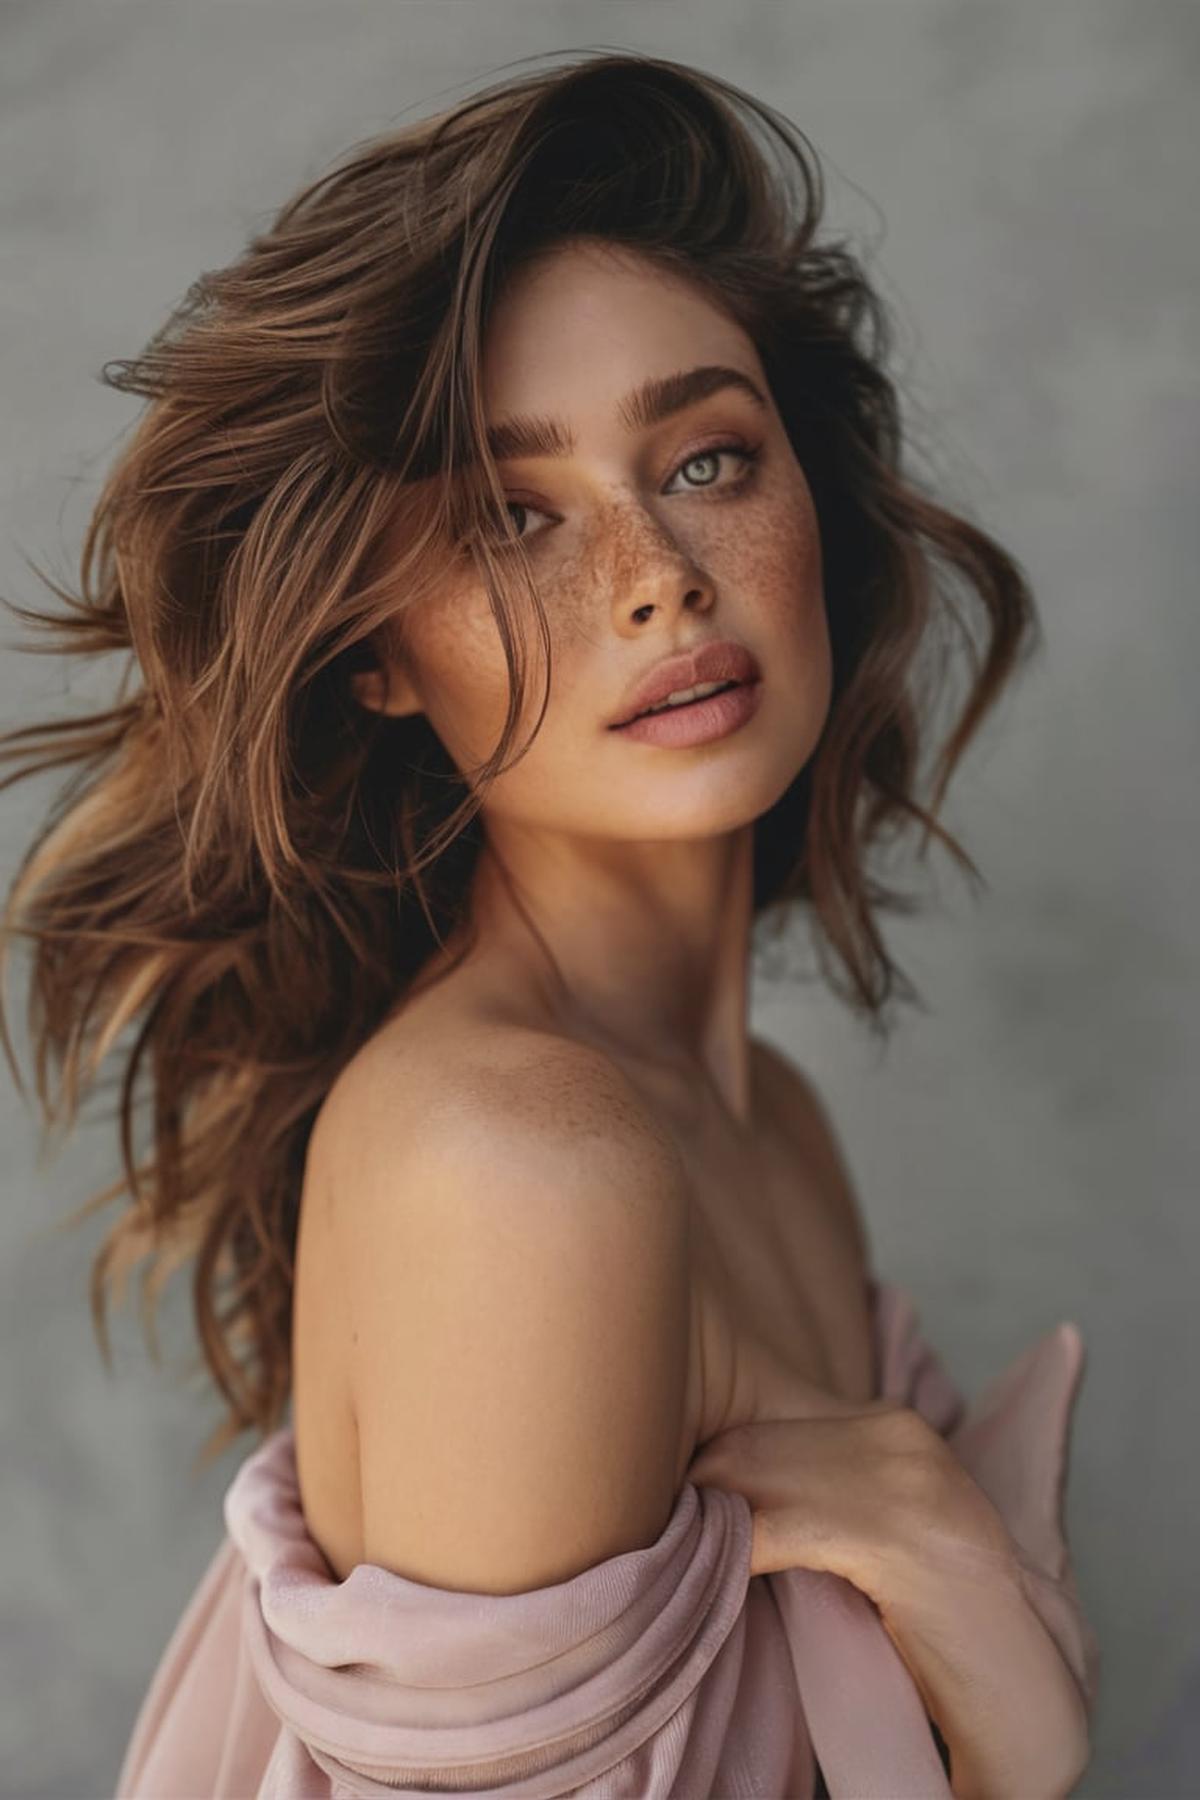
Tousled Beach Waves
It’s essential to blow dry your hair first, and if your hair has a natural wave, using a flat iron on the ends can help make them straight. This step is crucial because straight ends will give your waves a more relaxed and effortless look. Once your hair is straight, you’re ready to start curling.
Make sure to leave the last inch of hair straight; this is key to achieving that tousled beachy effect. As you curl, alternate the direction of the curls—some away from your face and some towards it. This mix will create a more natural, messy look instead of perfect ringlets.
If you want extra hold, a light hairspray can help keep your style in place. Remember, the goal is to look effortlessly chic, so don’t worry about making everything perfect. With practice, you’ll find the right technique that works for you, and soon you’ll be rocking those beach waves like a pro.
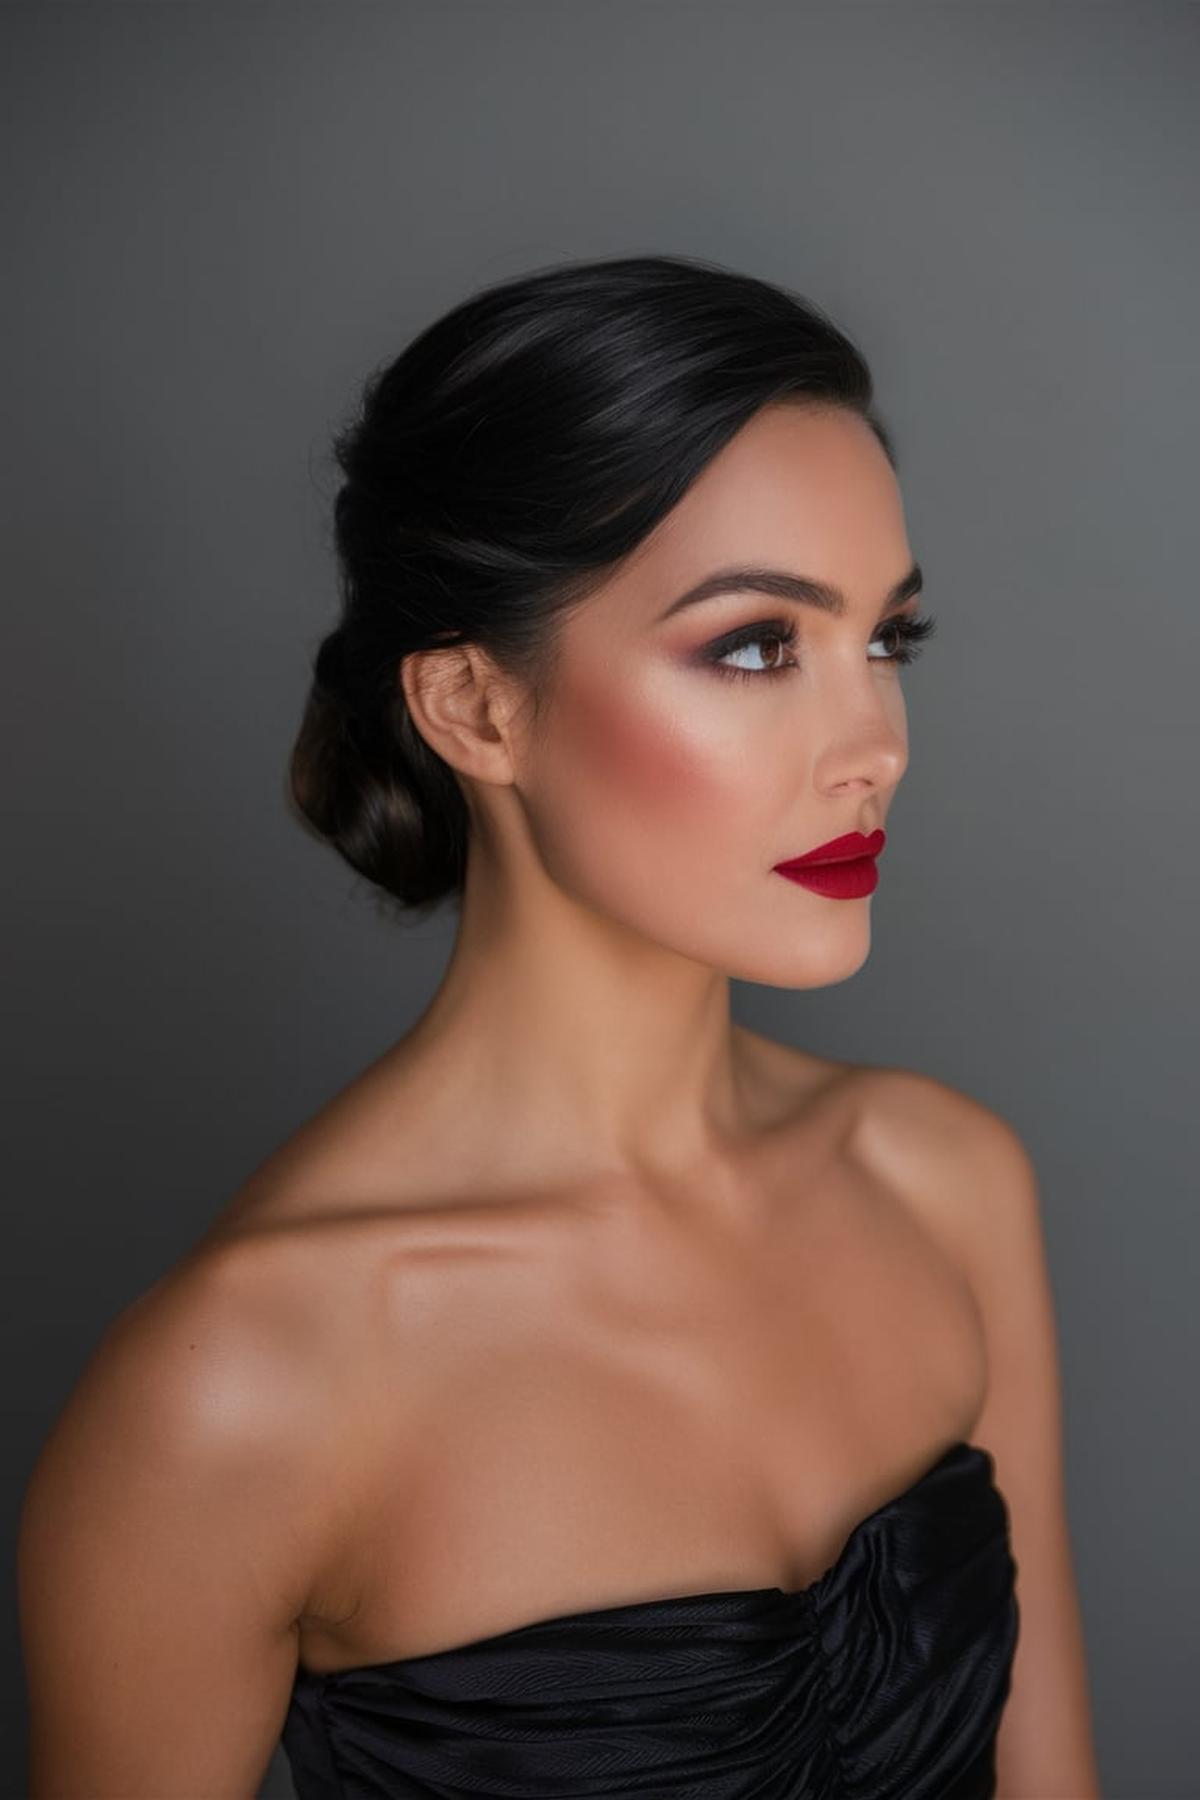
Elegant Chignon
Begin by brushing your hair to remove any tangles and then gather it into a low ponytail at the nape of your neck. Use a hair tie to secure the ponytail tightly but not too tight, as you want some flexibility. Once your ponytail is secure, twist it around itself to form a bun shape, and pin it in place with hairpins.
The classic chignon involves wrapping the ends of your ponytail around the base of the bun and securing them with pins. If you want a more relaxed vibe, you can create a messy chignon by allowing some strands to fall out and using a few bobby pins to hold everything in place. For a side chignon, simply position your ponytail to one side before twisting and pinning it.
You can also accessorize your chignon with decorative pins, flowers, or ribbons to make it unique. Practice makes perfect, so don’t be discouraged if it doesn’t turn out exactly right on your first try. With a little patience and creativity, you’ll be able to master this chic hairstyle for any occasion.
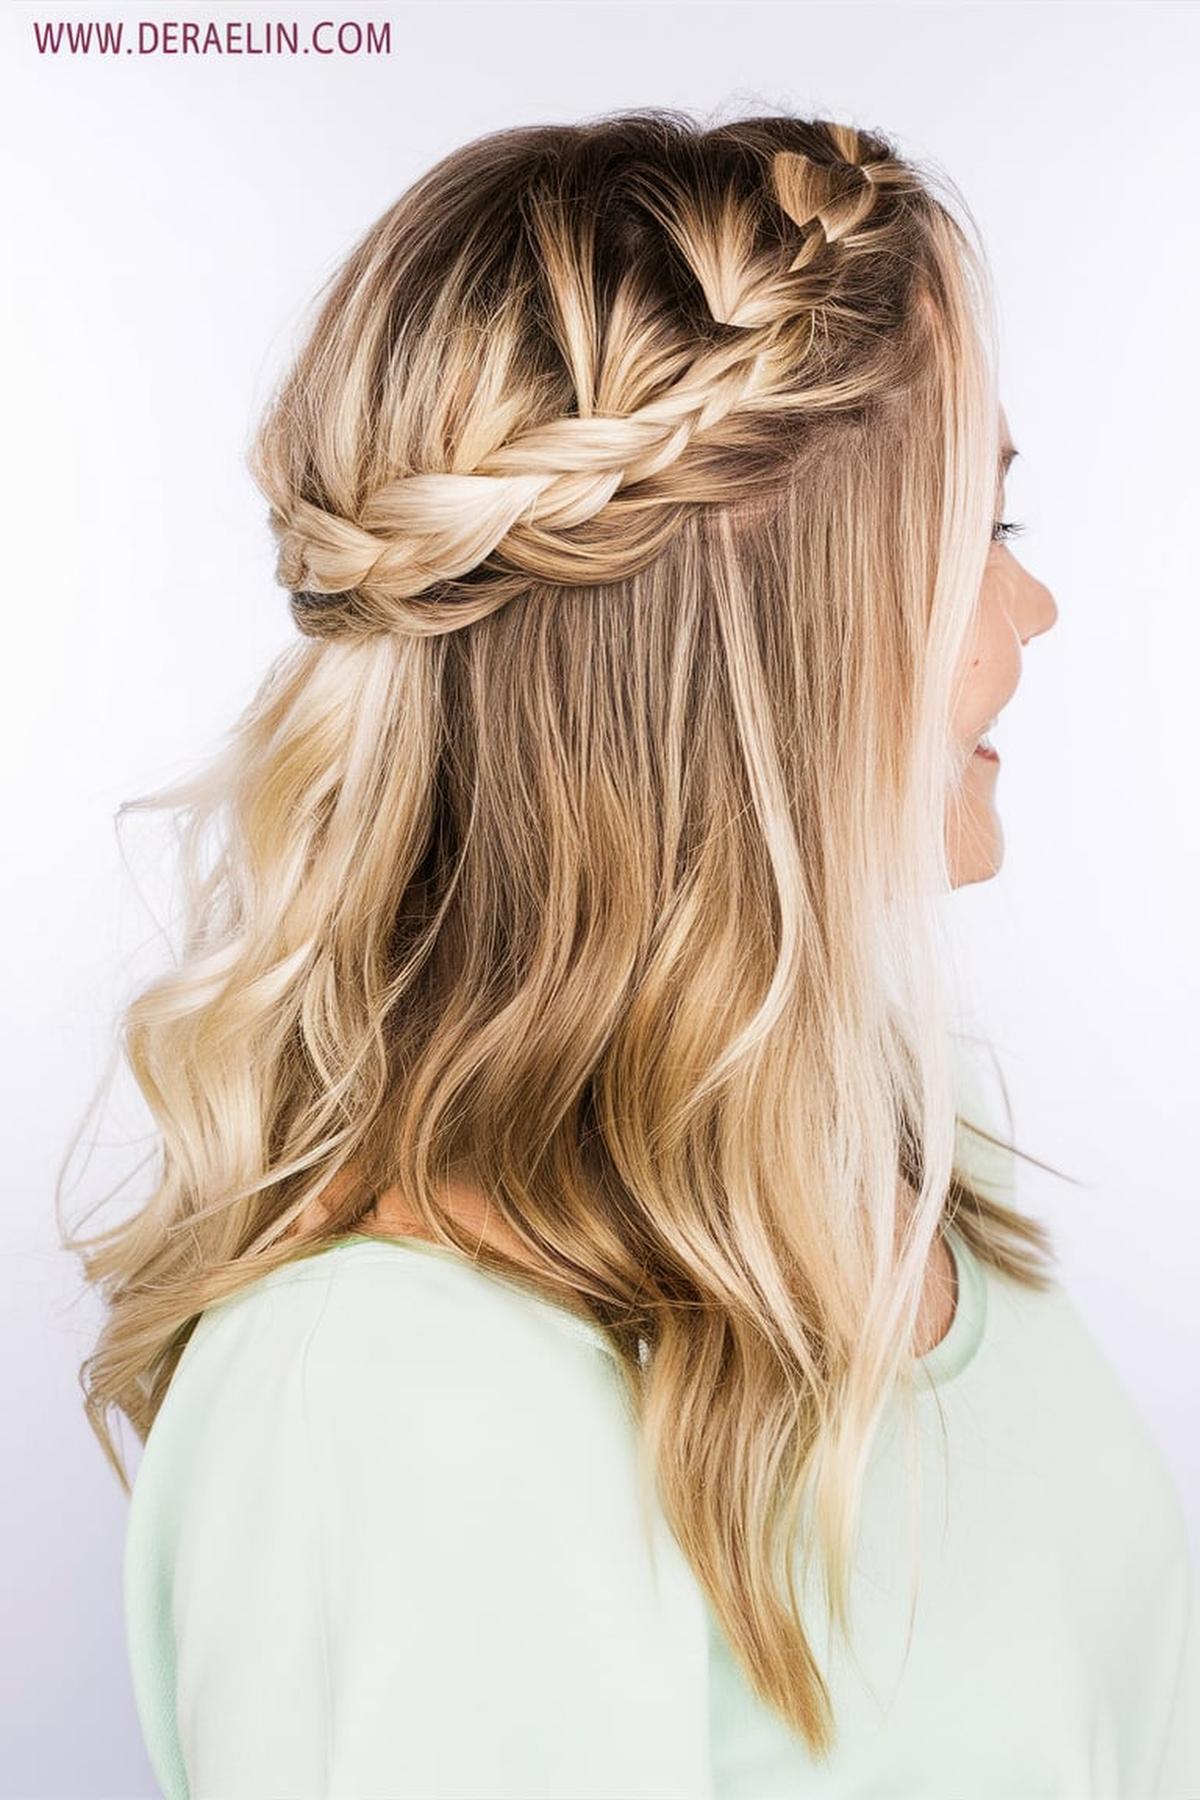
Romantic Braided Crown
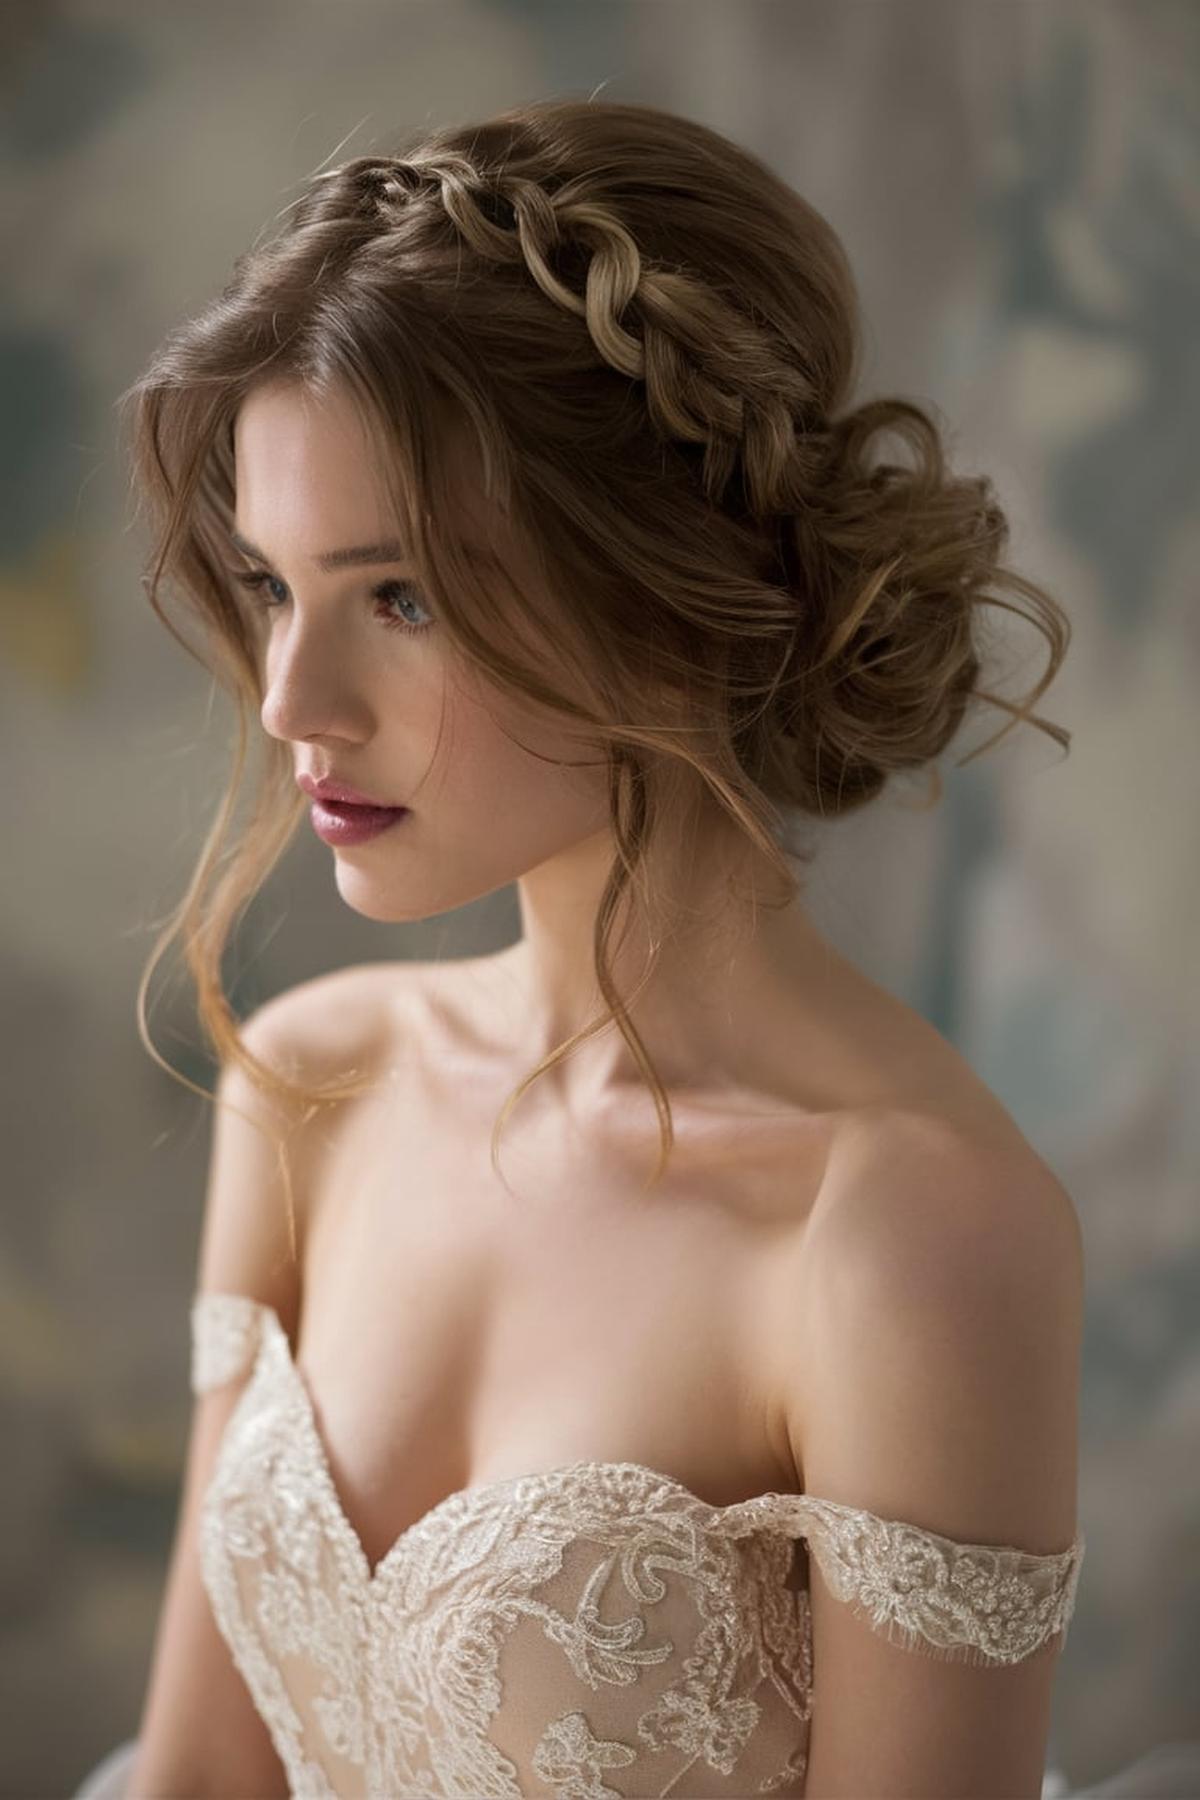
You’ll need a brush, hair elastics, bobby pins, and some hairspray to keep everything in place. Begin by brushing your hair to remove any tangles, then part it down the middle. This style involves a Dutch braid, which means you’ll be crossing the hair strands under each other instead of over.
As you braid, incorporate more hair from the sides to keep the look full and round. It’s important to keep your arms comfortable, so don’t hesitate to adjust your position as you work. Once you reach the front of your head, continue braiding until all your hair is included.
You can gently pull on the edges of the braid to create a softer, more romantic appearance. For a finishing touch, spray some hairspray to hold the style throughout the day. This hairstyle is perfect for special occasions or just to feel a bit more elegant in your everyday life.
Voluminous Side-Swept Curls
Begin by blow-drying your hair to create a smooth base. Use a heat protectant spray to shield your hair from damage and add shine. When blow-drying, part your hair to one side using a rattail comb to create a clean line. This part will help achieve that elegant side-swept look.
Use a curling wand to create those big, bouncy curls. Take sections of hair and wrap them around the wand, holding for about three to five seconds. Make sure to curl the pieces near your face away from your face to keep the style looking polished. After curling, gently run your fingers through the curls to loosen them up and create more volume.
Use bobby pins that match your hair color to pin the curls to one side, ensuring they stay in place. You can twist a section of hair into a loose braid for added volume and to help hide the pins. Finish off with hairspray to hold everything in place and keep your curls looking fresh throughout the day. With these steps, you’ll have beautiful, voluminous side-swept curls ready for any special occasion.
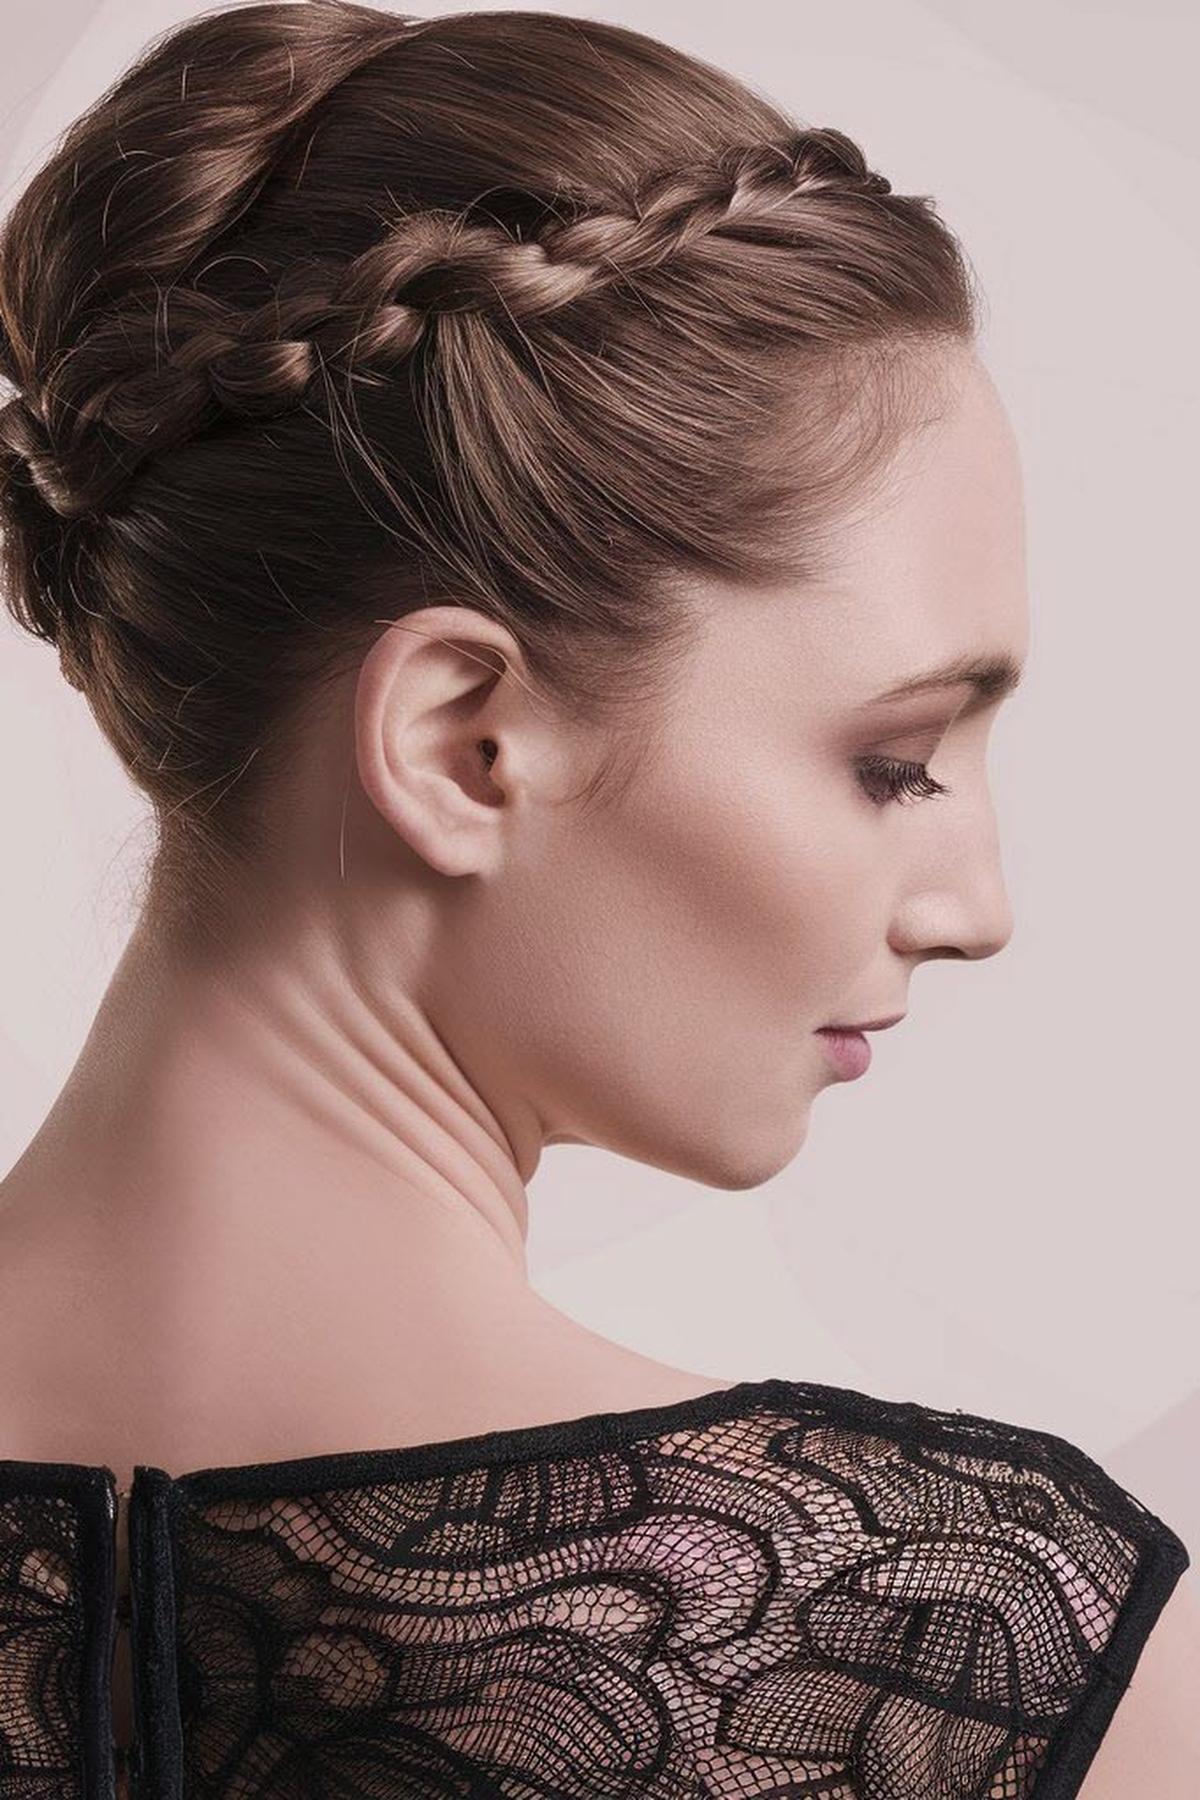
Smooth Ballerina Bun
Use a hairbrush or comb to gather all your hair back into a ponytail at the crown of your head. This position helps create a sleek look. Secure the ponytail tightly with an elastic hair tie. If you have shorter strands that don’t reach the ponytail, apply some gel or hairspray to keep them in place.
Begin wrapping the twisted hair around the base of the ponytail, creating a circular shape. Use bobby pins to secure the bun as you go, placing them every few inches to keep it tight and in place. If your hair is thick, consider dividing the ponytail into two sections to make twisting and pinning easier. This will help avoid a bulky or uneven look, often referred to as a “door knob bun”.
For the final touch, use hairspray to smooth down any flyaways and keep everything in place. Shake your head gently to test the bun’s security. If it feels stable, you’re ready to dance! This hairstyle not only looks great but also helps you focus on your performance without worrying about your hair.
Textured Low Knot
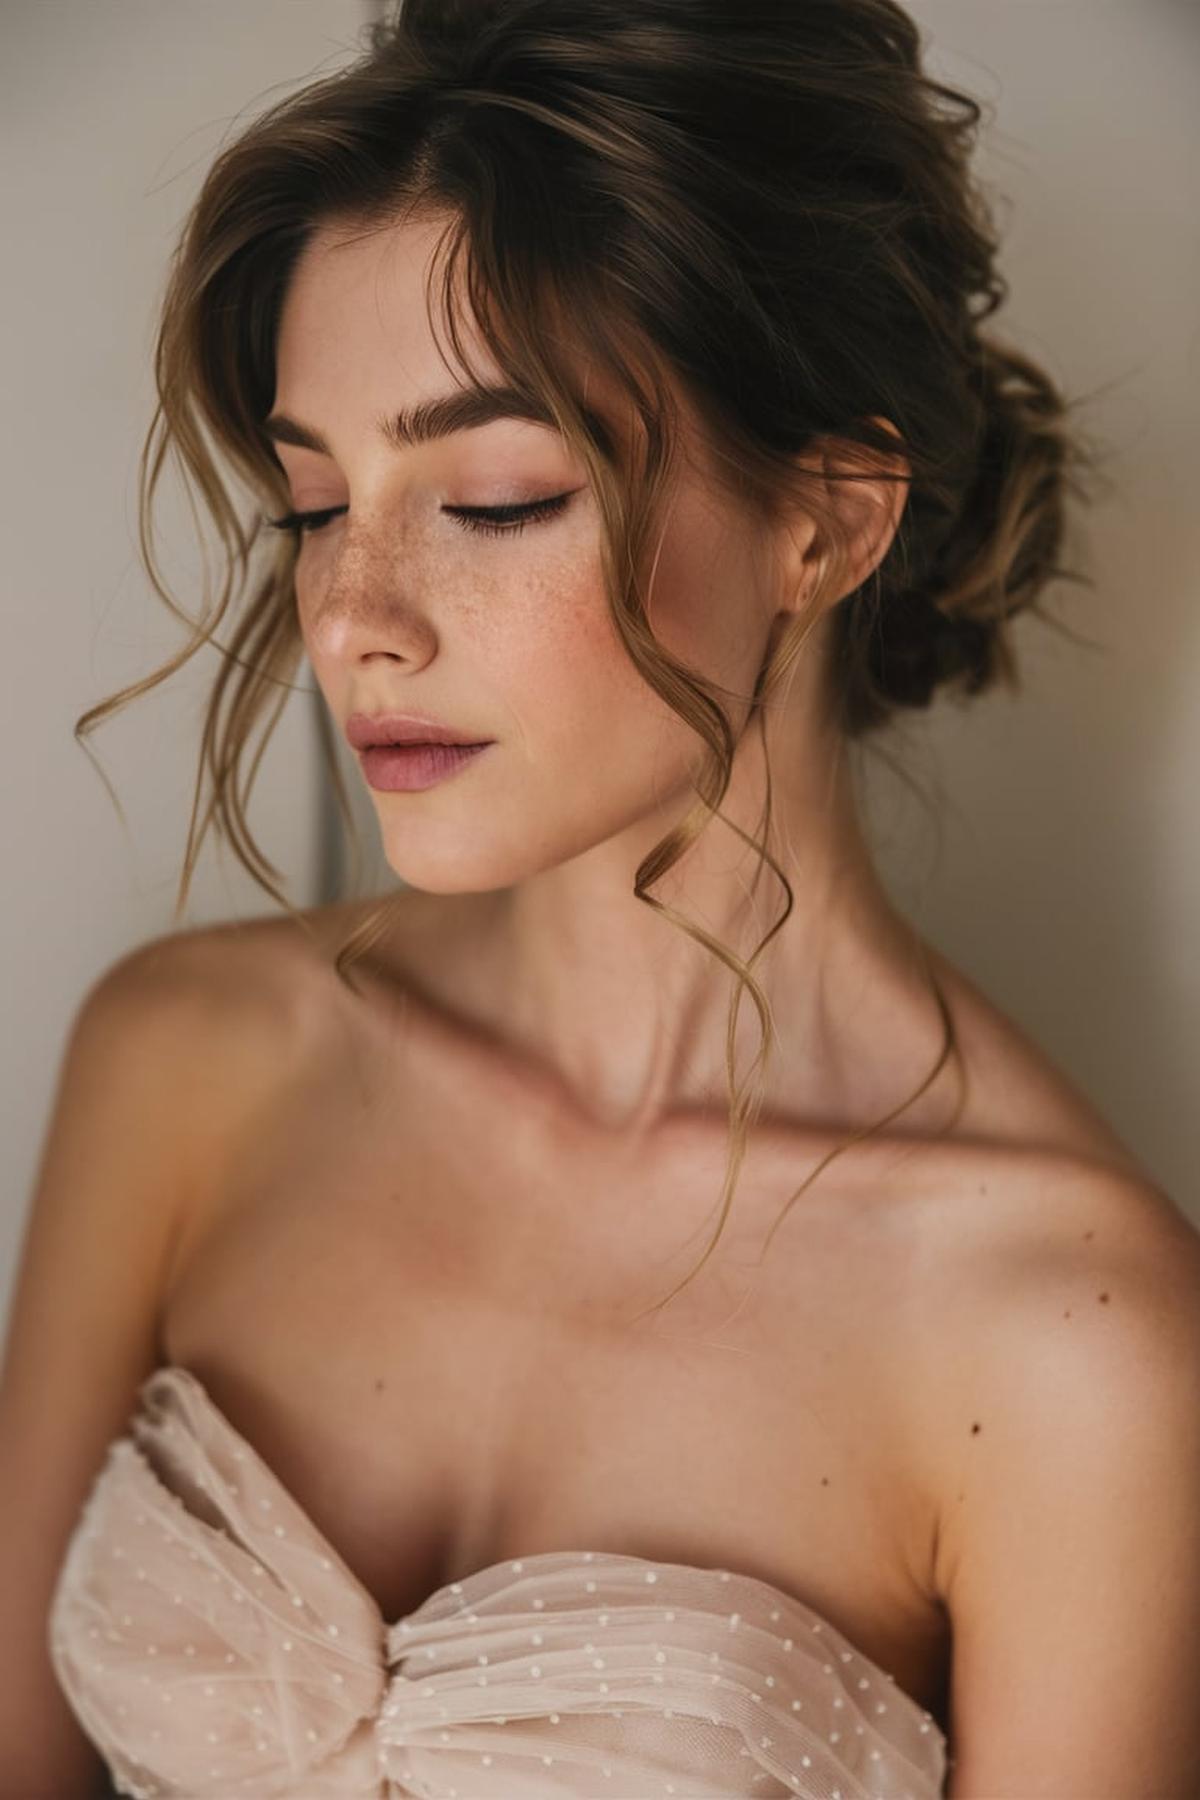
Use a dry shampoo or texture spray to give your hair some grip and volume. This helps the style hold better and look more effortless. Next, gather your hair into a low ponytail at the nape of your neck. Make sure it’s not too tight, as you want a relaxed look.
Twist the ponytail loosely and wrap it around the base where the elastic is. You can tuck the ends underneath the bun to keep it neat. Use bobby pins to secure the bun in place, making sure to pin it at different angles for a more textured look.
Lastly, finish off your look with some hairspray to hold everything in place. You can also add some face-framing strands for a softer touch. This hairstyle is perfect for any occasion, whether you’re going to school, hanging out with friends, or even attending a special event. With a bit of practice, you’ll be able to create a beautiful textured low knot that looks chic and effortless!
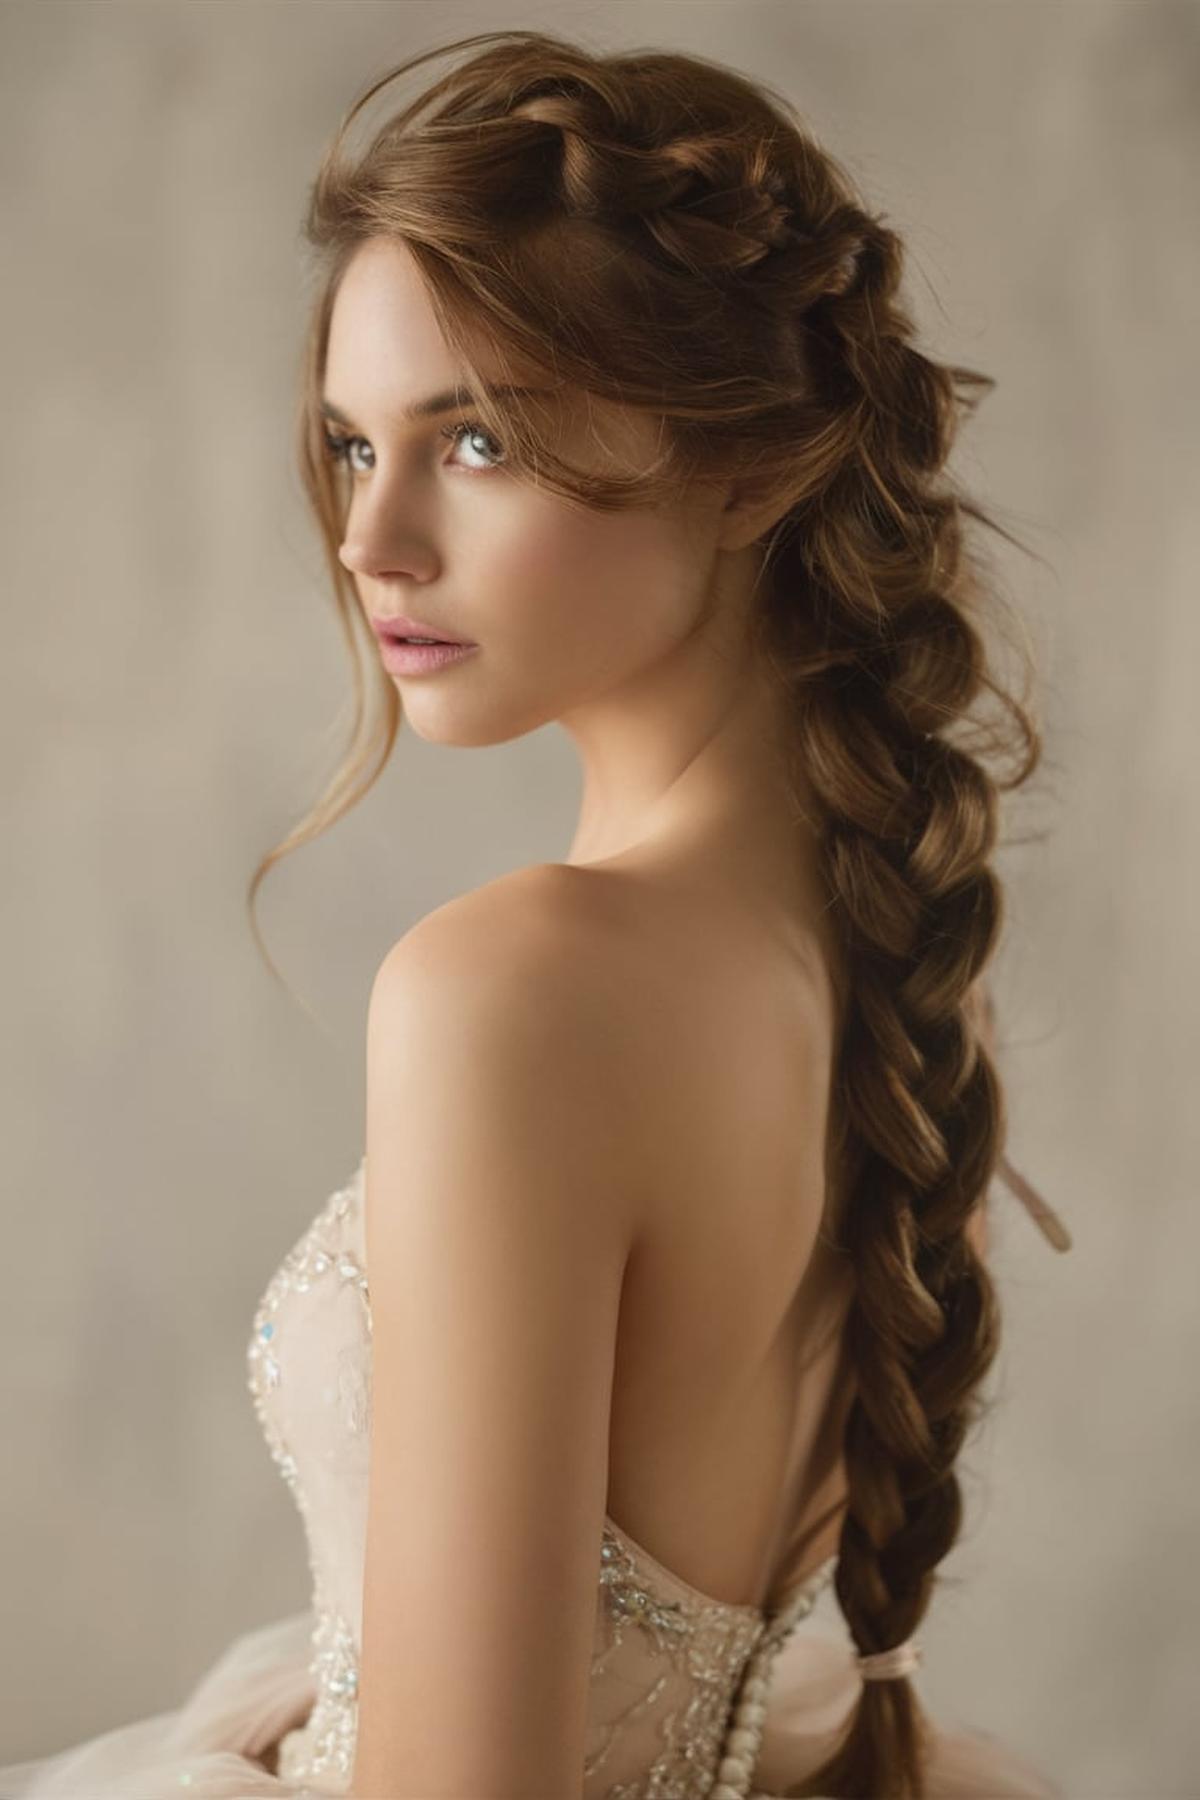
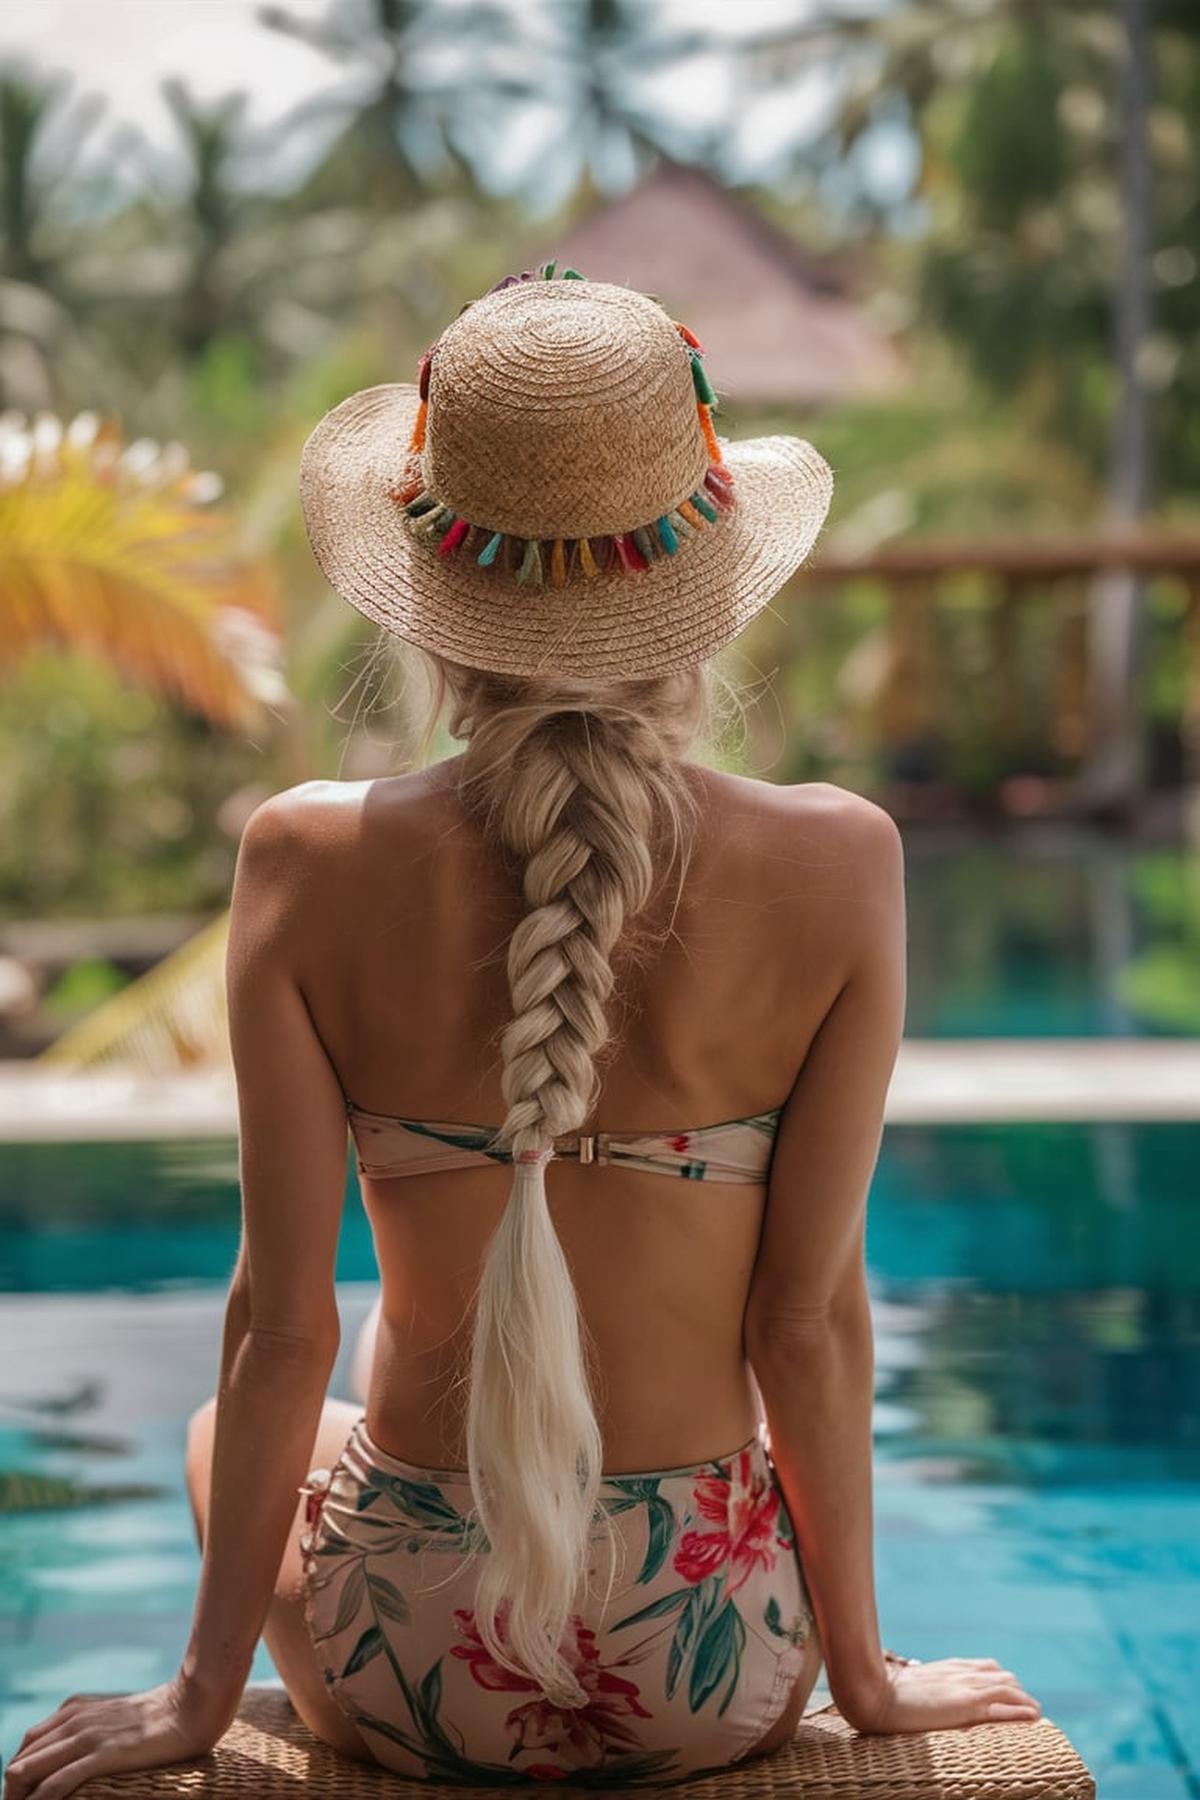
Glossy Mermaid Braid
Begin with clean, dry hair that is free of tangles. You can use a comb to gently detangle your hair and make it smooth. If you want your braid to look shiny and sleek, consider applying a little hair serum or oil to give it that glossy finish. Once your hair is ready, section off the top part of your hair into a teardrop shape and secure it with a ponytail holder.
Braid these sections together in a simple three-strand braid, securing the end with another hair tie. To make your braid look fuller and more textured, gently pull at the sides of the braid to loosen it up a bit. This will give it a more relaxed, mermaid-like appearance.
Pinch and pull at the braid to give it volume and a slightly messy look, which is part of the mermaid style. If you want, you can backcomb the end of the braid for extra texture. Once you’re satisfied with the look, remove any visible hair ties that might disrupt the flow of the braid. With practice, you’ll be able to create a beautiful glossy mermaid braid that looks effortless and stylish!
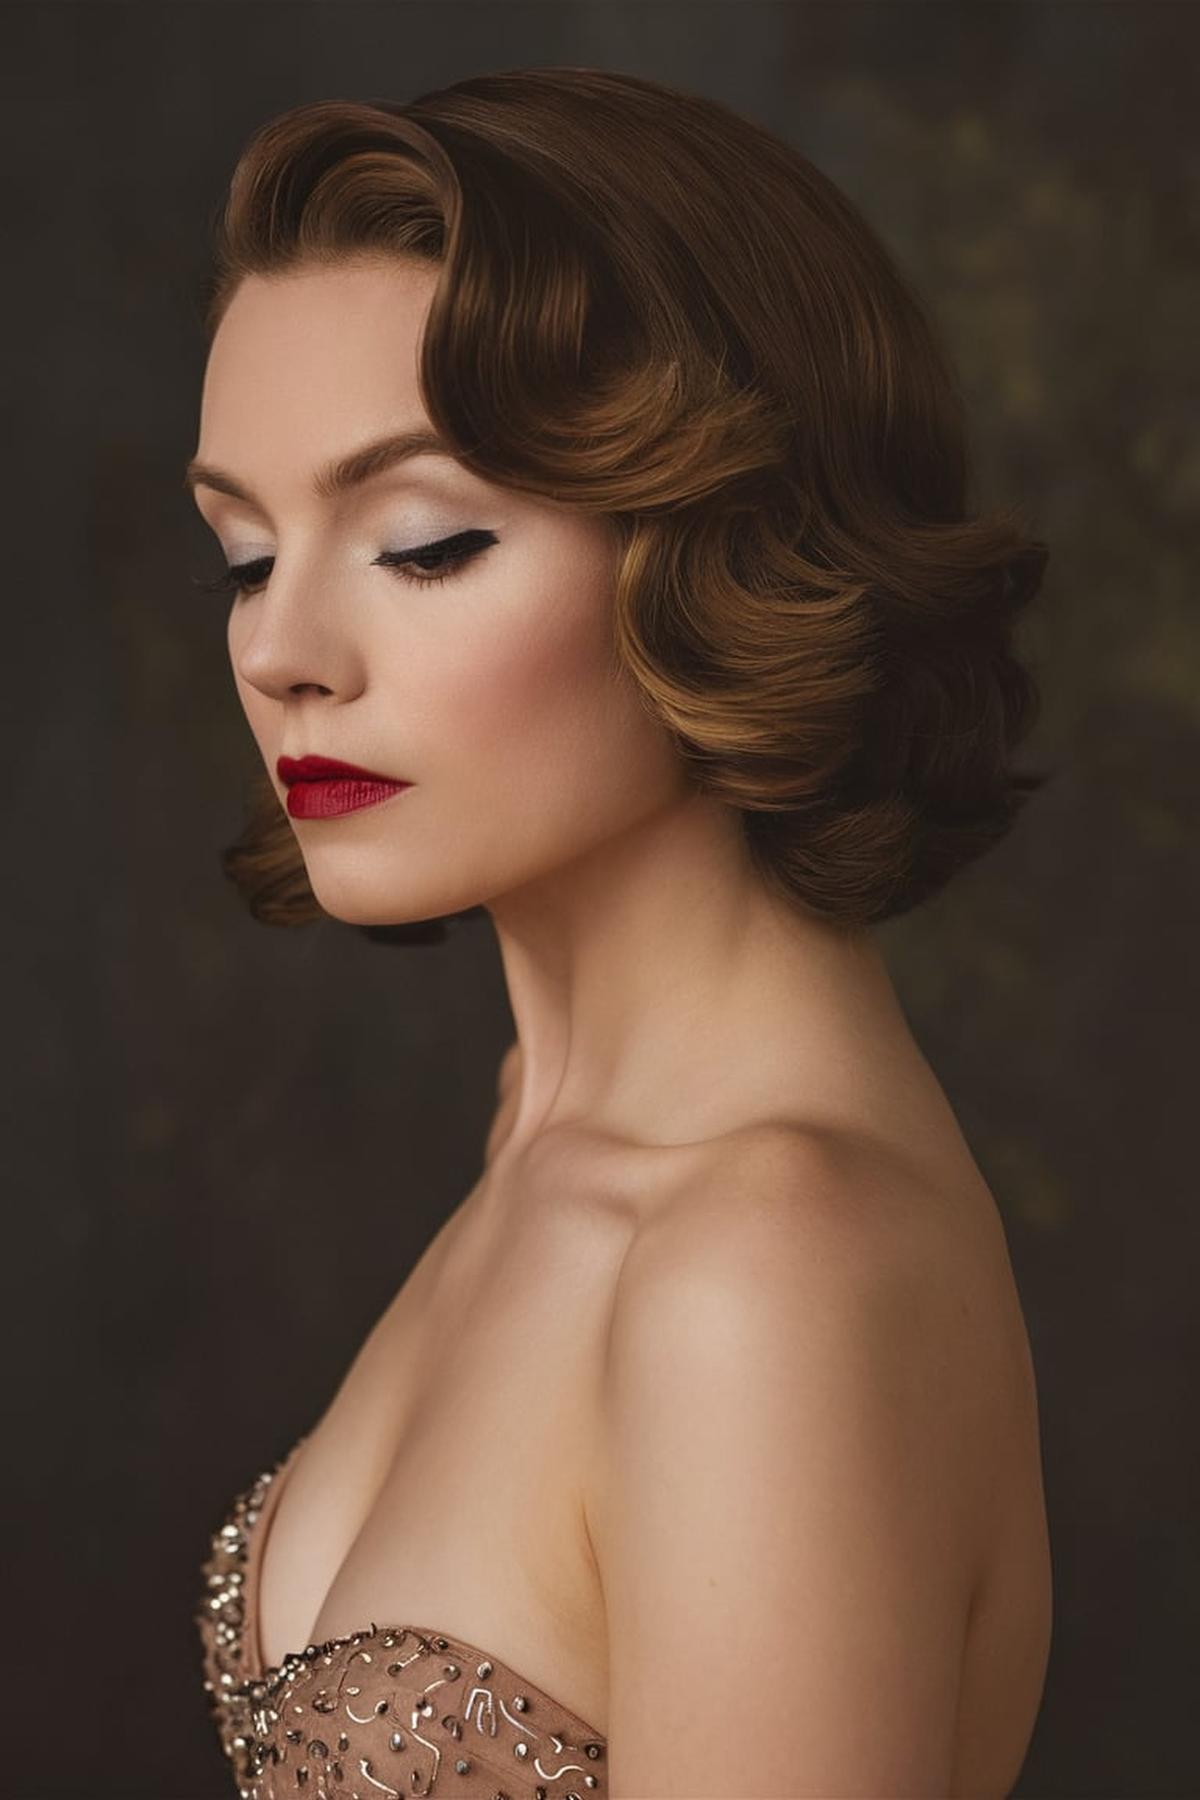
Retro Hollywood Waves
Begin with clean, damp hair and apply a volumizing heat protection spray to keep your hair safe from heat damage. This step is crucial because you’ll be using heat tools later. Next, use a lightweight anti-frizz cream to smooth out any unruly strands. This will help create that sleek, shiny look that is characteristic of Hollywood waves.
This gives the classic look. Take each section and curl it with a curling iron, wrapping the hair around the iron while keeping it at an angle. For a more authentic look, curl the hair away from your face.
Finally, to finish your retro Hollywood waves, use a strong hold hairspray to keep everything in place. This will ensure your hairstyle lasts throughout the day or night. Remember, the key to achieving this glamorous look is to take your time and not rush through the steps. With practice, you’ll be able to create beautiful, vintage-inspired waves that are perfect for any occasion!
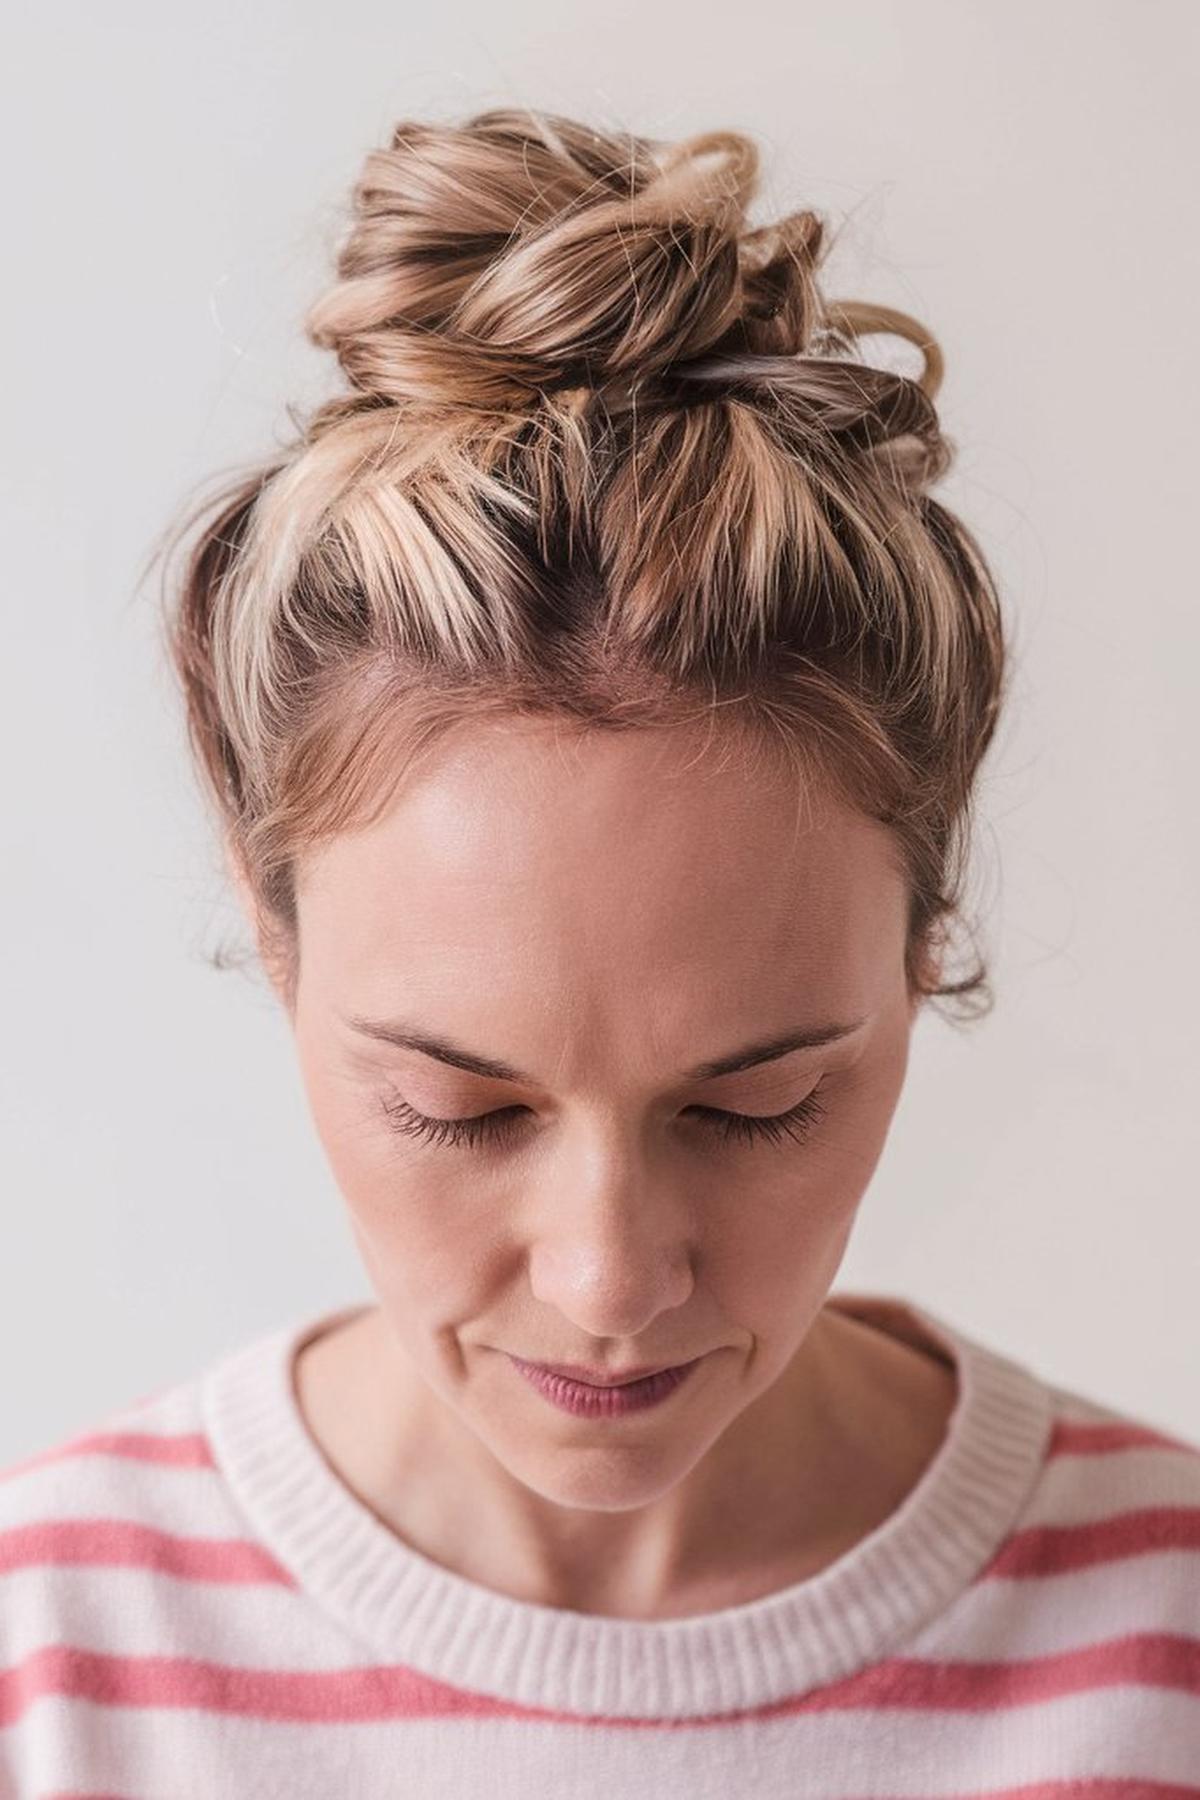
Messy Top Knot
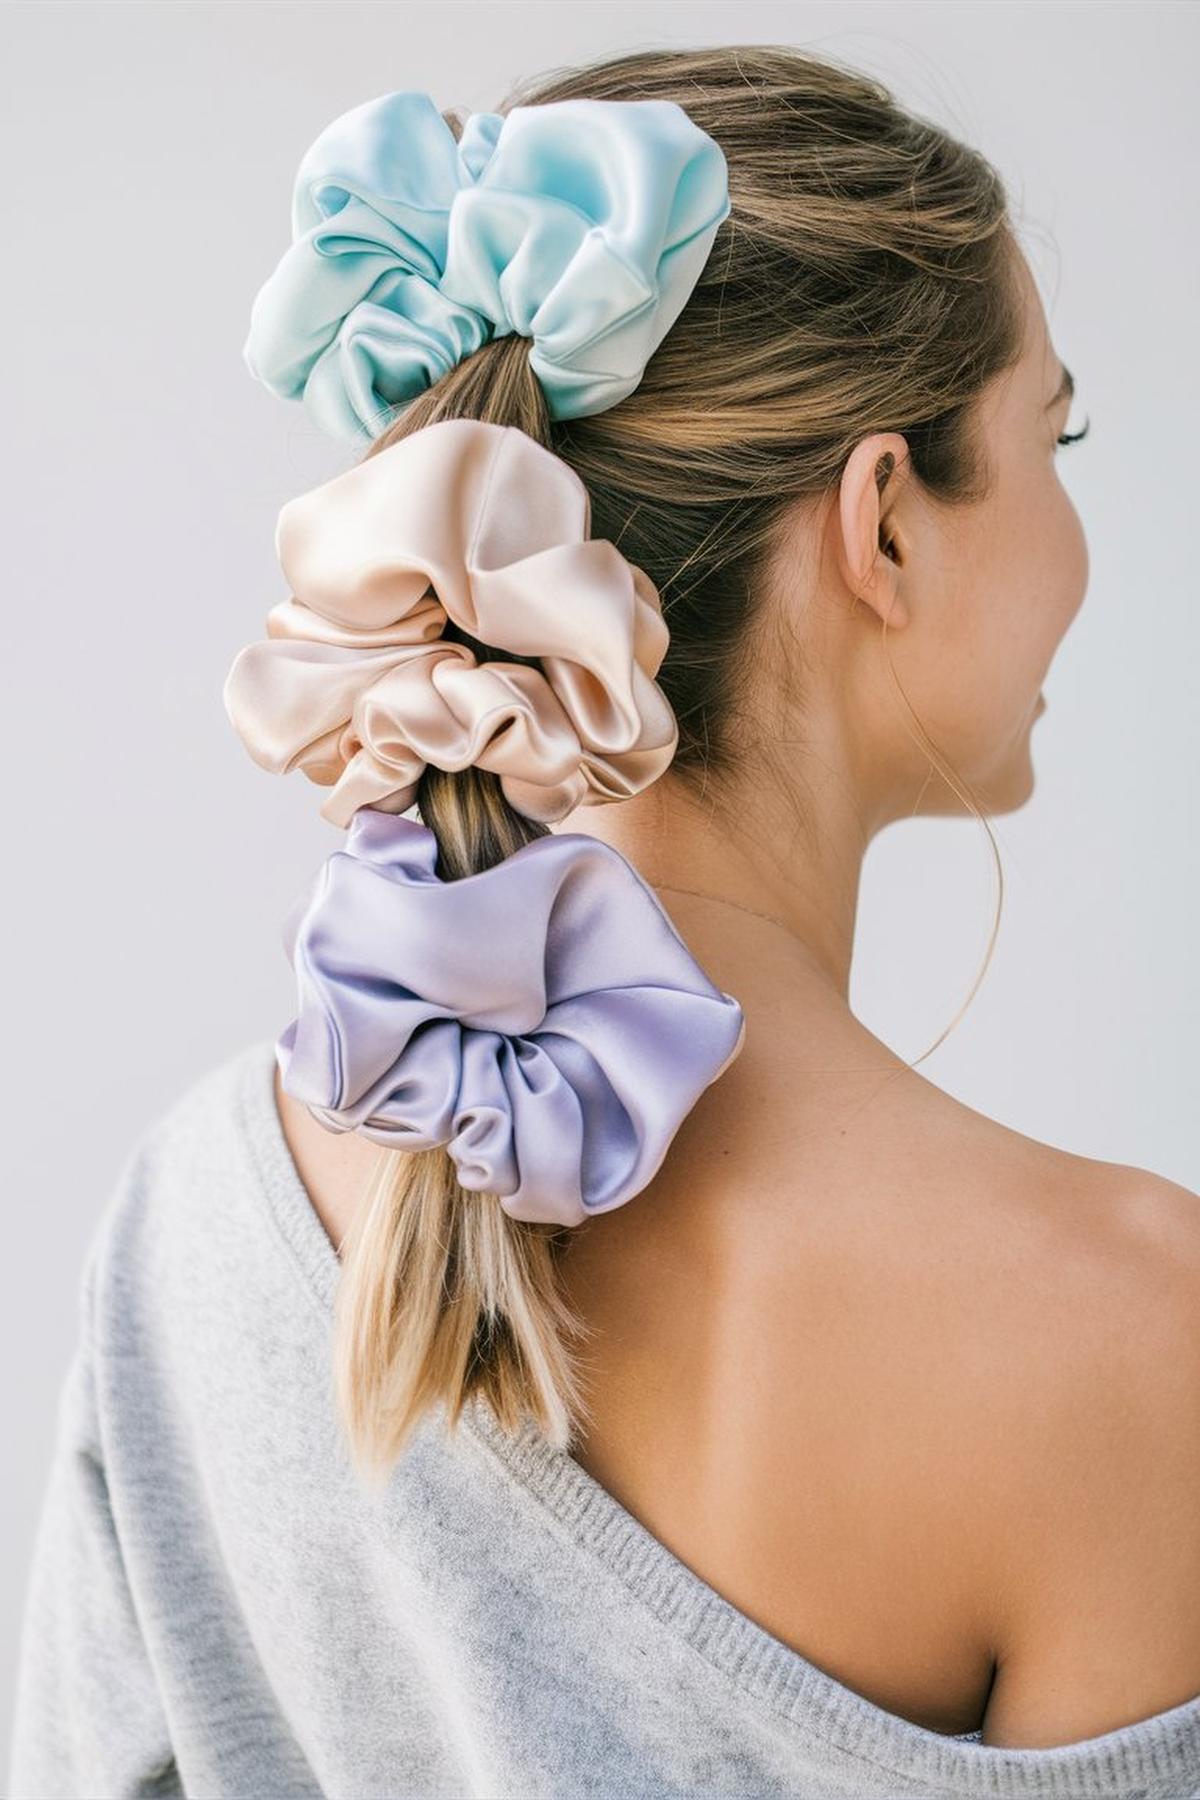
Make sure the ponytail is loose, as this will help create that relaxed, messy look. You can use a hair tie or a scrunchie for added volume. Once your ponytail is secured, you can leave a small loop at the end by not pulling all the hair through the last twist of the tie.
Wrap the twisted hair around the base of the ponytail and secure it with bobby pins or a second hair tie. Don’t worry about making it perfect; the goal is to create a casual, tousled appearance. You can pull out some strands around your face to soften the look and make it feel more effortless.
Gently tug at the bun to loosen it and create volume. You can also use hairspray to keep everything in place, especially if you have fine hair. If some pieces stick out, just pin them back in place. With a little practice, you’ll be able to achieve that stylish messy top knot in no time!
Pinned-Back Cascading Curls
Before using any heat tools, apply a heat protection spray to prevent damage. This is crucial for keeping your hair healthy, especially if you’re using a curling iron. After spraying the heat protectant, dry your hair completely.
Hold it for a few seconds to create a nice curl, then pin it up with a bobby pin while it cools. This helps the curl hold its shape better. Repeat this process for the rest of your hair, curling small sections and pinning them up.
You can use your fingers to separate the curls for a softer look. If you want to add some flair, consider using decorative hairpins or a cute headband to keep some hair pinned back. This style is not only beautiful but also keeps your hair out of your face, making it perfect for school or any event!
Slicked-Back Wet Look
You want your hair to be damp but not dripping wet. This is crucial because applying products to wet hair helps them distribute evenly, giving you that shiny, sleek finish. Avoid rubbing your hair too hard with the towel; instead, pat it gently to remove excess water without causing frizz or damage.
Work the product through your hair with your fingers, ensuring it covers all strands. Then, use a comb to style your hair back smoothly. Make sure to comb from the front to the back to achieve that clean, slicked-back appearance.
This will help hold your hair in place without making it stiff. If you notice your hair starting to puff up, you can use a blow dryer on a cool setting while combing it back to maintain that sleek look. Remember, the key to mastering this style is practice, so don’t be discouraged if it takes a few tries to get it just right!
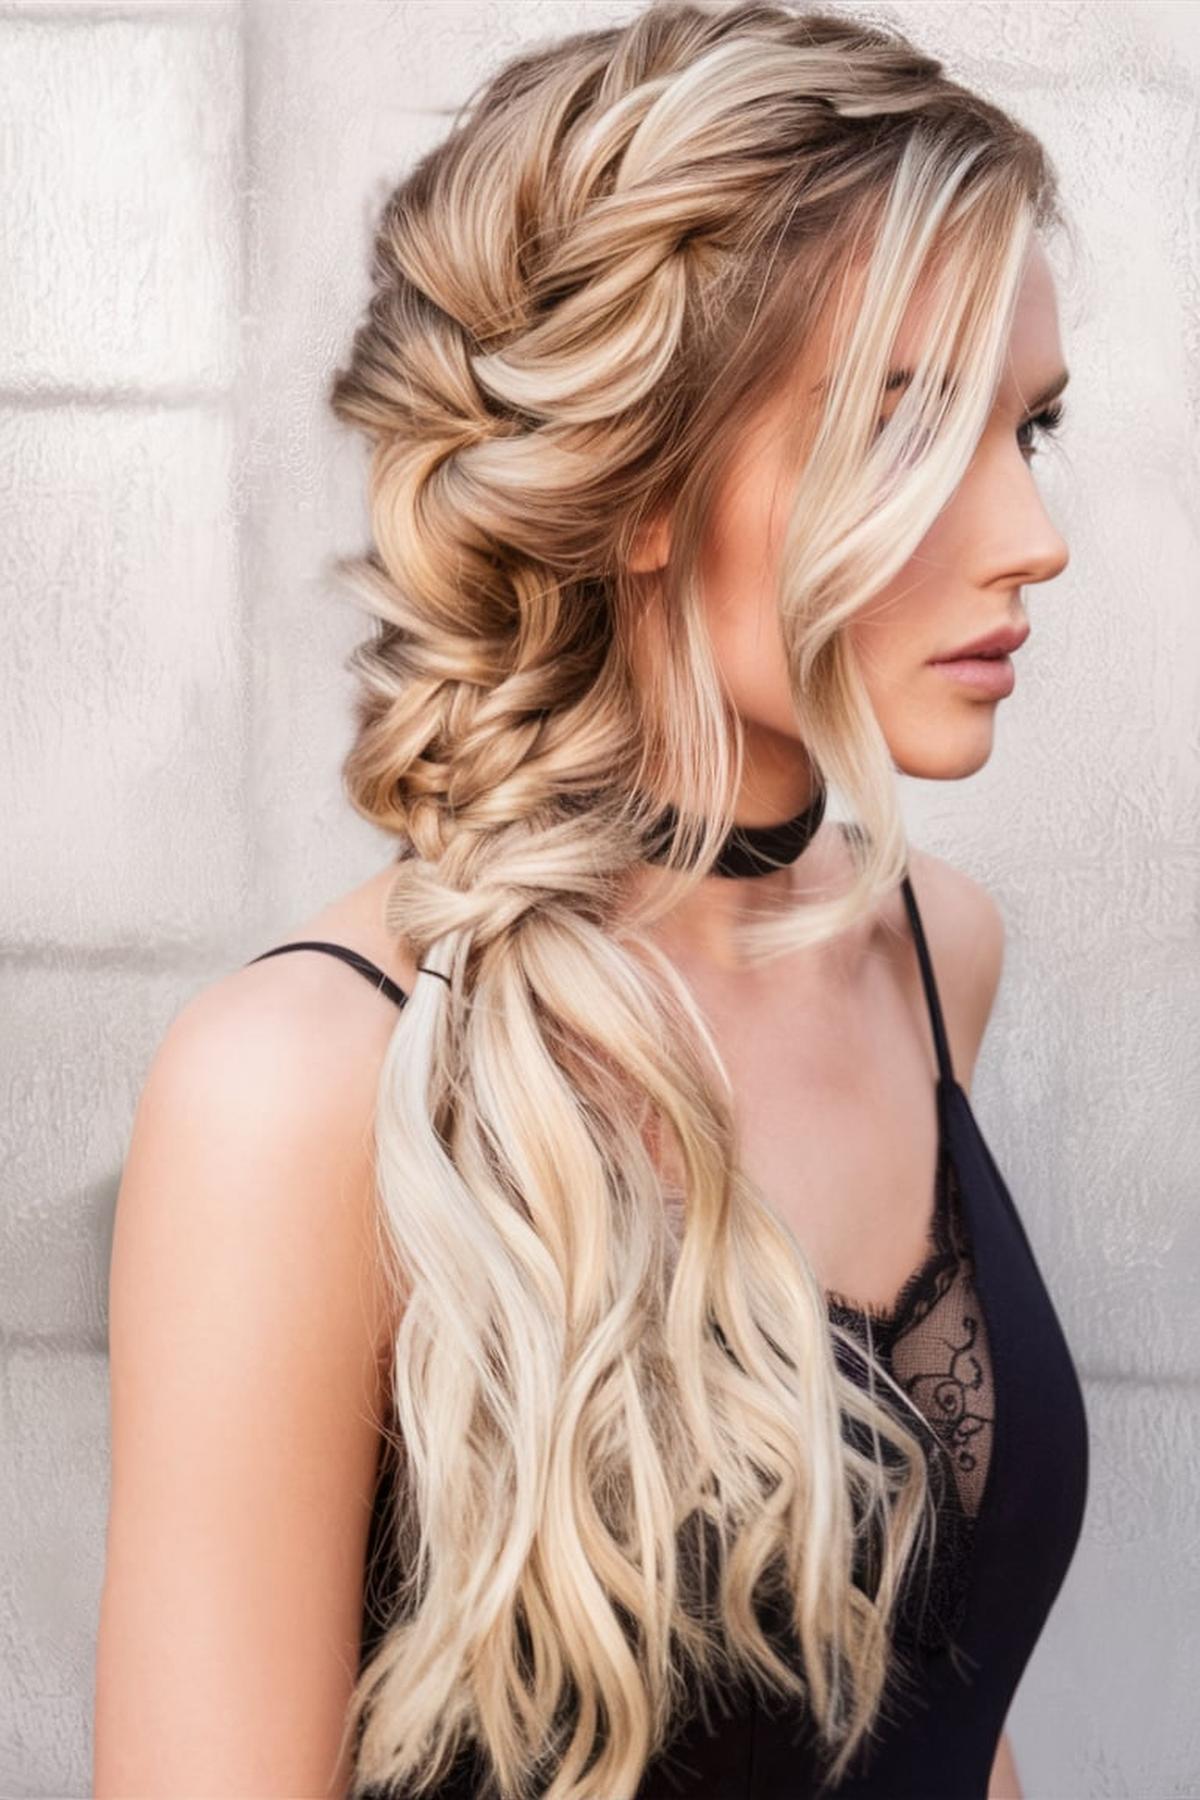
Bohemian Fishtail Braid
This style looks best when the hair is a bit messy, so don’t worry about making it perfect. Begin by taking a small piece of hair from the outside of the right section and crossing it over to the left section. Then, do the same with the left section: take a small piece from the outside and cross it over to the right.
Once you’ve completed the braid, you can enhance the bohemian look by gently pulling at the edges of the braid to loosen it up. This will give it a fuller and more relaxed appearance. If you want to add some extra flair, consider curling the ends of your hair or adding some texture spray for a beachy vibe.
Don’t get discouraged if it doesn’t look great on your first try. Keep practicing the technique, and you’ll get better each time. Watching tutorial videos can also help you see the steps in action, making it easier to follow along. Soon enough, you’ll be able to create beautiful bohemian fishtail braids effortlessly!
Polished Low Ponytail
Begin with clean, dry hair, and consider using a styling product like mousse or texturizing spray to add volume and hold. If your hair is a bit messy or has some texture, it will help create a more stylish look. Brush your hair back to remove tangles, and gather it at the nape of your neck.
This hides the elastic and adds a chic touch. Use a bobby pin to secure the wrapped hair in place. You can also pull out a few face-framing strands to soften the look.
This will help your polished low ponytail last throughout the day. Remember, practice makes perfect, so don’t be discouraged if it doesn’t look exactly how you want on the first try. With a little patience and experimentation, you’ll be able to master this elegant hairstyle in no time!
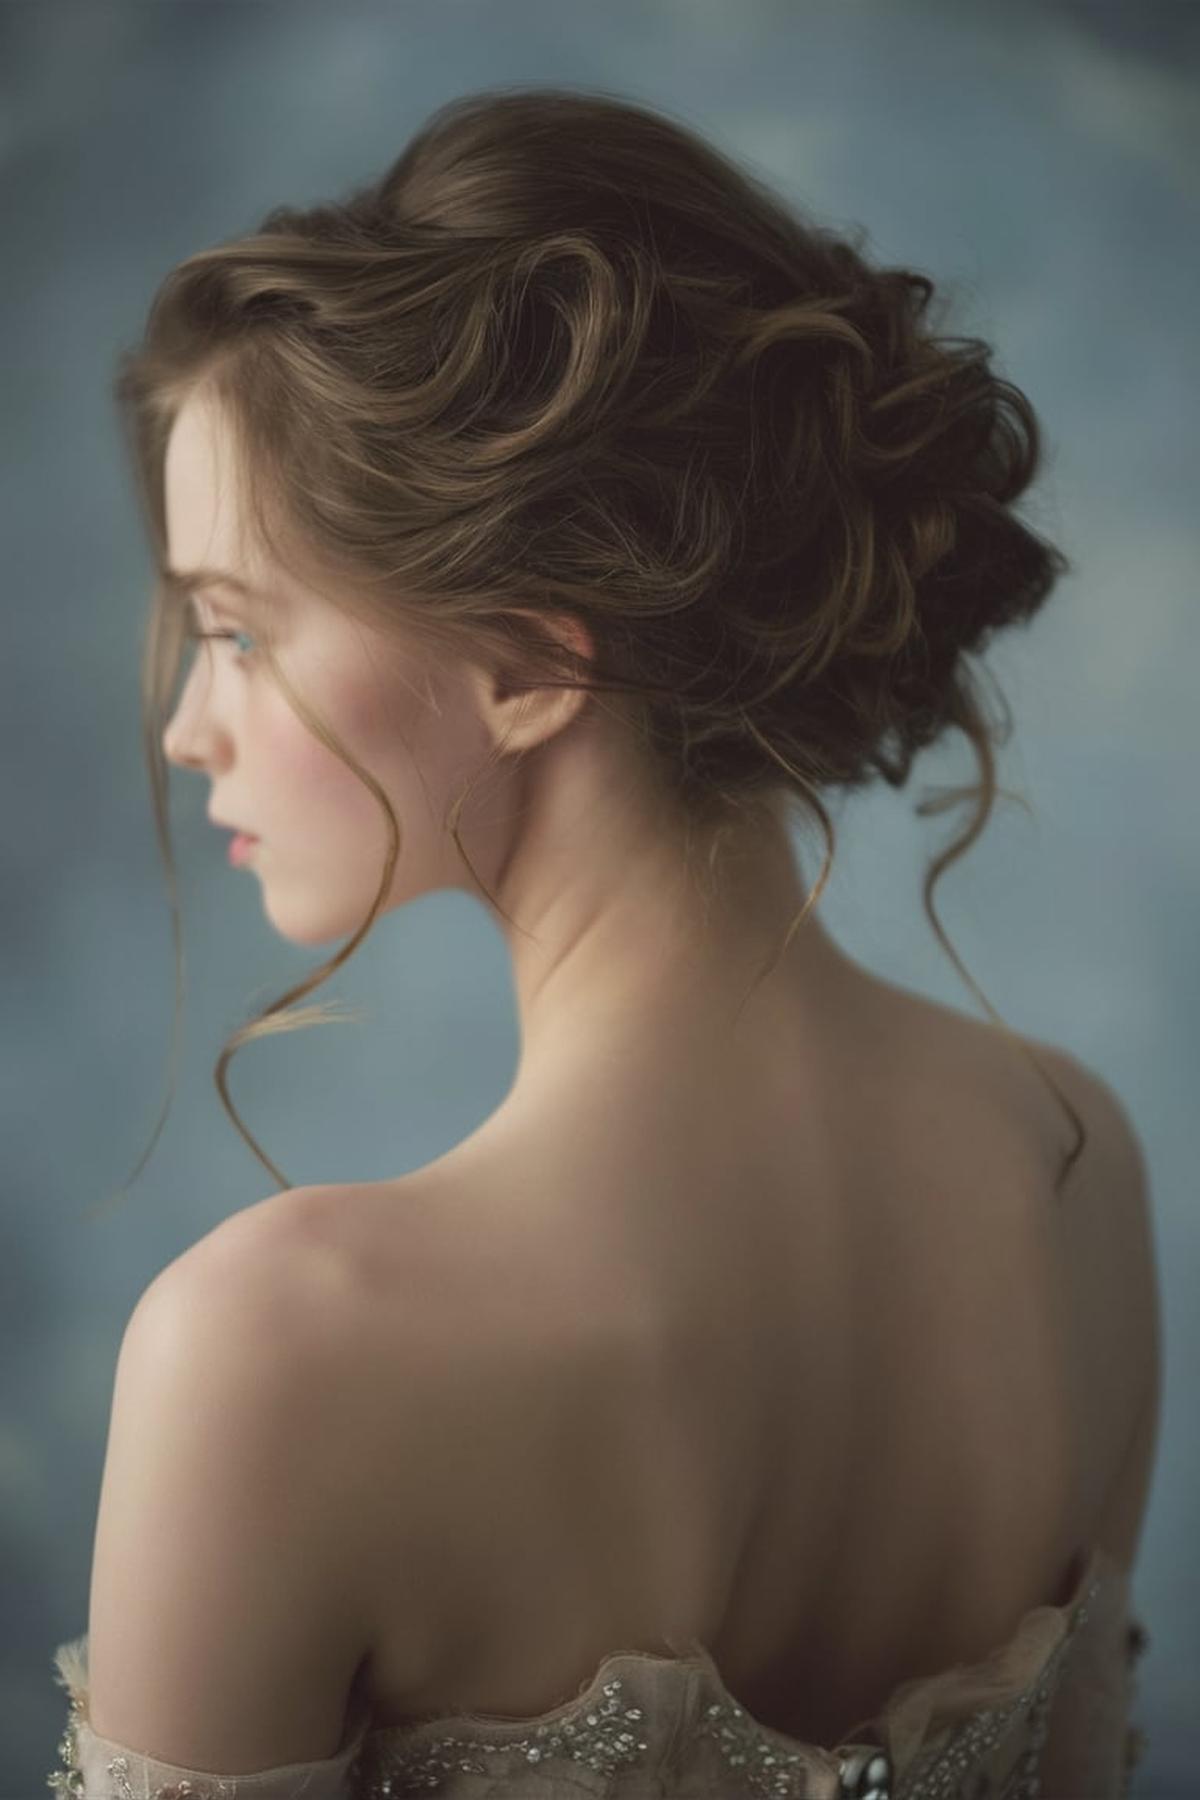
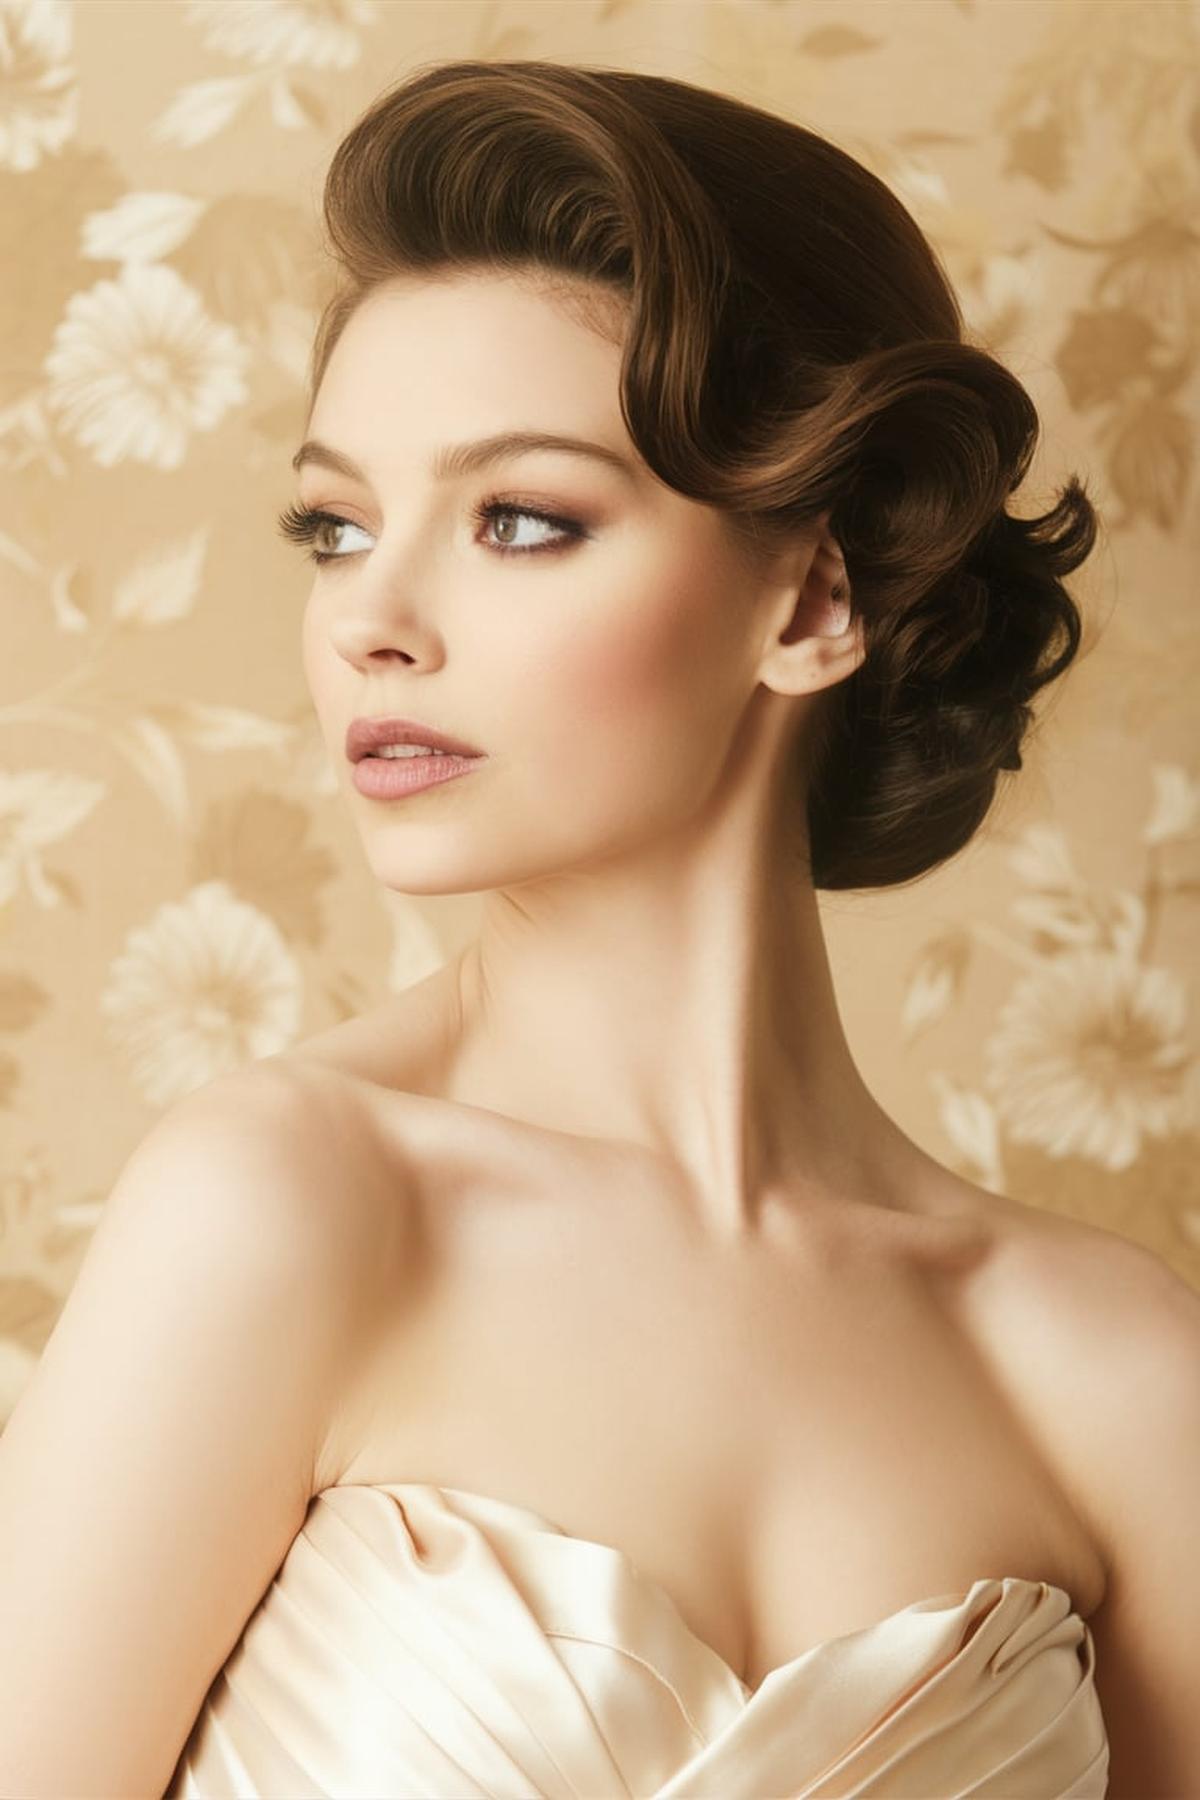
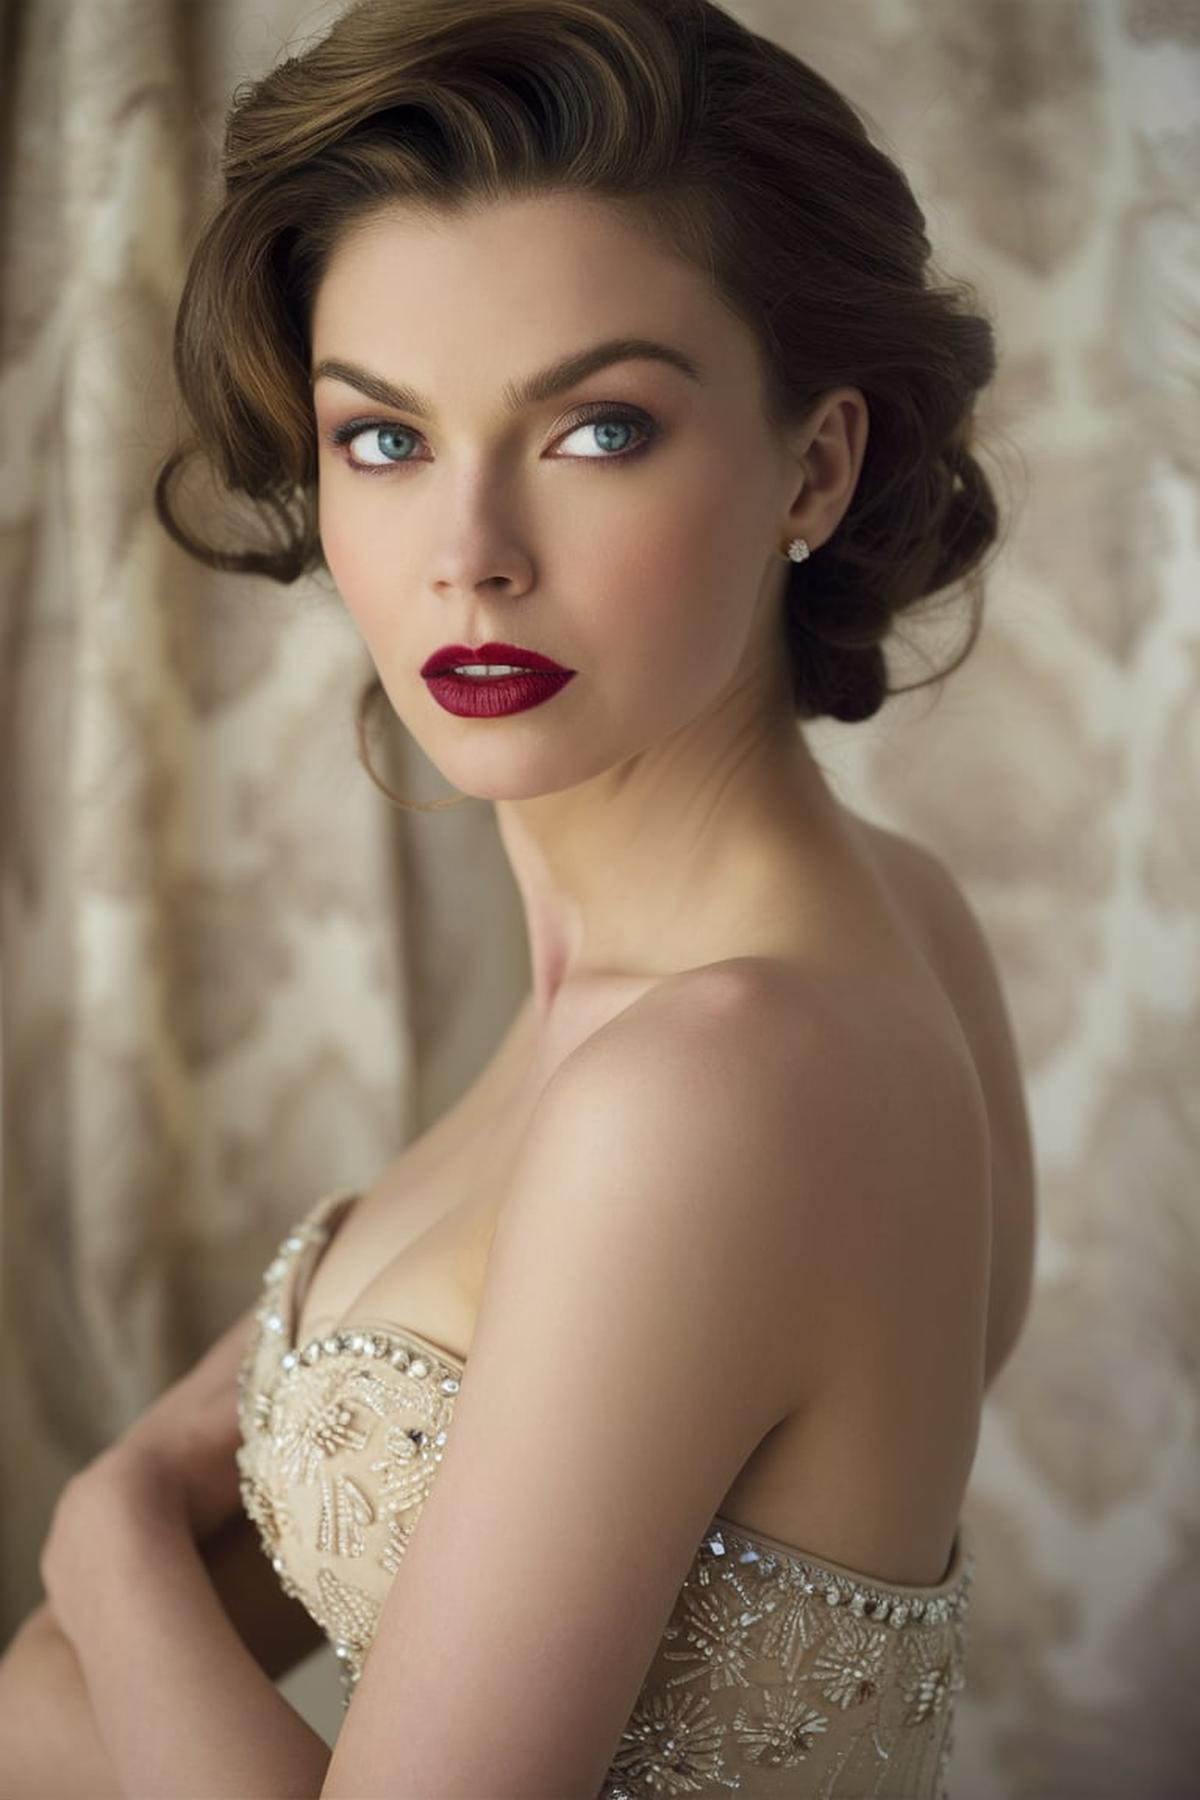
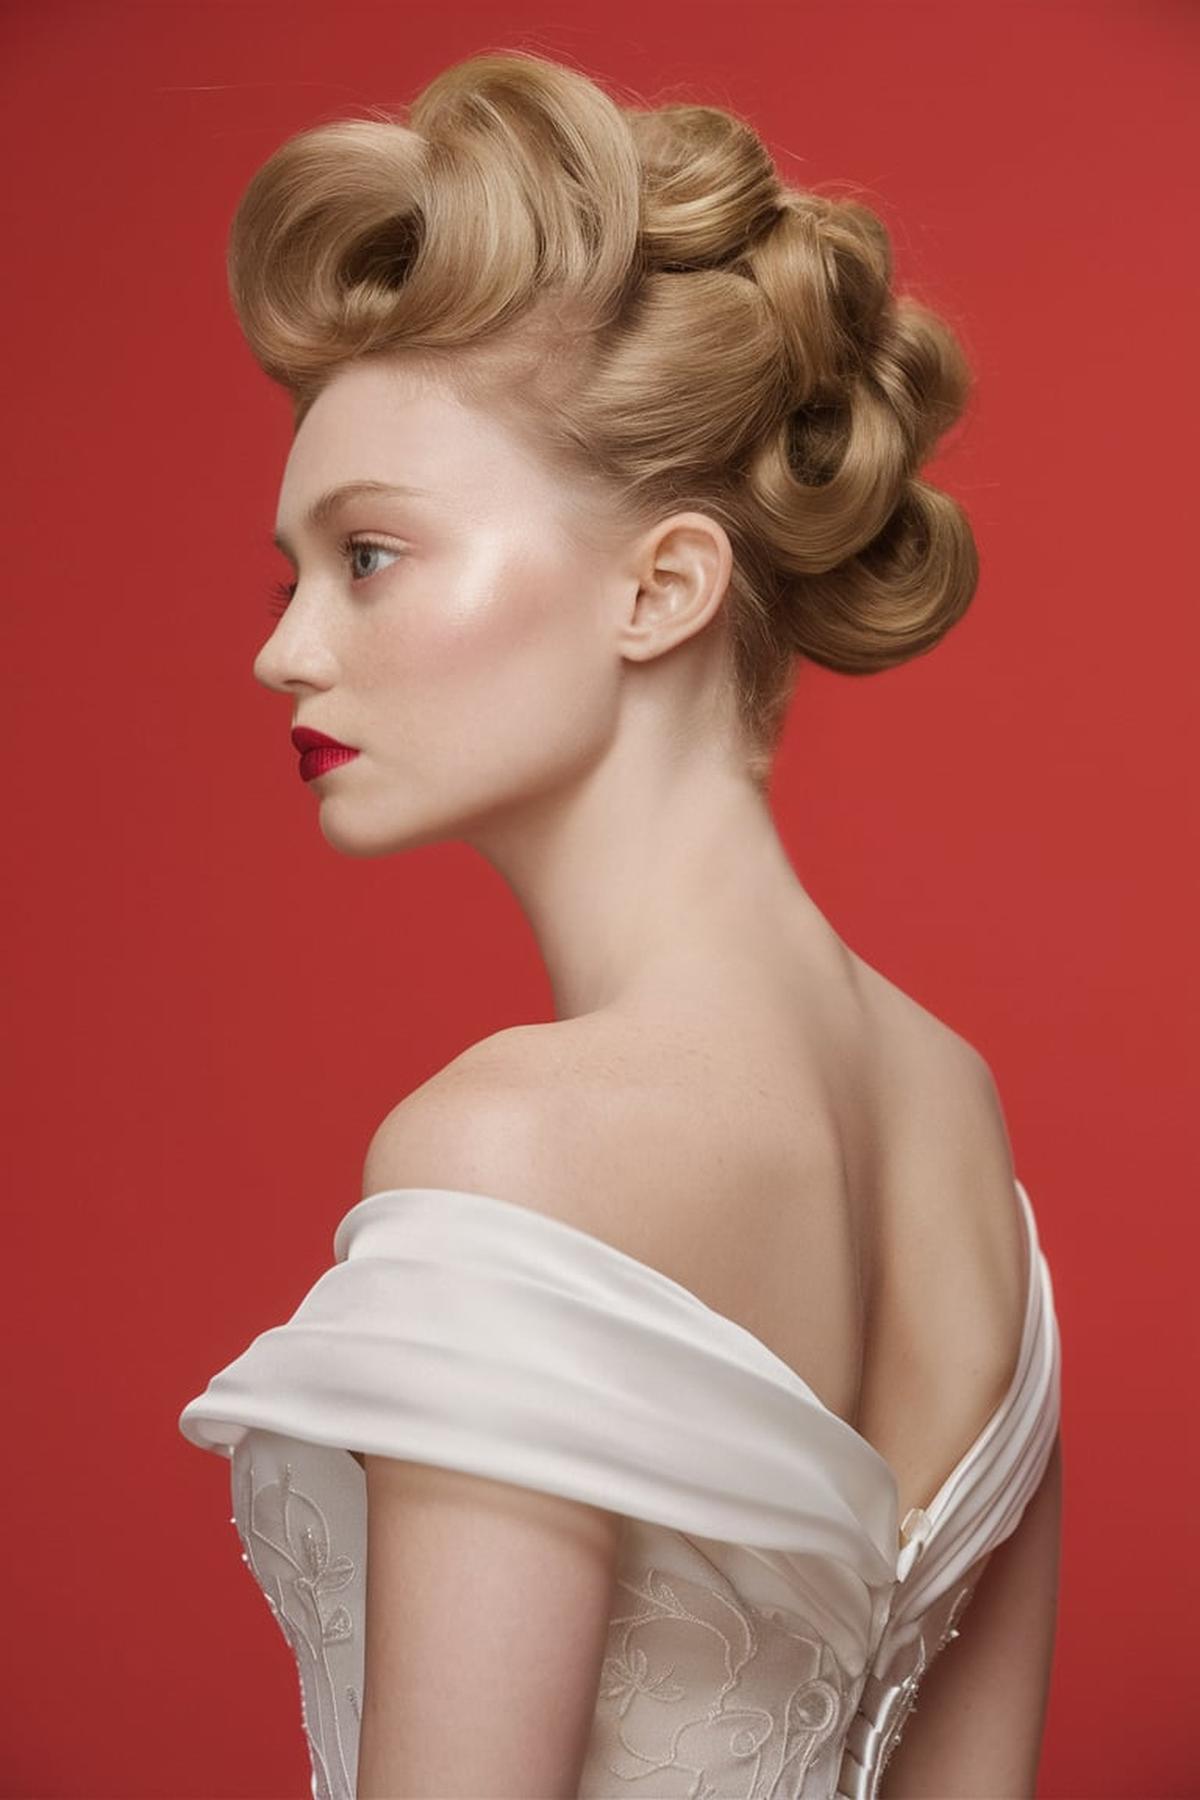
Soft Vintage Updo
It’s best to have your hair curled beforehand, as this adds volume and makes styling easier. You can use a curling iron or hot rollers. Once your curls are ready, brush them out gently to create soft waves.
Take a triangular section from the front and backcomb it at the roots to add height. Twist this section and pin it at the back of your head to create a pompadour effect. Then, take the sides of your hair, twist them back, and secure them with bobby pins.
Finally, accessorize your updo to enhance the vintage feel. You can add a headband, a flower, or a scarf to complete the look. Finish off with hairspray to hold everything in place. With a bit of practice, this hairstyle can be achieved quickly and easily, making it perfect for special occasions or just a stylish day out.
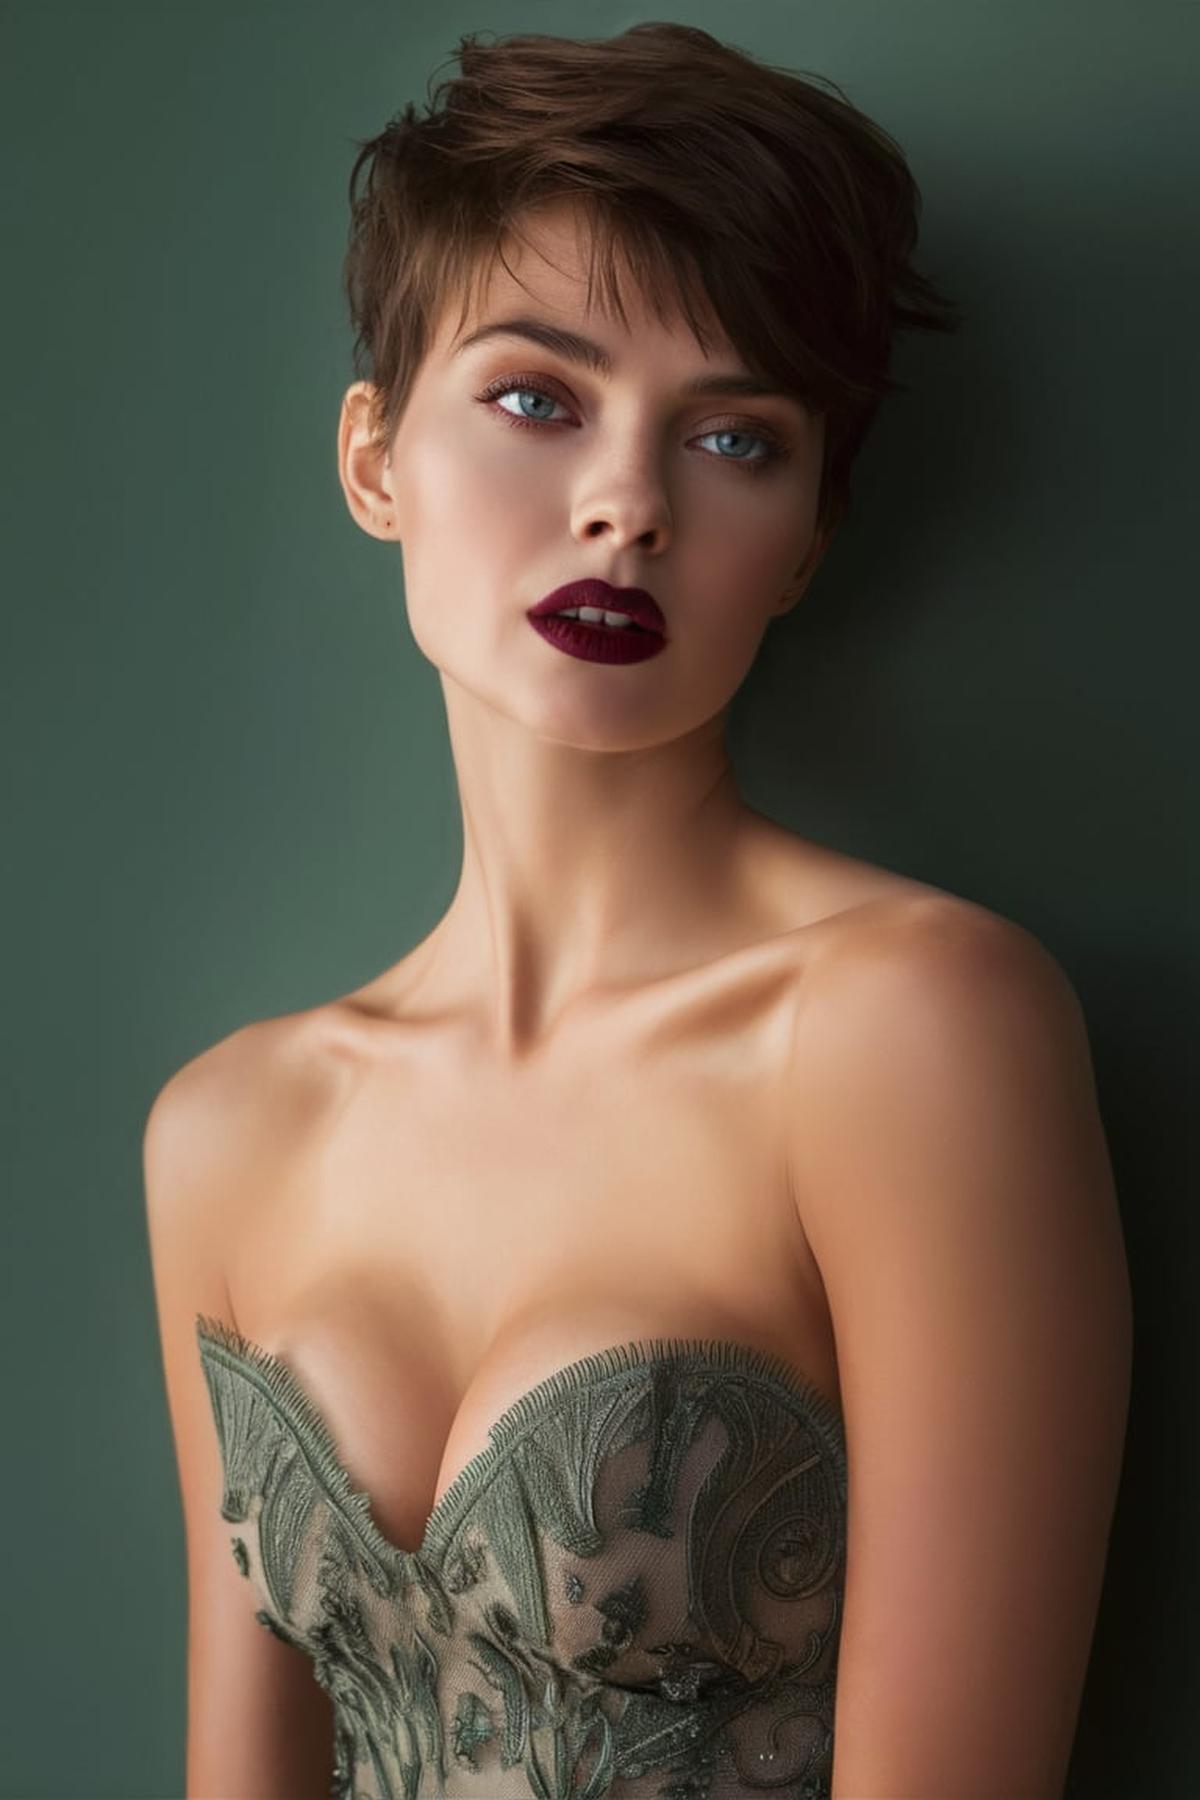
Textured Pixie Crop
A textured pixie is all about layers and movement, so it’s essential to cut the hair dry. This way, you can see how it naturally falls. Begin by sectioning the hair into a horseshoe shape on the top of the head, and then cut the back and sides shorter while leaving the top longer. Use vertical cuts to create layers, which will give the style its texture.
Use products like texturizing spray or wax to add volume and definition. Apply the product to your fingers and work it through your hair, focusing on the roots to lift them up. You can also use a blow dryer while scrunching your hair with your hands to enhance the texture.
Finally, maintenance is key for a textured pixie crop. Since this style can grow out quickly, plan to get regular trims every 5-6 weeks to keep it looking fresh. If you want to maintain the shape and texture, consider shaving the back and sides shorter, which can help reduce the frequency of cuts. With the right care and styling techniques, you can rock a stylish textured pixie that enhances your features and showcases your personality.
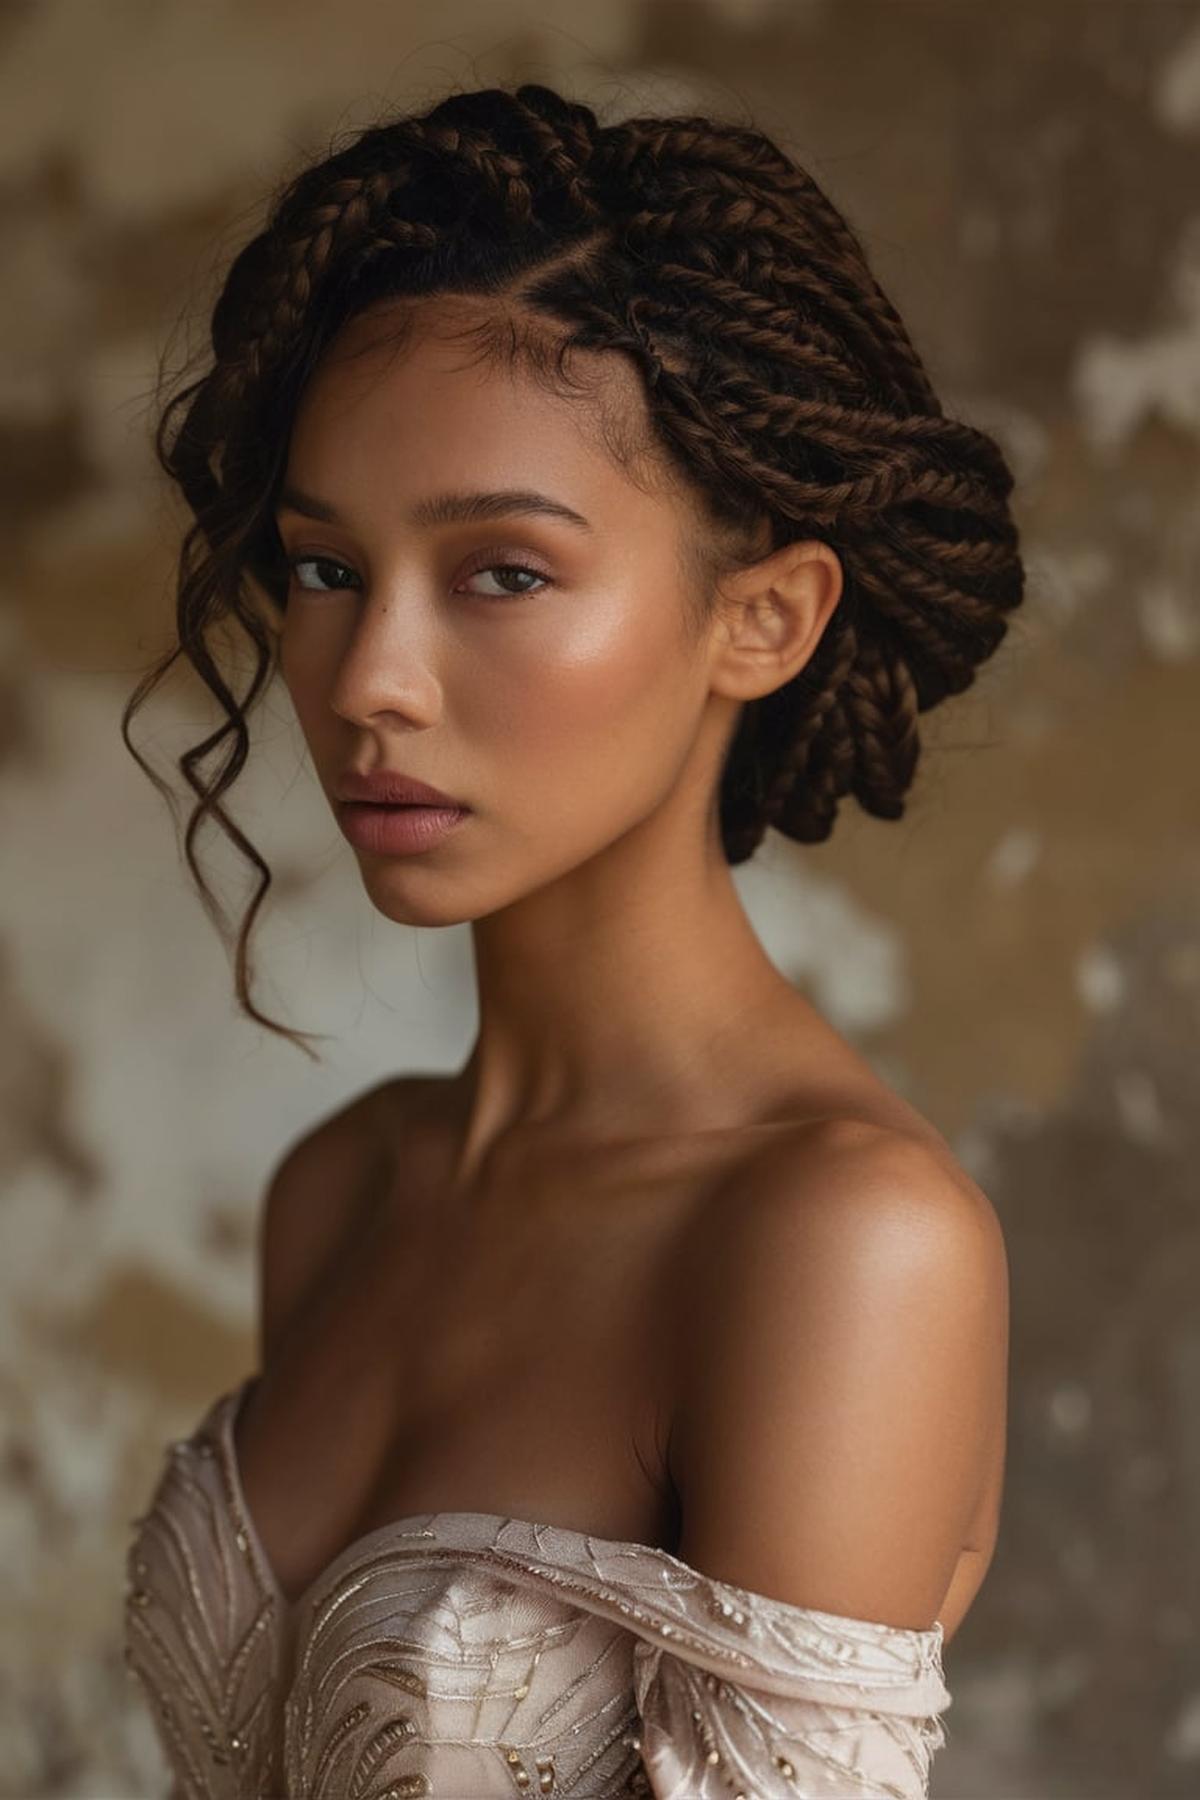
Twisted Rope Braid
Use a strong hair elastic to secure your hair at the crown of your head. If you want, you can wrap a small section of hair around the elastic to hide it, securing it with a bobby pin. This gives your hairstyle a polished look.
Take one section and twist it clockwise all the way down. Then, do the same with the other section, twisting it in the same direction. After both sections are twisted, hold one in each hand and start to twist them around each other in the opposite direction (counterclockwise).
Finally, to give your braid a fuller look, gently pull at the twists to “pancake” them, which means to loosen them up a bit. This adds volume and makes the braid look more textured. You can also finish off your hairstyle with a bit of hairspray to keep everything in place. The rope braid is not only easy to do but also versatile, as you can wear it as a single braid, in pigtails, or even as part of an updo.
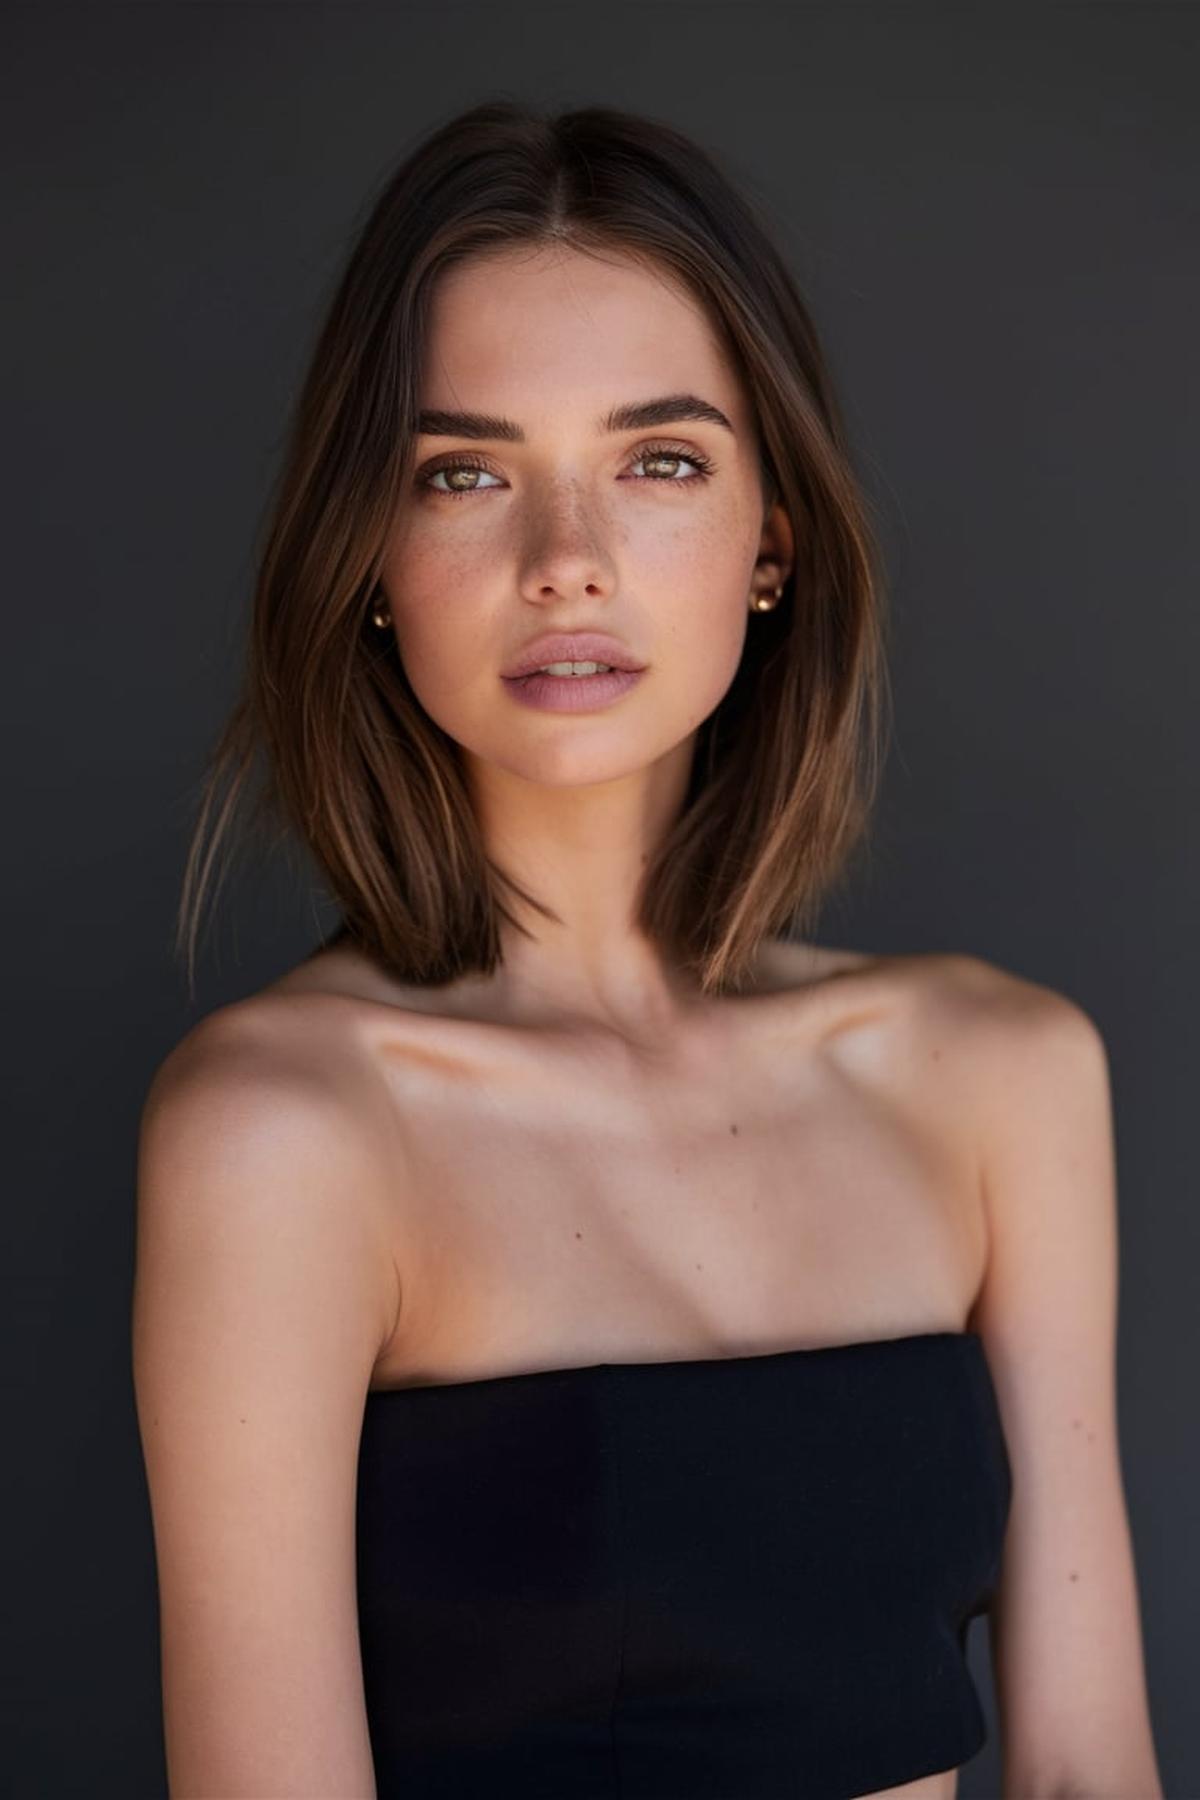
Sleek Center-Parted Bob
Begin by creating a straight center parting using a fine-tooth comb. This is essential for achieving that sleek look. Next, apply a heat protectant spray to shield your hair from damage when using heat styling tools.
Once your hair is dry, divide it into sections for easier styling. Use a flat iron to straighten each section, making sure to keep the iron moving down the hair shaft for a polished finish. After straightening, you can apply a light finishing spray to hold the style in place and reduce any flyaways.
Finally, to maintain your sleek bob throughout the day, carry a small bottle of hairspray or anti-frizz serum with you. If you notice any frizz or flyaways, a quick touch-up can keep your style looking fresh. With practice, you’ll find that achieving this hairstyle becomes quicker and easier, allowing you to rock your sleek center-parted bob confidently on any occasion.
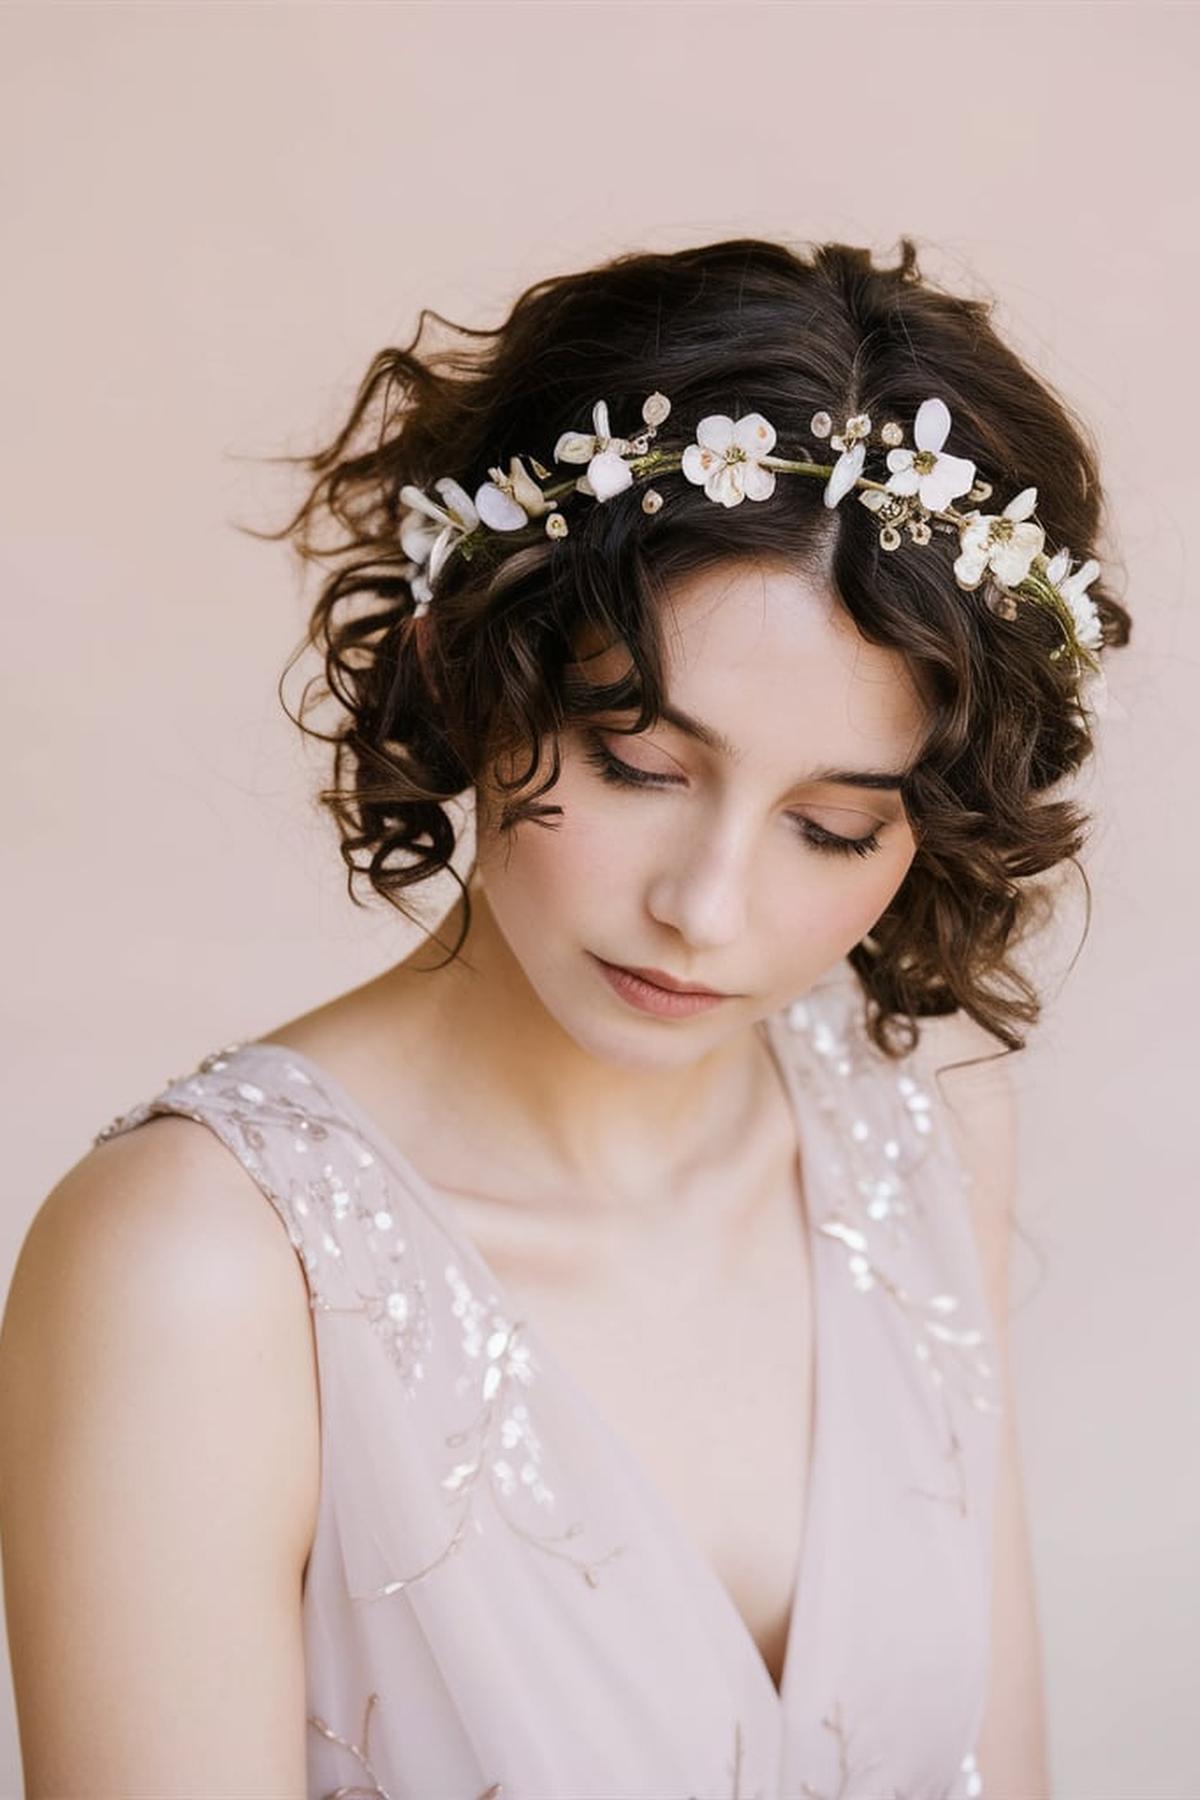
Whimsical Flower Crown
You’ll need some flexible wire or a headband base, floral tape, and a variety of artificial or fresh flowers. Choose flowers in different colors and sizes to give your crown a playful look. If you’re using fresh flowers, make sure to pick them early in the morning when they are fresh and hydrated.
Begin attaching the flowers by cutting their stems to about 2-3 inches long. Use floral tape to secure each flower to the wire or headband, layering them as you go to create a fuller appearance.
You can also add decorative elements like ribbons or leaves for extra flair. Wear your whimsical flower crown to a festival, party, or just for fun! Remember, the key to mastering this hairstyle is to be creative and enjoy the process of making something unique that reflects your personality.
Glamorous Old Hollywood Rolls
It’s best to have smooth, straight hair for this look, so blow-drying your hair beforehand is a good idea. Once your hair is dry, create a deep side part and section your hair into manageable parts. Use heated rollers or a curling iron to curl your hair, ensuring that you curl each section towards your face.
This step is crucial because it helps the curls hold their shape better. Once cooled, gently brush through the curls with a paddle brush to create soft waves. You can also backcomb the roots a little to add volume.
Simple hair accessories like pearl clips can add a touch of elegance. For a complete look, consider pairing your hairstyle with classic makeup, such as red lipstick and defined lashes. With some practice and the right techniques, you’ll be able to achieve this stunning hairstyle that makes you feel like a movie star.
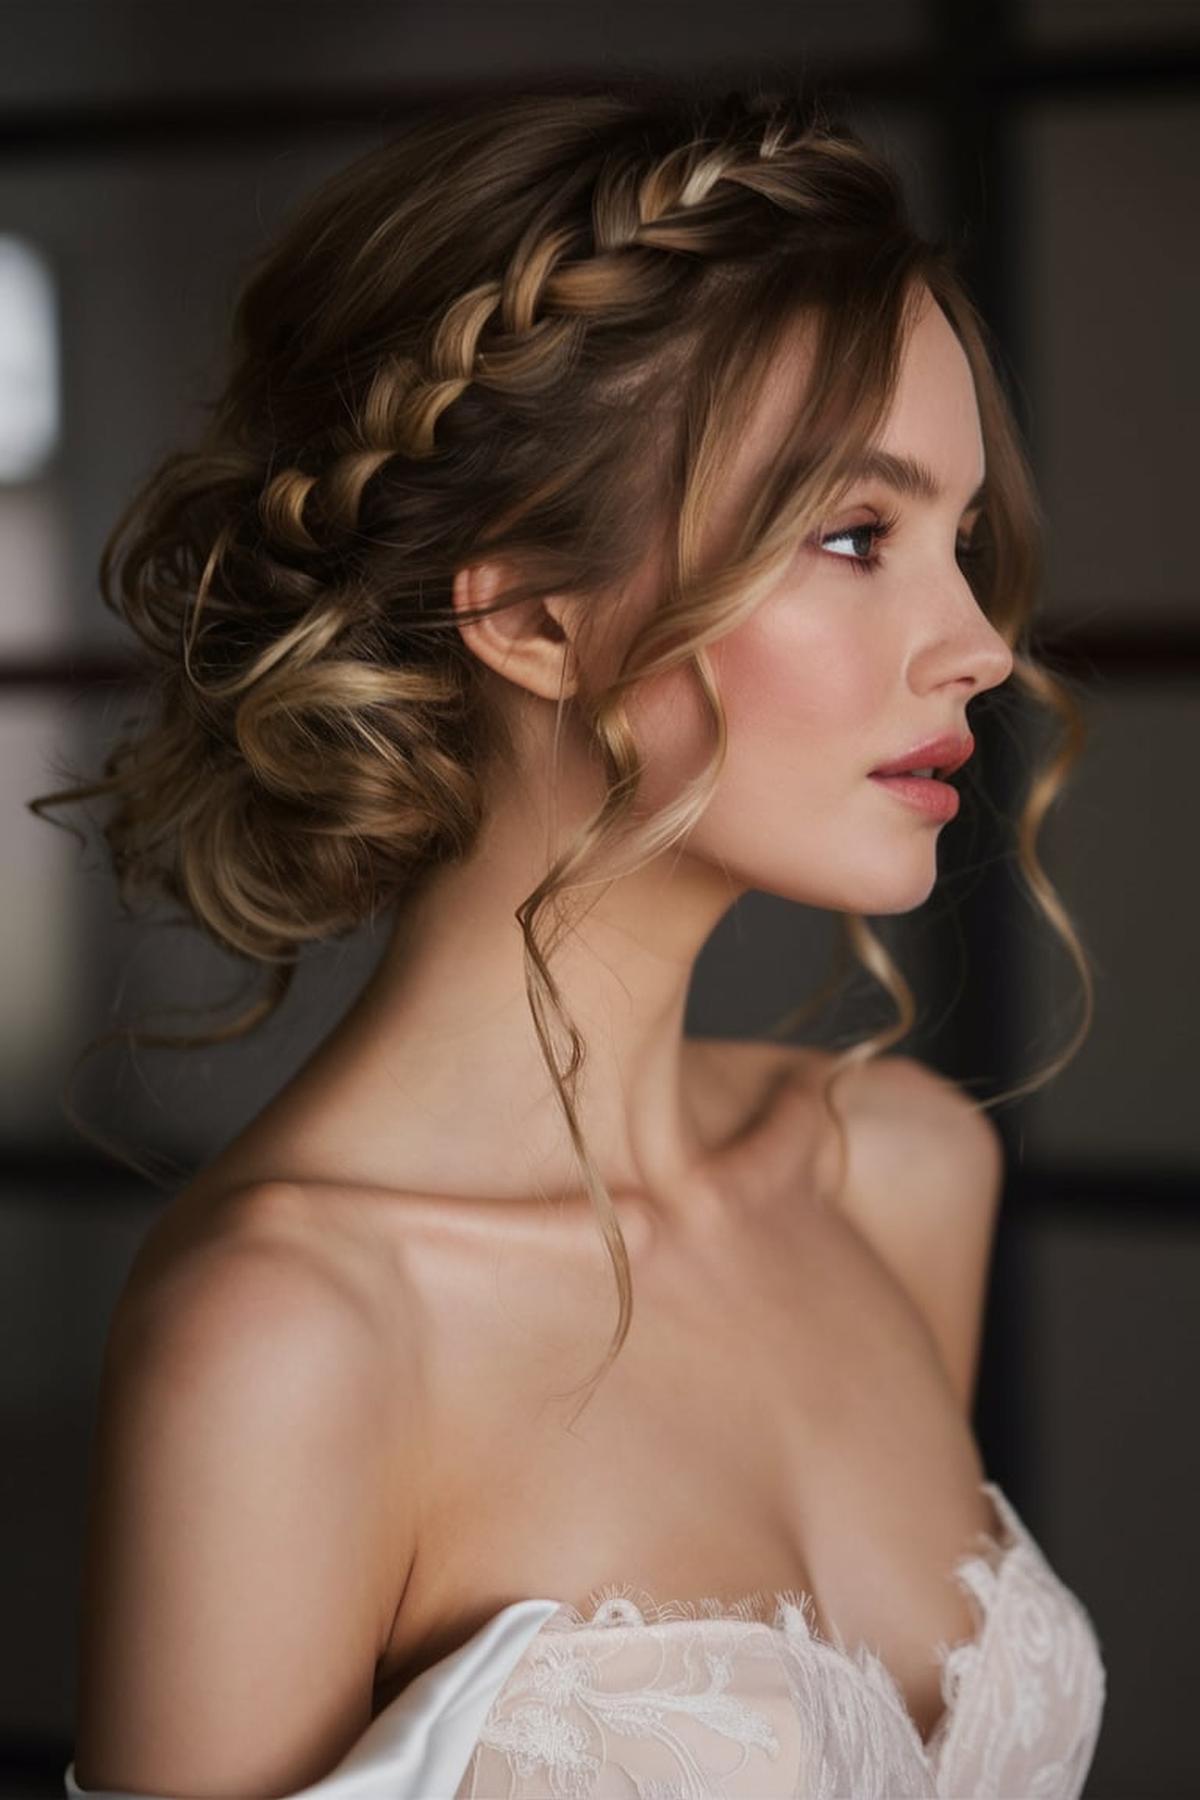
Braided Halo Updo
This hairstyle looks best on hair that hasn’t been washed for a day or two, as it holds better. Begin by making a deep side part in your hair. Then, take a section of hair from the front near the part and divide it into three smaller sections.
Once your braid is complete, secure it with a small elastic band and gently pull on the edges of the braid to make it look fuller. Next, create a low bun with the rest of your hair. You can tease the hair at the crown for added volume before tying it into a bun.
Finally, adjust any loose strands and add a bit of hairspray to keep everything in place. Don’t worry if it looks a little messy; the relaxed style is part of the charm! With practice, you’ll be able to do this hairstyle in about five minutes, making it perfect for both casual days and special occasions.
Tousled Bedhead Waves
One of the most popular tools for this look is the Bed Head Wave Artist, which has three barrels that create deep waves. This tool heats up quickly and is easy to use, making it perfect for achieving that effortless beachy vibe. Make sure your hair is dry and clean before you start styling, and always use a heat protectant spray to keep your hair safe from damage.
This helps create a more natural look. Take each section of hair, clamp it in the waver for about 5-6 seconds, and then release it.
Finally, once you’ve waved all your hair, gently brush through the waves to soften them. You can finish off your look with a bit of sea salt spray or hair oil for added texture and shine. This hairstyle is low maintenance and can last for days with minimal touch-ups, making it a great option for busy teens who still want to look stylish!
Sculptural Avant-Garde Updo
Avant-garde hair is all about making bold statements and expressing your artistic side. Think of it as a form of wearable art where your hair becomes a canvas. You can experiment with different shapes, textures, and heights to create a unique look that stands out.
This might involve learning how to properly tease your hair for volume, using hair gel or hairspray to hold your design, and mastering the art of pinning your hair in place. Watching tutorials online can be really helpful, as they provide step-by-step guidance. Don’t be afraid to try out different styles and modify them to fit your personality.
Your hair should complement your outfit and the event you are attending. Whether you’re going for a sleek and polished appearance or a more whimsical and messy style, make sure everything works together. Accessories can play a big role here, so choose pieces that enhance your hairstyle without overwhelming it. With practice and a little imagination, you can create stunning sculptural updos that turn heads and showcase your individual style.
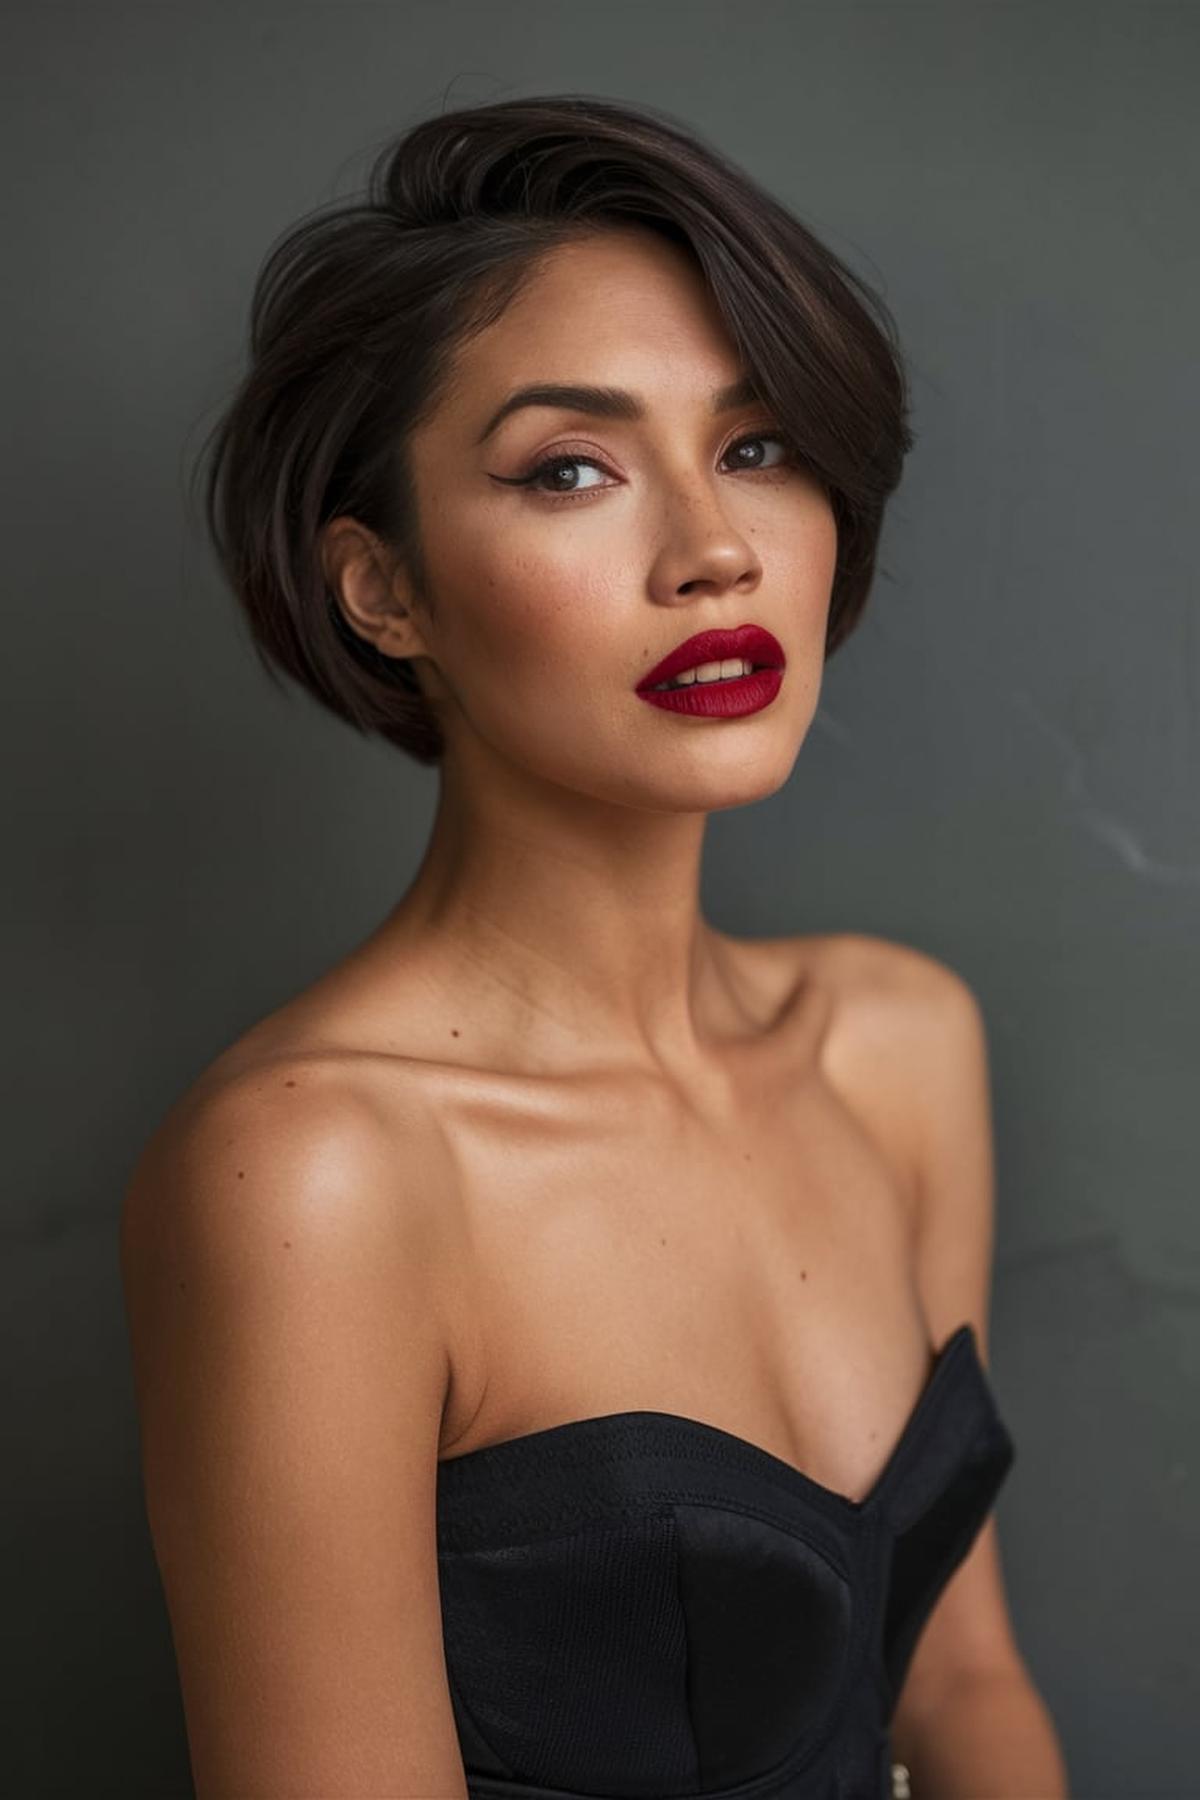
Sleek Asymmetrical Bob
This style features a shorter length at the back and longer strands in the front, creating an edgy and modern look. The key to achieving this hairstyle is precision in cutting. Make sure to measure carefully and cut at an angle to create that distinct asymmetrical silhouette.
Begin by using a good heat protectant on your hair to prevent damage from styling tools. A flat iron is ideal for creating a smooth and polished look. After straightening, you can add some shine serum to enhance the sleekness.
Finally, maintenance is key to keeping your asymmetrical bob looking fresh. Regular trims are essential to prevent split ends and to maintain the shape of the cut. You can also play with different styling techniques, like adding waves for a more relaxed look or keeping it super straight for a sophisticated vibe. Experiment with hair products like mousse or styling cream to find what works best for your hair type, ensuring you always achieve that chic and polished finish.
Q&As for hairstyles for strapless dresses
Q: What are some hairstyles that go well with strapless dresses for different occasions?
A: Strapless dresses can be paired with various hairstyles depending on the occasion. For a casual look, you might try tousled beach waves or a messy top knot. For formal events, consider an elegant chignon or a smooth ballerina bun. If you want something romantic, a braided halo updo or voluminous side-swept curls could be perfect.
Q: How can I create a sleek look with a strapless dress?
A: To achieve a sleek look, you can try a sleek shoulder-grazing lob or a slicked-back wet look. These styles offer a polished appearance that complements the simplicity of a strapless dress. A sleek center-parted bob is also a great choice for a modern and chic vibe.
Q: What are some romantic hairstyles for strapless dresses?
A: Romantic hairstyles that pair well with strapless dresses include a romantic braided crown or pinned-back cascading curls. These styles add a soft and dreamy touch to your look. You can also try a glossy mermaid braid for a fairytale-like appearance.
Q: Which hairstyles can add volume to my look with a strapless dress?
A: To add volume, consider voluminous side-swept curls or tousled bedhead waves. These styles create a fuller appearance and balance the open neckline of a strapless dress. A textured low knot can also provide a voluminous effect while keeping your hair up.
Q: What are some vintage-inspired hairstyles for strapless dresses?
A: For a vintage-inspired look, try retro Hollywood waves or a soft vintage updo. These styles bring a classic and timeless feel to your outfit. Glamorous old Hollywood rolls can also add a touch of elegance and sophistication.
