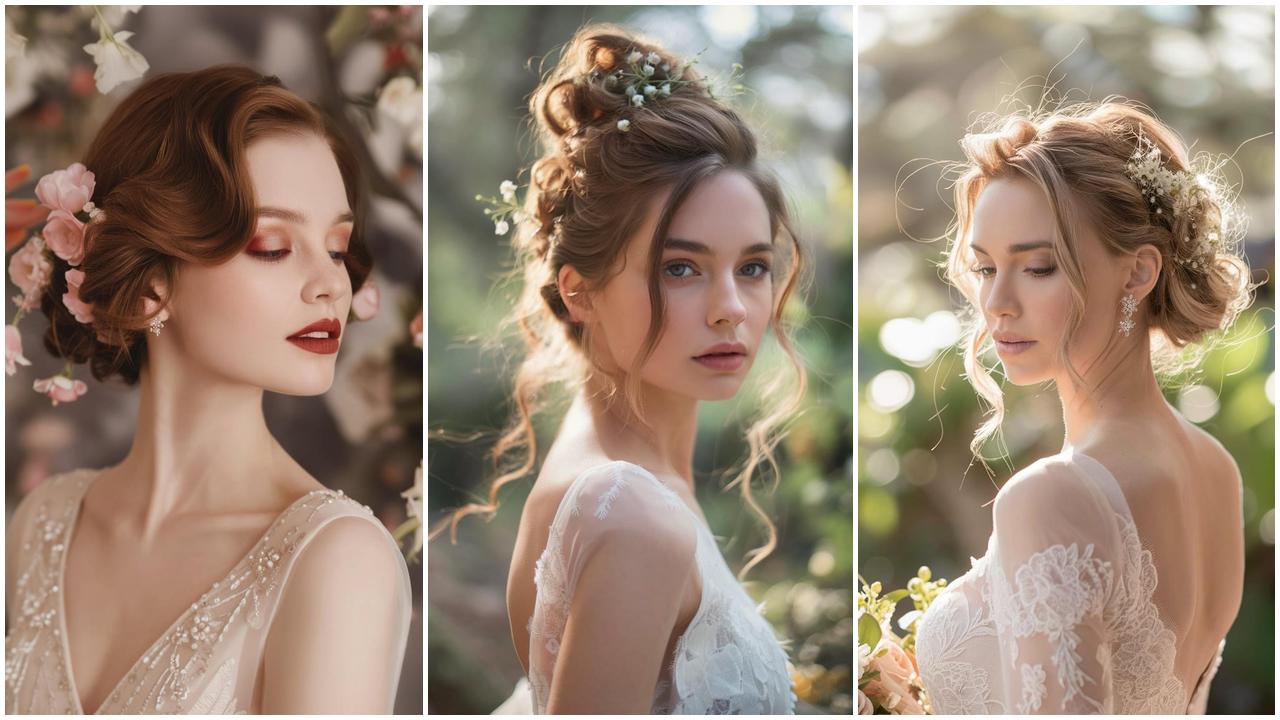
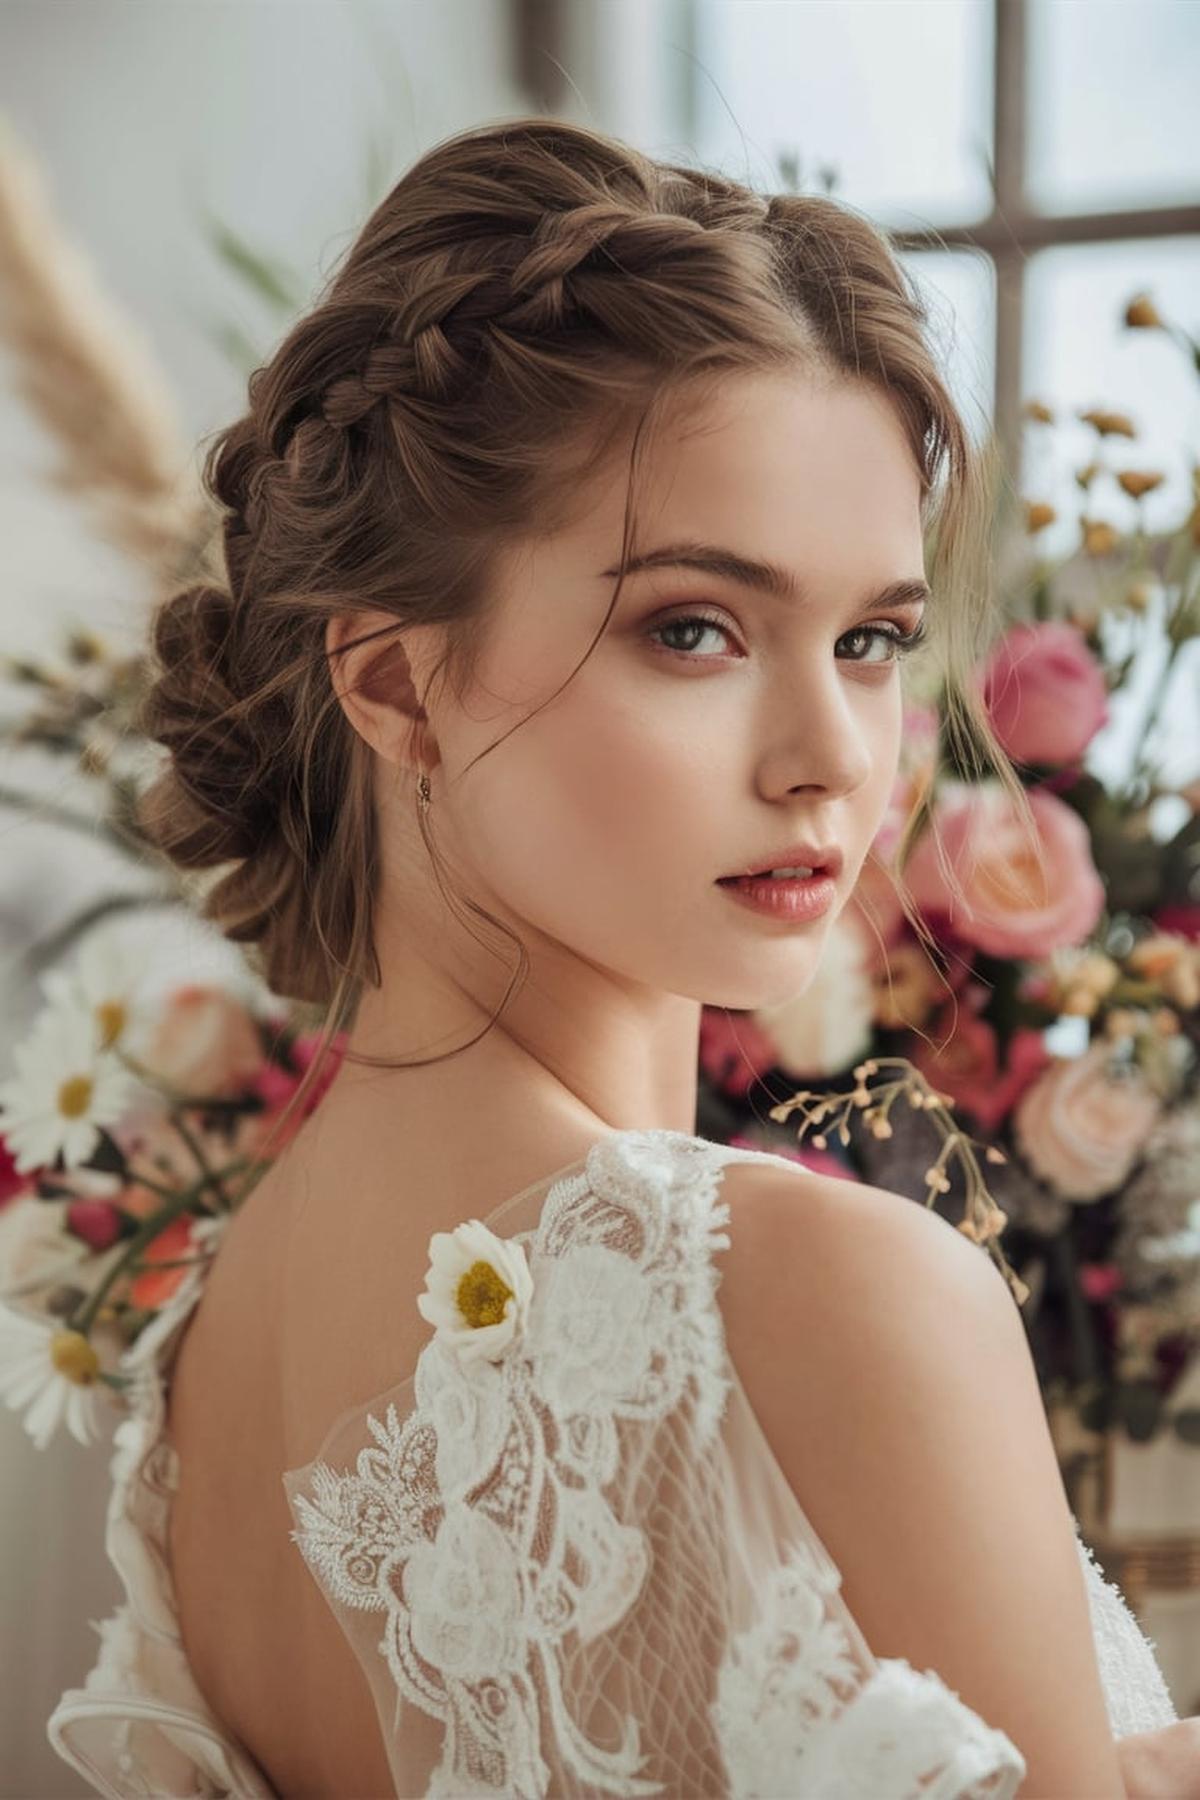
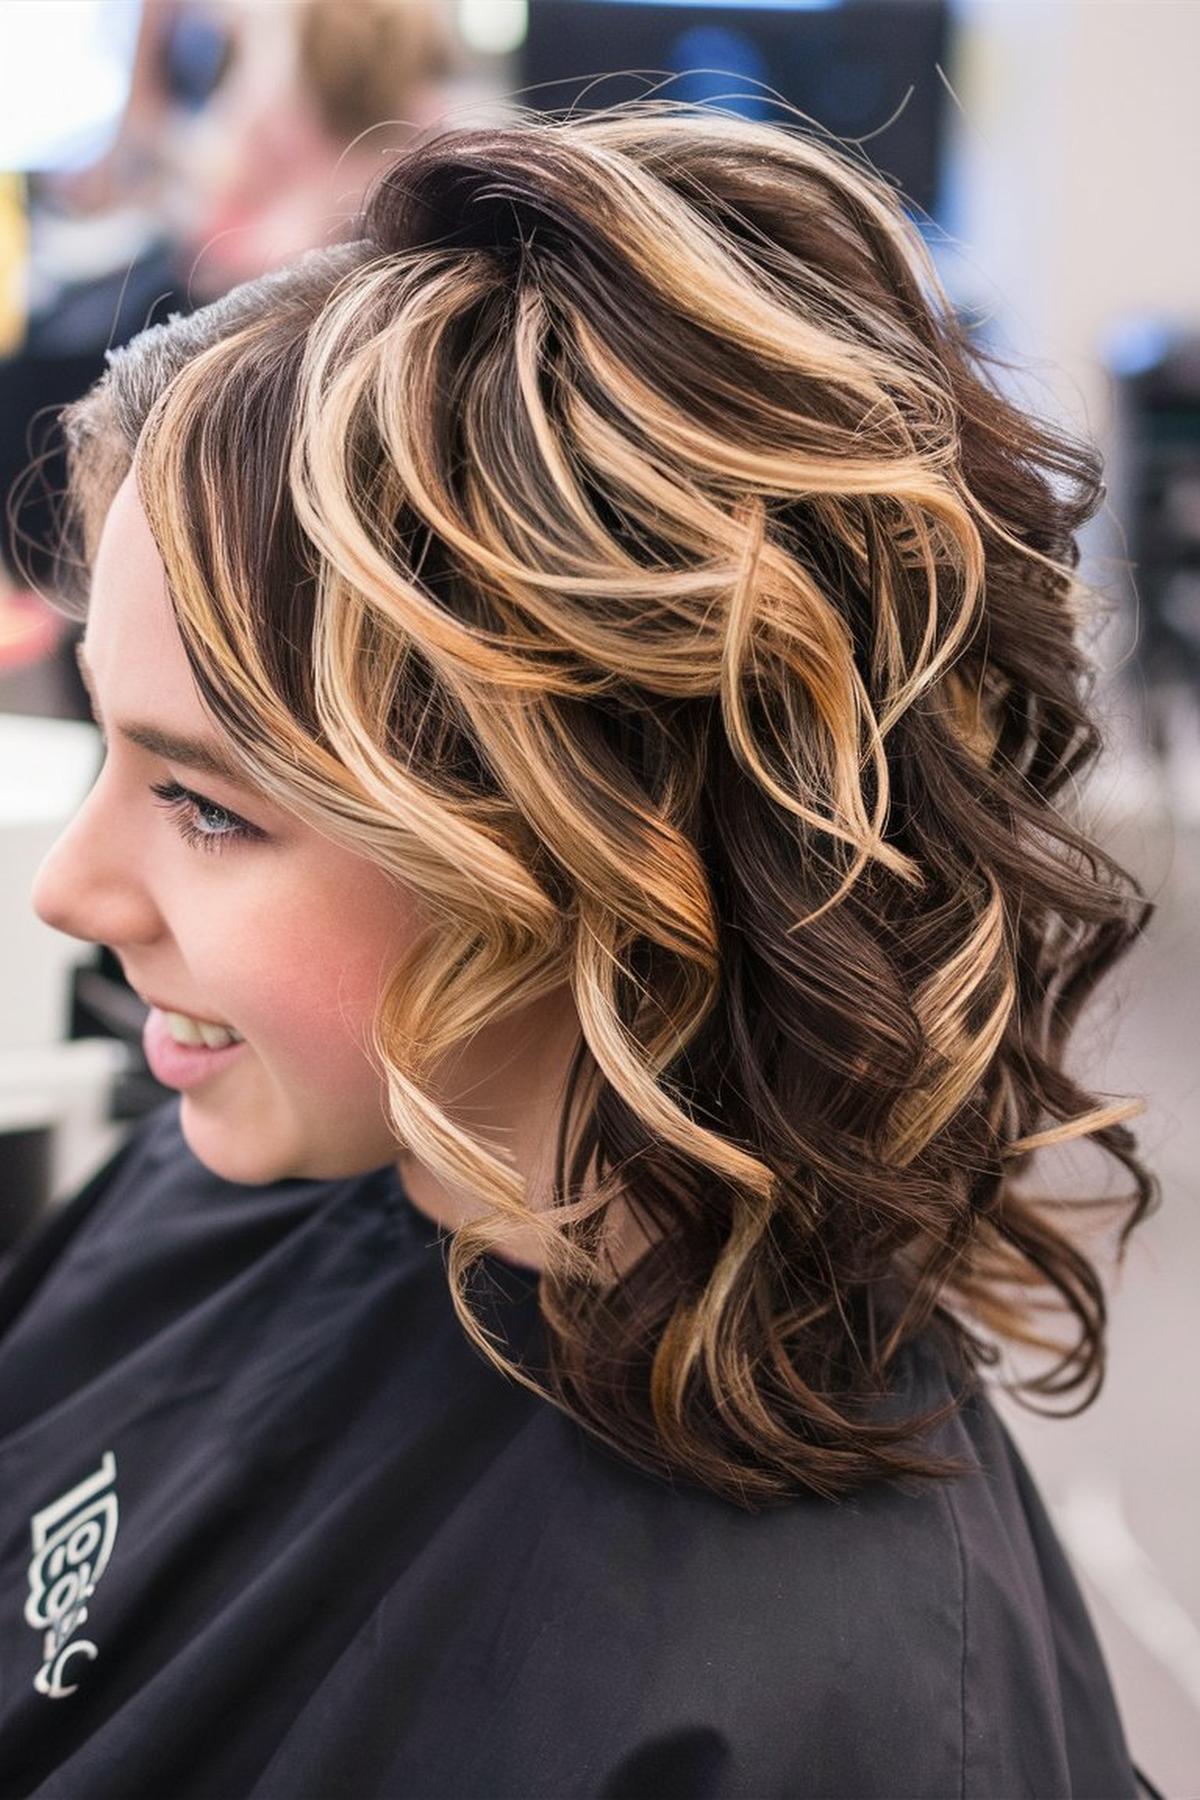
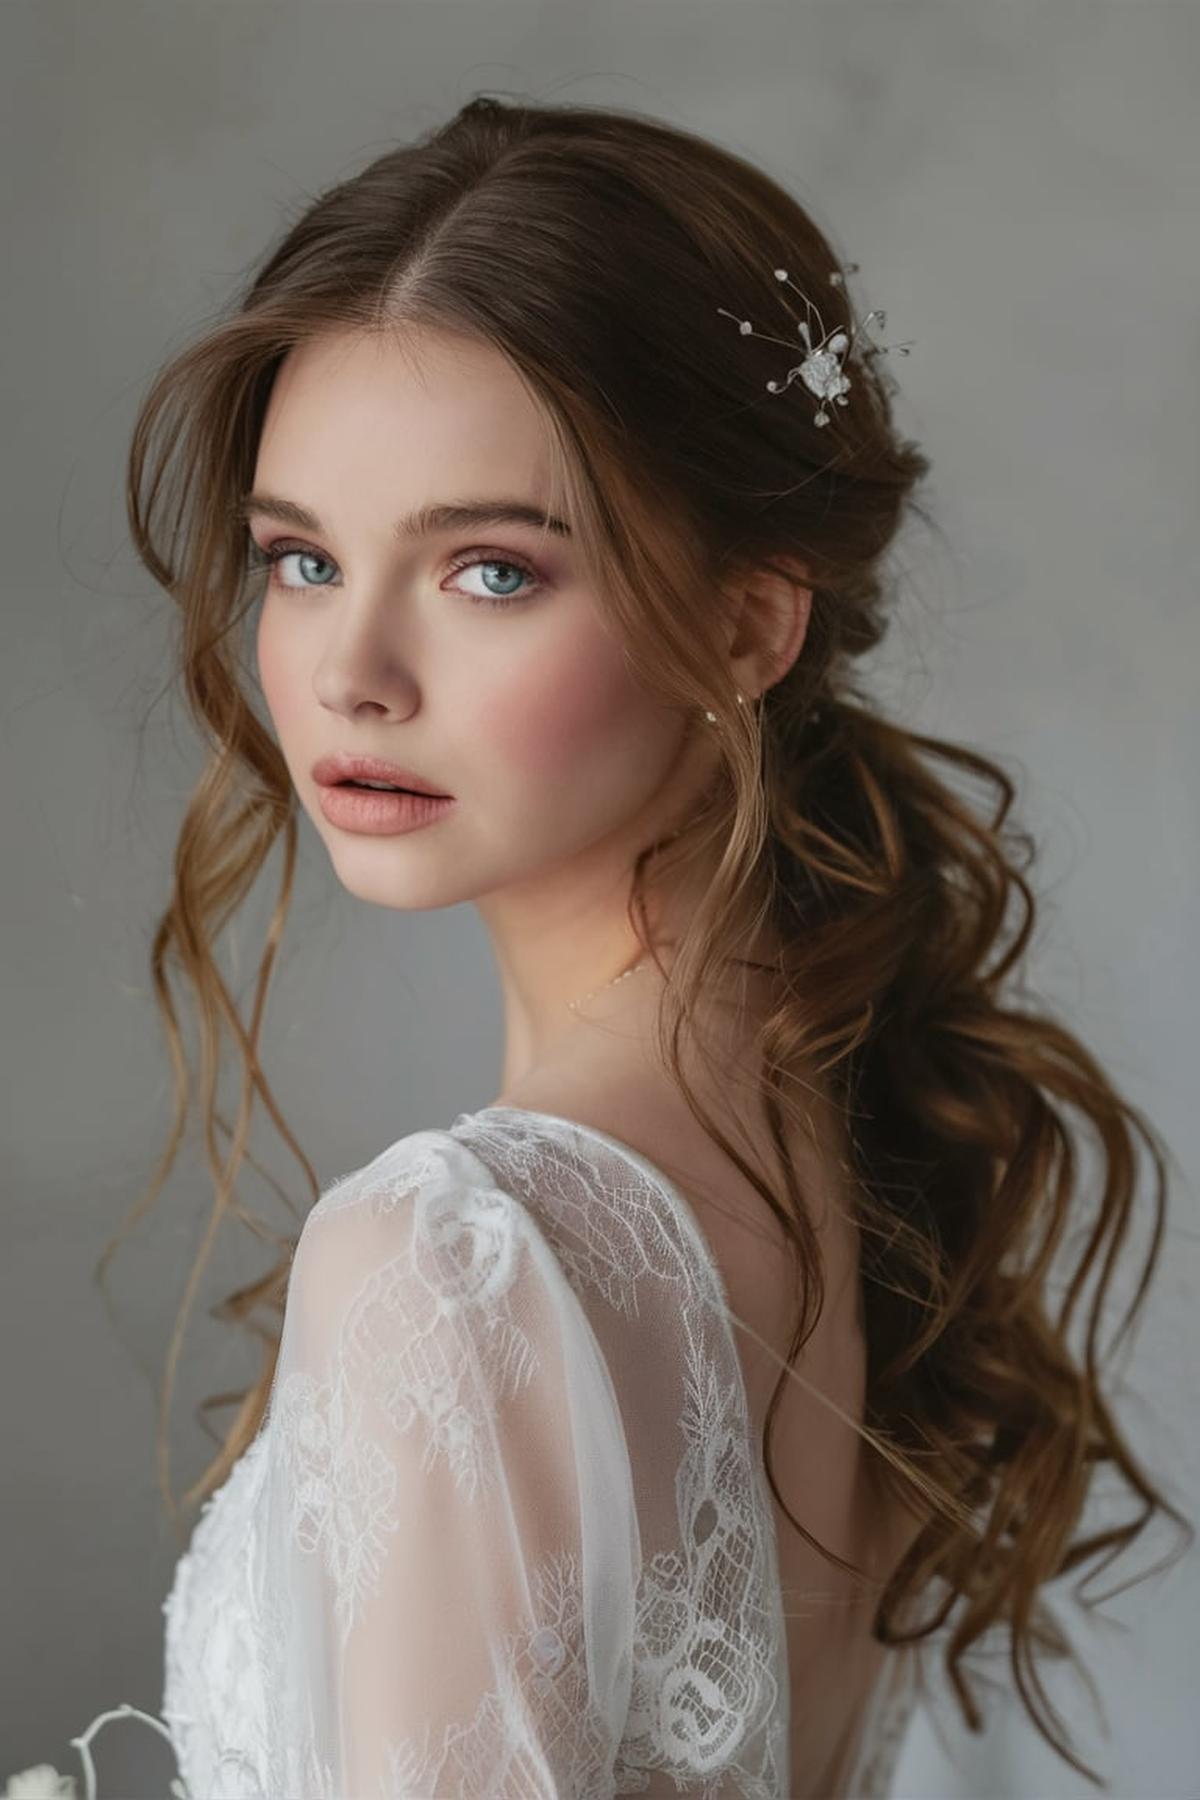
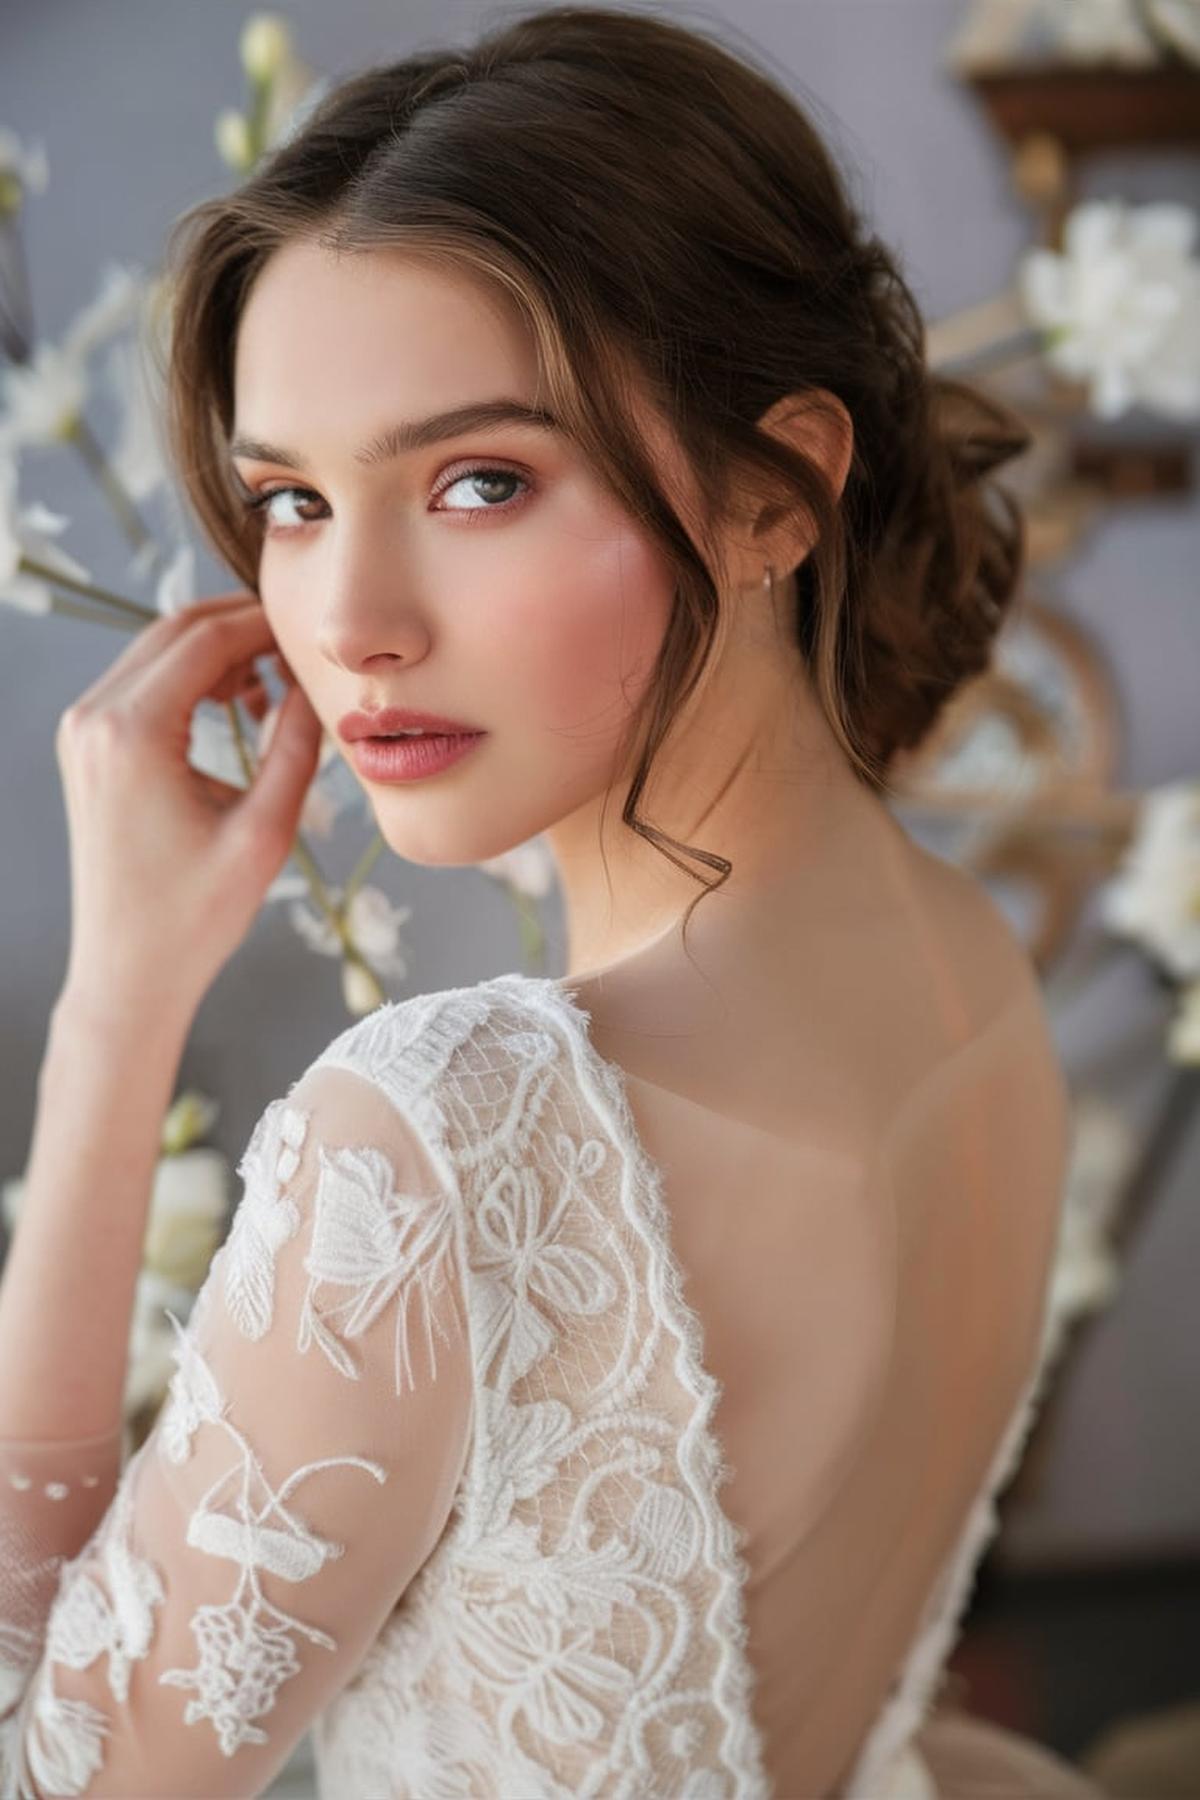
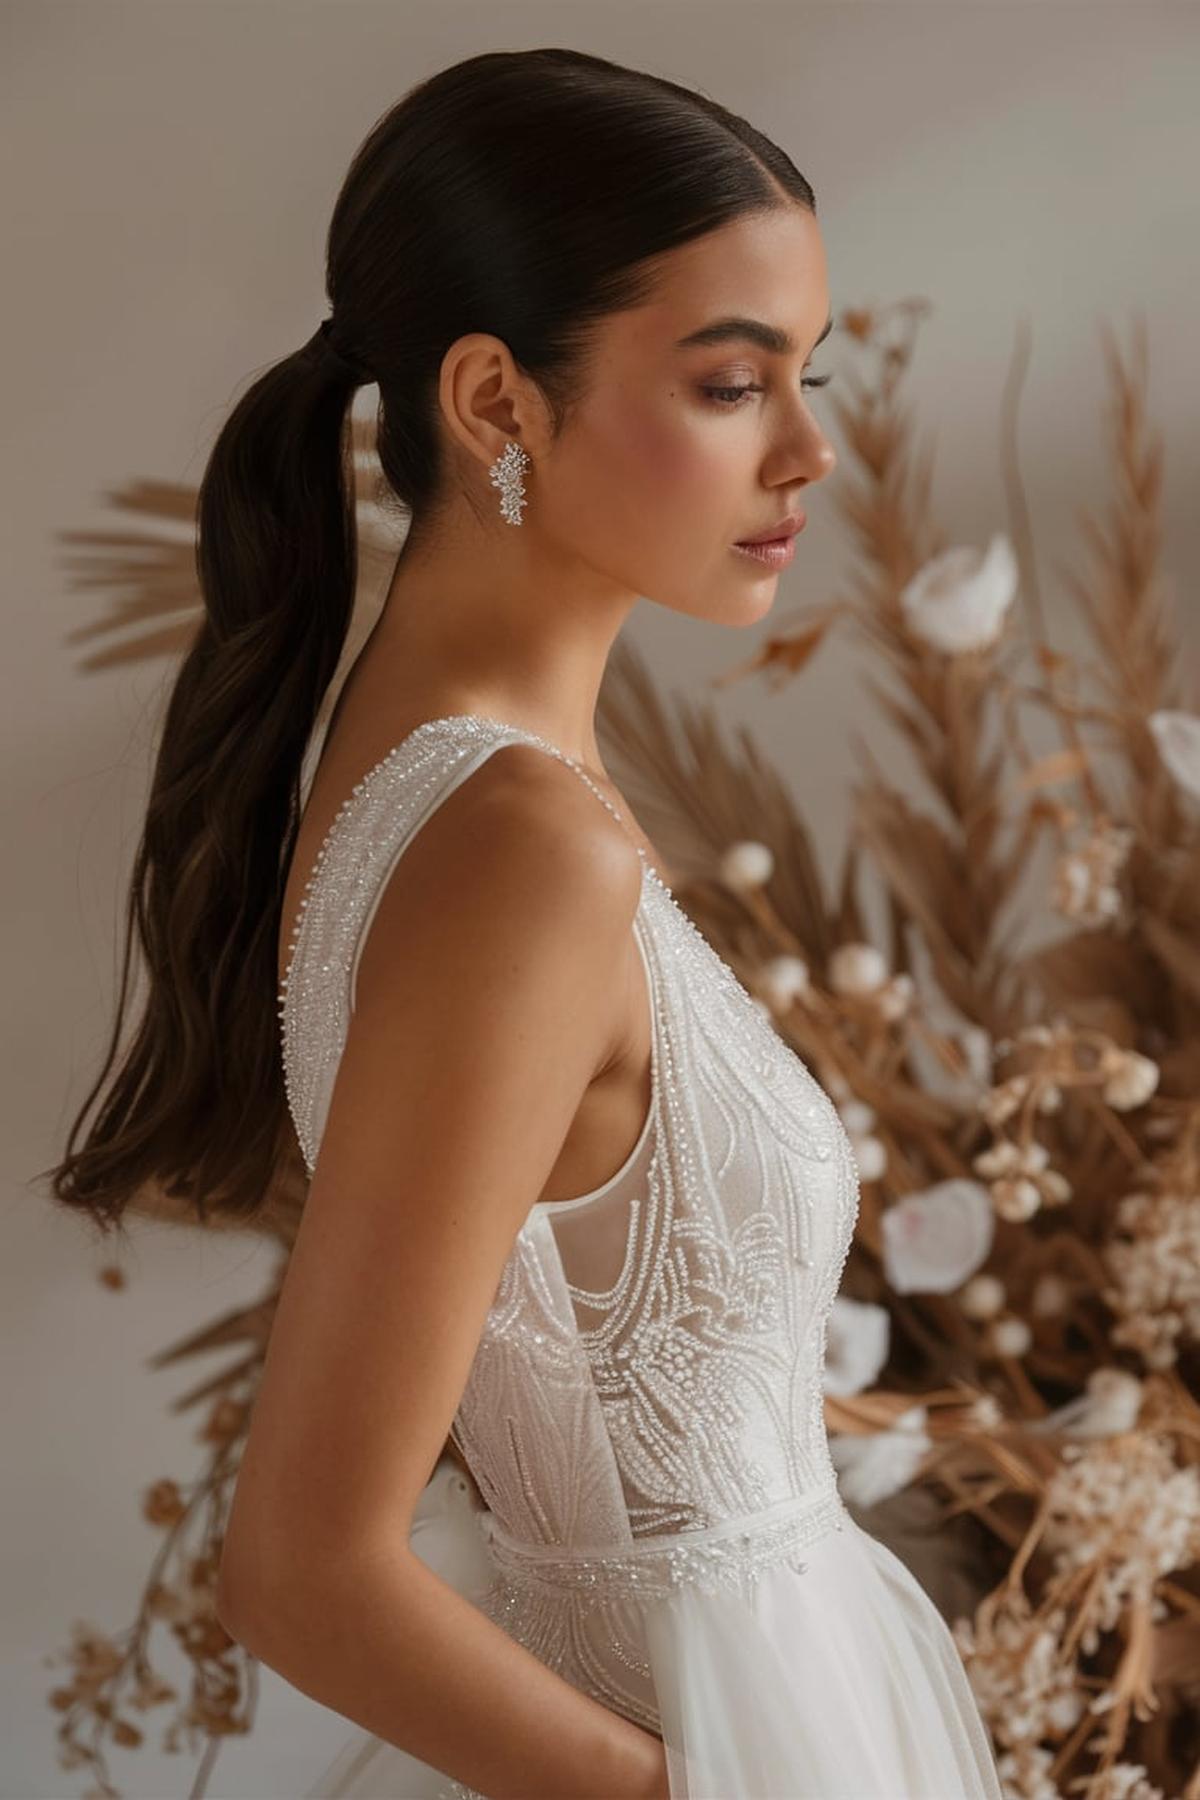
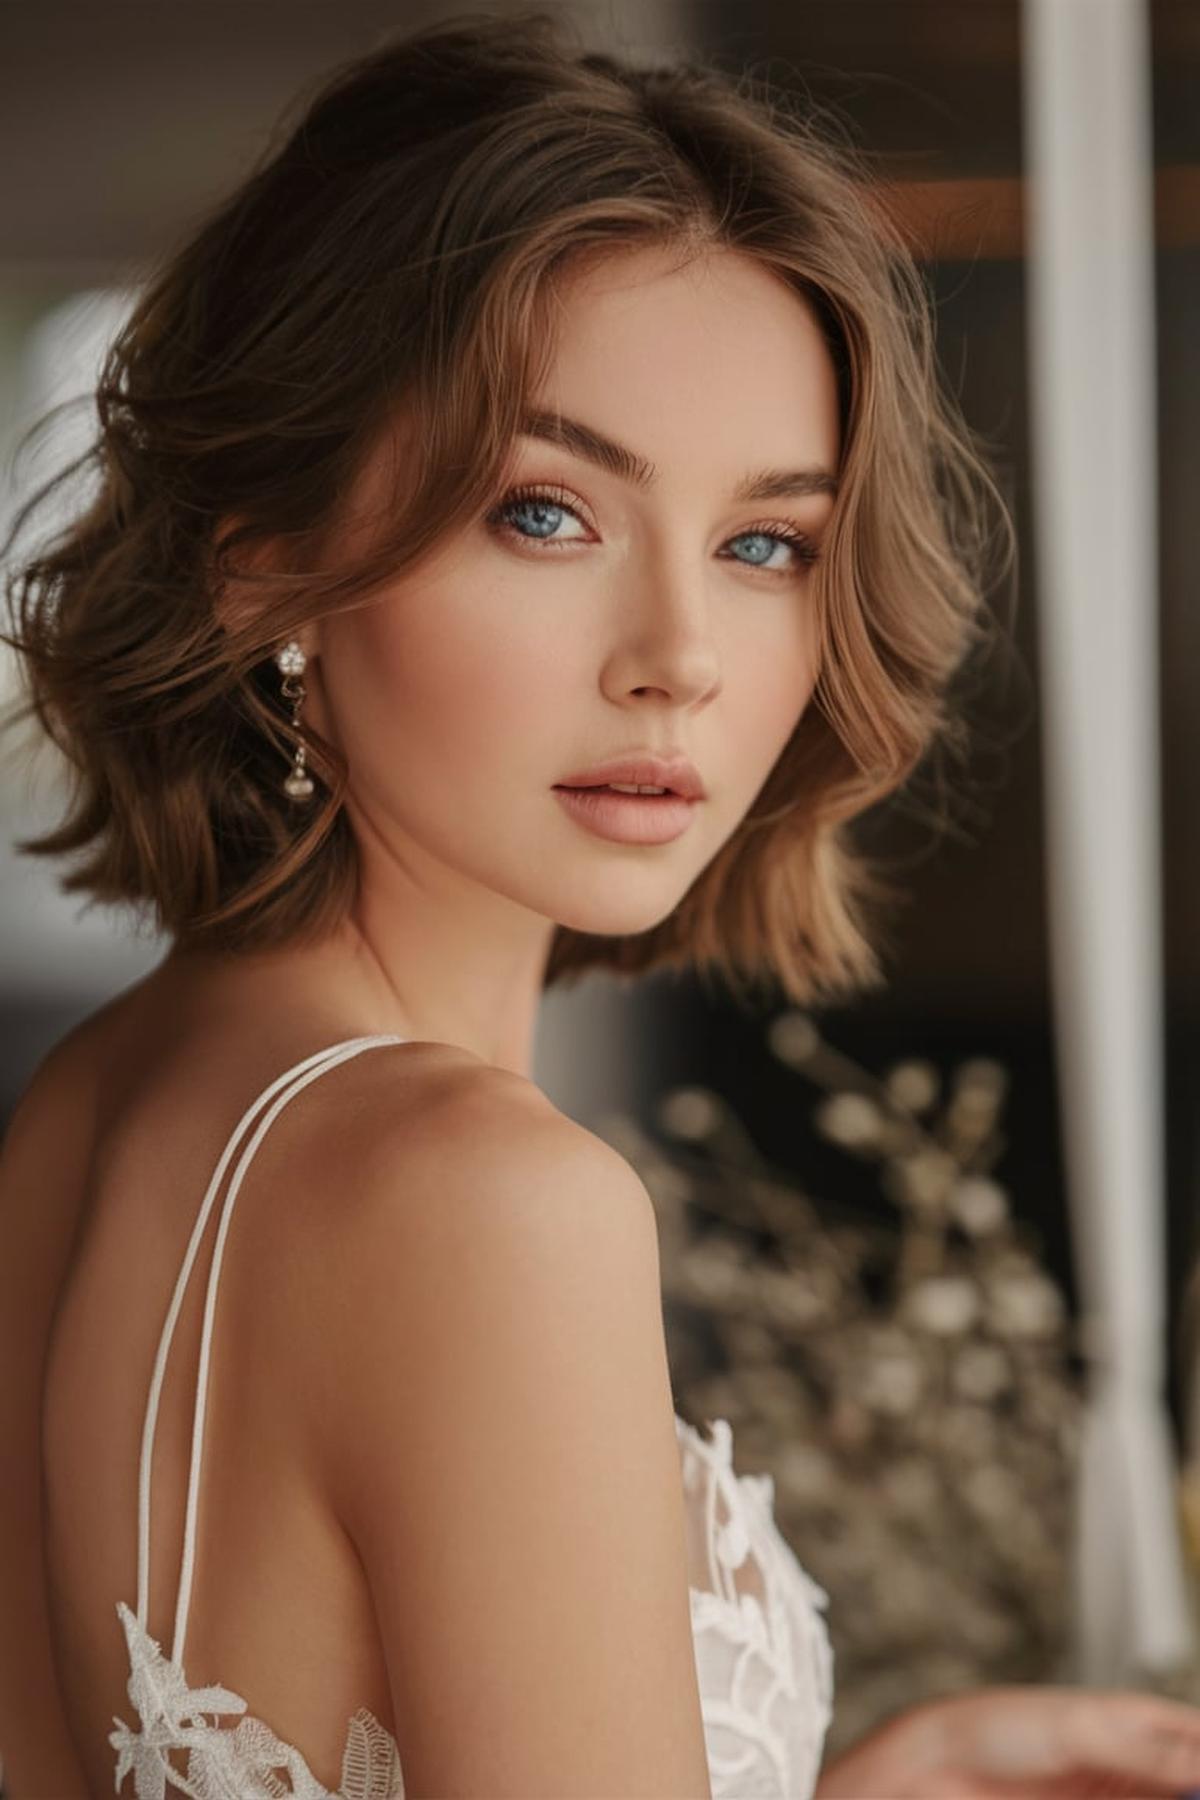
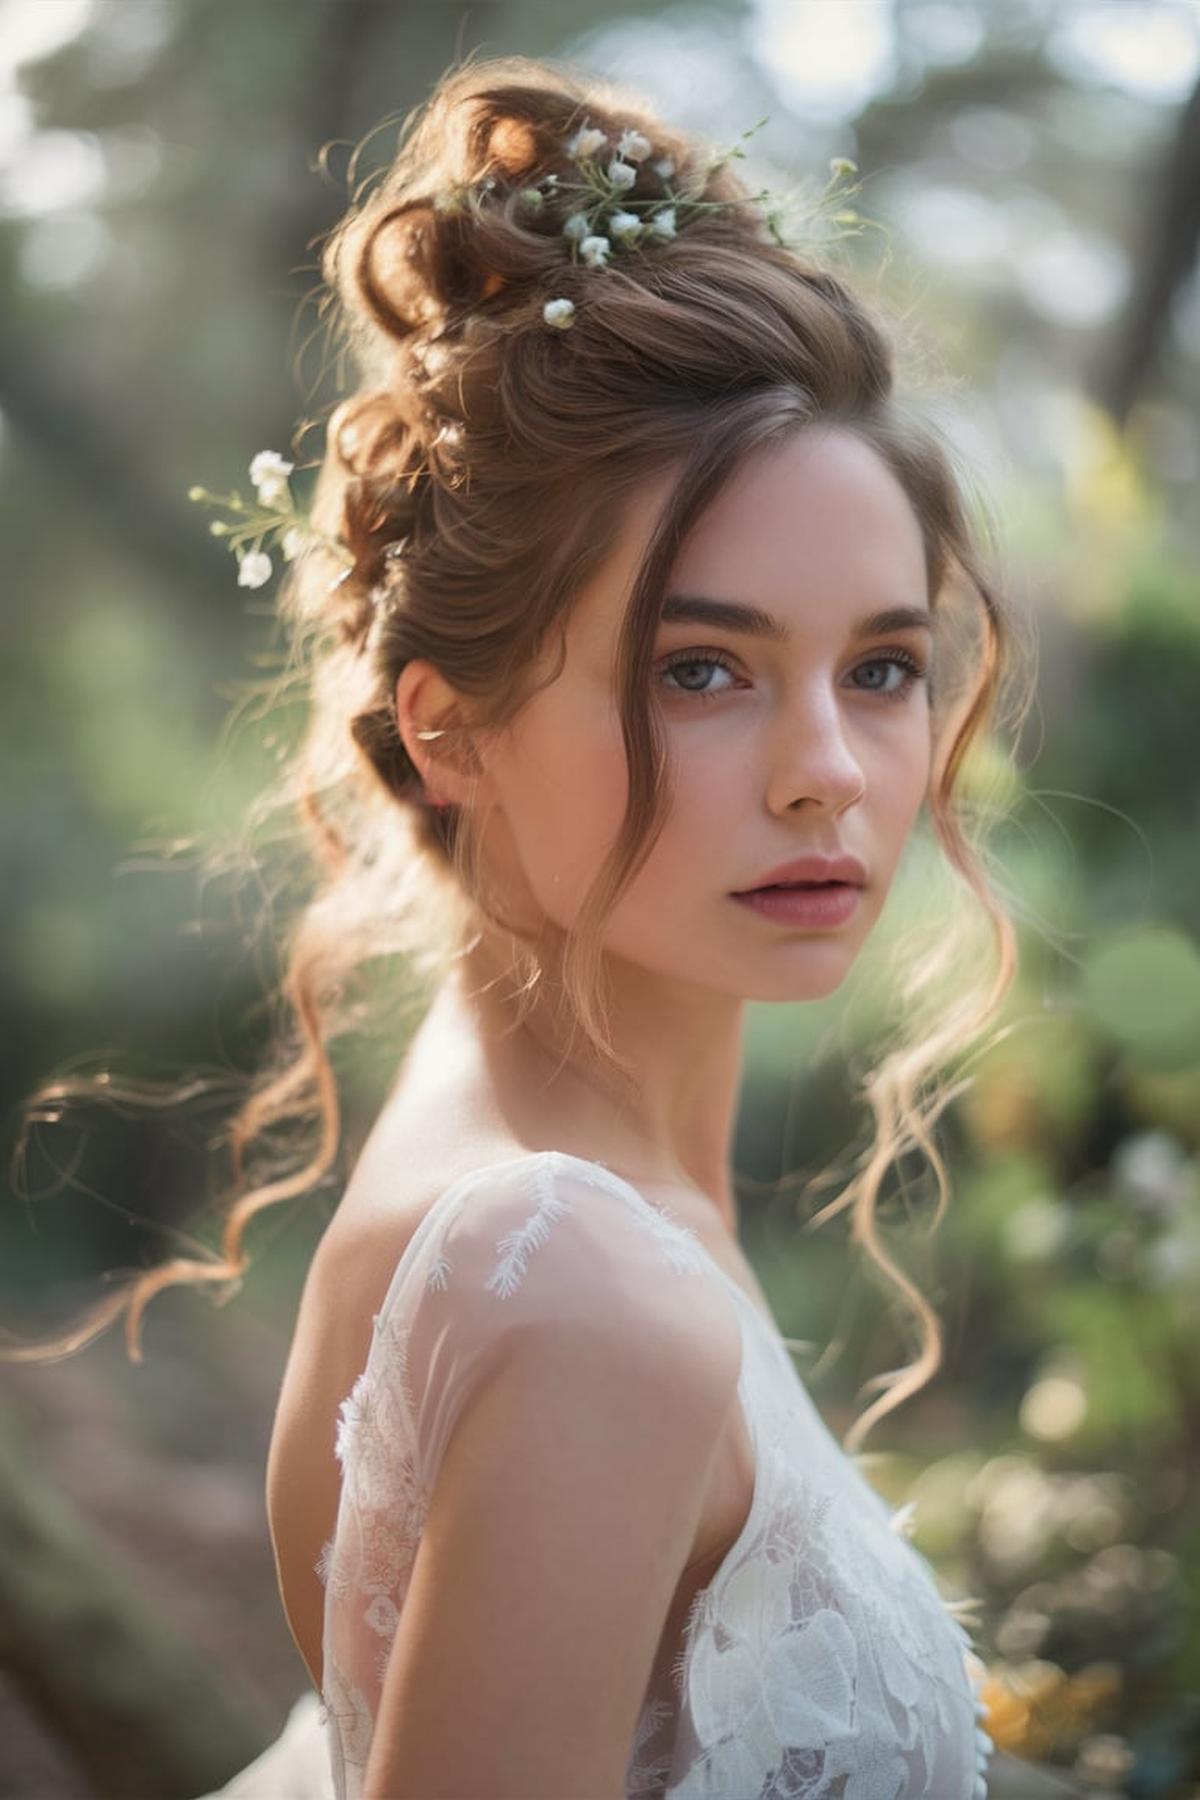
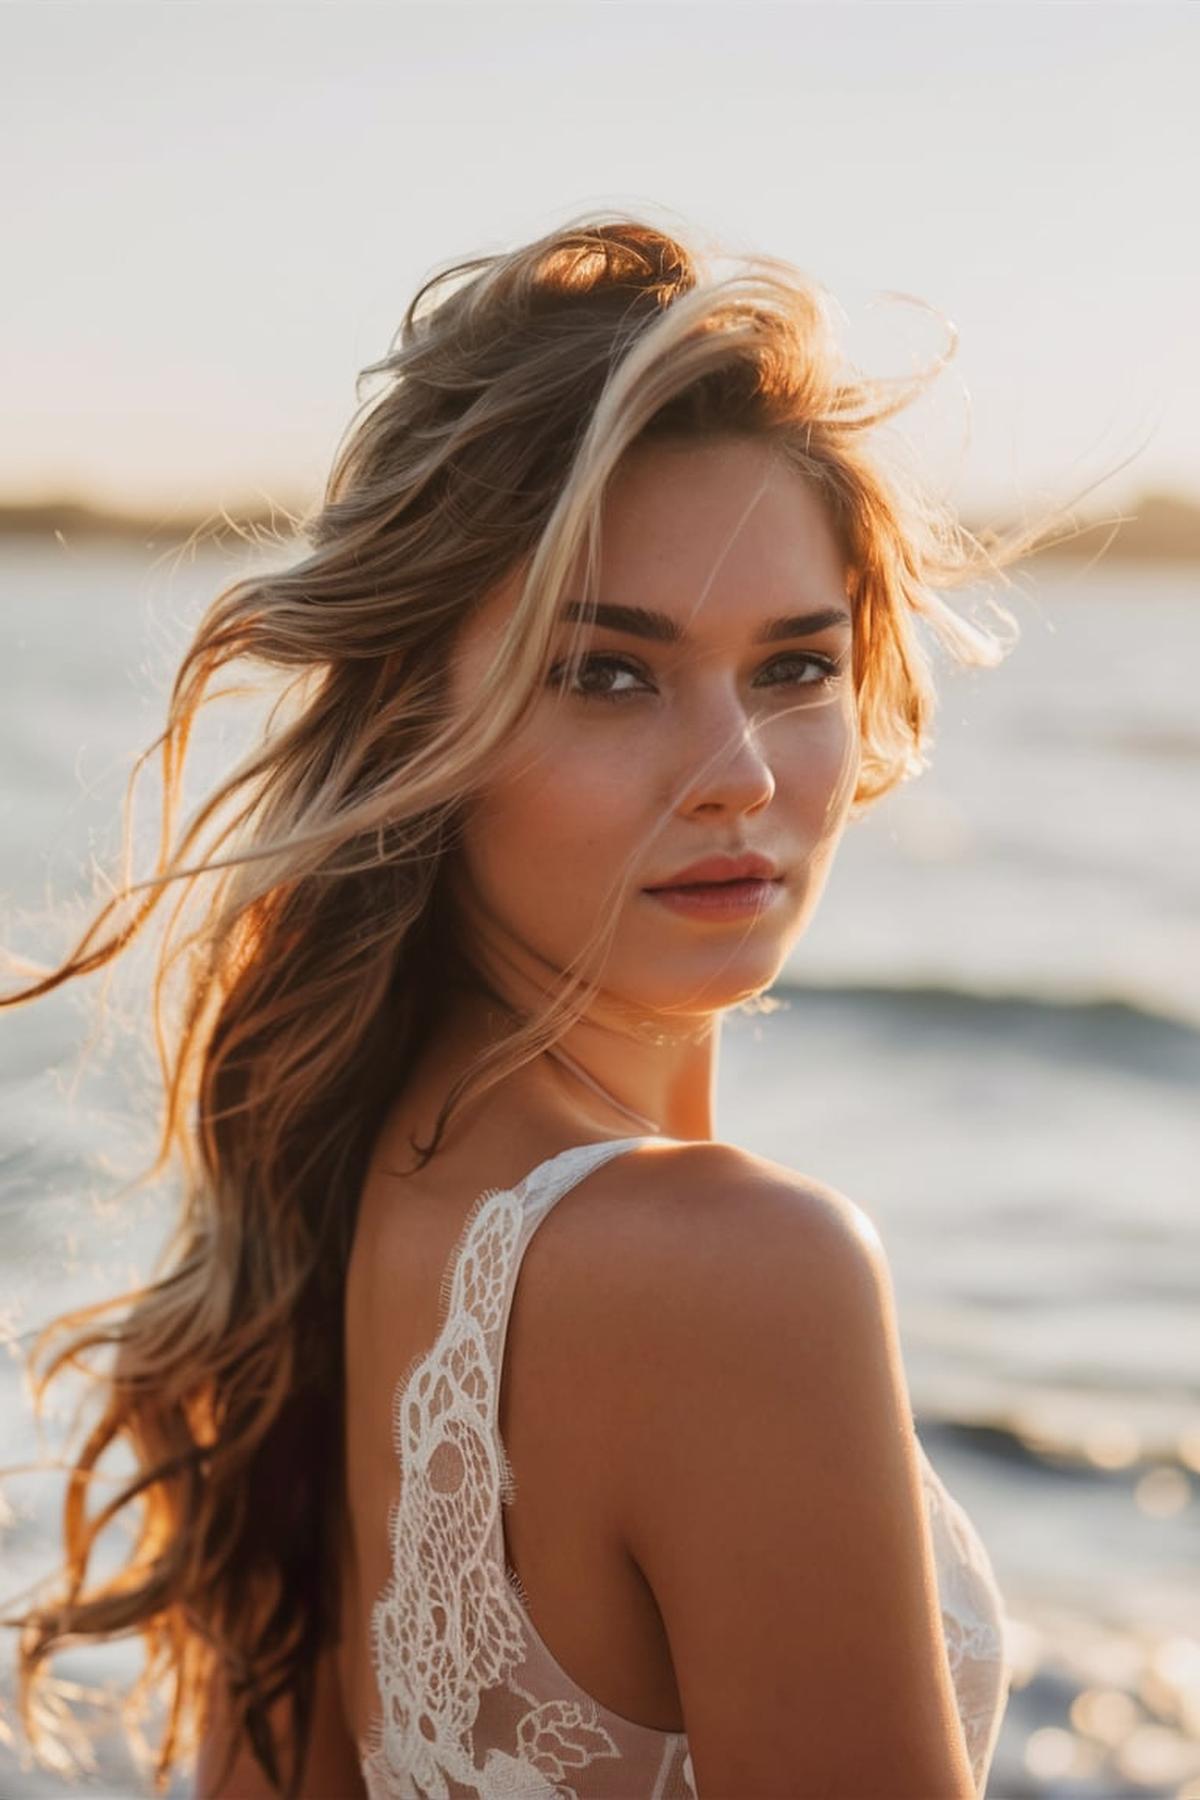
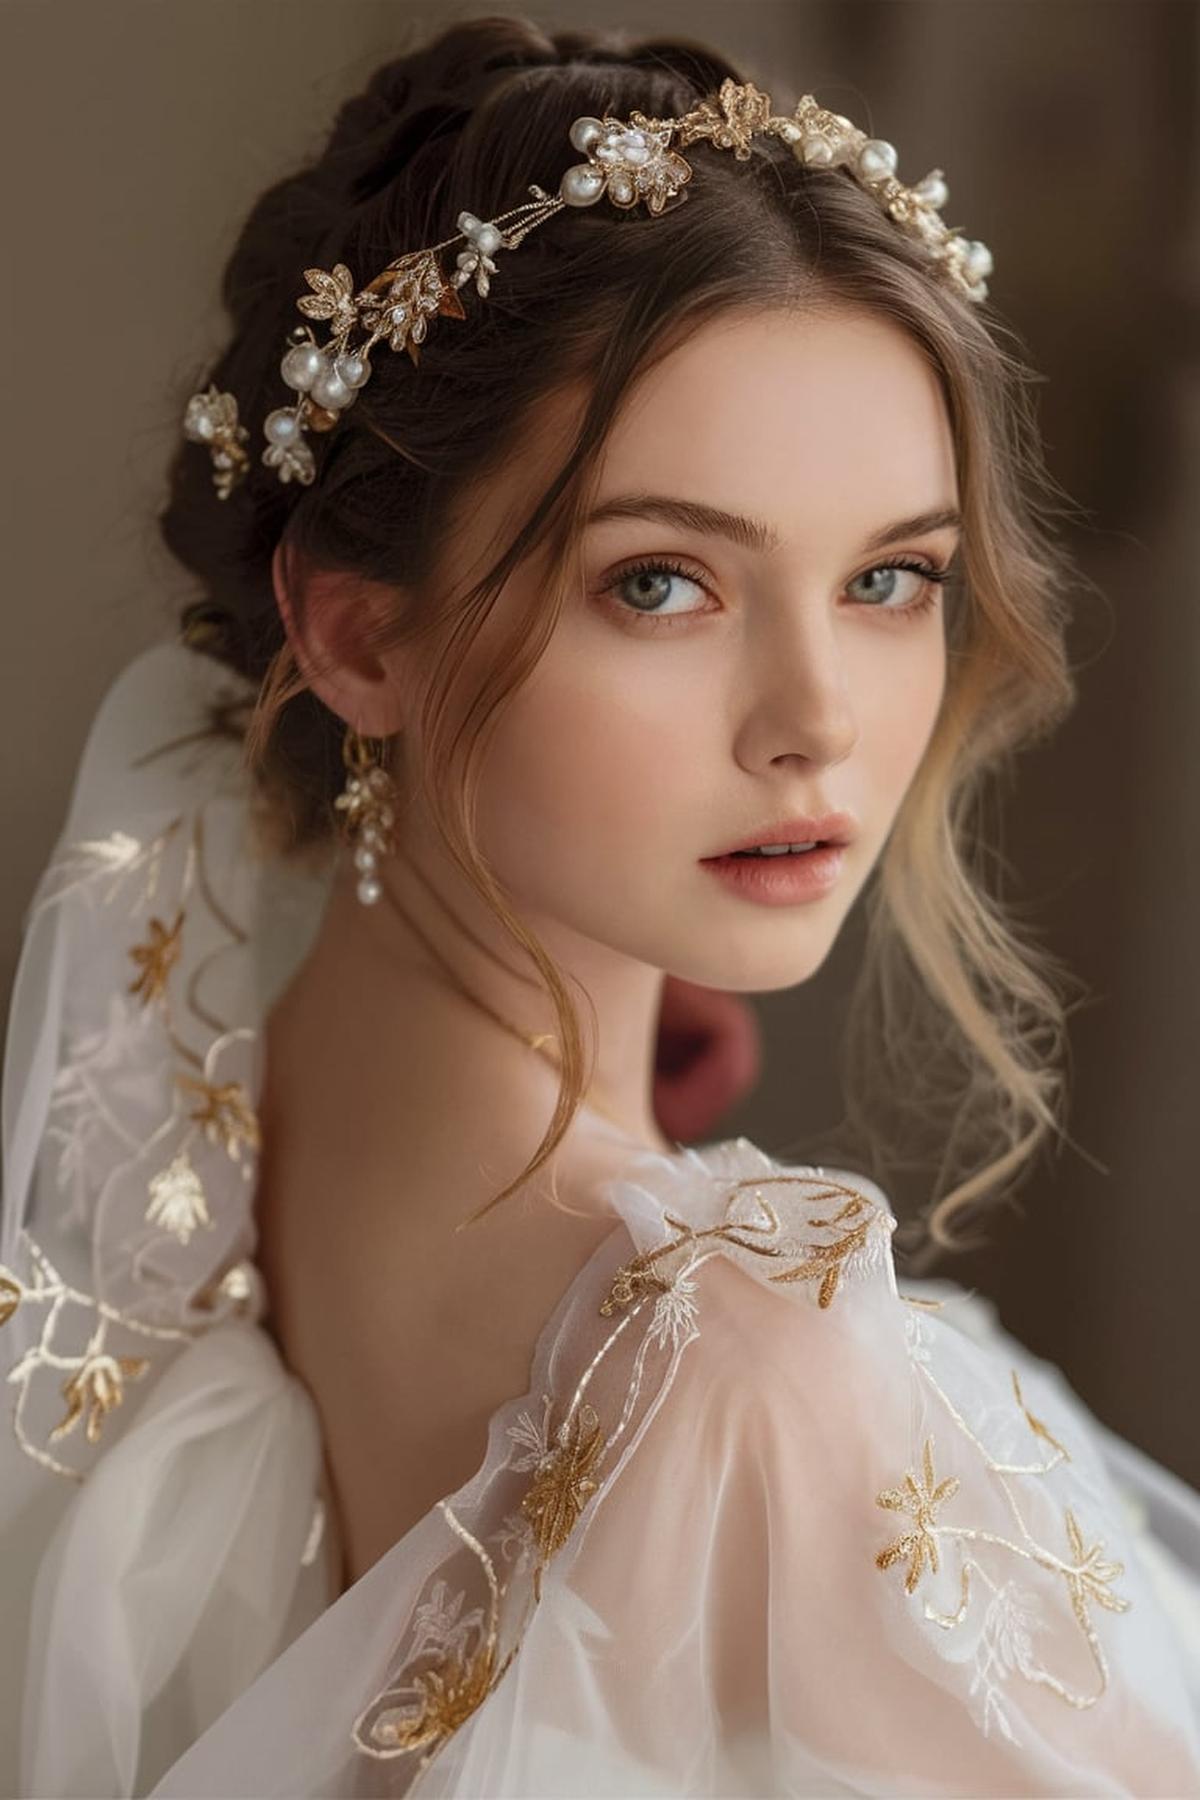
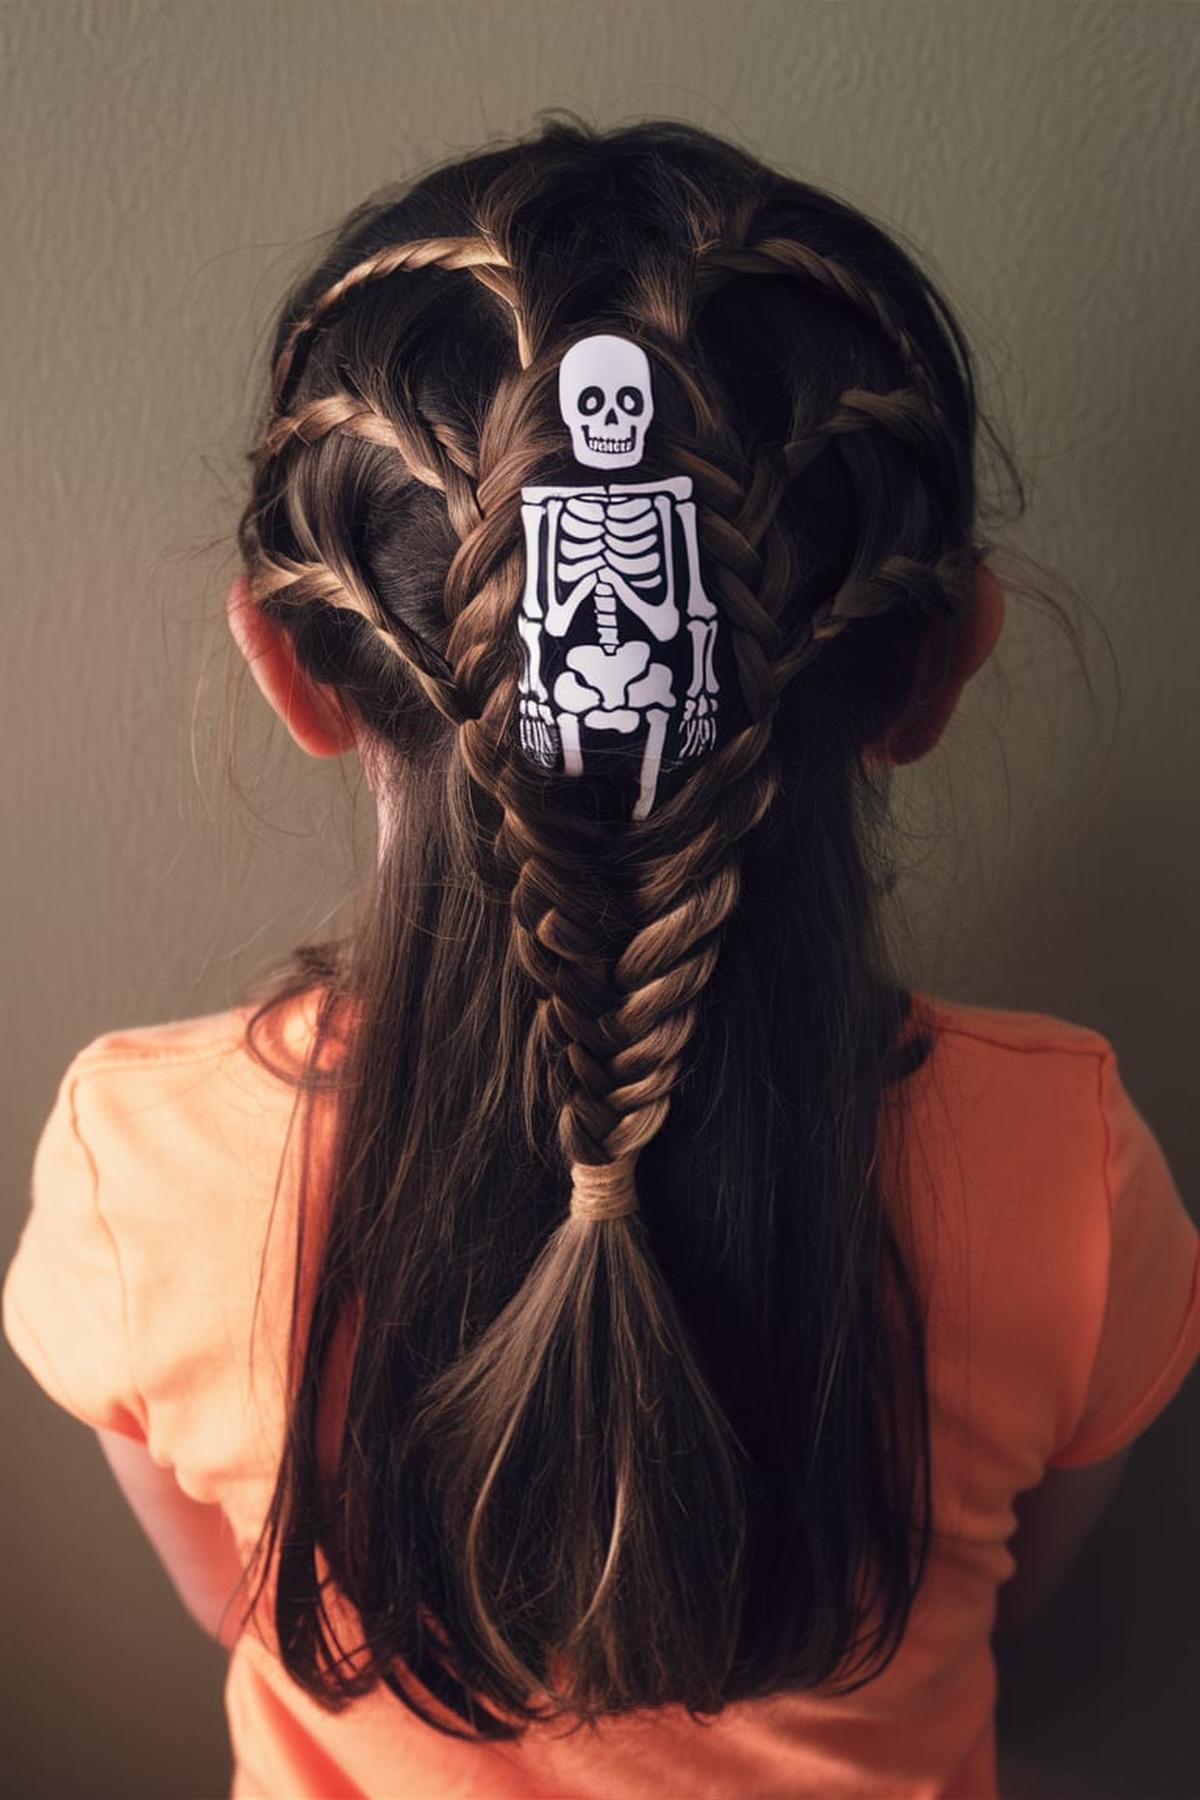
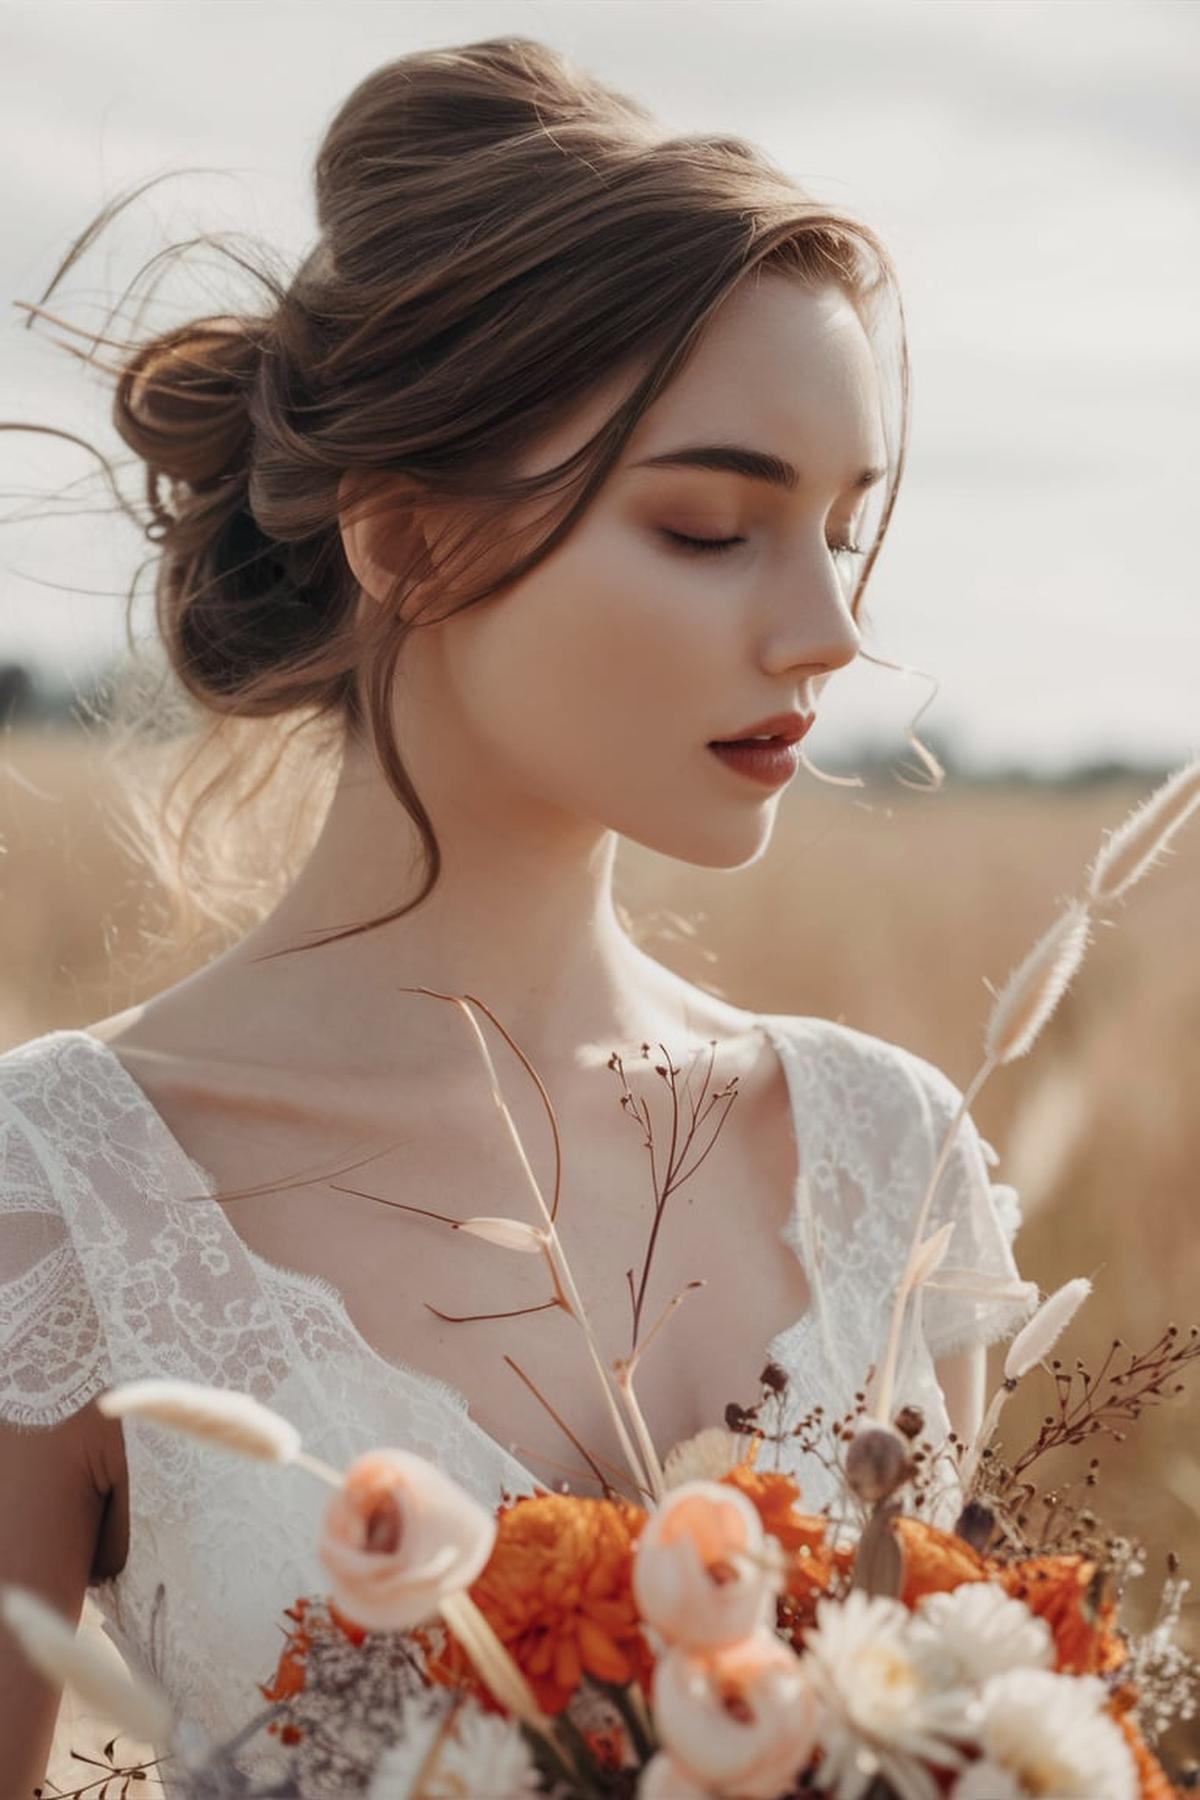
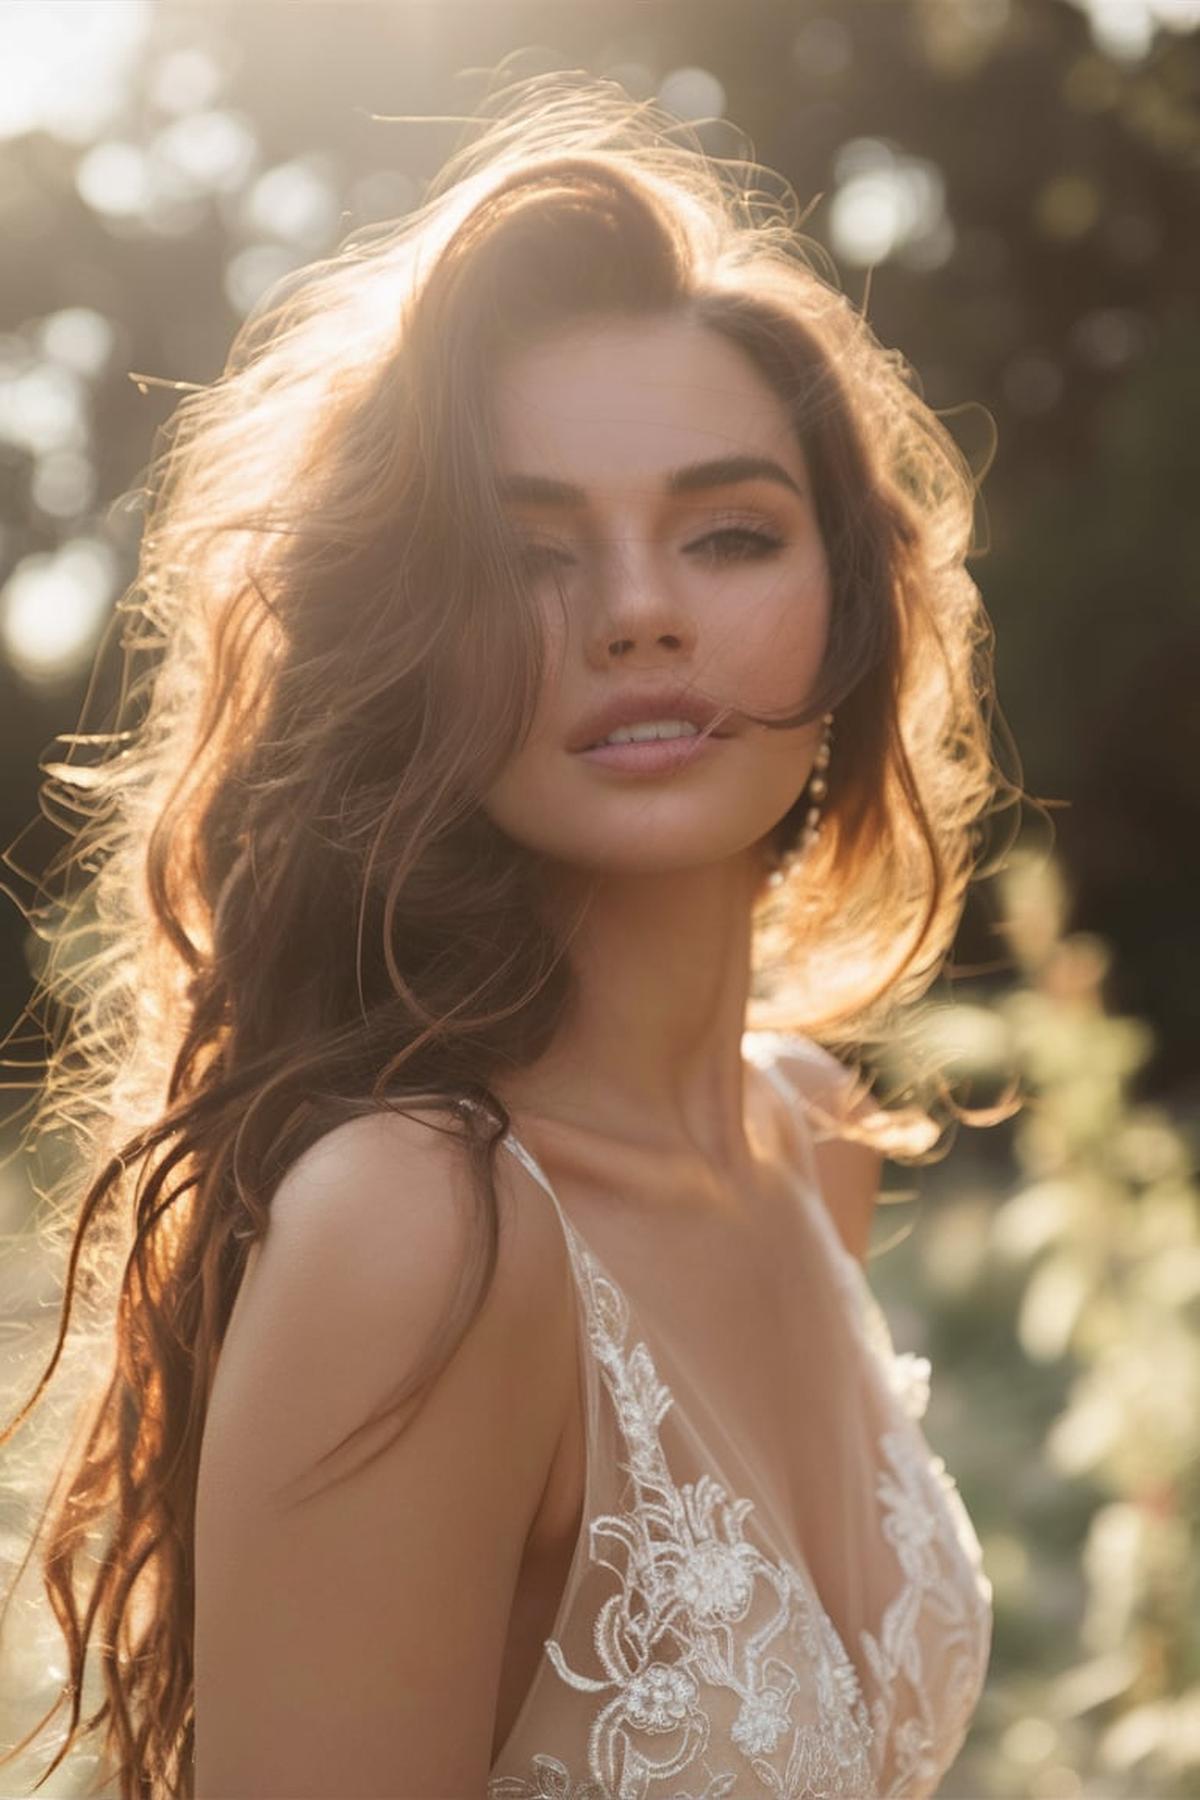
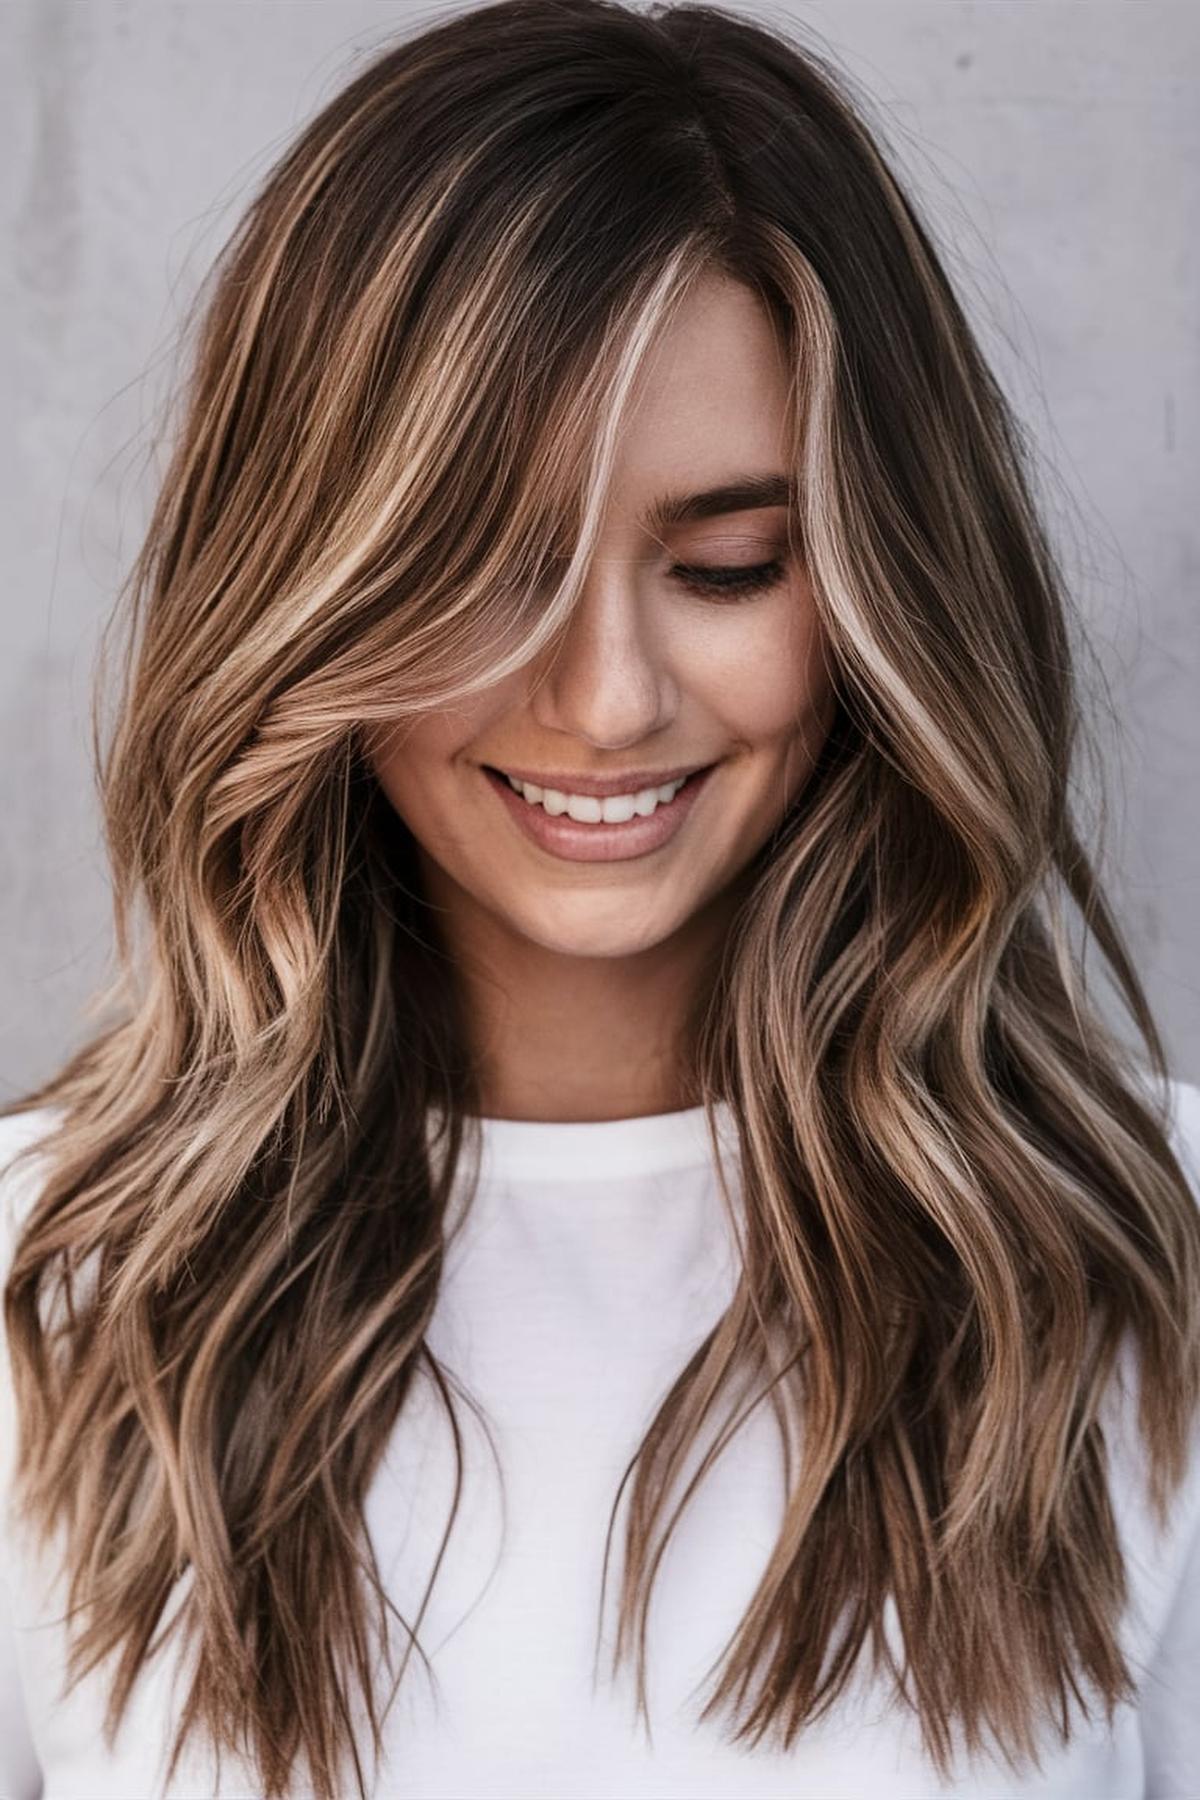
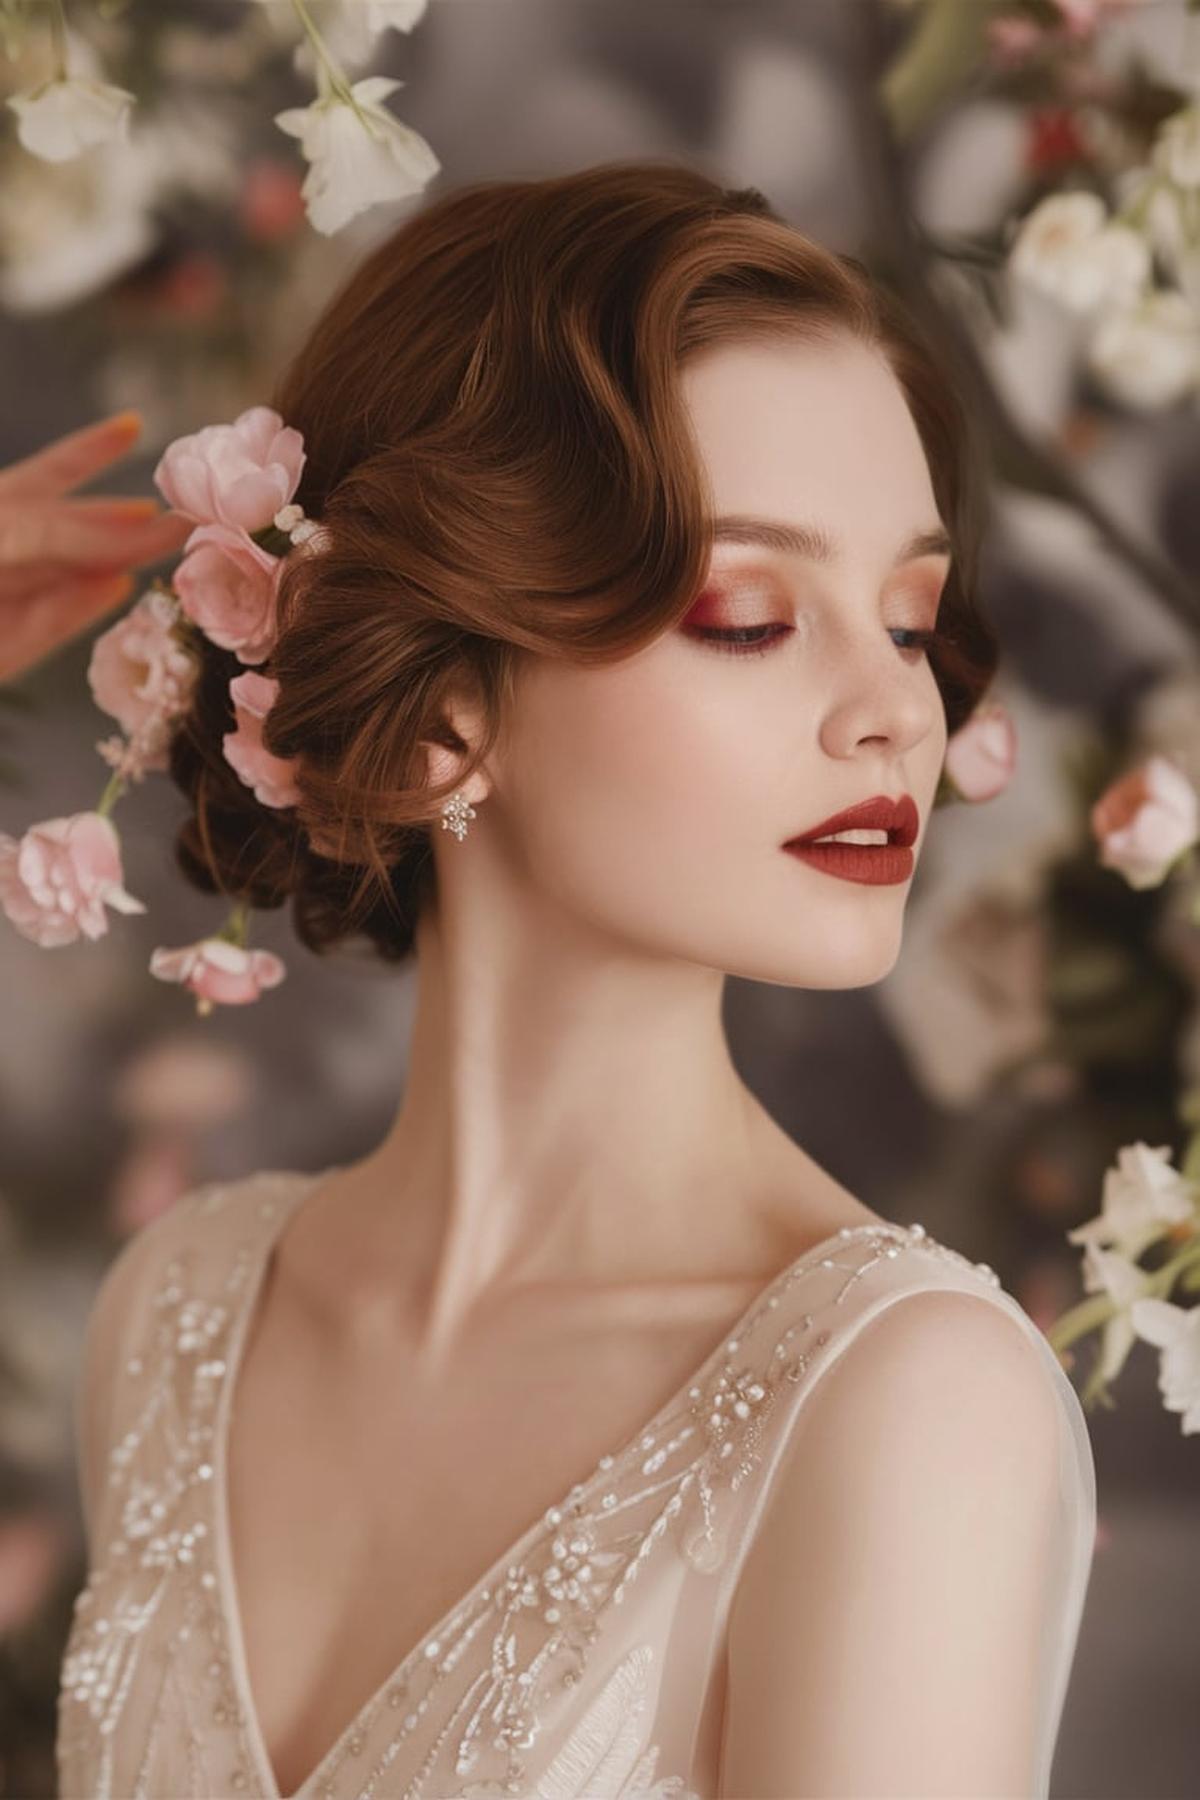
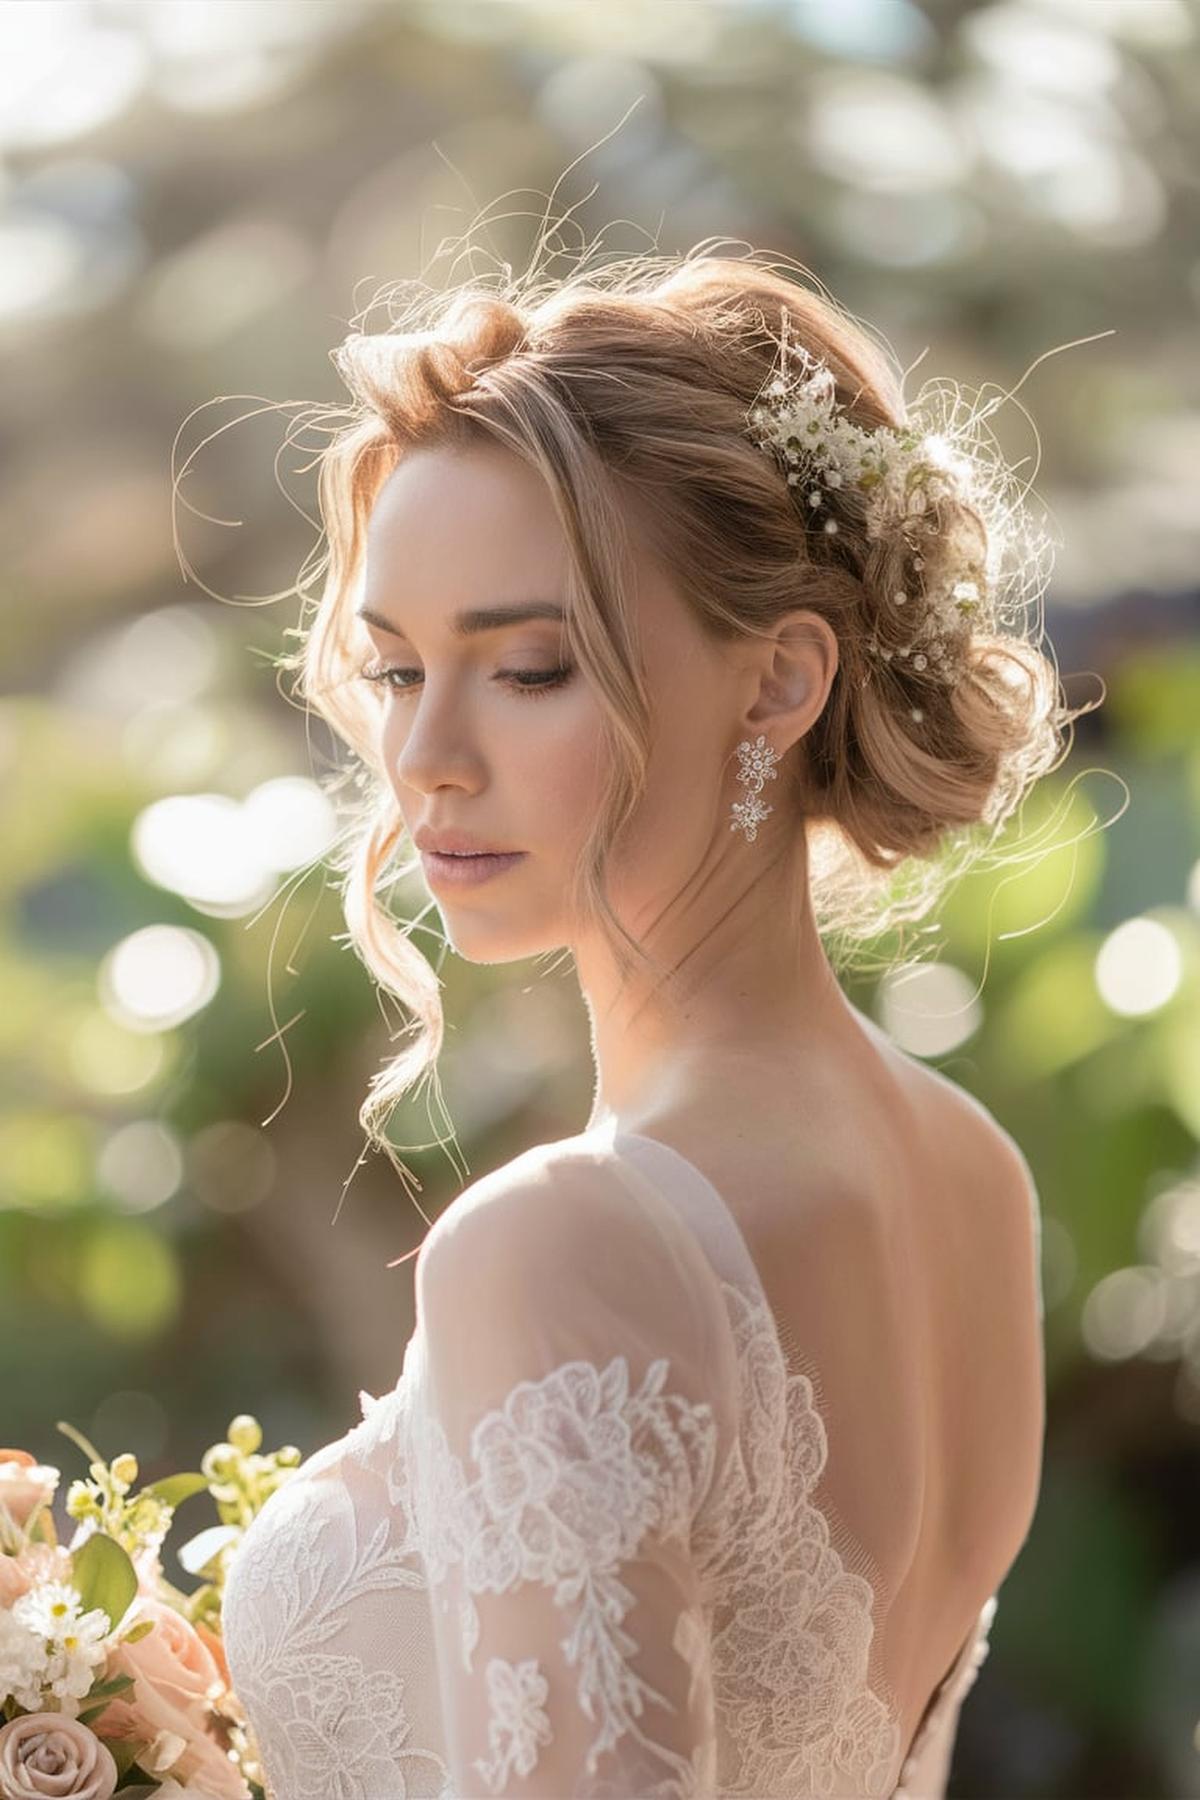
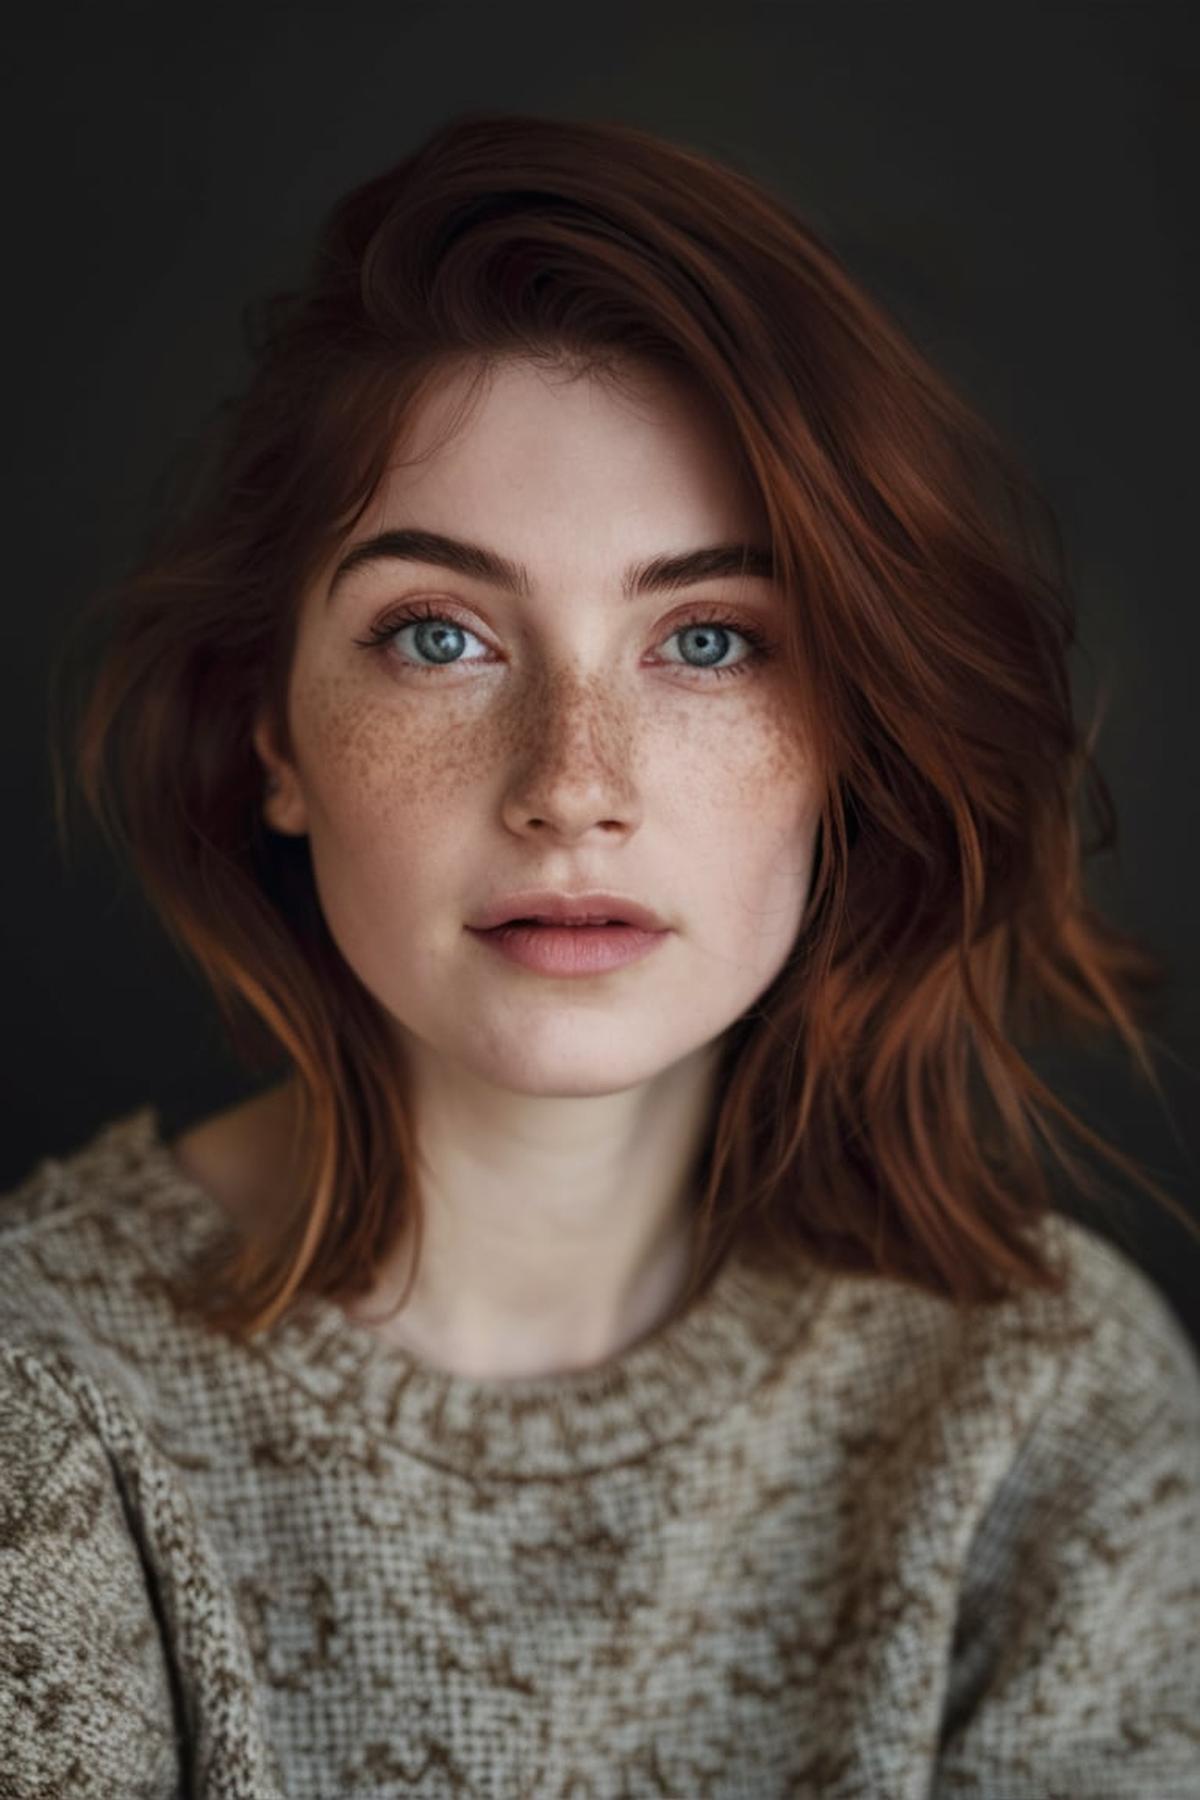
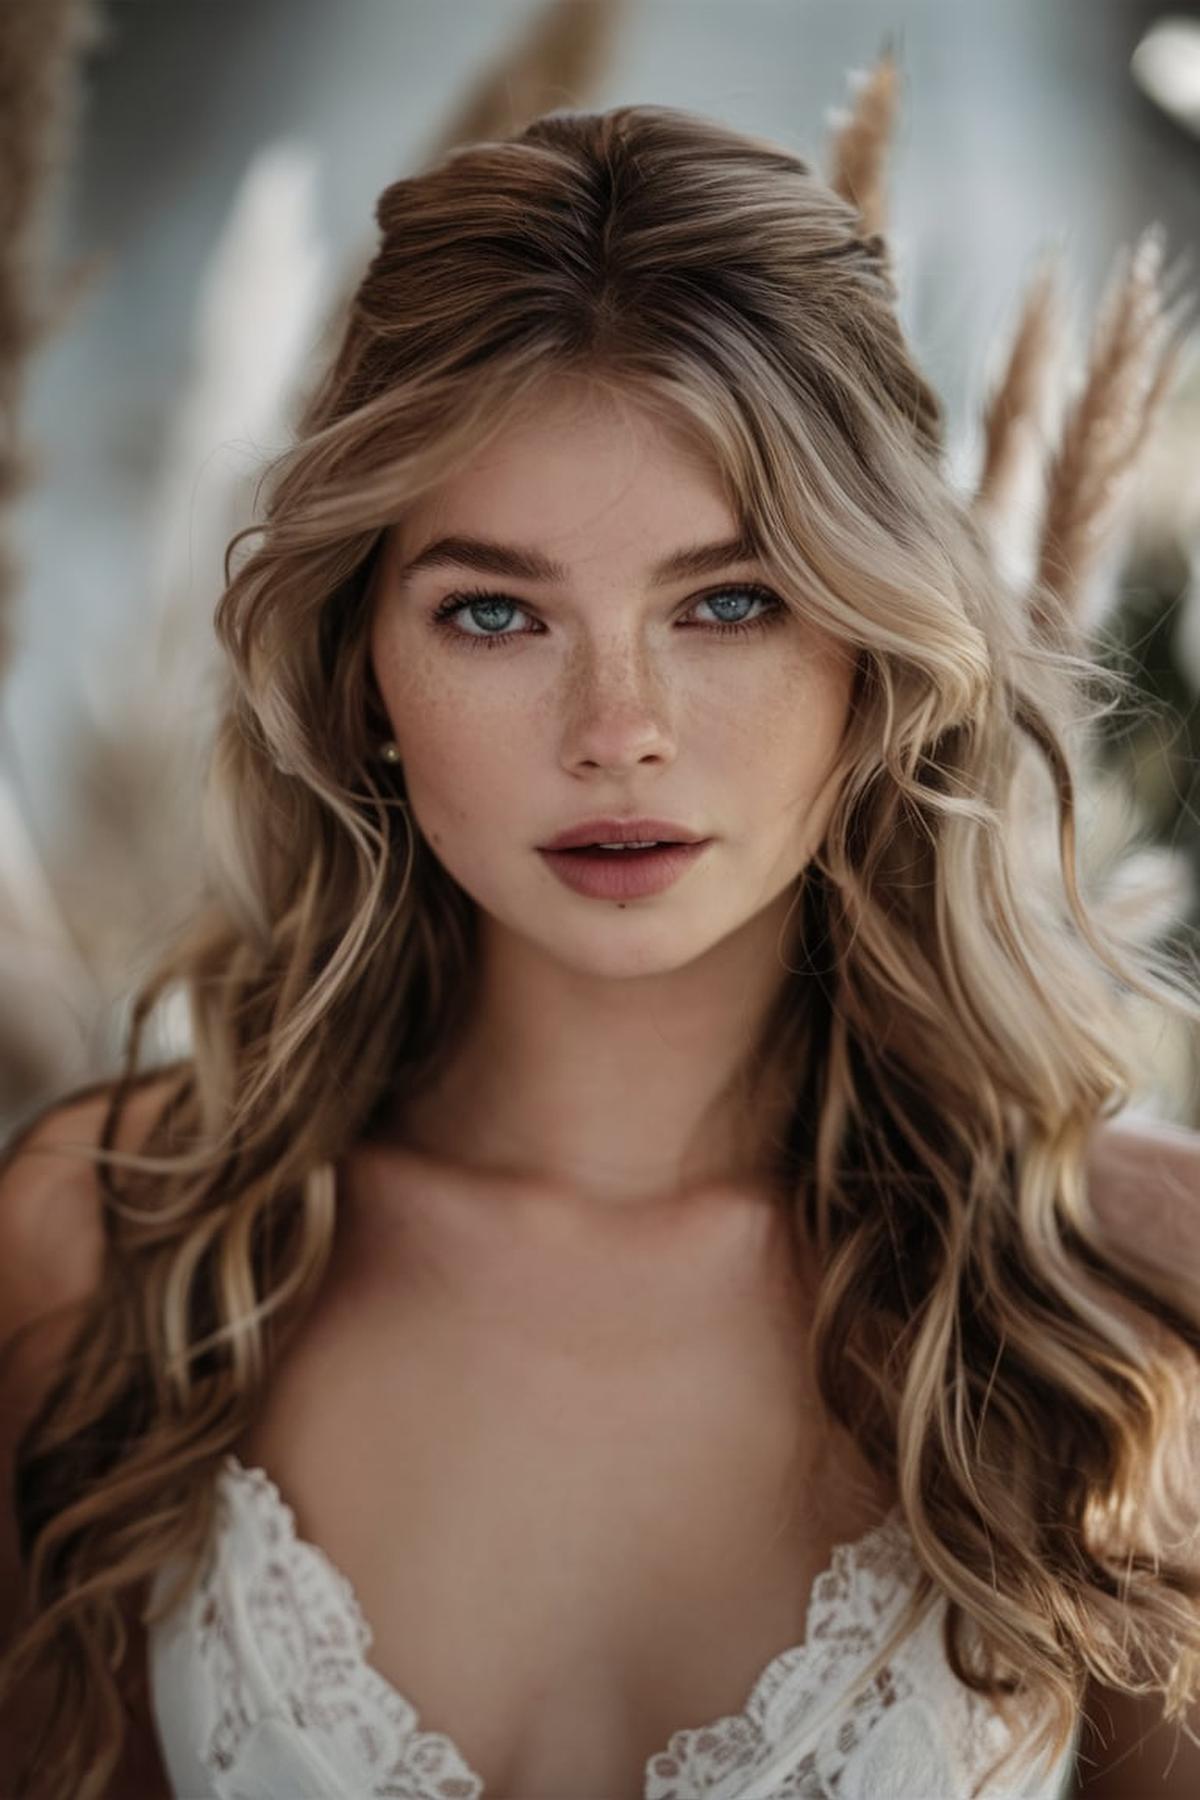
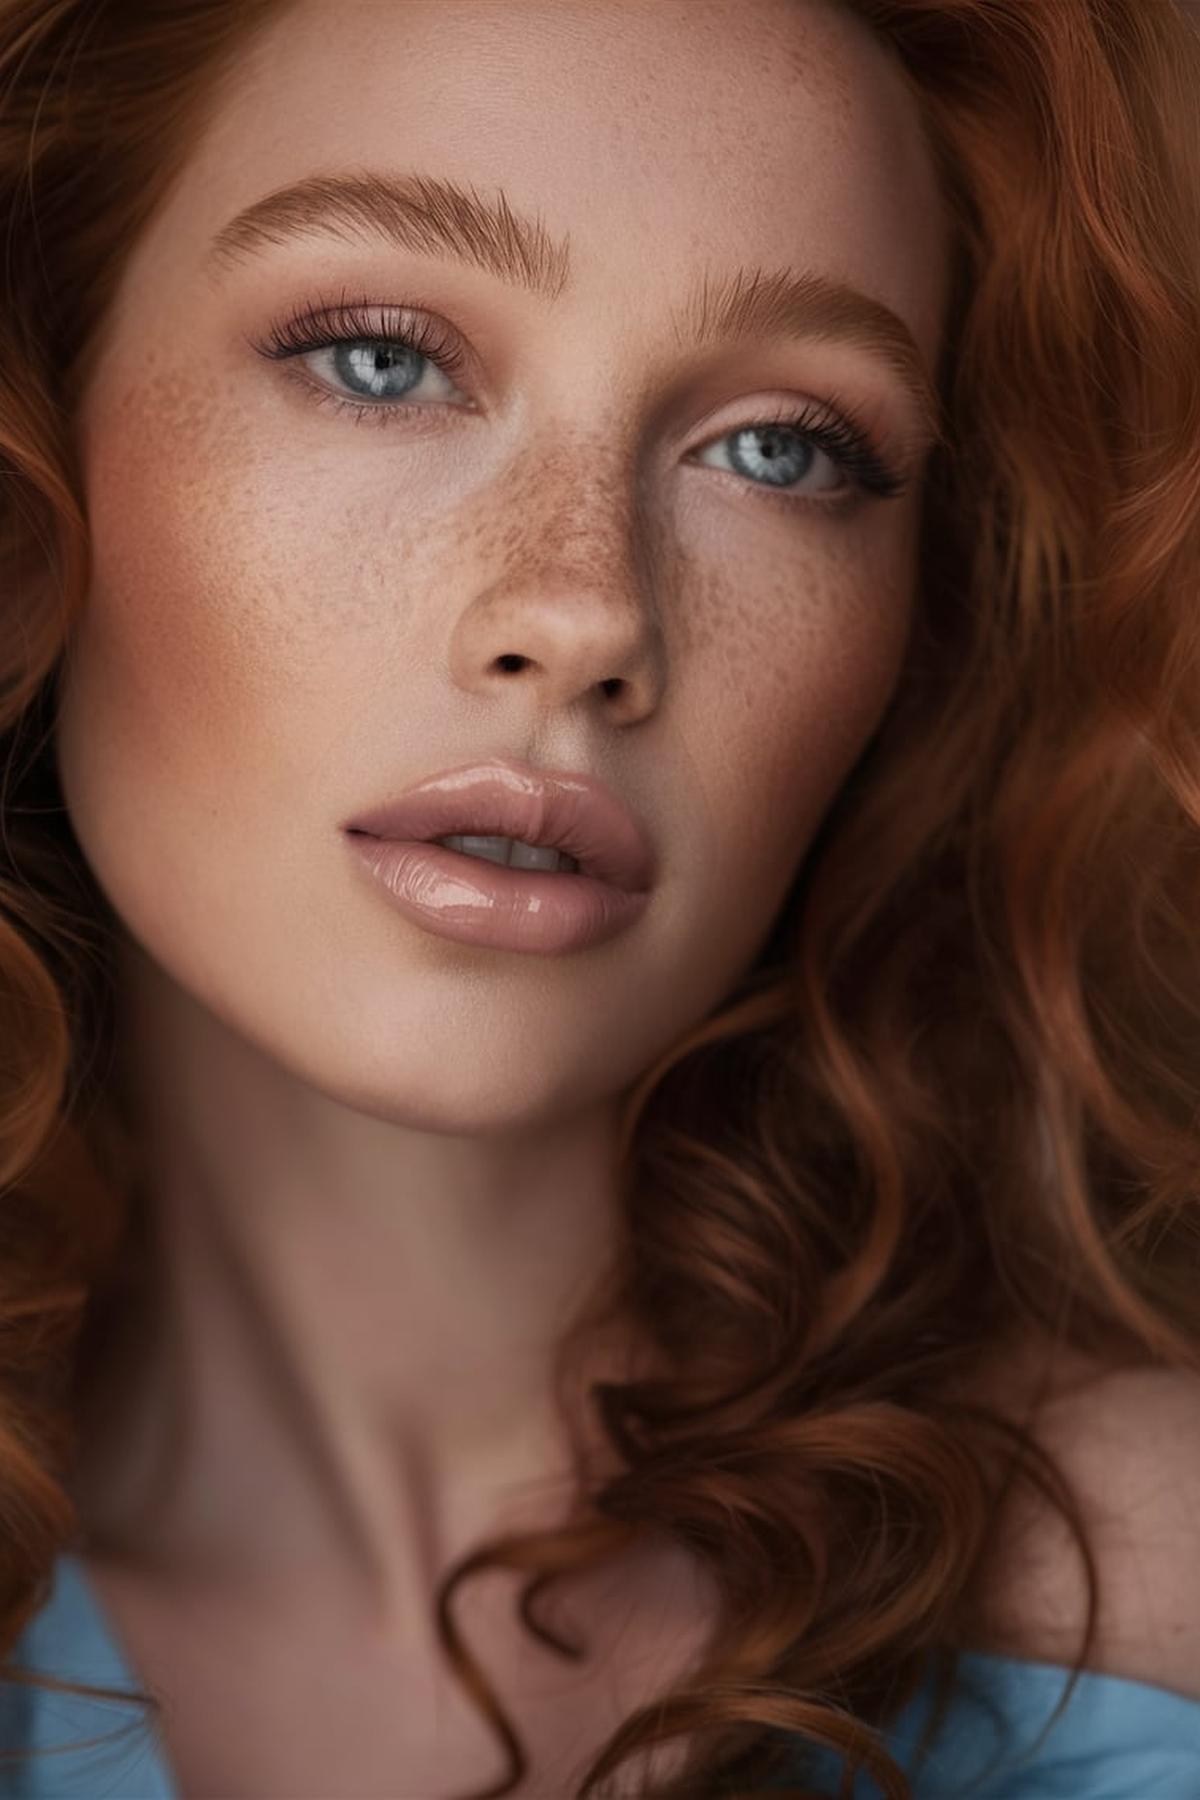
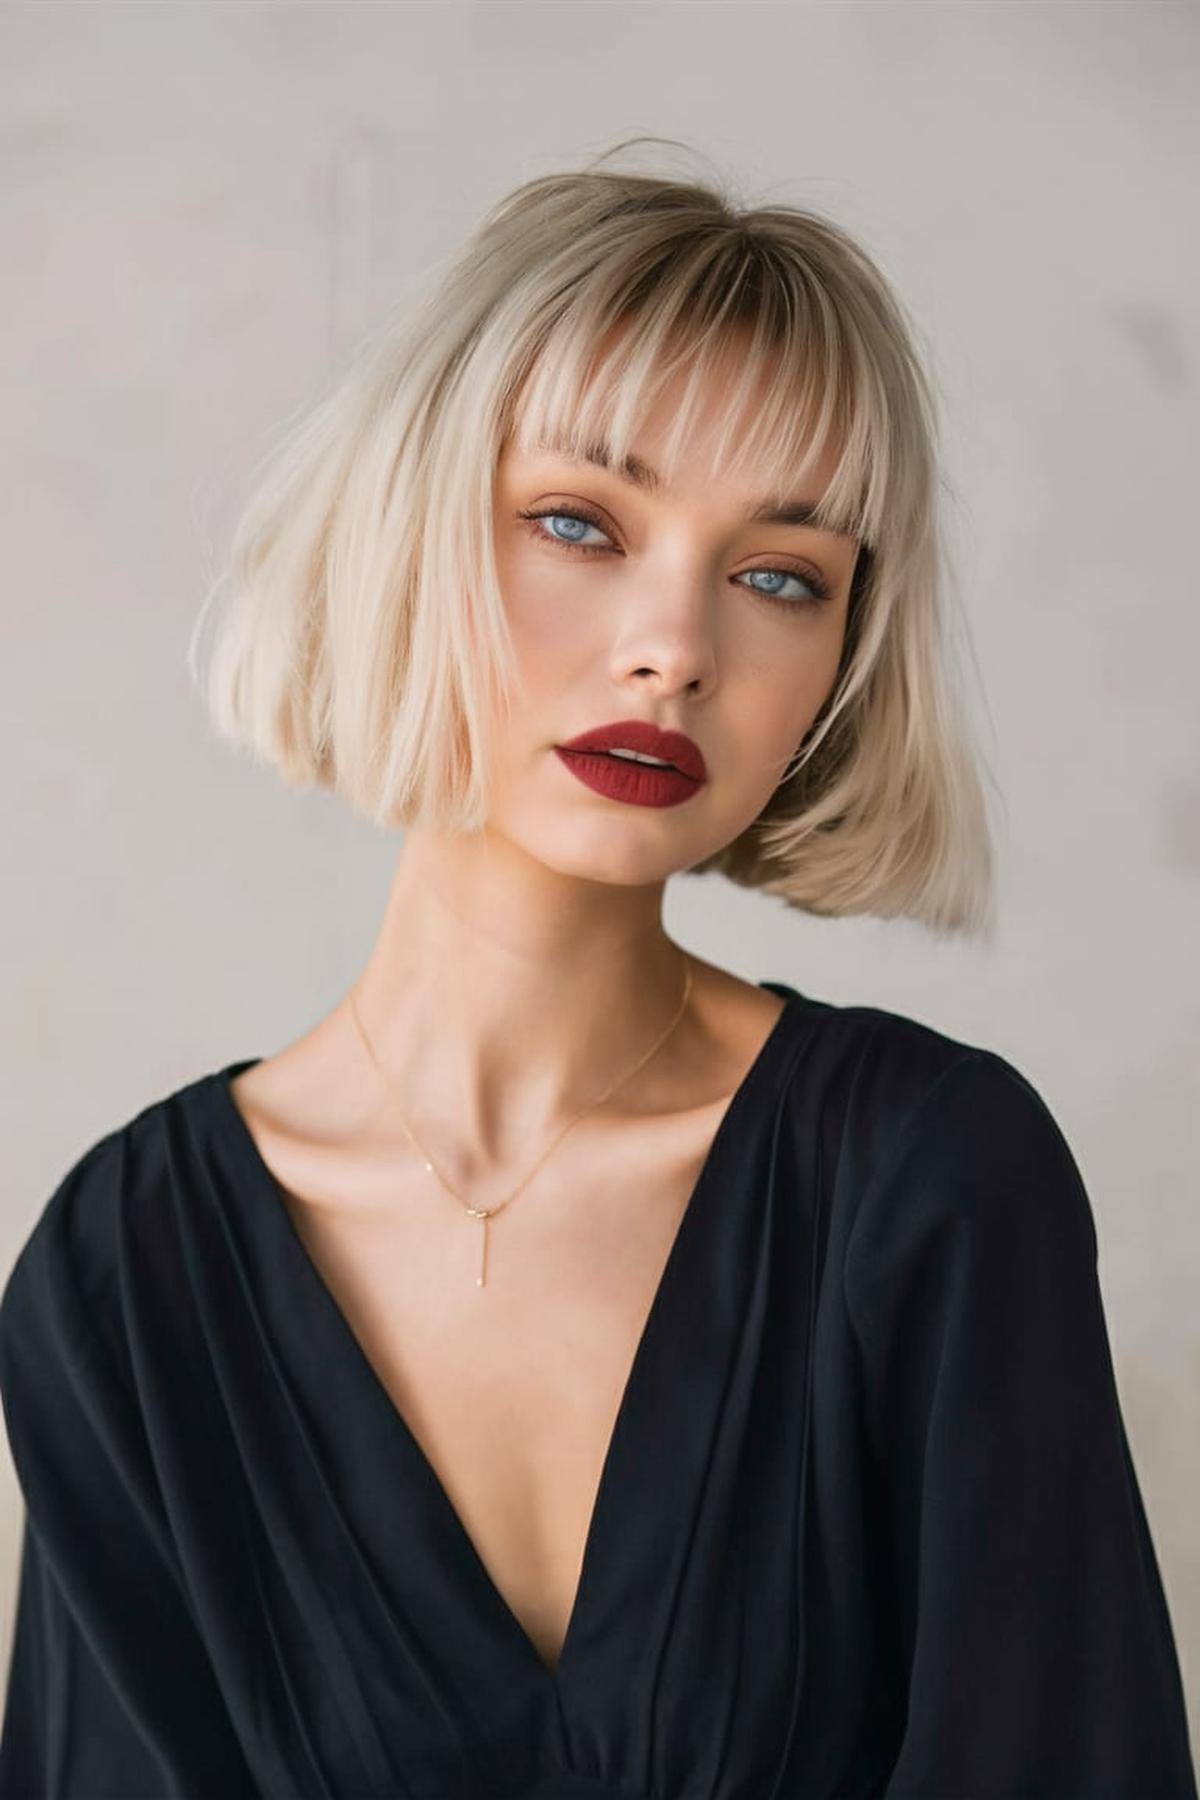
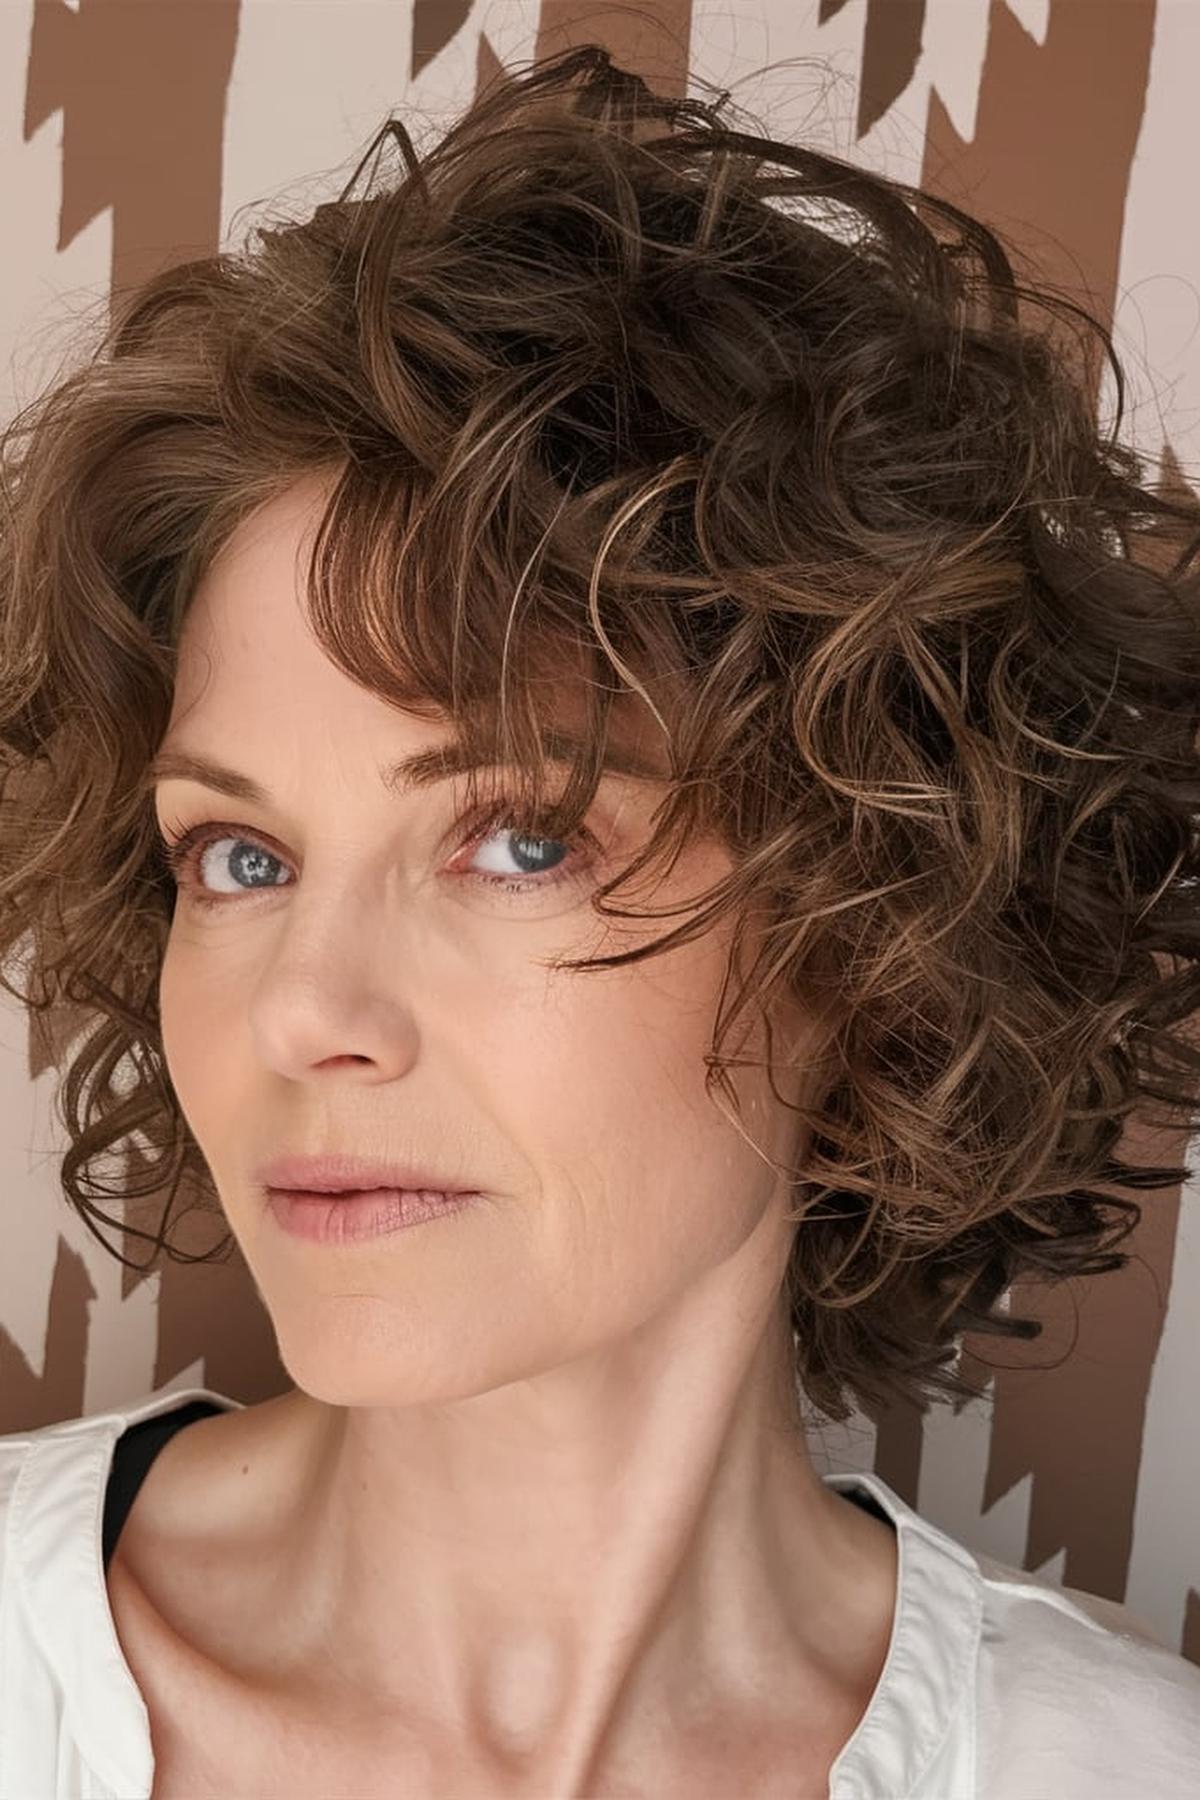
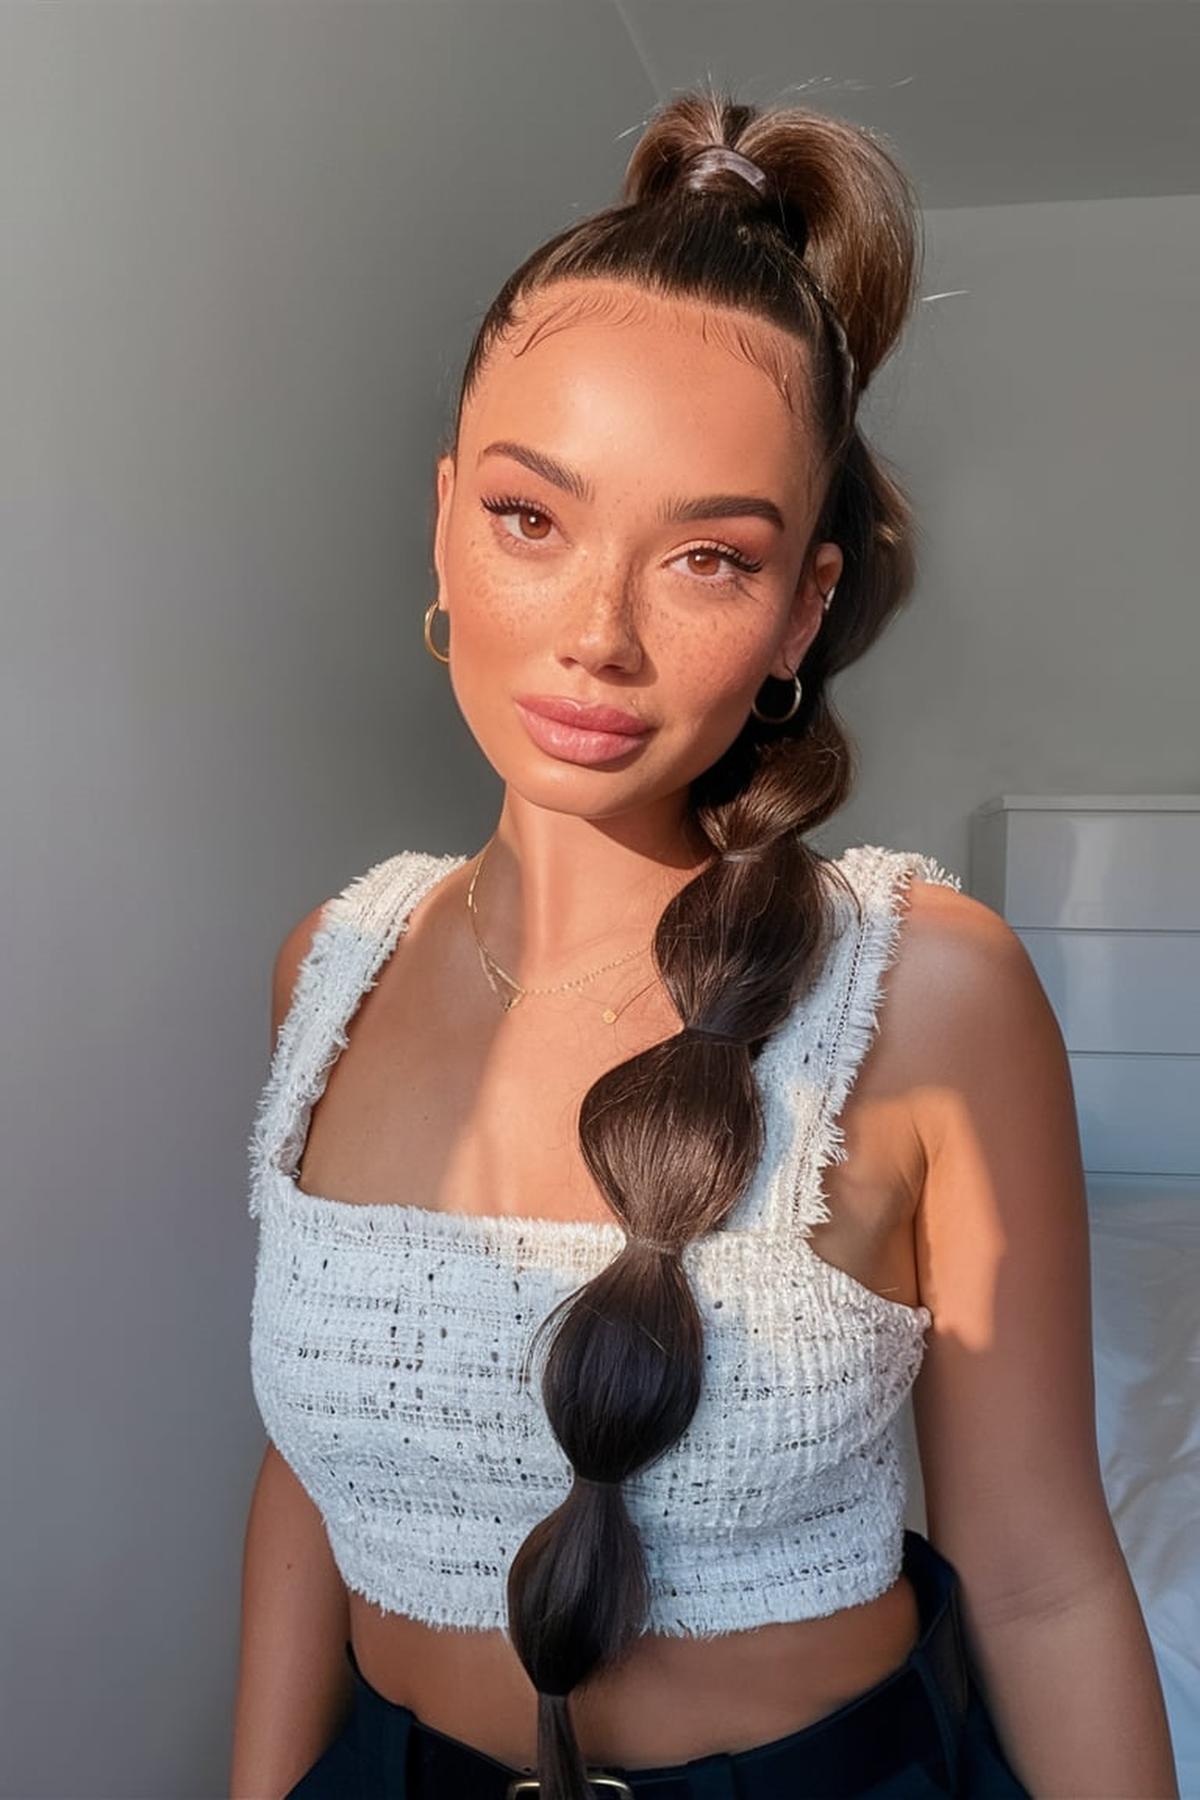
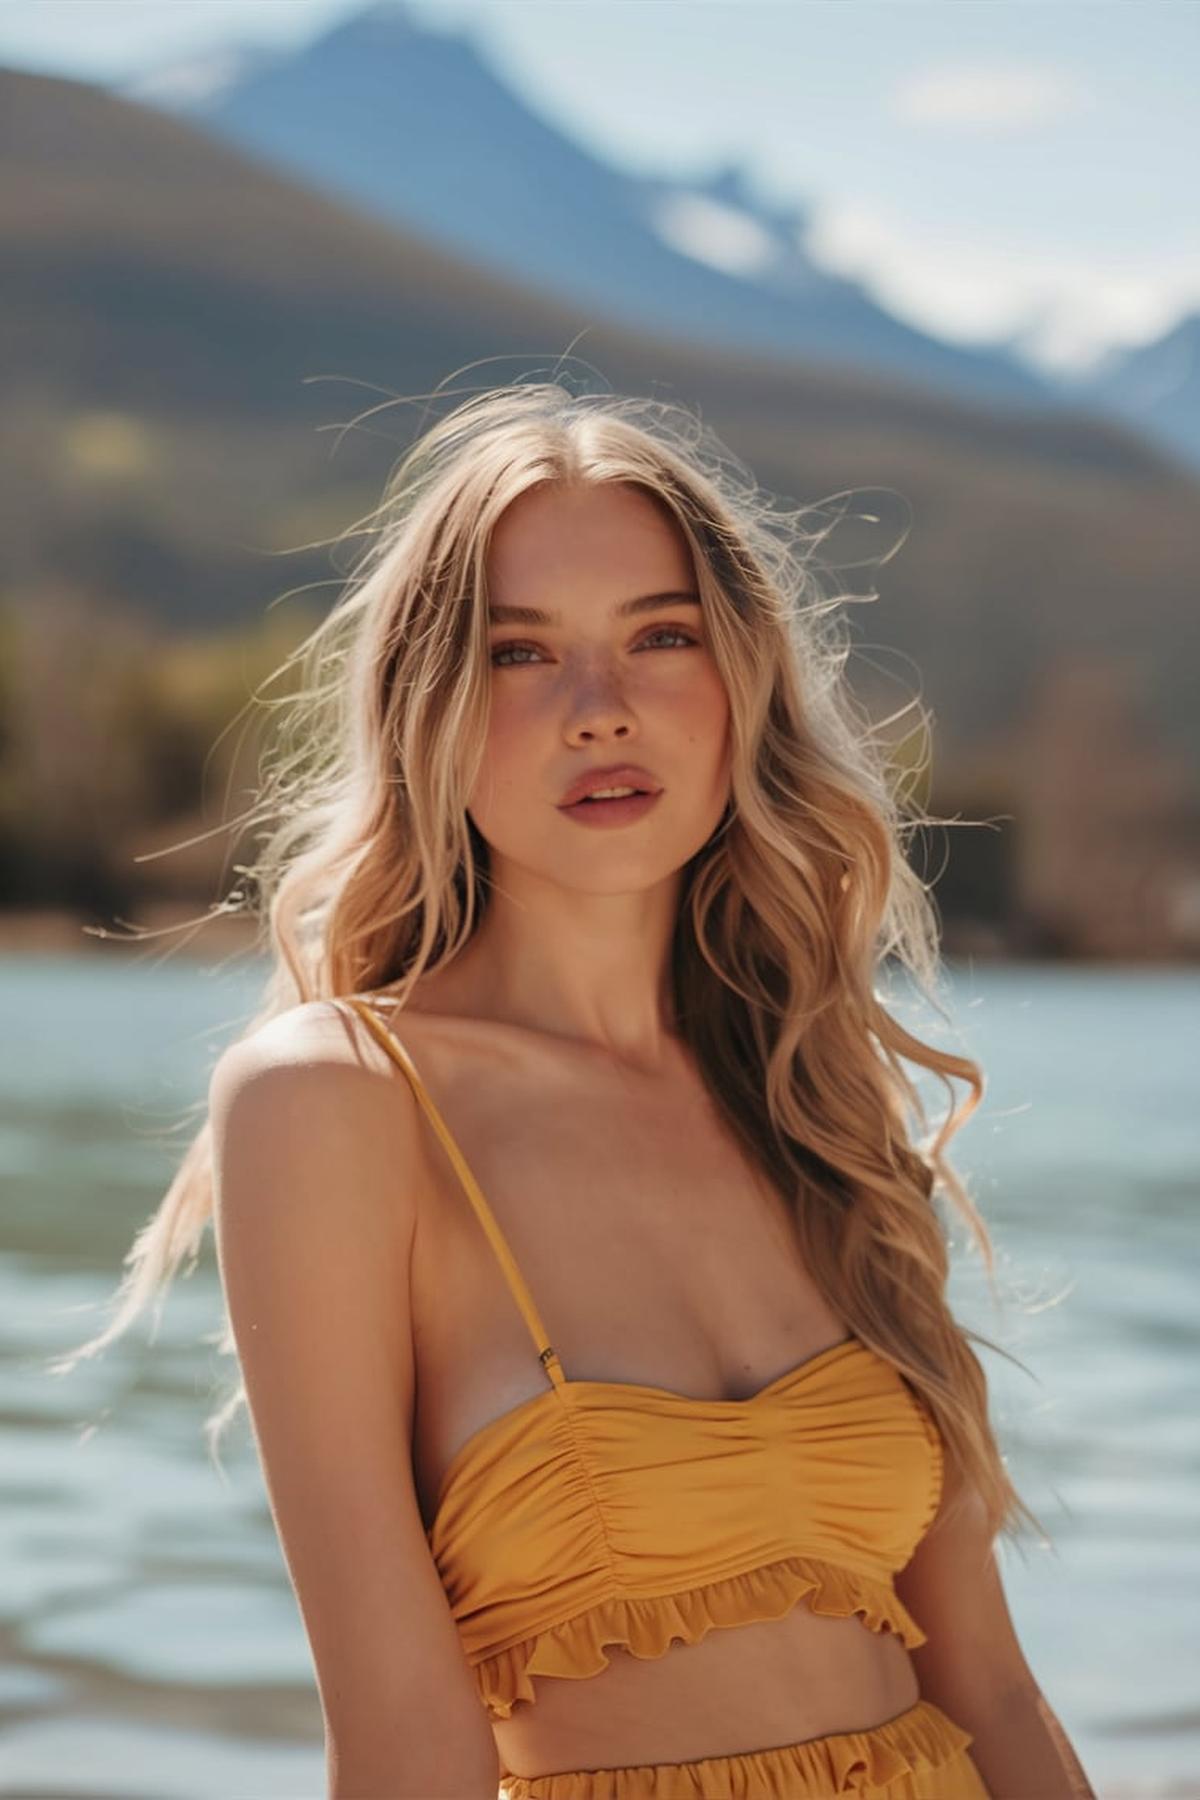
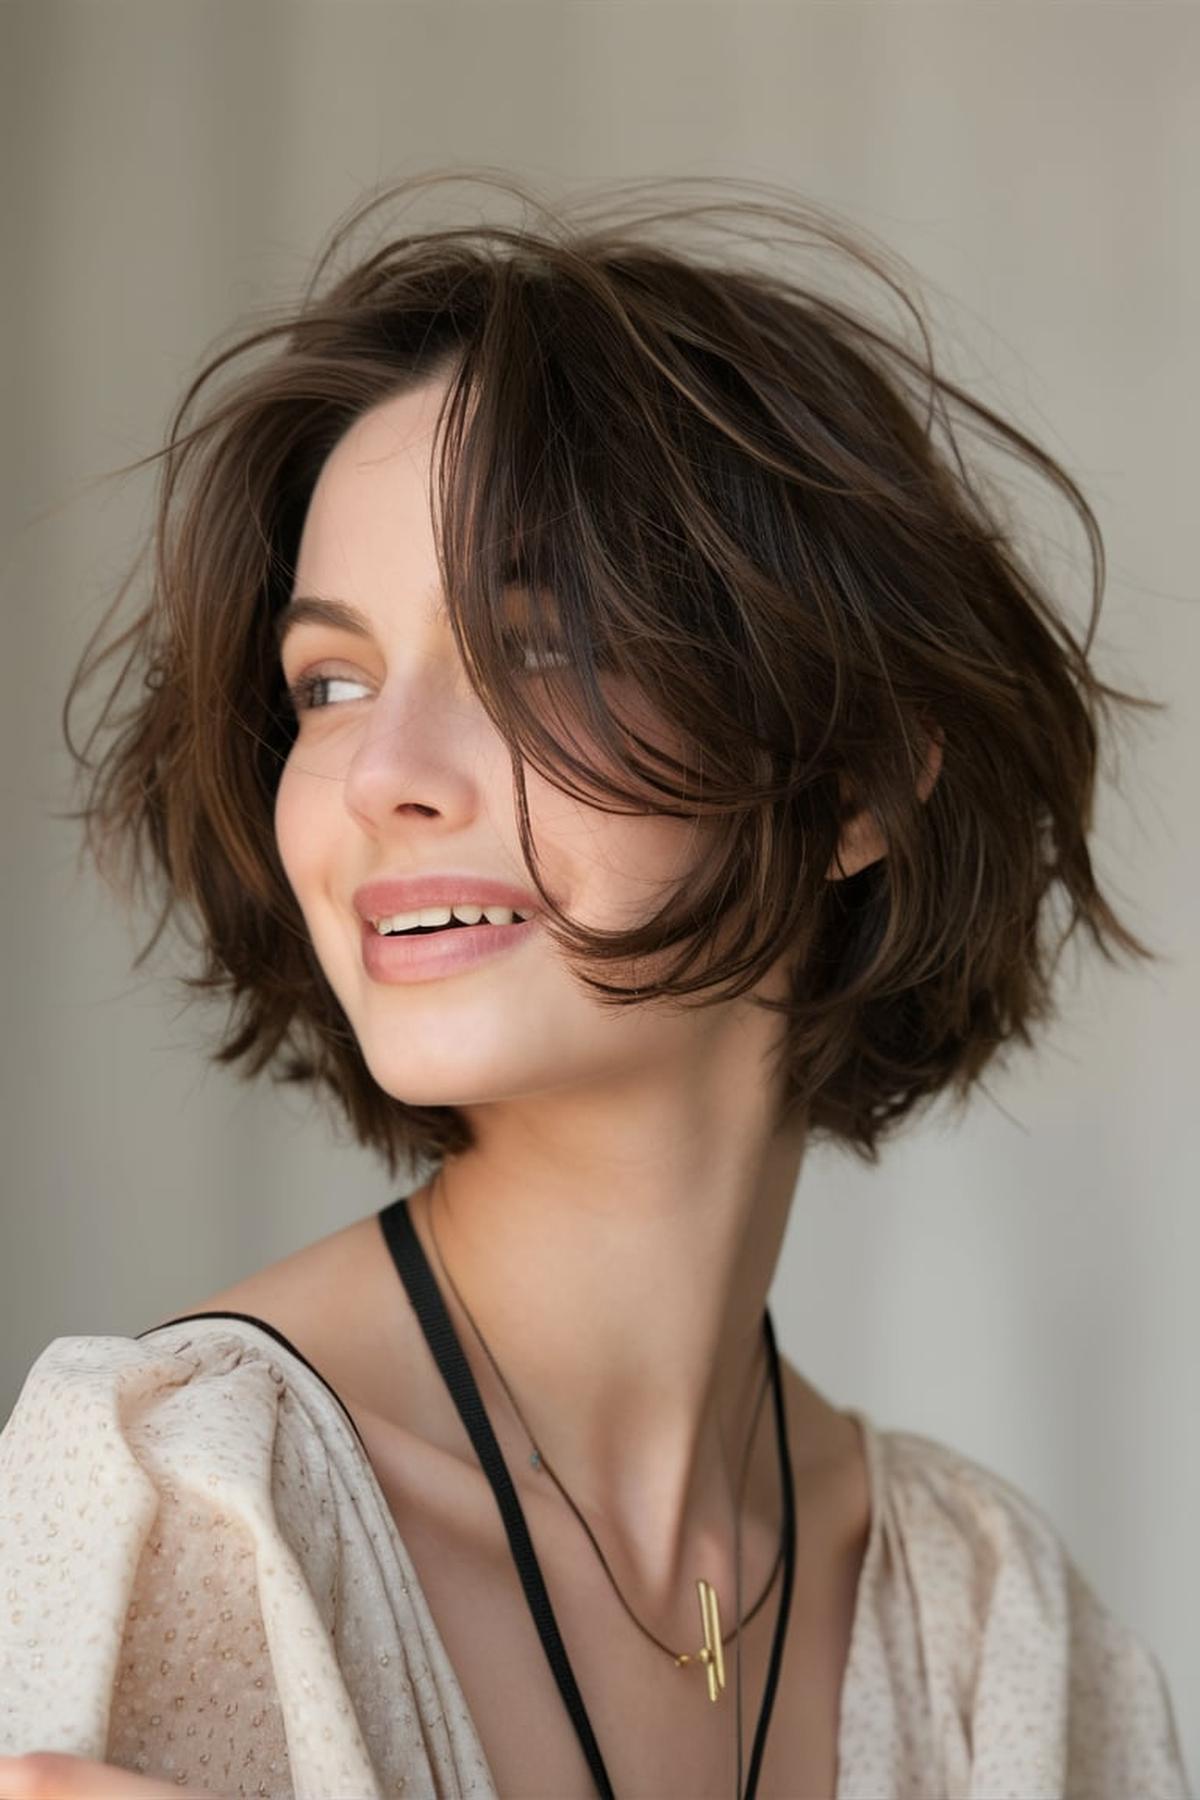
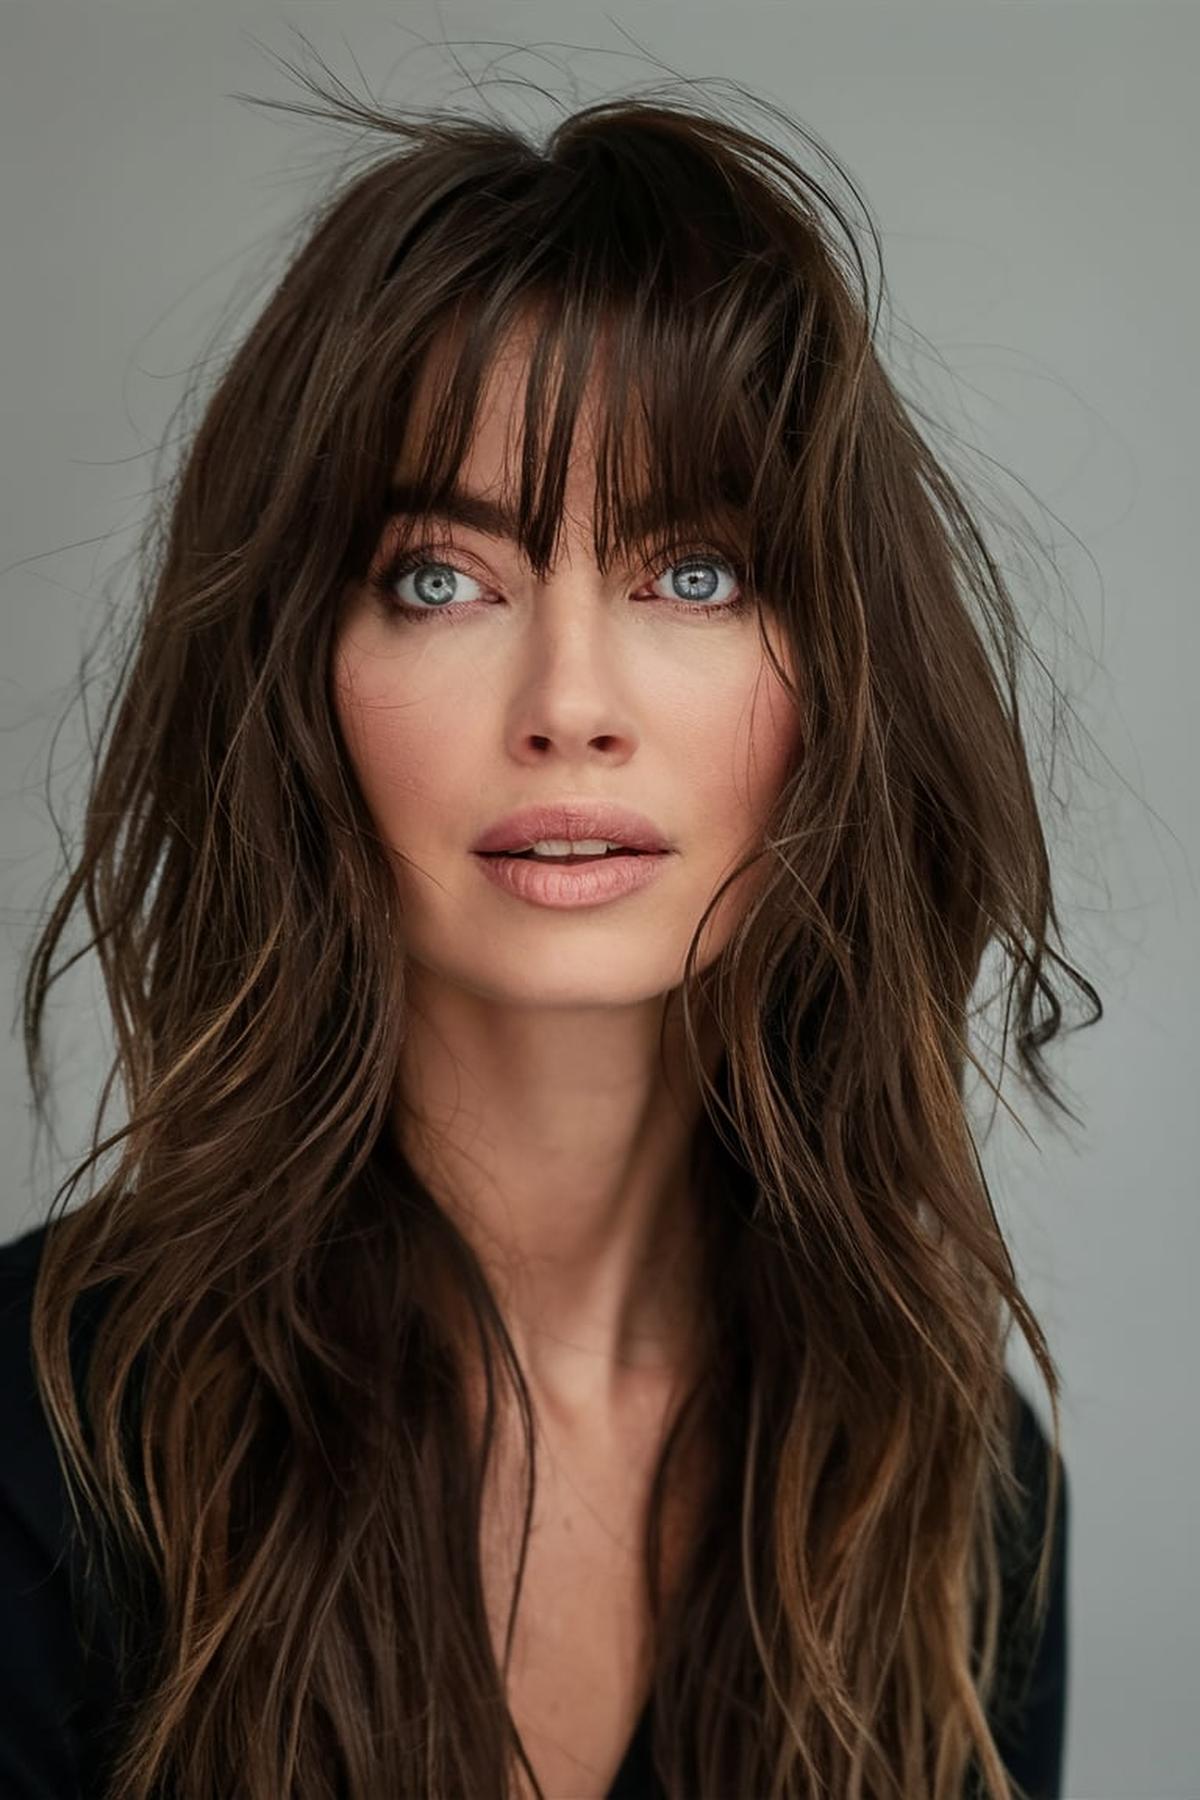
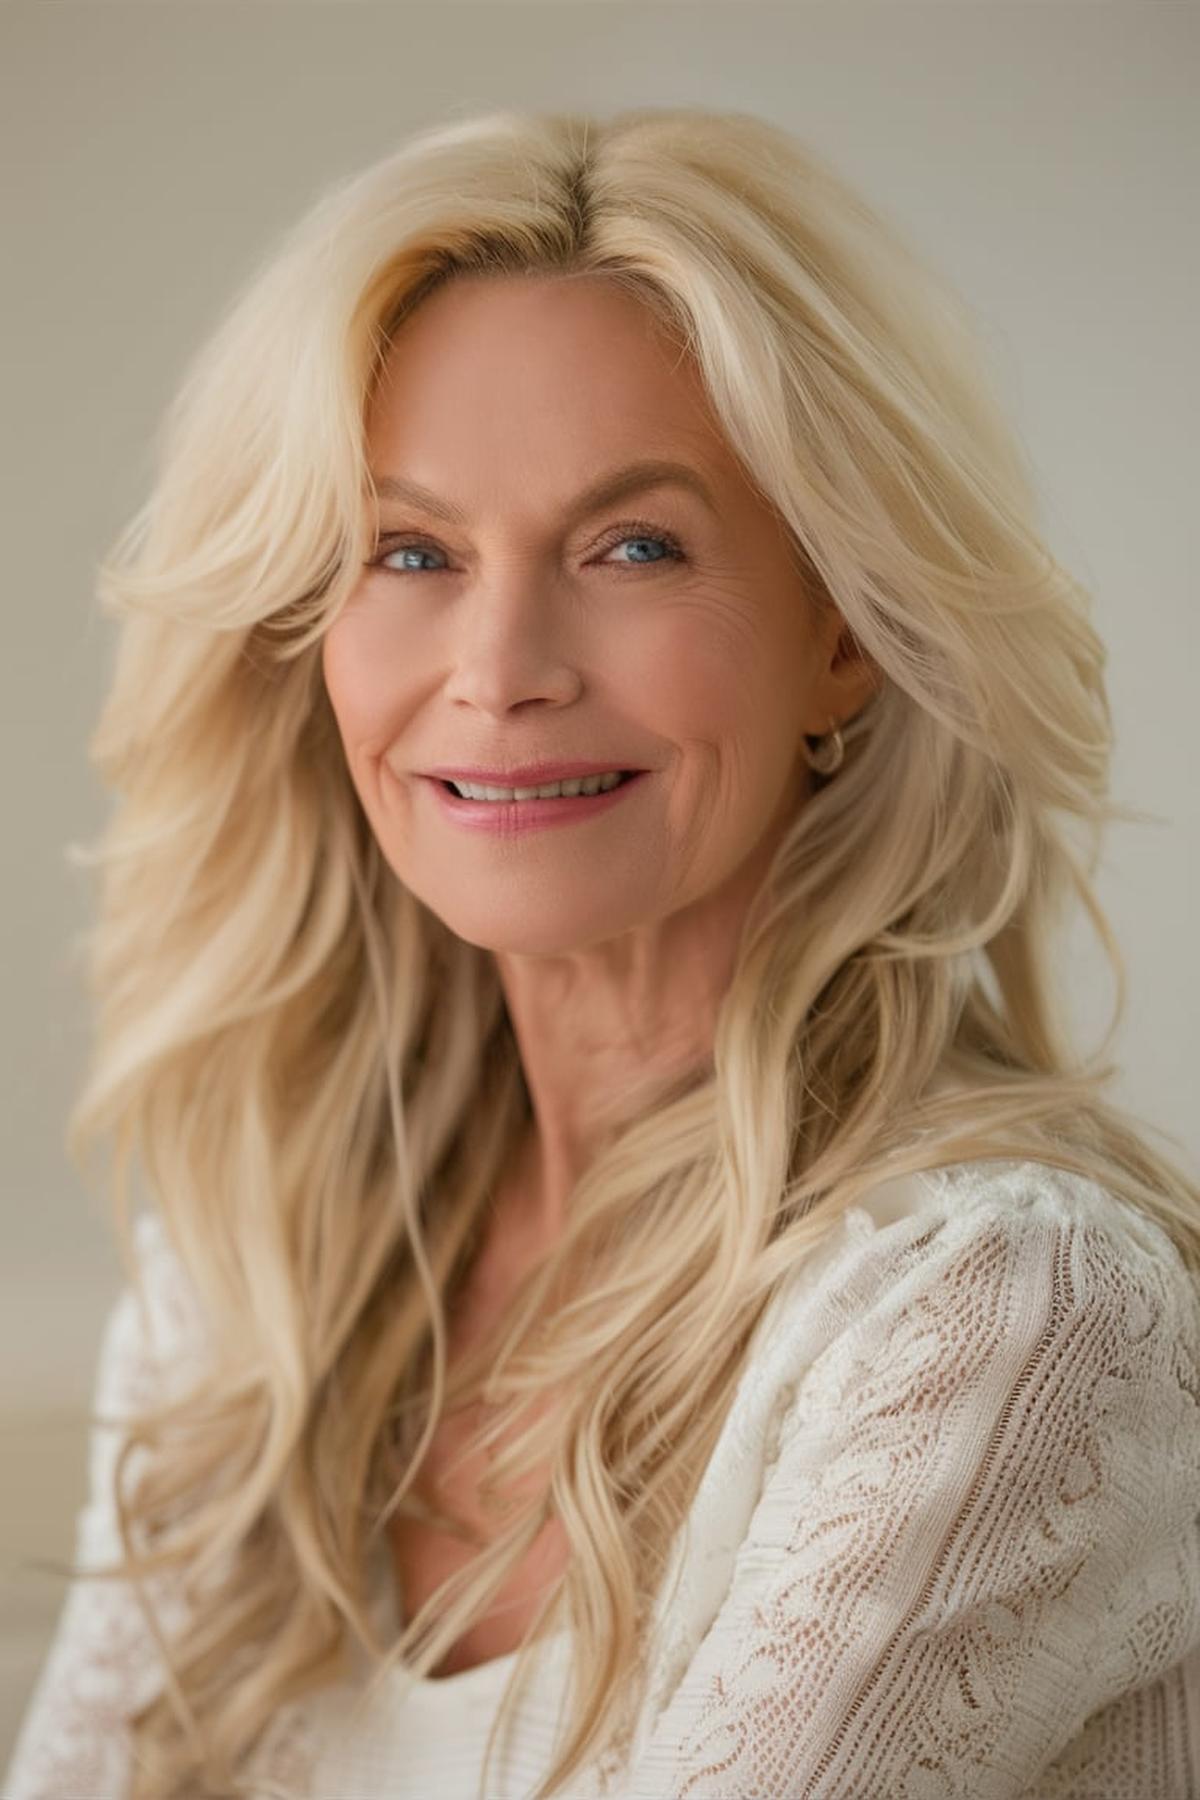
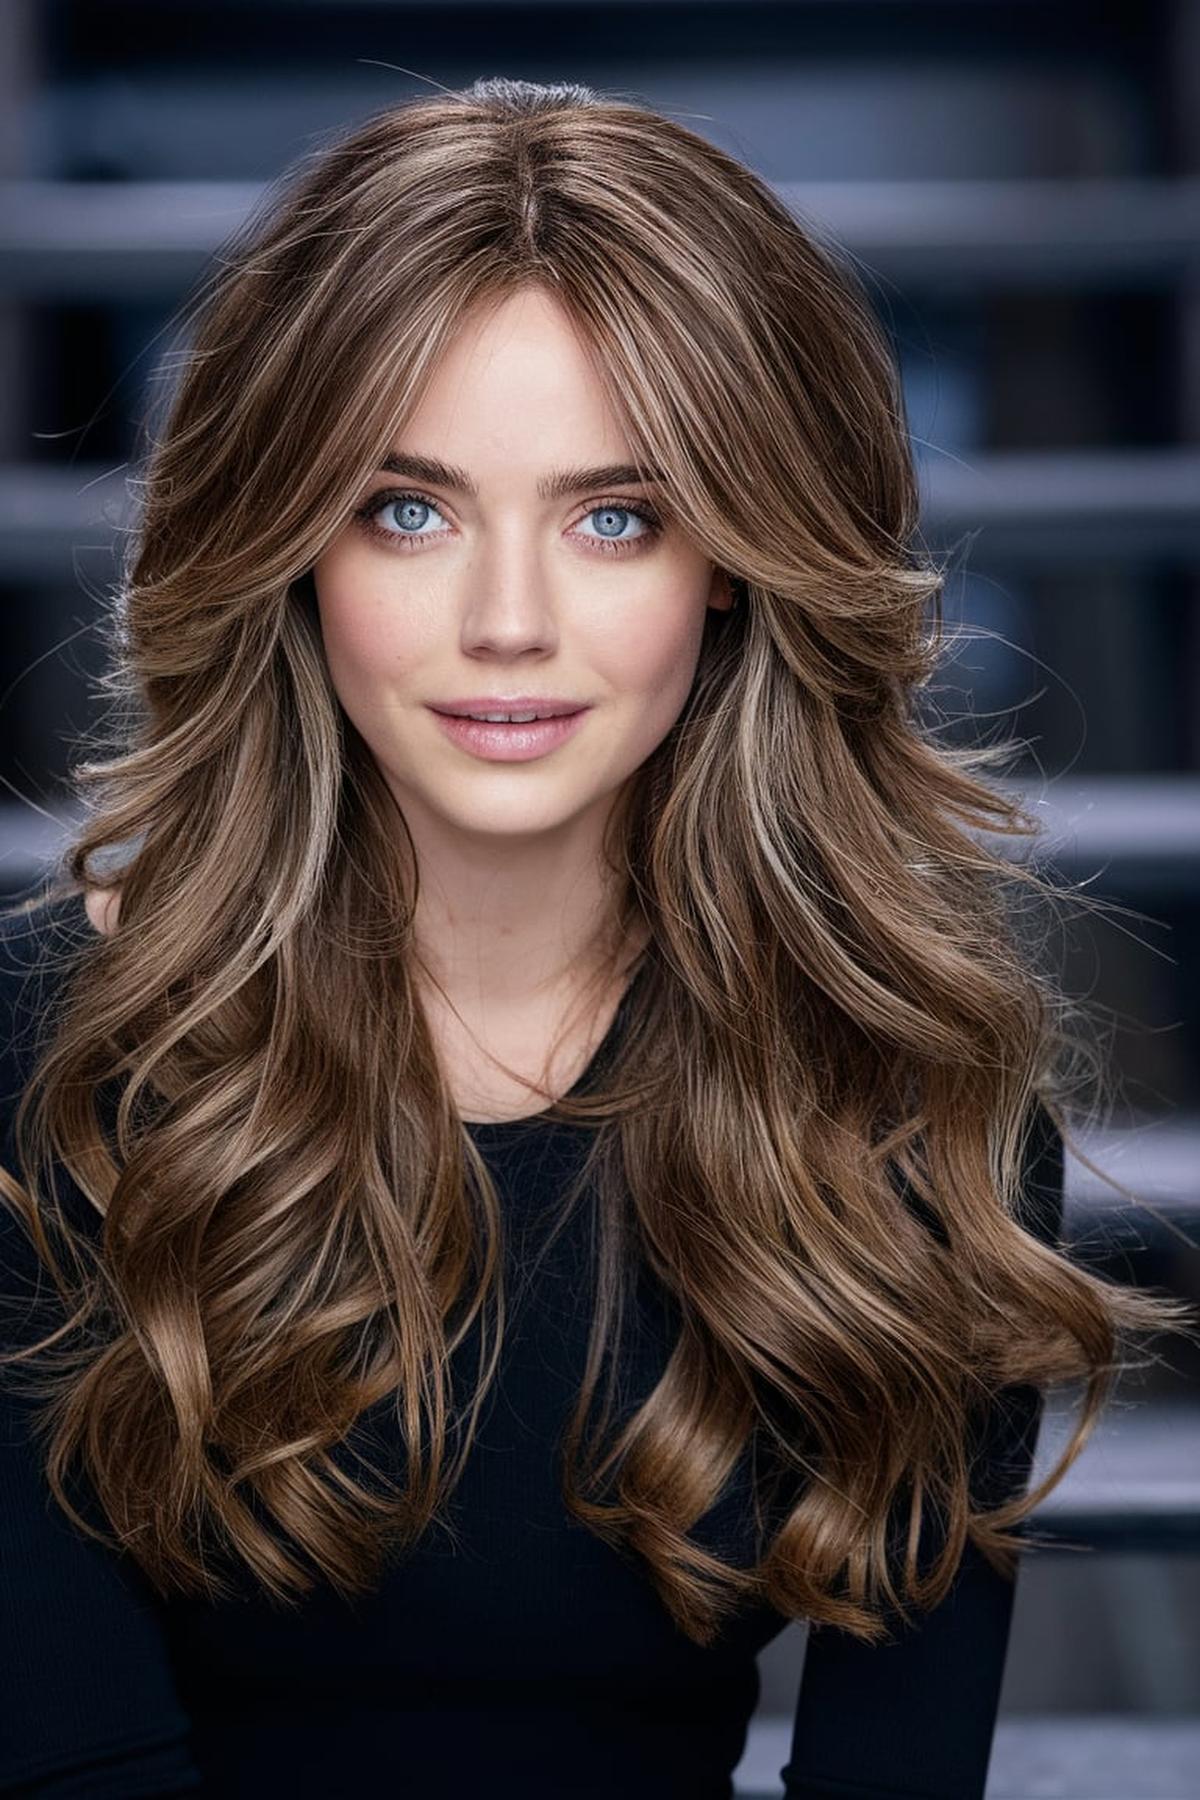
For a romantic look, consider “romantic waves” or “beachy waves” which give a soft and flowing appearance perfect for outdoor ceremonies. If you want something more structured, a “sleek high bun” or “braided updo” can keep your hair neat and elegant throughout the day.
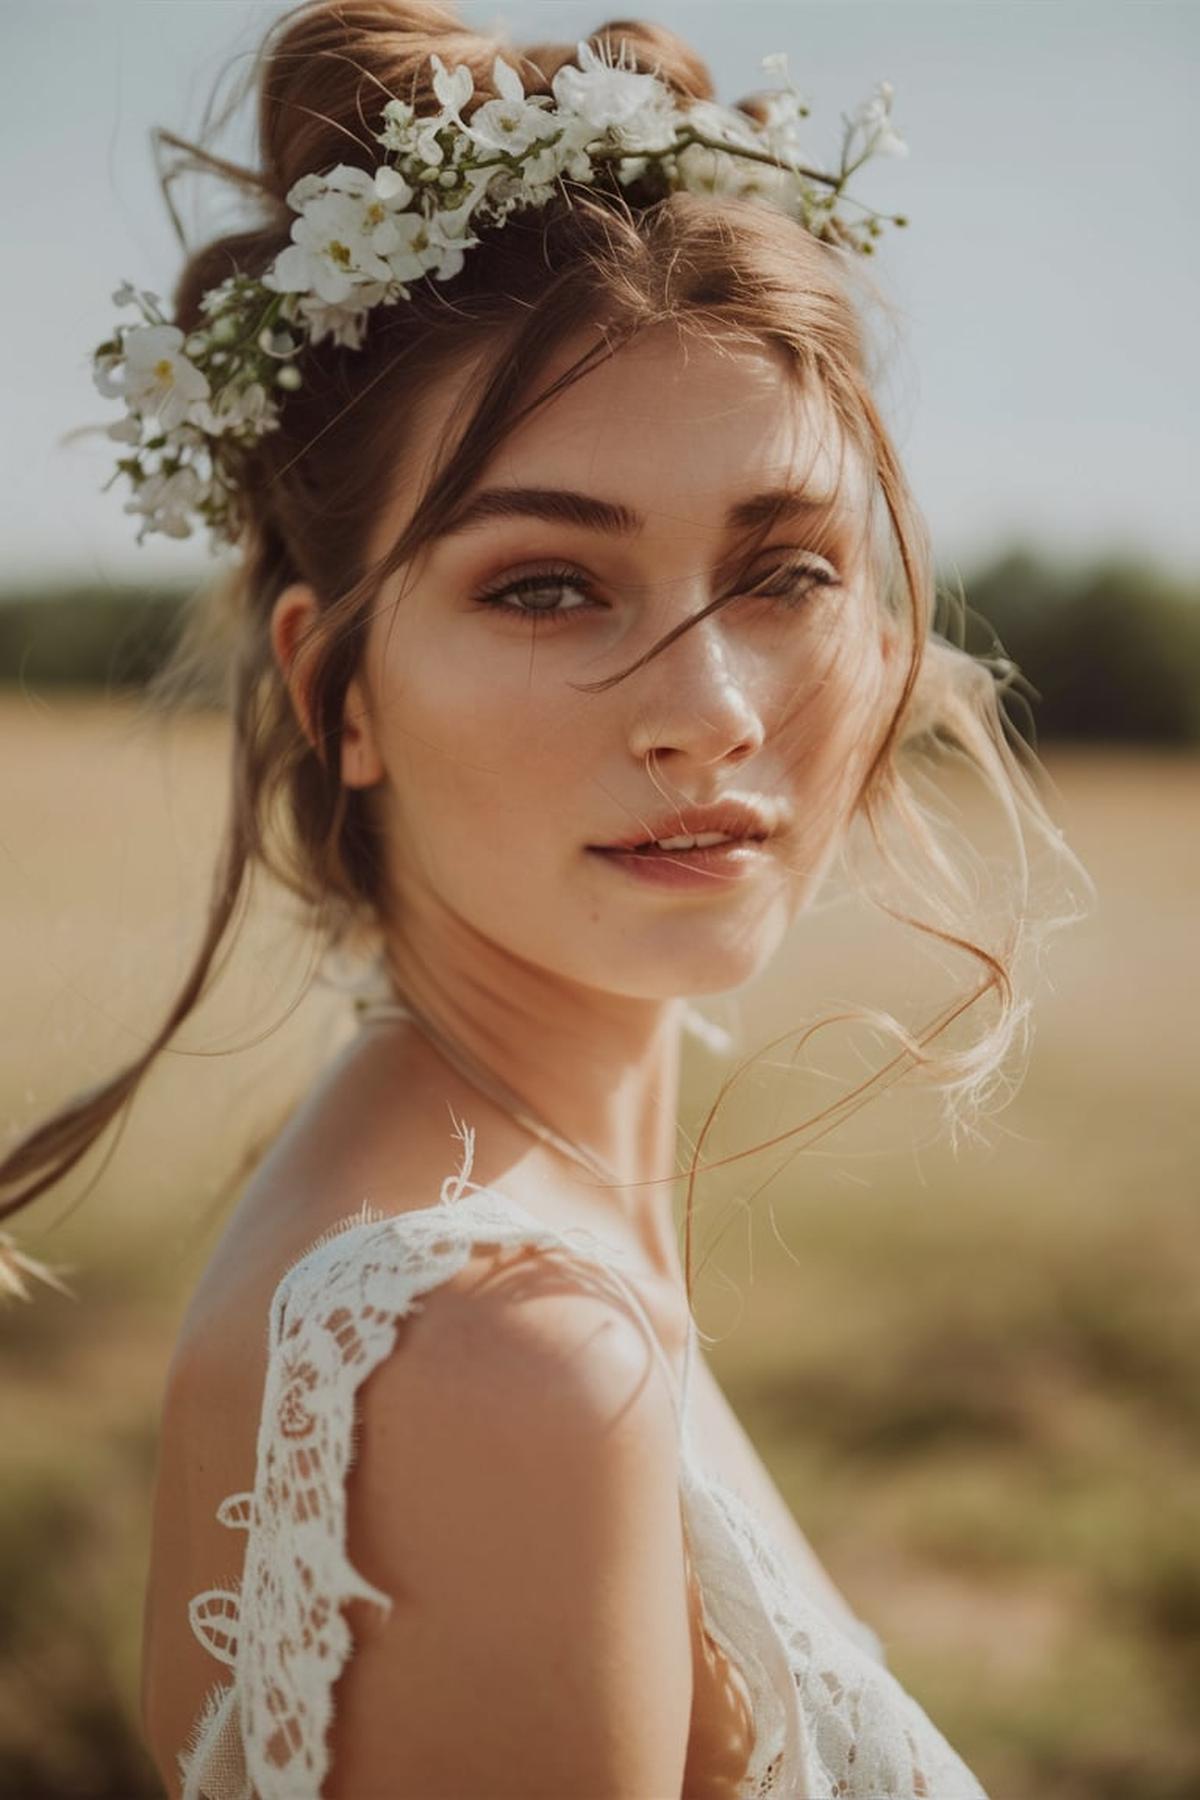
Adding accessories like “floral crowns” or “elegant headbands” can elevate these looks, making them more festive and fitting for a wedding setting.
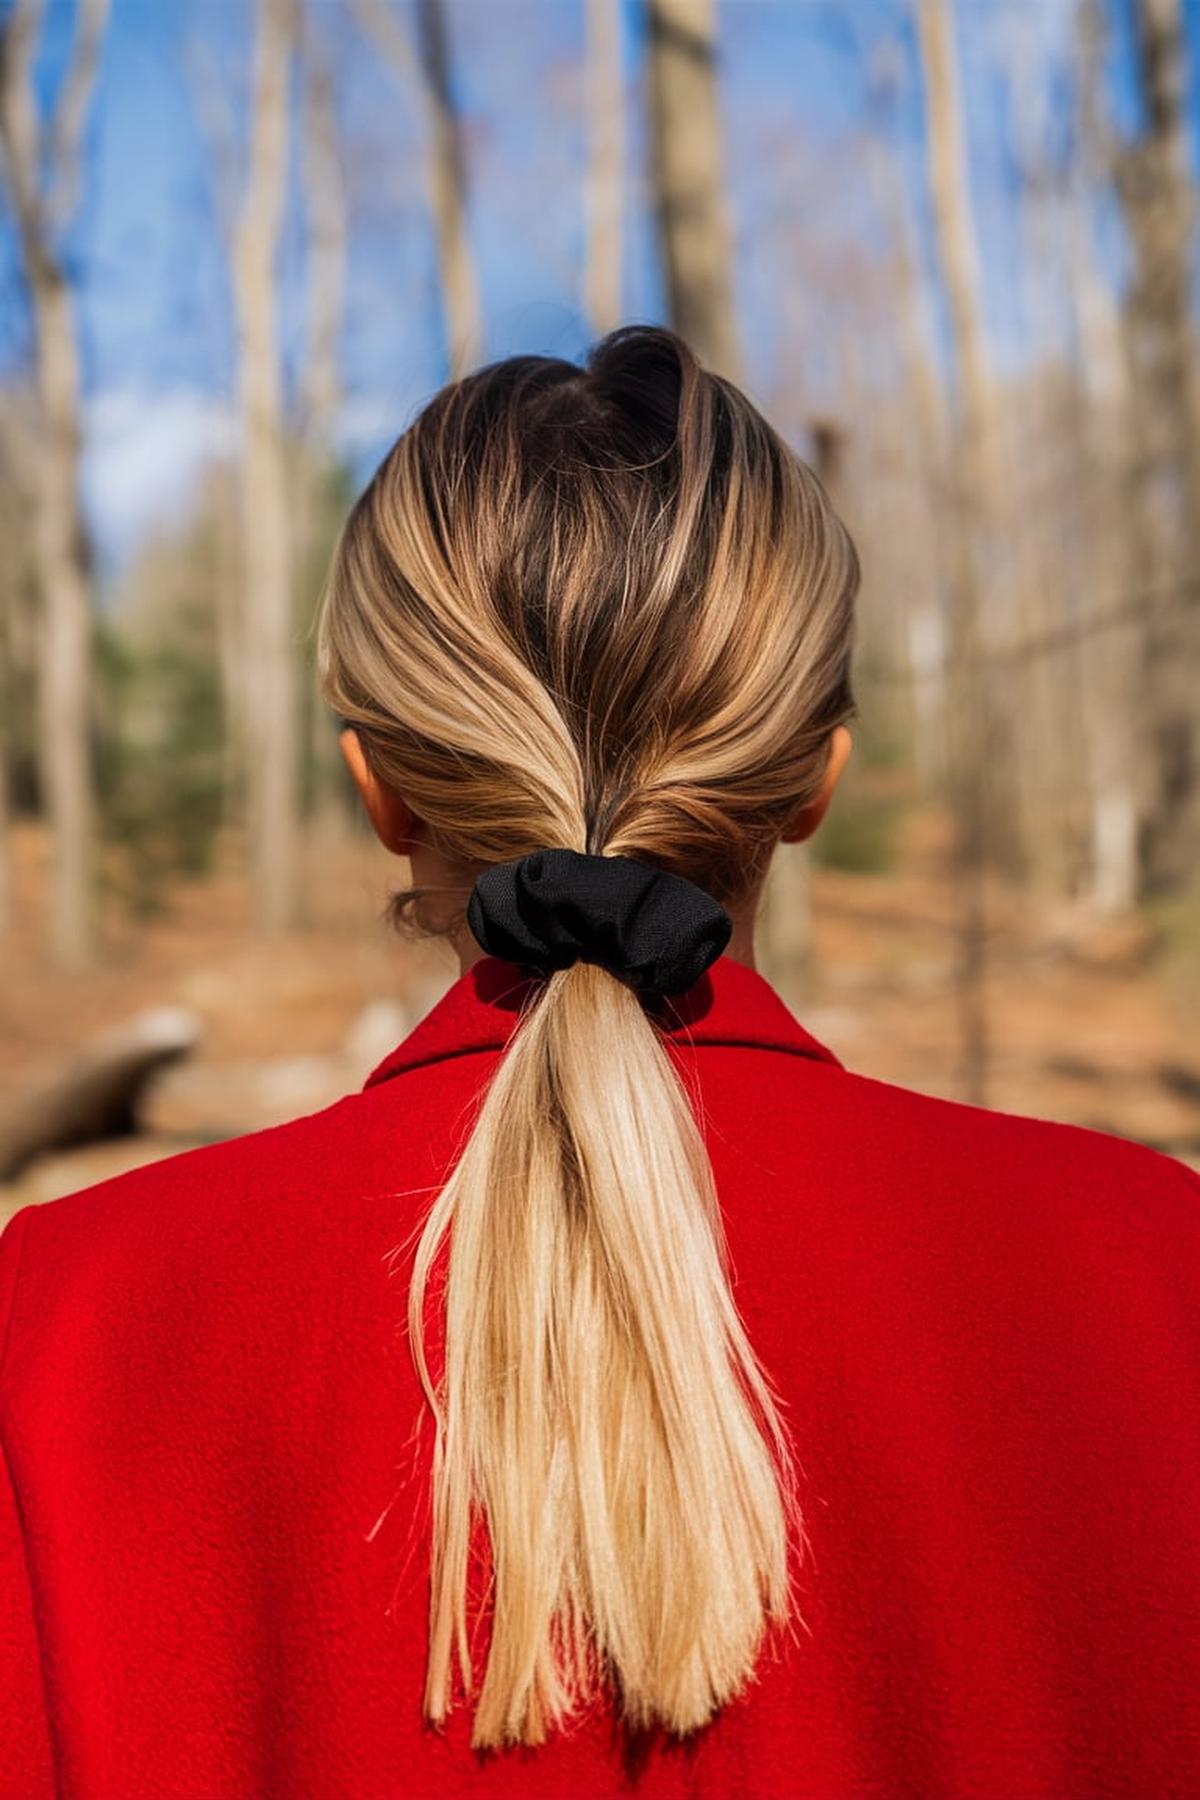
For a more relaxed yet stylish look, a “textured ponytail” or “messy low bun” can be ideal, offering a carefree but polished appearance.
Now, without further ado, let’s dive into 15 summer wedding hairstyles that’ll make you shine.
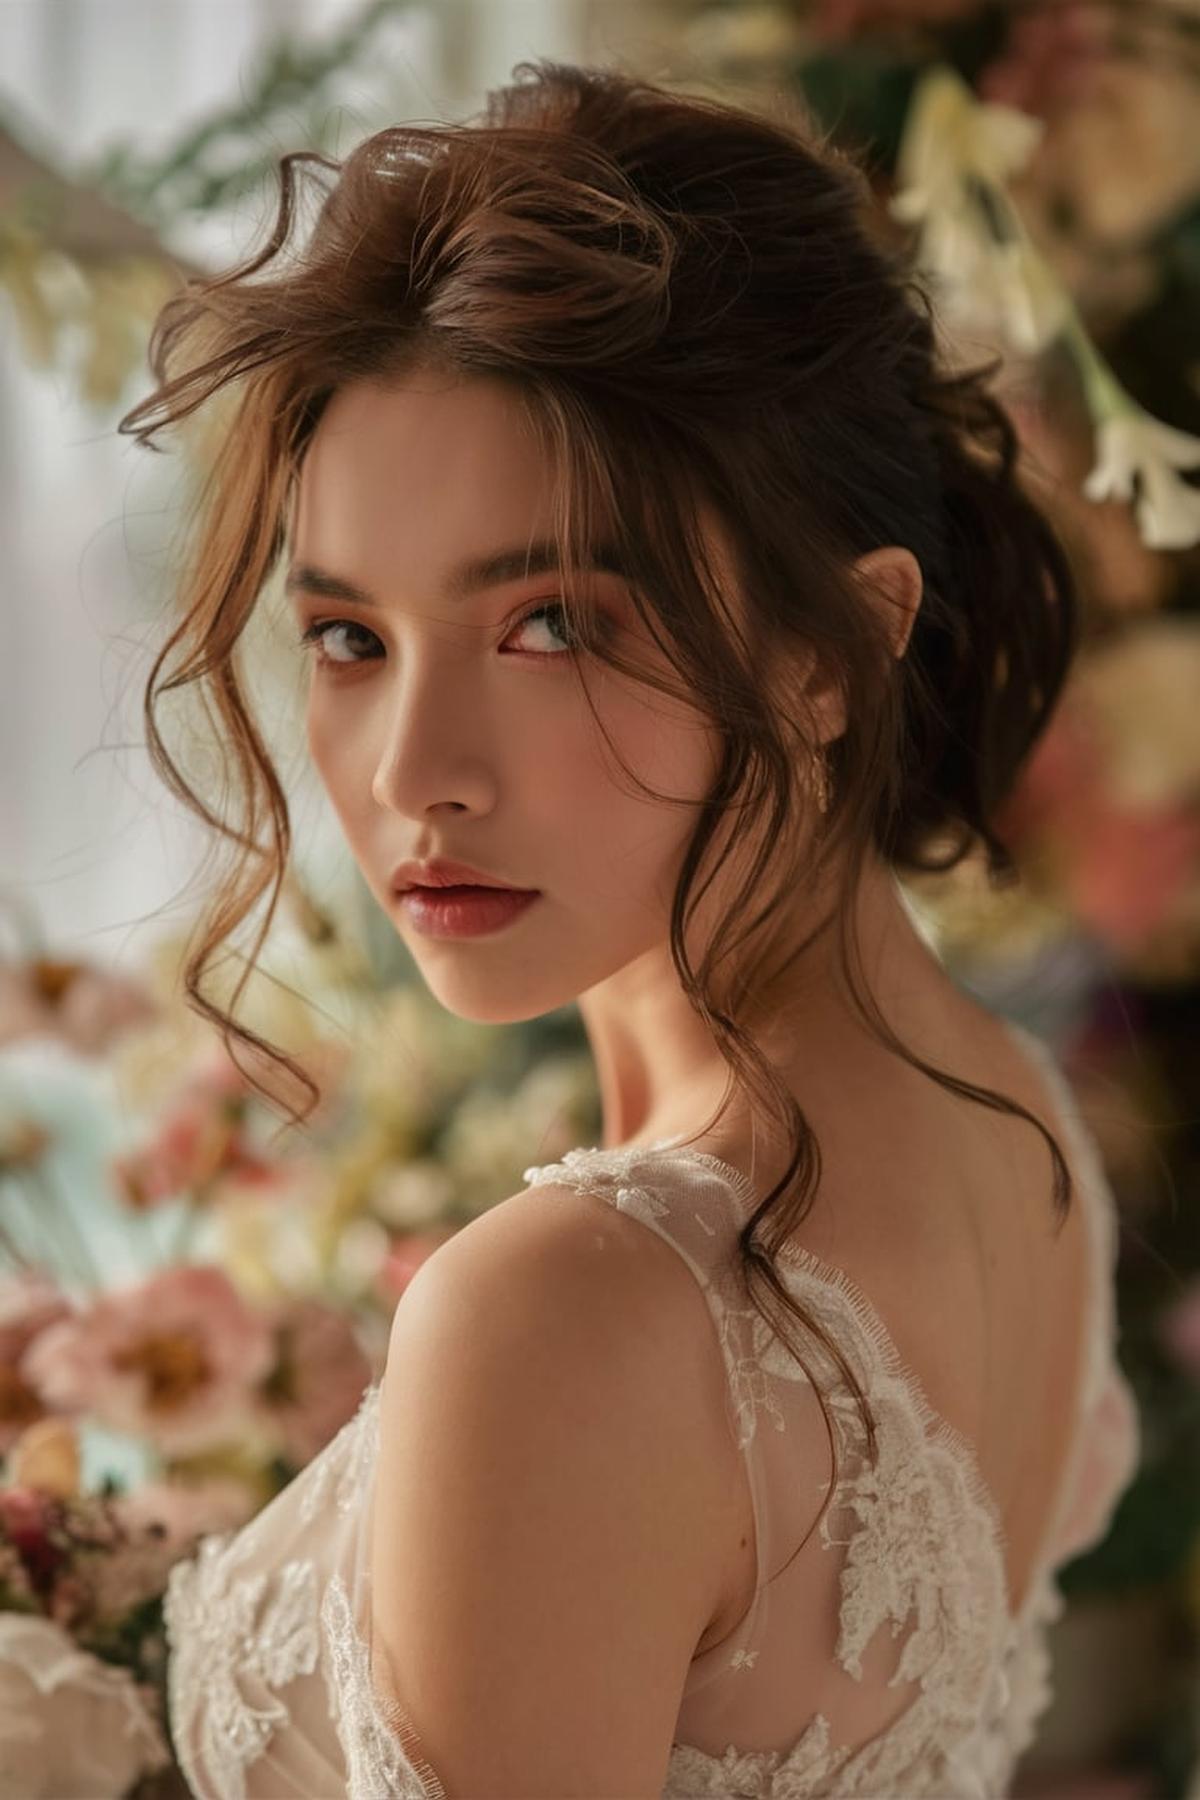
Romantic Waves
If your hair is naturally straight, you can use a curling iron or a flat iron to create those soft, flowing waves. For curling irons, choose a barrel size that suits your hair length; larger barrels work well for longer hair, while smaller ones are great for shorter locks. Divide your hair into sections, and wrap each section around the barrel, holding it for about 10-15 seconds before releasing.
Gently run your fingers through the curls to separate them, making sure not to brush too hard as this can lead to frizz. You can also use a wide-tooth comb for a softer look. For added texture and hold, apply a light hairspray or a texturizing spray.
Hairpins, flowers, or even a delicate headband can elevate your hairstyle. If you want a more bohemian feel, you can braid a small section of hair and let it hang loose among the waves. This not only adds interest but also keeps your hair looking stylish and playful. With a bit of practice, you’ll be able to achieve stunning romantic waves that are perfect for any occasion.
Sleek High Bun
This type of hair has more texture and grip, making it easier to style. If your hair is clean, you can use dry shampoo to add some volume and texture. Begin by brushing your hair to remove any tangles.
Next, apply some styling products to keep your hair in place. A good option is a mousse, which helps add volume without making your hair feel crunchy. You can also use a soft-bristle brush to smooth down any flyaways.
Use hair ties or bobby pins to secure the bun in place. Finally, finish your sleek high bun with hairspray to hold everything together. If you have any loose strands, you can use a little bit of hair wax or pomade to tame them. This hairstyle is great for any occasion, whether you’re going to school or hanging out with friends, and it can be done in just a few minutes!
Braided Updo
A braided updo combines different types of braids into a stylish hairstyle that keeps your hair neat and secure. Begin by practicing simple braids like the three-strand braid or the French braid. Once you’re comfortable, you can move on to more complex styles. The key is to take your time and not rush the process.
Having good hair ties, bobby pins, and perhaps some styling cream can make a big difference. Start with clean, dry hair for the best results. You can also use a bit of mousse or gel to help control frizz and keep your braids looking neat. Section your hair into manageable parts, which makes it easier to braid and style.
A braided updo can be as simple or as intricate as you like. Try combining different types of braids, such as Dutch or fishtail braids, to add flair. You can also play with the placement of your braids—some can be pinned up high, while others can hang lower or to the side. Remember, the more you practice, the more confident you’ll become in creating unique and stylish braided updos that suit your personality.
Half-Up, Half-Down
Use a brush to smooth out any tangles and create a clean look. You can part your hair in the middle or to the side, depending on your preference. Once you have your desired section, secure it with a hair tie or clip.
For instance, you can twist the gathered hair before securing it, or create a bun by wrapping the ponytail around itself. Using bobby pins can help keep everything in place. If you want a more casual look, you can leave some strands loose around your face for a softer appearance.
A bit of hairspray can help hold everything in place, while a shine serum can add a nice glow. If you want to add curls to the loose hair, use a curling iron for some extra volume and style. With practice, you’ll be able to create a beautiful half-up, half-down look that suits any occasion.
Loose Chignon
You can choose to position the ponytail slightly to one side for a more stylish look. Use a hair tie to secure it, but don’t pull it too tight; you want it to be relaxed and loose. This will give your chignon a softer appearance, which is key for the loose style you’re aiming for.
Once you’ve teased it, split the ponytail into two sections. Loosely wrap each section around the base of the ponytail to create a bun shape.
You can also gently tug at the bun to make it look fuller and more relaxed. If you want to add a personal touch, consider using a decorative hair accessory to enhance your style. This hairstyle is perfect for both casual outings and formal events, making it a versatile choice for any occasion.
Textured Ponytail
You can achieve this by curling your hair lightly or using a texture spray or powder. This will help give your ponytail a bouncy and voluminous look. Products like texture sprays from brands such as Amika or Virtue can add the perfect amount of grip and body to your hair, making it easier to style.
Use a soft brush to smooth out any lumps, but remember that some texture is desirable! After securing the first ponytail, incorporate the side sections into it, ensuring your head is tilted back to avoid sagging.
This technique helps to create a fuller look. Once you have everything secured, gently pull at the hair around the ponytail to create a more relaxed, textured appearance. Practice this style a few times, and you’ll have a chic and stylish textured ponytail in no time!
Floral Crowns
You’ll need some wire, floral tape, scissors, and a selection of flowers and greens. The wire will serve as the base of your crown, while the floral tape helps secure the flowers in place. You can choose any flowers you like, but it’s best to pick ones that are sturdy and will last a while. Make sure to have some ribbon on hand if you want to add a decorative touch or make the crown adjustable for your head size.
Twist the ends together to form a circle and wrap the twisted part with floral tape to make it more comfortable. After that, prepare your flowers by cutting them down to size, leaving about 2 inches of stem. You can create mini-bouquets by combining a flower with some greens, which will make it easier to attach them to the wire base.
Continue adding more bouquets, overlapping them slightly to cover any gaps and create a fuller look. If you notice any empty spots, you can add more flowers or greenery as needed. Once you’re happy with your crown, you can add ribbon for extra flair. Now, you’re ready to wear your beautiful floral crown for any occasion!
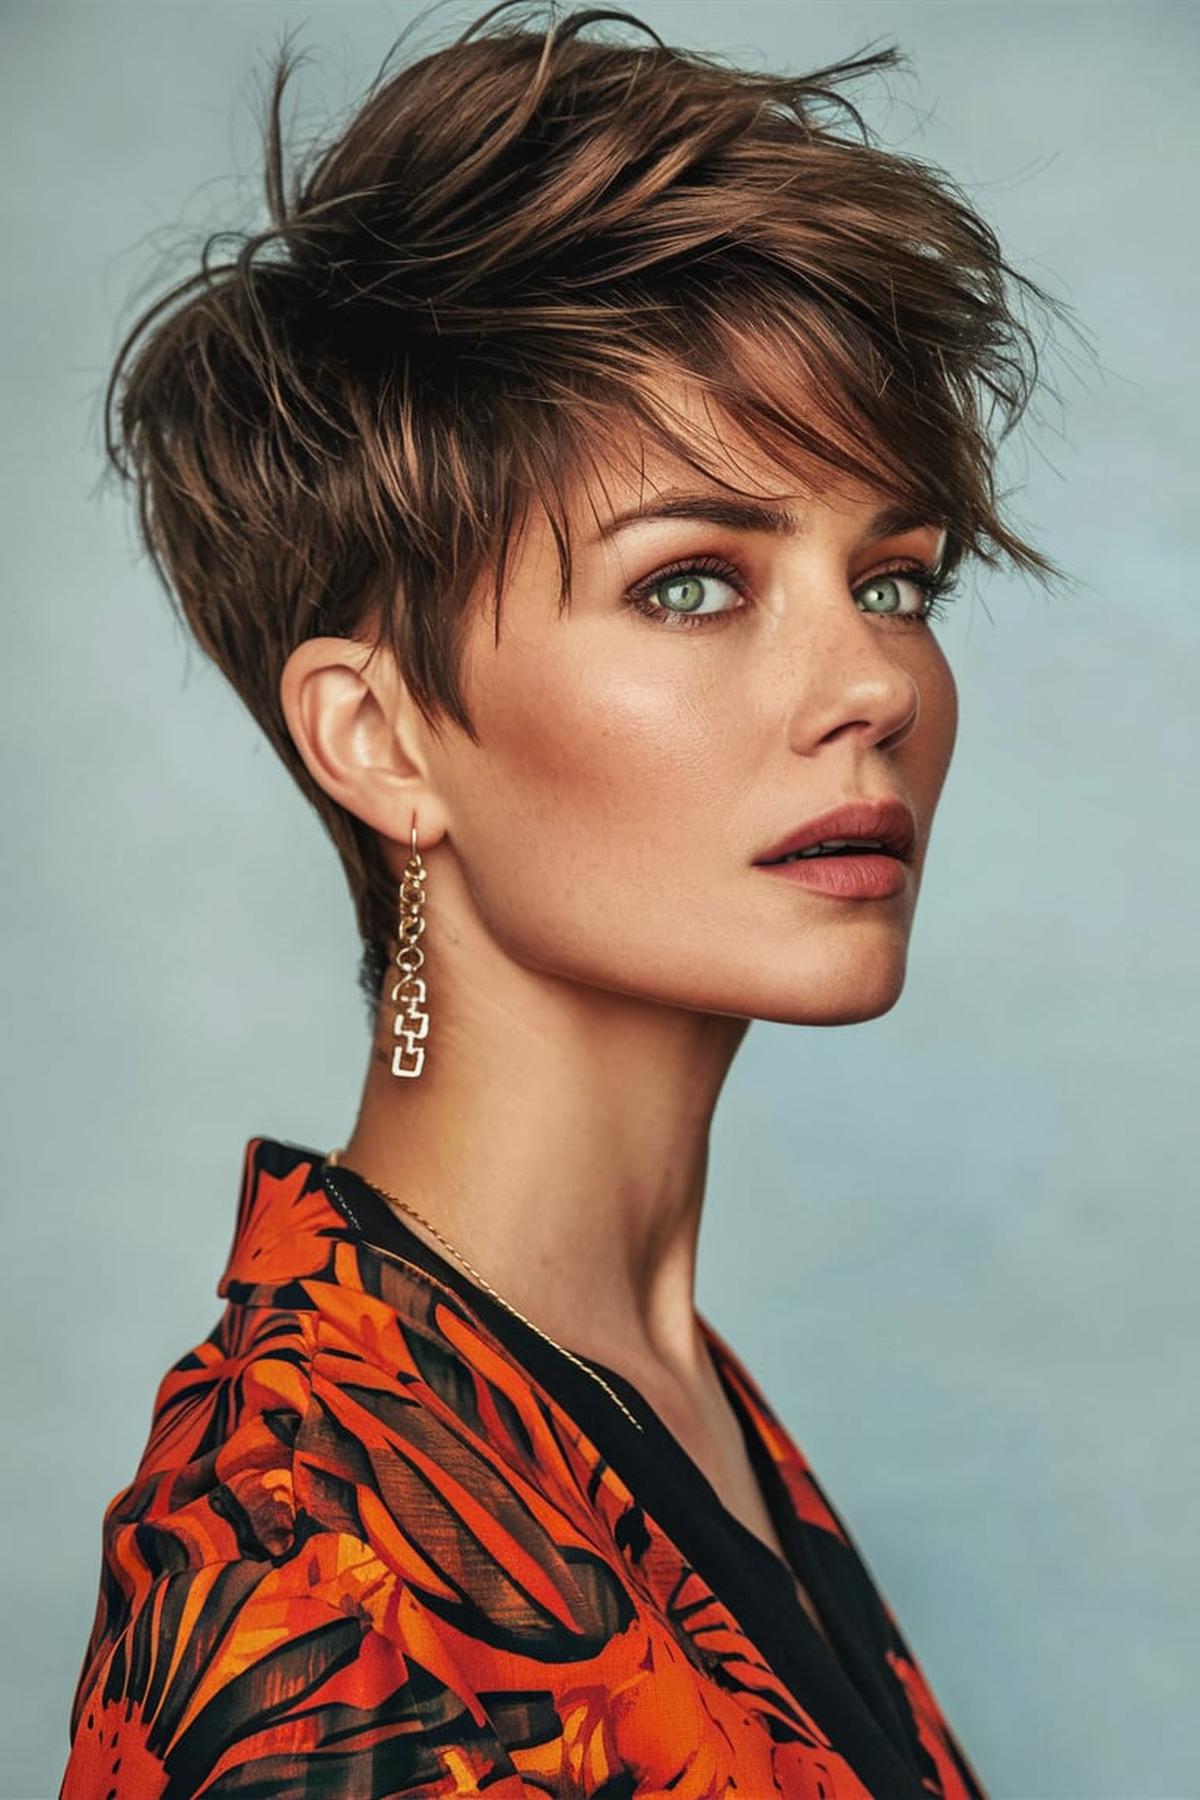
Sleek Bobs
Begin by using a heat protectant spray before styling to keep your hair safe from damage. For a sleek look, blow-dry your hair straight using a round brush, making sure to pull the hair downwards to avoid frizz. Once dry, you can use a flat iron to achieve that shiny, straight finish.
A popular method is to part your hair in the middle or to the side, depending on your preference. After straightening, apply a lightweight oil or serum to add shine and reduce static. For extra volume, consider using a teasing brush at the roots before styling.
Experiment with different styles, such as adding a slight flick at the ends or creating a soft wave for a more relaxed vibe. You can also try a half-up, half-down style, which works beautifully with bobs. Remember, the key to mastering the sleek bob is to find what works best for your hair type and face shape, so don’t hesitate to try new techniques until you find your signature look.
Twisted Updos
Begin with clean, dry, or slightly damp hair to make it easier to work with. You can enhance the texture by using a bit of mousse or styling cream. This will help the twists hold better and look more defined.
A good way to do this is to create a top section from the crown of your head and secure it with a hair tie. Then, take smaller sections from the sides and twist them towards the back of your head. For each twist, make a small hole behind the hair tie and pull the ponytail through to create a twisted effect.
Finally, finish your twisted updo by gathering all the twisted sections together. You can either leave the remaining hair down for a more casual style or wrap it into a bun for a more polished look. Secure everything with bobby pins and a bit of hairspray to keep it in place. Don’t forget to add some decorative elements like hair clips or flowers to personalize your updo and make it stand out for special occasions like prom or weddings.
Beachy Waves
After washing, let your hair air dry until it’s about 80% dry, then use a heat protectant spray to shield your hair from damage. Once your hair is dry, you can use a curling iron or a flat iron to create waves. For a more natural look, leave the last couple of inches of your hair uncurled.
For instance, curl some sections away from your face and others towards it. This technique helps create a more tousled, messy look, which is key for beachy waves.
Finally, finish off your beachy waves with a light-hold hairspray to keep them in place without making your hair feel stiff. If your waves start to lose their shape after a day, you can refresh them with a bit of salt spray. This simple routine can take less than 10 minutes, making it perfect for a quick and stylish look anytime.
Elegant Headbands
There are many types of headbands, from simple fabric ones to fancy embellished styles. For a casual look, you can wear a traditional headband by placing it just behind your hairline, allowing some hair to frame your face. This modern approach is much more stylish than the old way of pushing all your hair back.
For a chic and sophisticated vibe, consider a low bun or a slicked-back ponytail. Adding a statement headband, like one with embellishments or a bold color, can elevate your look for special occasions. If you prefer a more relaxed style, messy waves or a casual ponytail can also look great with a headband.
Turban headbands, braided ones, or floral designs can all add a unique flair to your look. You can also try using a bandana as a headband for a fun twist. The more you practice and play around with different combinations, the more confident you’ll feel in your headband style. Remember, the goal is to have fun and express your personal style while wearing headbands.
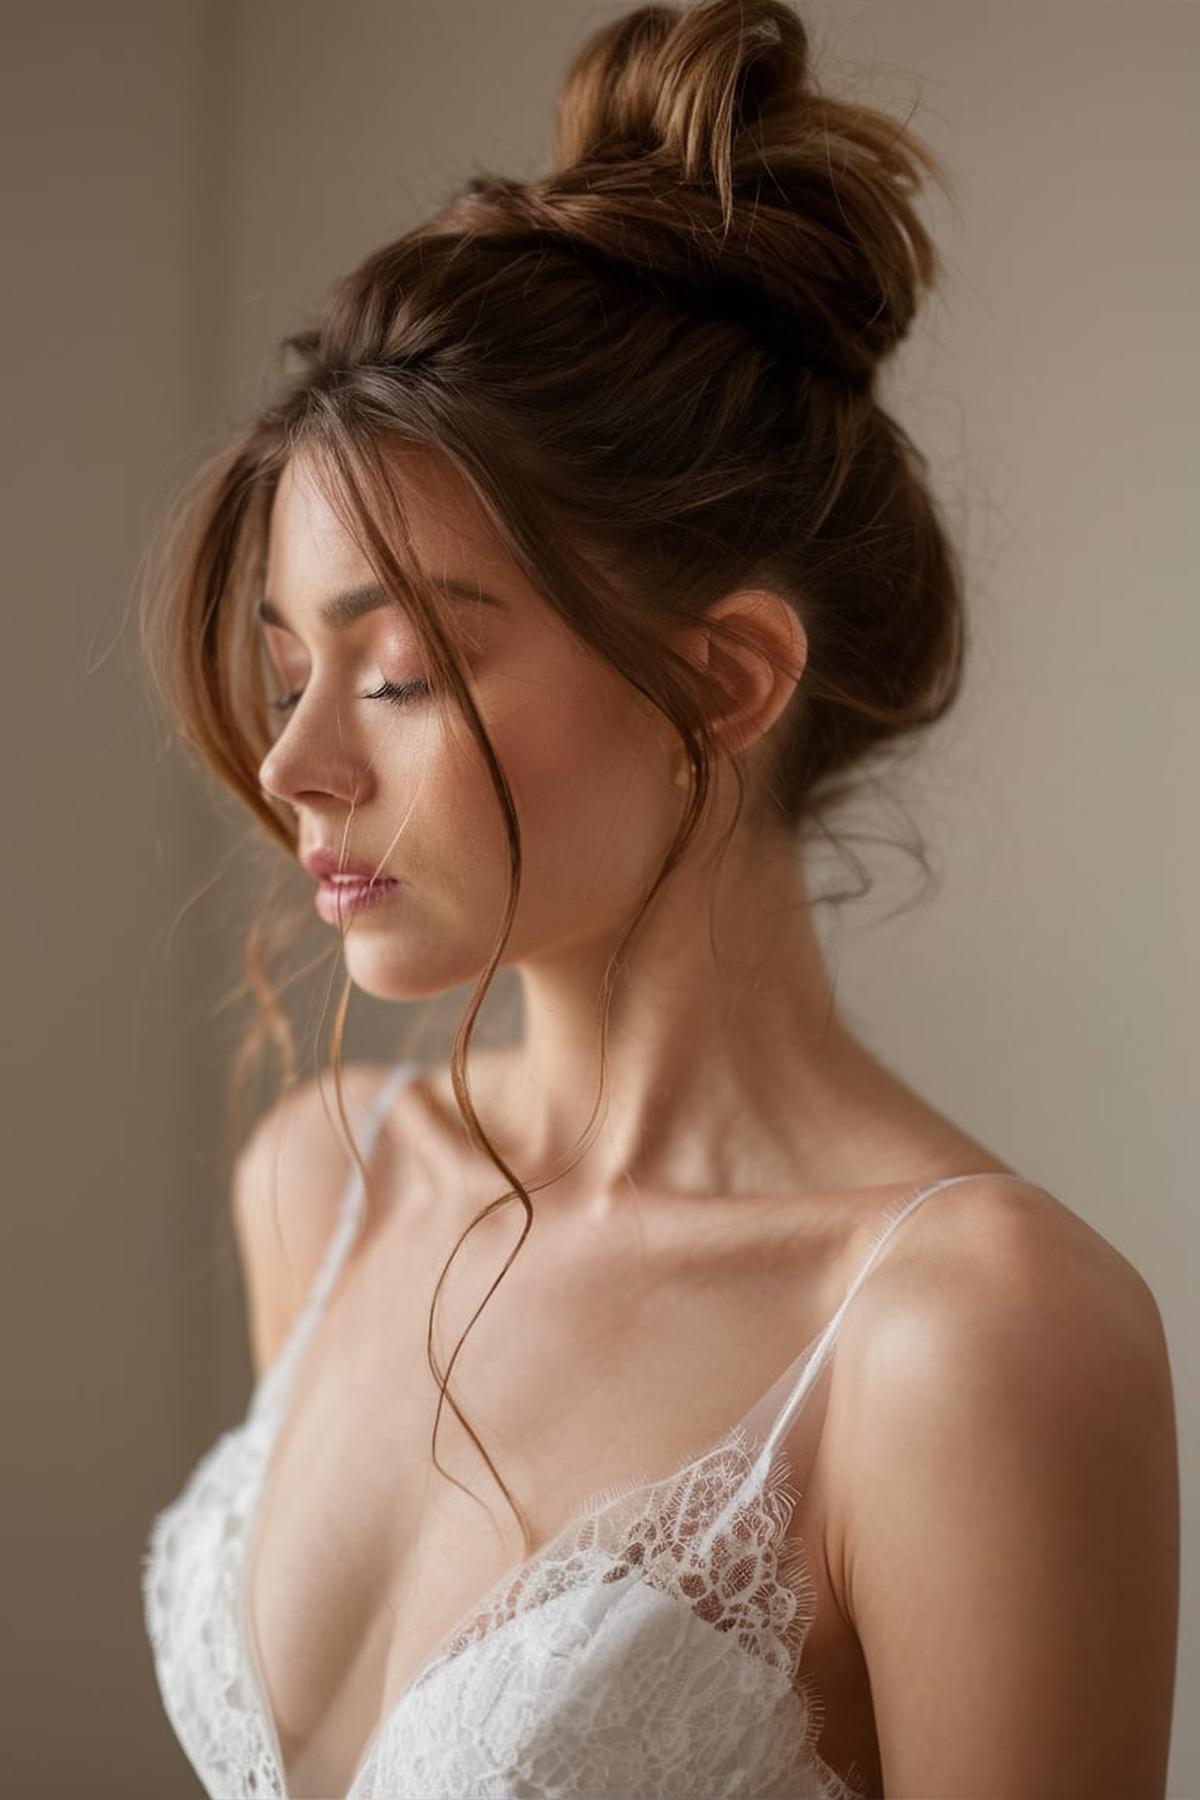
Messy Low Bun
You can flip your head upside down to make it easier. Use your fingers instead of a brush, as this helps create a more relaxed look with some bumps. Once your hair is in a ponytail, twist it into a bun shape, leaving the end of your hair hanging out.
If you want to add some texture, consider using dry shampoo or a texturizing spray before you start. This can help your hair hold the shape better and look fuller. After securing the bun, gently pull out a few strands of hair around your face to soften the look.
Don’t worry if your bun doesn’t look perfect right away. The beauty of a messy bun is that it should look effortless and fun. Feel free to experiment with different placements and sizes until you find a style that suits you best. With a bit of practice, you’ll be able to create a stylish messy low bun in no time!
Long and Natural
First, maintaining healthy hair is key. This means using the right shampoo and conditioner for your hair type, avoiding excessive heat styling, and being gentle when brushing. After washing, instead of rubbing your hair with a towel, gently squeeze out excess water to prevent damage.
There are many simple hairstyles you can try that look great and are easy to do. For example, a classic ponytail can be transformed into a stylish look by adding a braid or using a cute hair accessory. You can also experiment with half-up styles or buns, which are perfect for keeping hair out of your face while still looking chic.
Don’t be afraid to try different looks and products to see what works best for your hair. It might take some time to figure out your favorite styles and how to achieve them, but that’s part of the fun! As you experiment, you’ll gain confidence and develop your own unique hair routine that showcases your long, natural locks beautifully.
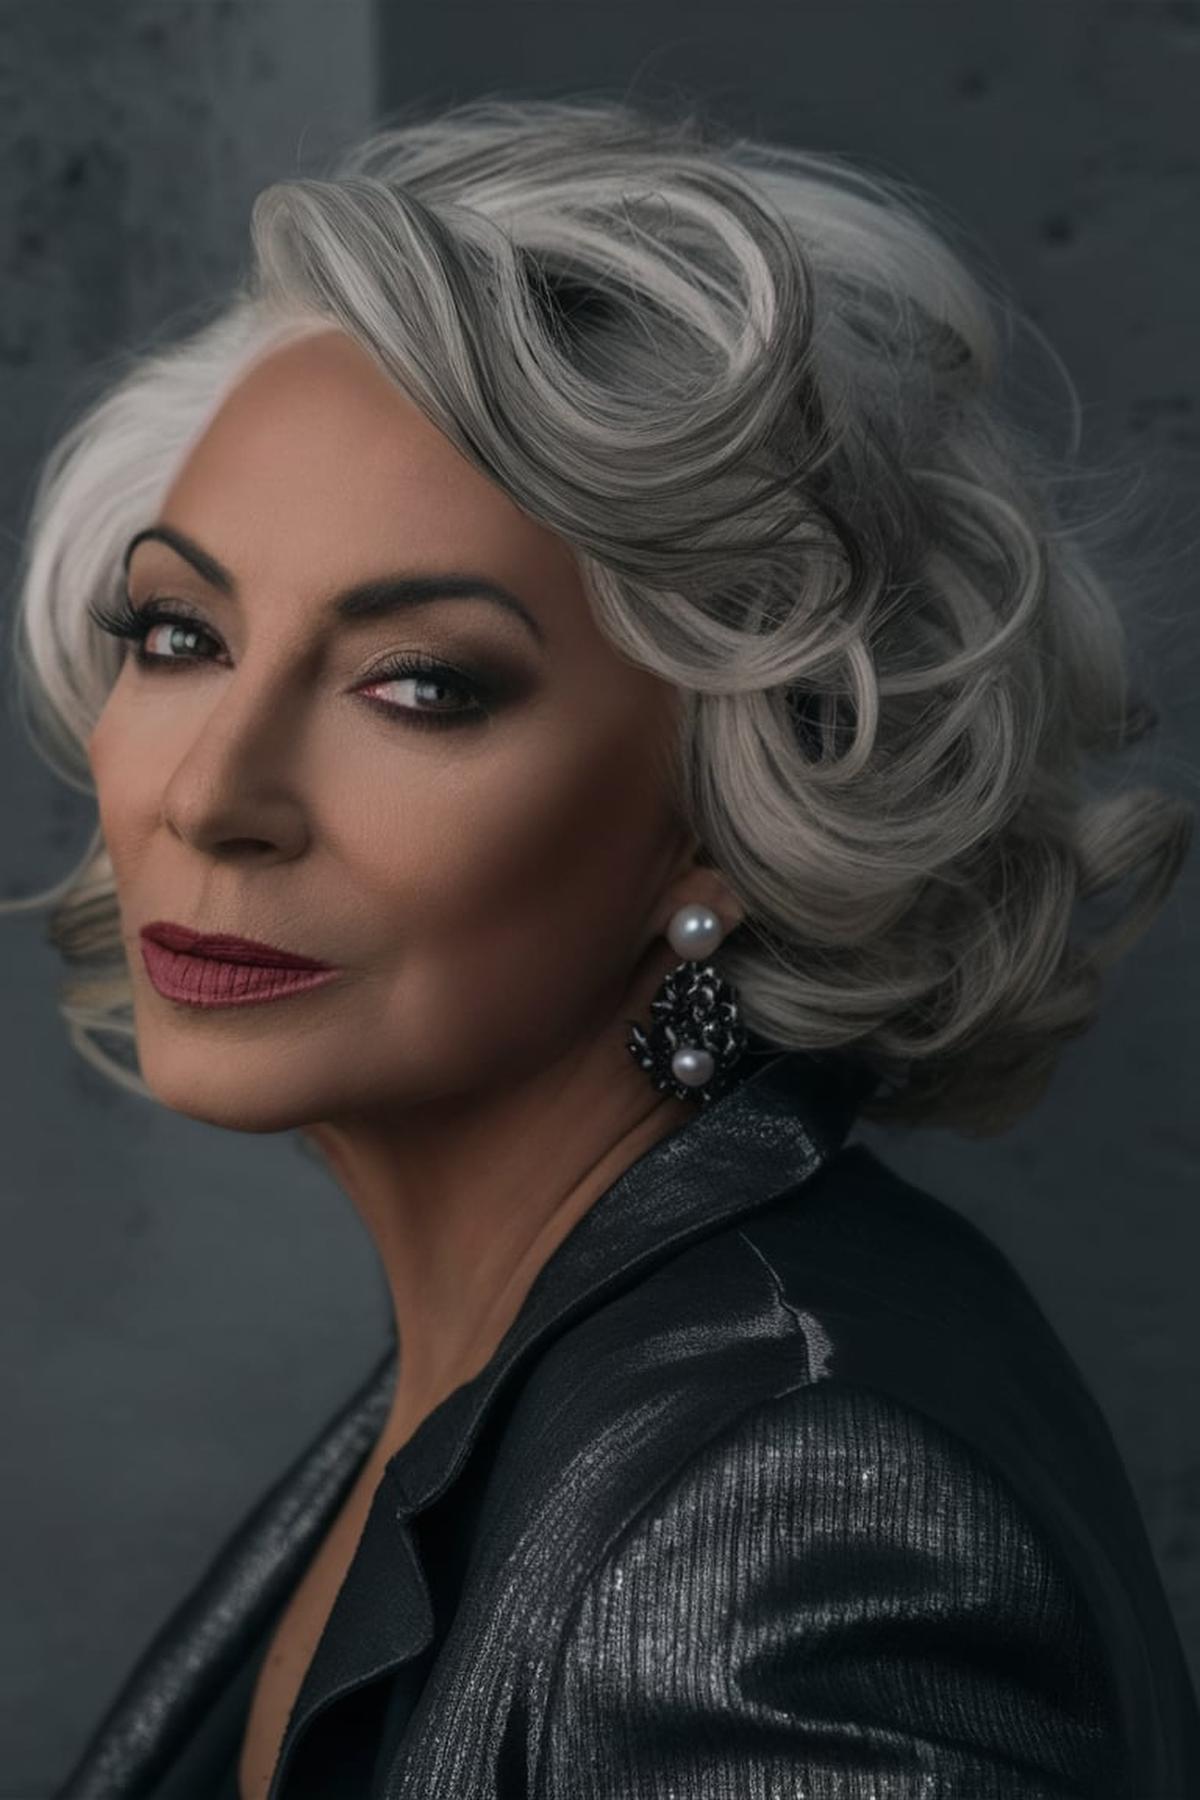
Retro Finger Waves
It’s best to style your hair when it’s freshly washed or slightly damp. Apply a good amount of styling mousse to your hair to help hold the waves. This product will make your hair easier to shape and keep the waves looking great.
Imagine making an “S” shape with your hair. Start by placing your finger near the part of your hair and use the comb to pull the hair forward and then back, forming a “C” shape.
Finally, to set your finger waves, dry your hair using a hairdryer or let it air dry while the clips are in place. Once your hair is completely dry, carefully remove the clips and use a light hairspray to keep everything in place. This will help your retro finger waves last longer, giving you that glamorous vintage look that can be worn for various occasions.
Accessorized Updos
Healthy hair is key, so make sure to wash and condition your hair before styling. Gather essential tools like hair ties, bobby pins, and hairspray. These will help you create a secure and stylish updo. Once your hair is ready, you can choose from different styles like a classic bun, messy bun, or a chignon.
Decorative pins, headbands, or even a tiara can transform a simple hairstyle into something special. For example, a messy bun can look charming with a few face-framing tendrils, while a sleek bun can be enhanced with a shiny headband. Remember to use hairspray to keep your style in place and to check throughout the day to make sure everything is secure.
Try out different styles and accessories to see what you like best. You can also watch tutorials online for new ideas and techniques. Don’t be afraid to experiment with your hair, as this will help you find the styles that suit you. With a little practice and creativity, you’ll be able to create beautiful accessorized updos that make you feel confident and stylish.
Q&As for summer wedding hairstyles
Q: What are some summer wedding hairstyles that include romantic waves?
A: Romantic waves are a great choice for summer weddings. You can create soft, flowing waves that look natural and elegant. These waves can be styled with a side part or accessorized with a floral crown for a more romantic touch.
Q: How can I style a sleek high bun for a summer wedding?
A: A sleek high bun is perfect for a polished look. To achieve this style, gather your hair into a high ponytail, twist it around the base, and secure it with pins. Use a smoothing serum to keep it sleek and add an elegant headband for extra flair.
Q: What is a braided updo and how can it be styled for a wedding?
A: A braided updo involves braiding sections of your hair and pinning them into an updo. This style can be enhanced with small accessories or flowers woven into the braids, giving it a unique and elegant look suitable for weddings.
Q: How can I achieve a half-up, half-down hairstyle for a summer wedding?
A: For a half-up, half-down style, take the top section of your hair and secure it at the back, leaving the rest to flow freely. You can add curls or waves to the loose hair and use decorative pins or a headband to enhance the look.
Q: What is a loose chignon and how can it be styled for a wedding?
A: A loose chignon is a low, relaxed bun that sits at the nape of the neck. To style it, loosely gather your hair into a bun and secure it with pins. Let some strands fall naturally for a soft, romantic appearance, and consider adding a delicate hairpiece for a wedding-ready finish.
