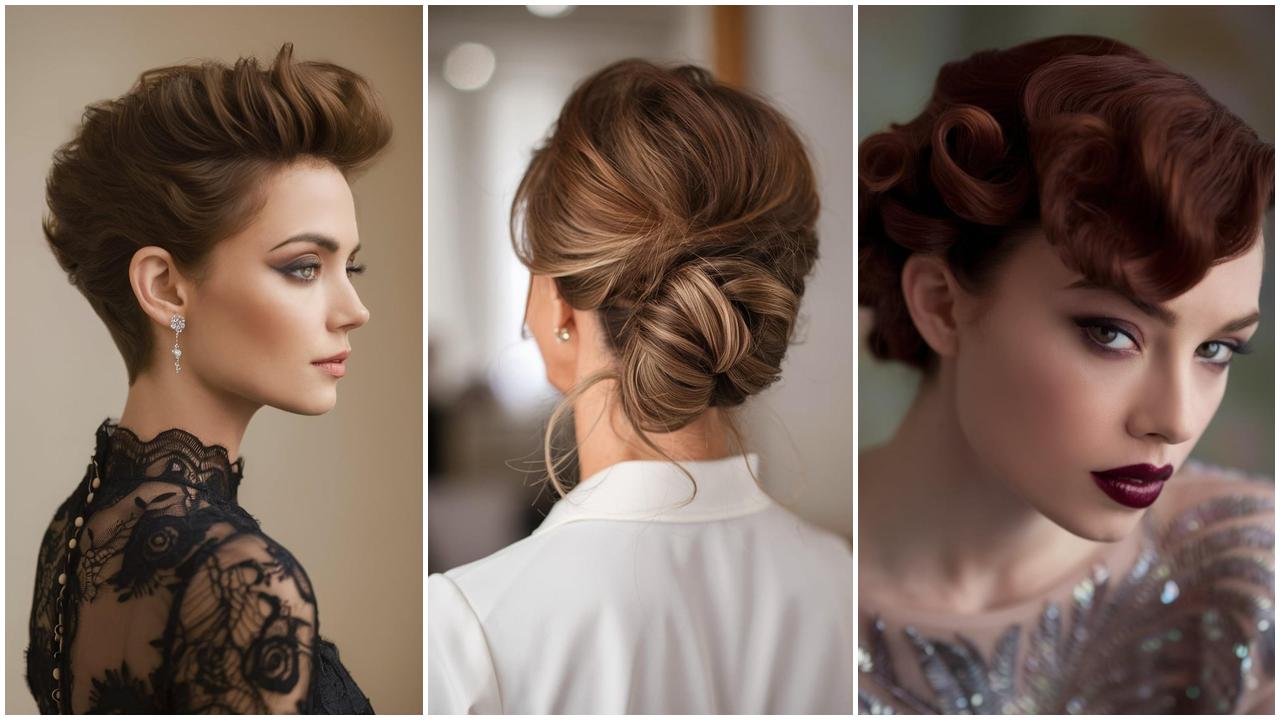
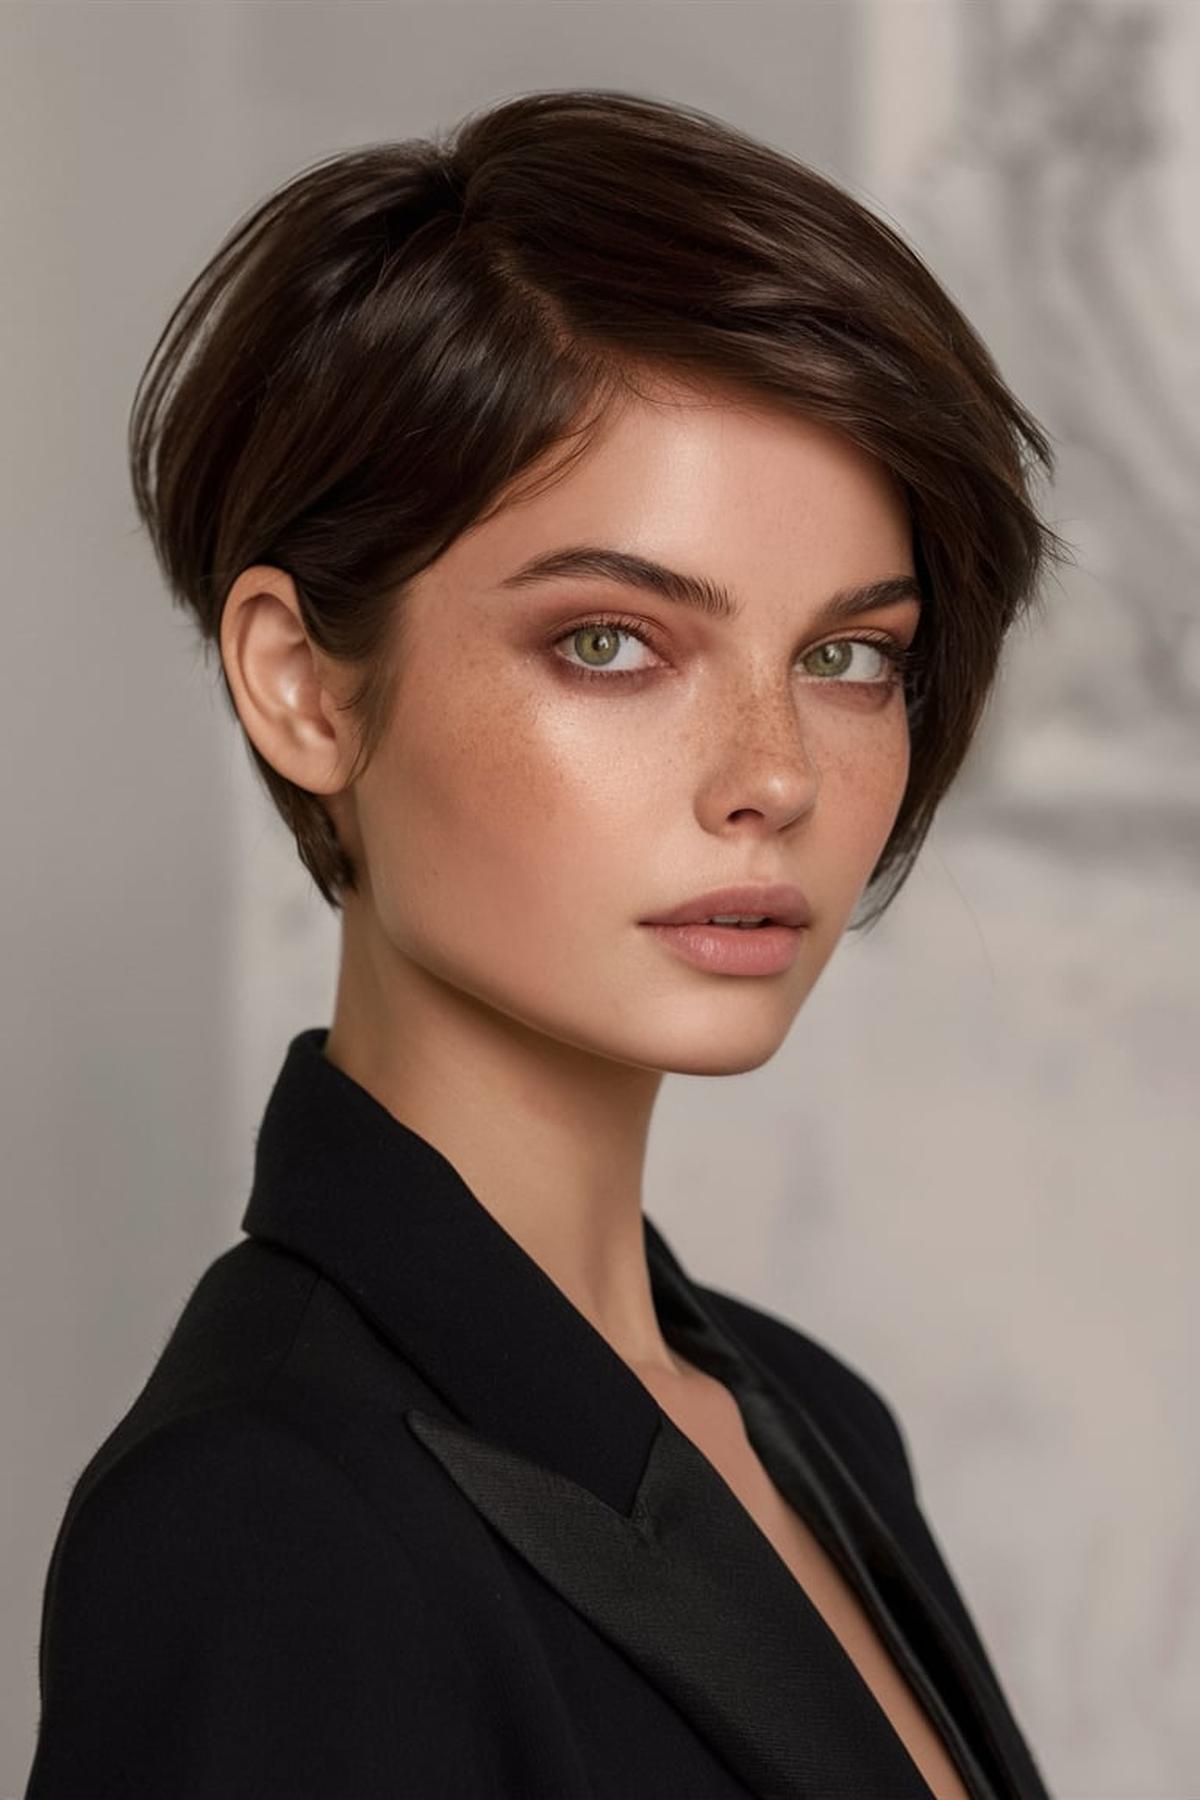
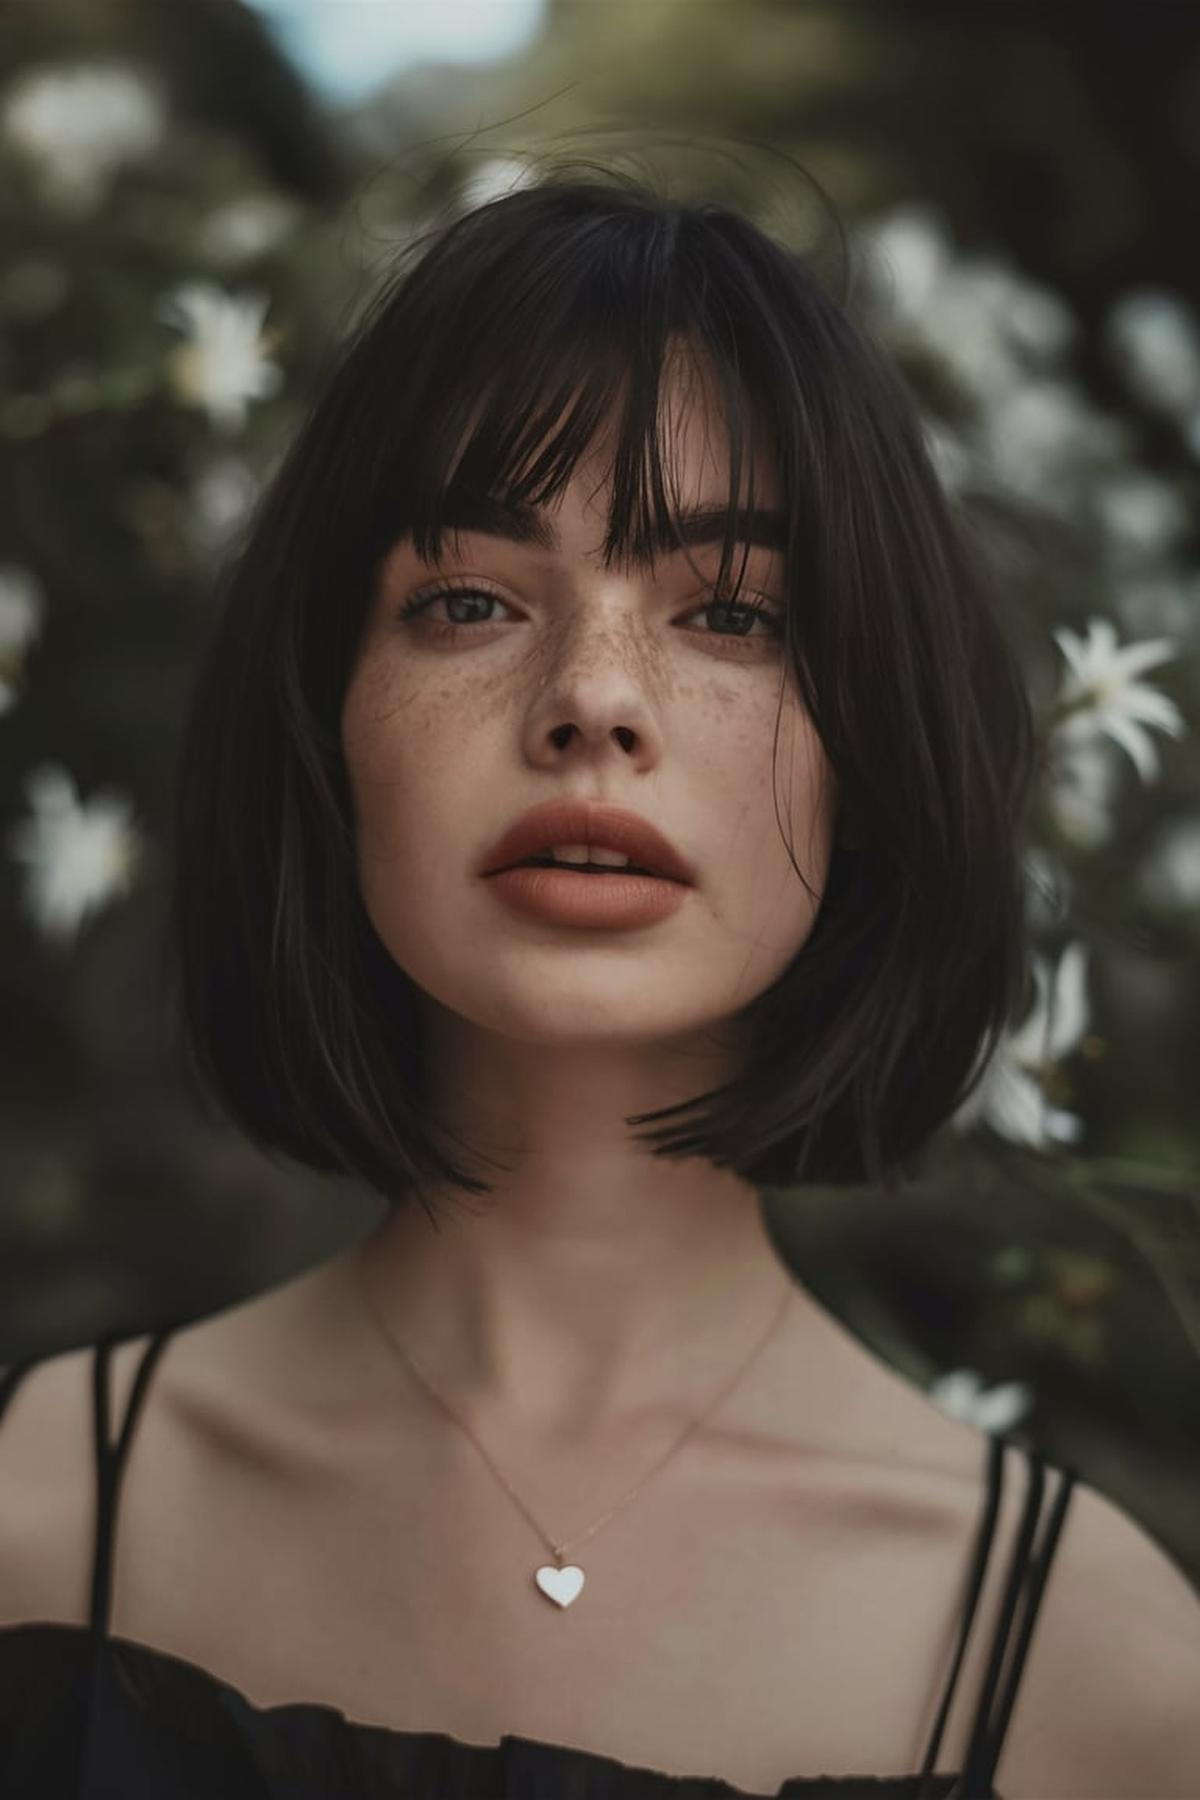
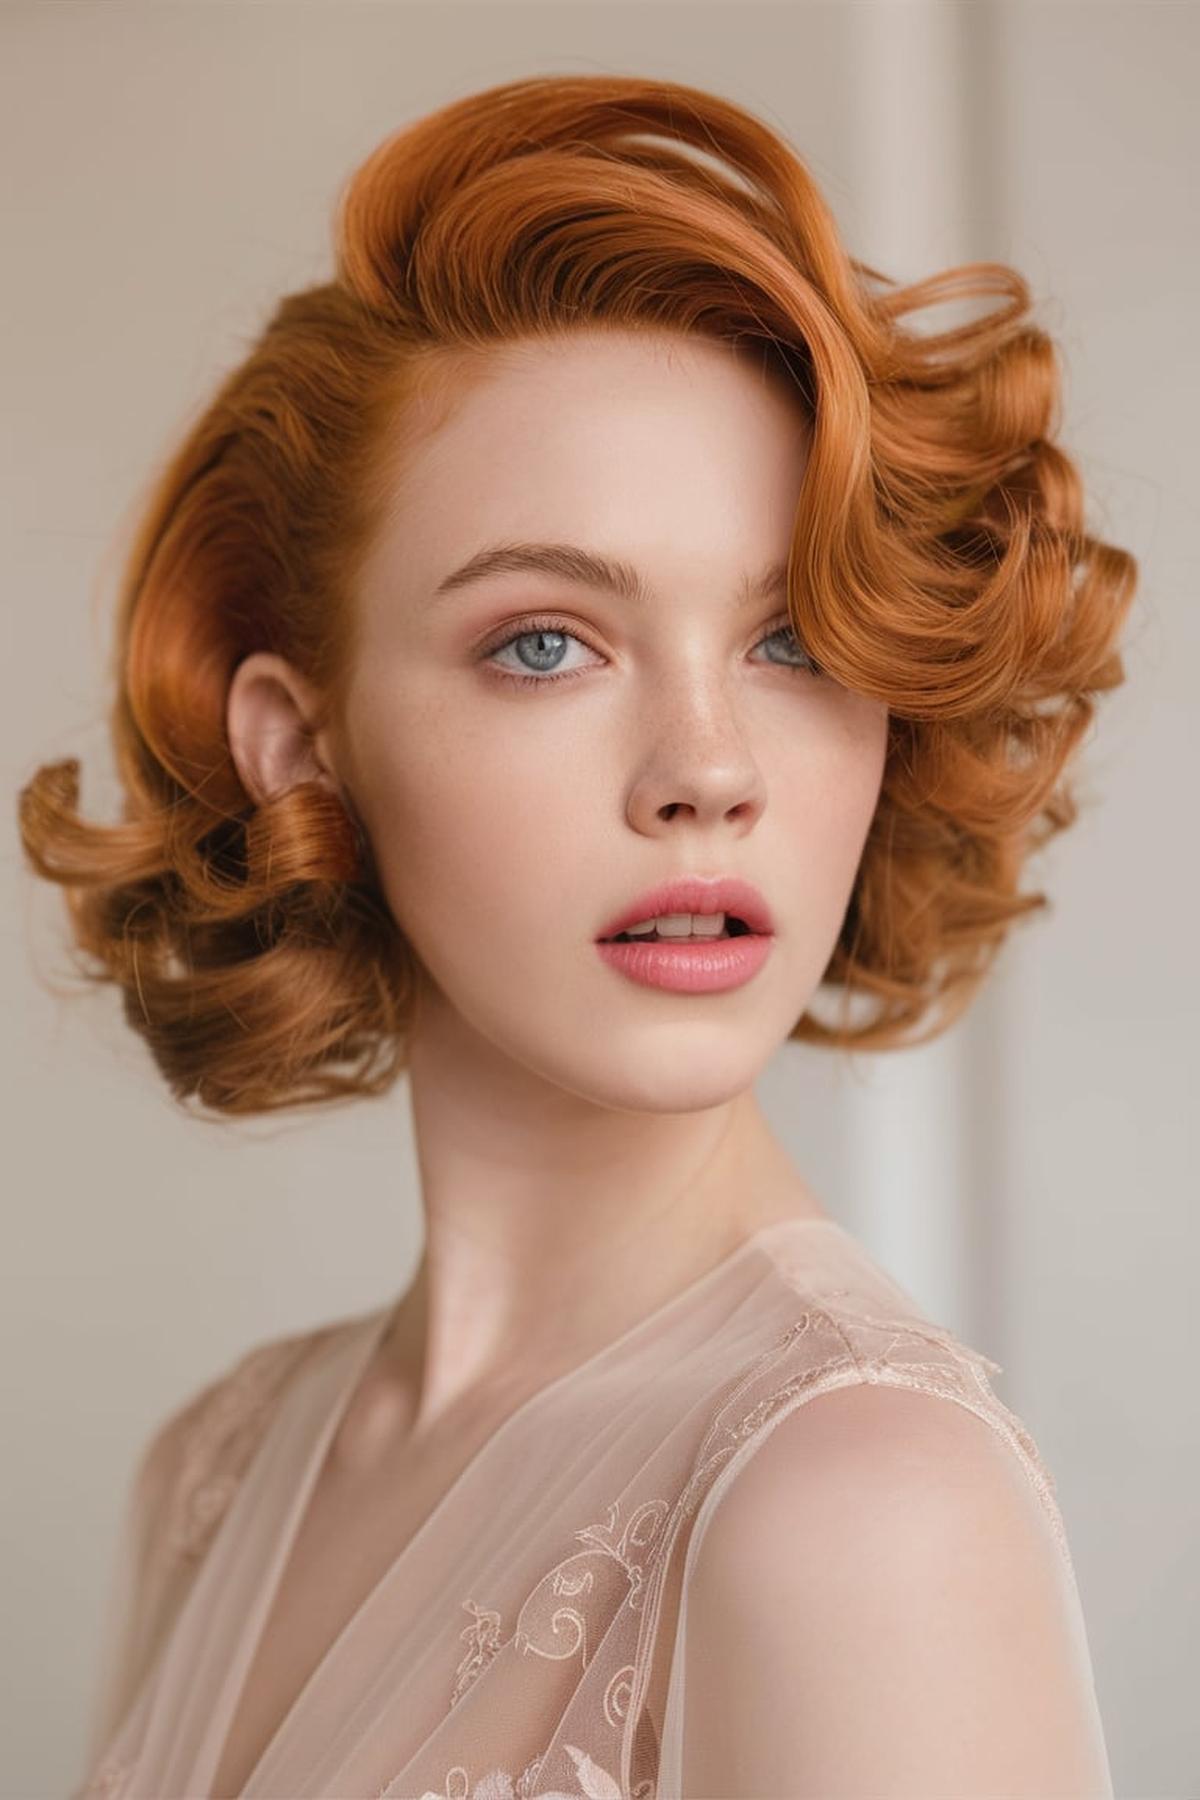
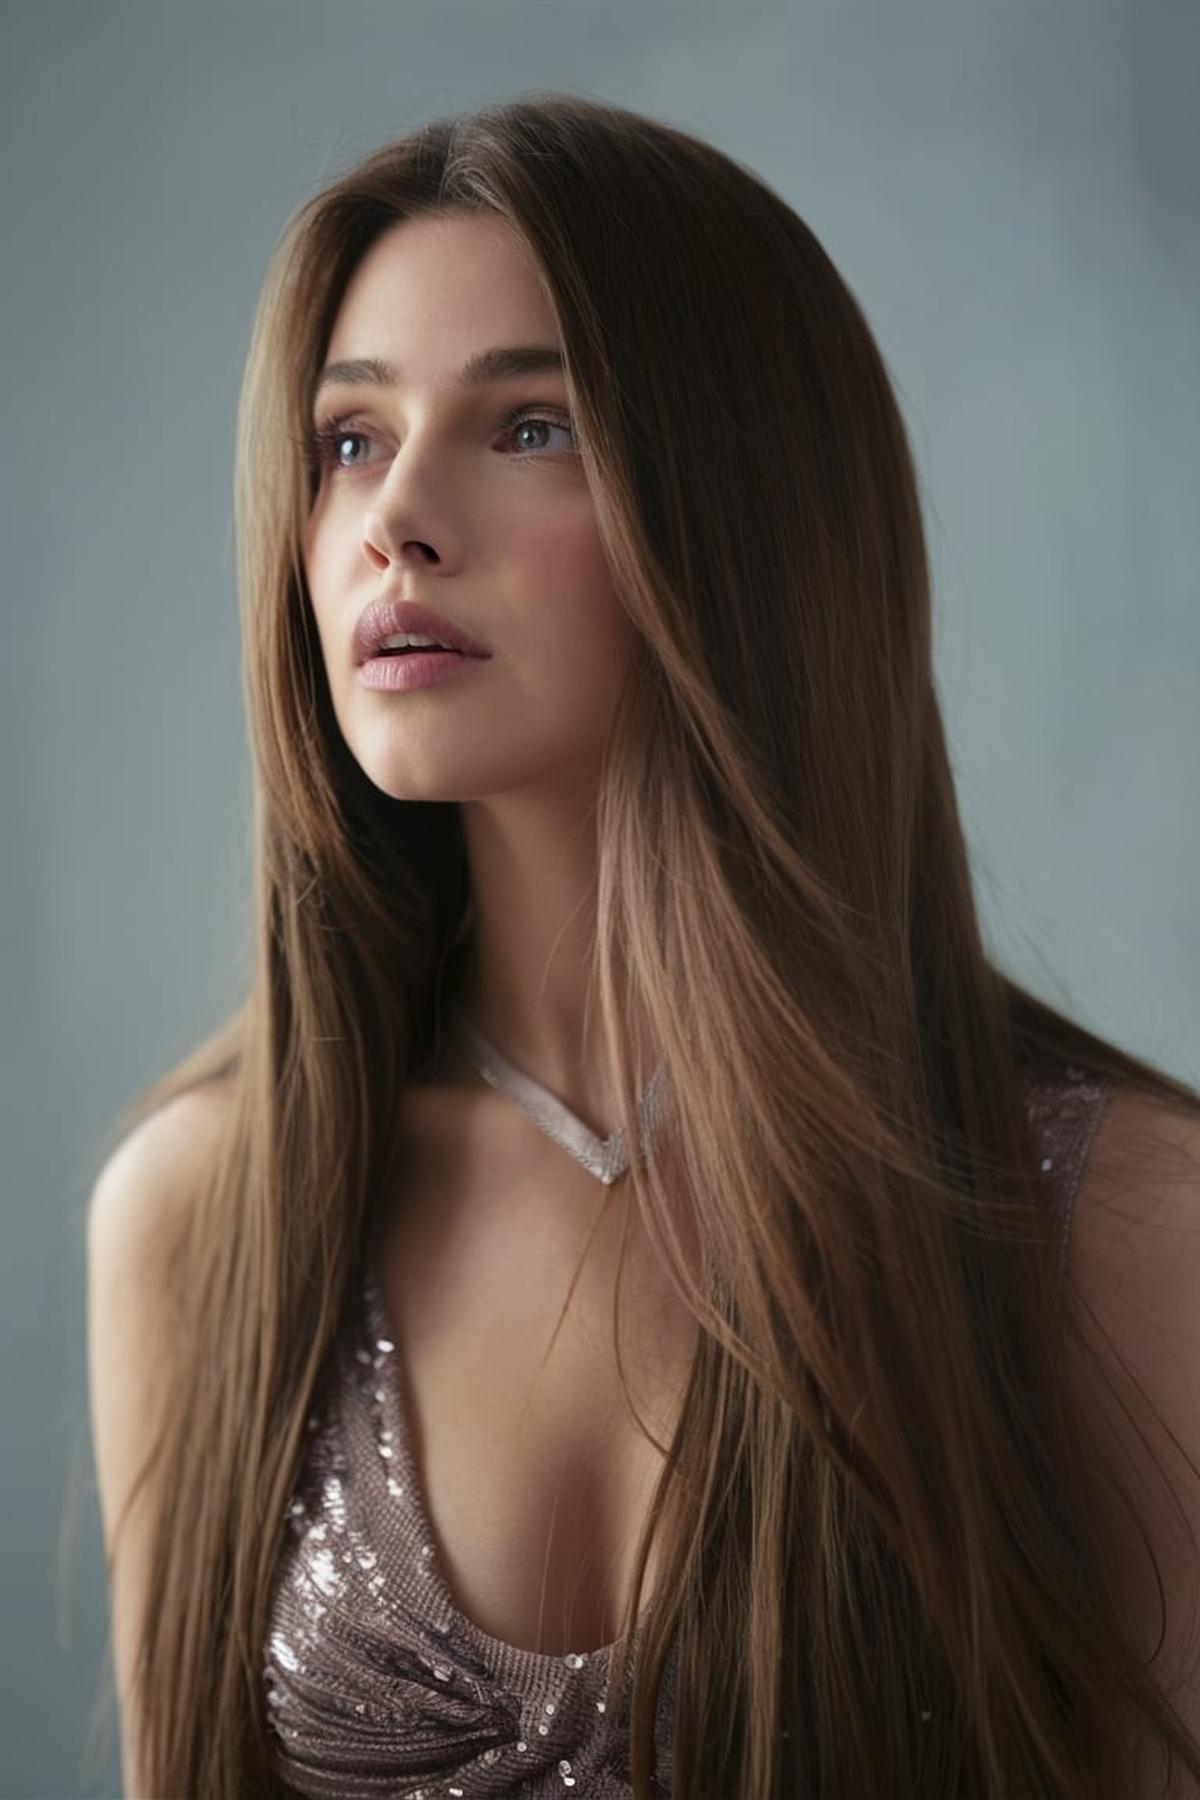
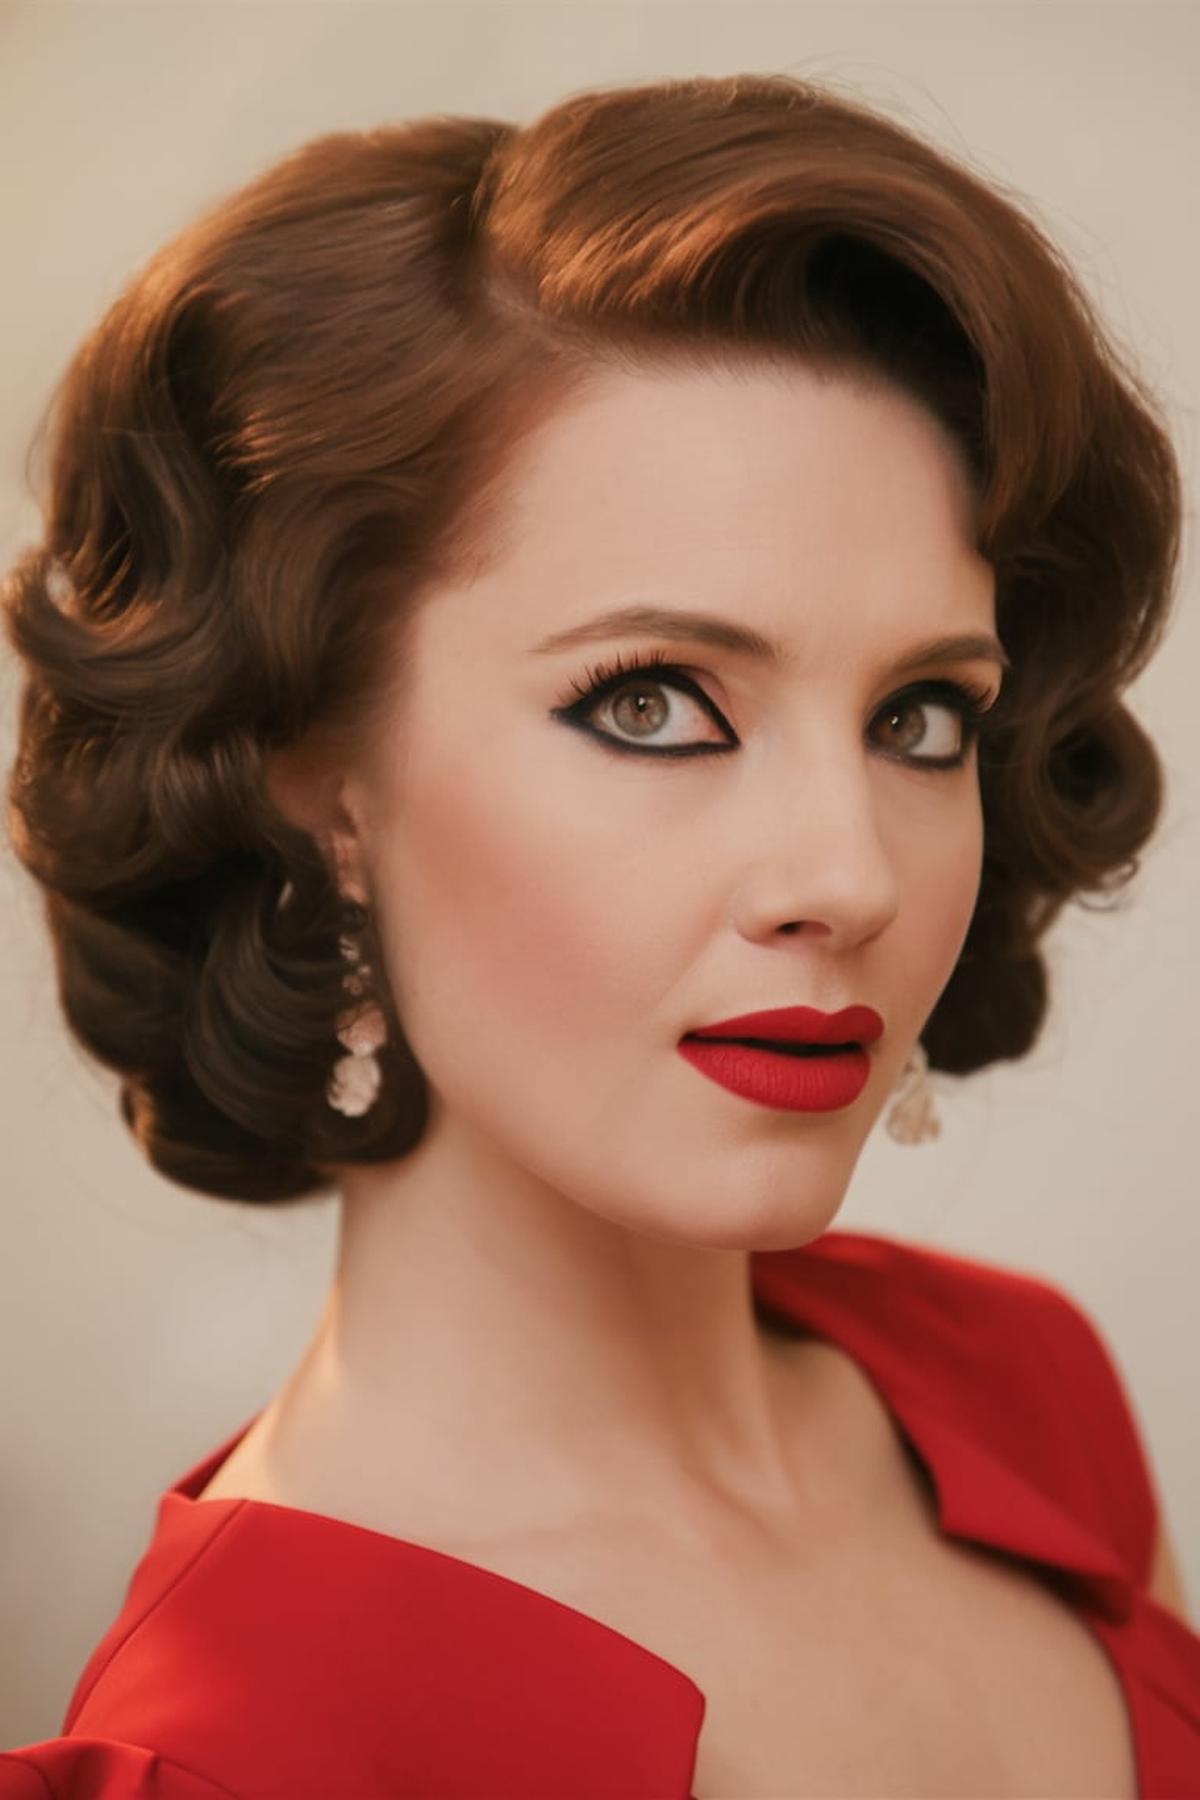
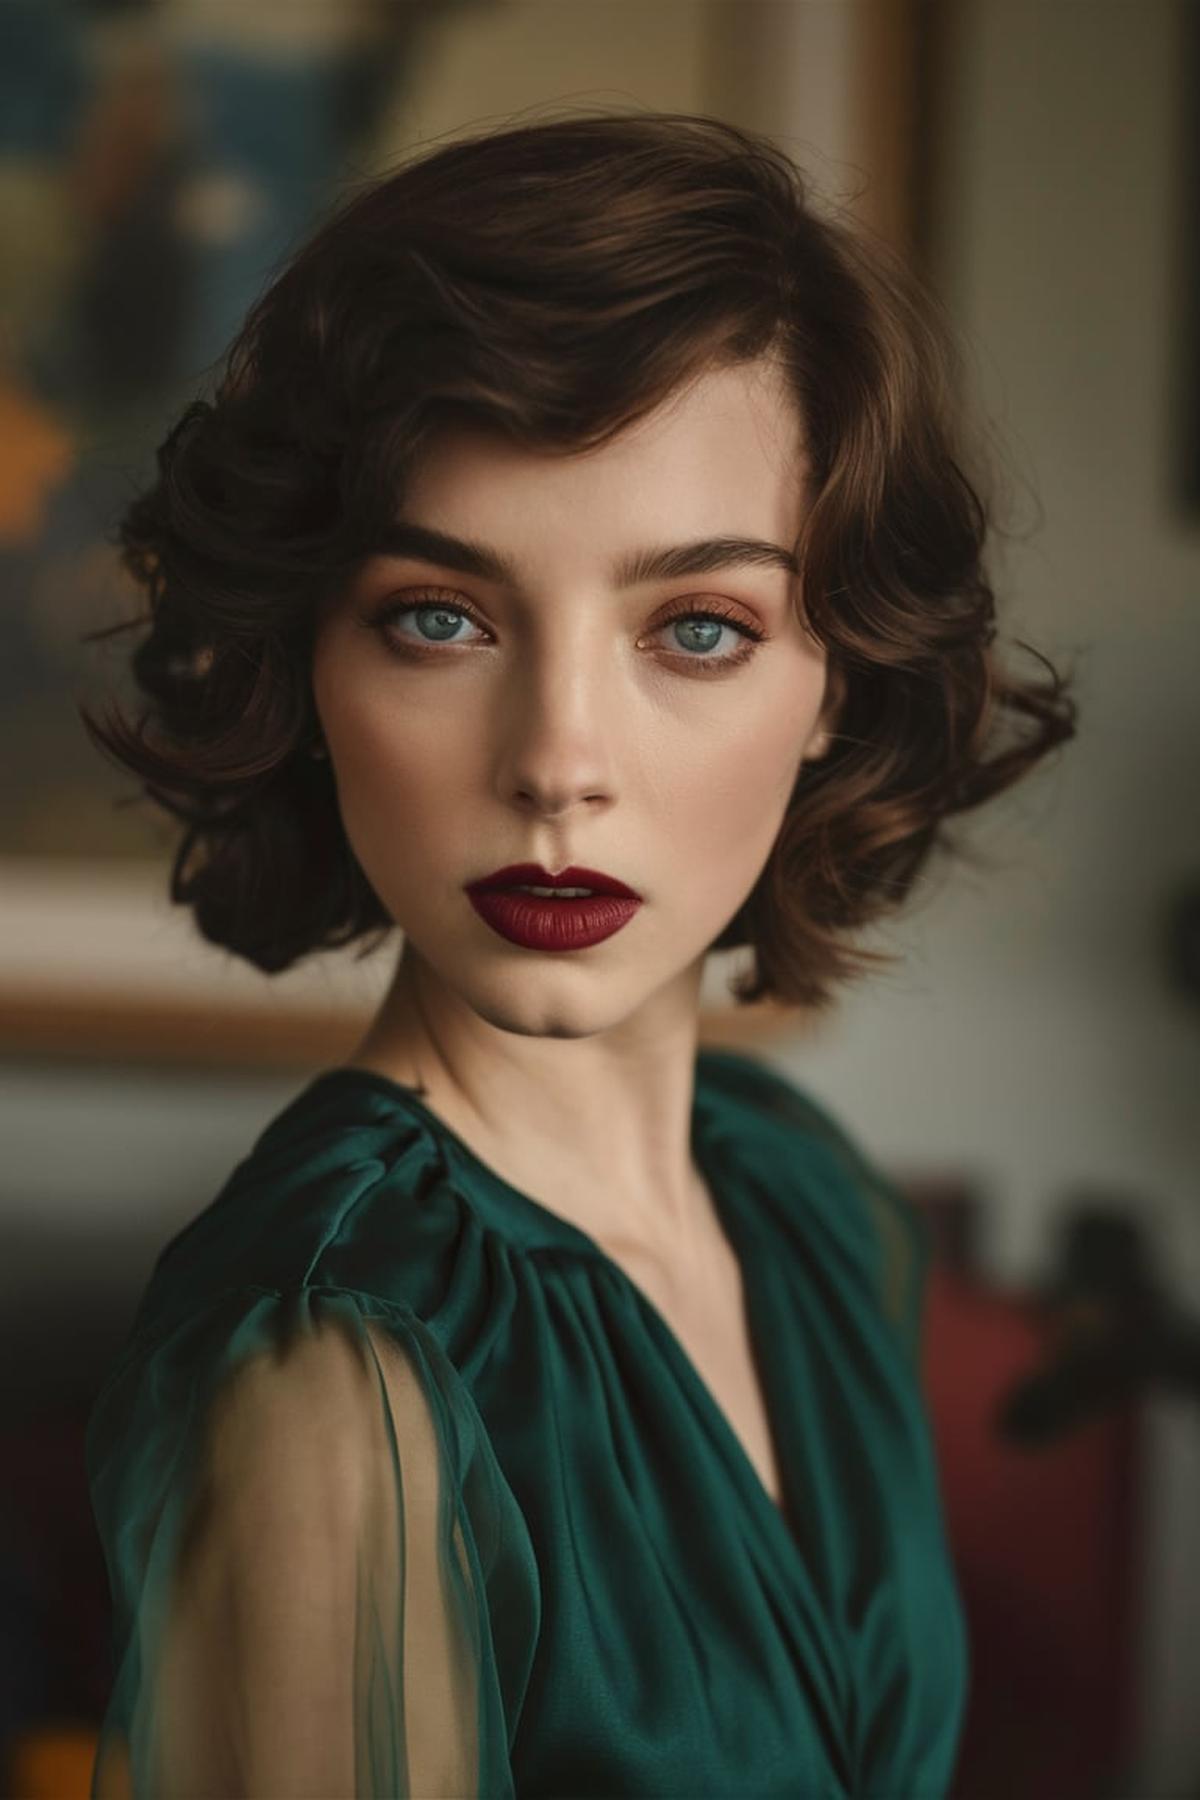
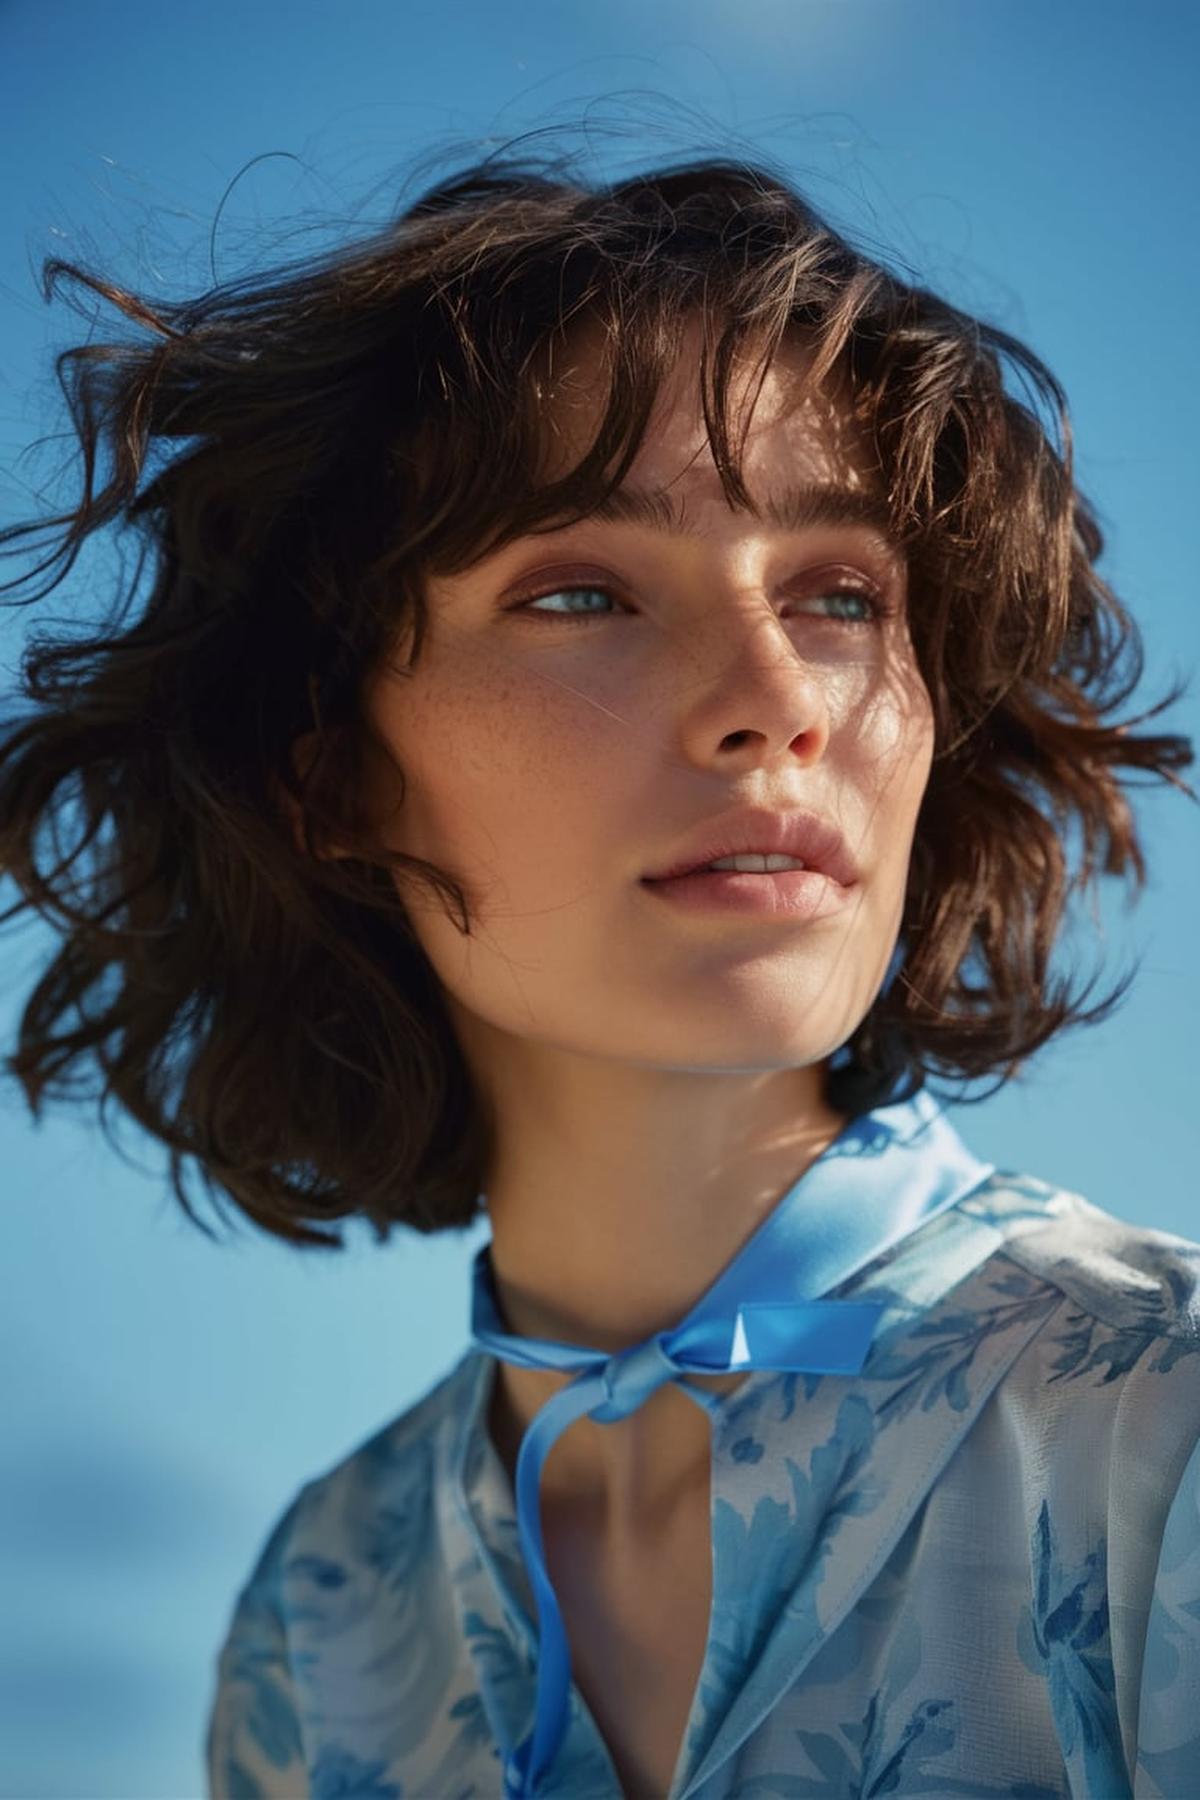
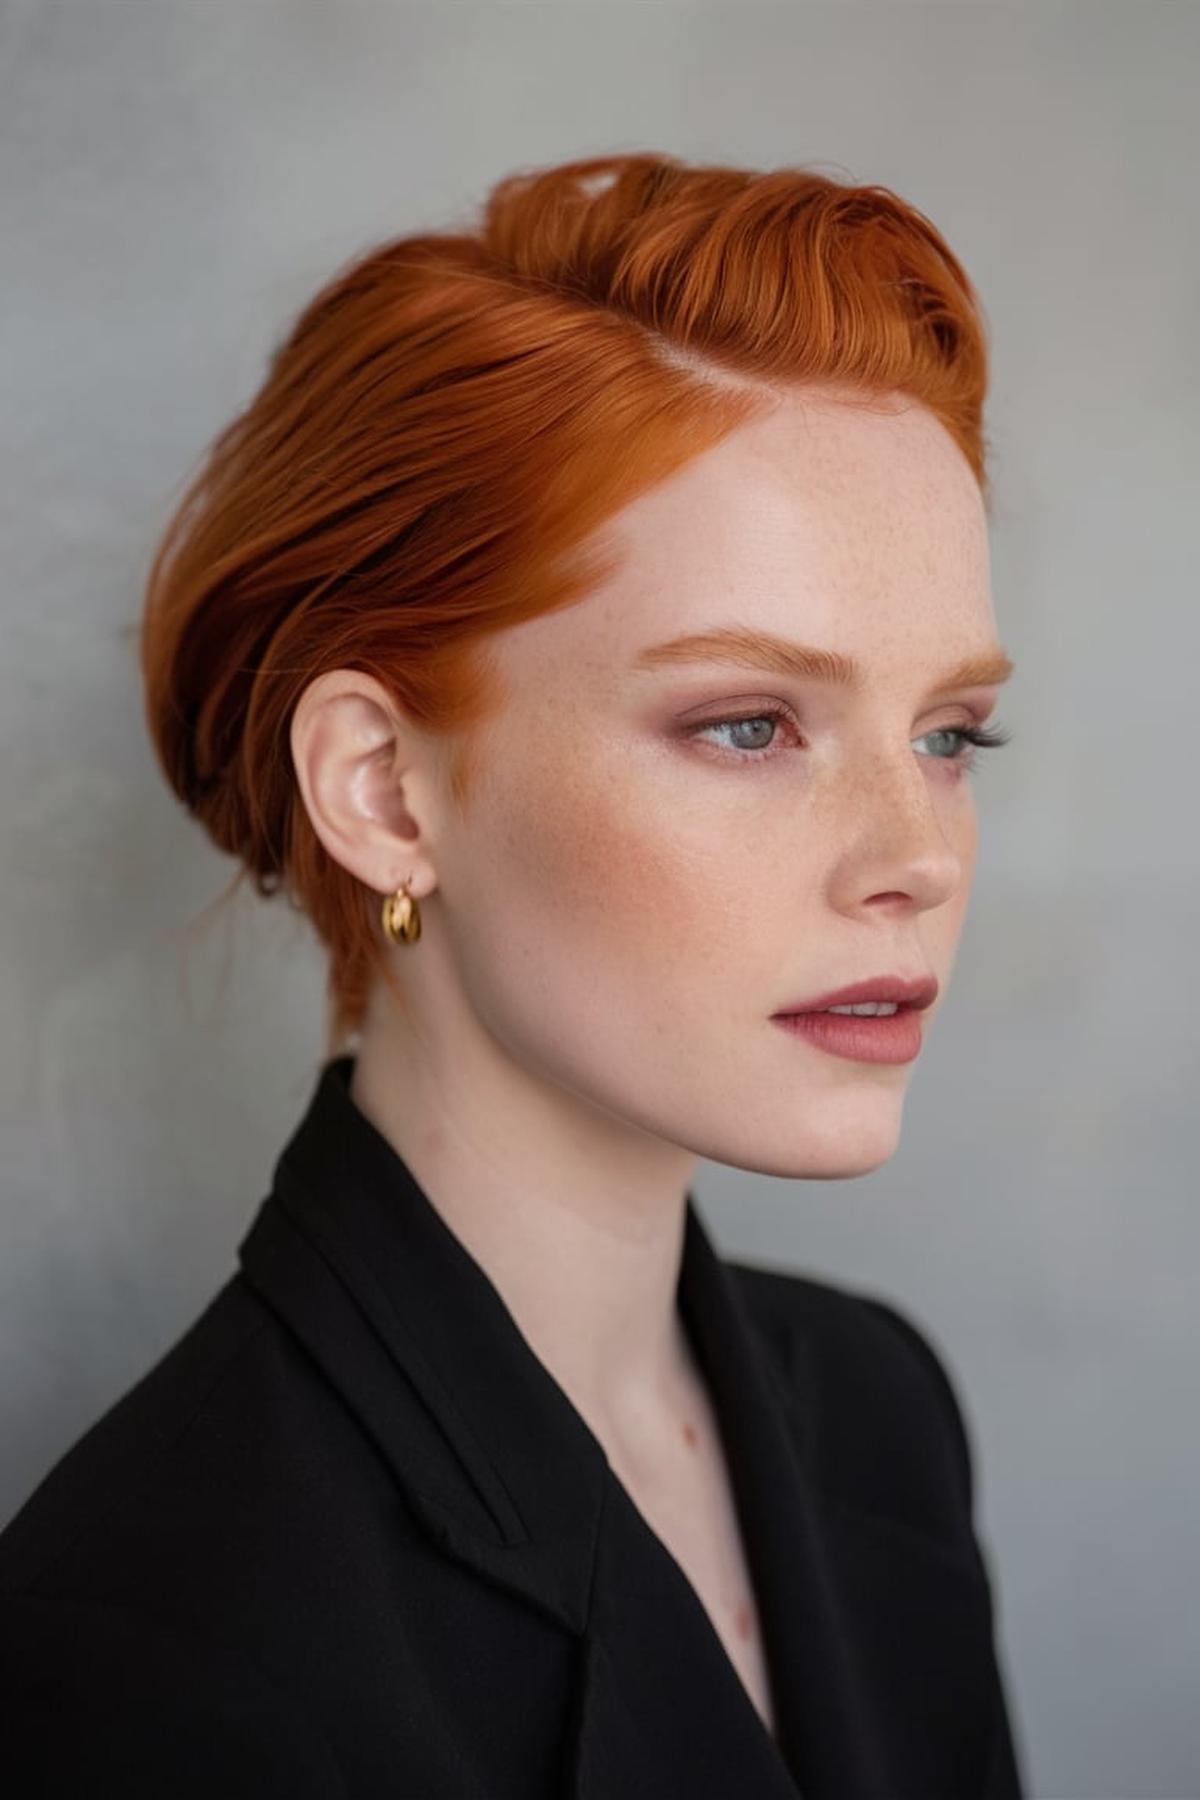
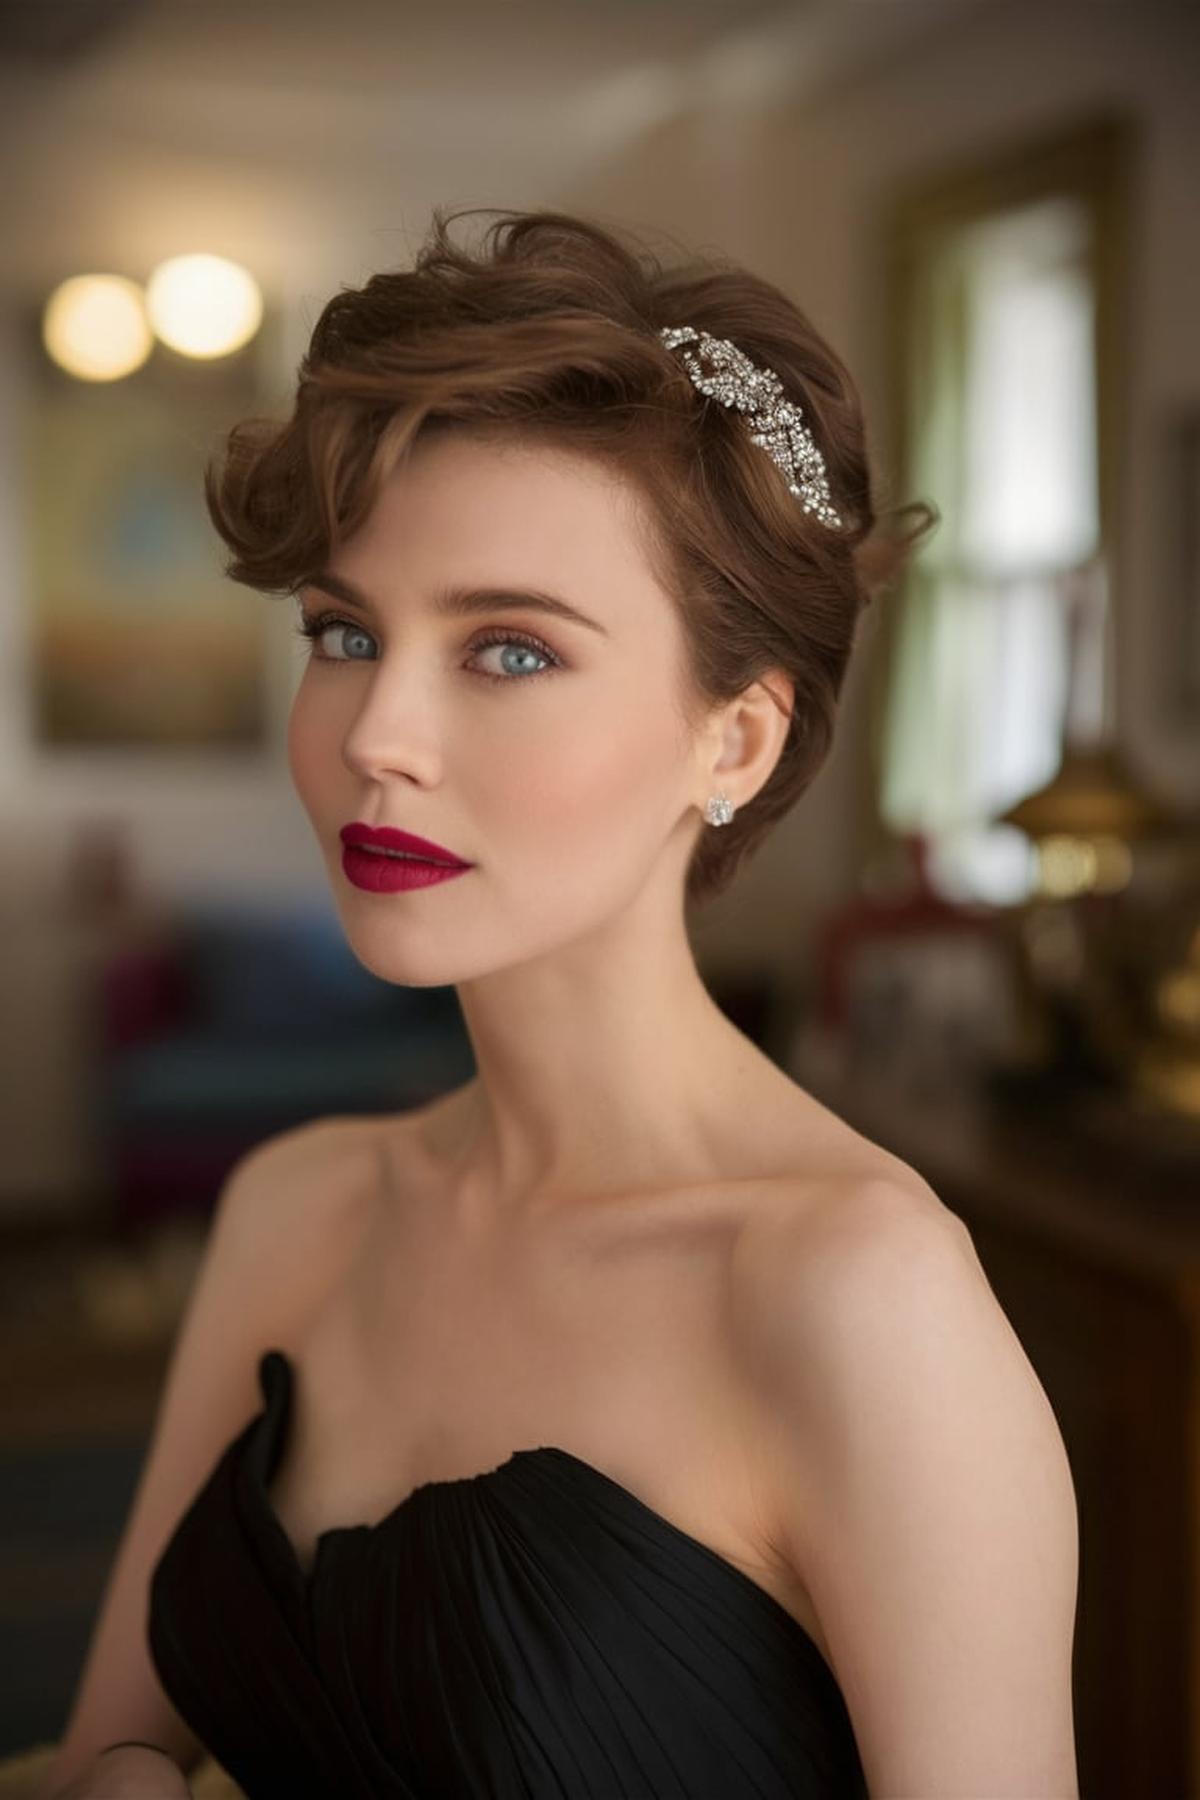
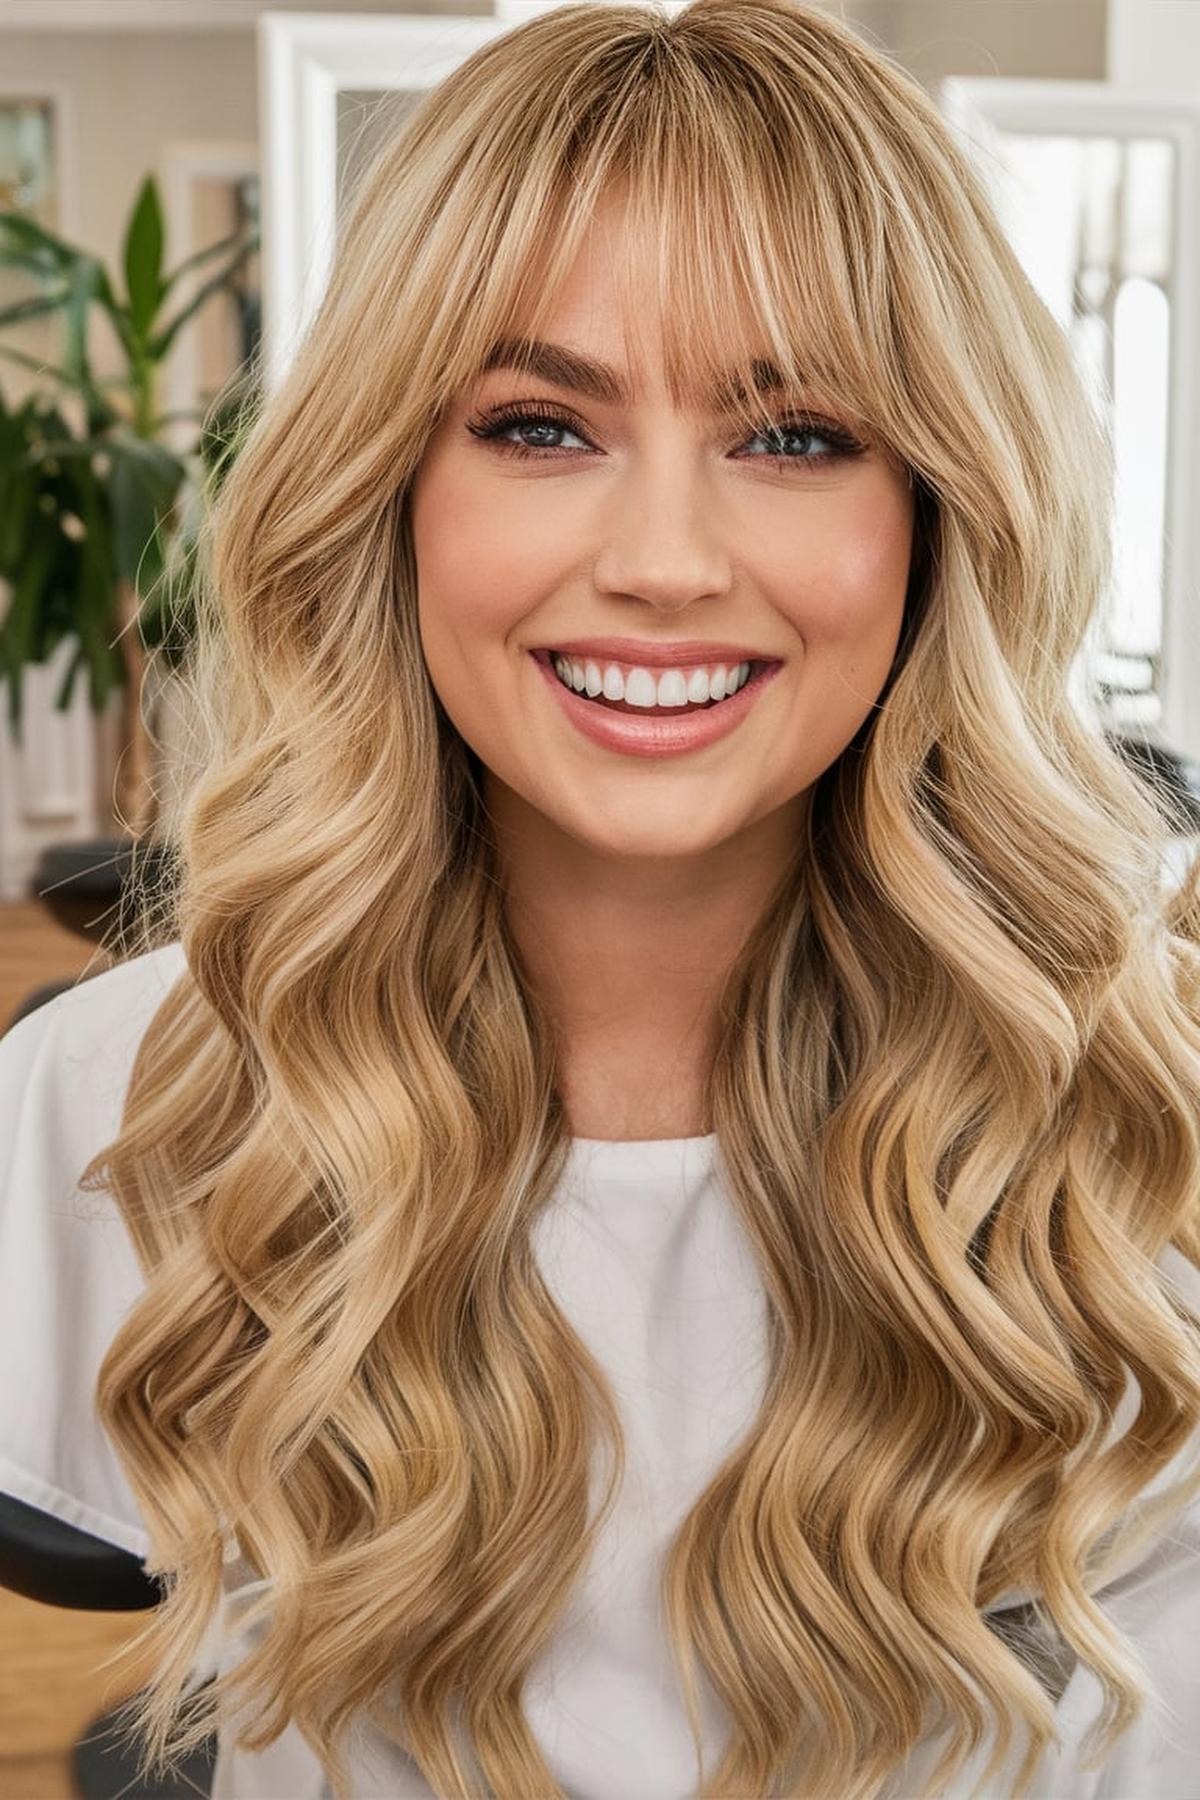
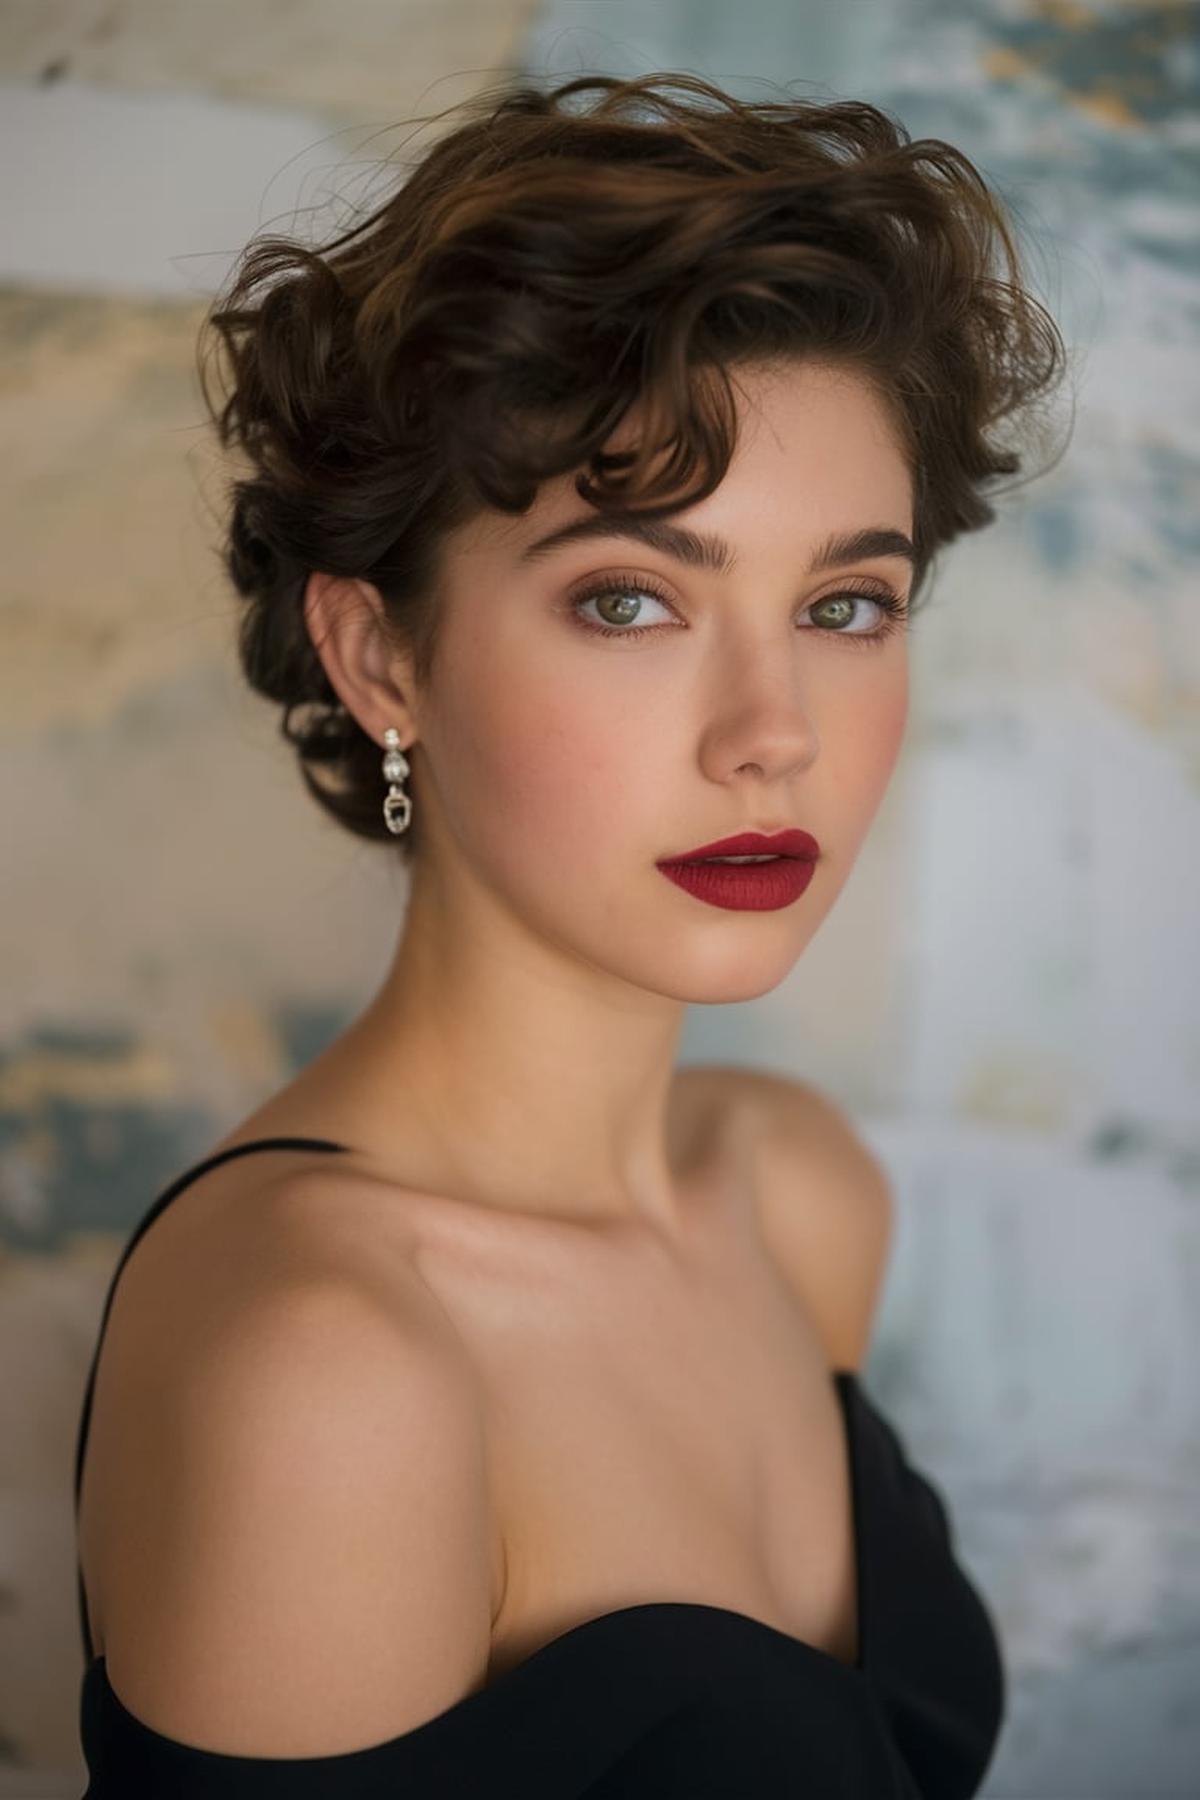
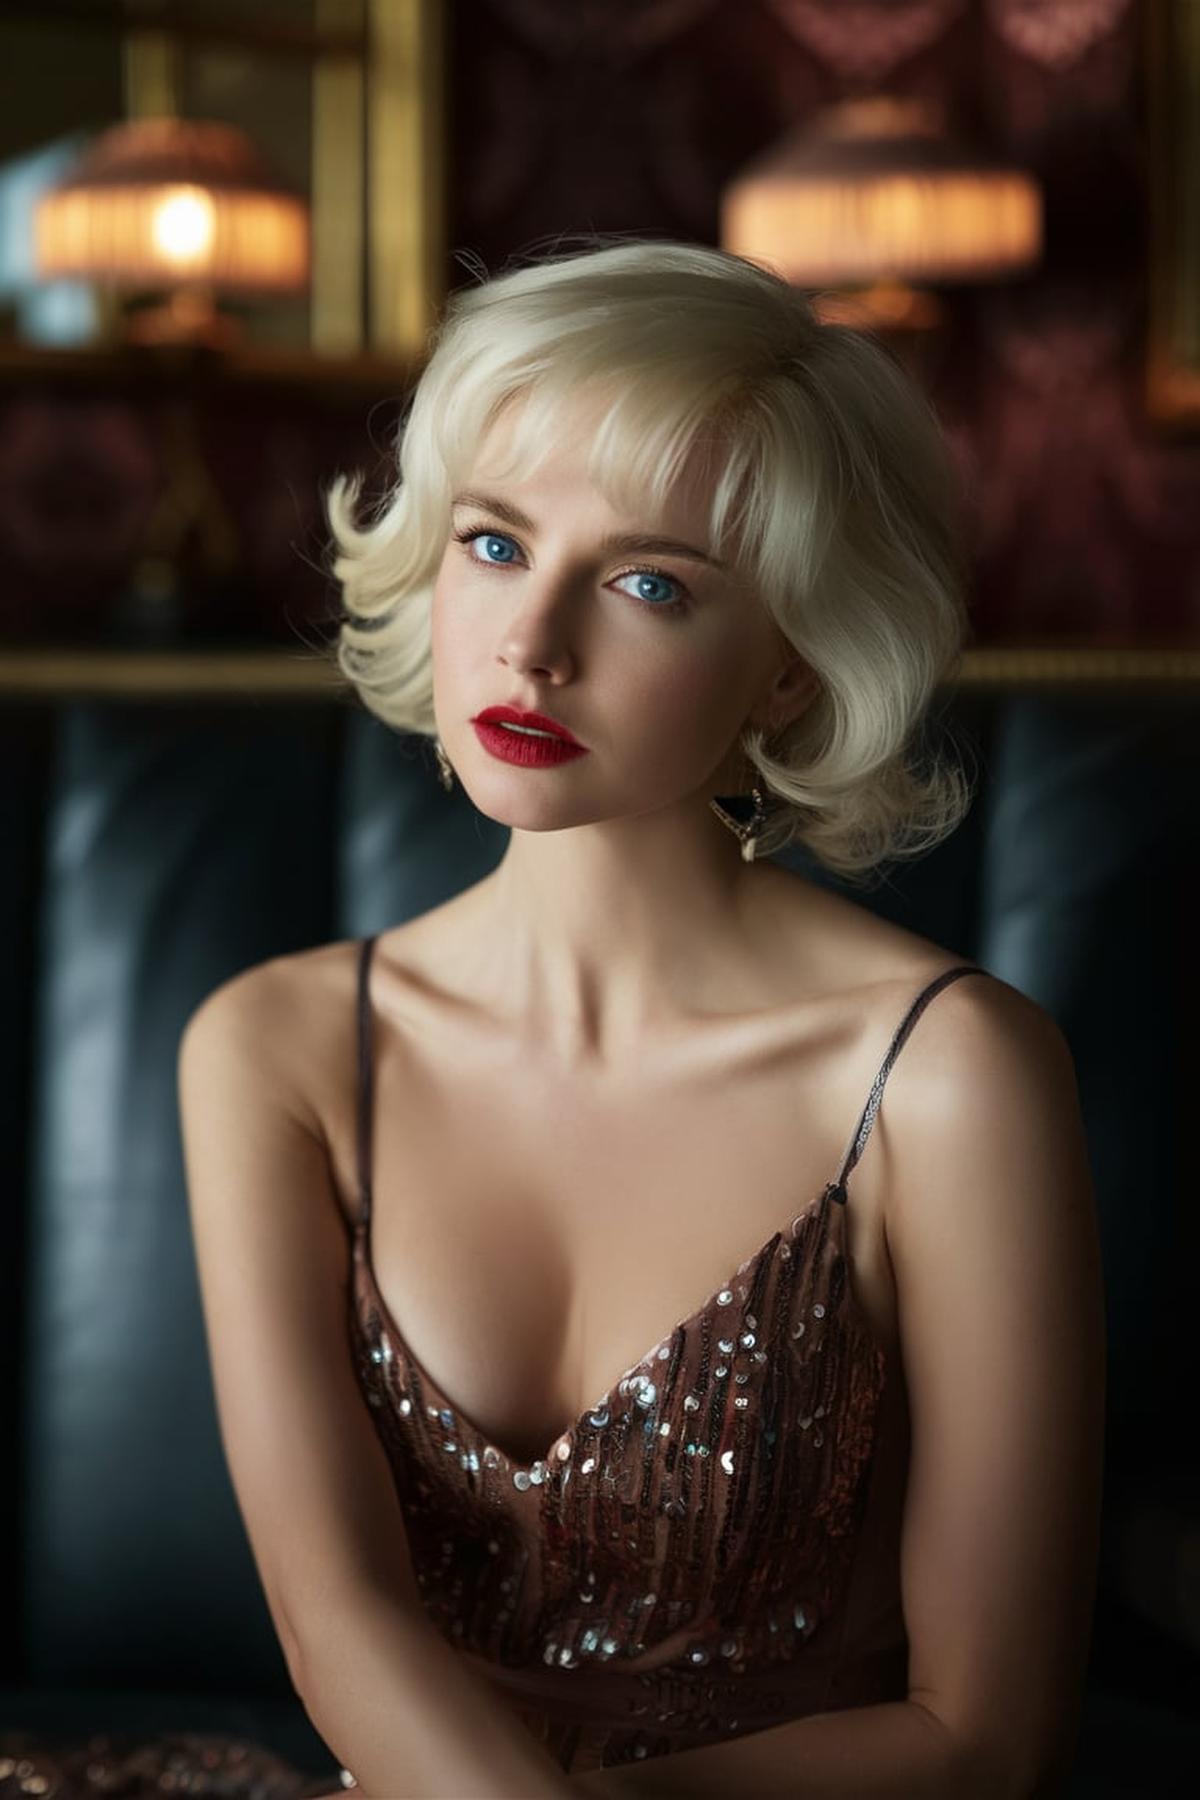
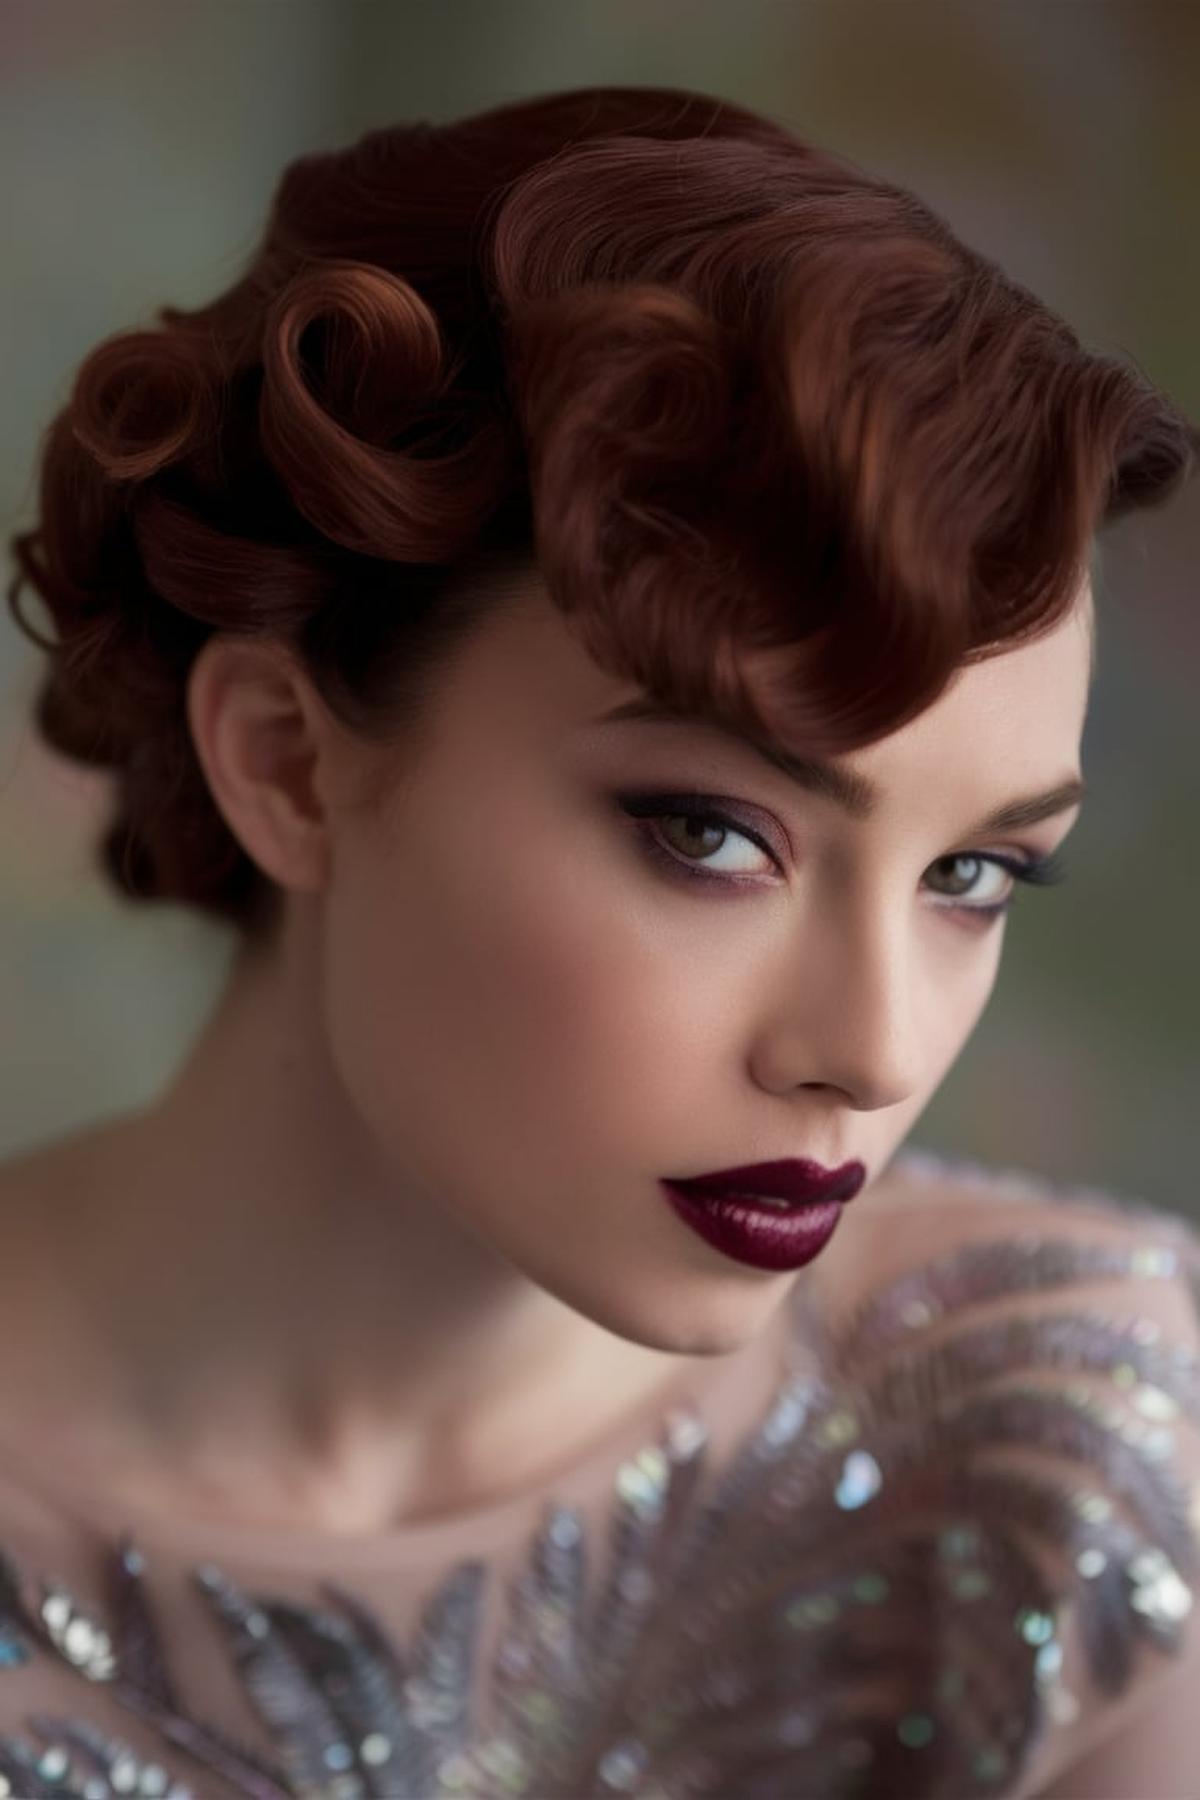
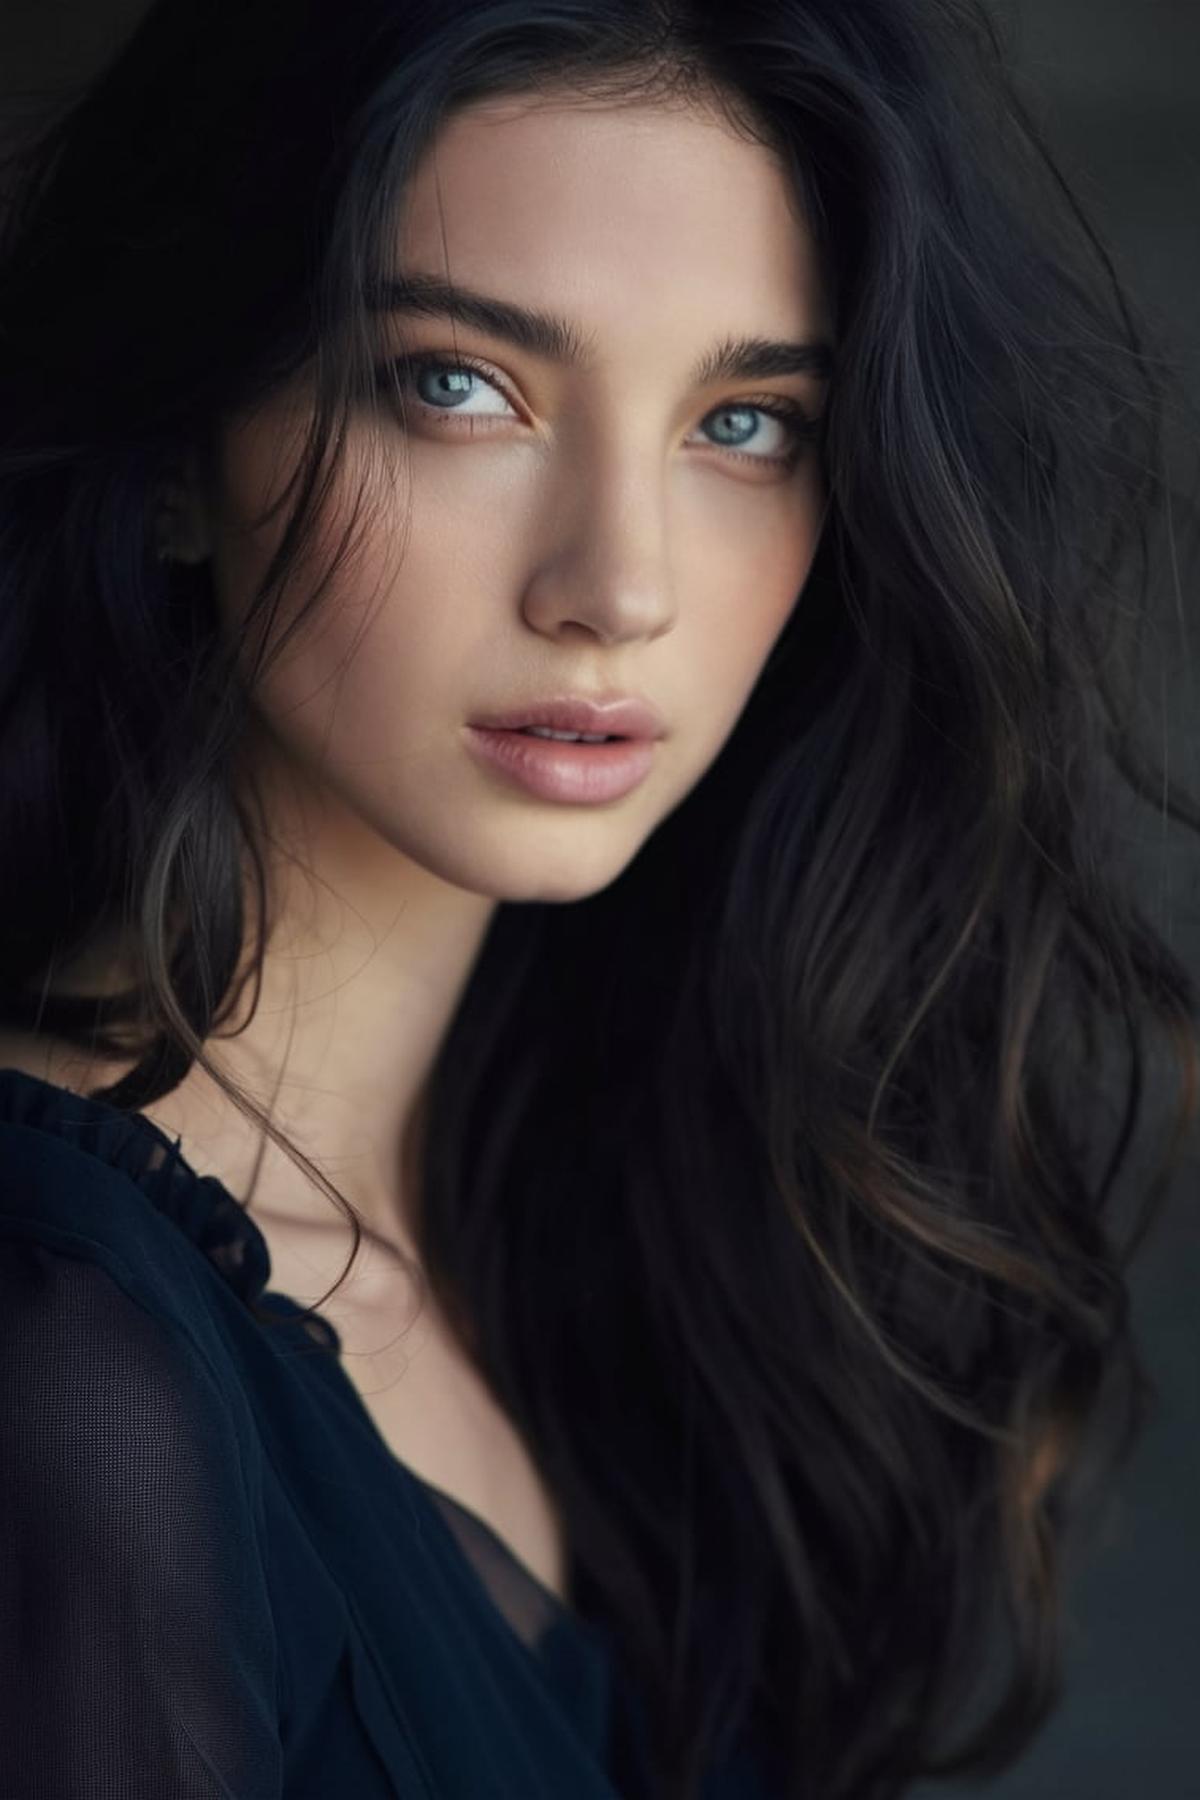
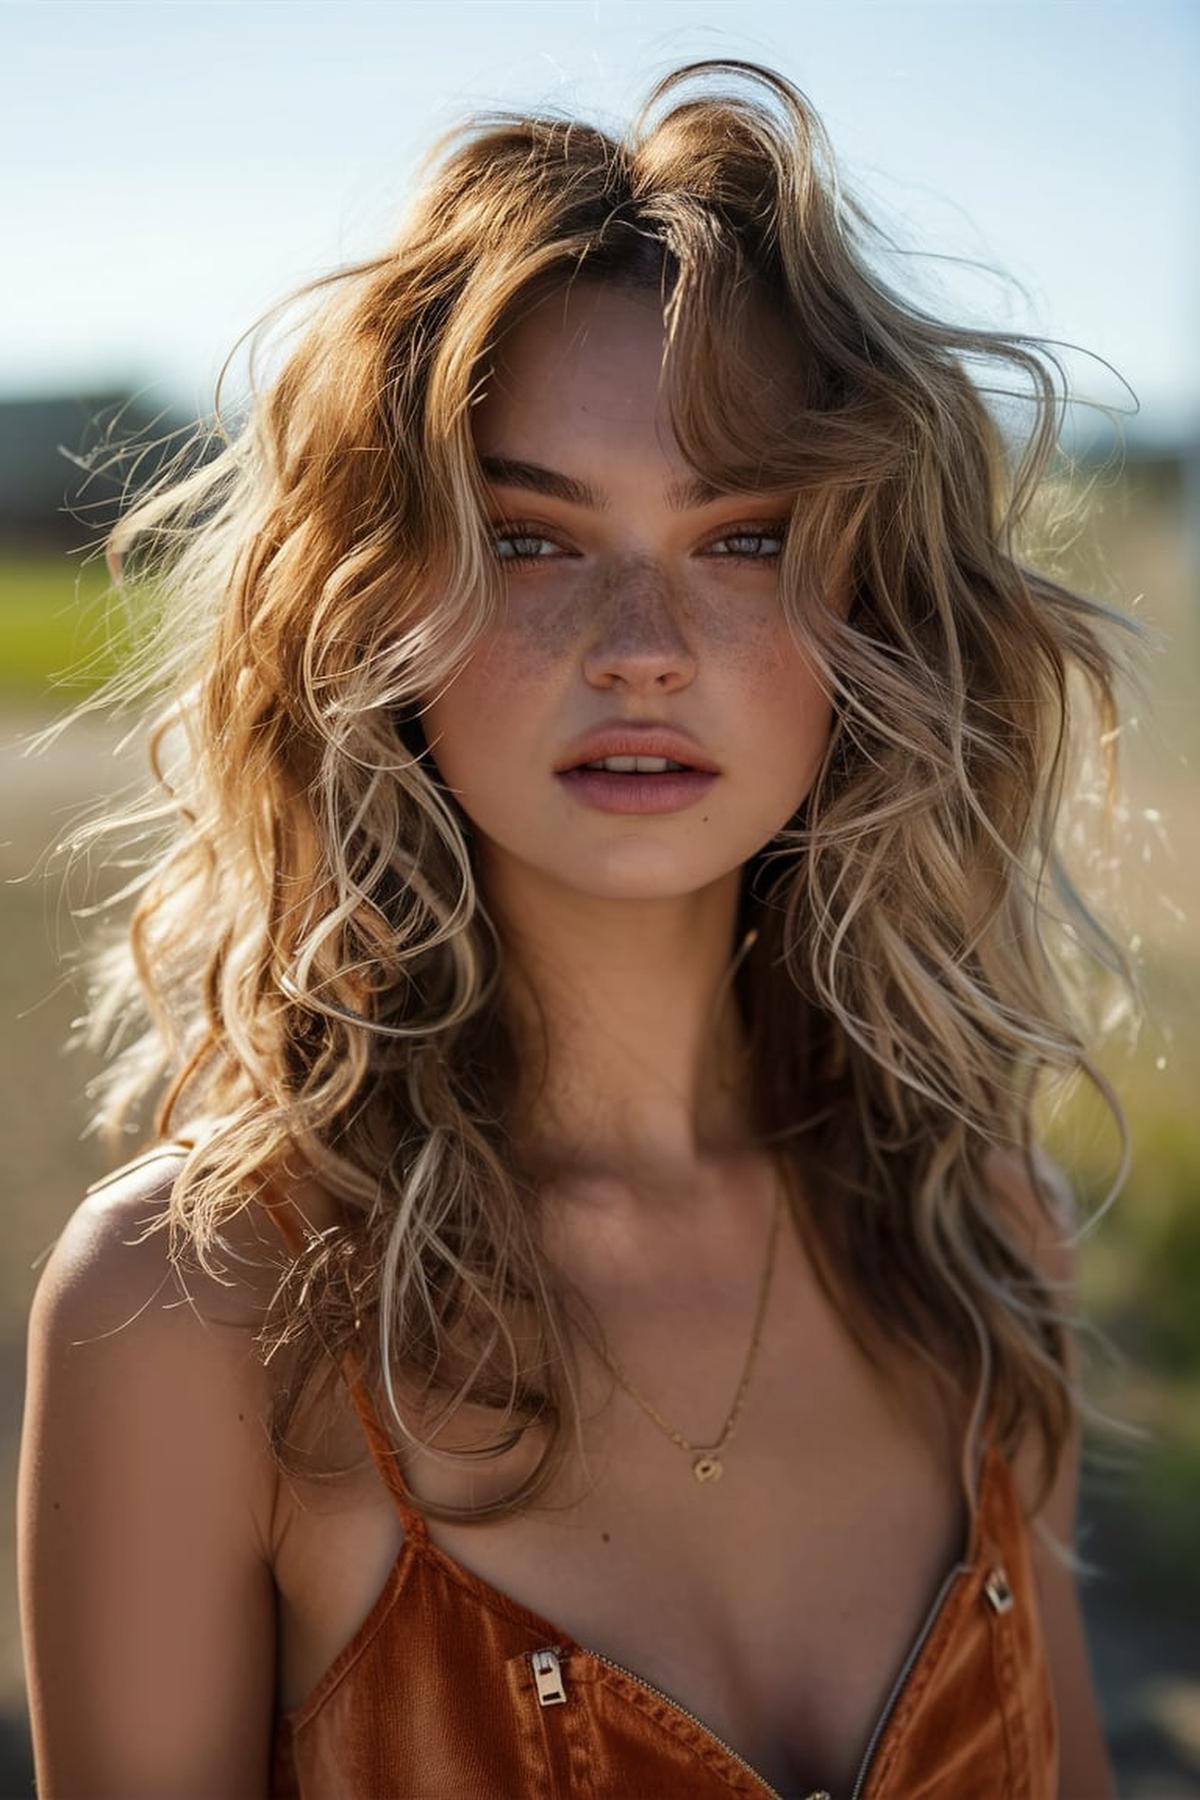
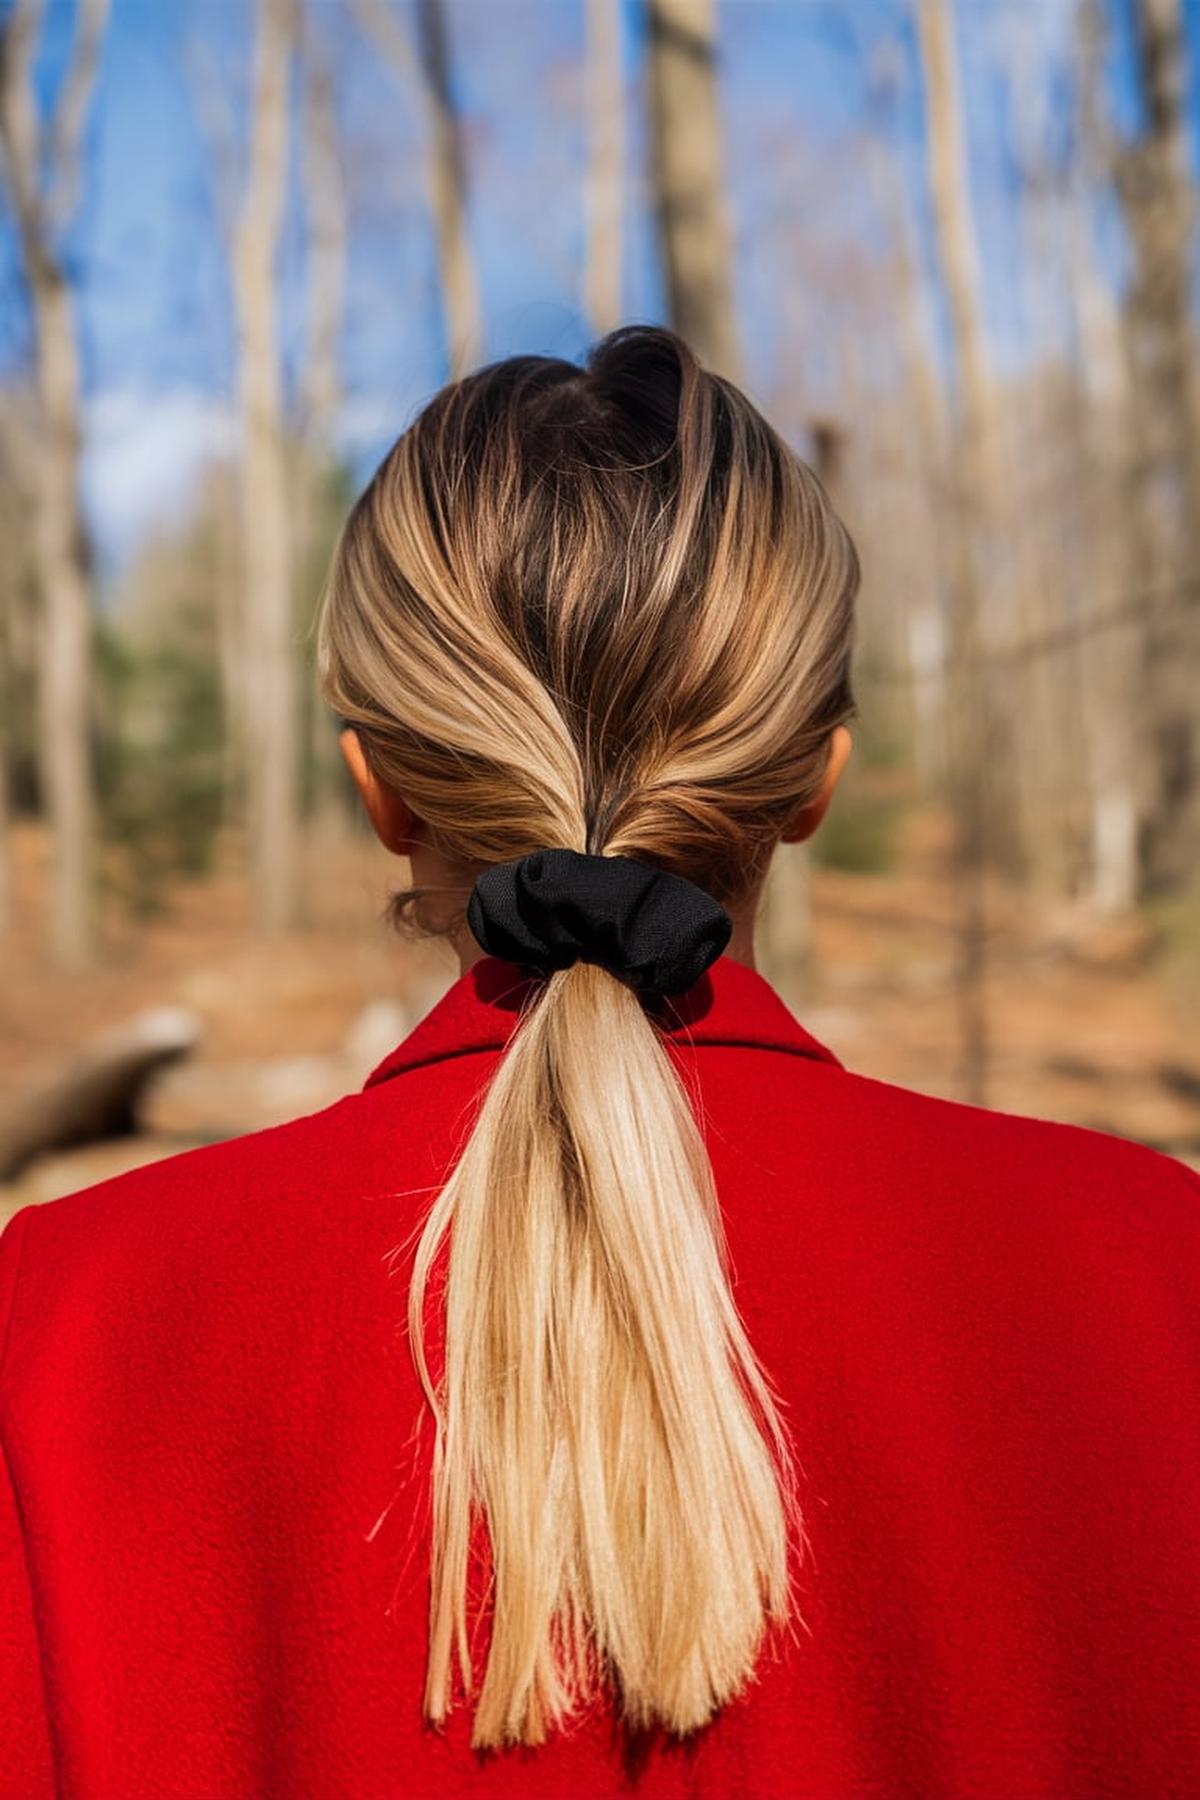
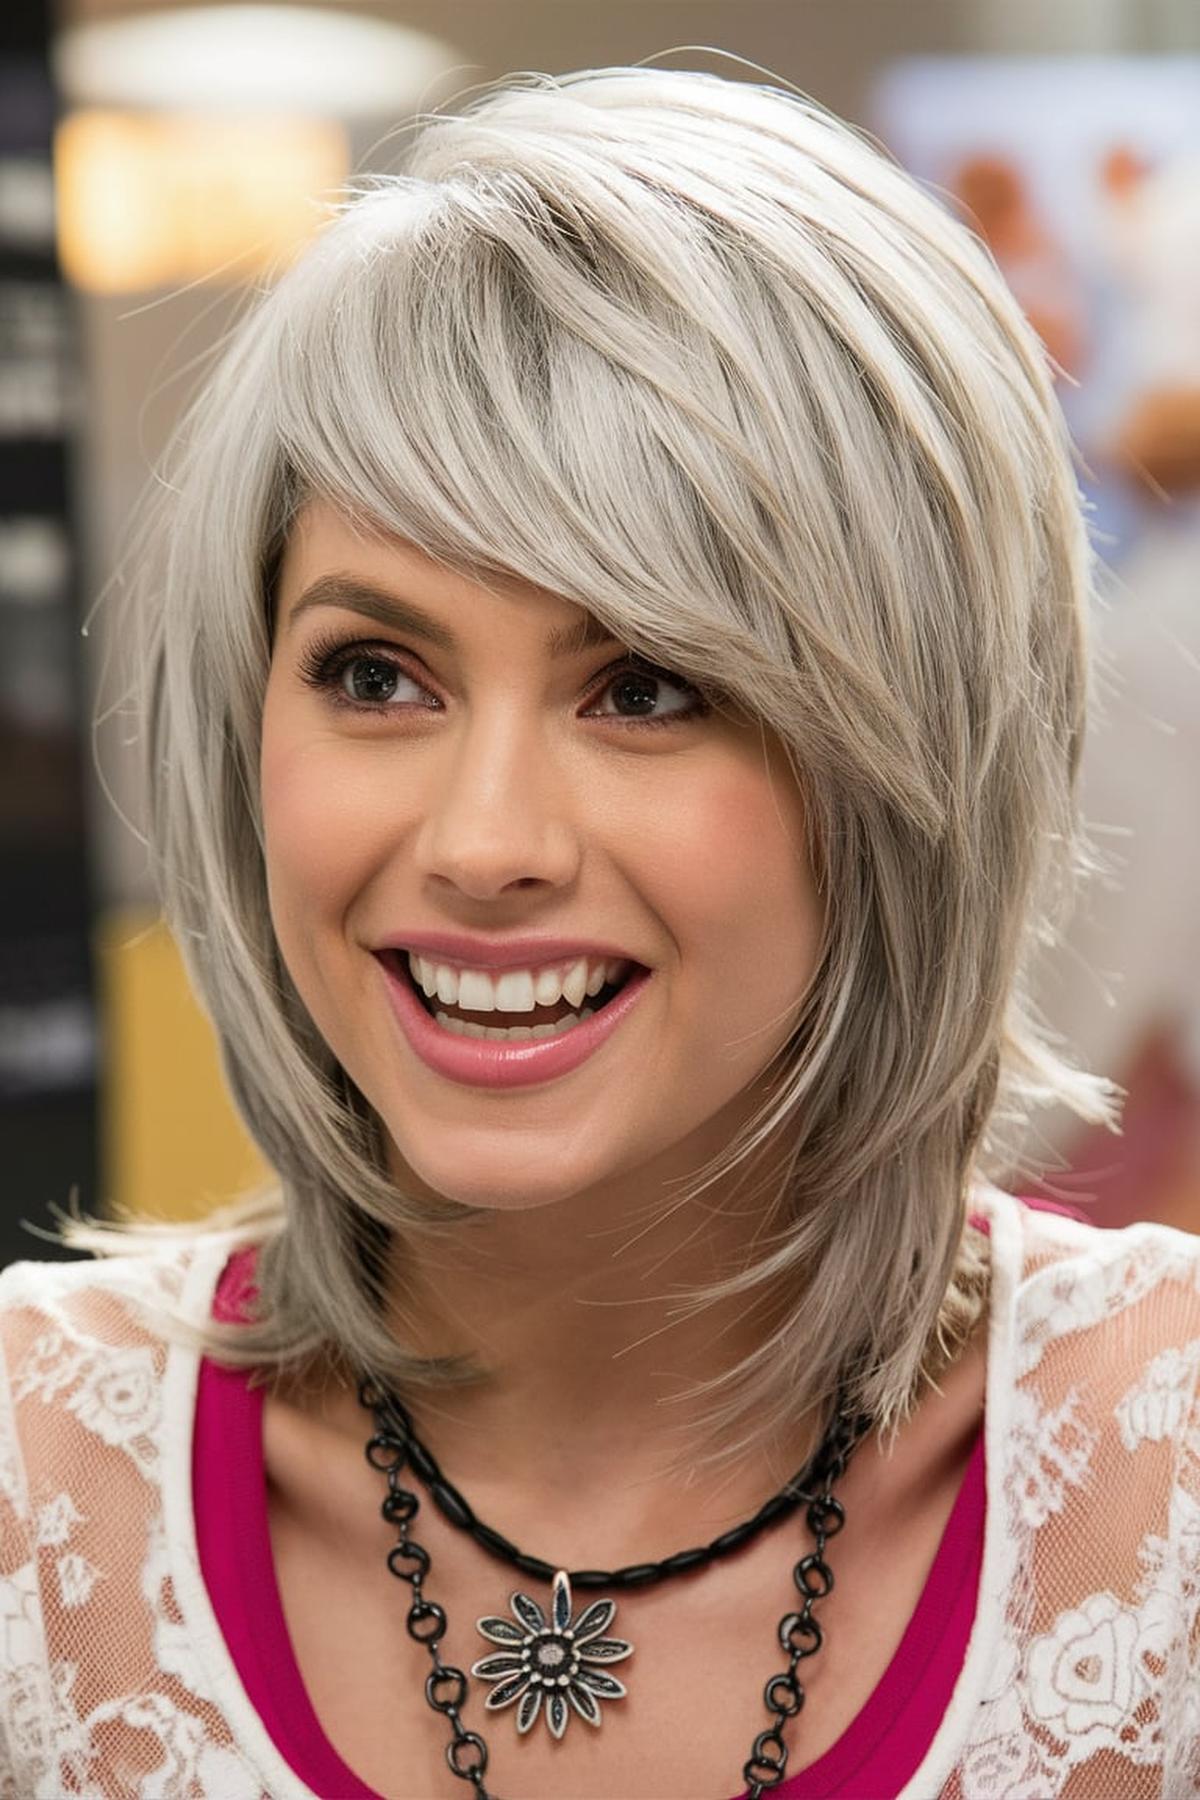
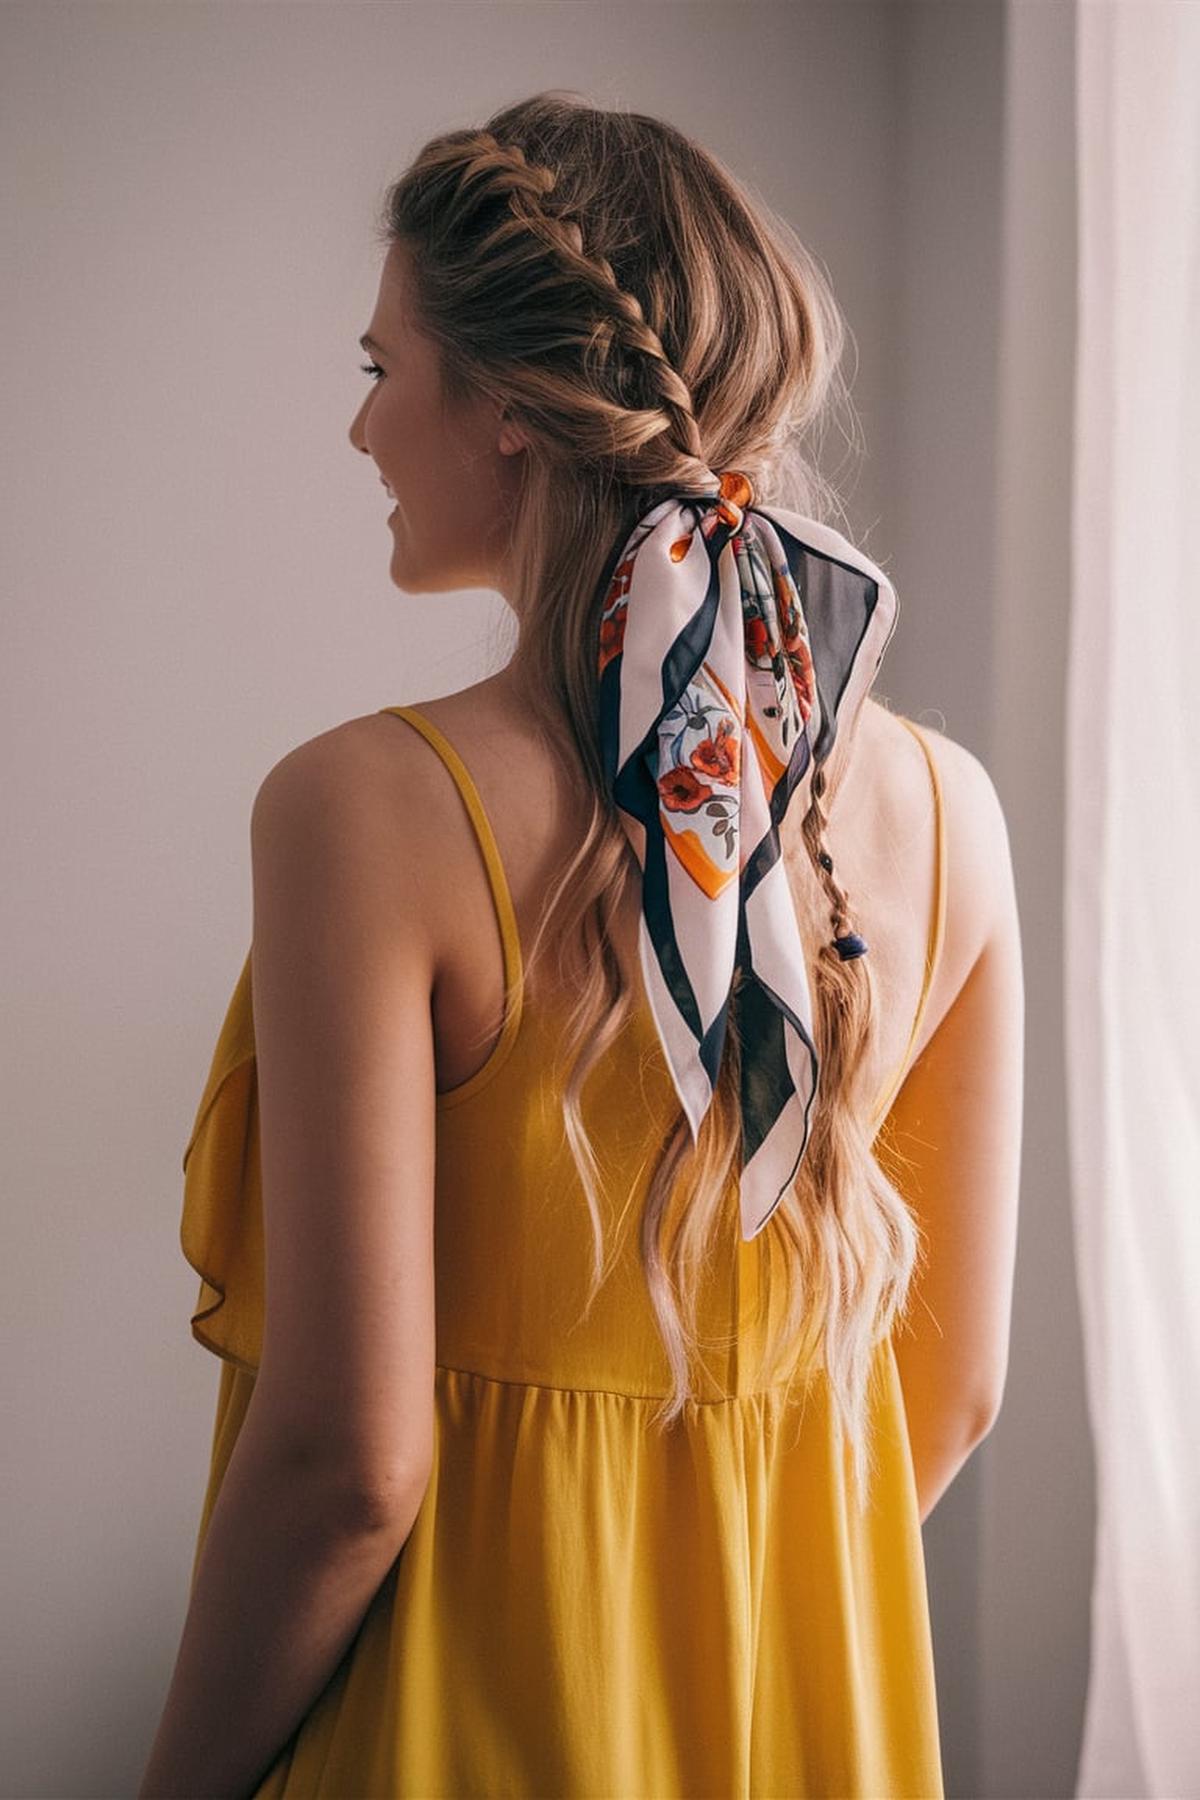
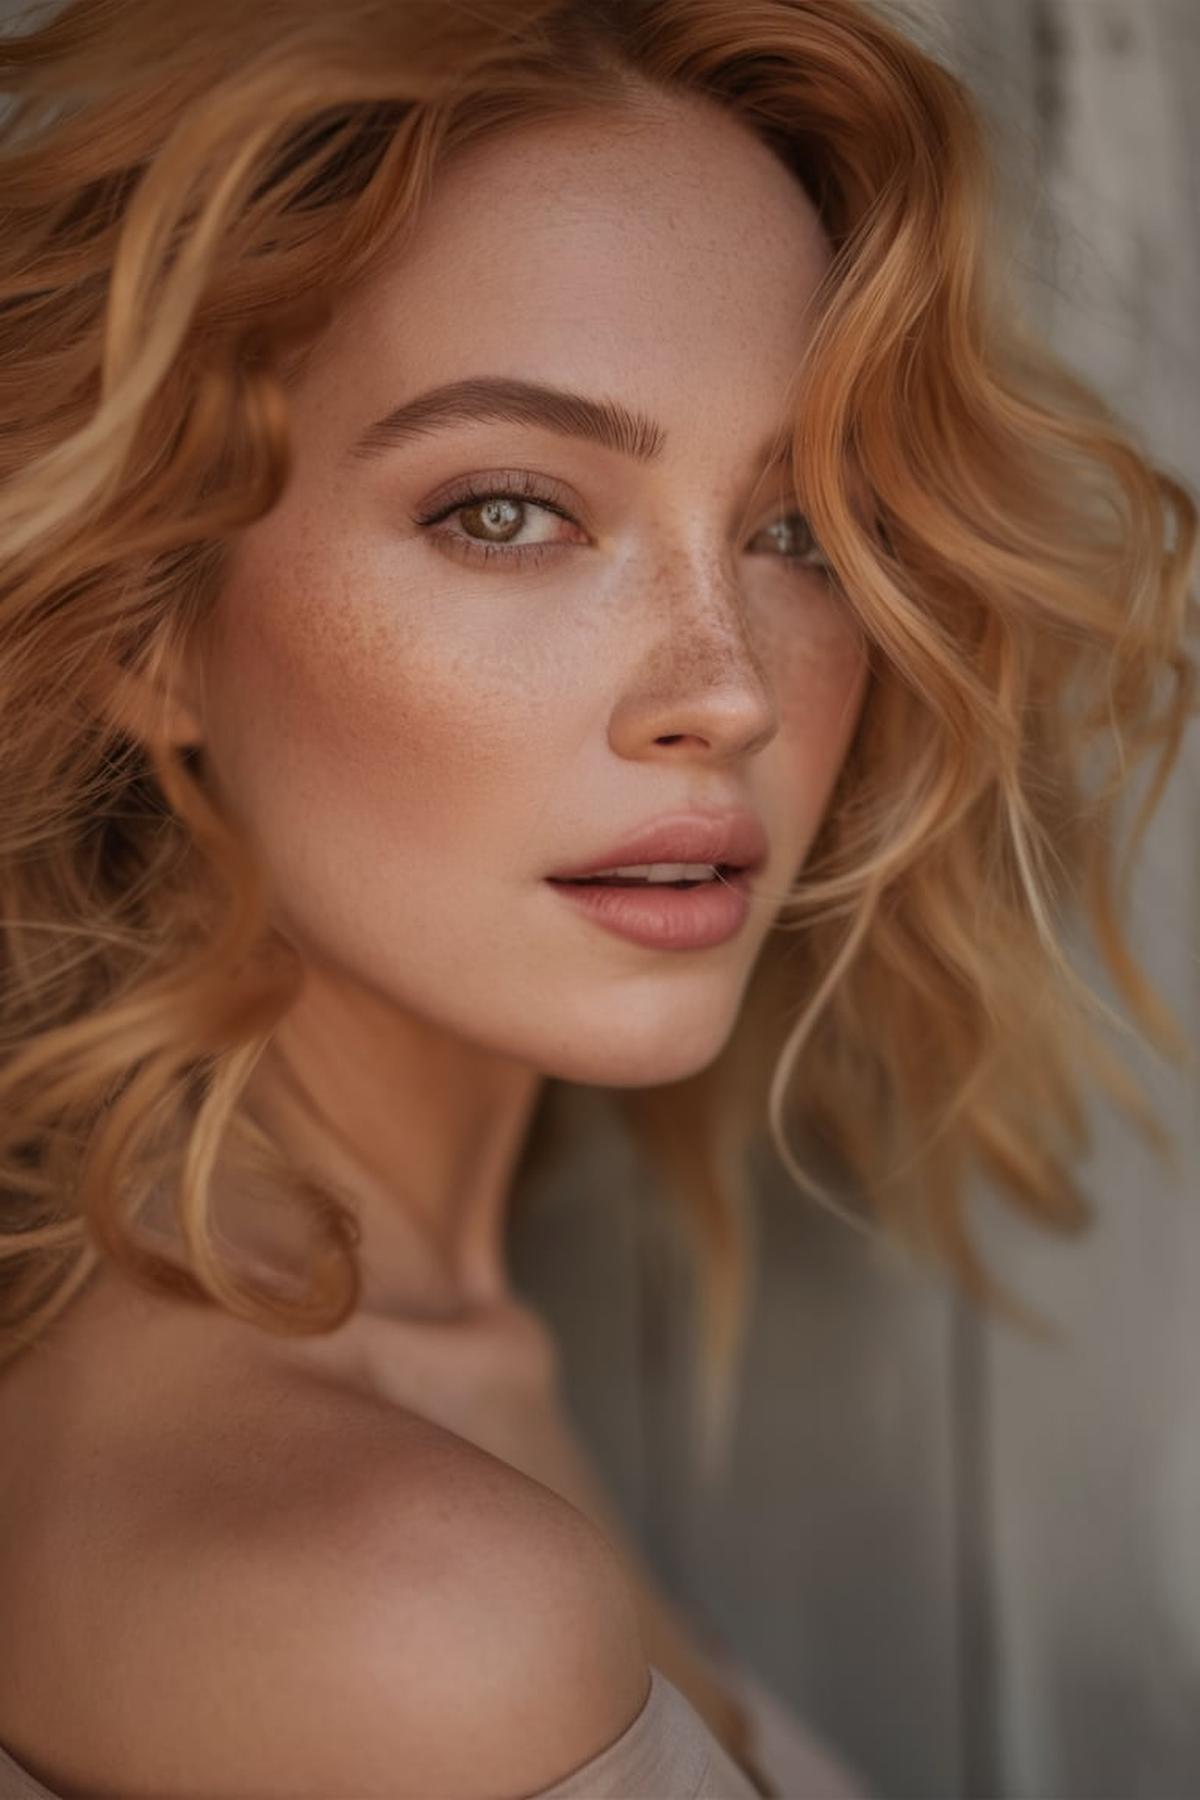
If you’re aiming for a sleek and polished look, try the “sleek and straightened” style. This involves straightening your hair and using a bit of styling gel or serum to keep it smooth and shiny. Another classic option is the “vintage finger waves,” which gives a retro vibe by creating soft, defined waves across your head.
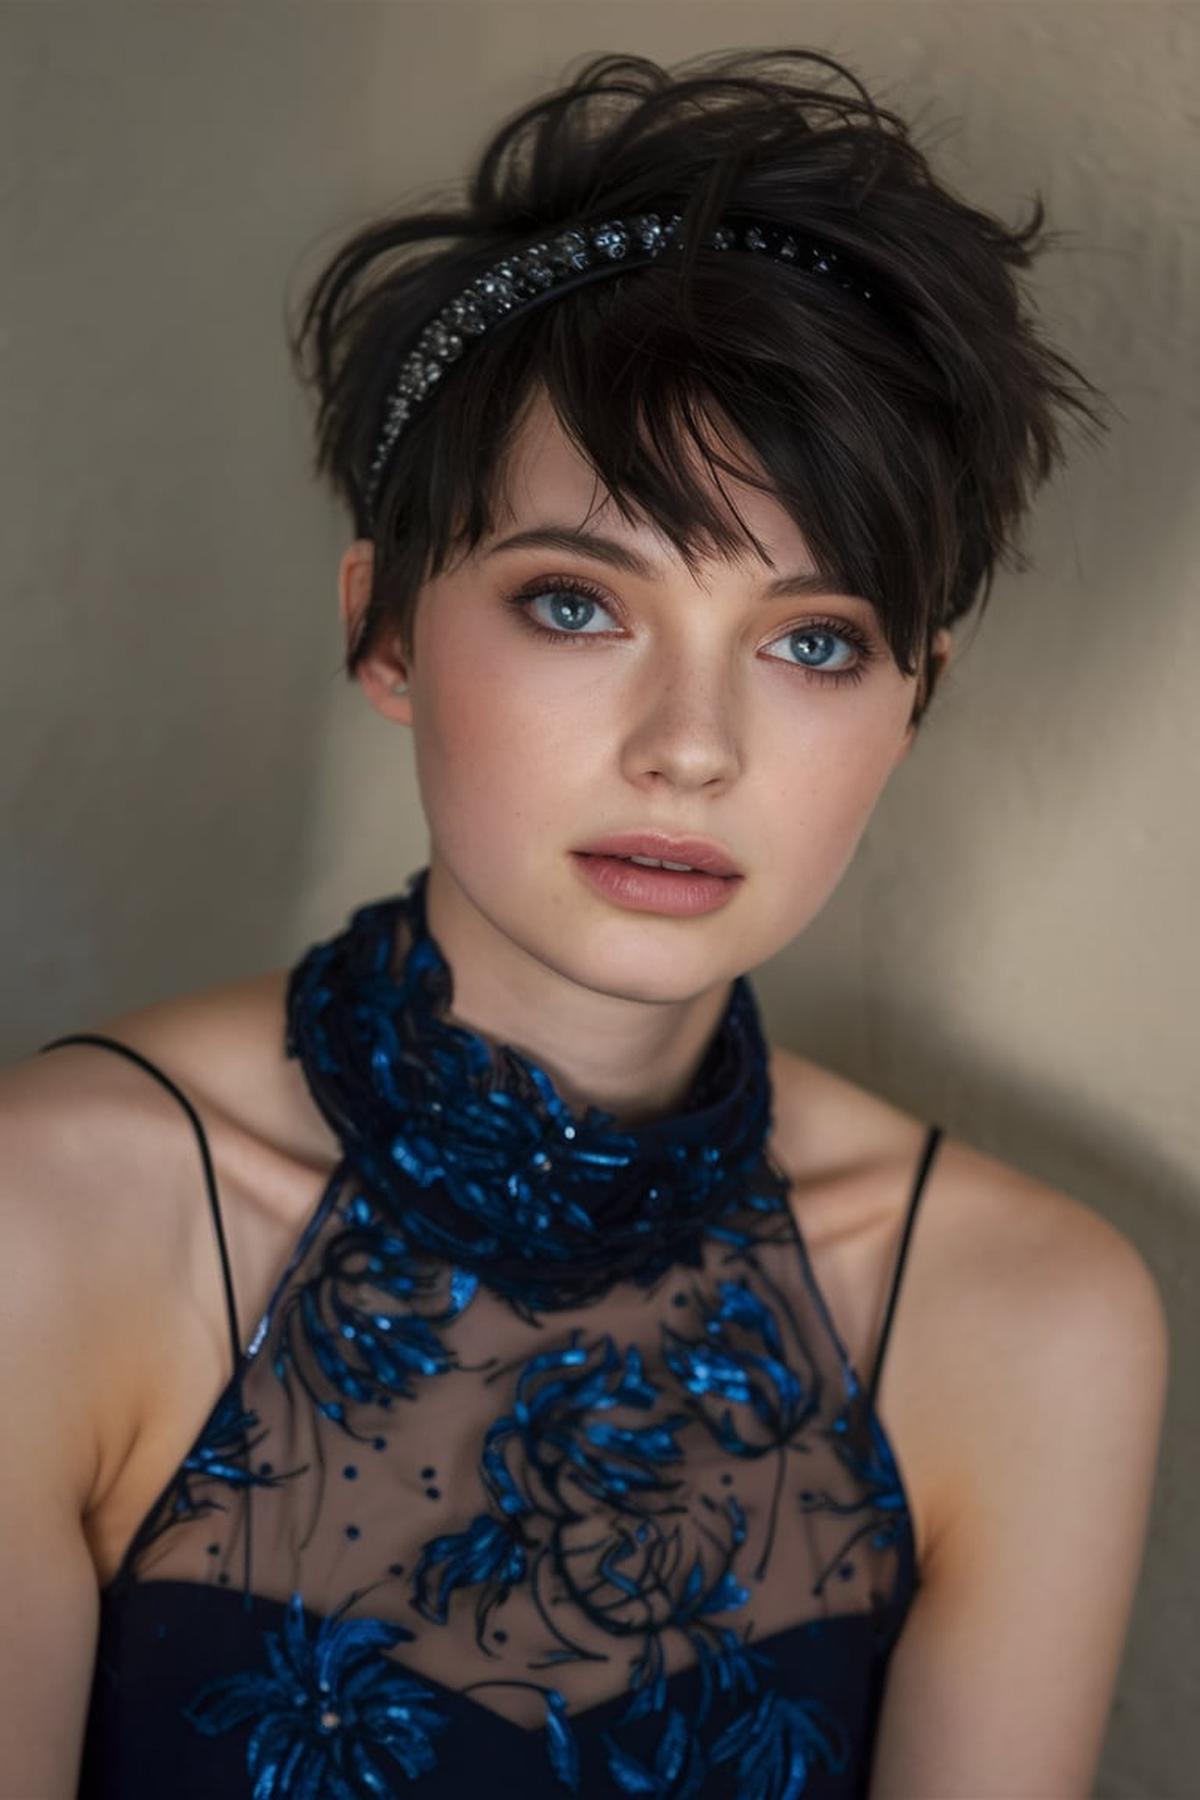
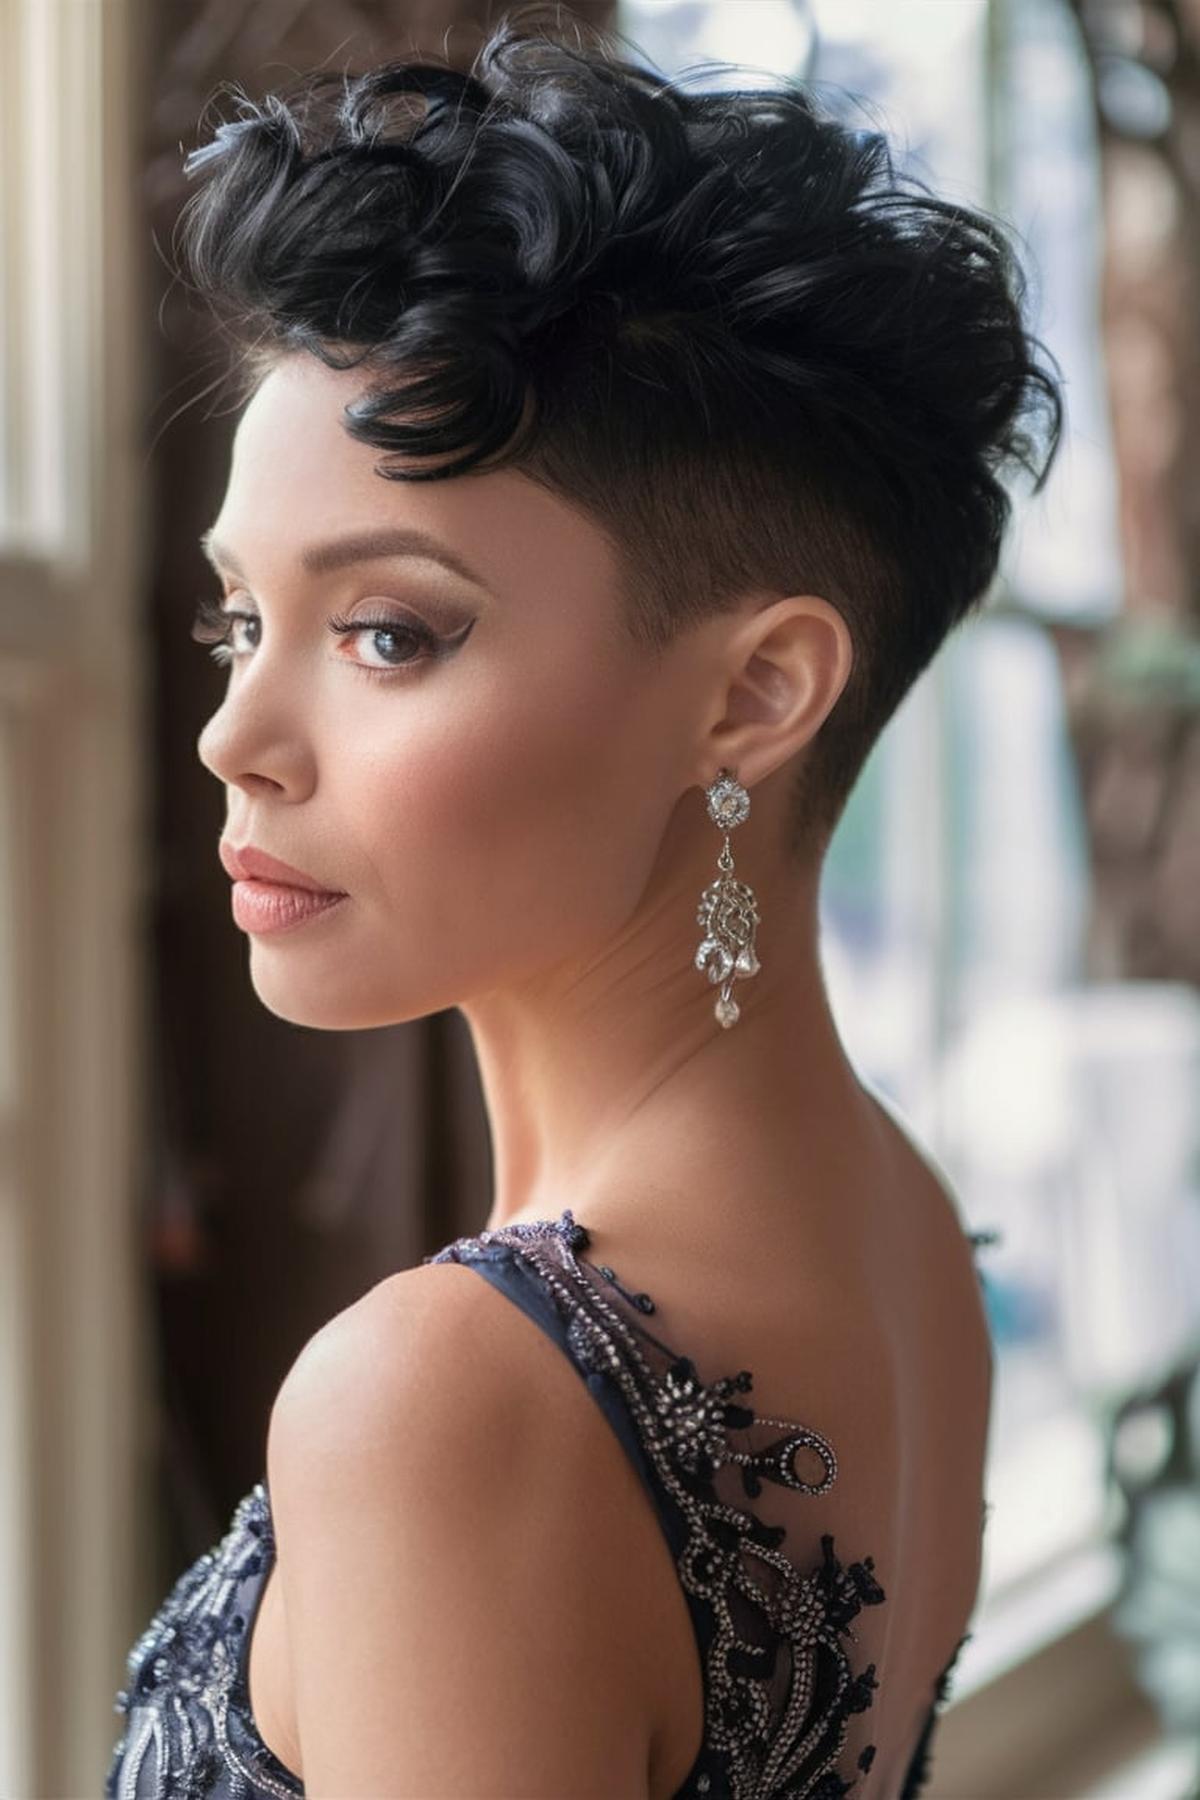
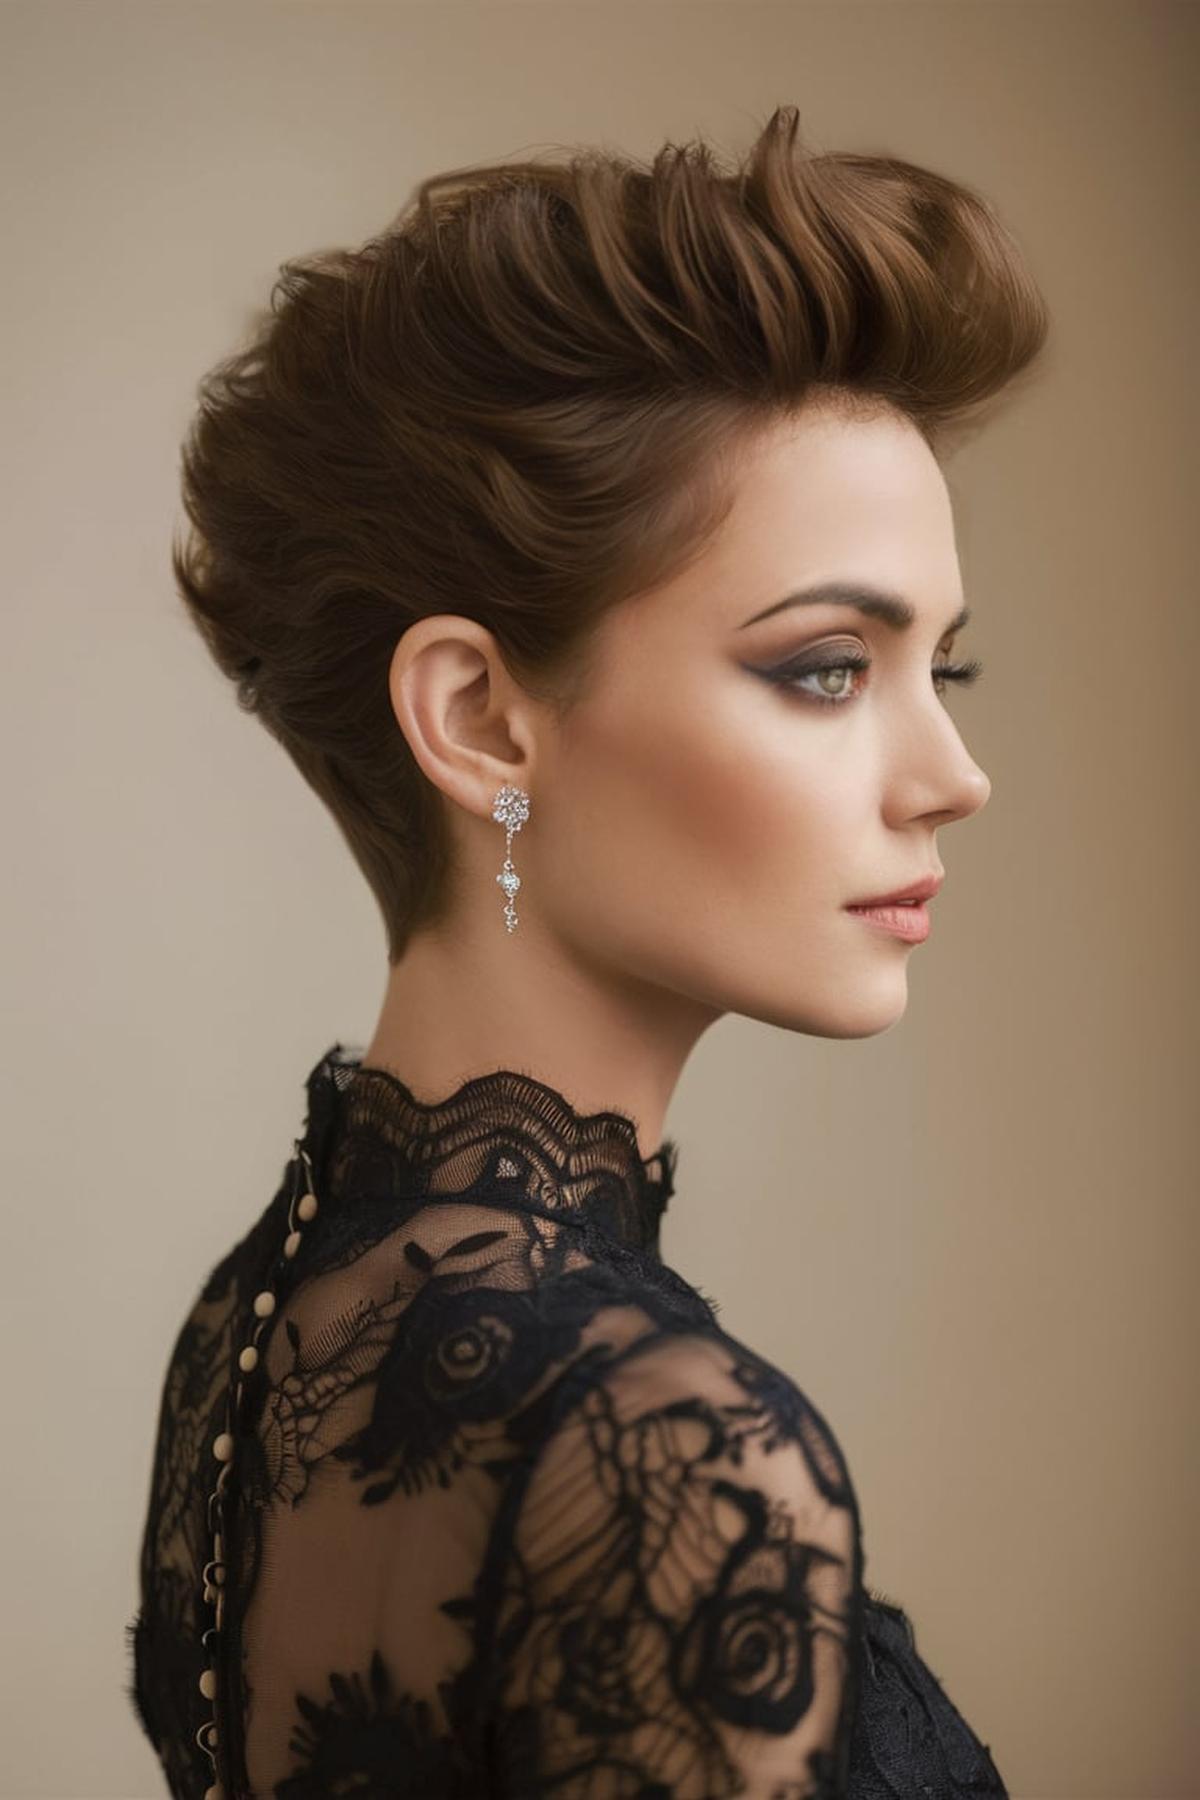
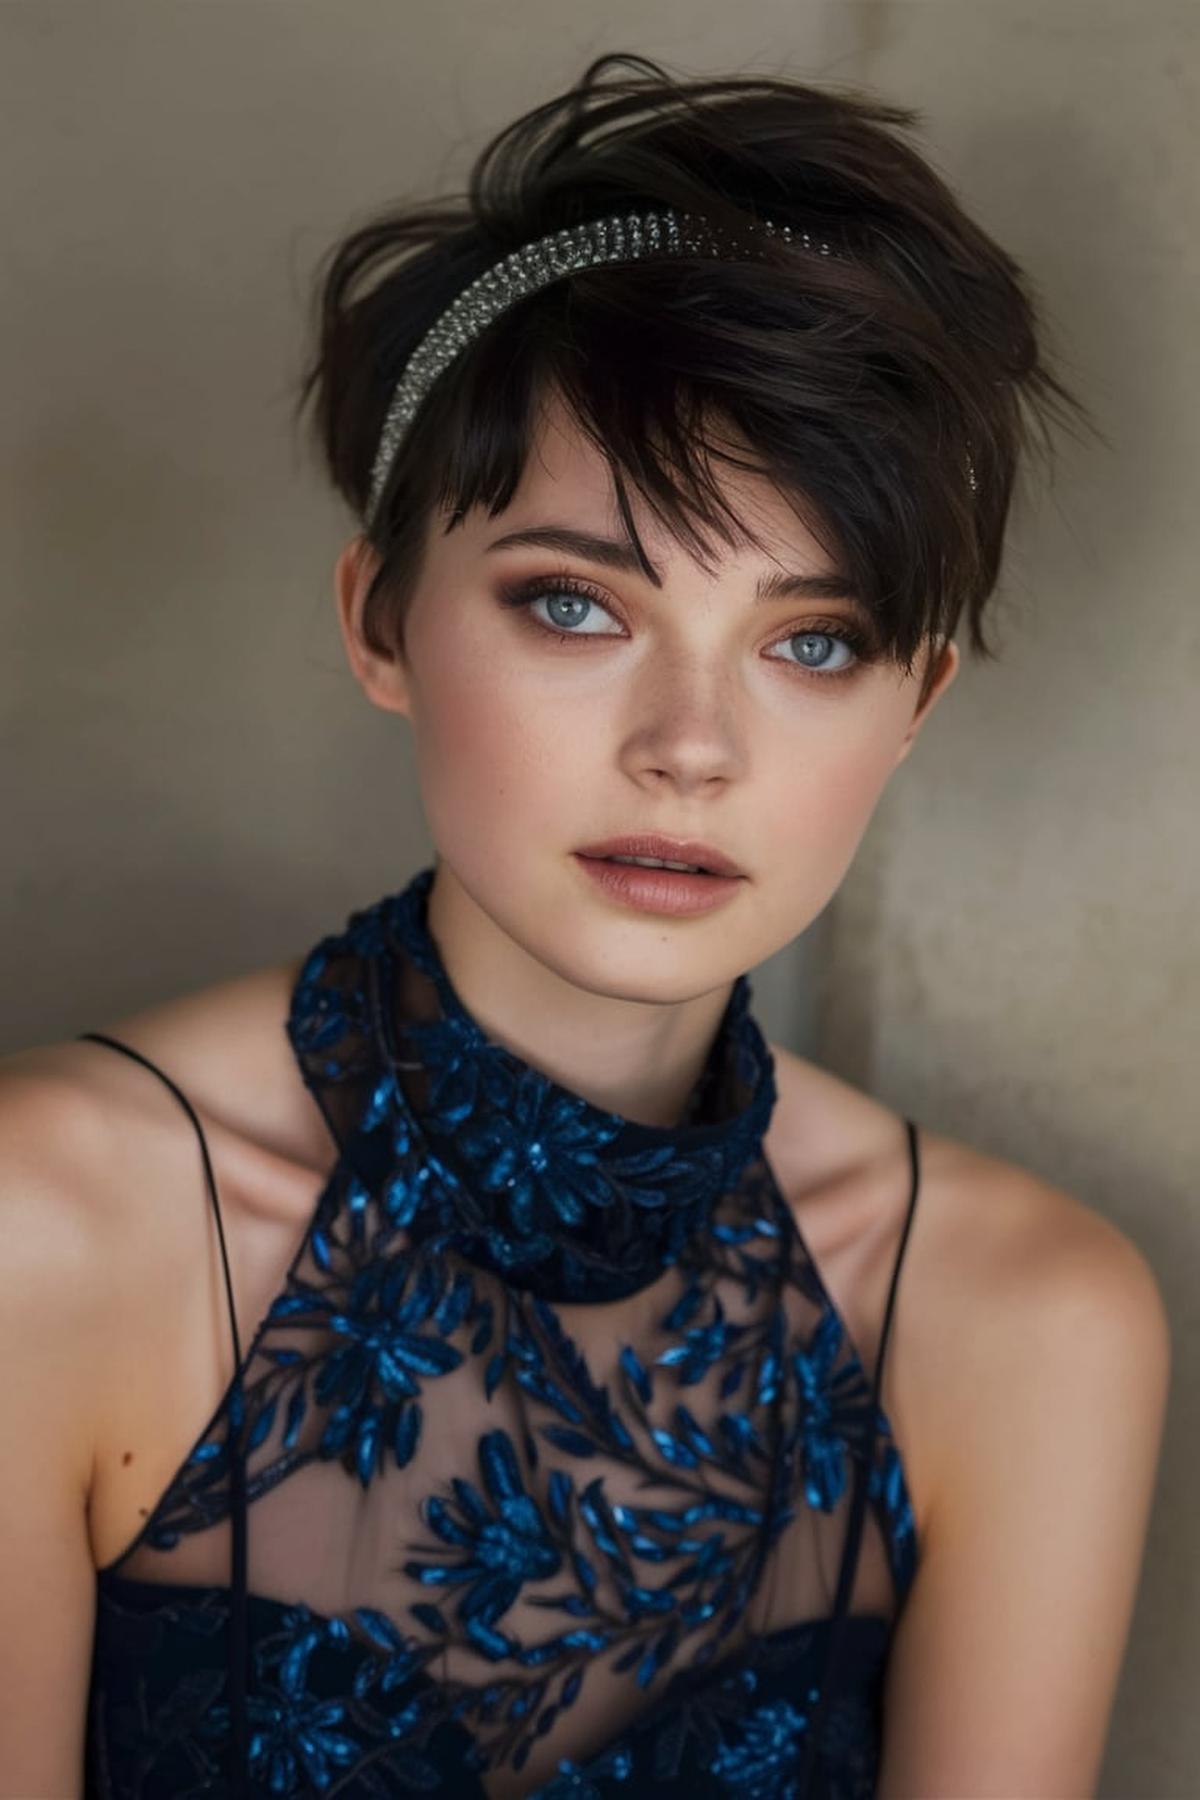
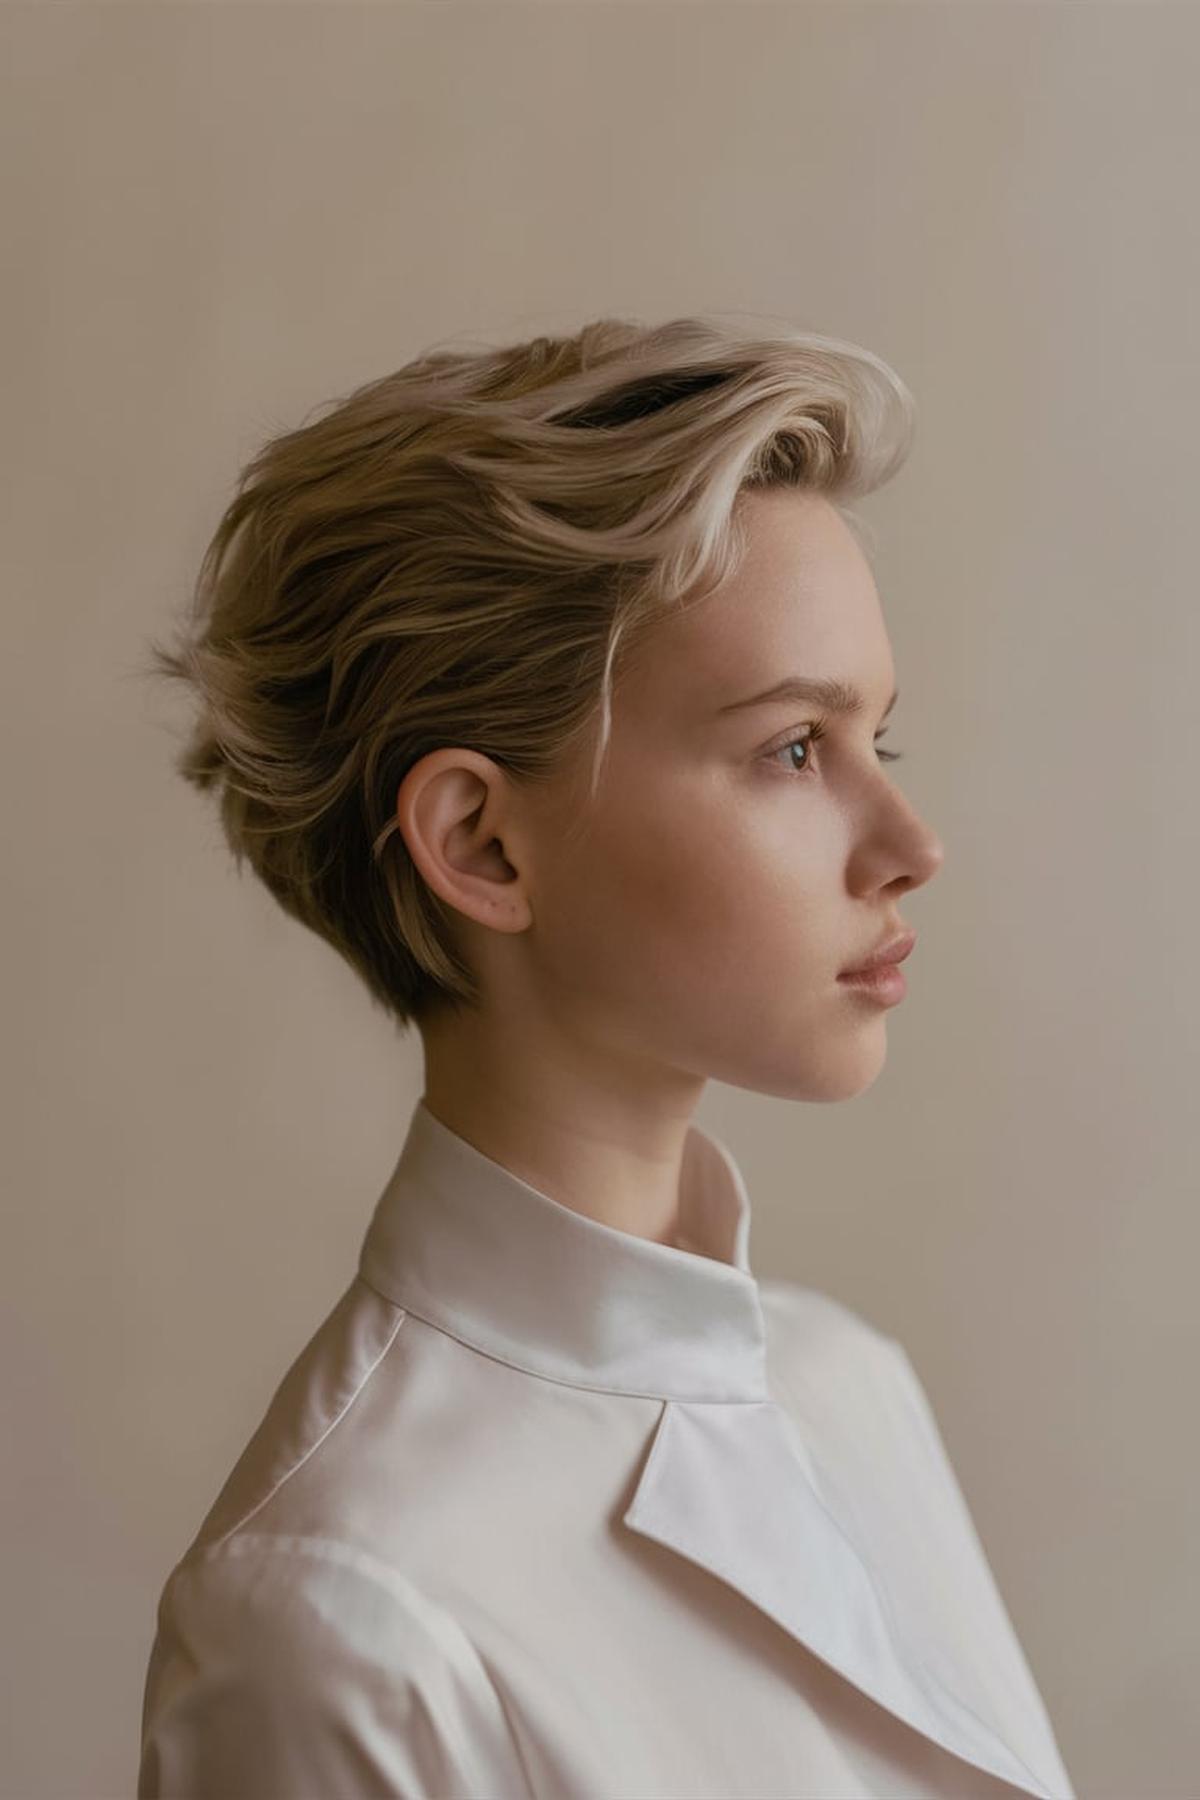
This style involves adding texture to a pixie cut and accessorizing with a headband for a playful yet polished look. The “glammed up pompadour” is another bold option, where the hair is styled upwards and back, creating volume and a dramatic effect.
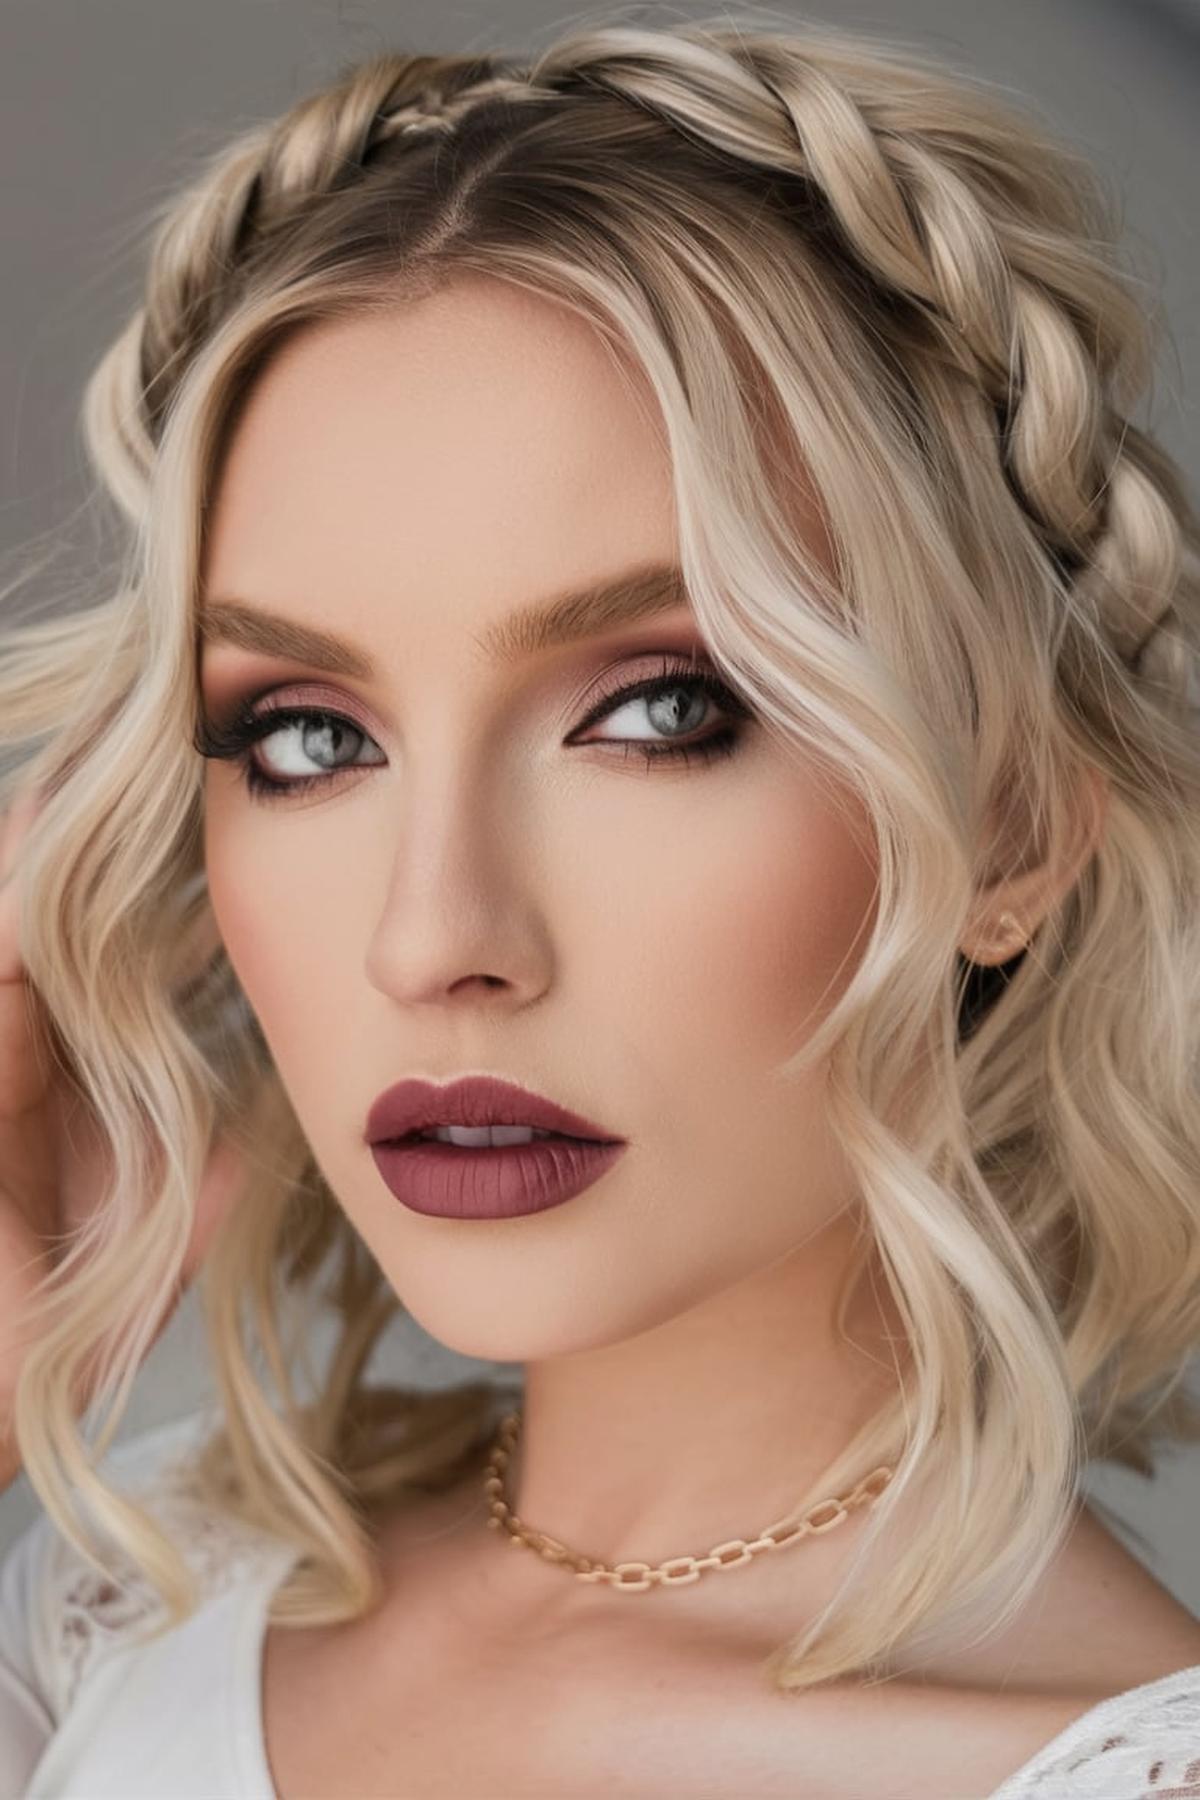
The “braided on top” look involves creating small braids on the top of your head, adding a fun and intricate detail to your hairstyle. For a sleek and modern appearance, “slicked back and smooth” styles involve combing your hair back with gel for a clean and polished finish.
Now, without further ado, let’s dive into 19 short hair formal styles to turn heads.
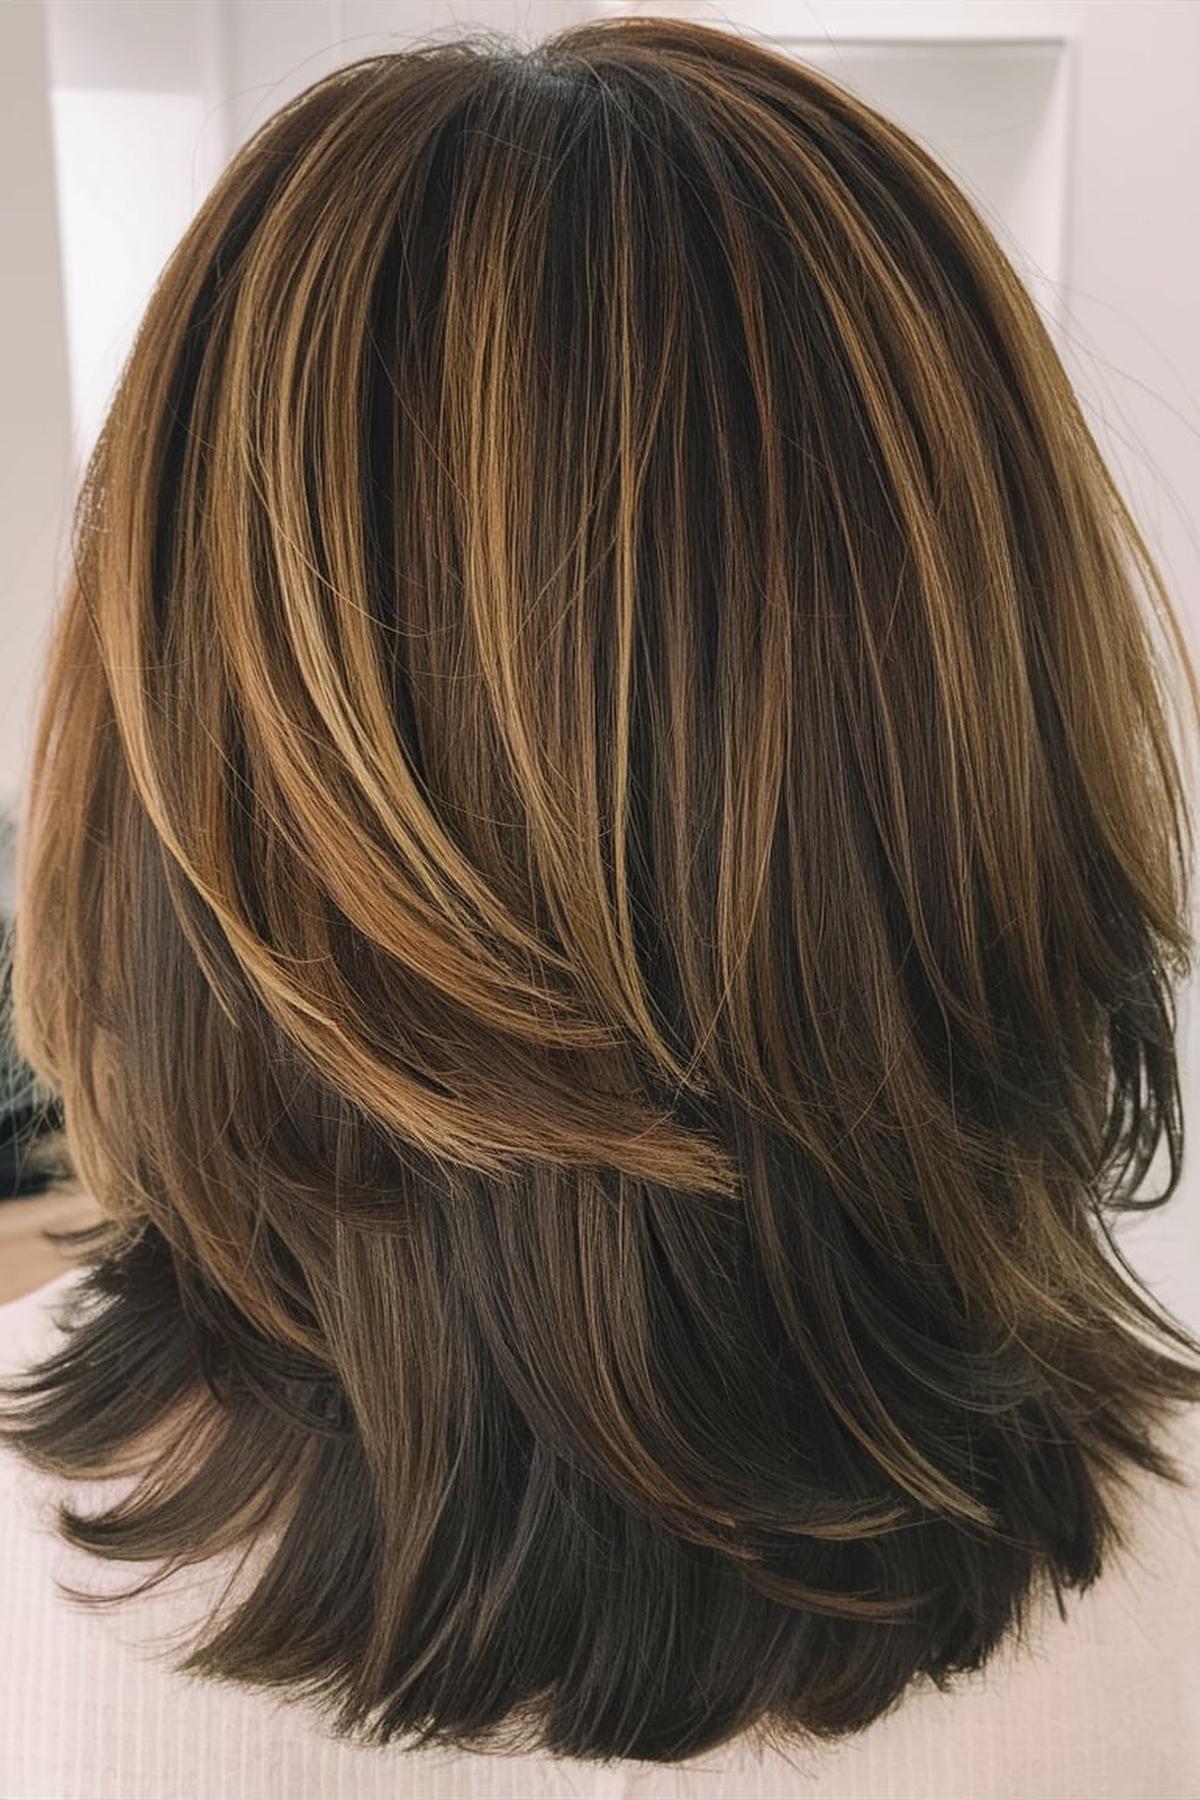
Sleek and Straightened
Begin with clean, dry hair. Use a good quality shampoo and conditioner to keep your hair healthy and manageable. After washing, apply a heat protectant spray to shield your hair from damage caused by styling tools. This step is crucial because it helps prevent split ends and keeps your hair looking shiny and smooth.
Start with the bottom layers and work your way up. Take small sections of hair and run the flat iron from the roots to the tips. Make sure to move slowly and steadily for the best results. If your hair is thick or curly, you might need to go over each section a couple of times.
A lightweight serum or hair oil can add shine and help control frizz. Apply a small amount to your palms and gently run it through your hair, focusing on the ends. For extra hold, you can use a light hairspray to keep everything in place. Remember to avoid using too much product, as this can weigh your hair down and make it look greasy. With these steps, you’ll have a polished and sleek hairstyle that lasts all day!
Vintage Finger Waves
Begin with damp hair, as it’s easier to shape when wet. Apply a strong-hold gel or mousse to help the waves hold their shape. Use a fine-tooth comb to create a deep side part in your hair.
Place your finger at the base of the wave and use the comb to pull the hair forward, then back, creating an “S” shape. Secure each wave with metal clips to keep them in place while they dry.
Finally, to keep your finger waves looking great, consider using a satin scarf or bonnet while you sleep. This helps maintain the style for multiple days without needing to restyle. Finger waves are not just a hairstyle; they’re a fun way to express your vintage style and can be worn for various occasions, from casual outings to formal events.
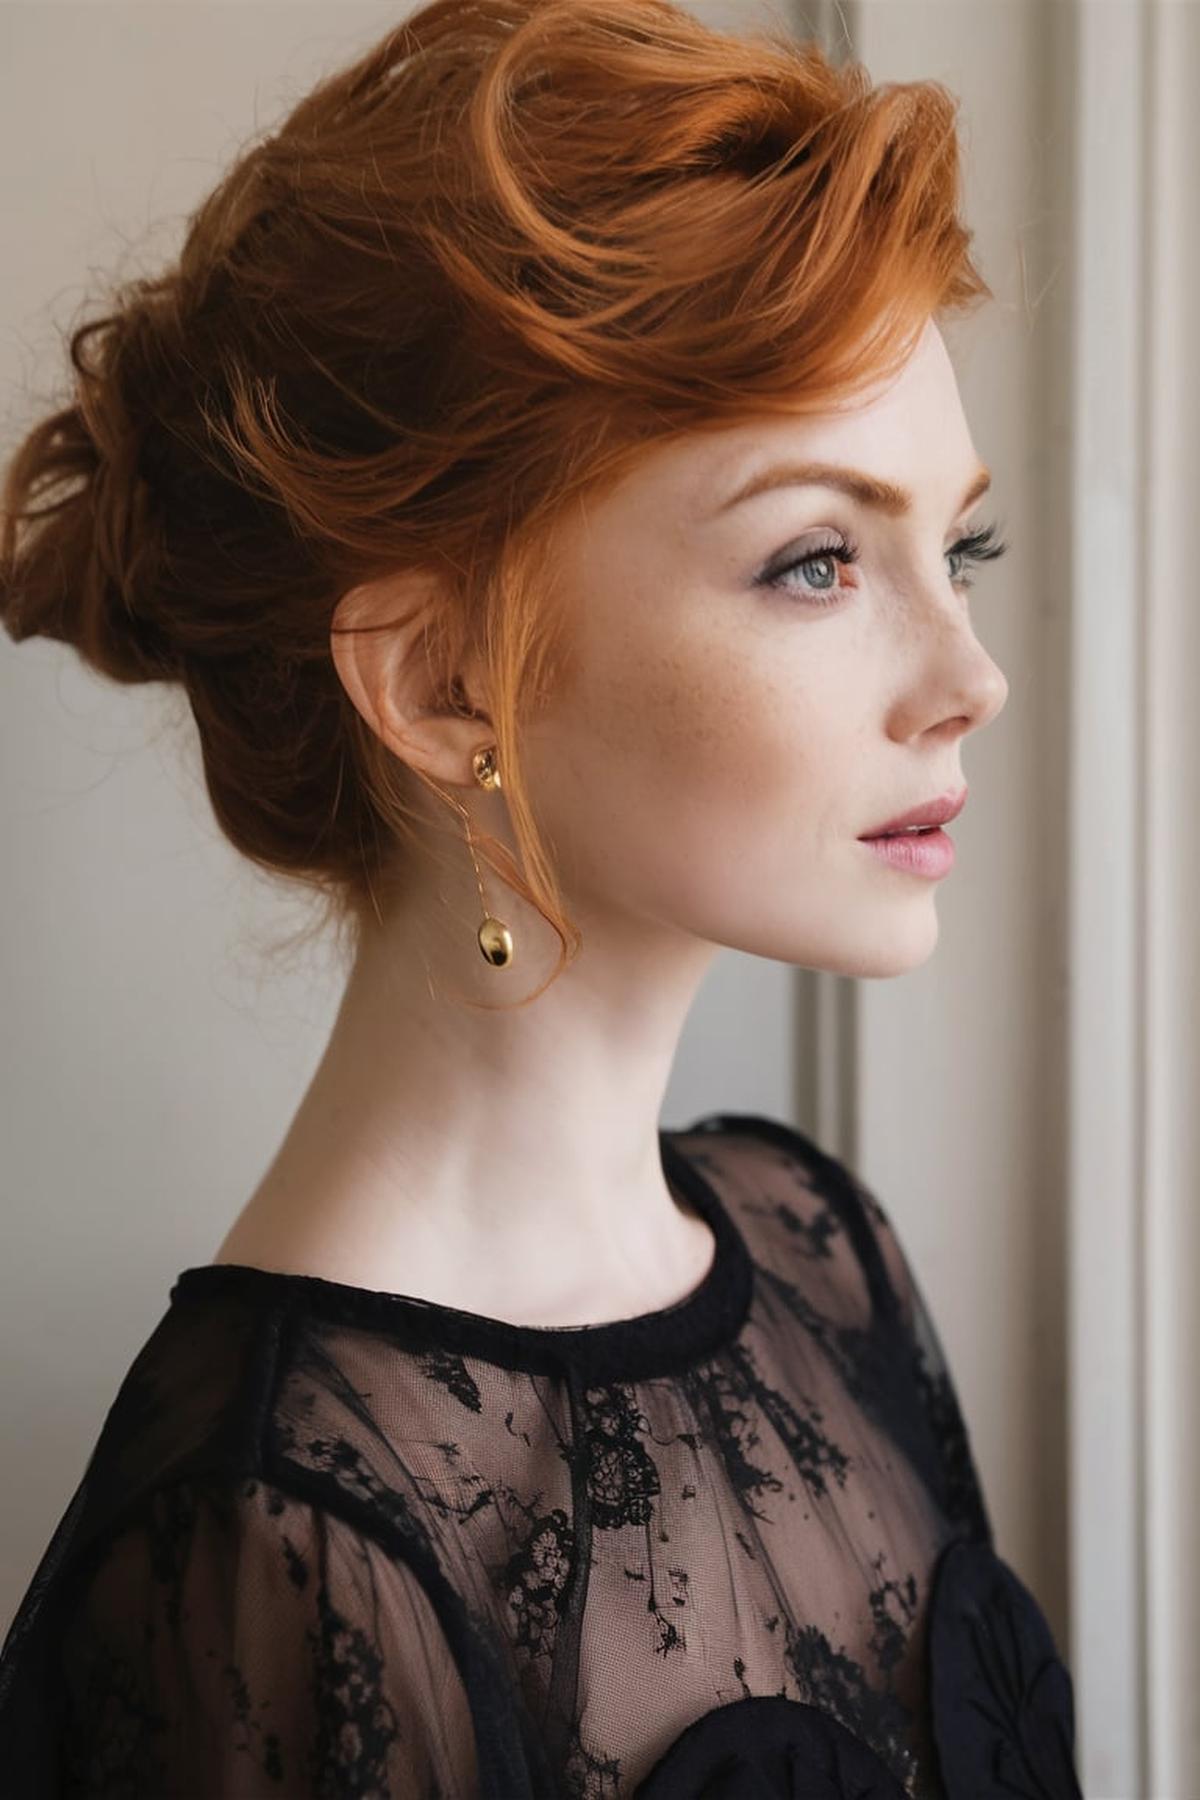
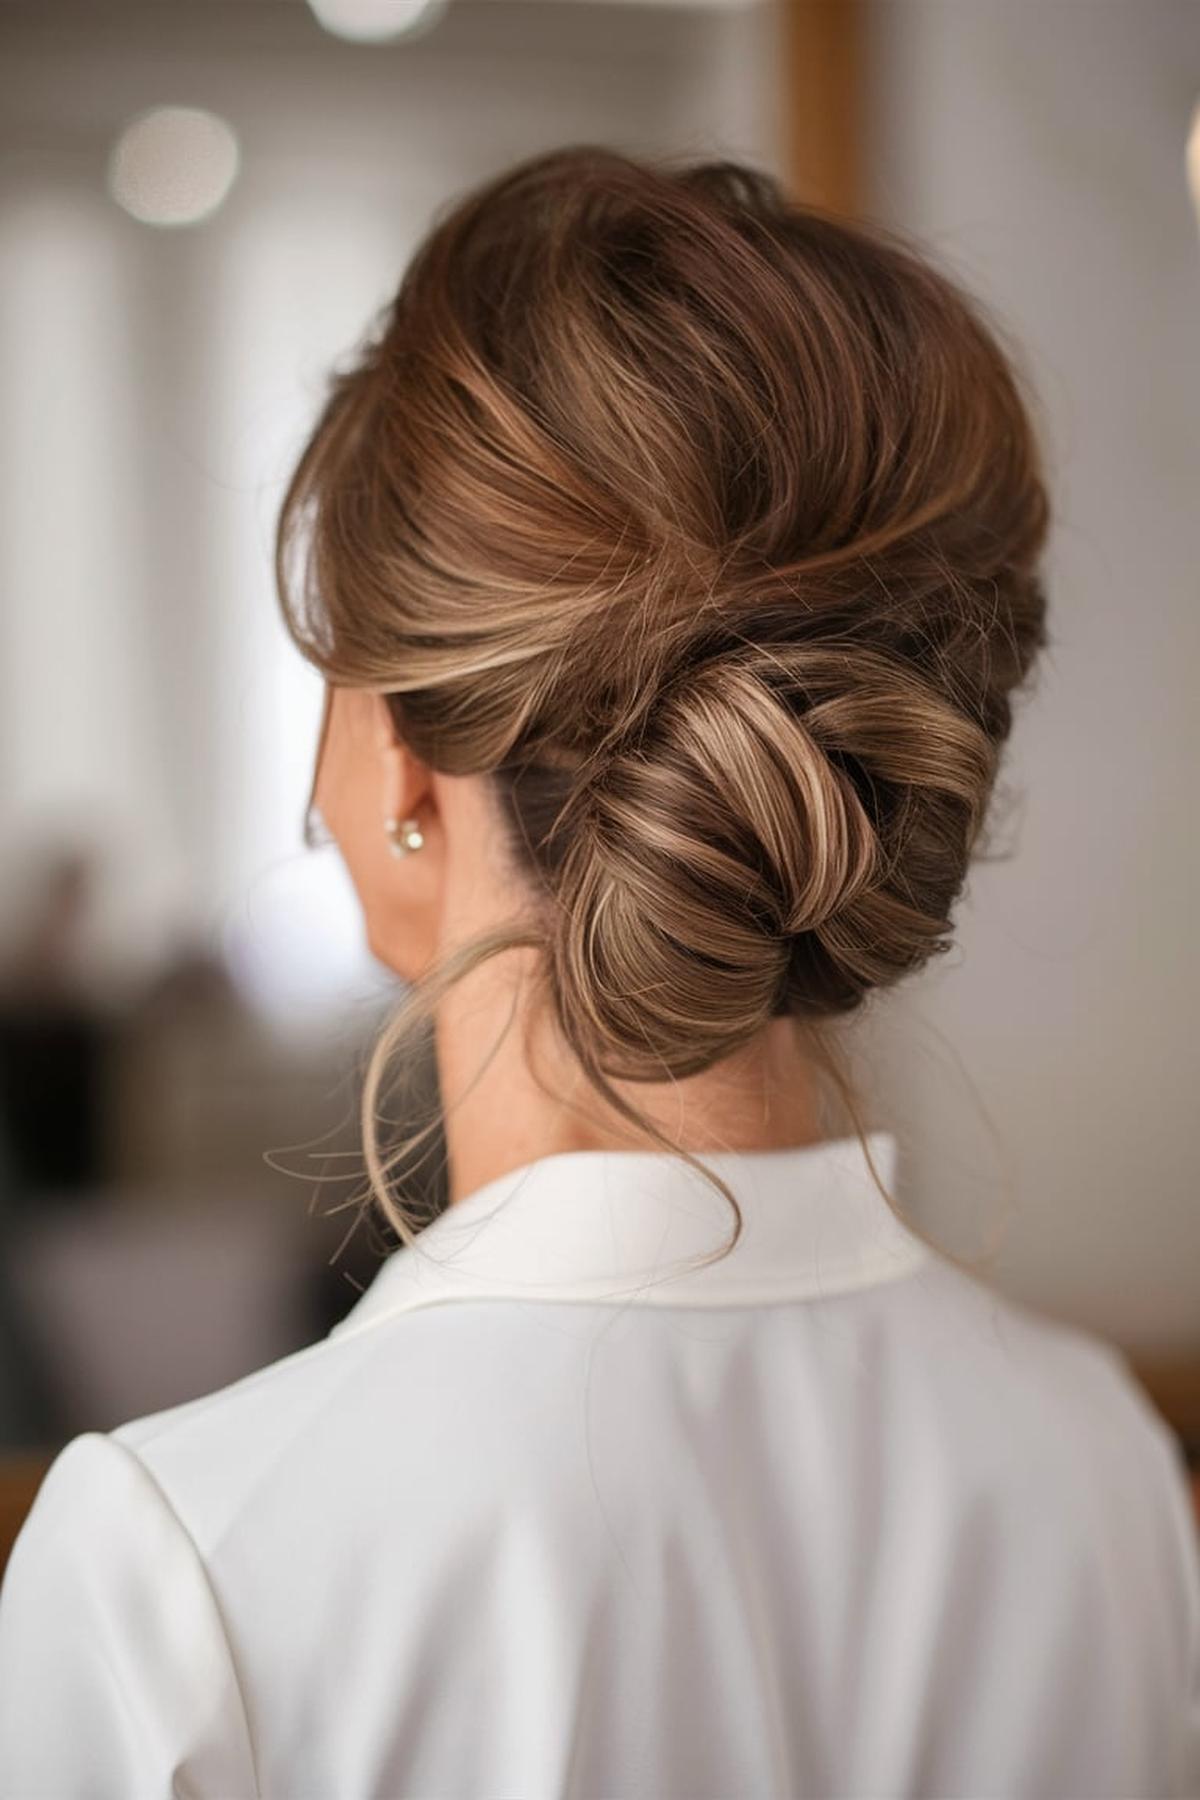
Élégant Chignon
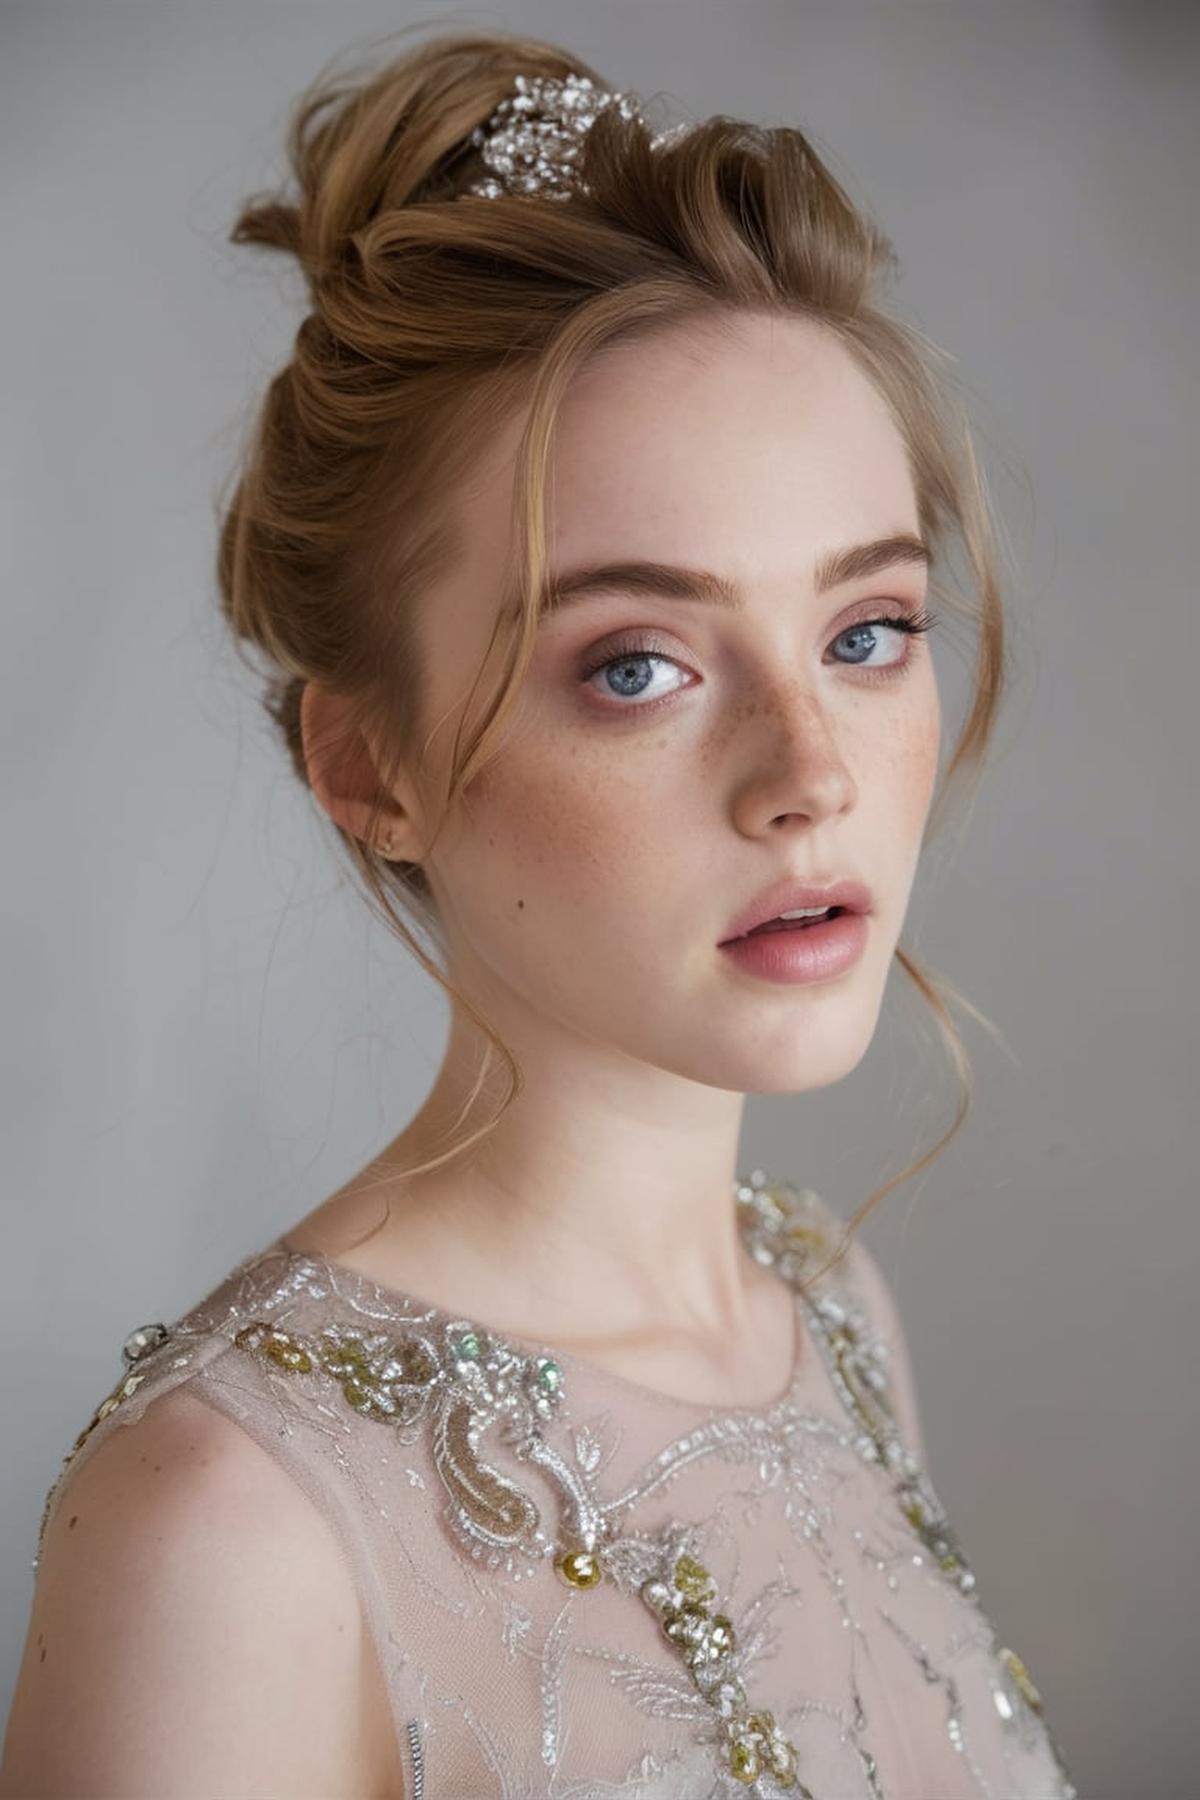
To create a chignon, start by gathering your hair into a ponytail. You can choose to place this ponytail low at the nape of your neck for a more sophisticated vibe or high on your head for a trendy, youthful appearance. Once you have your ponytail, twist it around itself to form a bun shape and secure it with bobby pins.
For a more relaxed or “messy” look, allow some strands to fall out around your face. You can also use hair accessories like decorative pins or flowers to add a festive touch. If you want a more structured look, make sure to smooth out your hair and keep everything neatly pinned.
Using products like hairspray can help keep everything in place, while teasing the hair at the roots can add volume. Don’t be afraid to try different variations, like a side chignon or a braided version, to showcase your creativity. With a little patience, you can easily become skilled at creating this timeless hairstyle that is perfect for any event.
Tousled Pixie with Headband
Make sure your pixie cut is clean and dry. You can use a bit of styling product like mousse or texturizing spray to give your hair some volume and texture. This helps create that messy, tousled look.
There are many types available, from simple fabric bands to more decorative ones with bows or embellishments. Place the headband on your head, positioning it either at the front or further back, depending on your preference.
Lightly spray your hair while tousling it again with your fingers to maintain that relaxed vibe. Remember, the key to this hairstyle is to keep it looking effortless, so don’t worry about making it perfect. The tousled pixie with a headband is all about showing off your fun and carefree side!
Glammed Up Pompadour
You want to ask your barber for a style that leaves more length on top while keeping the sides shorter. This contrast helps create the classic pompadour look. Once you have the cut, it’s all about how you style it. Use a good quality pomade or styling cream to give your hair hold and shine. The key is to apply the product evenly, starting from the back and moving towards the front, which will help you achieve that voluminous lift at the front.
This helps create the signature height of the pompadour. Once your hair is dry, use your fingers to shape it, pushing the front section up and back. If you want a more polished look, you can use a comb to smooth it out. For a more relaxed vibe, you can let some strands fall forward or to the side.
After styling, use a light hairspray to keep everything in place without making your hair feel stiff. If you’re going for a “glammed up” look, consider adding accessories like a headband or a stylish hat. Remember, confidence is key! The pompadour is a bold hairstyle, so wear it with pride and make it your own. With practice, you’ll be able to rock this classic look effortlessly.
Retro Pin Curls
Pin curls are a classic hairstyle technique that creates soft, vintage waves. They became popular from the 1930s to the 1950s, allowing women to achieve glamorous looks at home. The basic idea is to curl damp hair using your fingers, starting from the ends and rolling it up toward the scalp. Once you have the curl in place, secure it with a bobby pin to hold it while it dries.
Begin with clean, damp hair, as water helps the curls hold their shape. Use a continuous spray bottle to mist your hair evenly, ensuring it’s not too wet or too dry. Applying a styling lotion can also help; it makes the hair easier to work with and gives the curls more staying power. Make sure to distribute the products evenly throughout your hair to avoid uneven results.
After curling a section of hair, you can choose to roll it in different directions or change the size of the curls for various looks. For a classic retro style, roll the curls away from your face. Once all sections are pinned and dried, carefully unpin them and gently brush through to shape the waves. With practice, you’ll be able to create stunning retro hairstyles that can be worn for any occasion, from casual outings to formal events.
Sculpted Faux Hawk
This hairstyle works best with hair that is at least medium length. Use a hair tie to secure the ponytail at the top of your head. For a sleek look, make sure to smooth out any bumps with a brush.
Take small sections of hair and gently backcomb them at the roots using a fine-tooth comb. This adds volume and texture, making the faux hawk look fuller. Once you’ve teased the hair, smooth the top layer down to hide the teasing and shape it into a point or a sculpted look.
A light mist will help keep the style intact without making it stiff. If you want to add some flair, consider using hair accessories or colored sprays. With practice, you can achieve a stylish faux hawk that looks great for any occasion!
Braided On Top
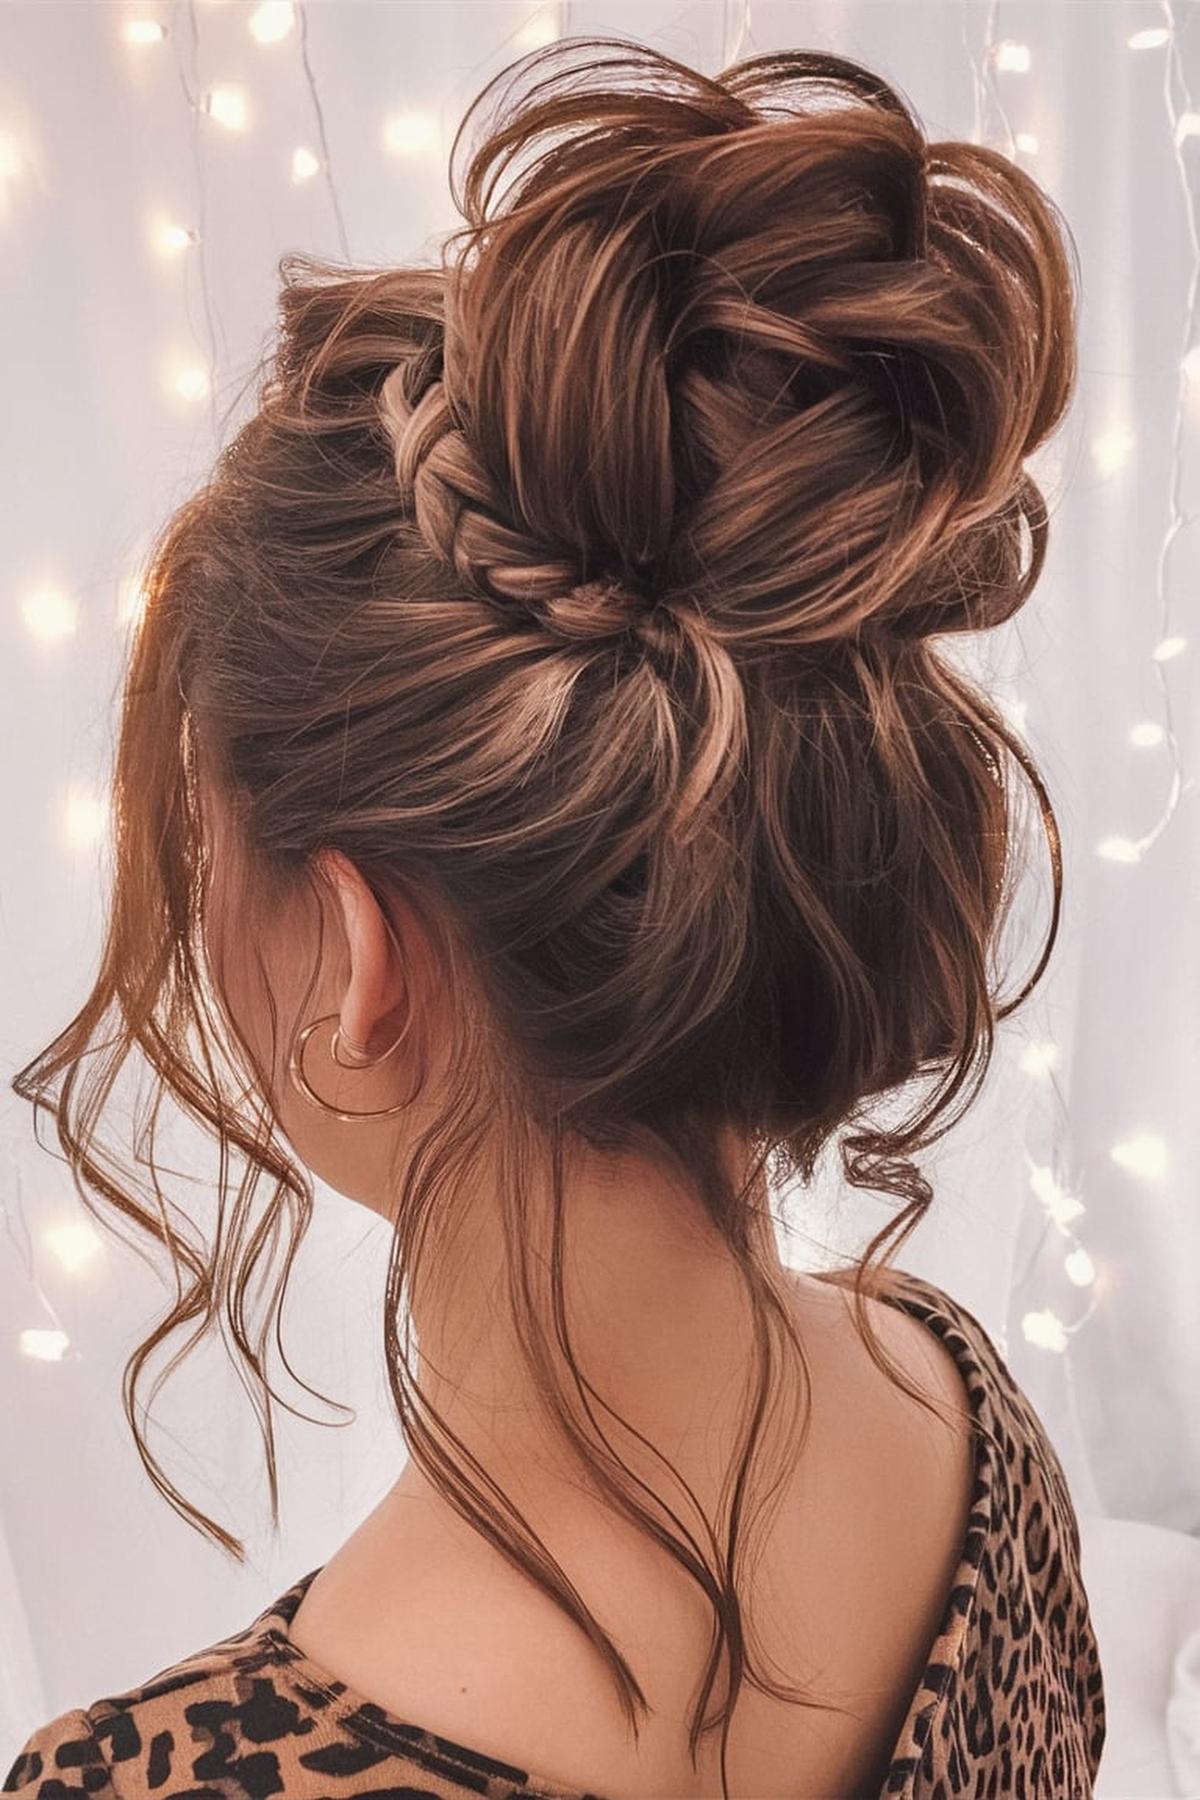
This style is often called a “top knot” or “braided bun.” First, take a small section of hair from the front and split it into three equal parts. This is the foundation for your braid. As you braid, remember to keep the tension even to ensure a neat look.
Grab a small section of hair from the right side, add it to the right strand, and cross it over to the middle. Repeat this on the left side.
You can pull gently on the sides of the braid to make it look fuller and more relaxed. If you want a more polished look, you can wrap the braid into a bun and secure it with bobby pins. Practice this style a few times, and soon you’ll be able to create a beautiful braided top hairstyle effortlessly!
Side-Swept Finger Waves
Begin with clean, damp hair, as this makes it easier to style. Apply a mix of mousse and hair gel to give your hair hold and moisture. Make sure the products work well together to avoid any flaking.
Using your finger as a guide, place it near the part and use the comb to pull the hair forward and then back, forming a “C” shape. Keep your finger in place to maintain the wave while you move down the hair, alternating the direction to create the signature “S” shape. Once you’ve styled the desired number of waves, use duckbill clips to secure them in place.
This step is crucial because it locks in the style, making it last longer. After drying, your finger waves should look shiny and elegant, perfect for any occasion. Remember, practice makes perfect, so don’t hesitate to redo sections if they don’t turn out right the first time!
Slicked Back and Smooth
This technique helps avoid pulling and damaging your hair. Once your hair is mostly dry, apply a small amount of product, like gel or pomade, to the outer layers first. Gently pat it in and let it settle for a bit before running your hands through your hair to distribute the product evenly.
Pay attention to how your hair naturally falls—this will help you find the best direction to comb it. Start from your forehead and move back, ensuring all strands are aligned. If you notice any stubborn hairs sticking out, you can add a little more water to help tame them.
For thick or curly hair, a stronger hold product like gel or fiber works best, while lighter products like paste are better for thinner hair. Experiment with different products to see what gives you the look you want without making your hair too shiny or stiff. Regular trims will also help maintain clean edges and keep your style looking fresh.
Embellished Pompadour
You want your hair to be longer on top while keeping the sides and back shorter. This contrast helps create that signature volume. When you visit a barber, ask for a medium to long pompadour cut. They should understand that you want tight sides and enough length on top to style it upward and backward.
You’ll need a good comb, a Denman-style brush, and a strong pomade or grooming tonic. Start with towel-dried hair for the best results. Apply a small amount of pomade to the sides first, slicking them back. Then, use the brush and a blow dryer to lift the hair on top while combing it backward and upward.
You can either keep it neat or add some messiness for a more casual vibe. Experiment with the amount of pomade you use to find the right hold and shine for your style. Remember, the key to a great pompadour is confidence, so wear it with attitude! With practice, you’ll be able to rock this stylish hairstyle effortlessly.
Sculpted Curly Updo
It’s important to prep your curls using a good conditioner or a hair mask to keep them hydrated and manageable. Once your hair is ready, gather it into sections. You can create a base by twisting or braiding the lower part of your hair.
Next, focus on the styling techniques that will enhance your curls. A popular method is the rope twist, where you separate your hair into two sections, twist each one, and then twist them together. Wrap this around your base bun and secure it with bobby pins.
Finally, to finish off your sculpted curly updo, use some hairspray to hold everything in place. You can also add accessories like clips or flowers to make your hairstyle stand out for special occasions. Remember, practice makes perfect, so don’t hesitate to experiment with different styles and find what works best for your unique curls. With time, you’ll be able to create stunning updos that showcase your beautiful curly hair.
Voluminous Blowout
After washing your hair, apply a lightweight detangler to help with knots and a volumizing spray at the roots to add lift. This will make your hair easier to manage and give it that bouncy look. Next, use a paddle brush to comb through your hair, making sure the products are evenly distributed. It’s best to let your hair air dry a bit until it’s about 80% dry, which helps add volume when you start blow-drying.
Use a round brush for a bouncy finish. Start blow-drying from the roots and pull the brush upwards to create lift. As you dry each section, roll the brush downwards to give your hair a nice curl or bend at the ends. This technique helps lock in volume and shape.
This helps set the style. To keep everything in place, finish with a light mist of hairspray. This will help your blowout last longer without feeling stiff. With practice, you’ll find that mastering the blowout becomes easier, and soon you’ll be able to achieve that salon-quality look right at home.
Intricate Braided Crown
You will need a brush, hair elastics, bobby pins, and some hairspray to keep everything in place. Begin by parting your hair down the middle and brushing it out to remove any tangles. This hairstyle involves a Dutch braid, which is a type of braid where you cross the strands under instead of over. This technique gives the braid a fuller look that wraps around your head like a crown.
As you braid, gradually add more hair from the sides to keep the braid close to your scalp. Continue braiding until you reach the other side of your head, making sure to keep the braid tight and even. Once you have incorporated all your hair, finish with a regular braid and secure it with an elastic.
Tuck the ends of the braids under the base of the braid to hide them and secure everything with bobby pins. You can gently pull on the sides of the braid to make it look thicker and more voluminous. For a polished finish, use hairspray to hold the style in place. With practice, this beautiful hairstyle can be perfect for any occasion, from casual outings to special events.
Twisted Low Bun
Use a hair tie to secure it, but instead of pulling all your hair through the tie, leave a small loop at the top. This loop is the base of your bun and gives it a nice shape. If you have thin hair, using a good elastic that won’t slip is important, as it helps keep everything in place without needing too many bobby pins.
Make sure to cover the hair tie completely with these twisted sections. Use a bobby pin to secure the twists in place, which will help keep your bun looking neat and stylish.
This will help your hairstyle last longer throughout the day. If you want a more relaxed vibe, don’t worry about making it look perfect; a few flyaways can actually add to the charm of the style. With a little practice, you’ll find that this hairstyle is not only easy to do but also versatile enough for any occasion.
Wet Look Finger Waves
This is crucial because wet hair is easier to style. Begin by applying a generous amount of mousse and hair gel. Mousse helps keep your hair hydrated and gives it a soft hold, while gel provides the strong hold needed to keep the waves in place.
Part your hair, preferably to the side, and then use your fingers and the comb to shape the hair into “S” shapes. Place your finger near the part and use the comb to pull the hair forward, then back, creating a wave.
Finally, to set the style, dry your hair under a hooded hair dryer or let it air dry if you have more time. Once your hair is completely dry, carefully remove the clips, and you should have shiny, well-defined finger waves. To keep your style intact for longer, wrap your hair with a satin scarf or wear a bonnet when you sleep.
Rockabilly Rolled Updo
It’s best to work with hair that is a day or two old because it has more texture and can hold styles better. If your hair is freshly washed, use some volumizing products like mousse or dry shampoo to give it body. This will help create the volume needed for the classic rockabilly look. Section your hair into manageable parts, focusing on the front where you want to create the iconic roll.
Once you have a good amount of volume, smooth the top layer down and then roll it back towards your head. Secure the roll with bobby pins, making sure to hide any loose ends. The key to a great rockabilly updo is to create a smooth, polished look while still allowing some playful volume.
You can accessorize with a cute hair flower or bandana for that extra rockabilly flair. Remember, practice makes perfect! Don’t be afraid to experiment with different techniques and styles until you find what works best for you. With a little patience and creativity, you’ll have a stunning rockabilly updo that turns heads!
Asymmetrical Slicked Back
This style works best if your hair is slightly wet, as it allows for better product distribution. Use a good quality hair gel or pomade that provides a strong hold without excessive shine. Apply the product evenly through your hair, starting from the back and moving forward to ensure all strands are covered.
For an asymmetrical look, you can create a side part or push one side back more than the other. If your hair is thick, dividing it into sections can help you manage it better. Use a fine-tooth comb for a more structured look, or a wider-tooth comb for a softer finish.
This will help maintain the look throughout the day. If you want to add some texture, consider using a light styling cream or wax after the initial styling. This will give your hair a more relaxed, modern vibe while still keeping it slicked back. With practice, you’ll be able to achieve a polished asymmetrical slicked-back hairstyle that stands out.
Top Knot with Accessory
Flip your head upside down to make it easier to brush your hair up, and secure it with a strong elastic band. If you want a fuller look, consider using a hair donut or padding, which can be found at beauty supply stores.
Next, wrap your hair around the base of the ponytail or the padding, securing it with bobby pins. Tuck the ends of your hair under the bun to keep everything neat.
Finally, finish your top knot by adding an accessory like a scrunchie, headband, or decorative pins to personalize your look. A spritz of hairspray can help keep everything in place and tame any flyaways. This hairstyle is versatile and can be worn for both casual outings and more polished events, making it a great choice for any occasion.
Q&As for short hair formal styles
Q: How can I make my short hair look sleek and straightened for a formal event?
A: To achieve a sleek and straight look, use a flat iron to straighten your hair. Apply a heat protectant spray before styling to prevent damage. Finish with a shine serum to give your hair a polished appearance.
Q: What is a vintage finger wave, and how can I style my short hair this way?
A: Vintage finger waves are a classic hairstyle with “S” shaped waves. To create them, use a comb and styling gel to form waves, pinning them in place until they set. This style gives a retro and elegant look.
Q: How can I style a tousled pixie with a headband for a formal occasion?
A: For a tousled pixie, use a texturizing spray to add volume and texture. Place a decorative headband on top to enhance the look. This combination creates a playful yet sophisticated style.
Q: What is an elegant chignon, and can it work with short hair?
A: An elegant chignon is a low bun that sits at the nape of the neck. For short hair, create a small bun and secure it with bobby pins. Add volume by gently teasing the hair before pinning it back.
Q: How can I achieve a glammed-up pompadour with short hair?
A: To create a glammed-up pompadour, apply a volumizing mousse to damp hair. Blow-dry your hair upwards and back to add height. Use a strong-hold hairspray to keep the style in place for a formal and edgy look.
