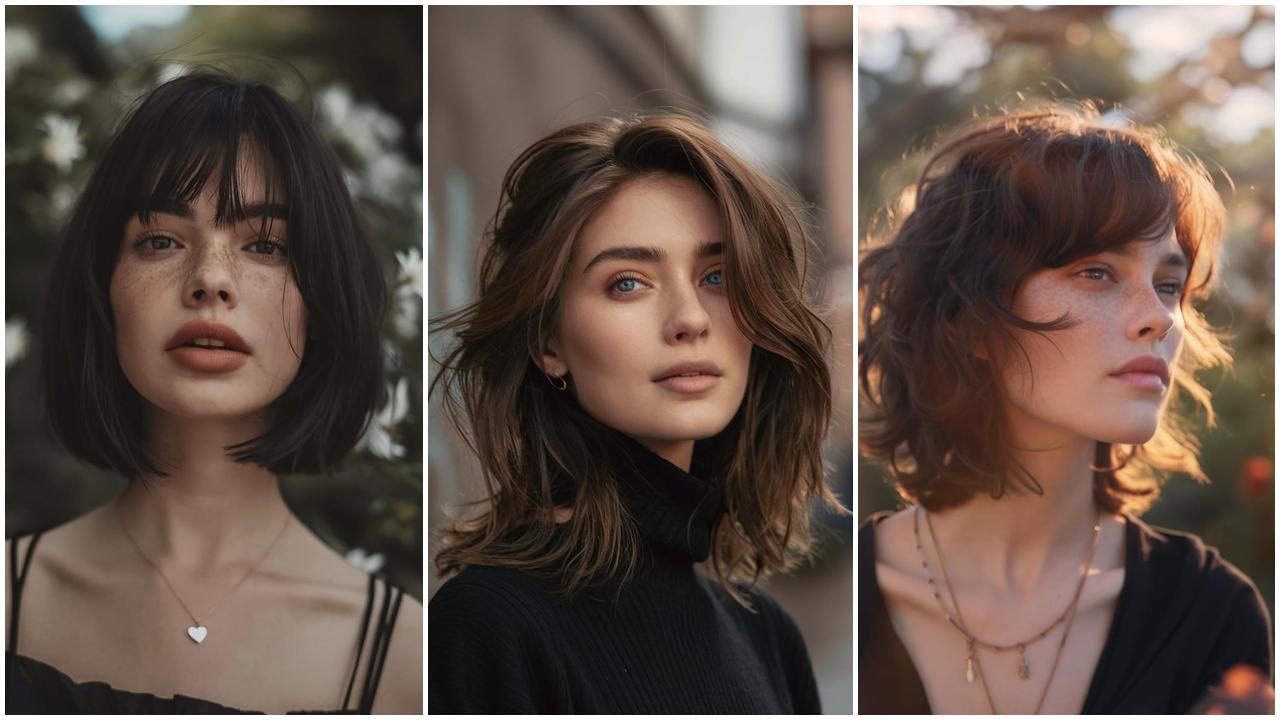
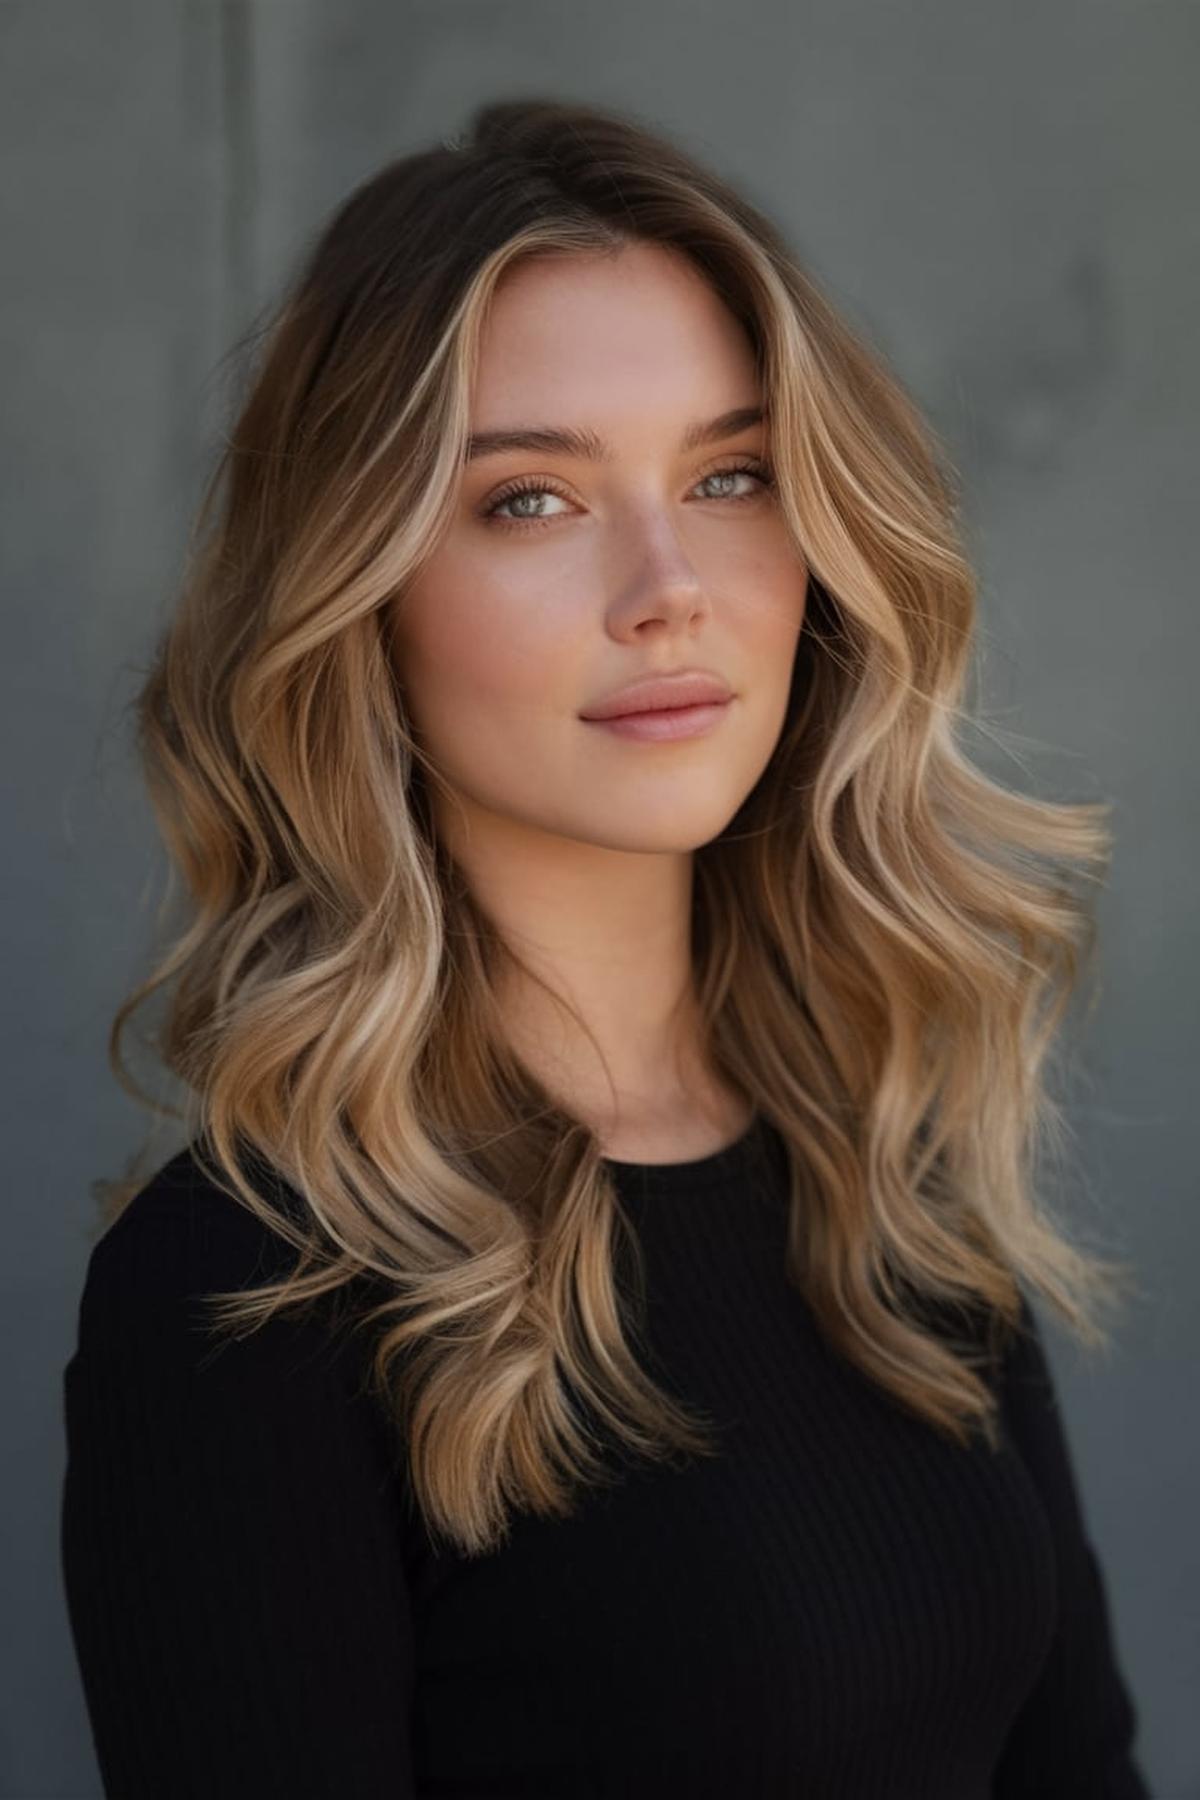
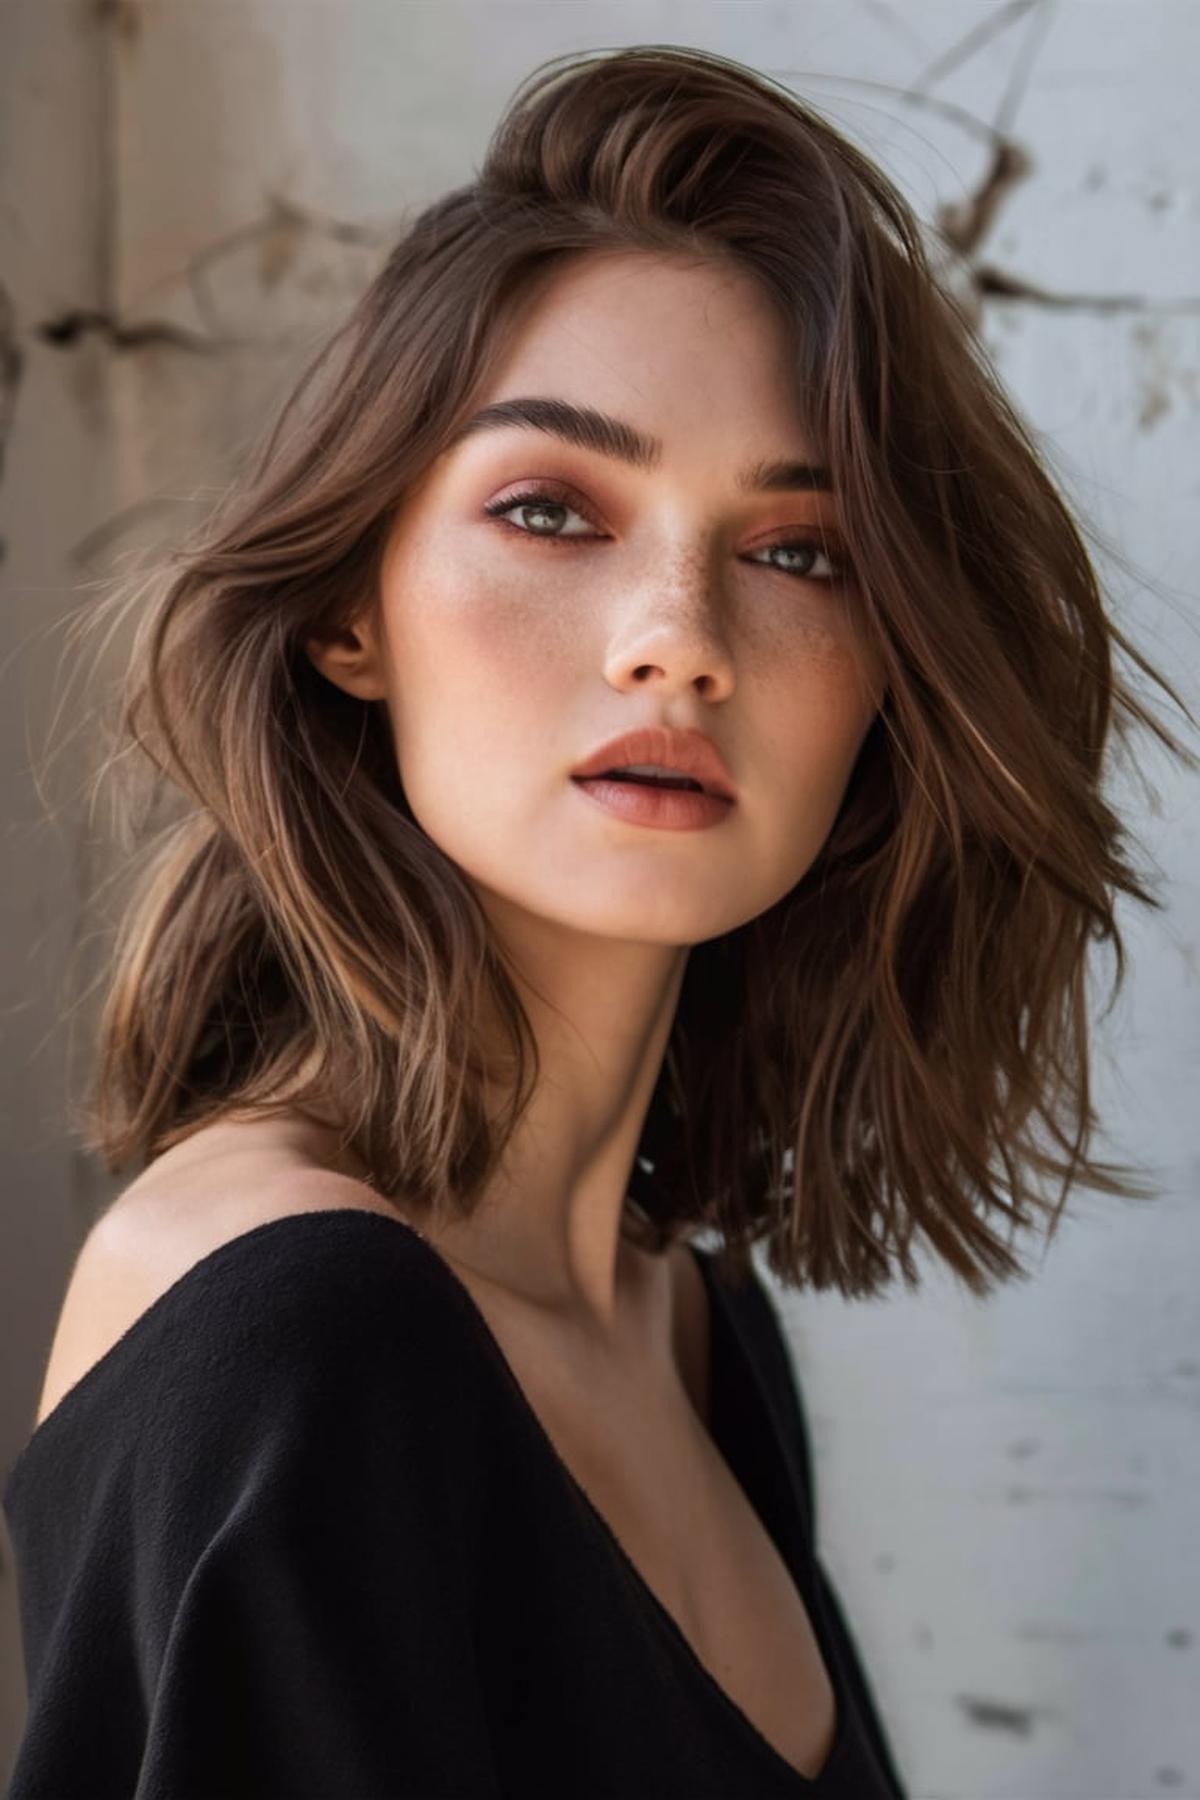
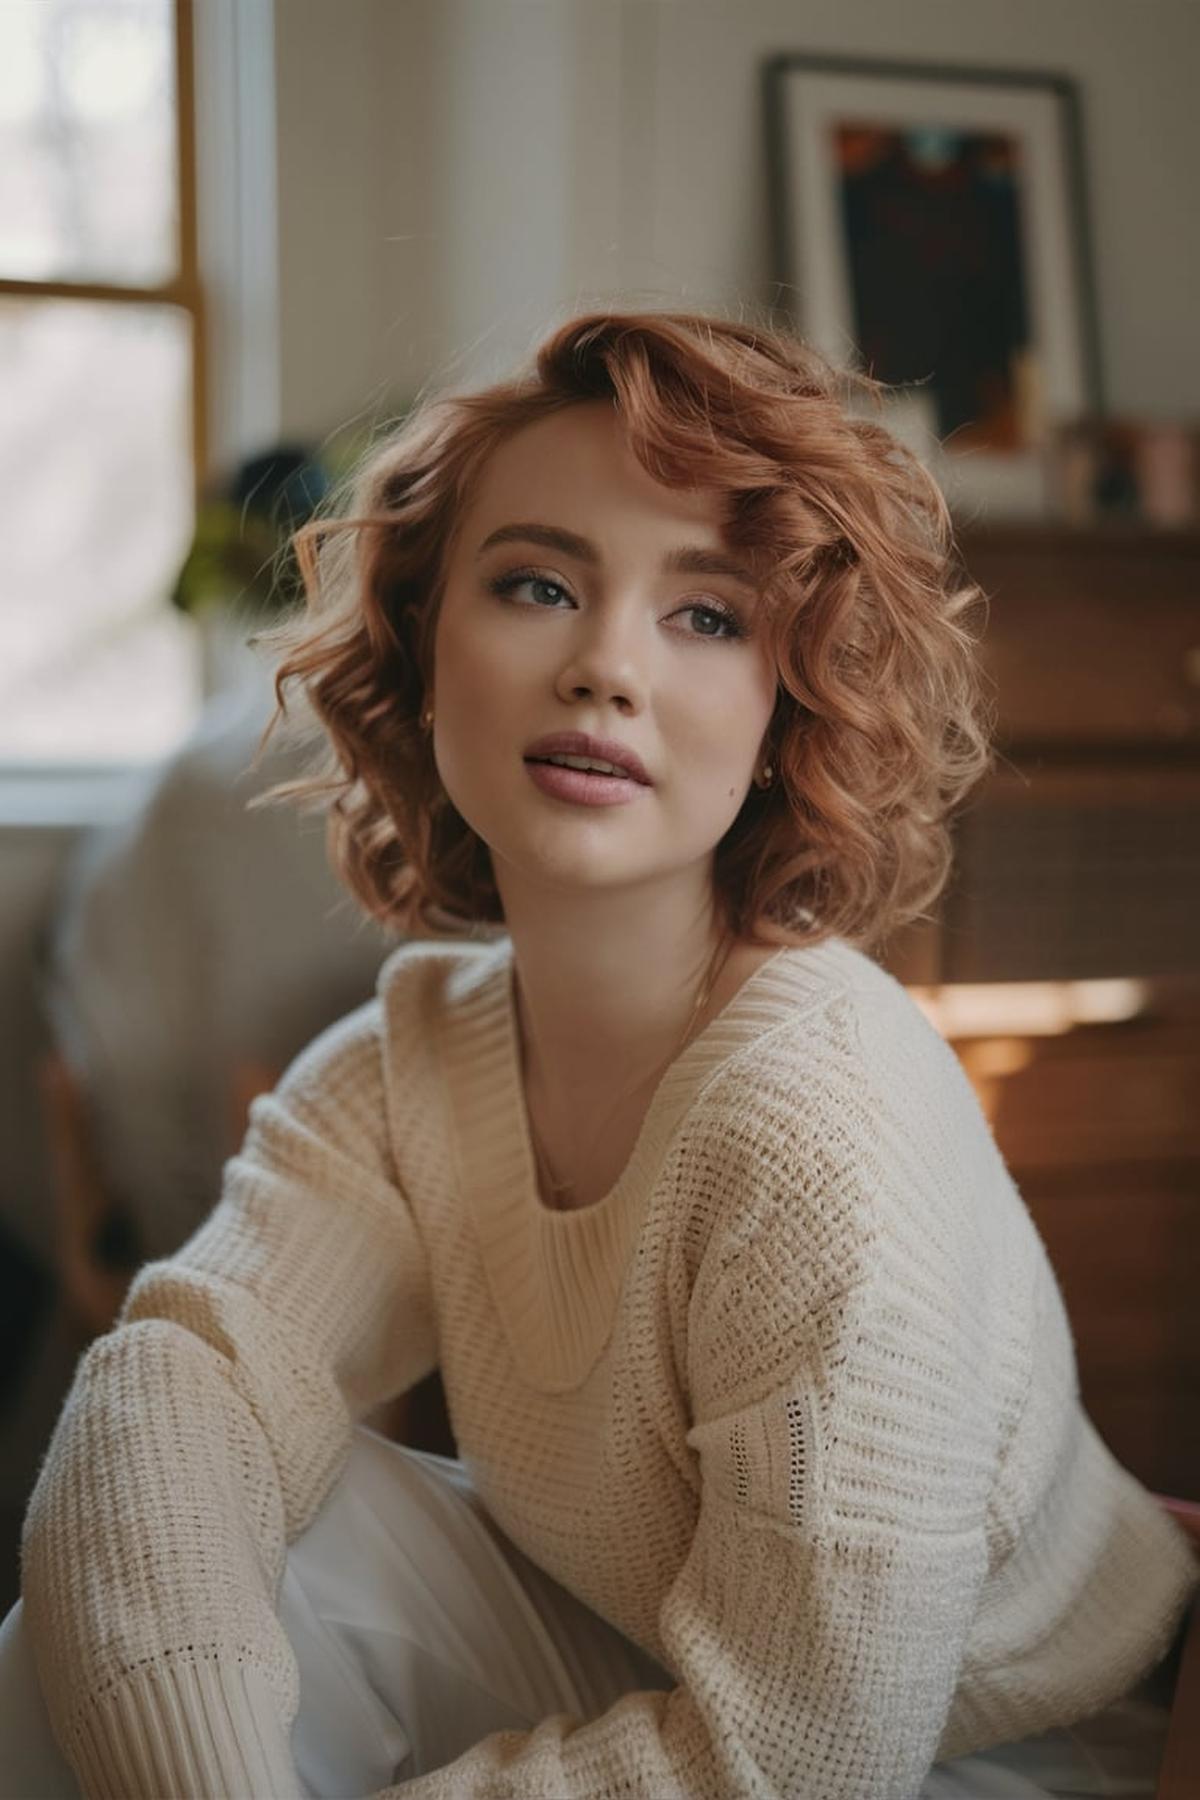
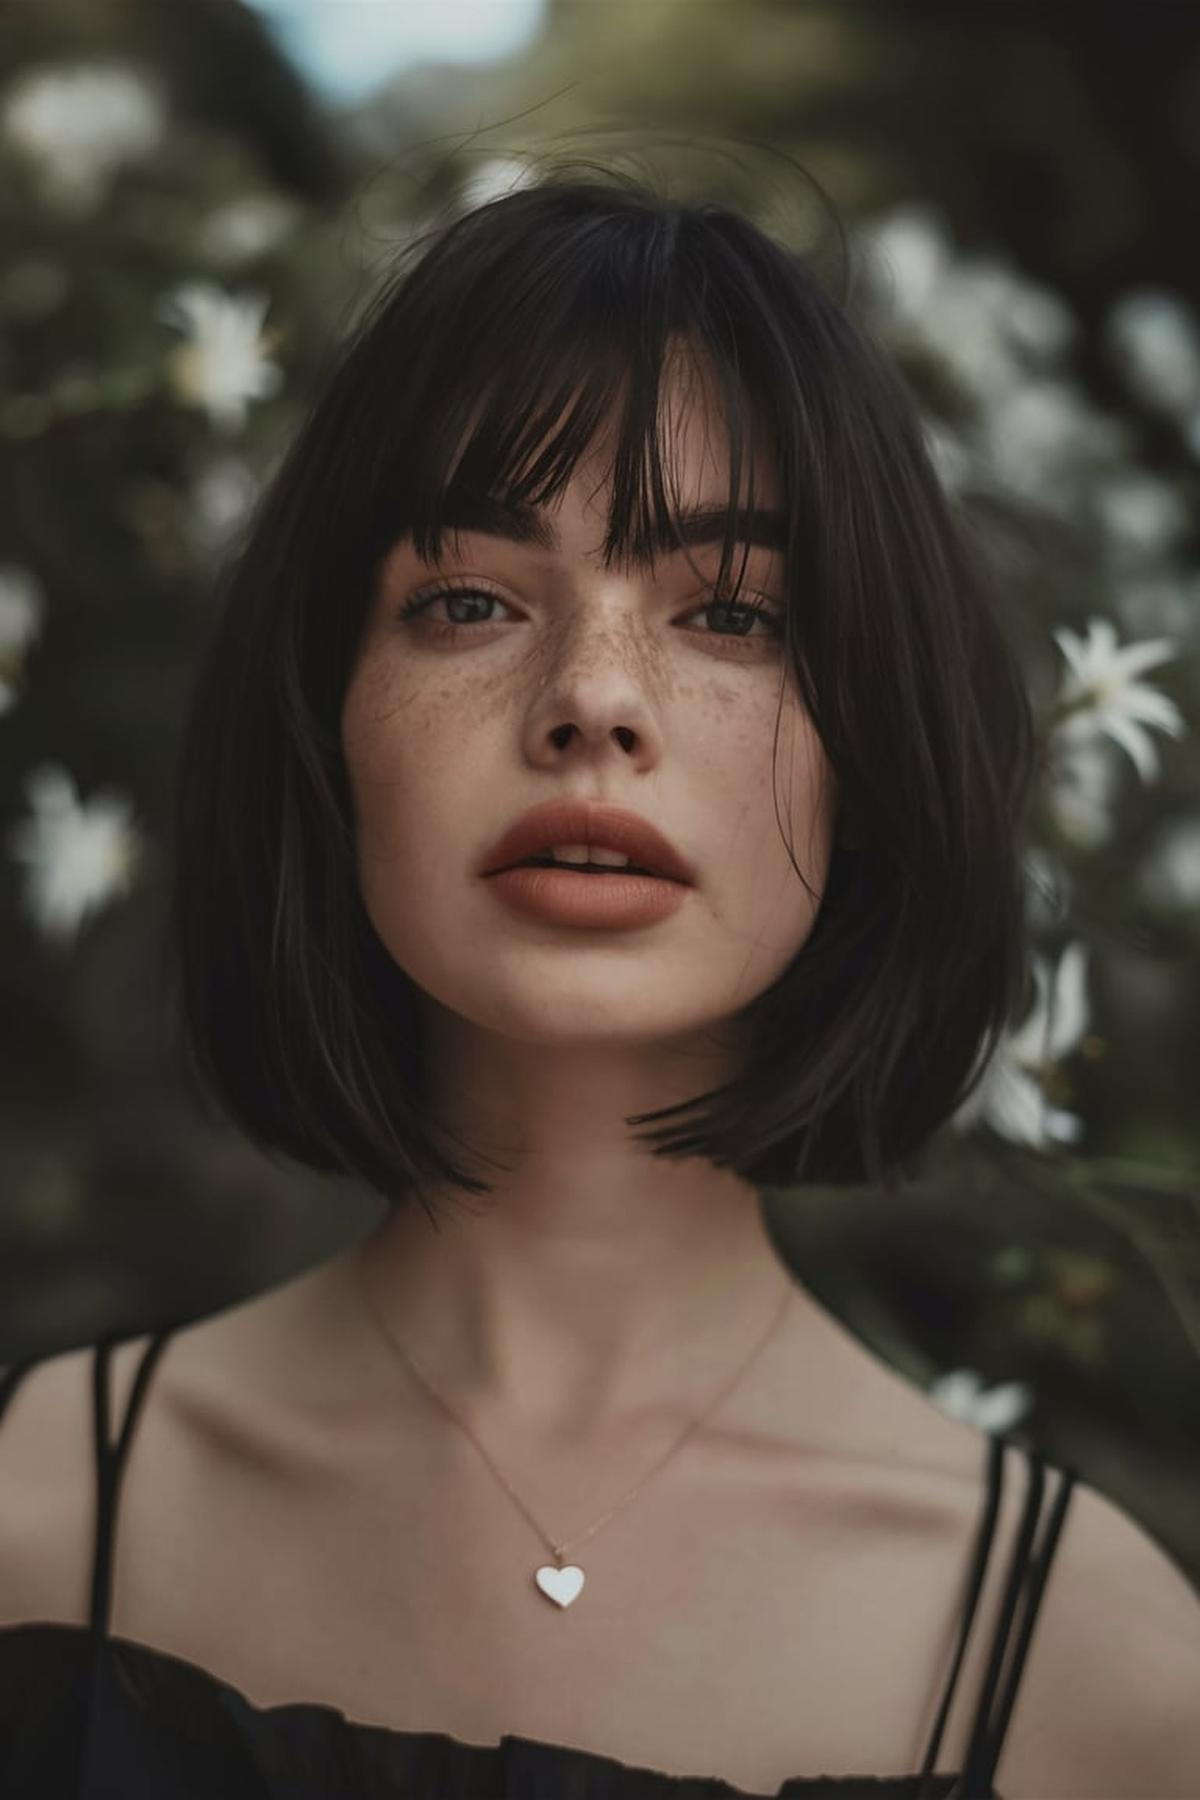
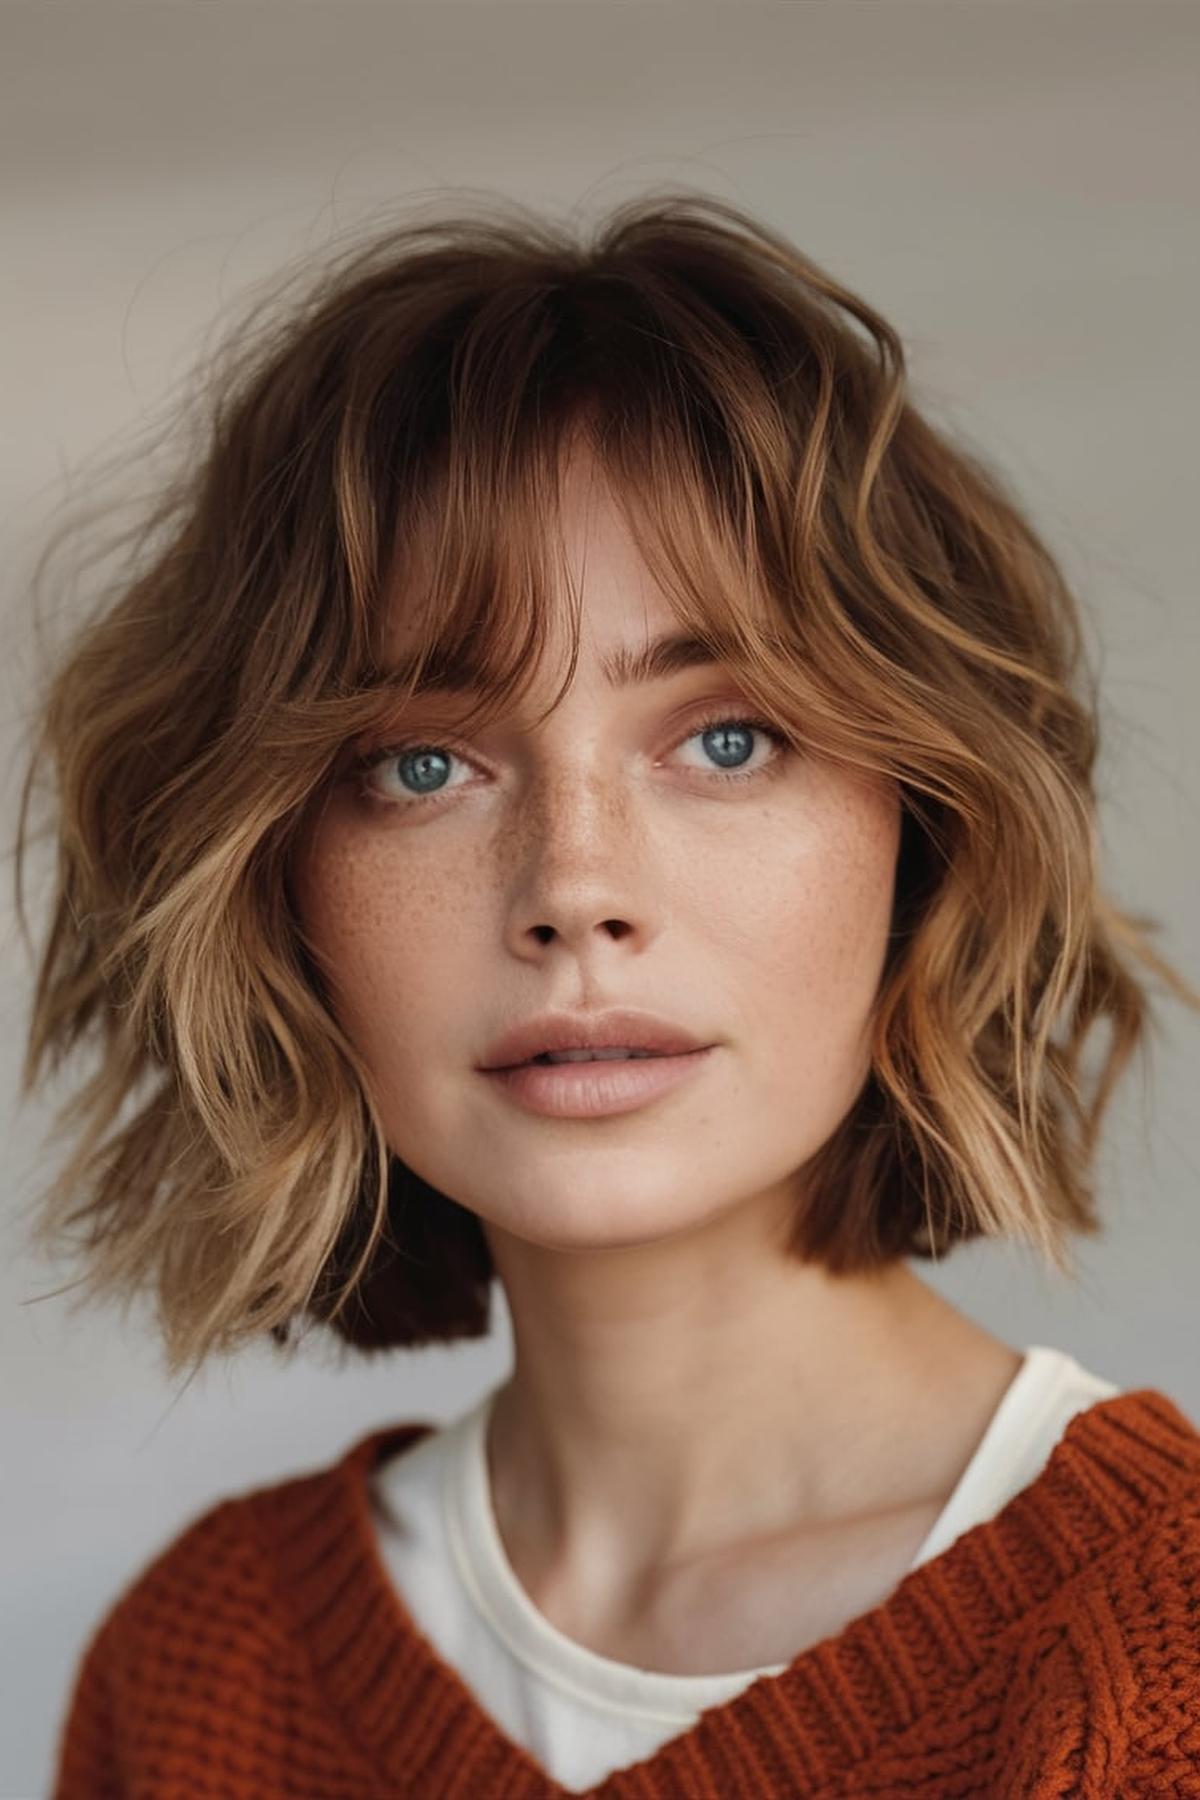
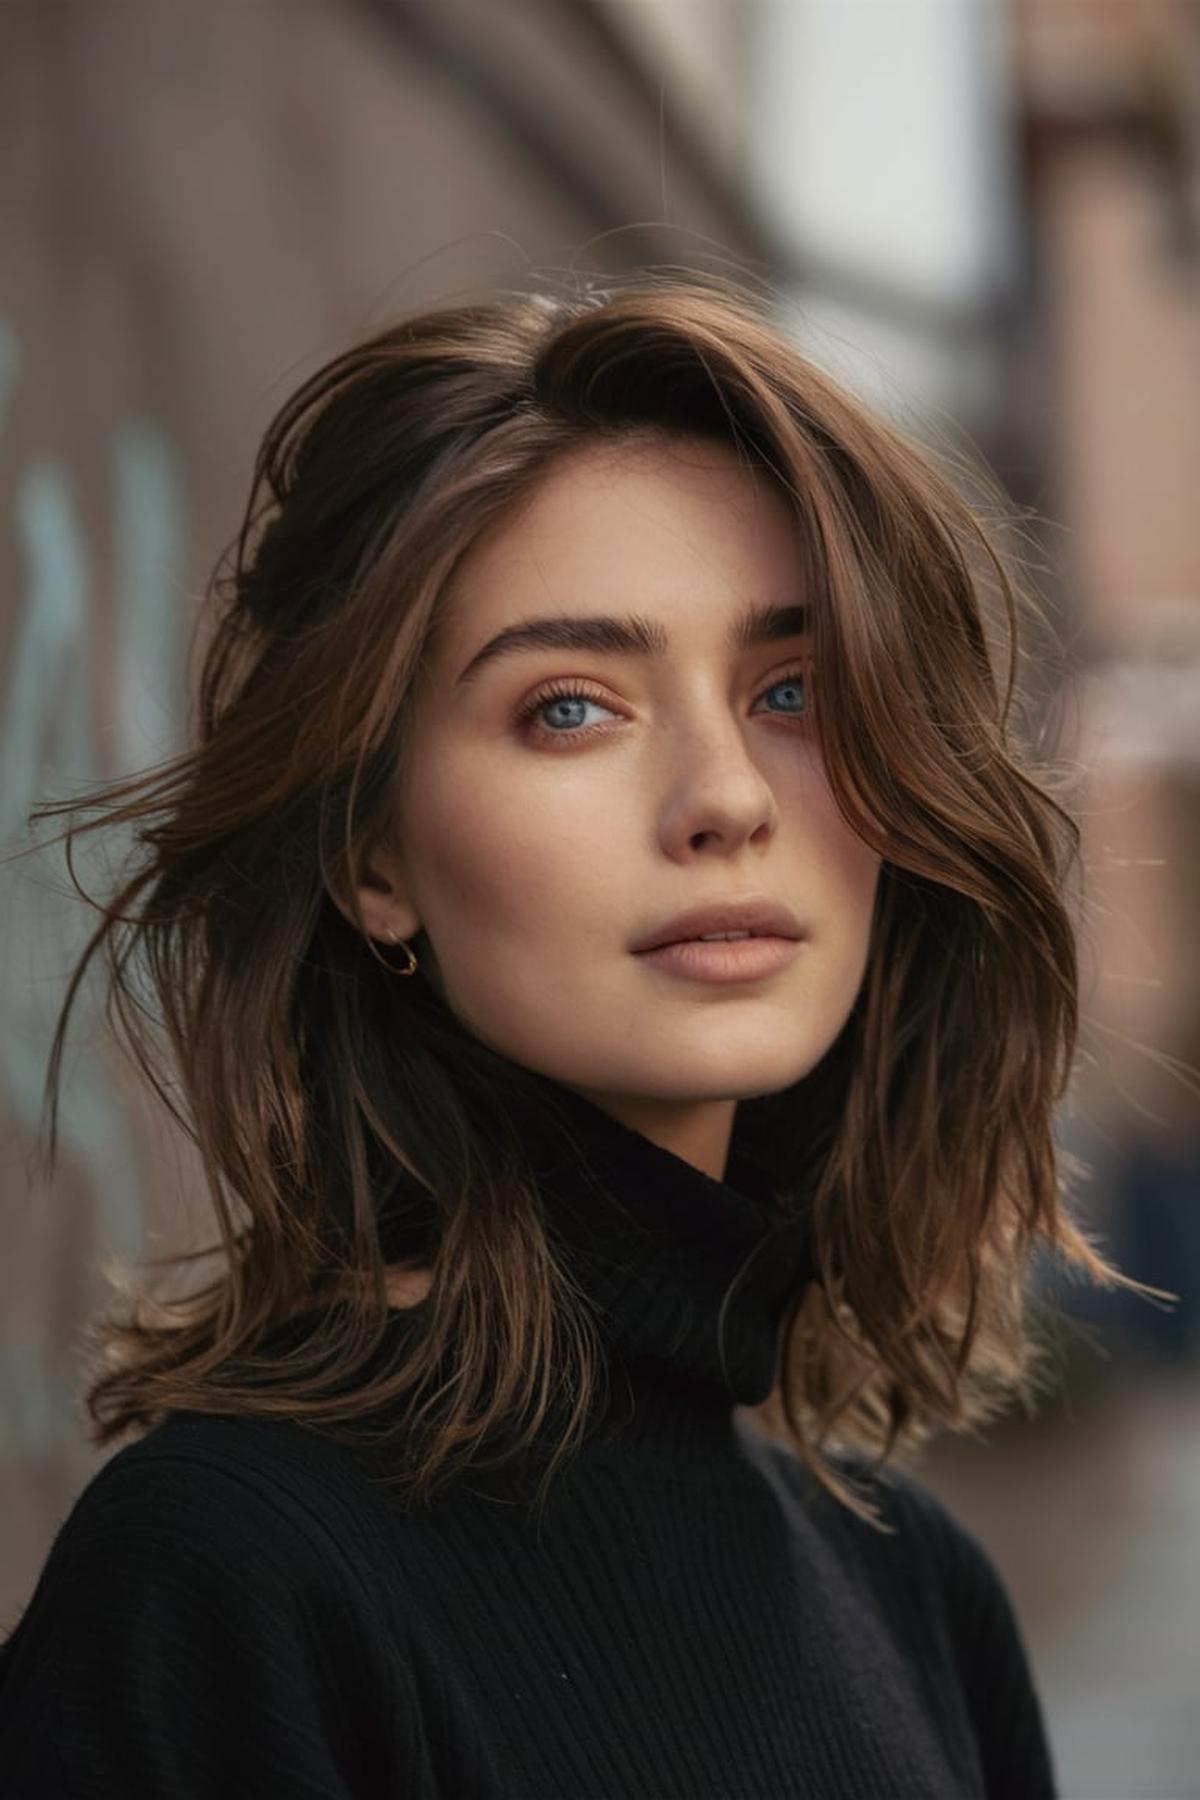
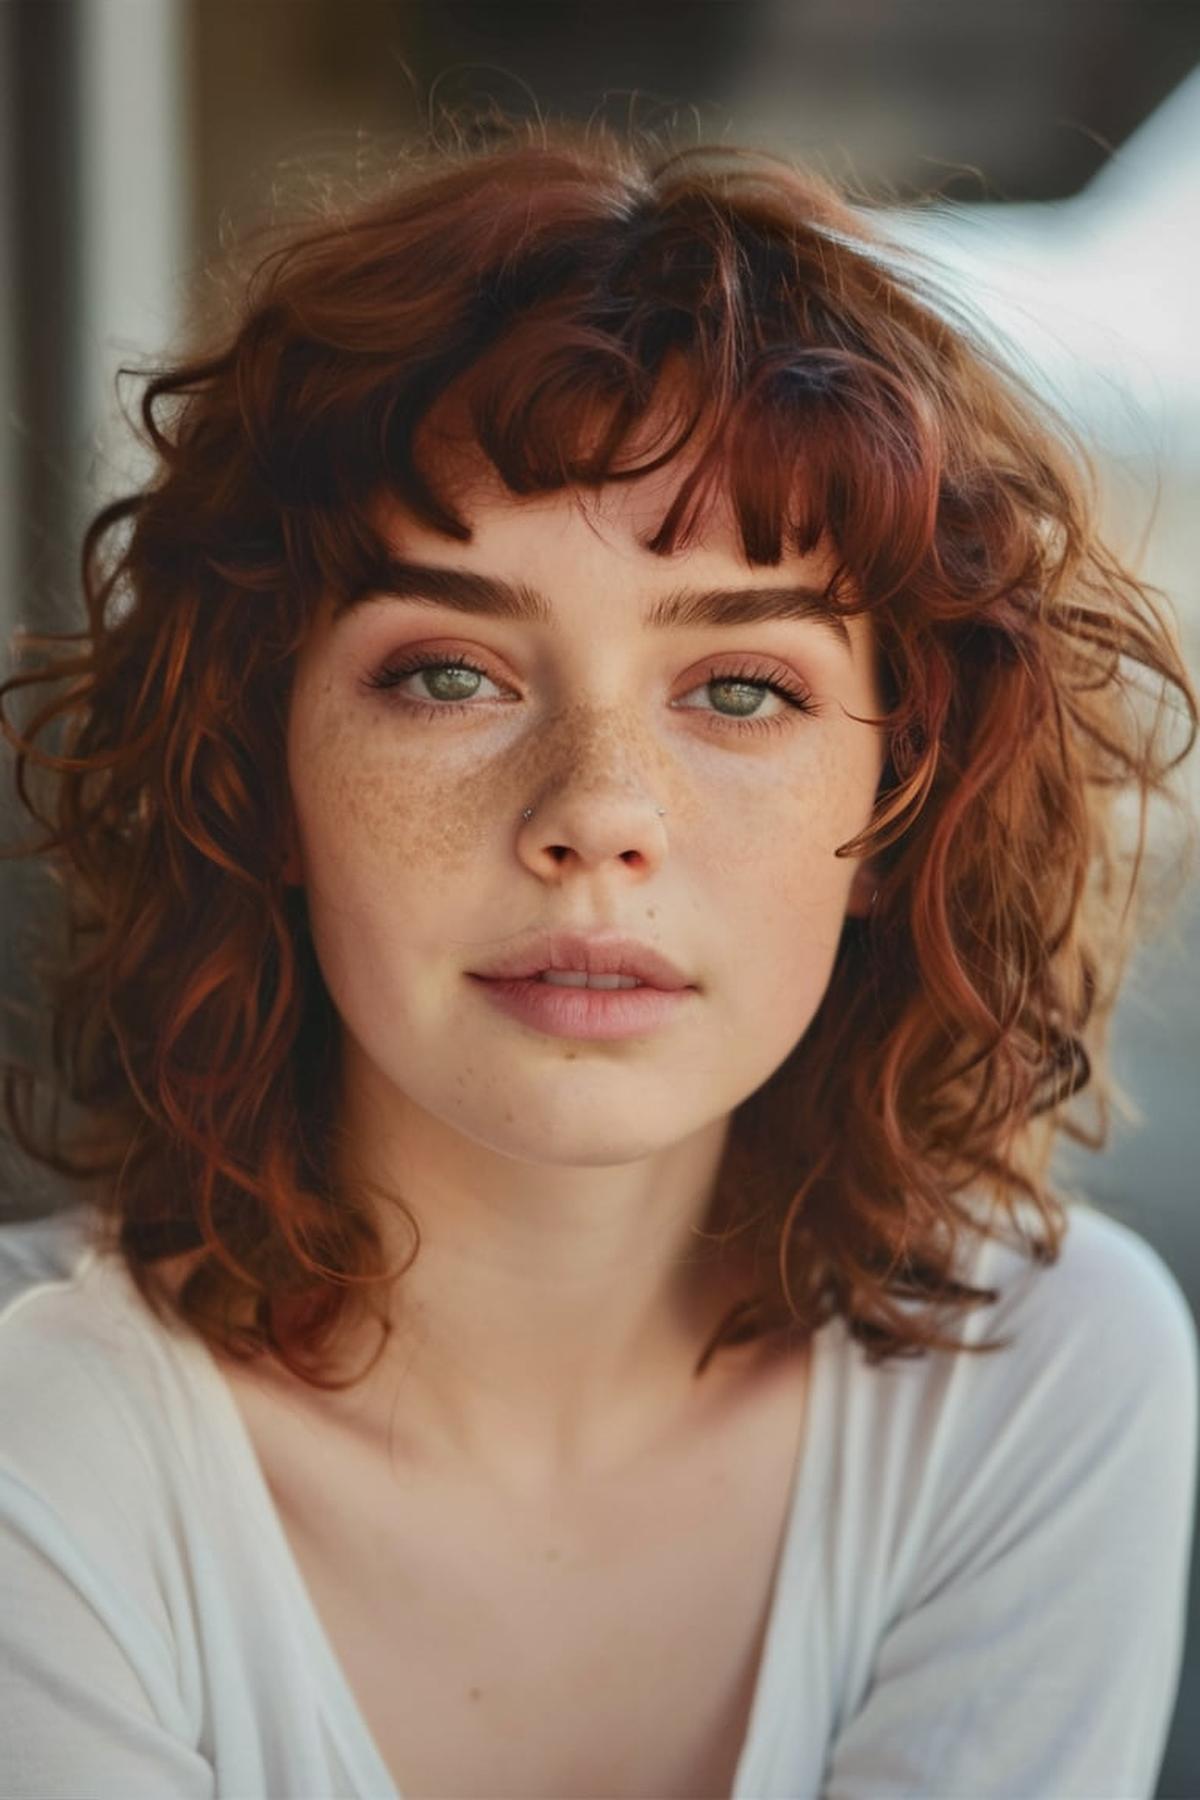
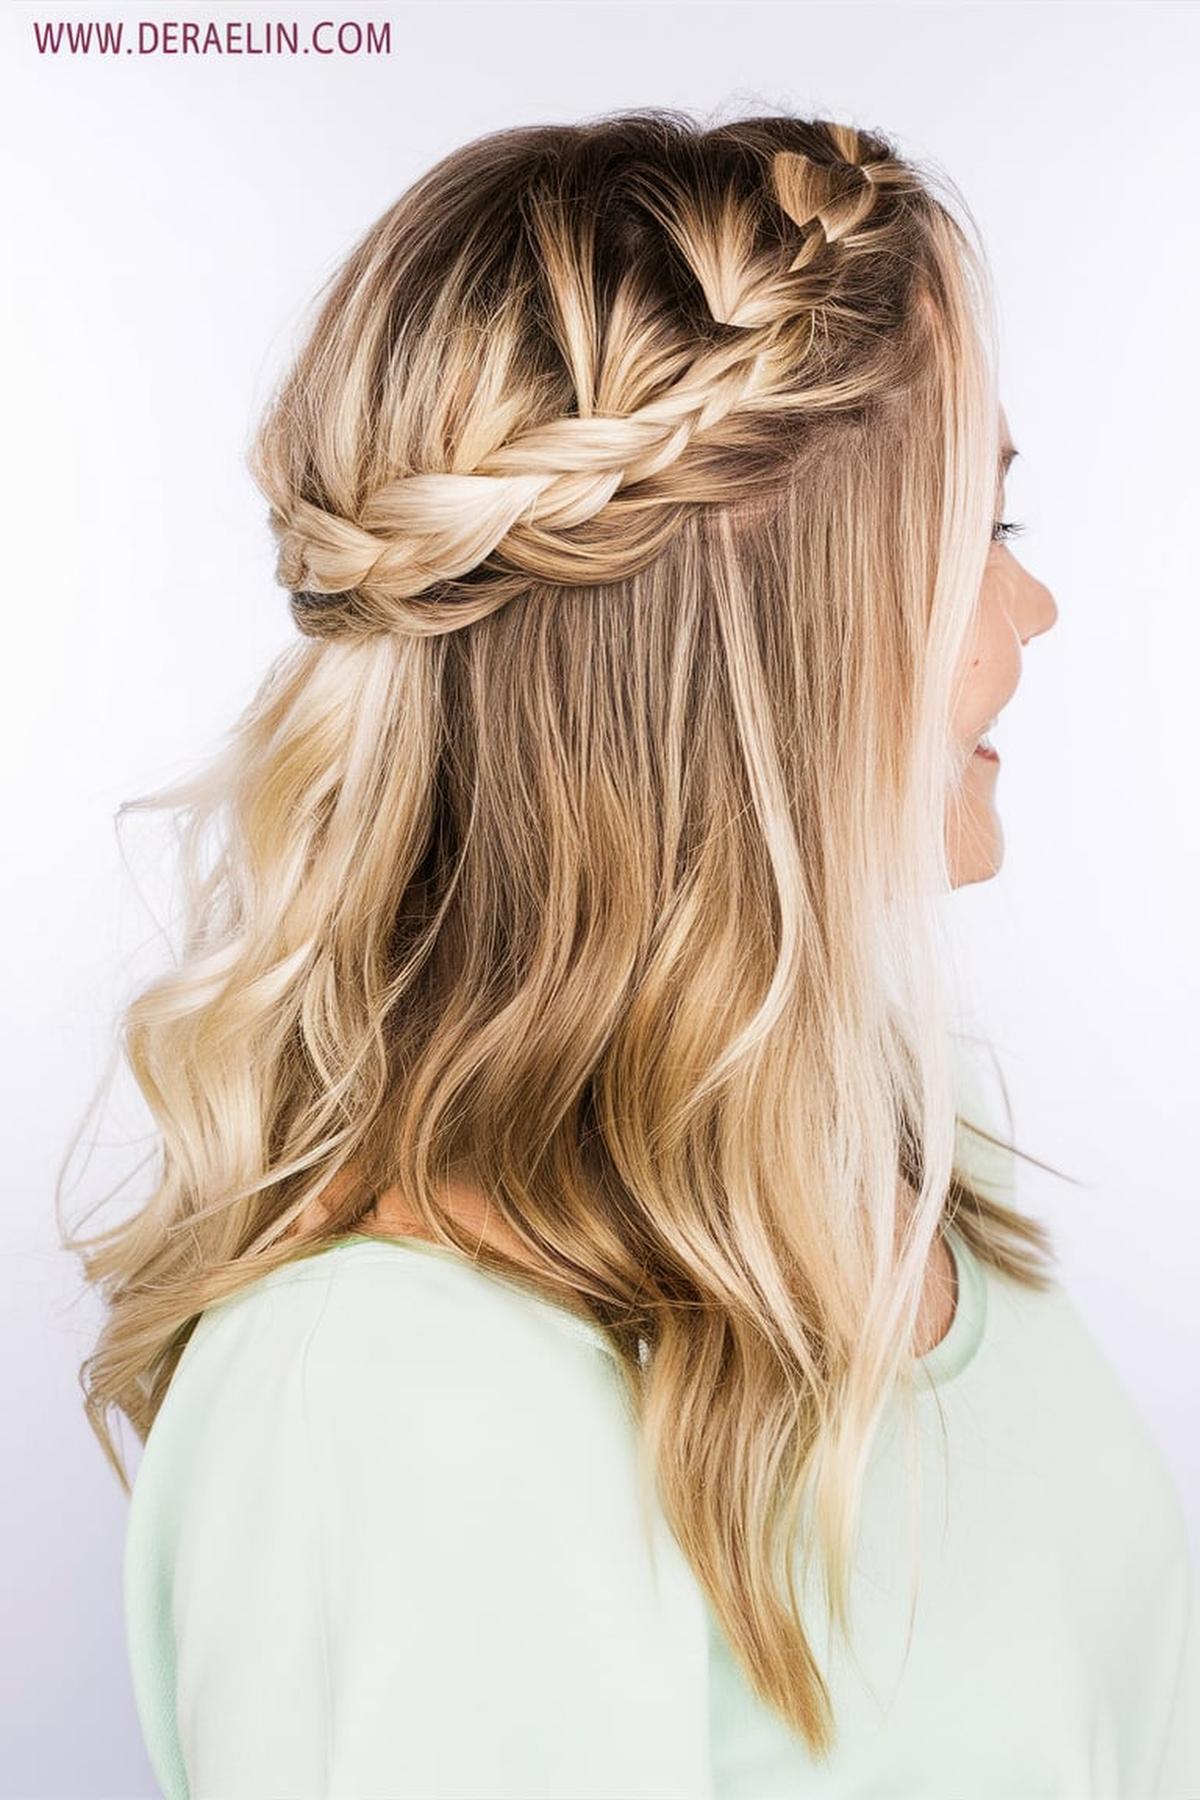
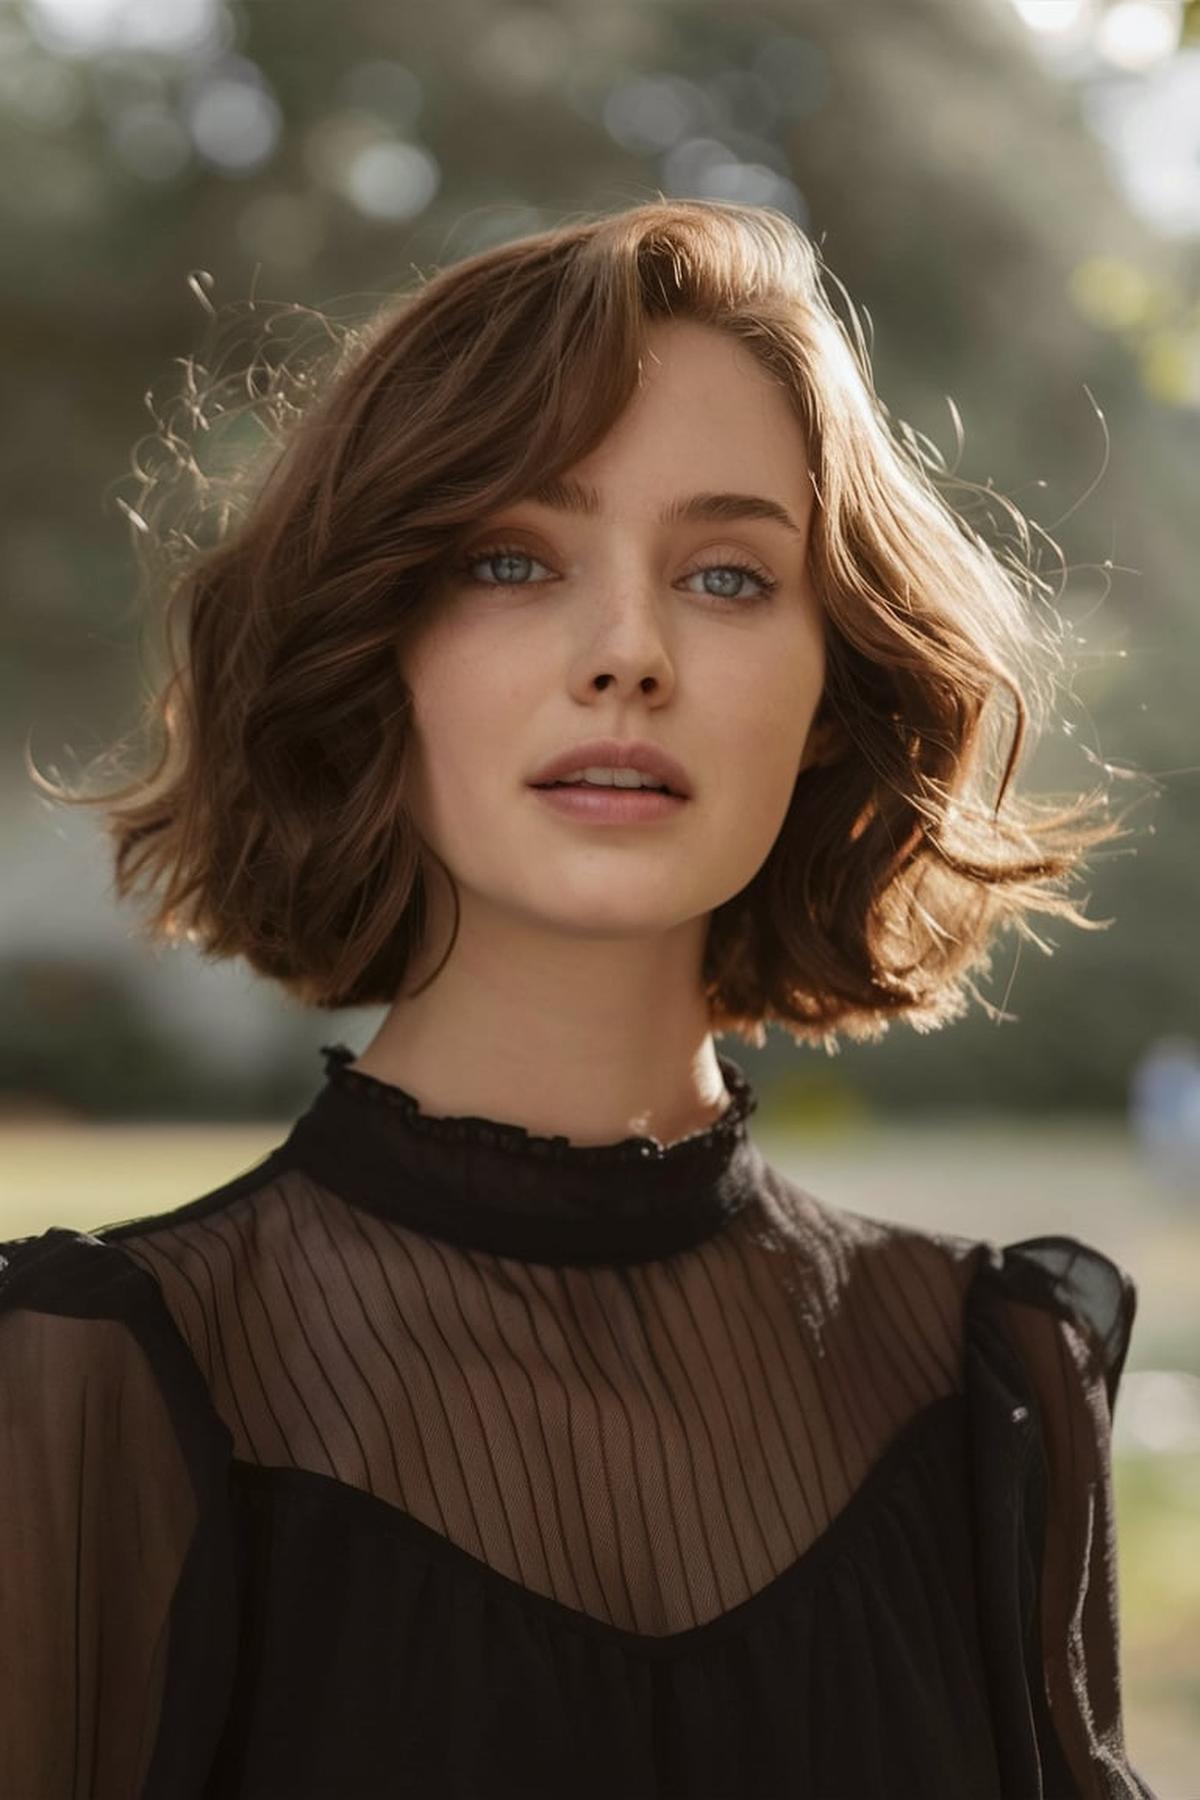
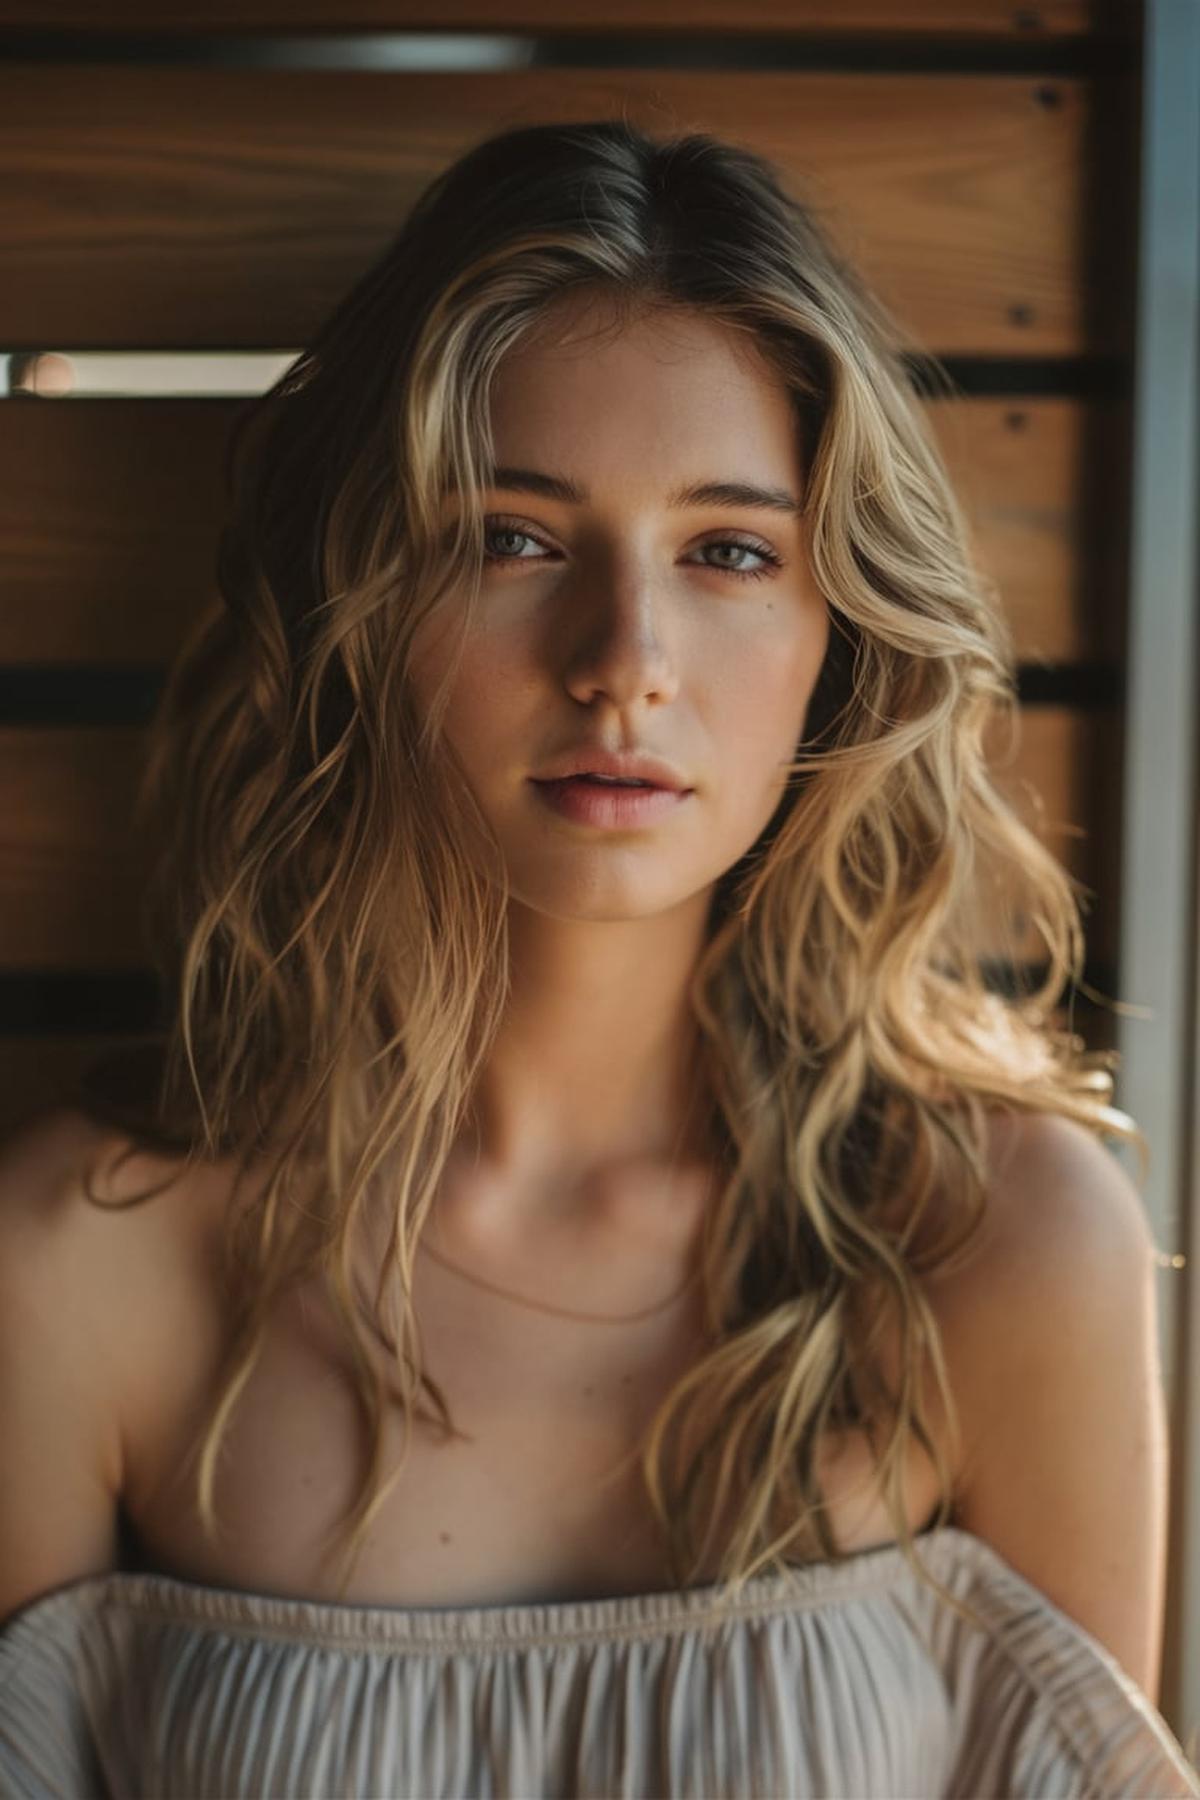
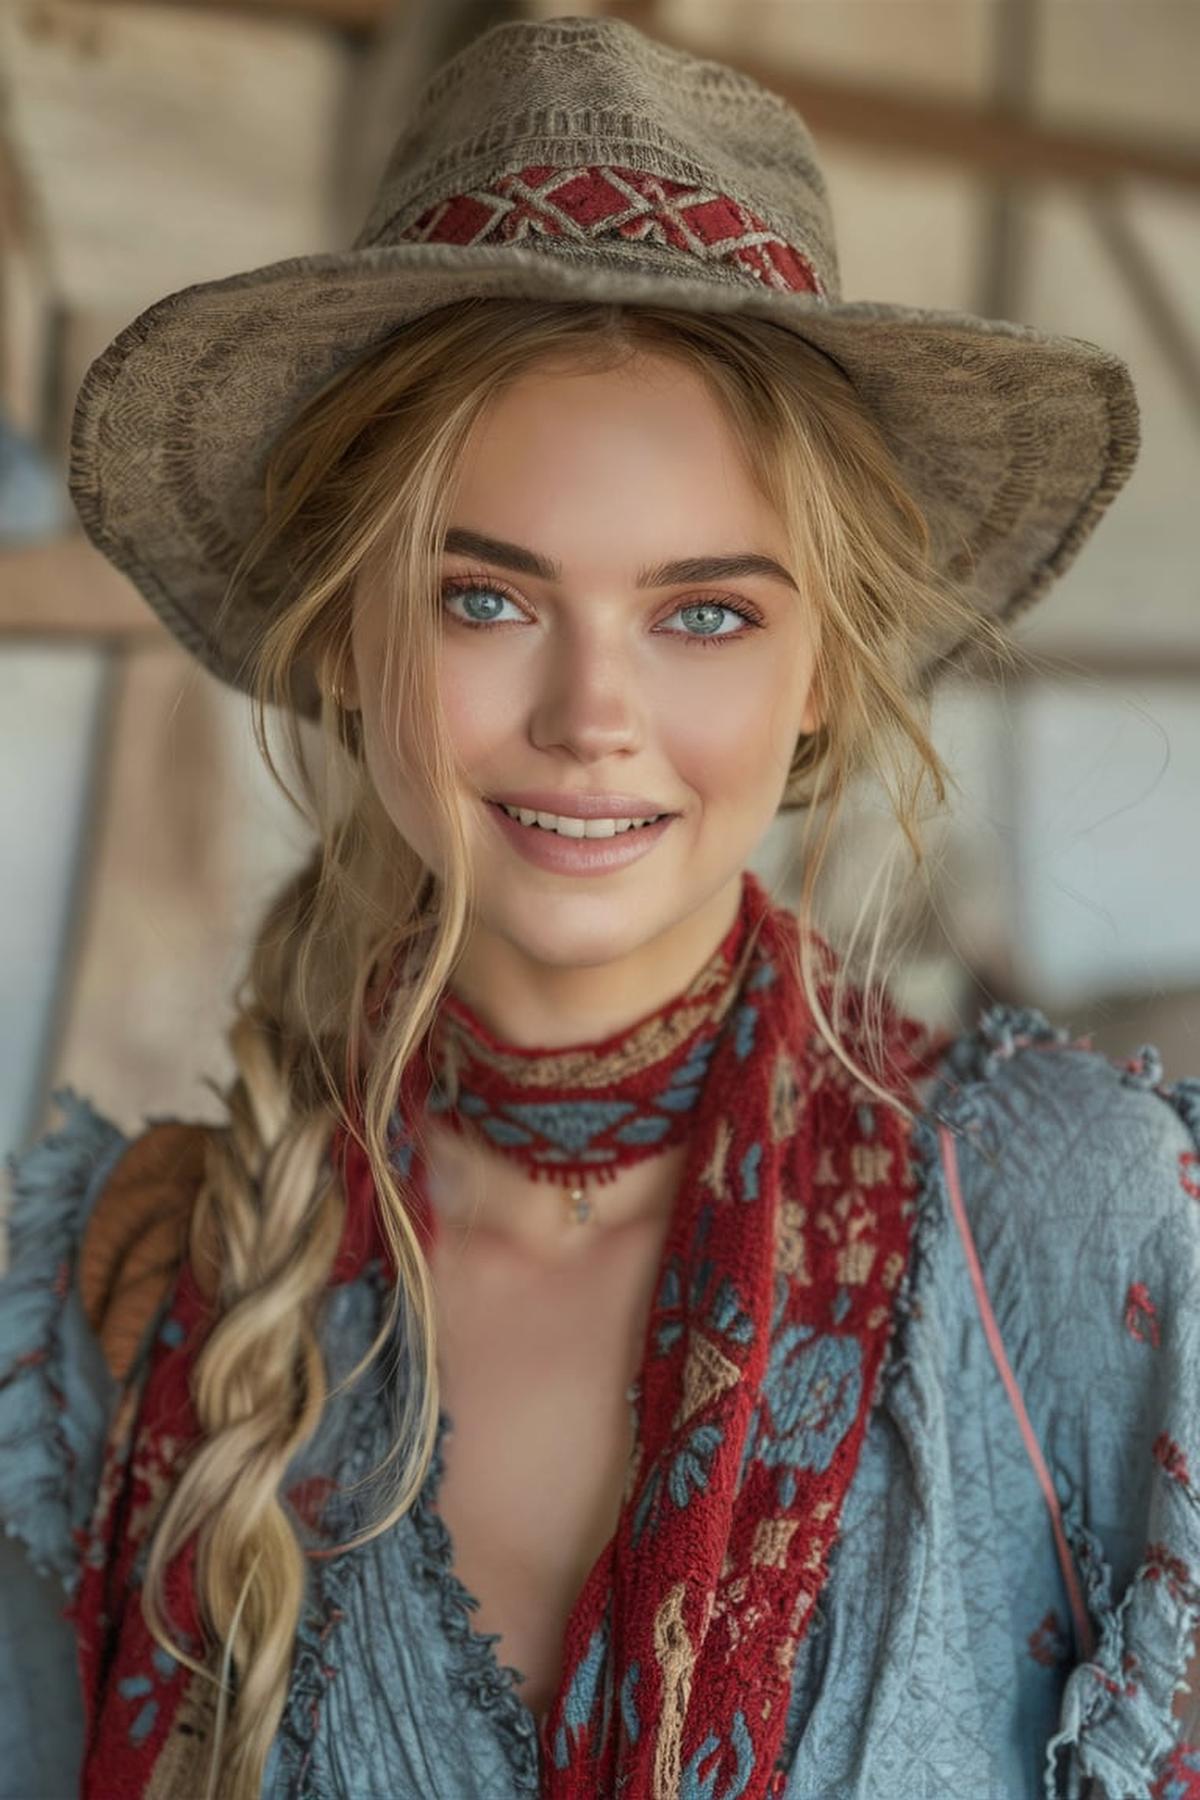
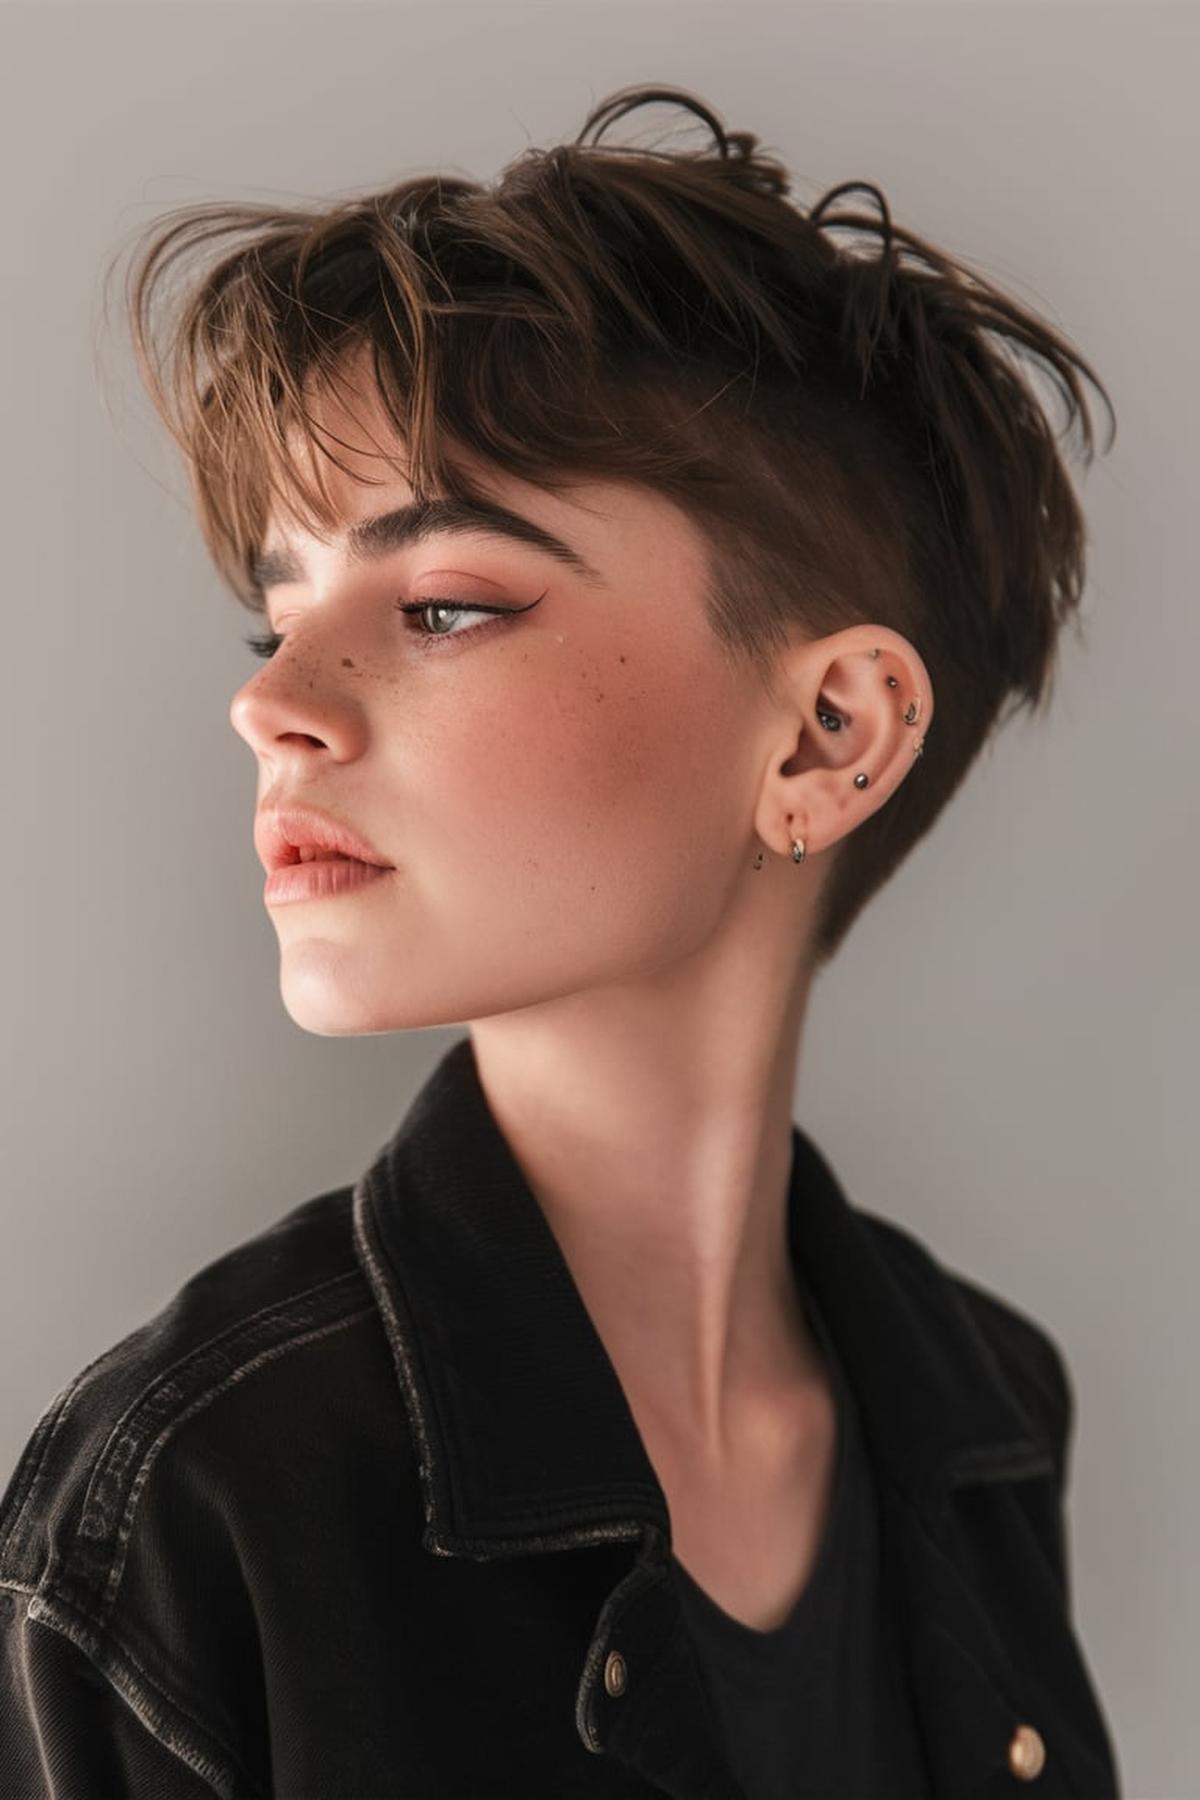
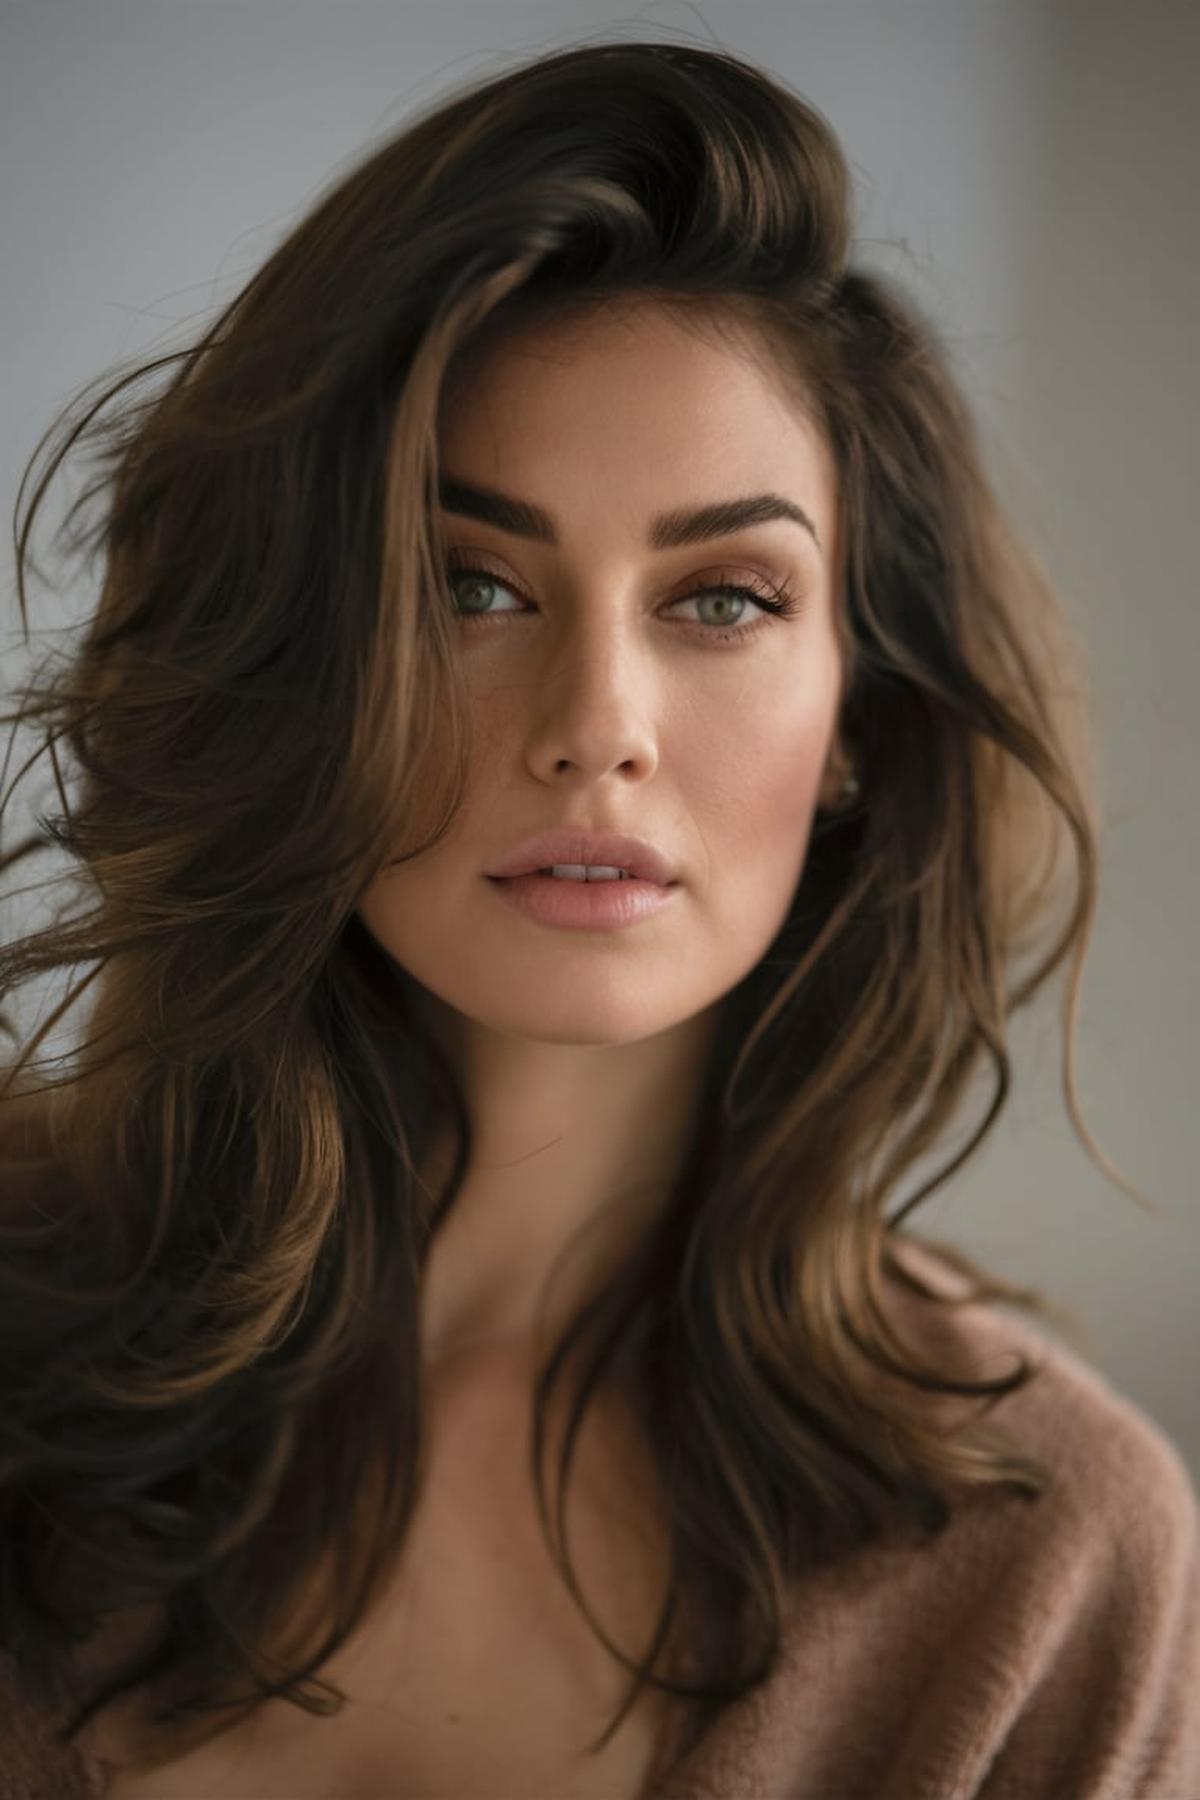
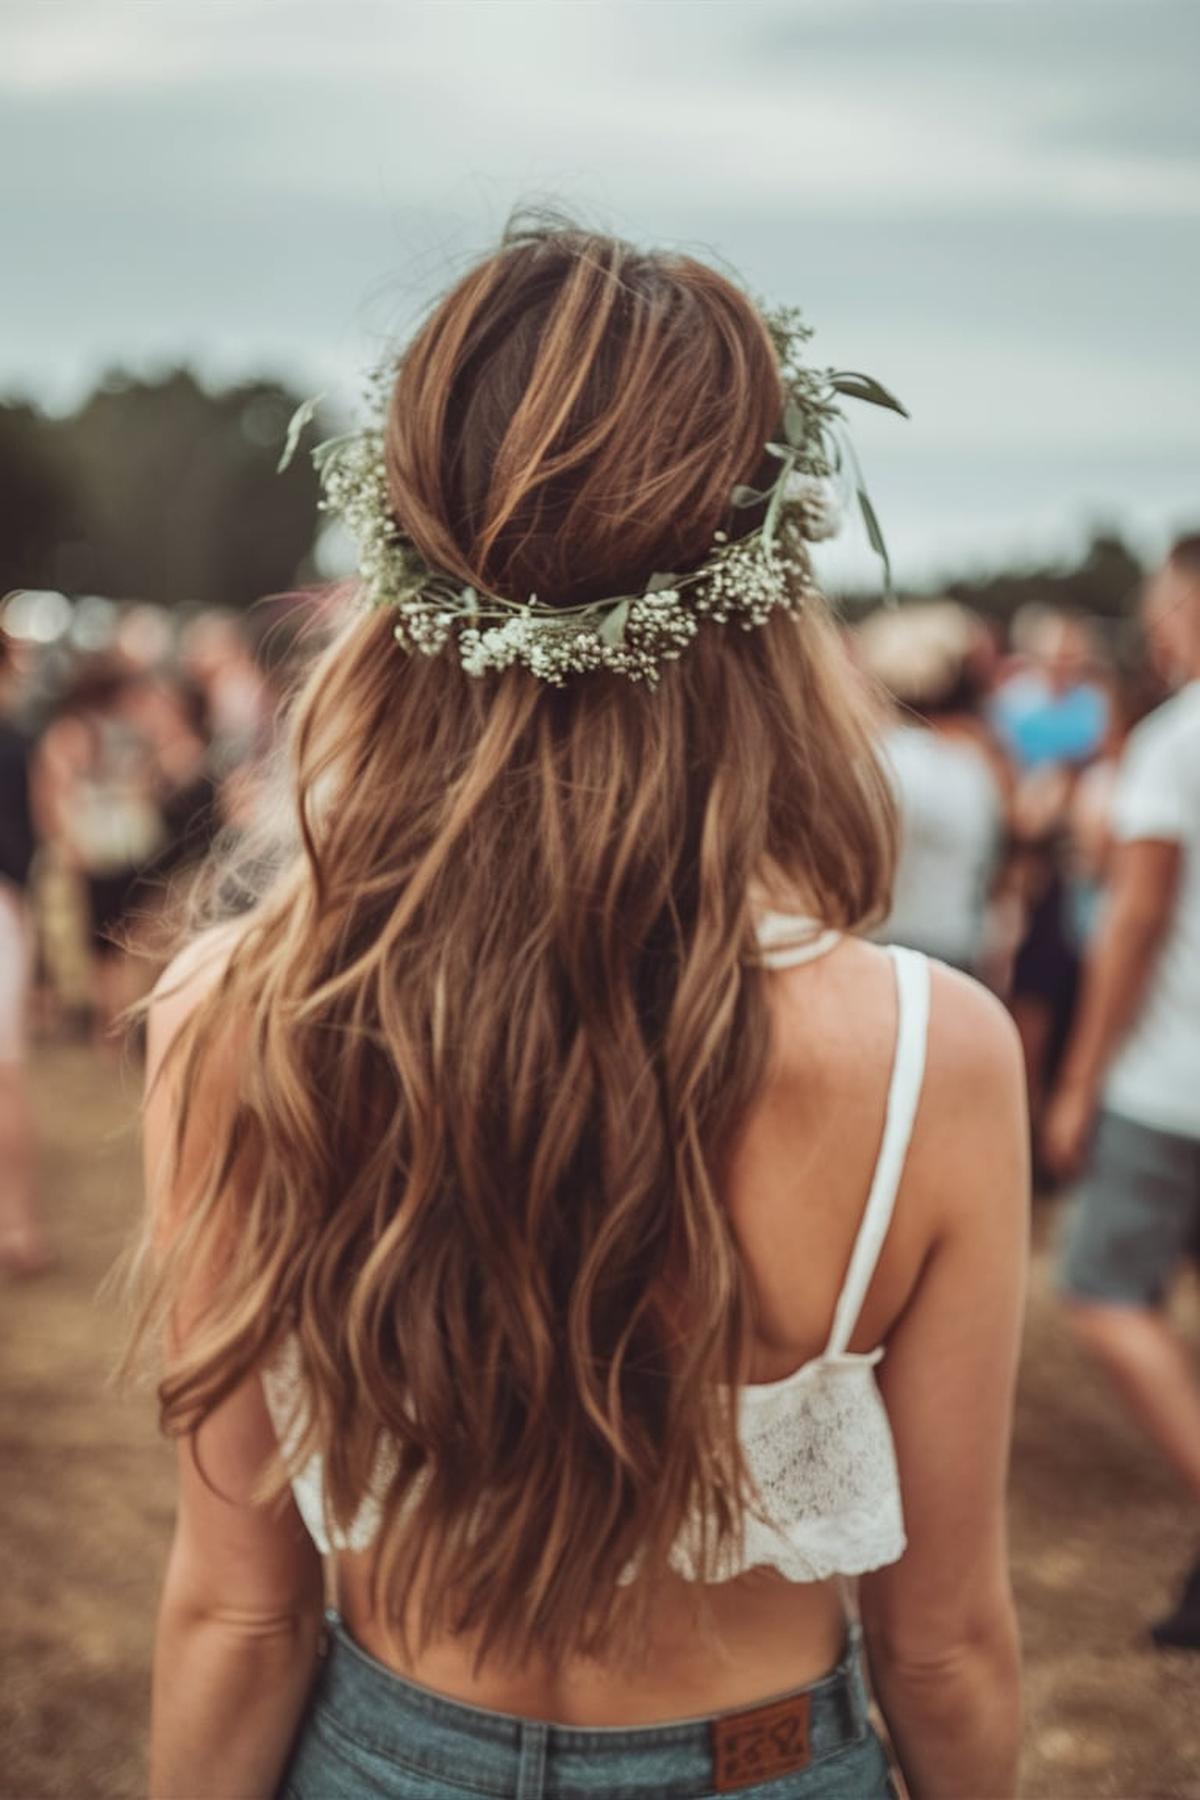
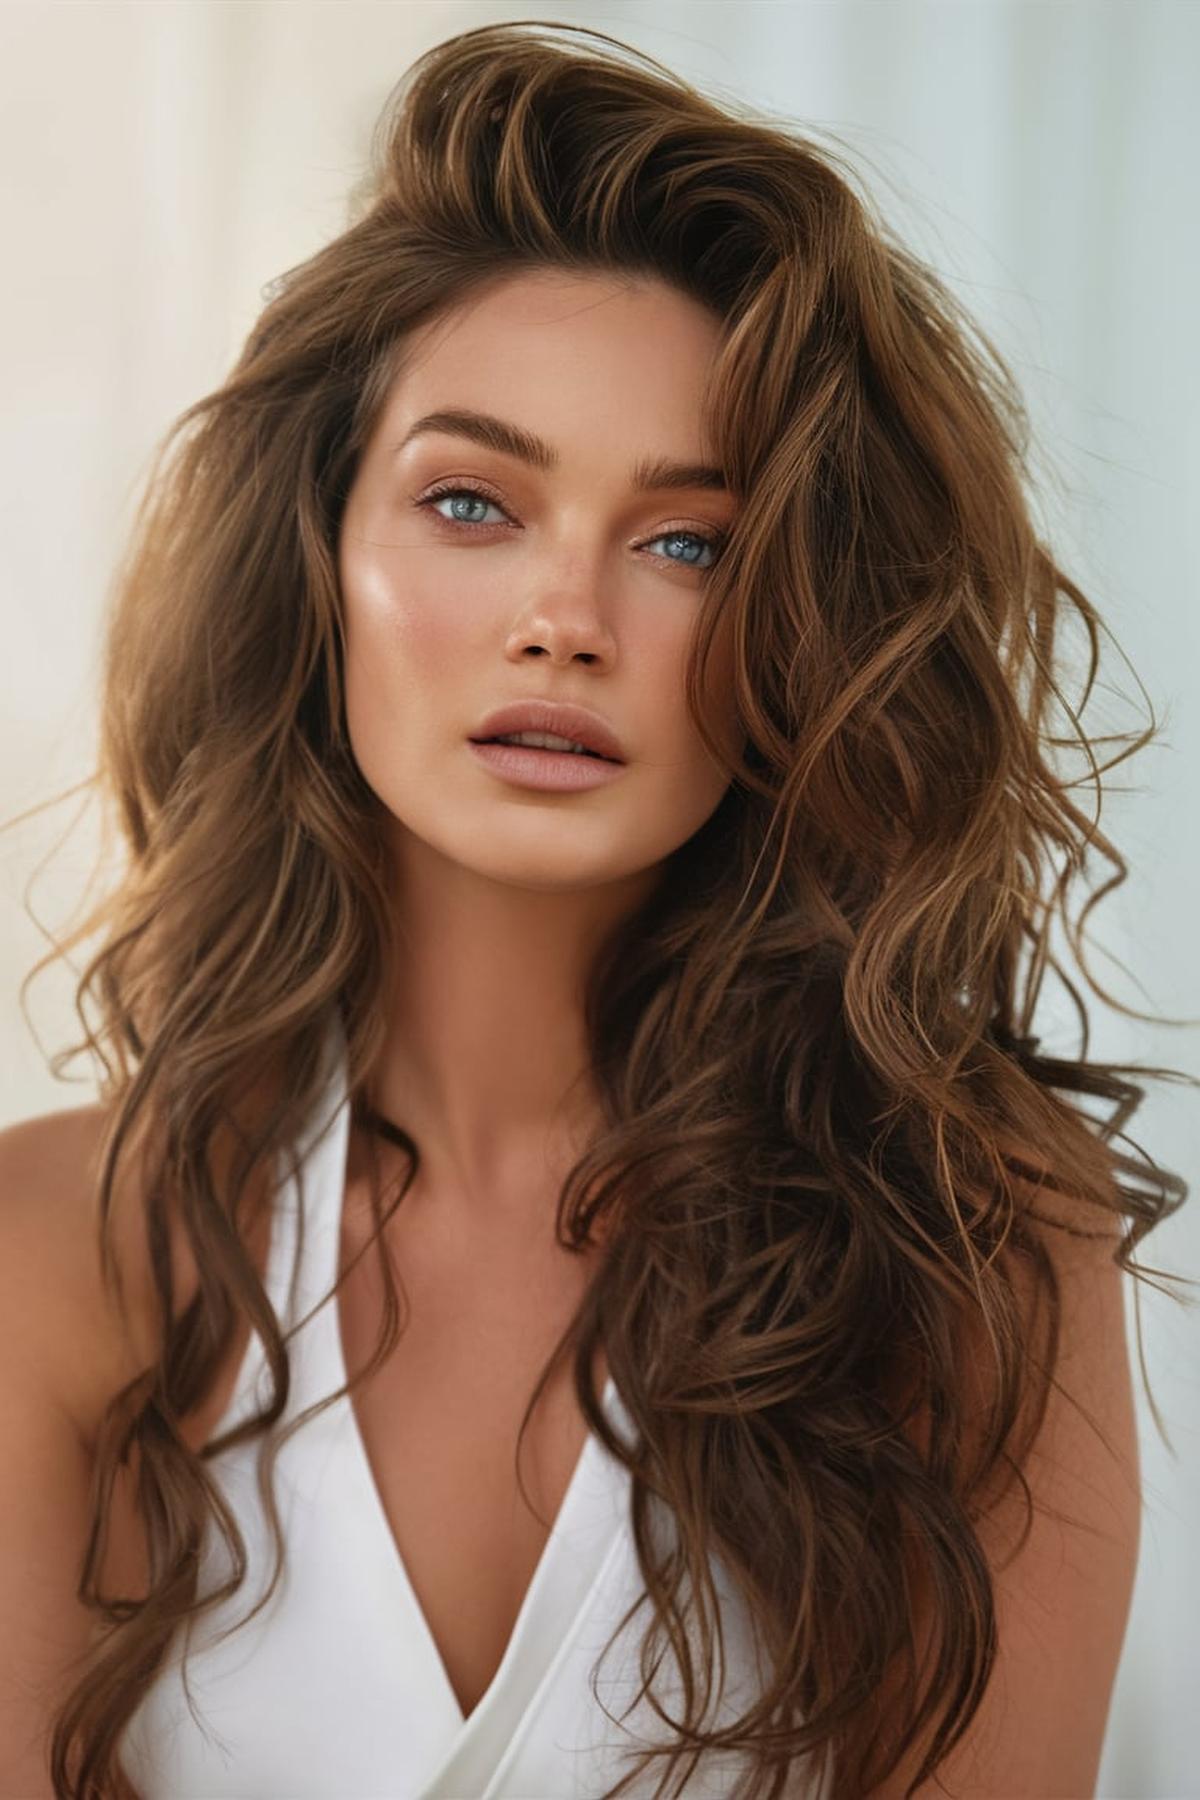
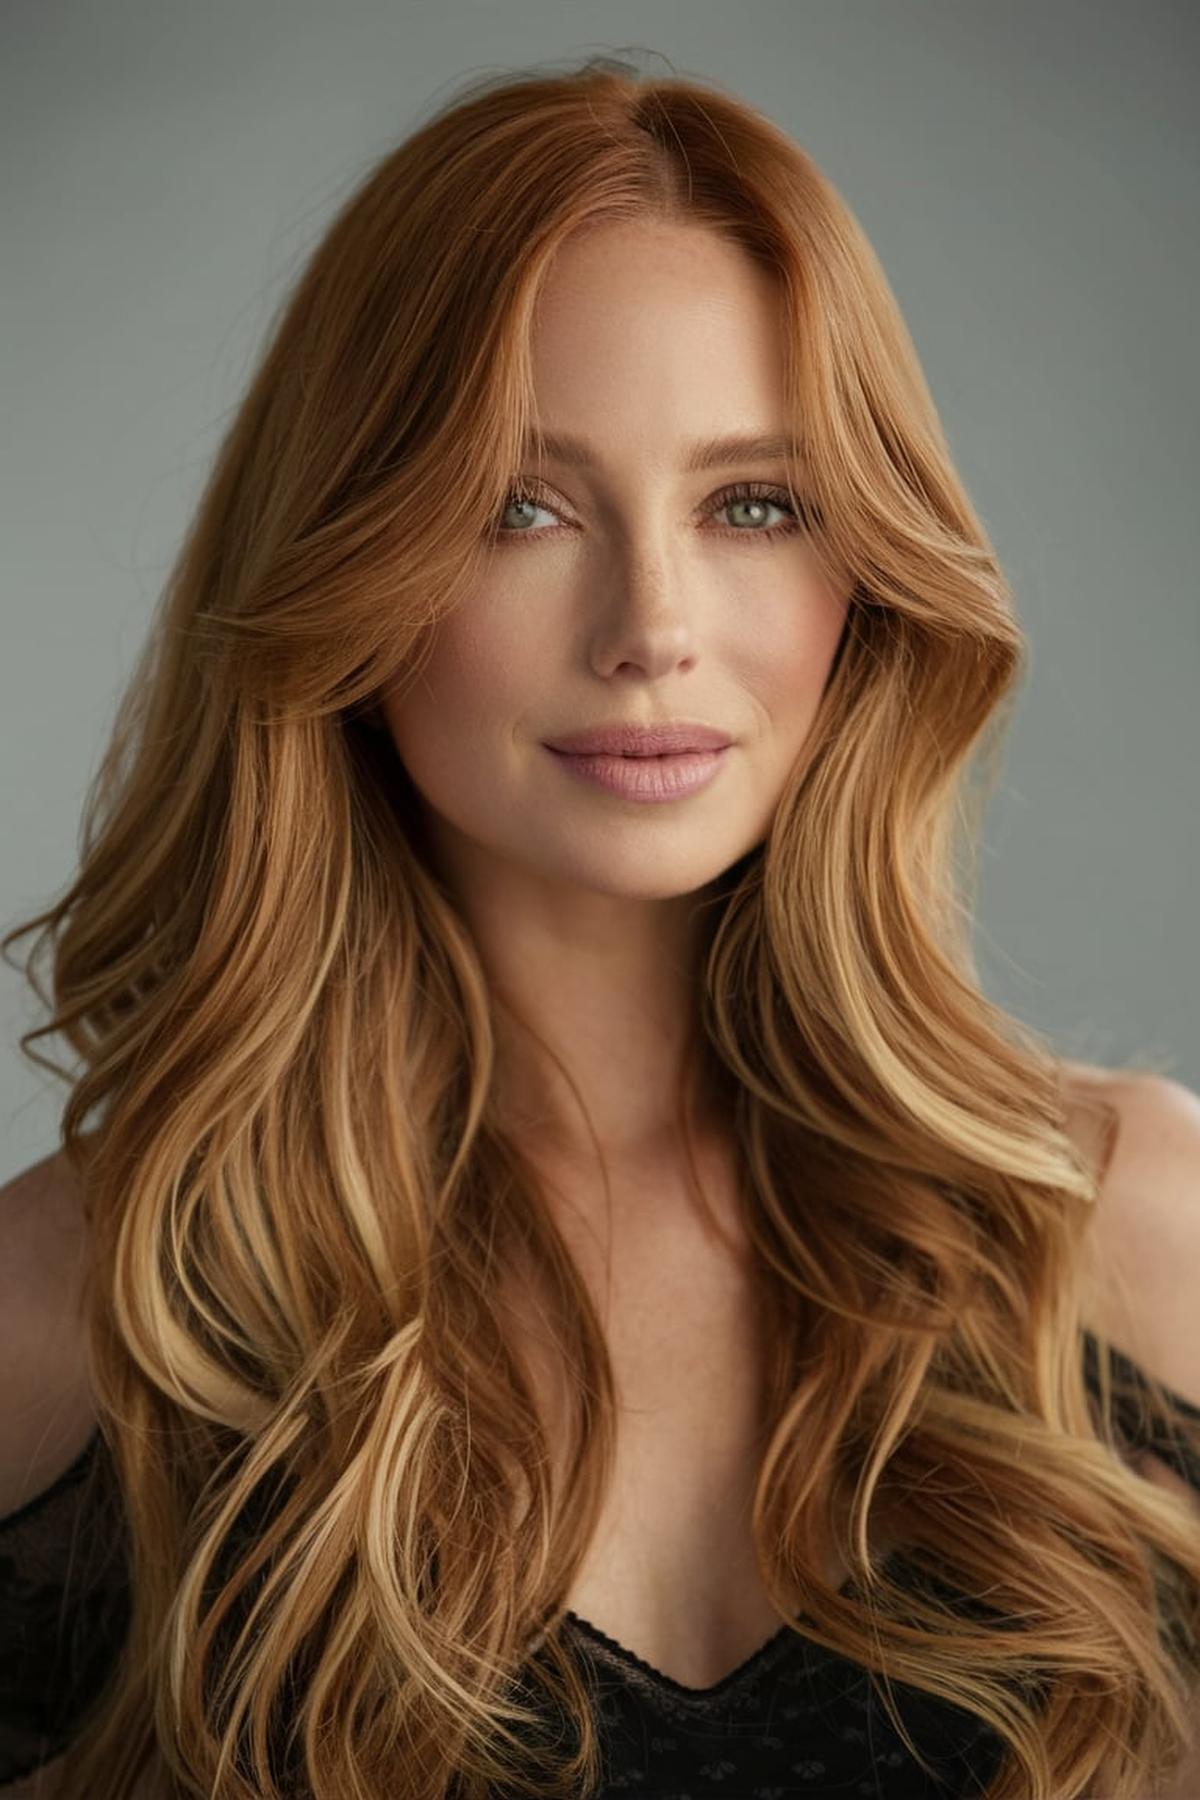
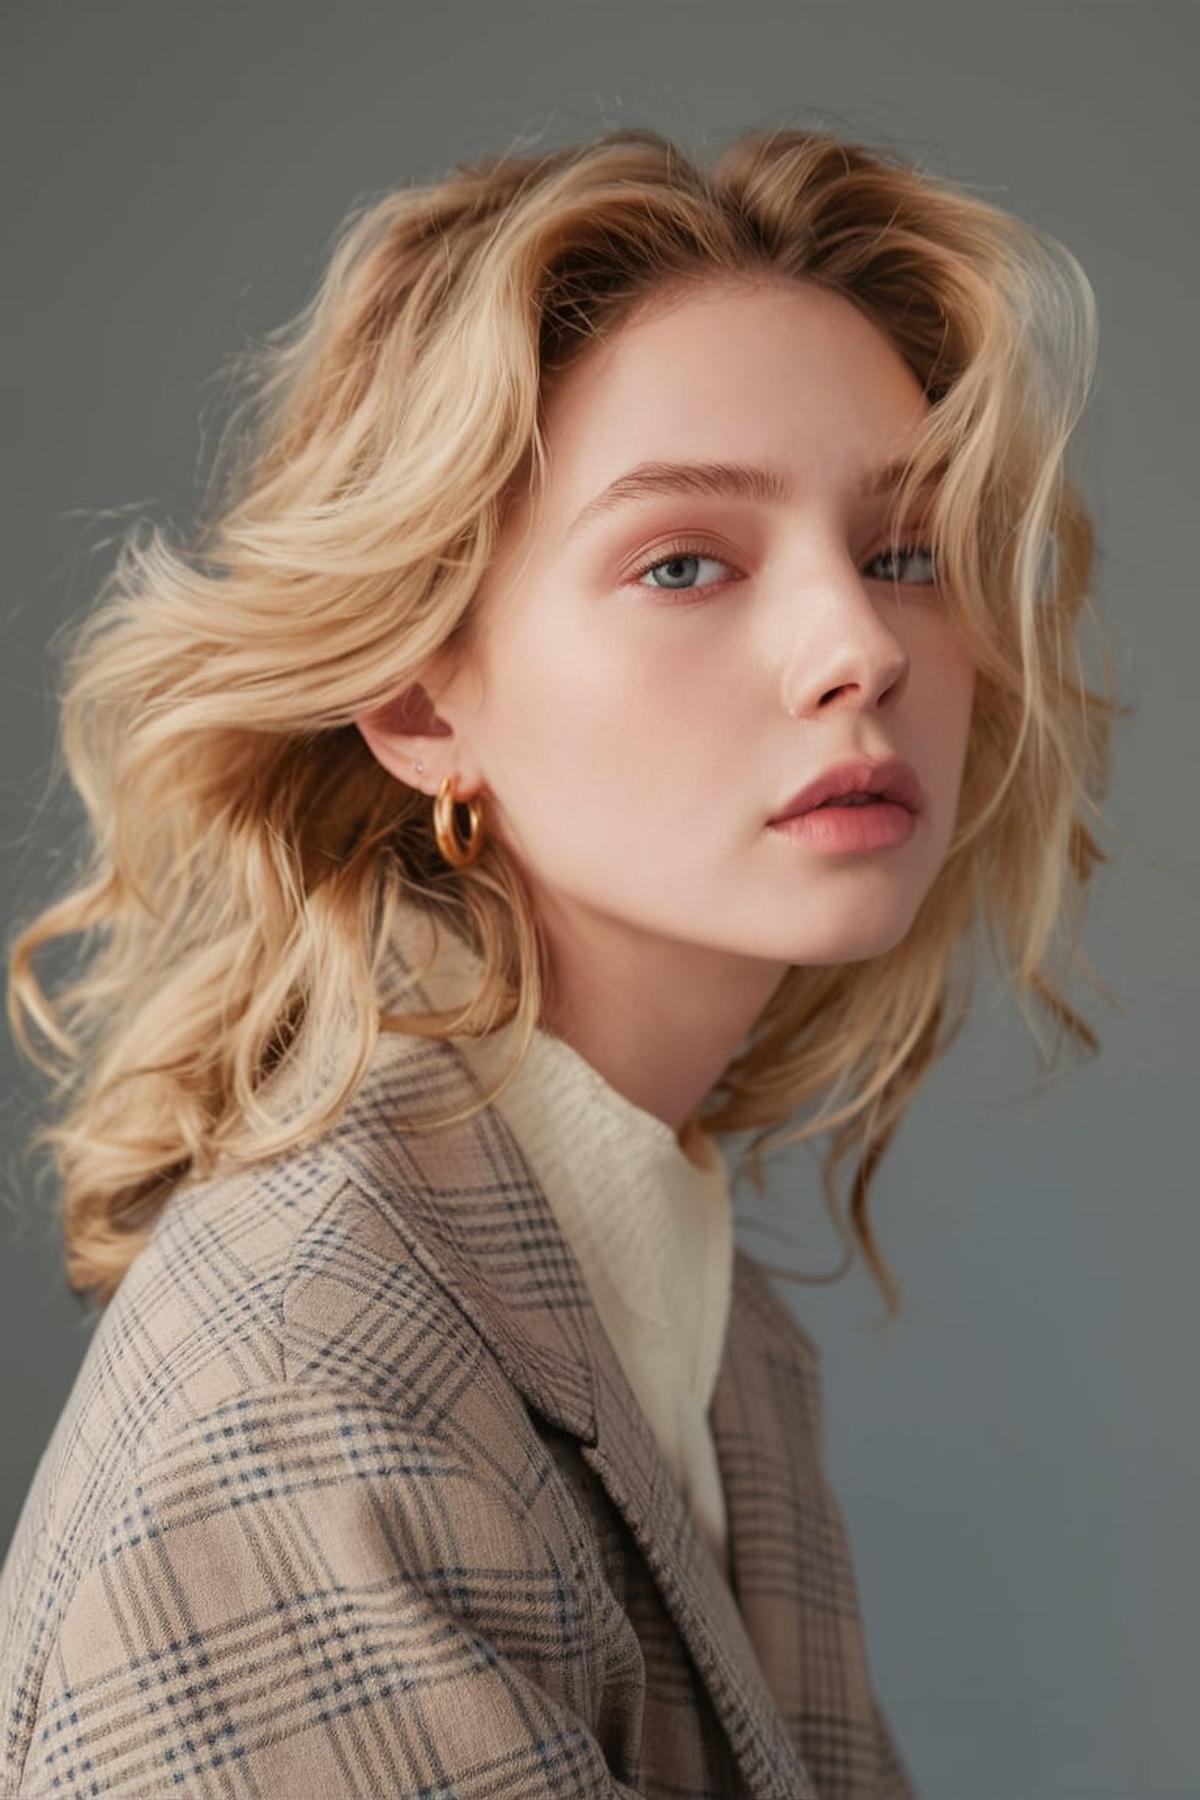
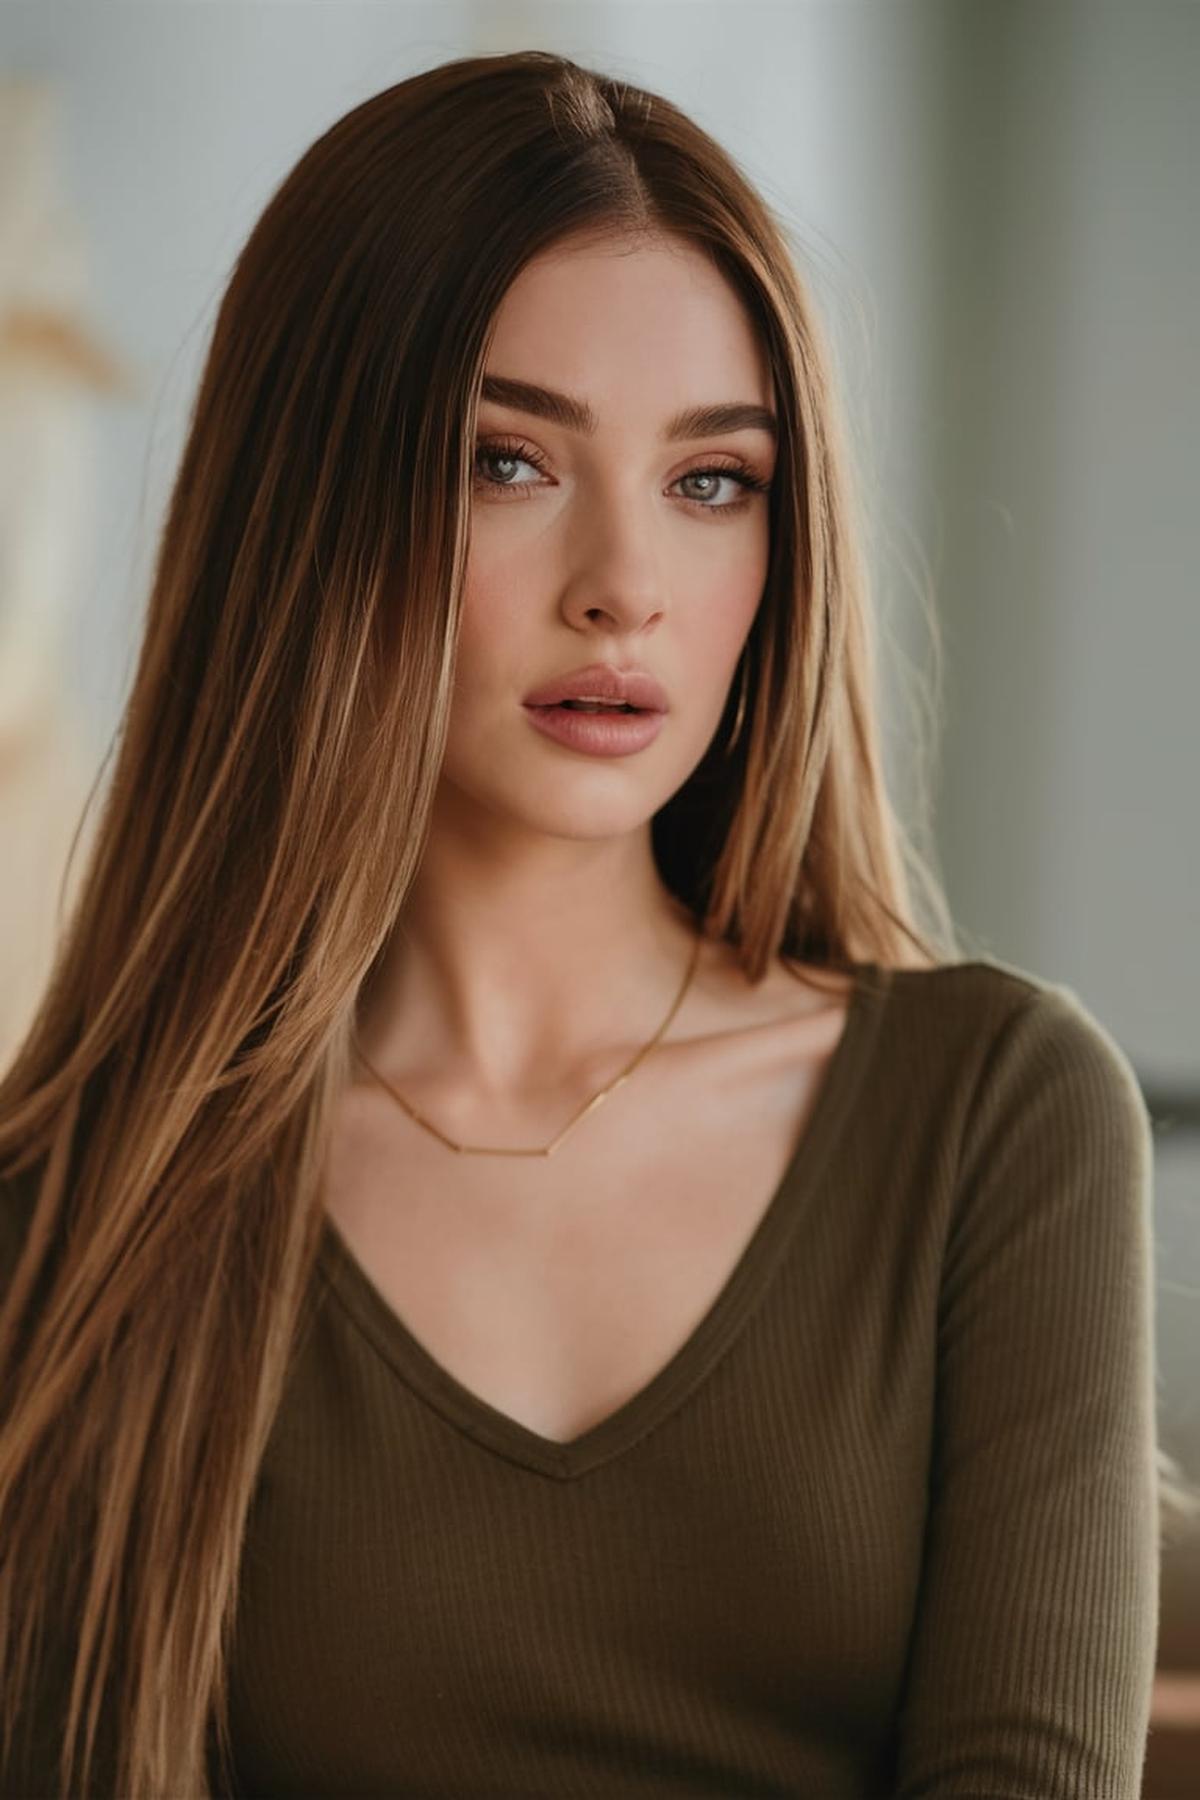
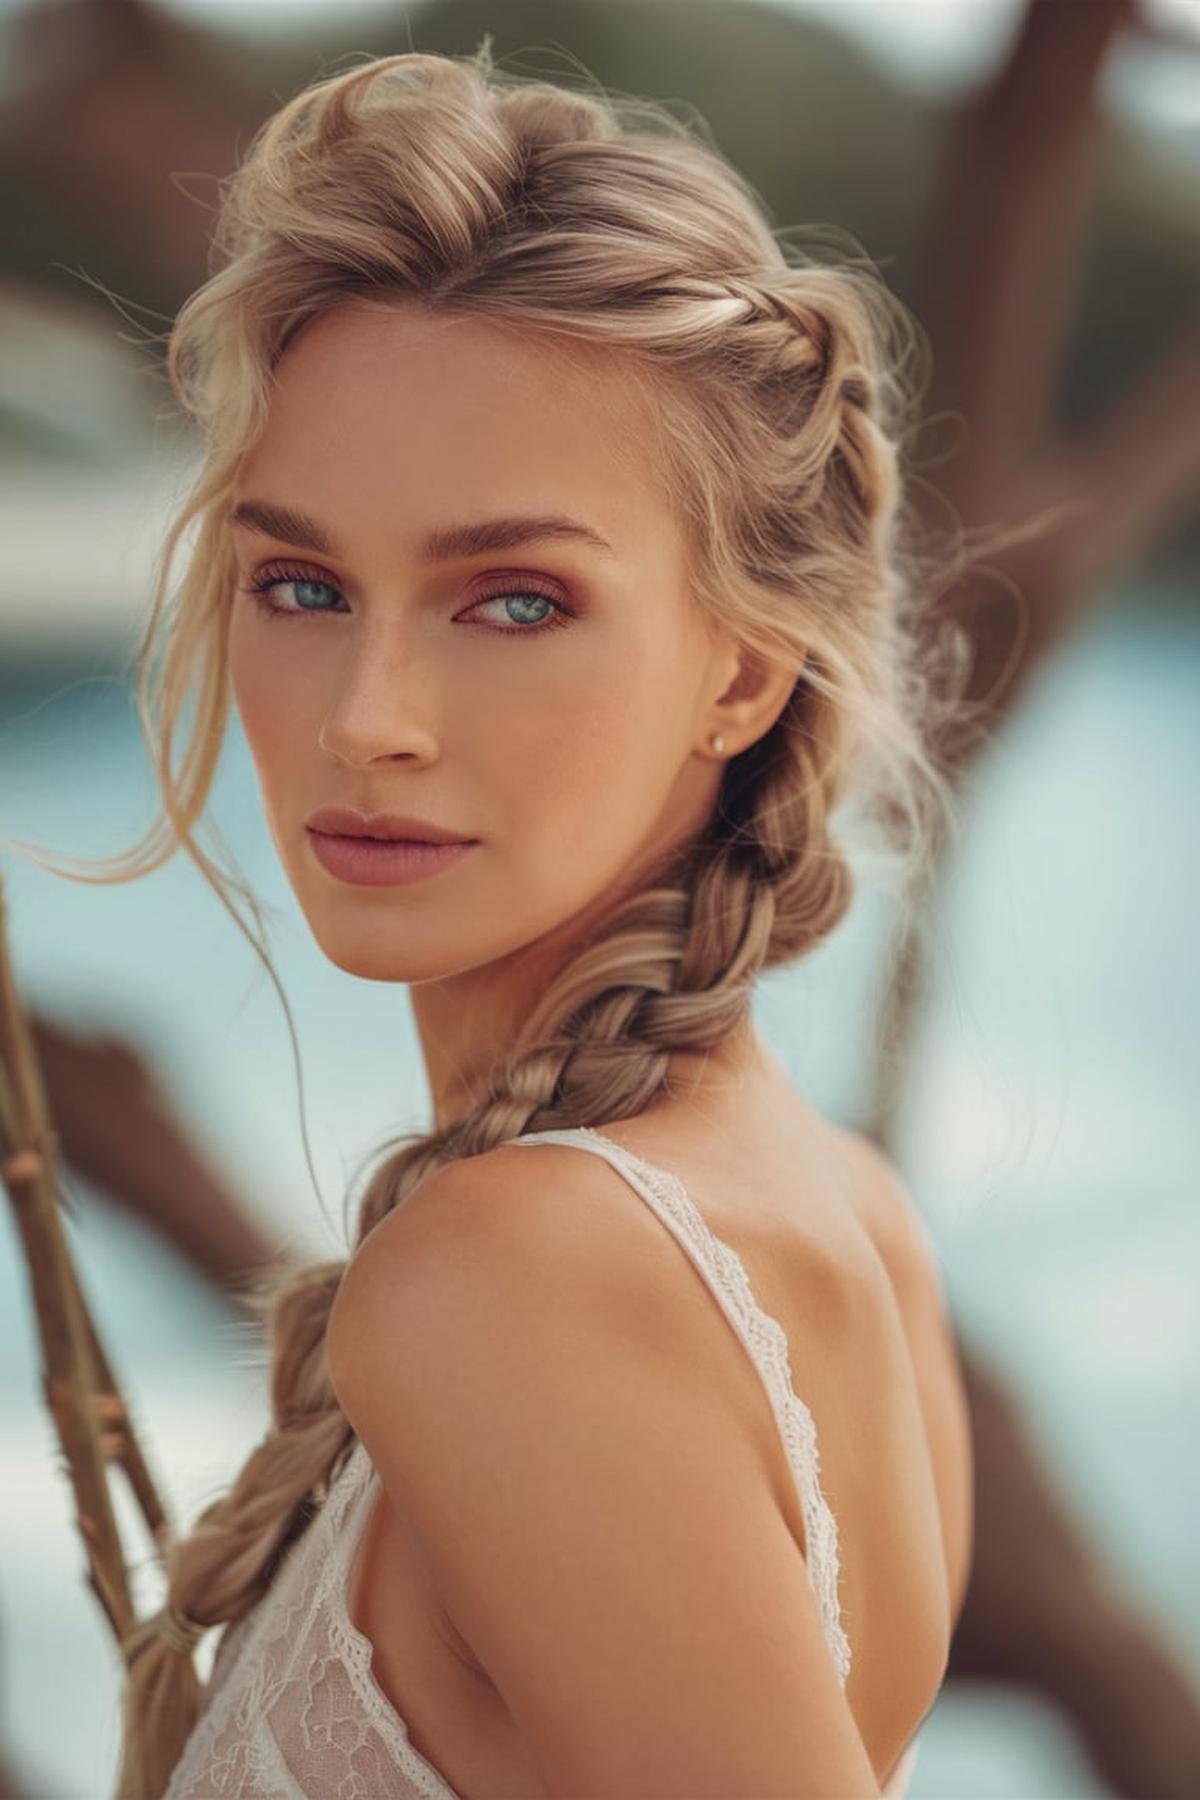
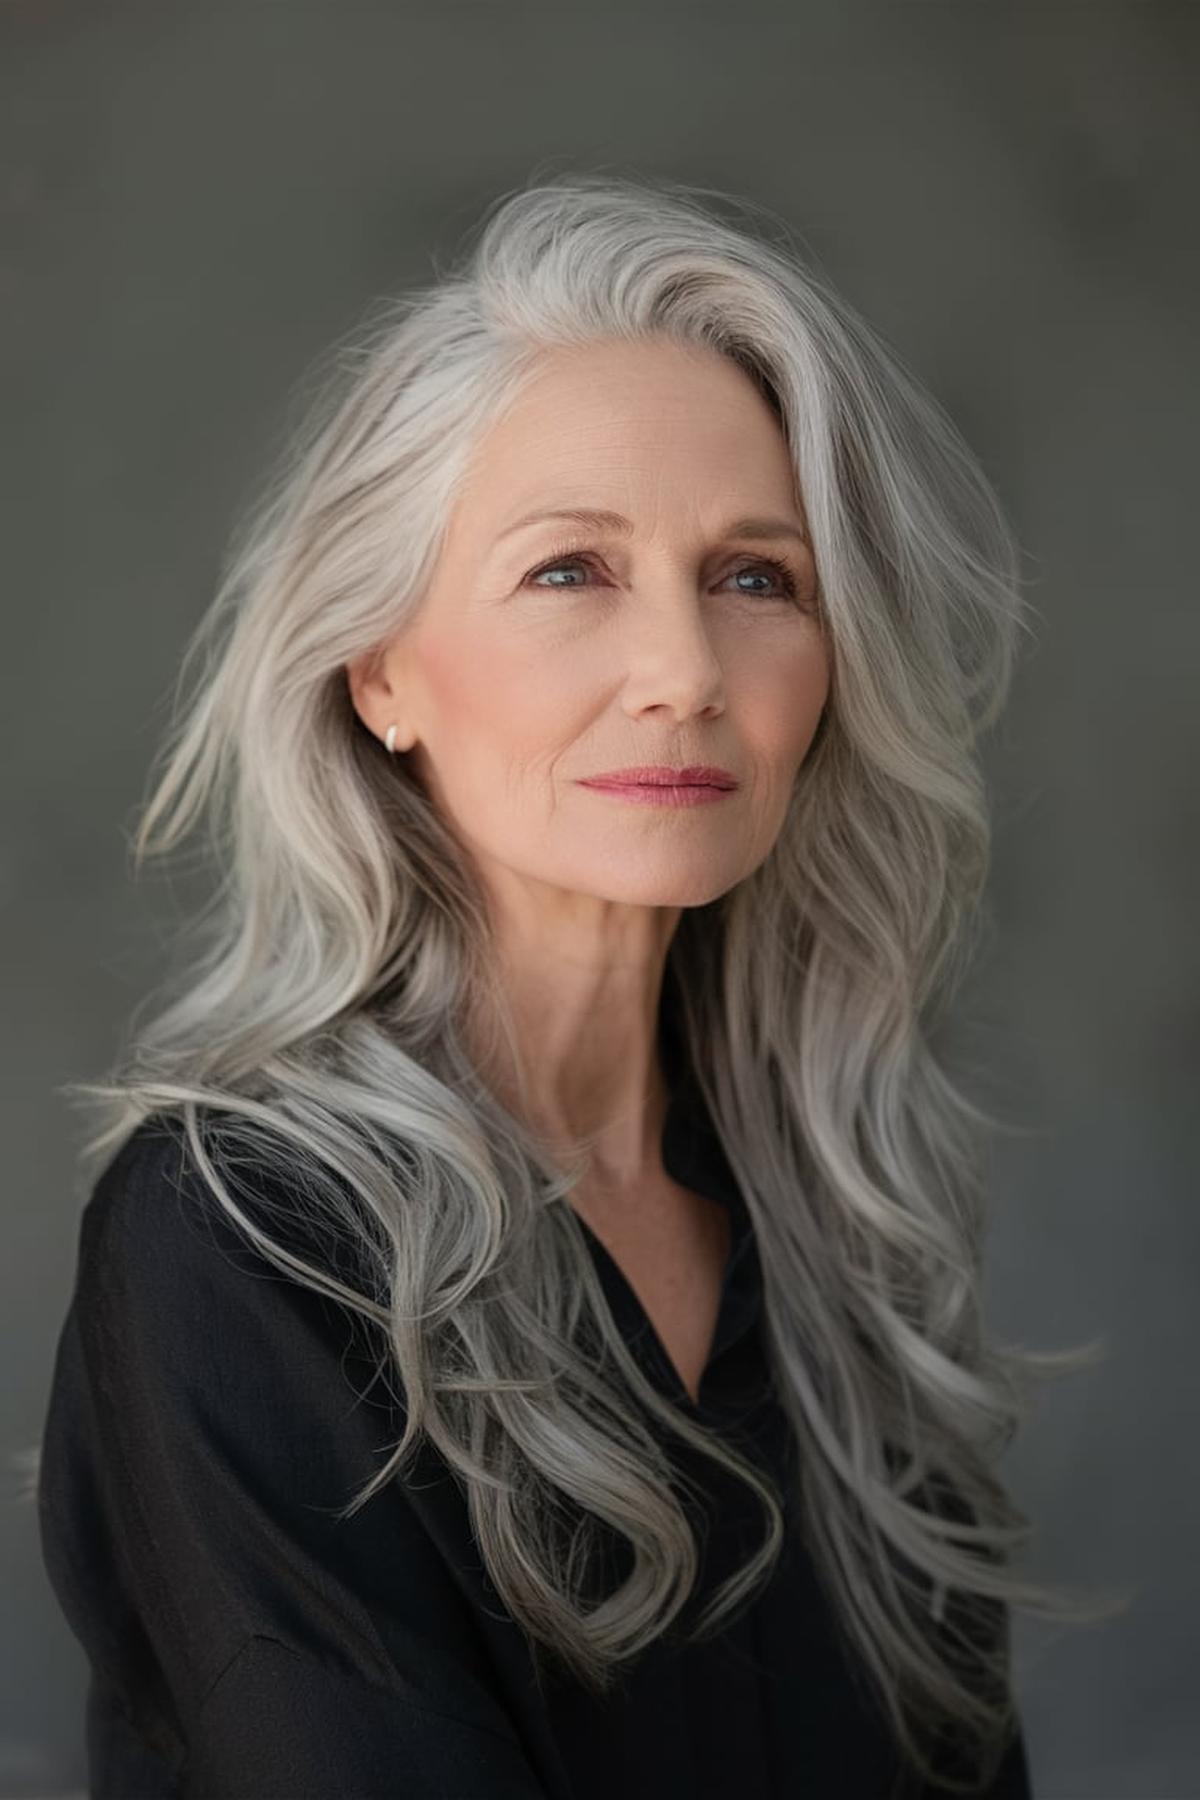
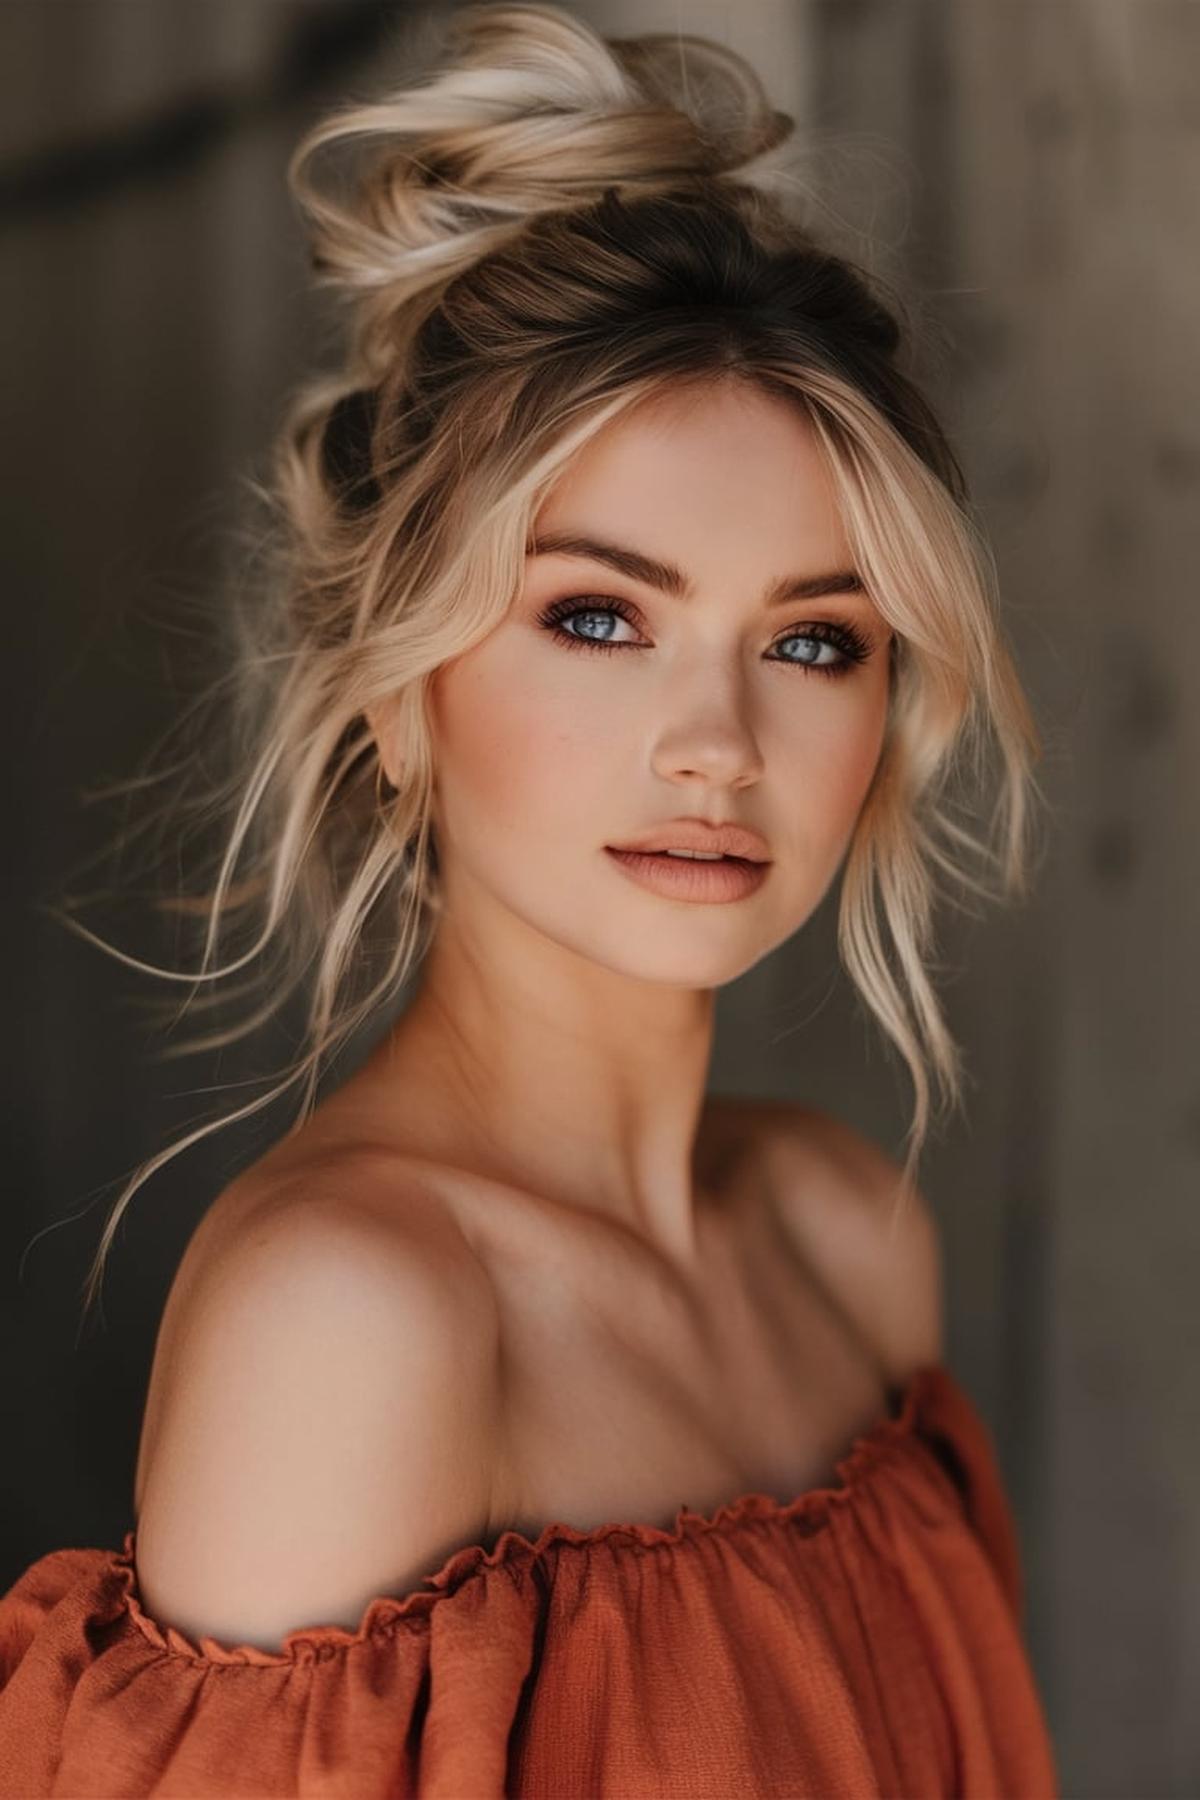
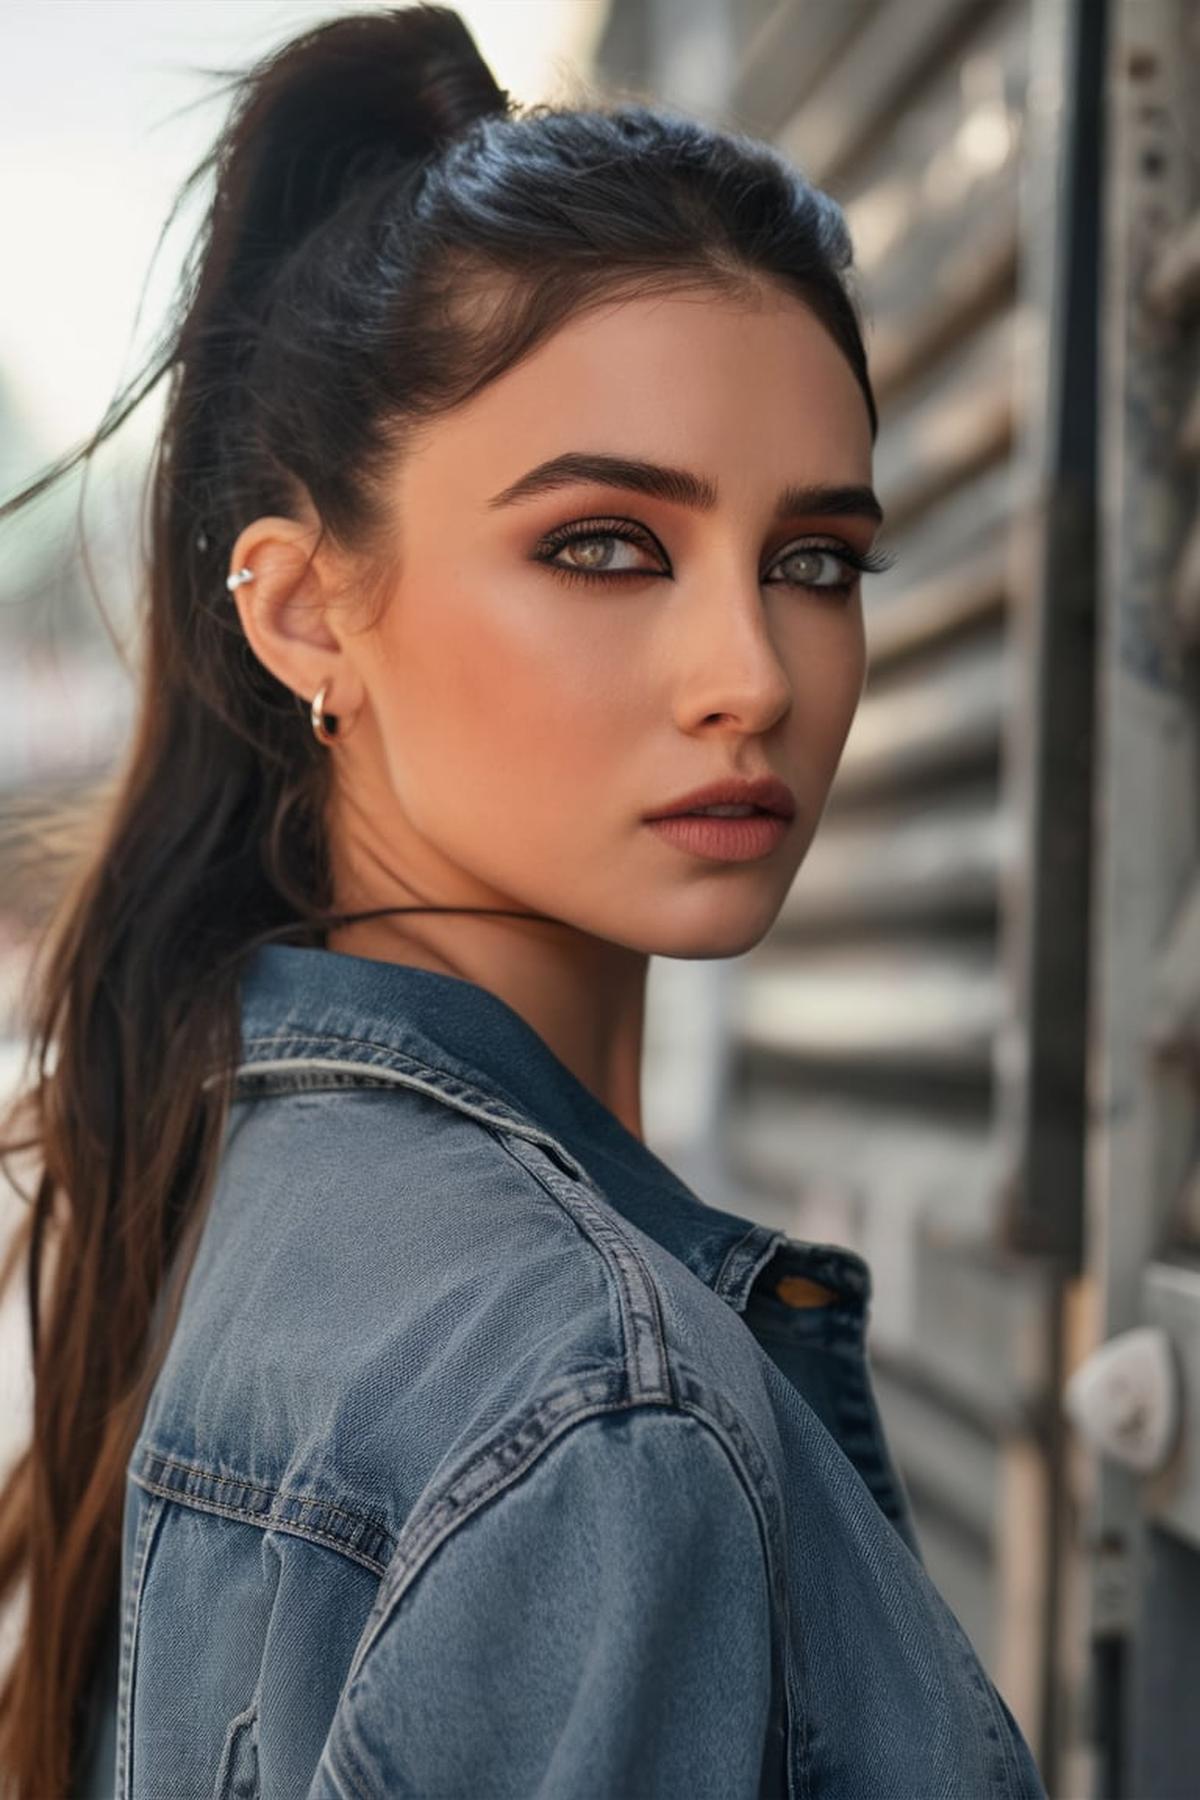
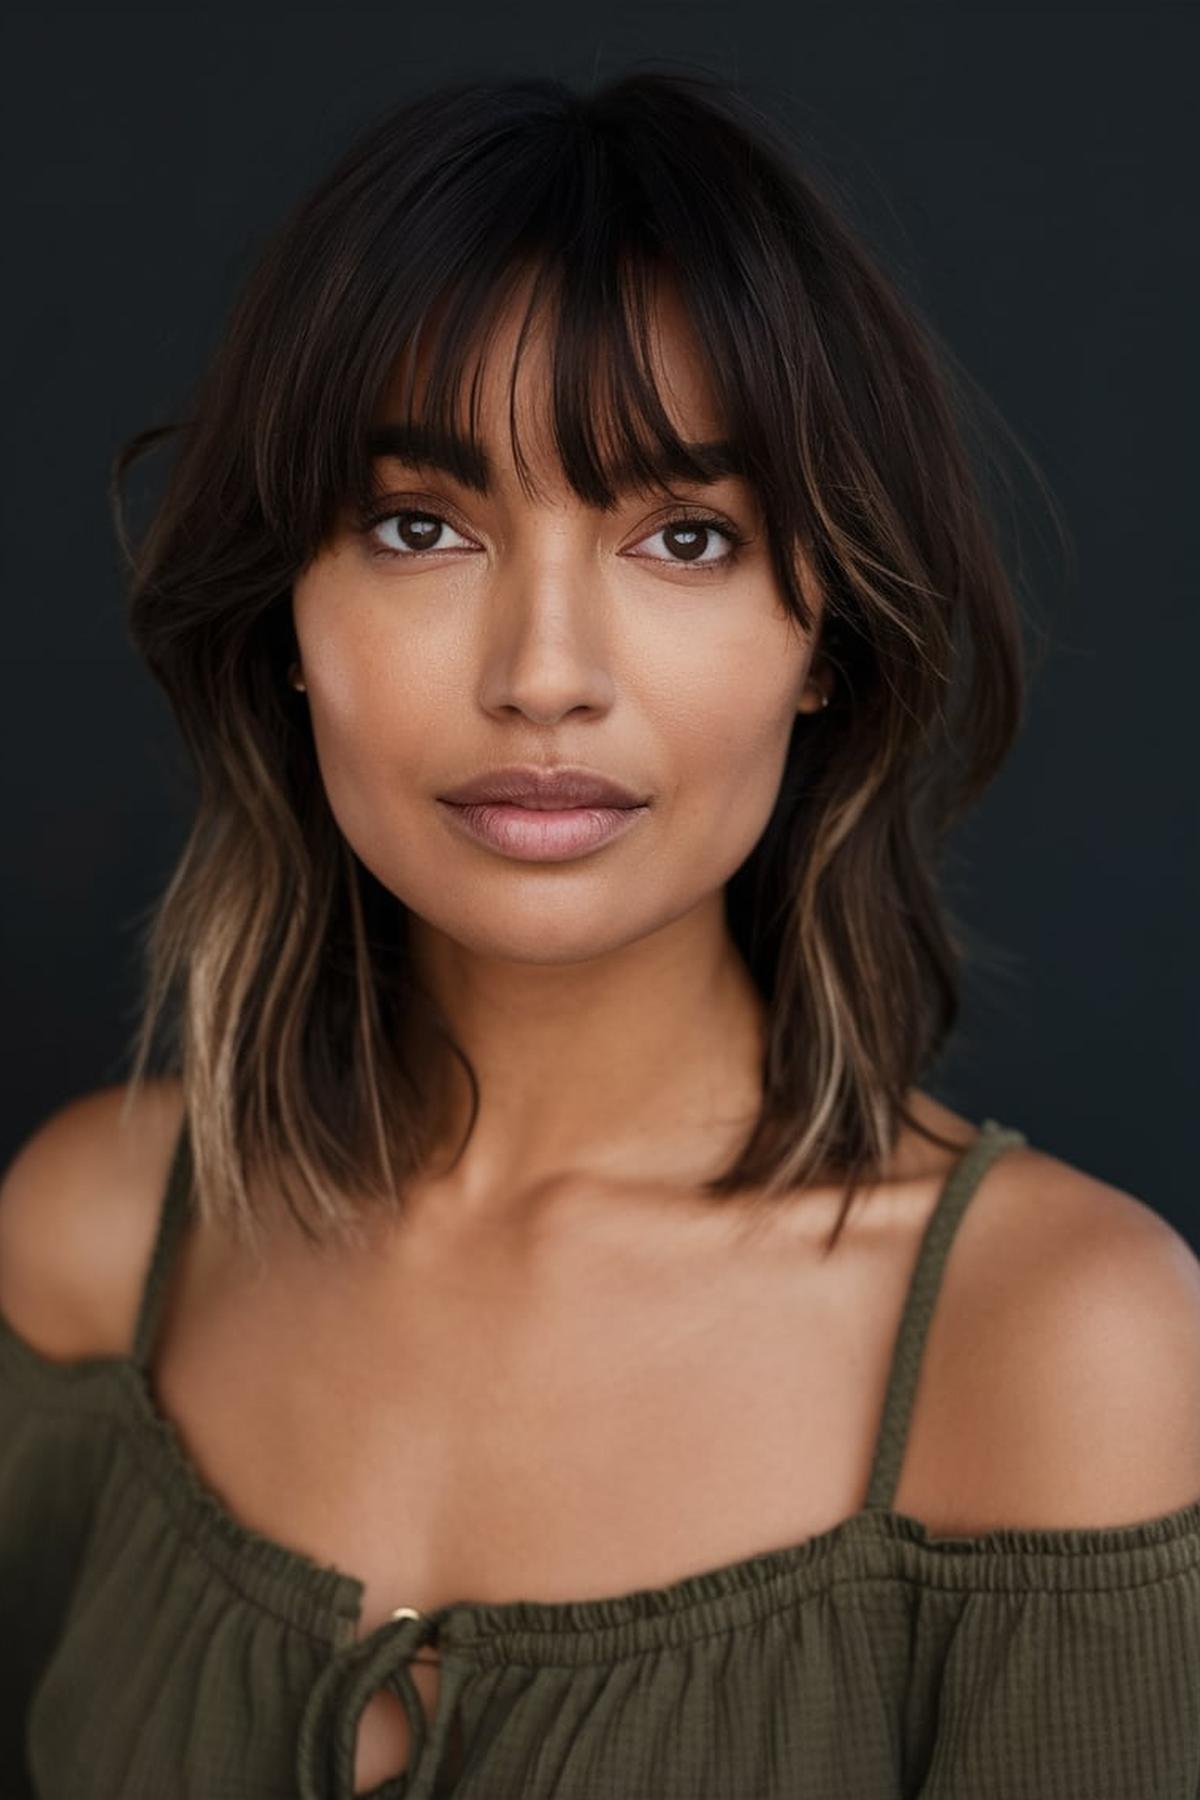
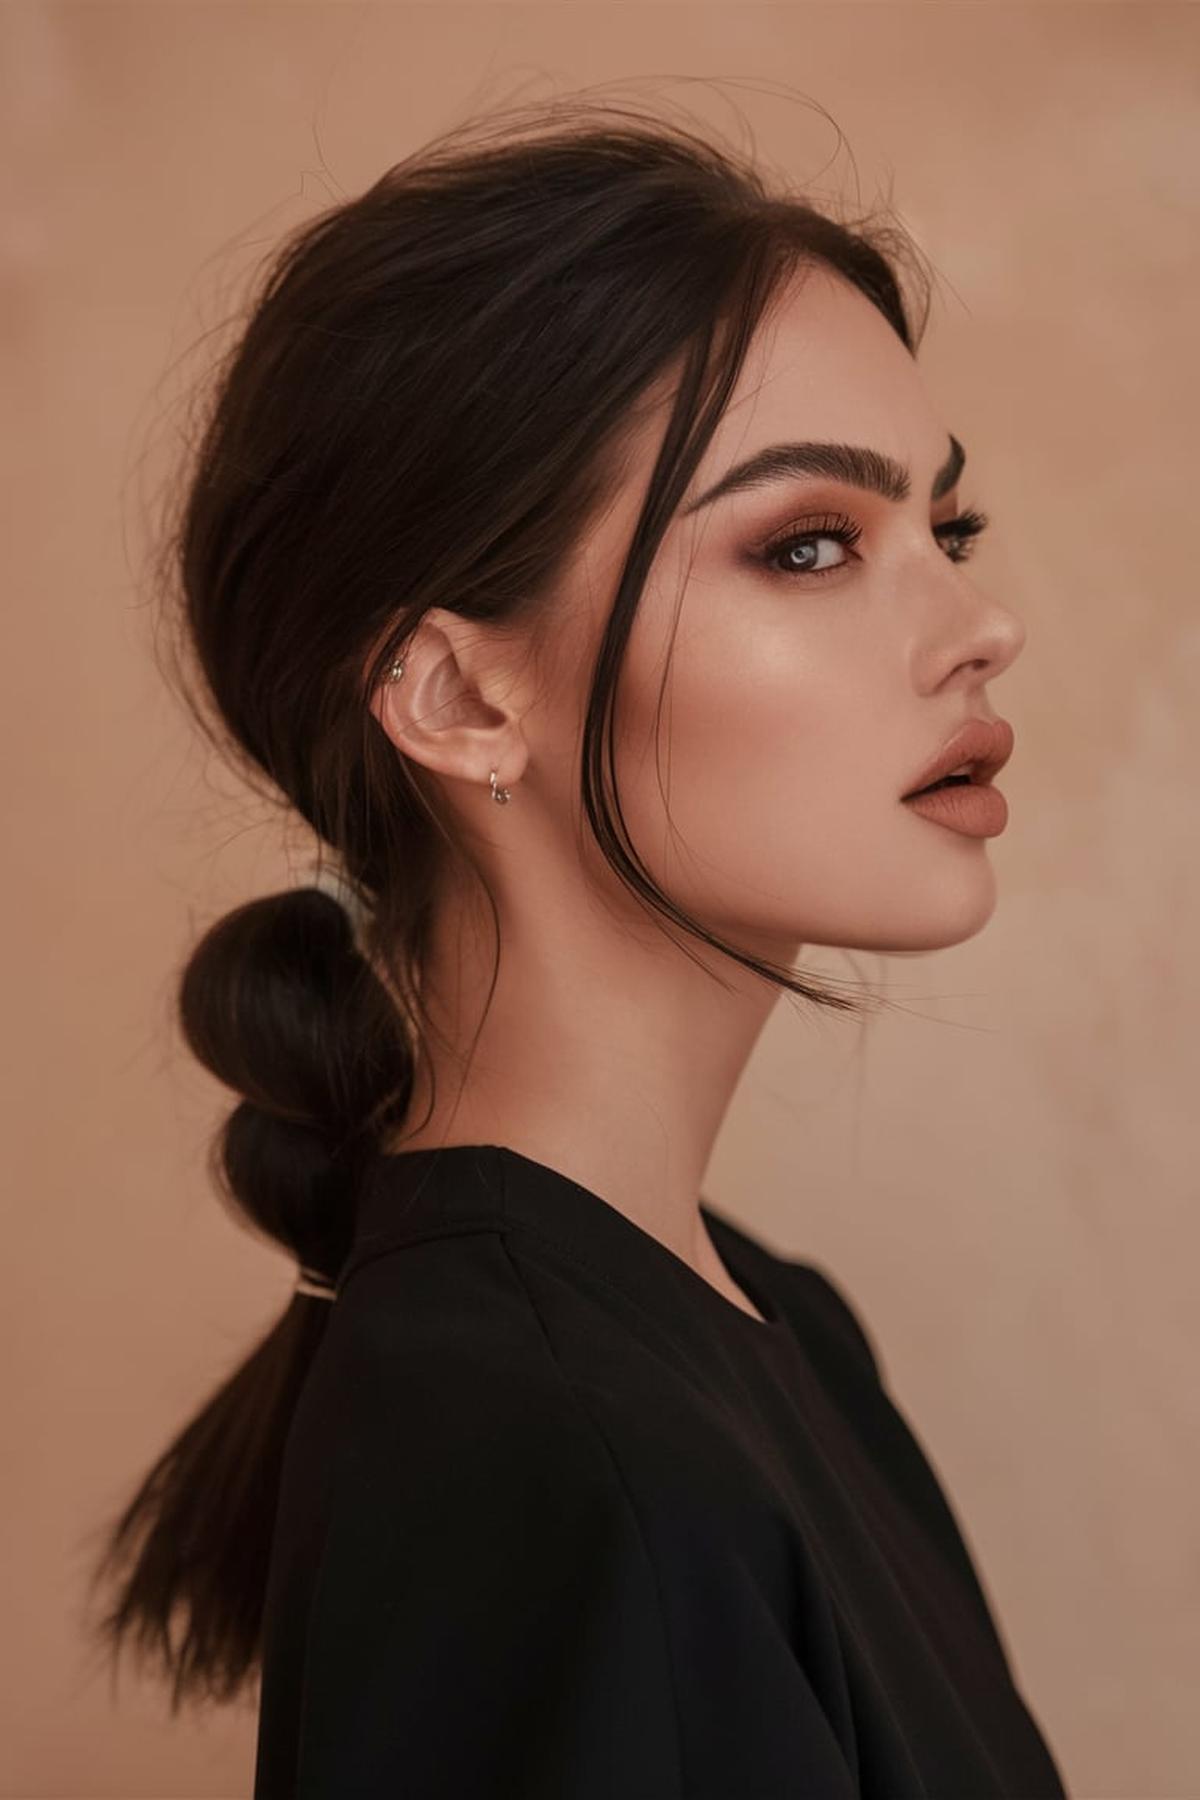
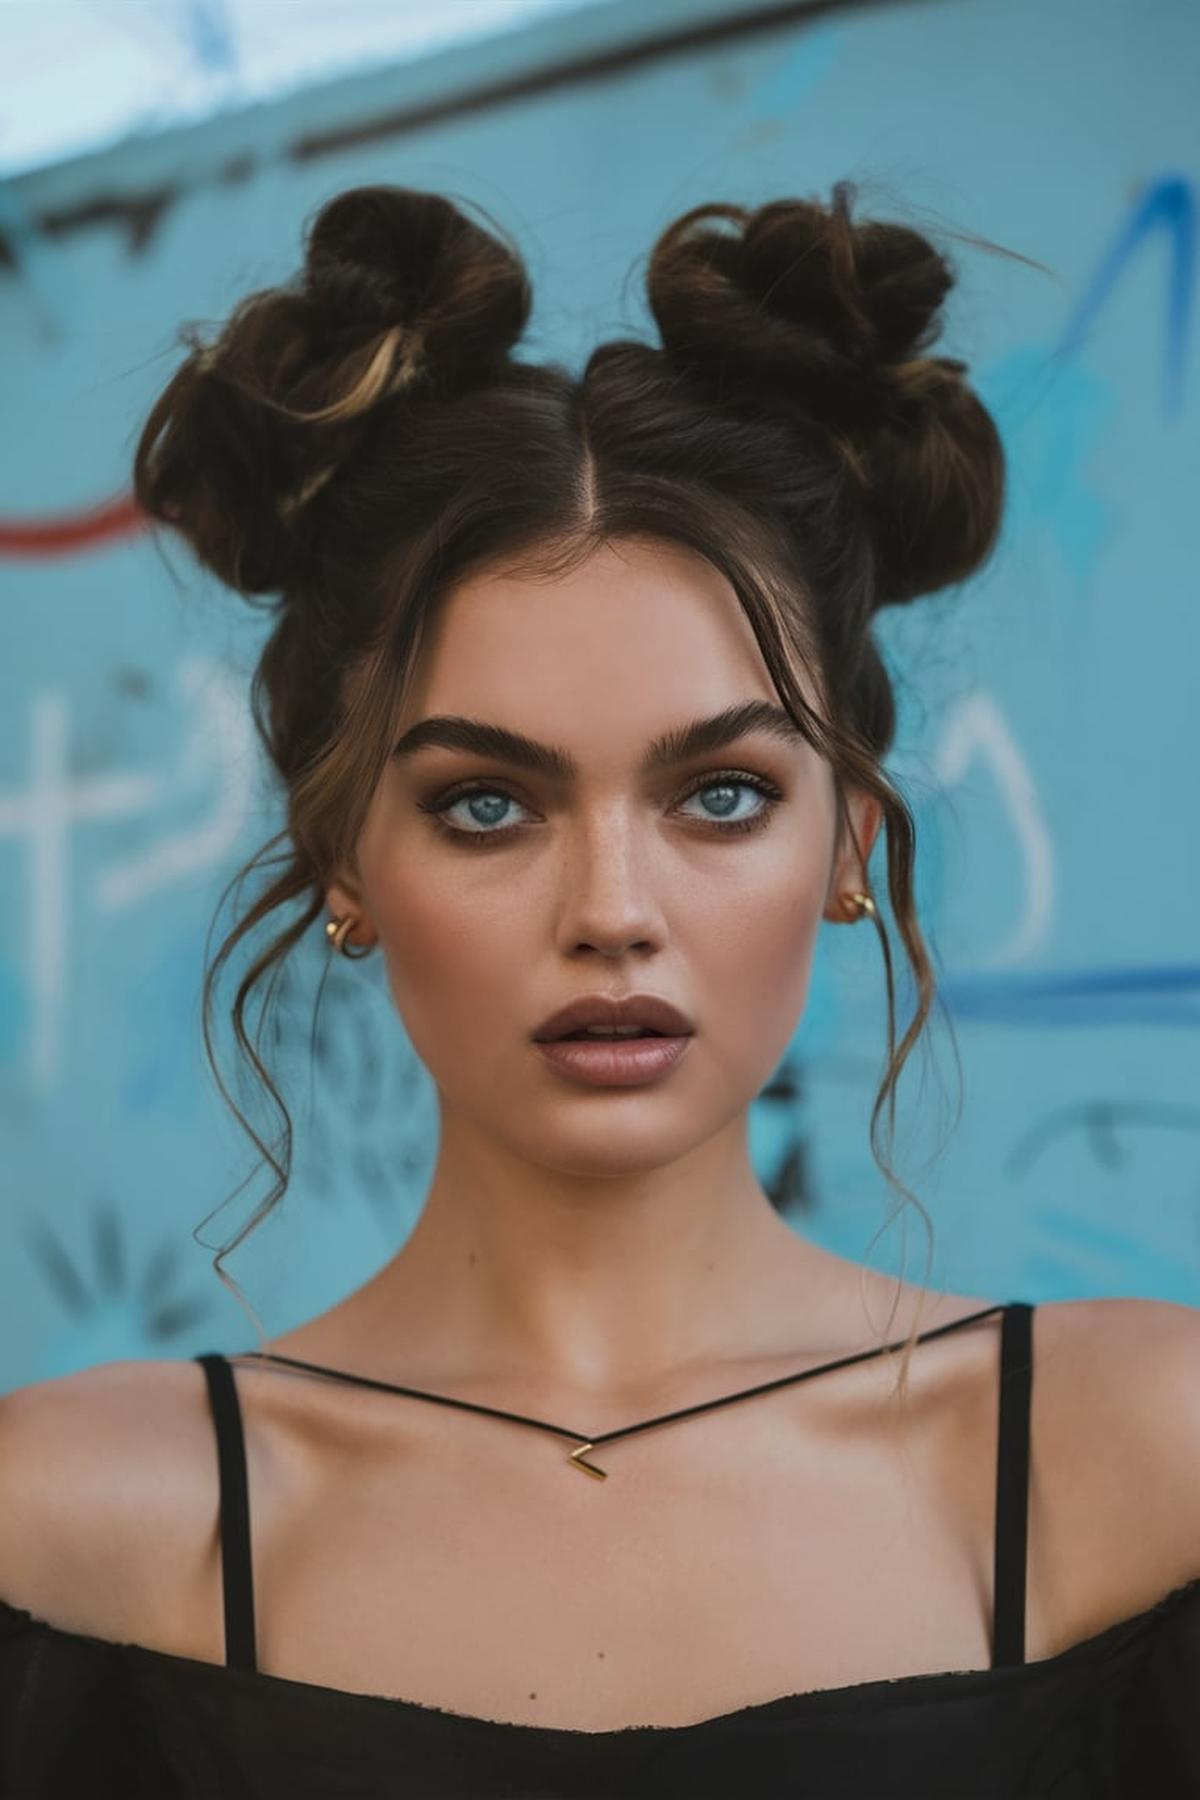
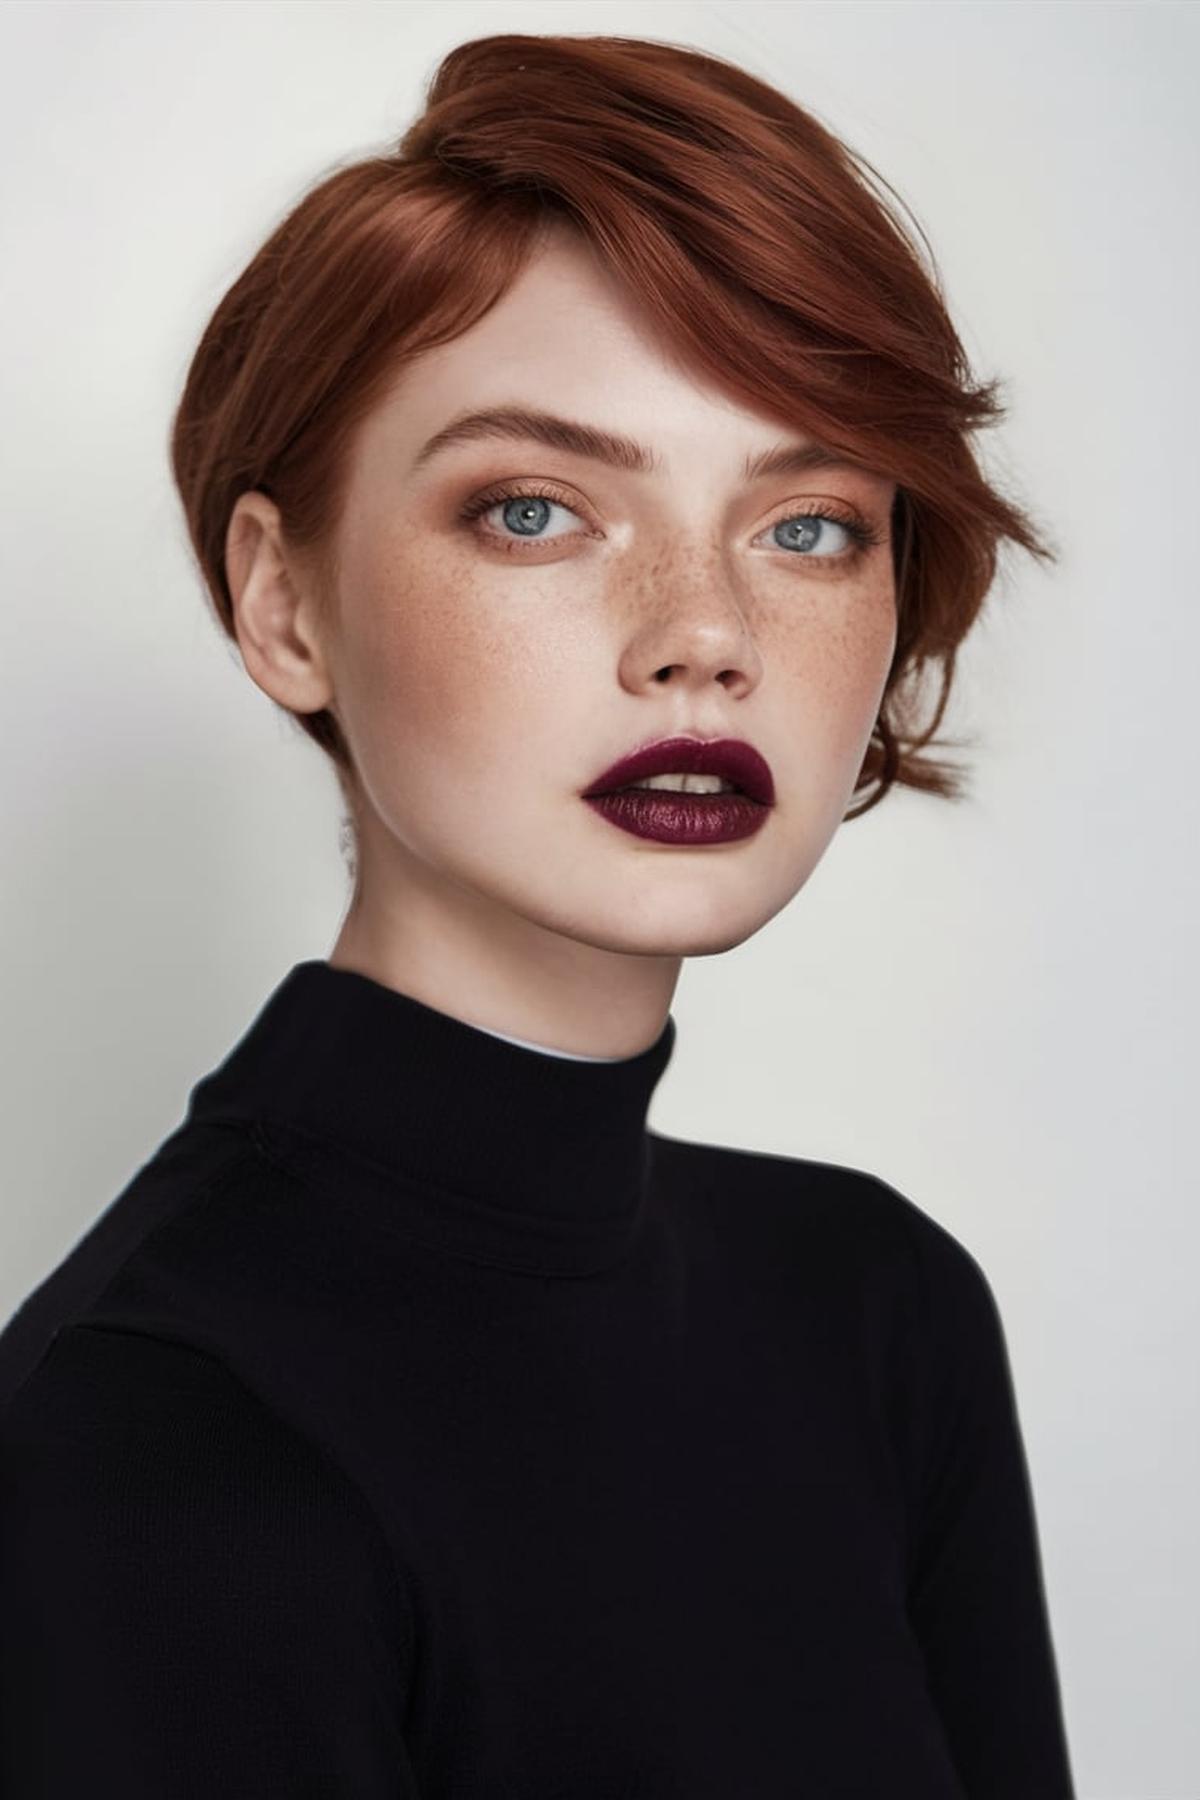
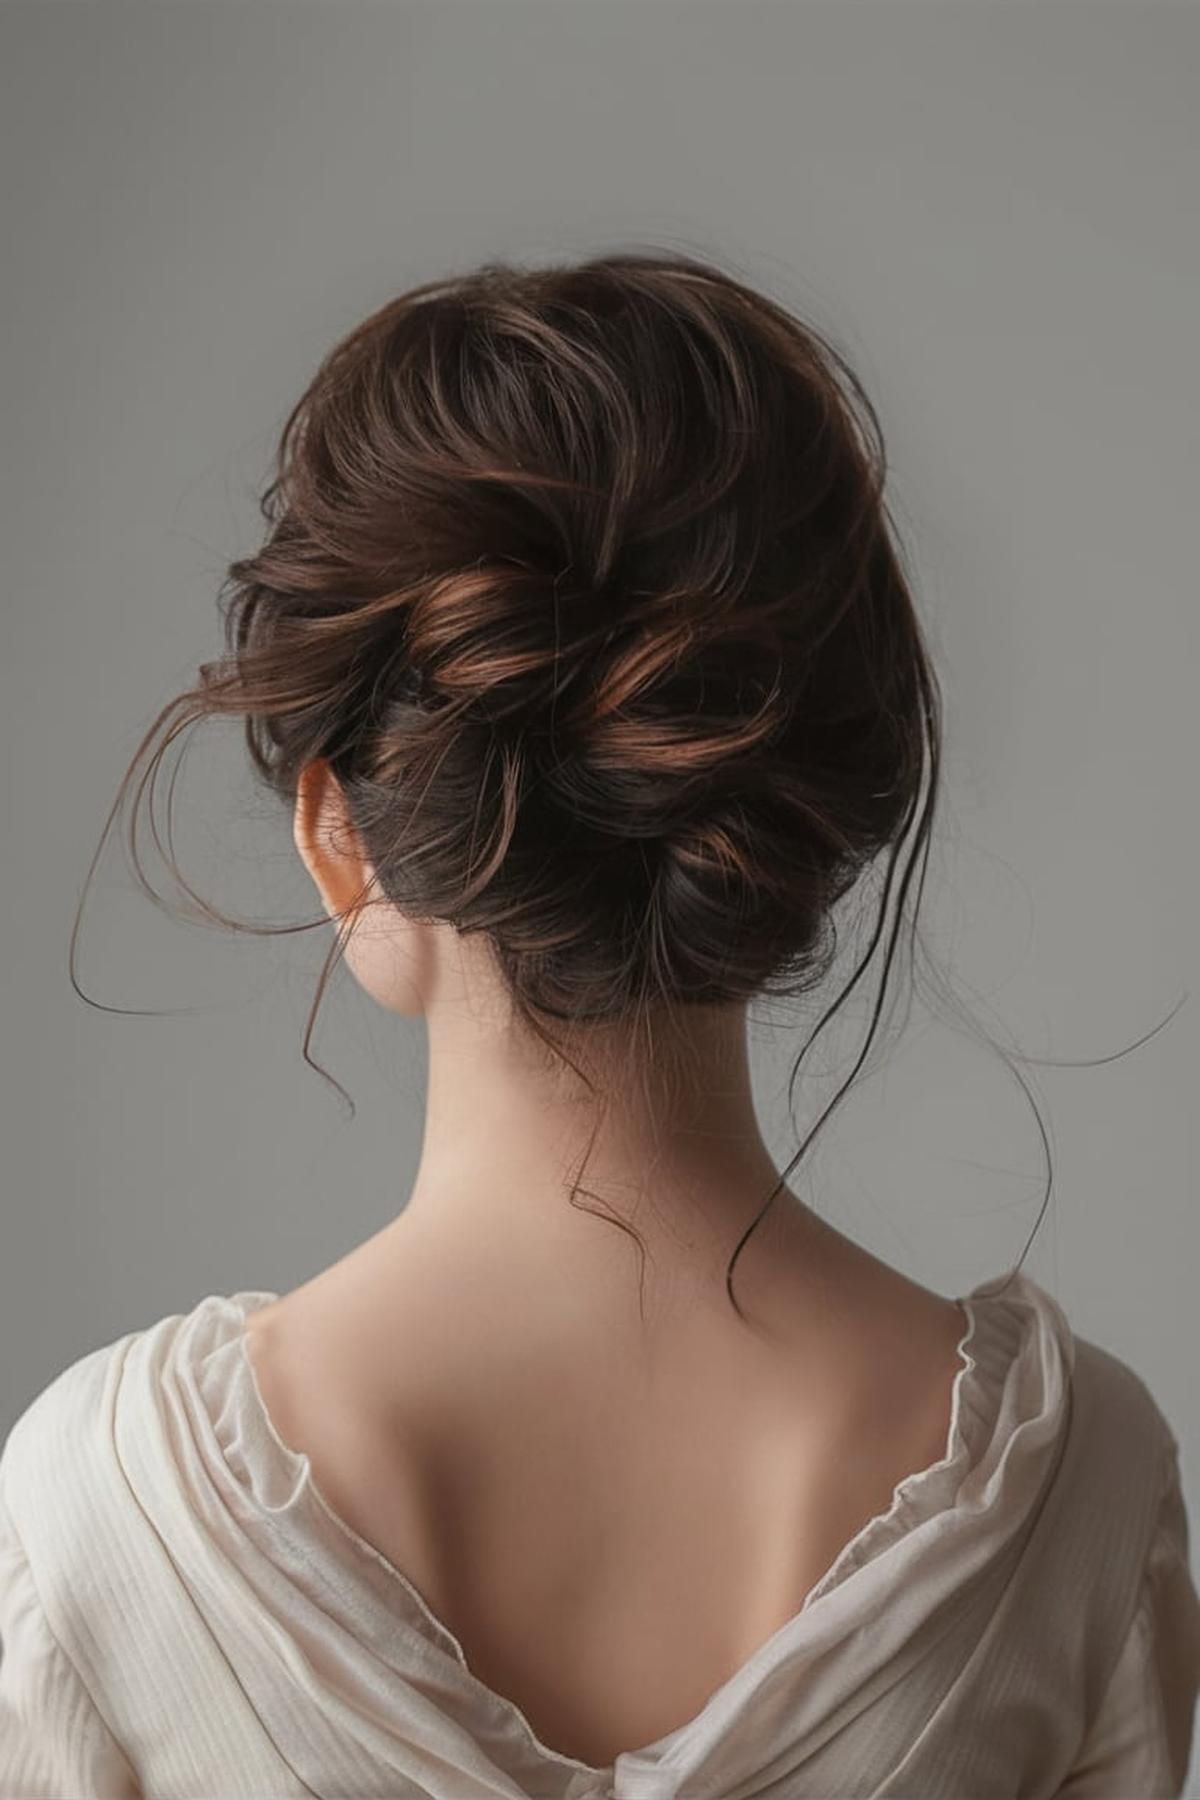
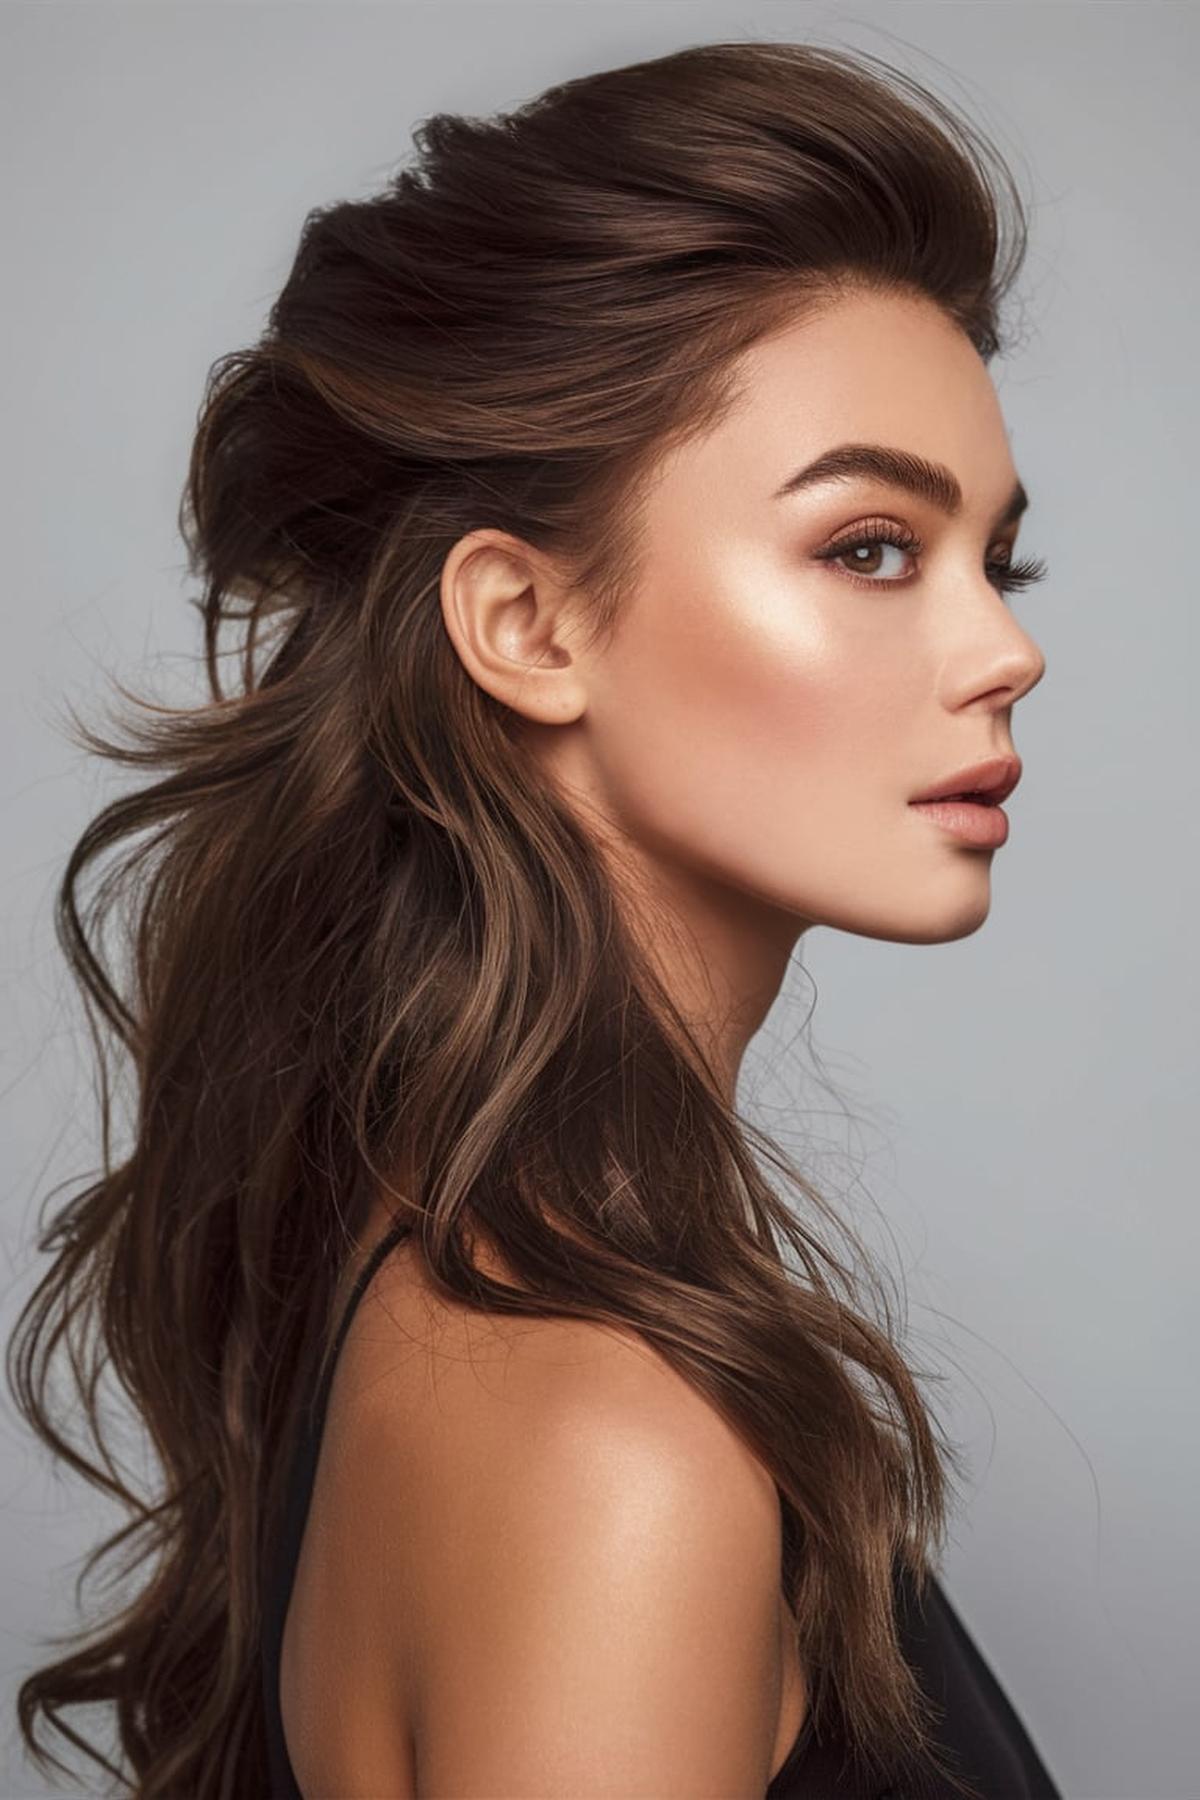
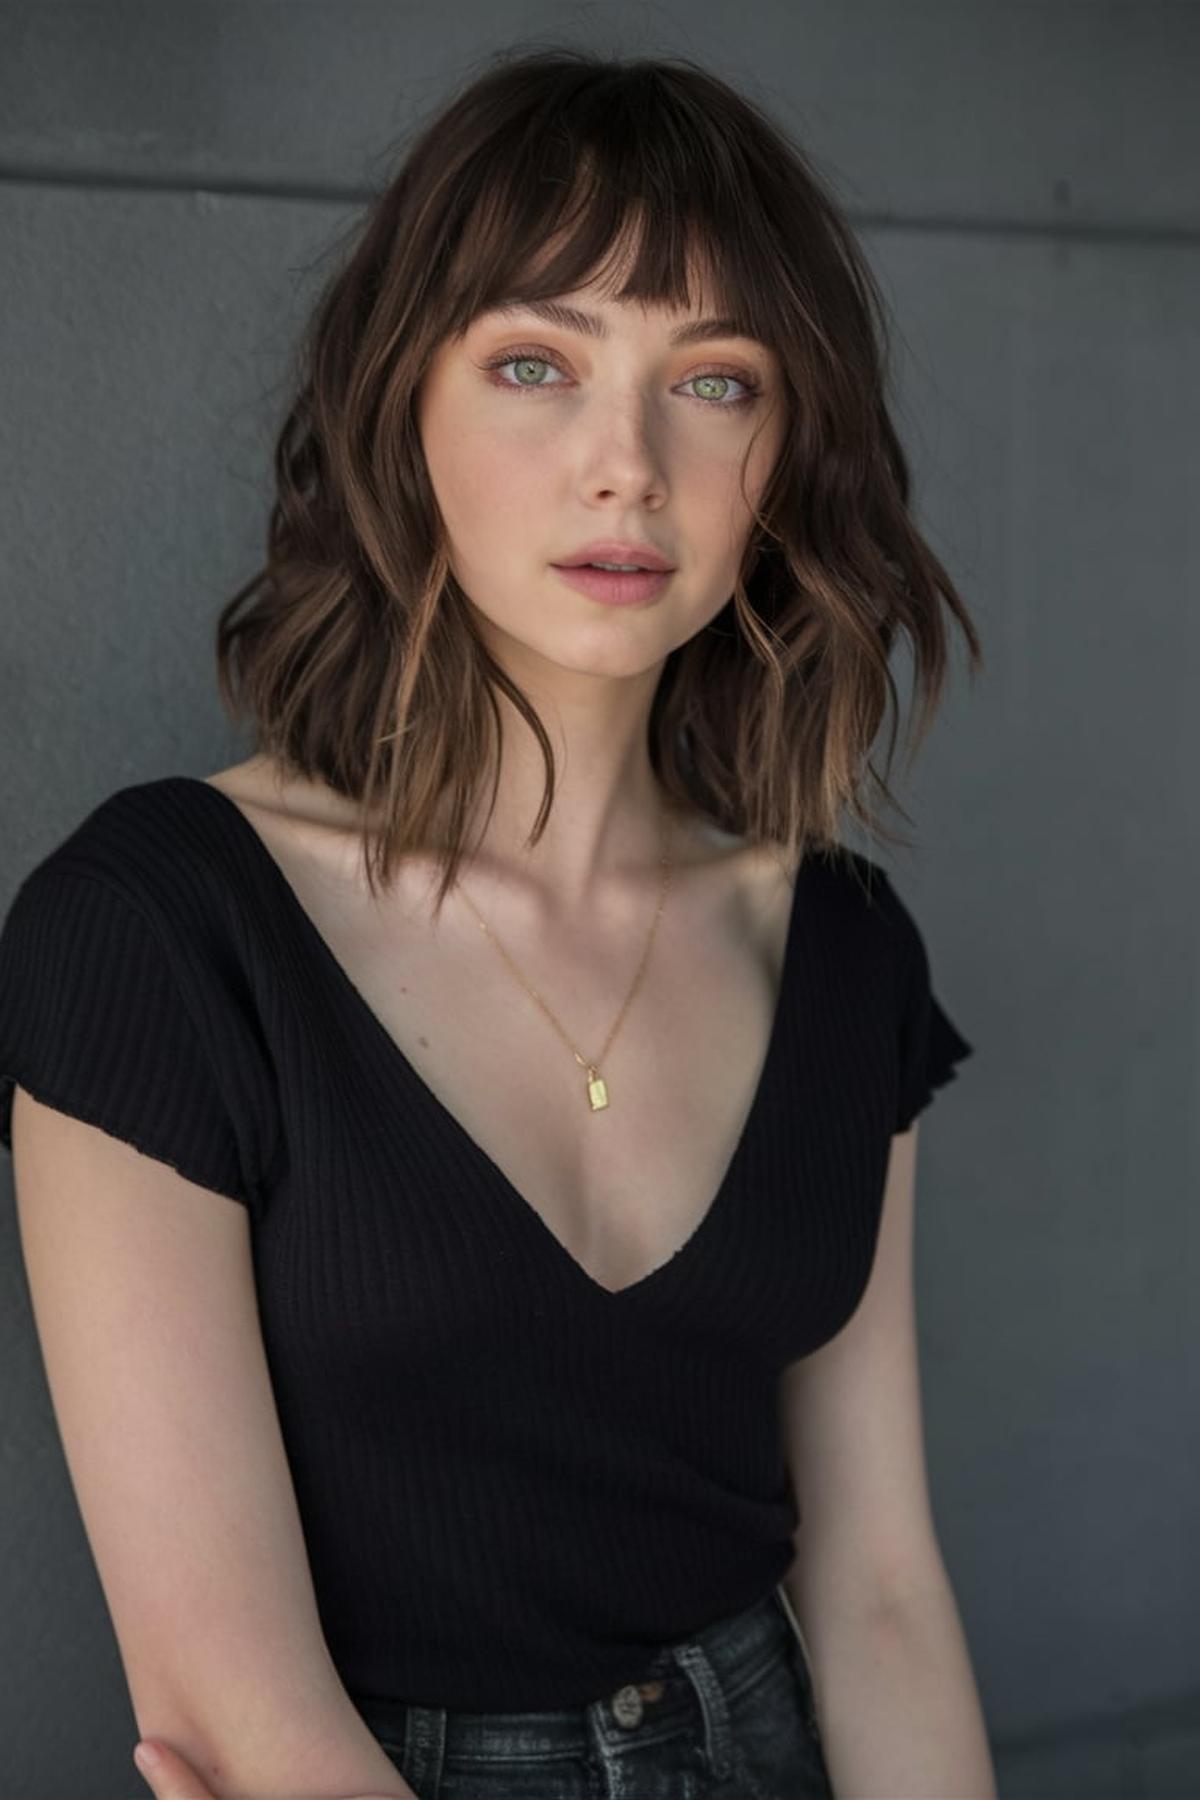
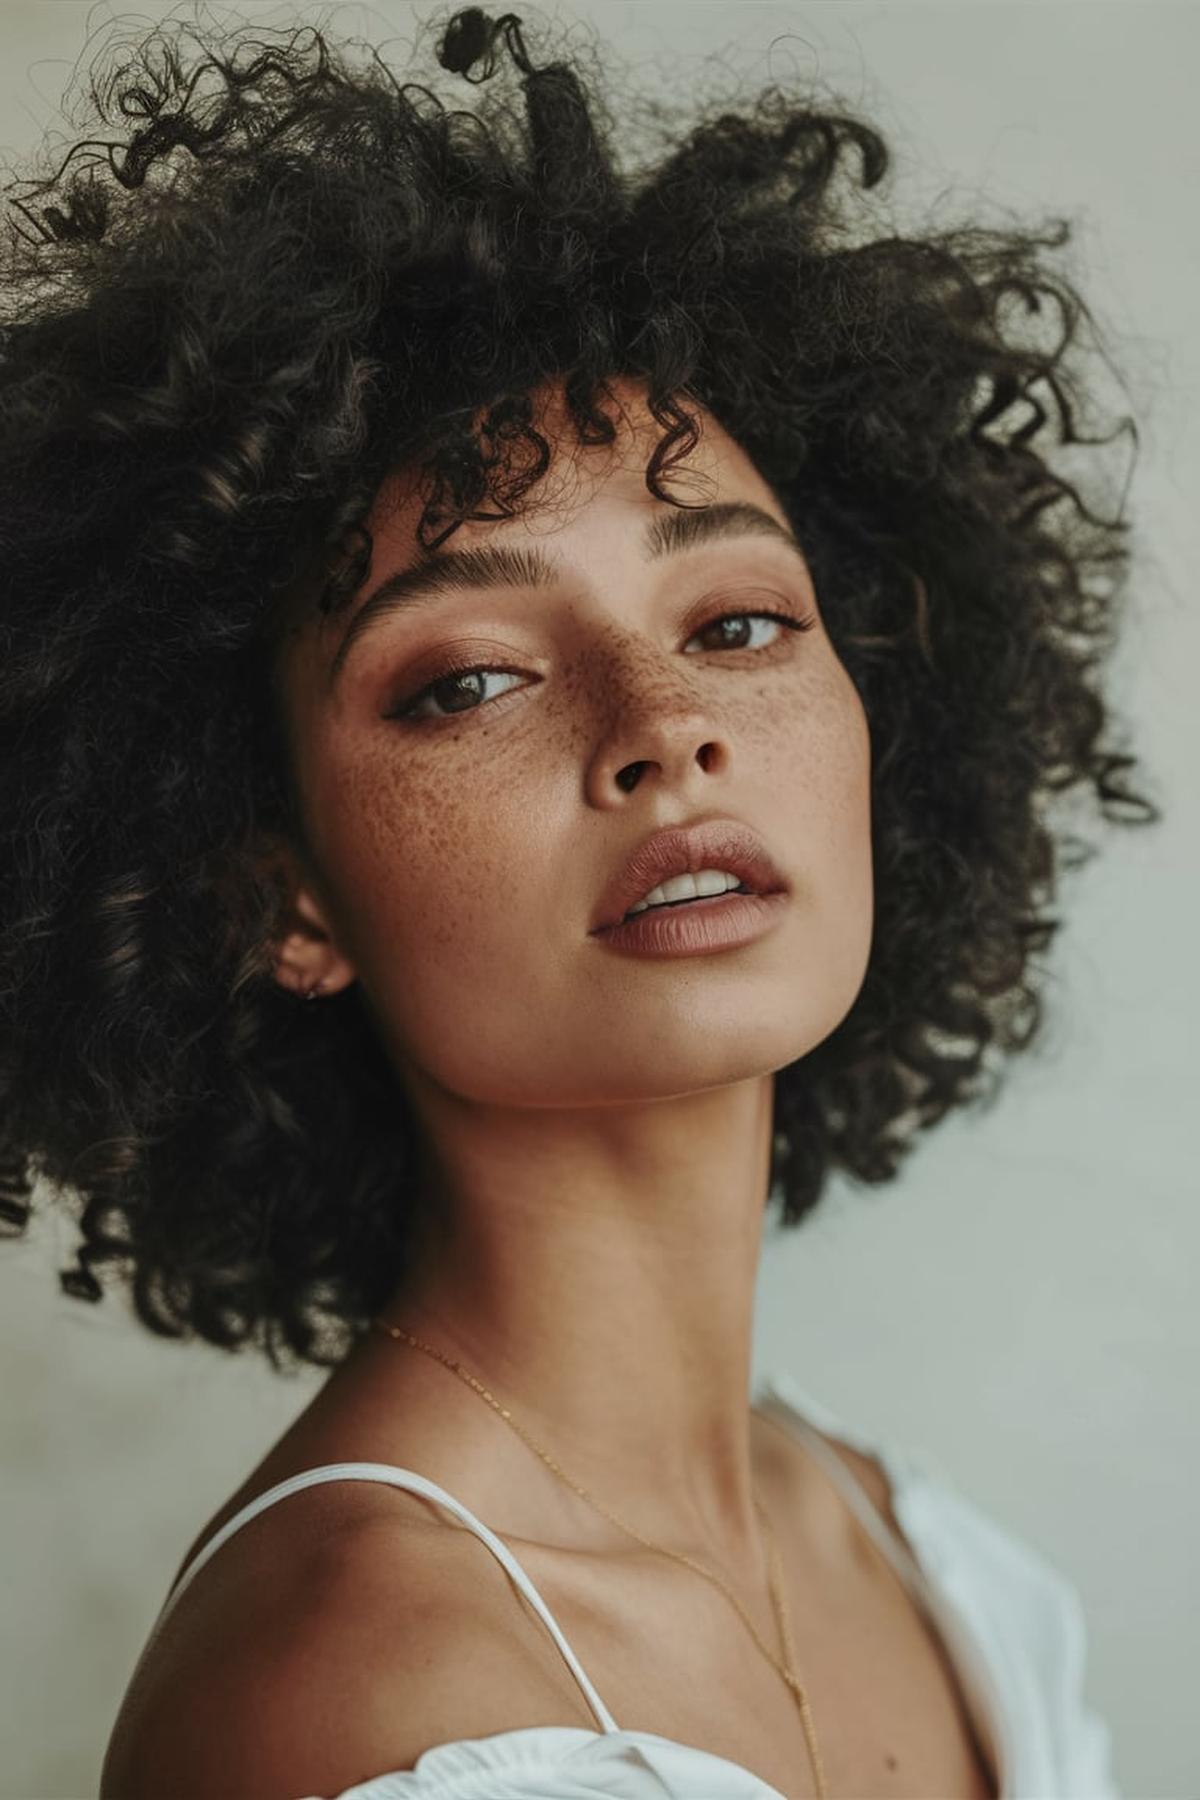
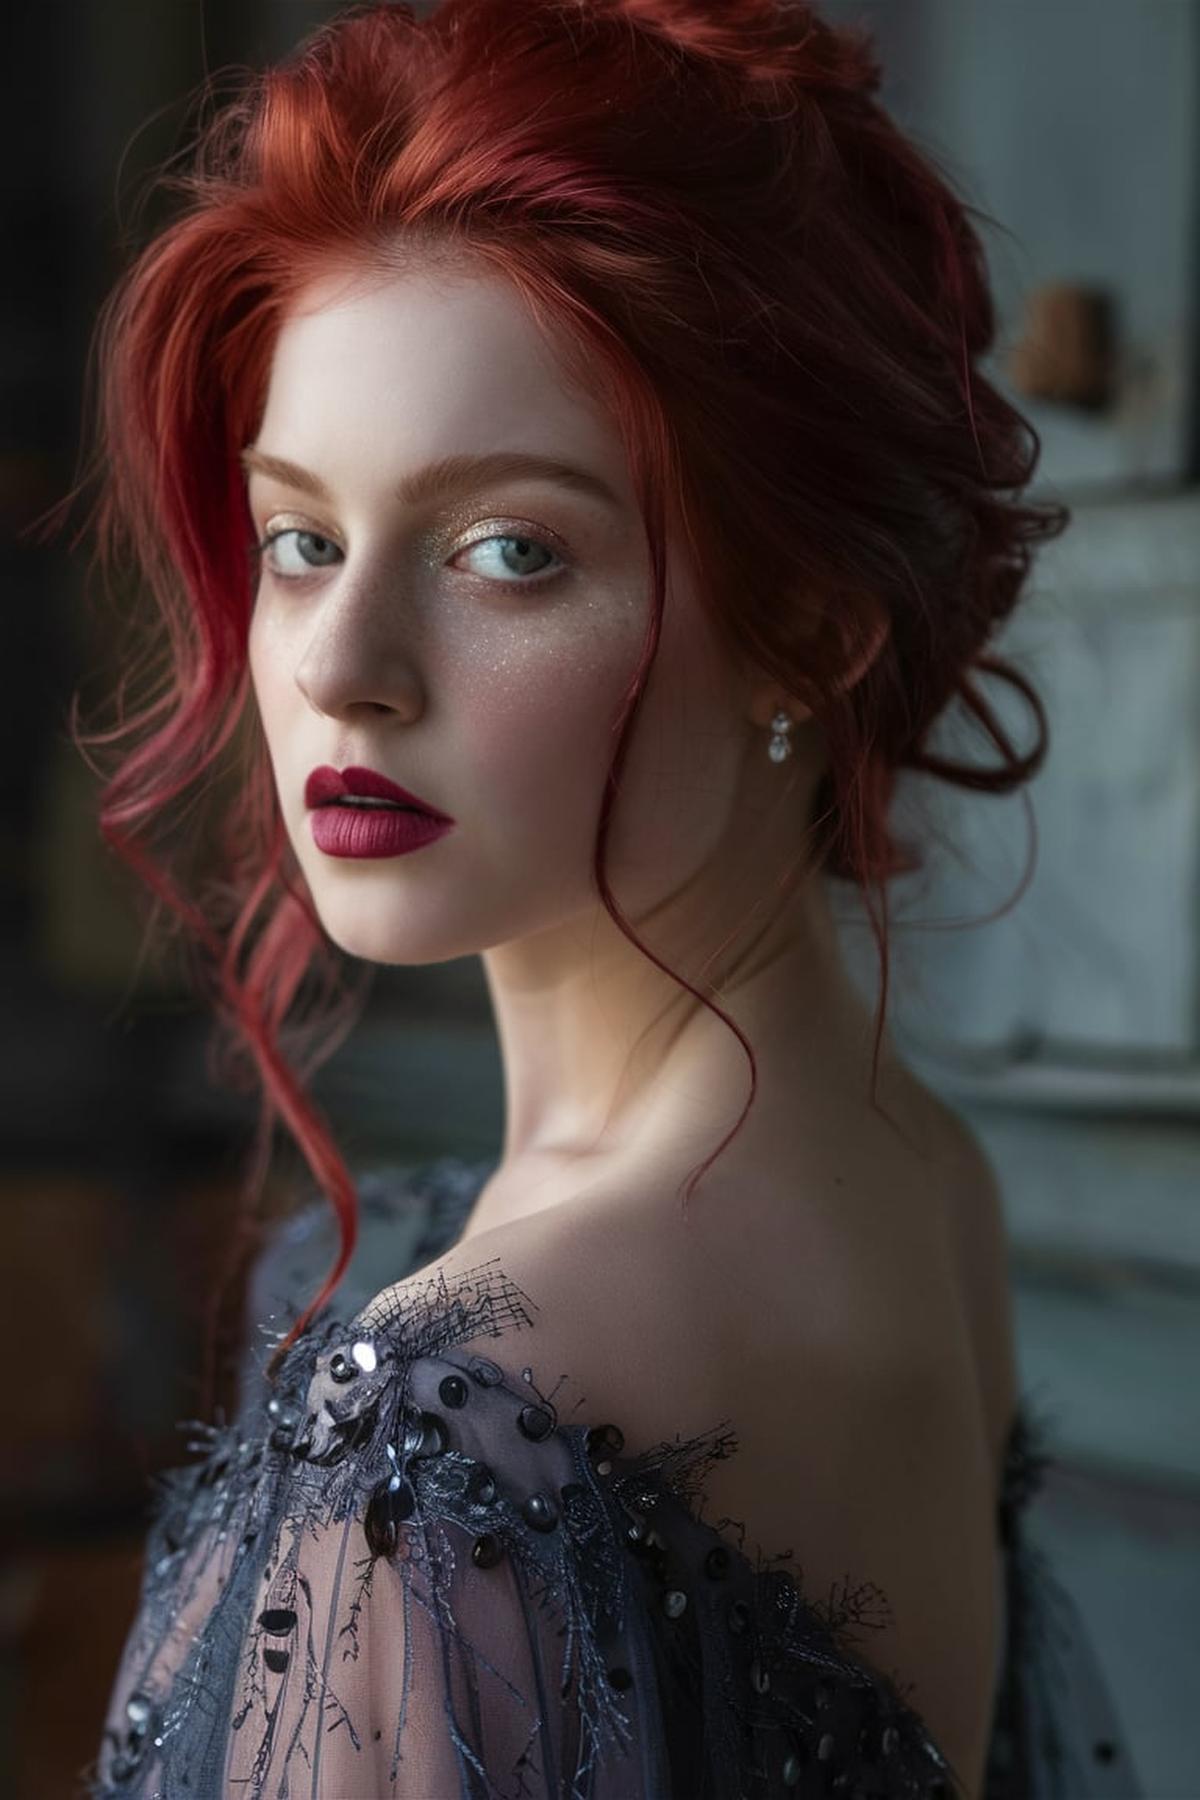
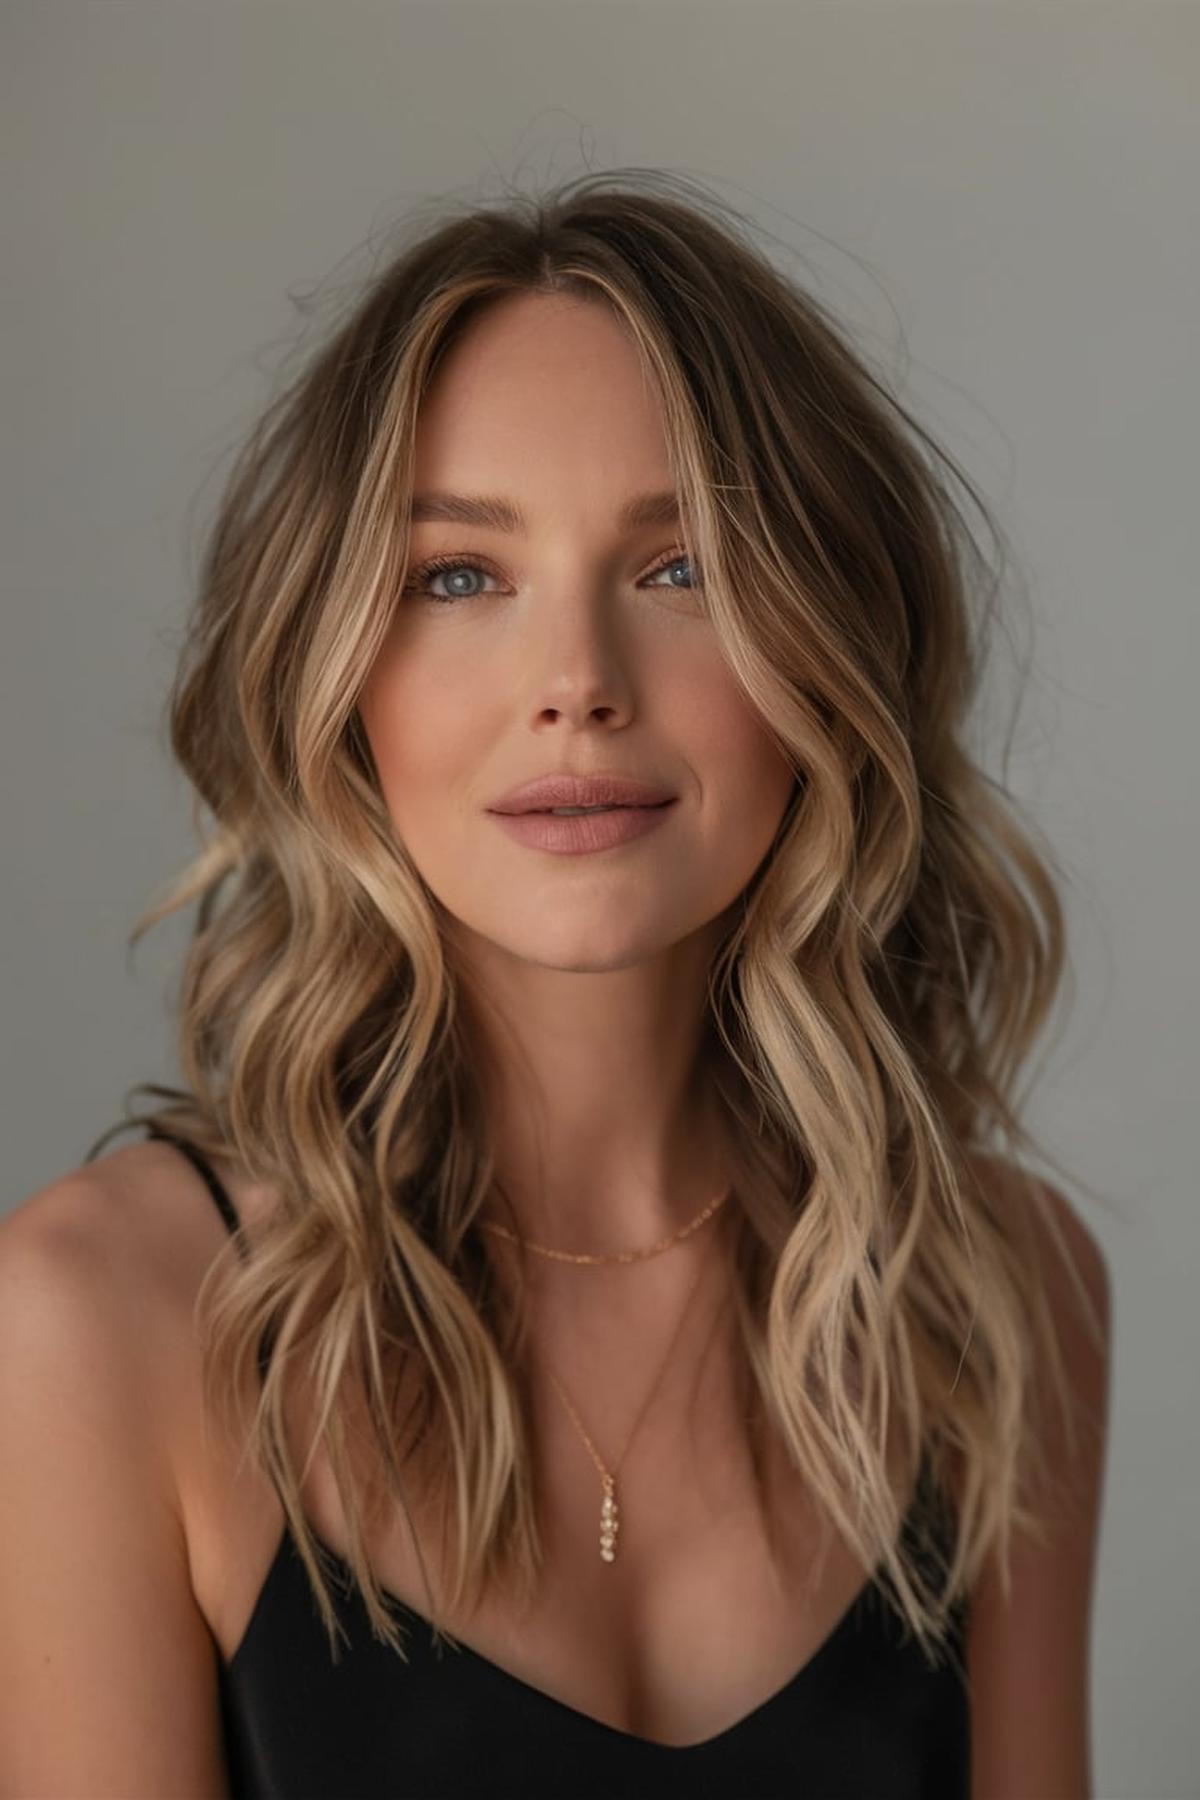
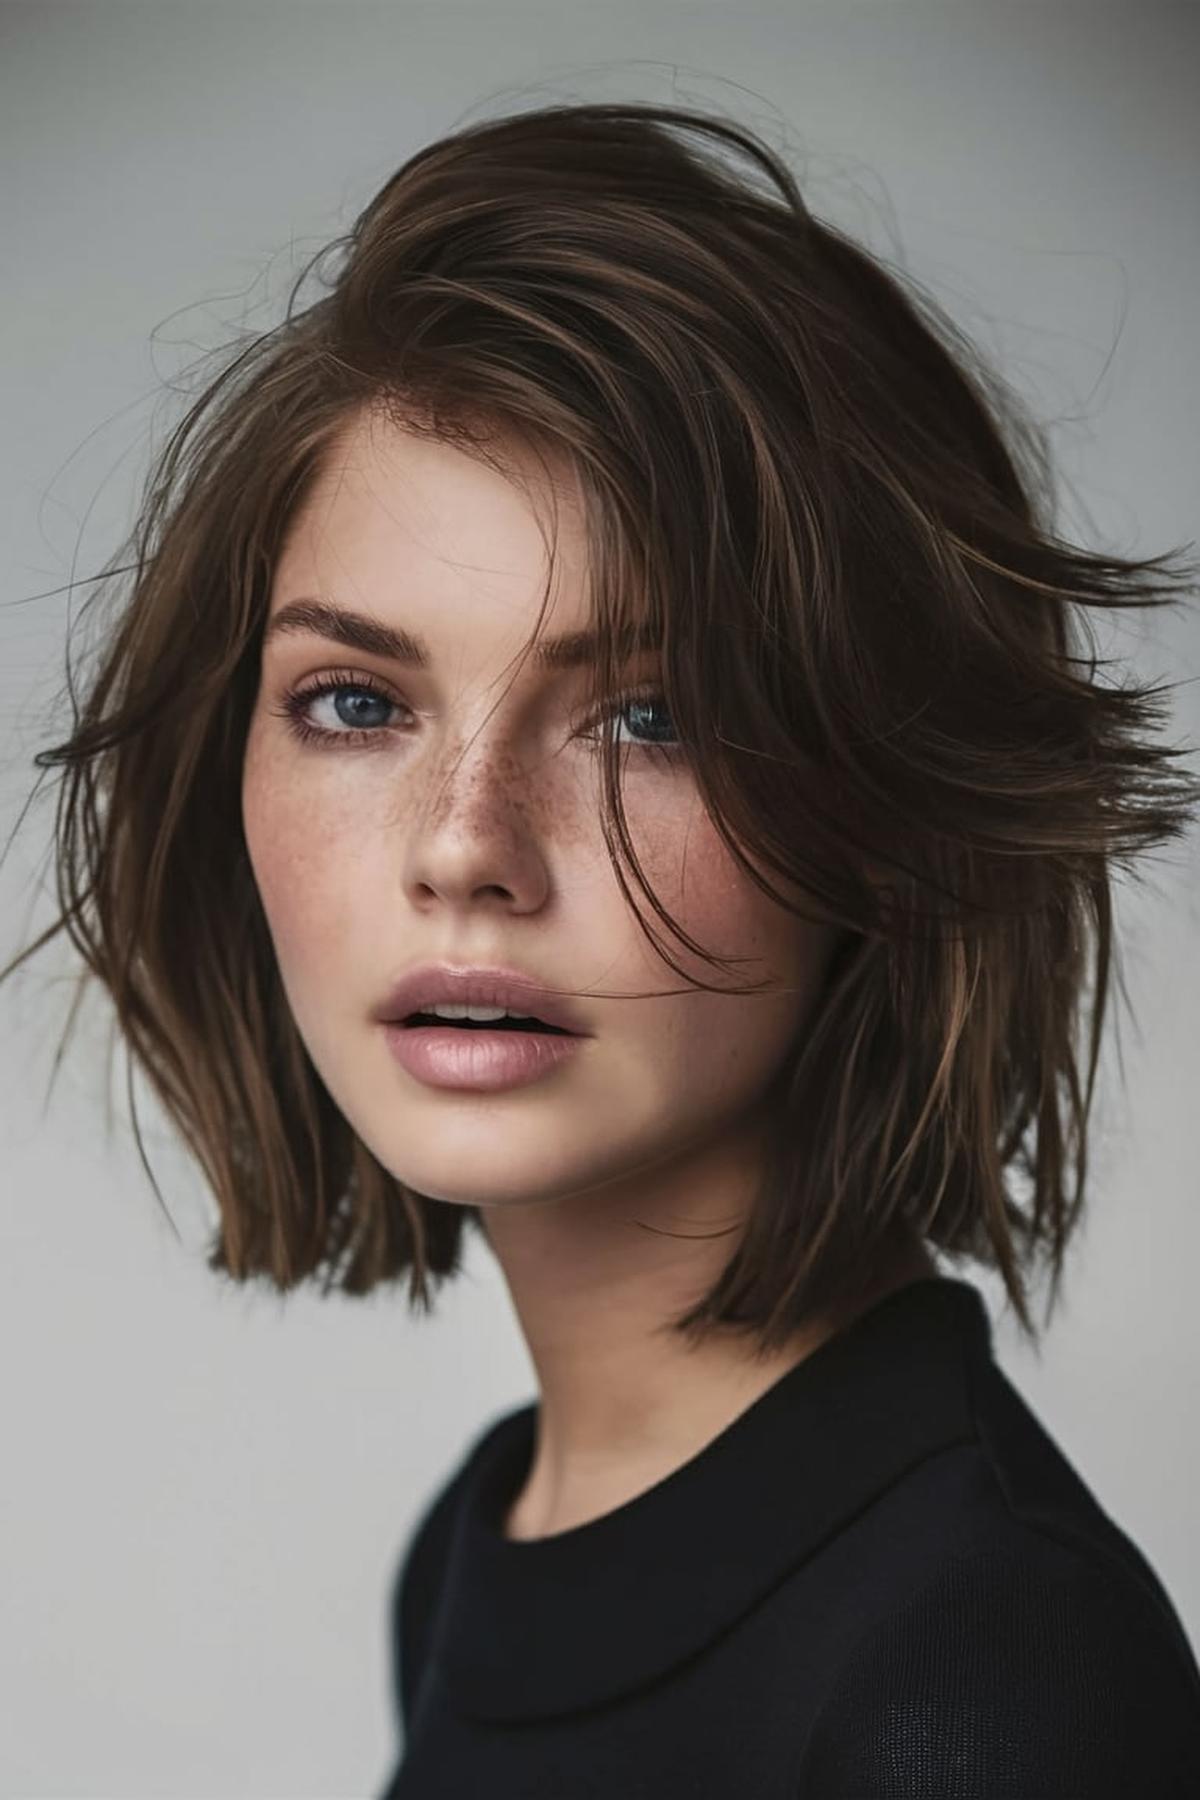
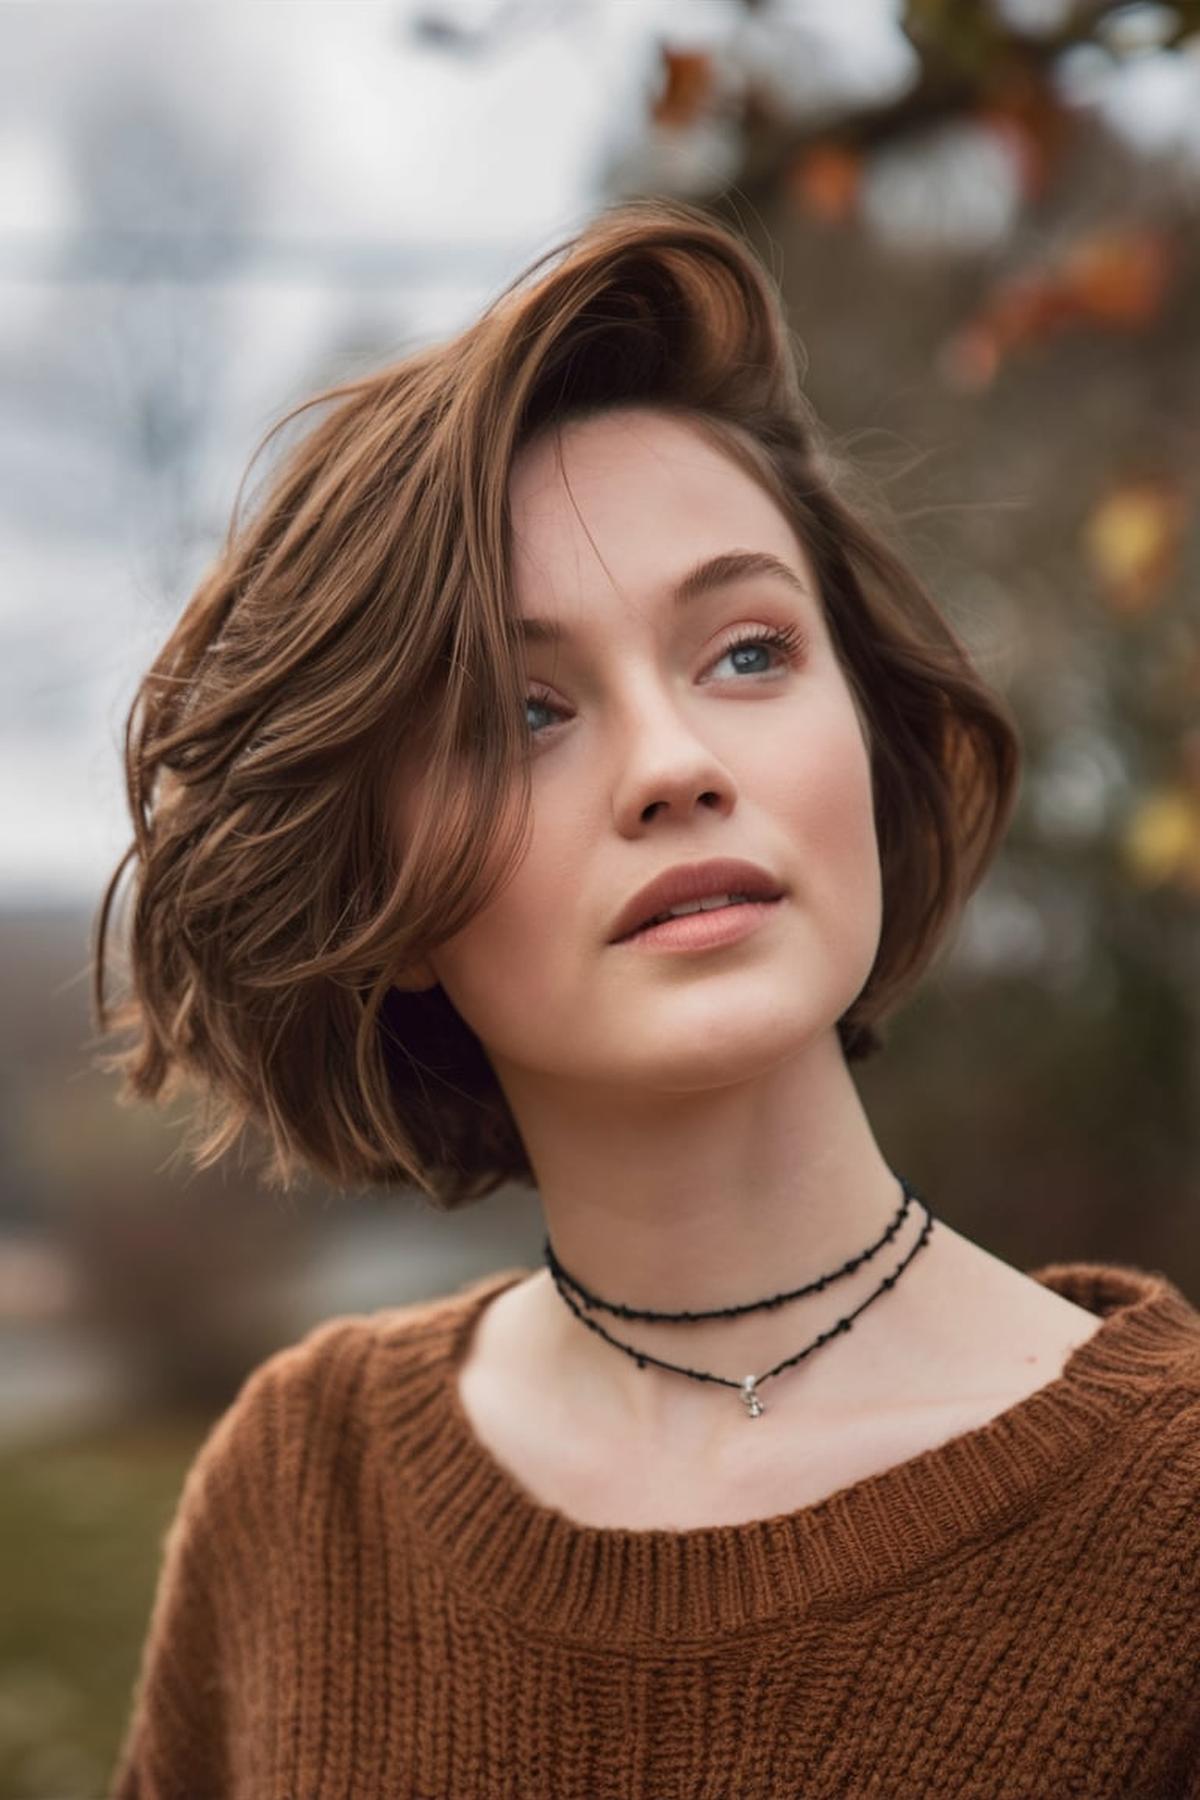
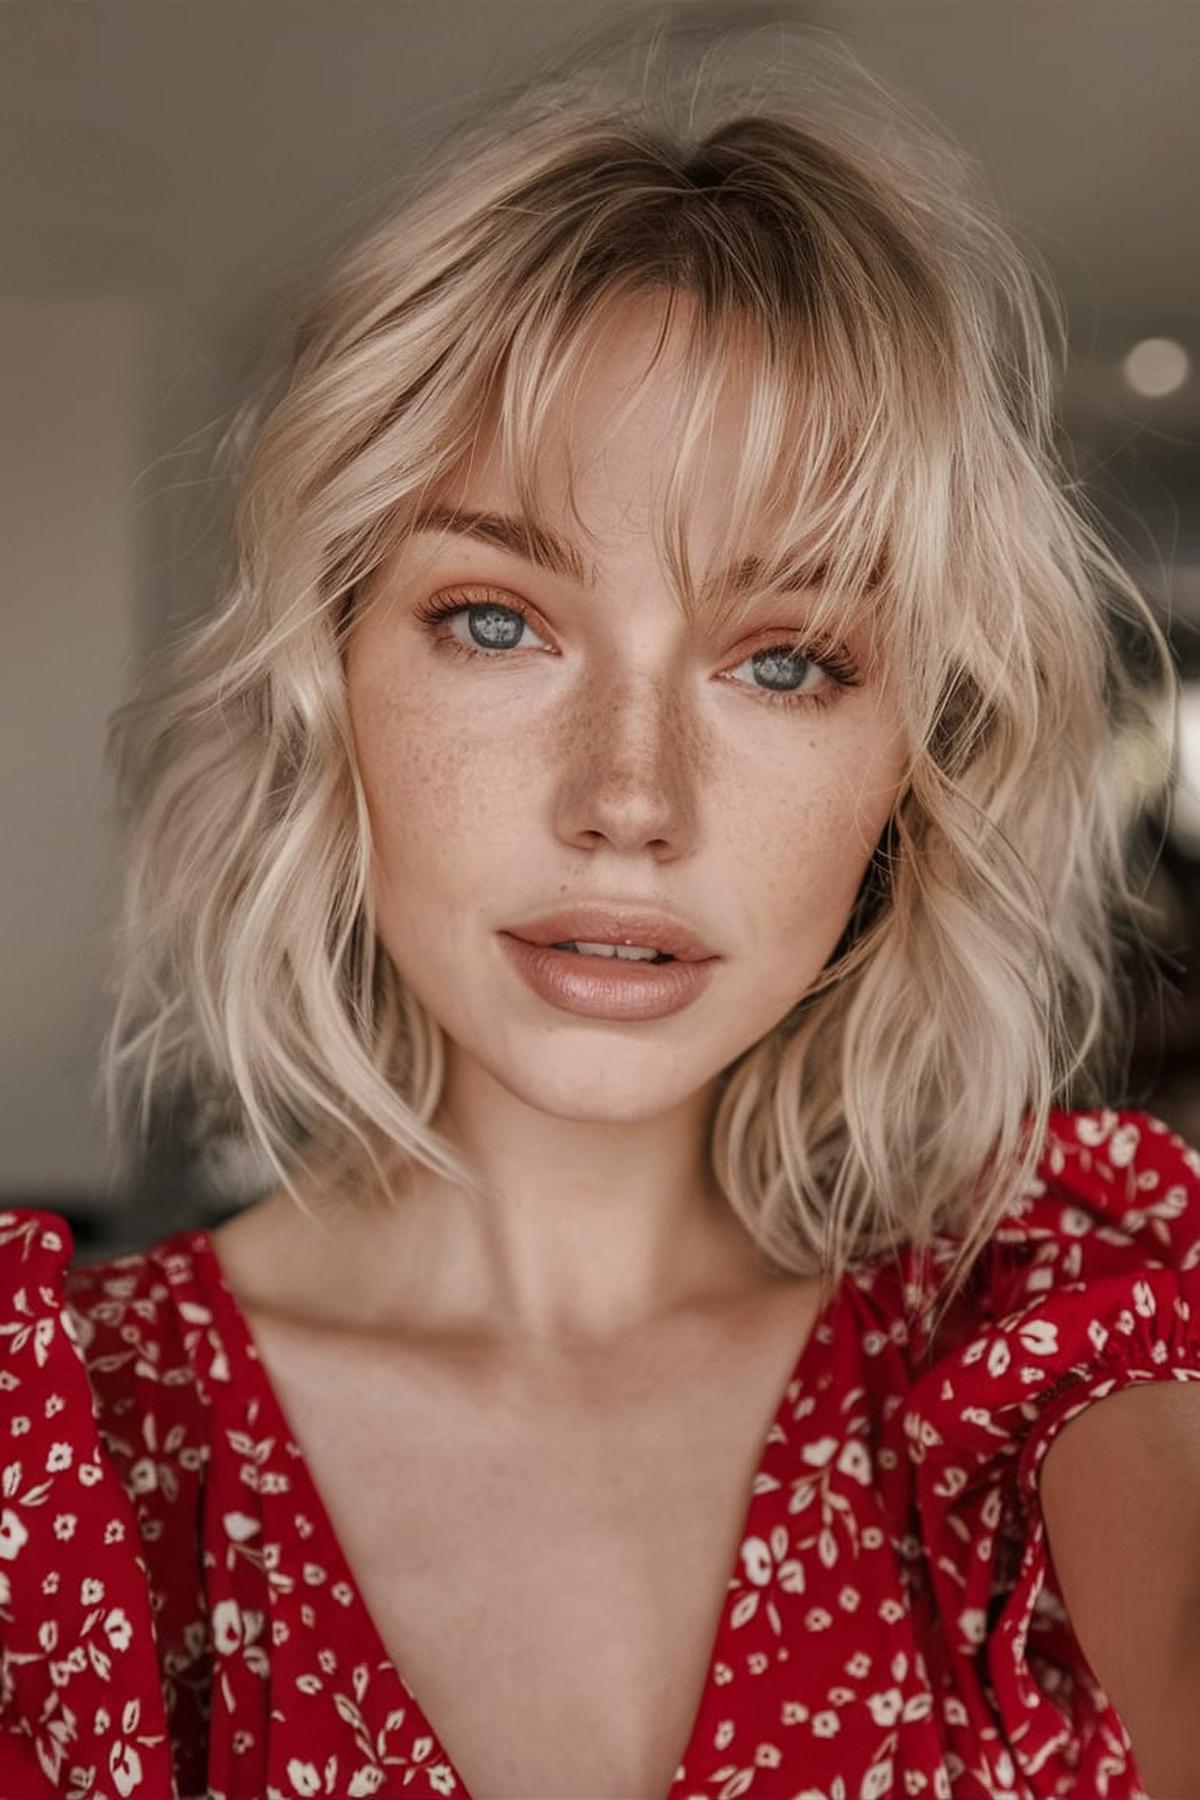
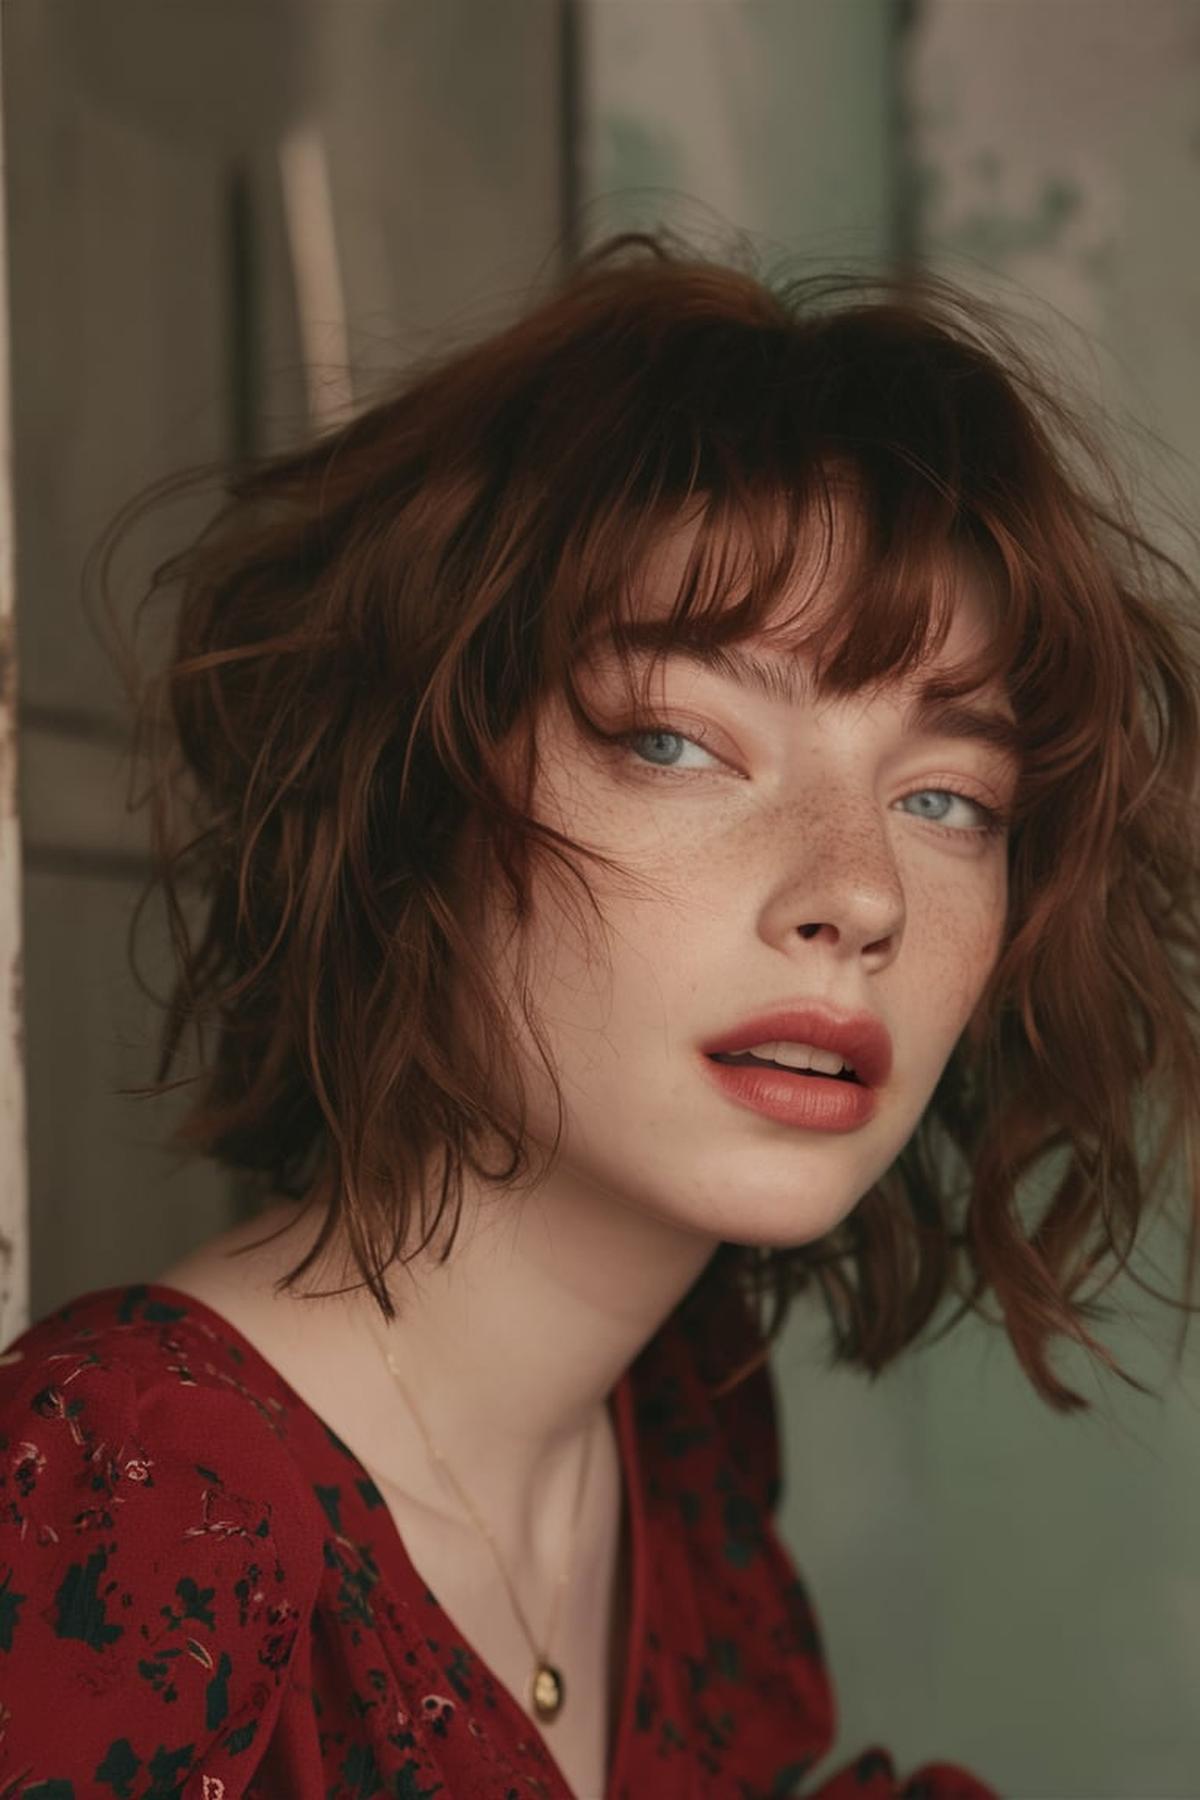
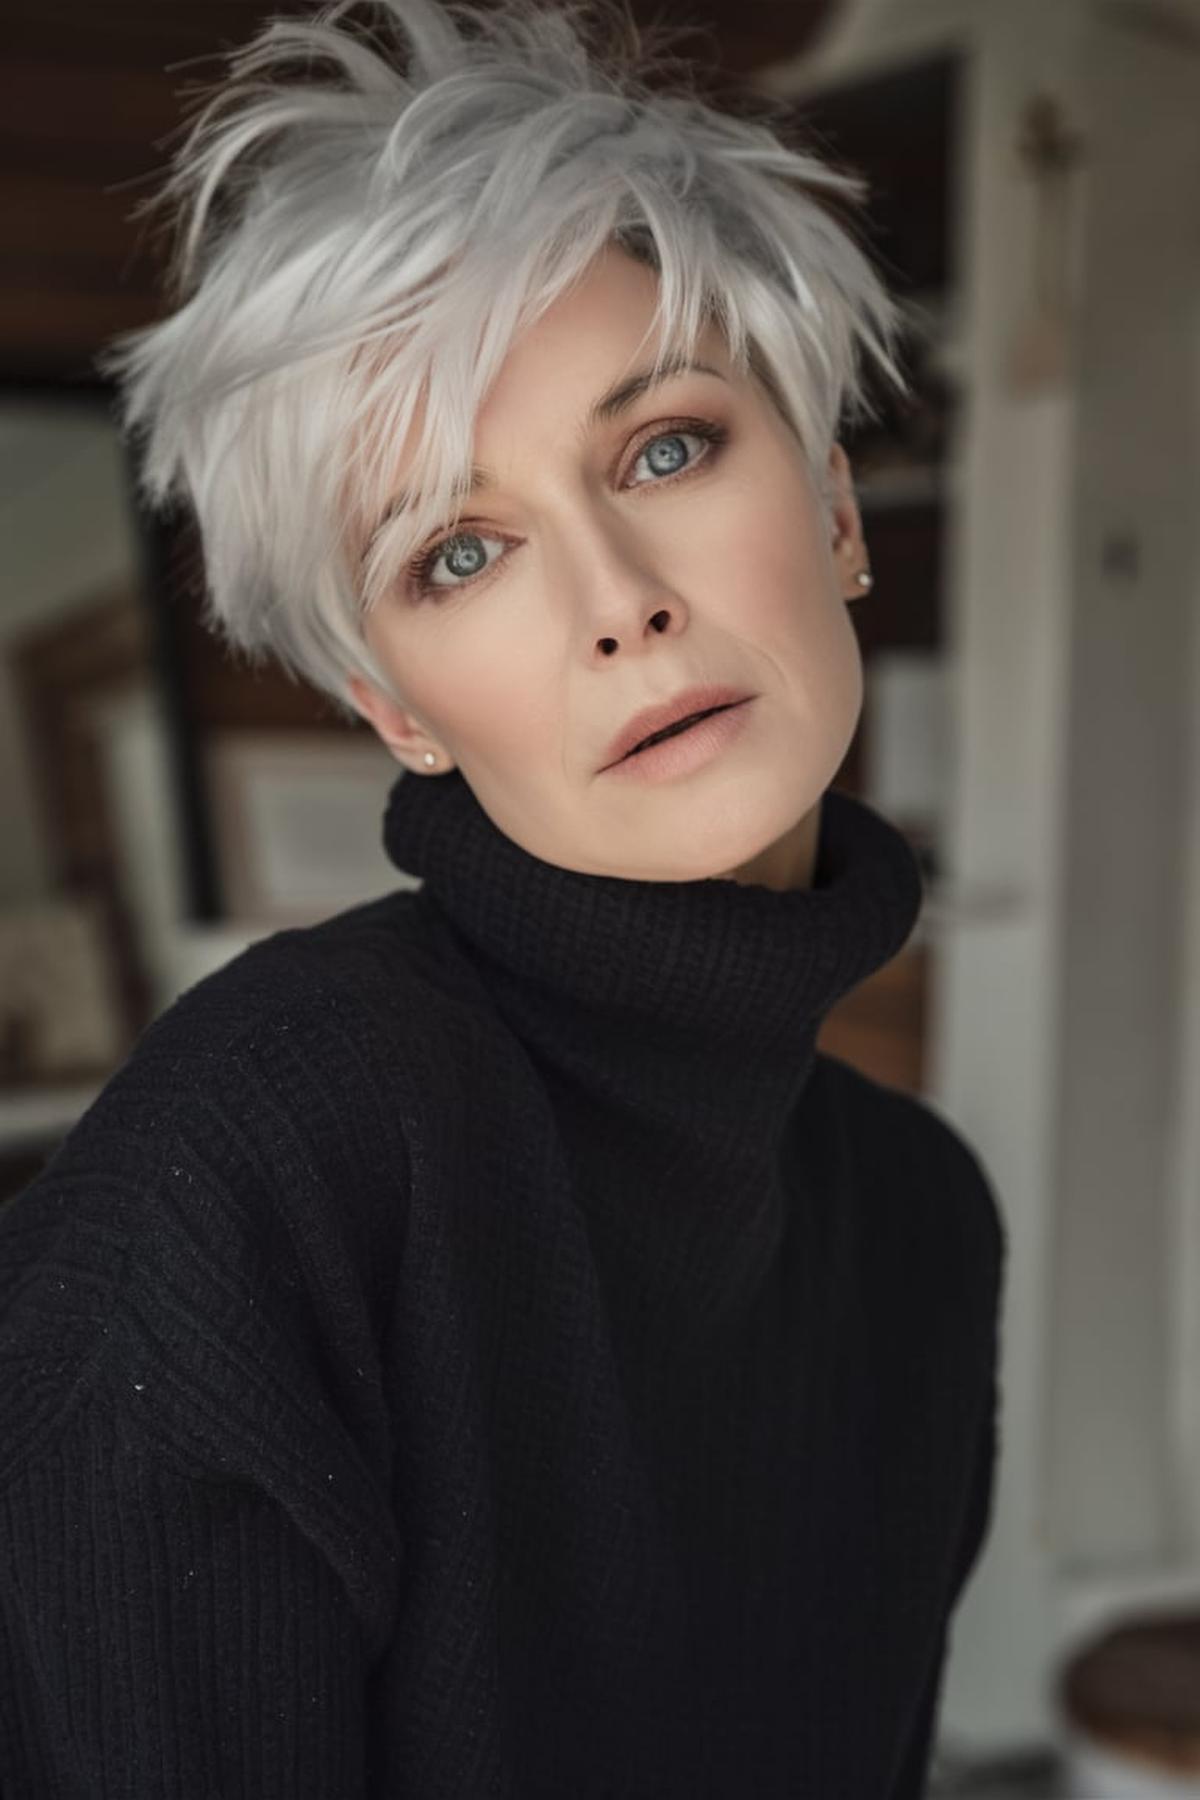
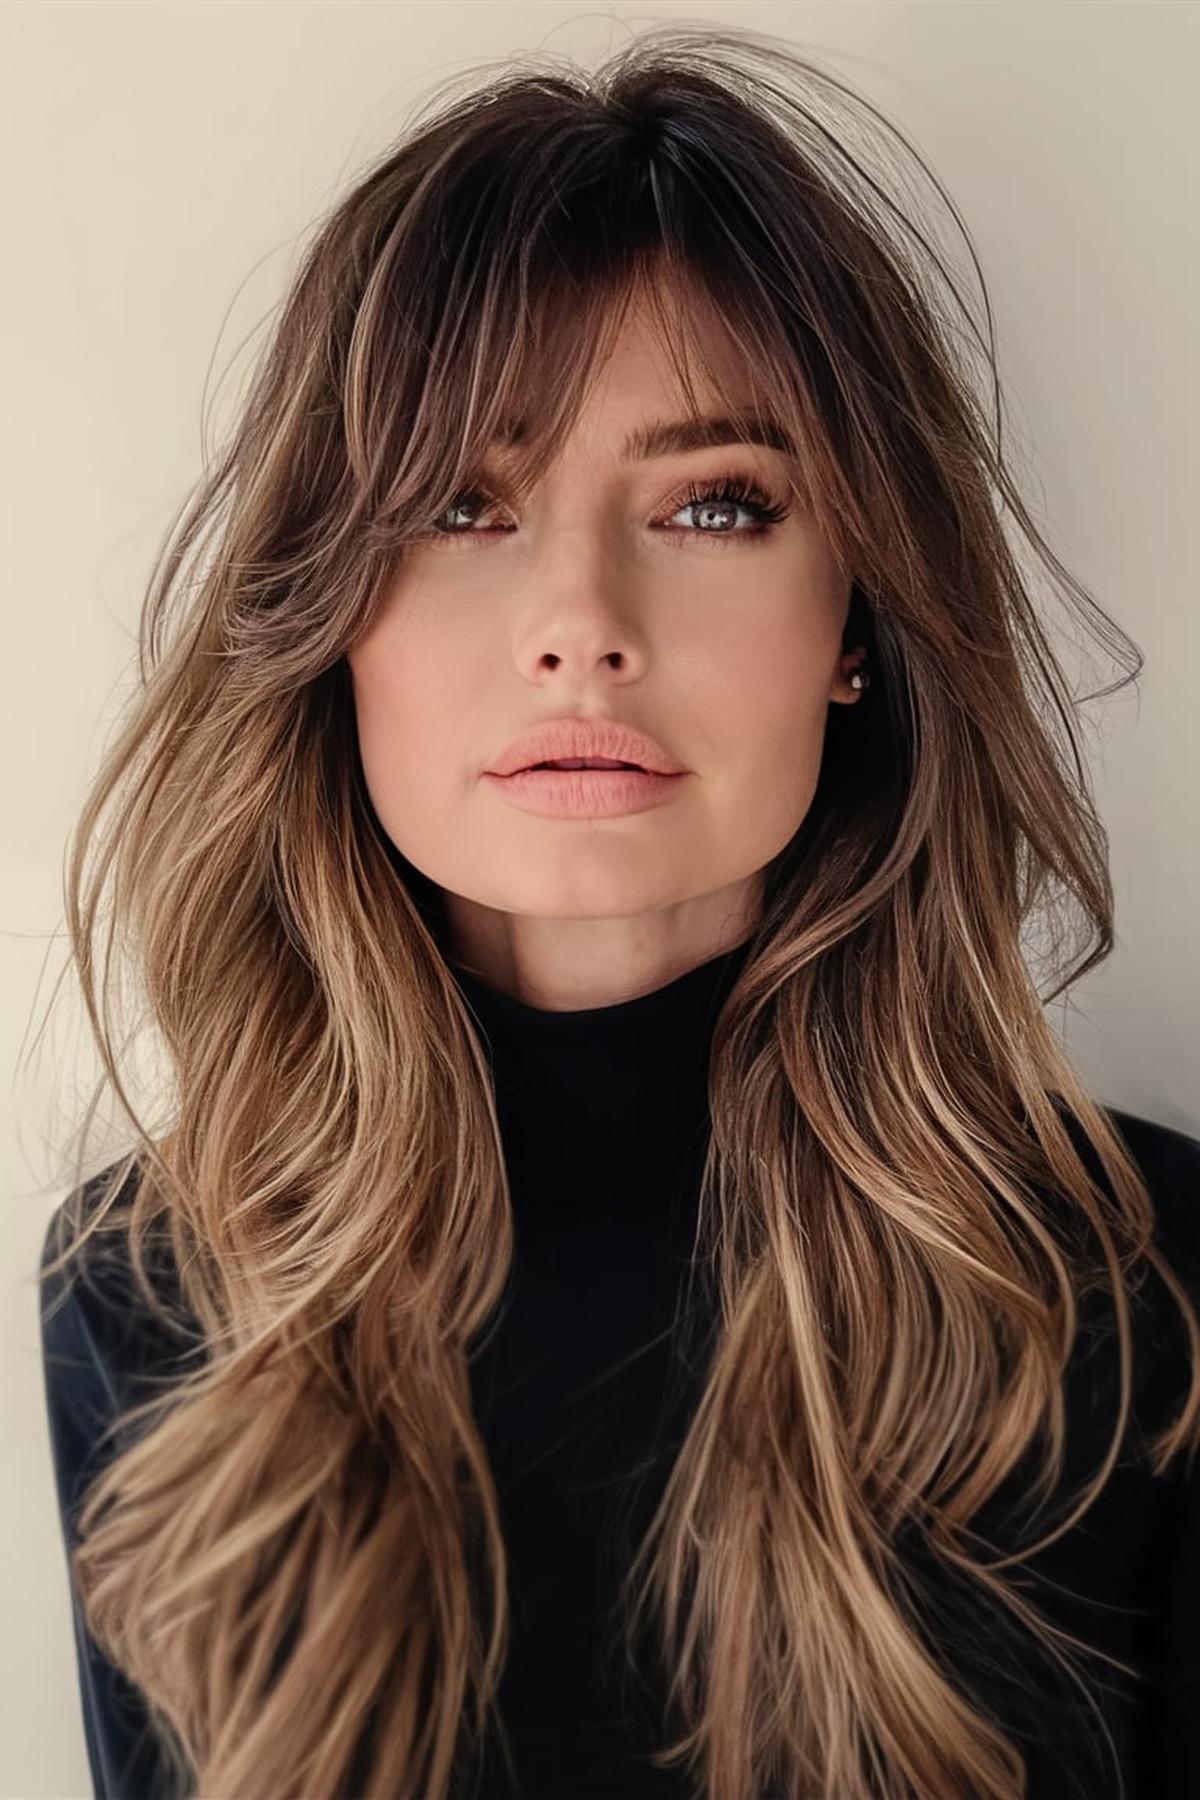
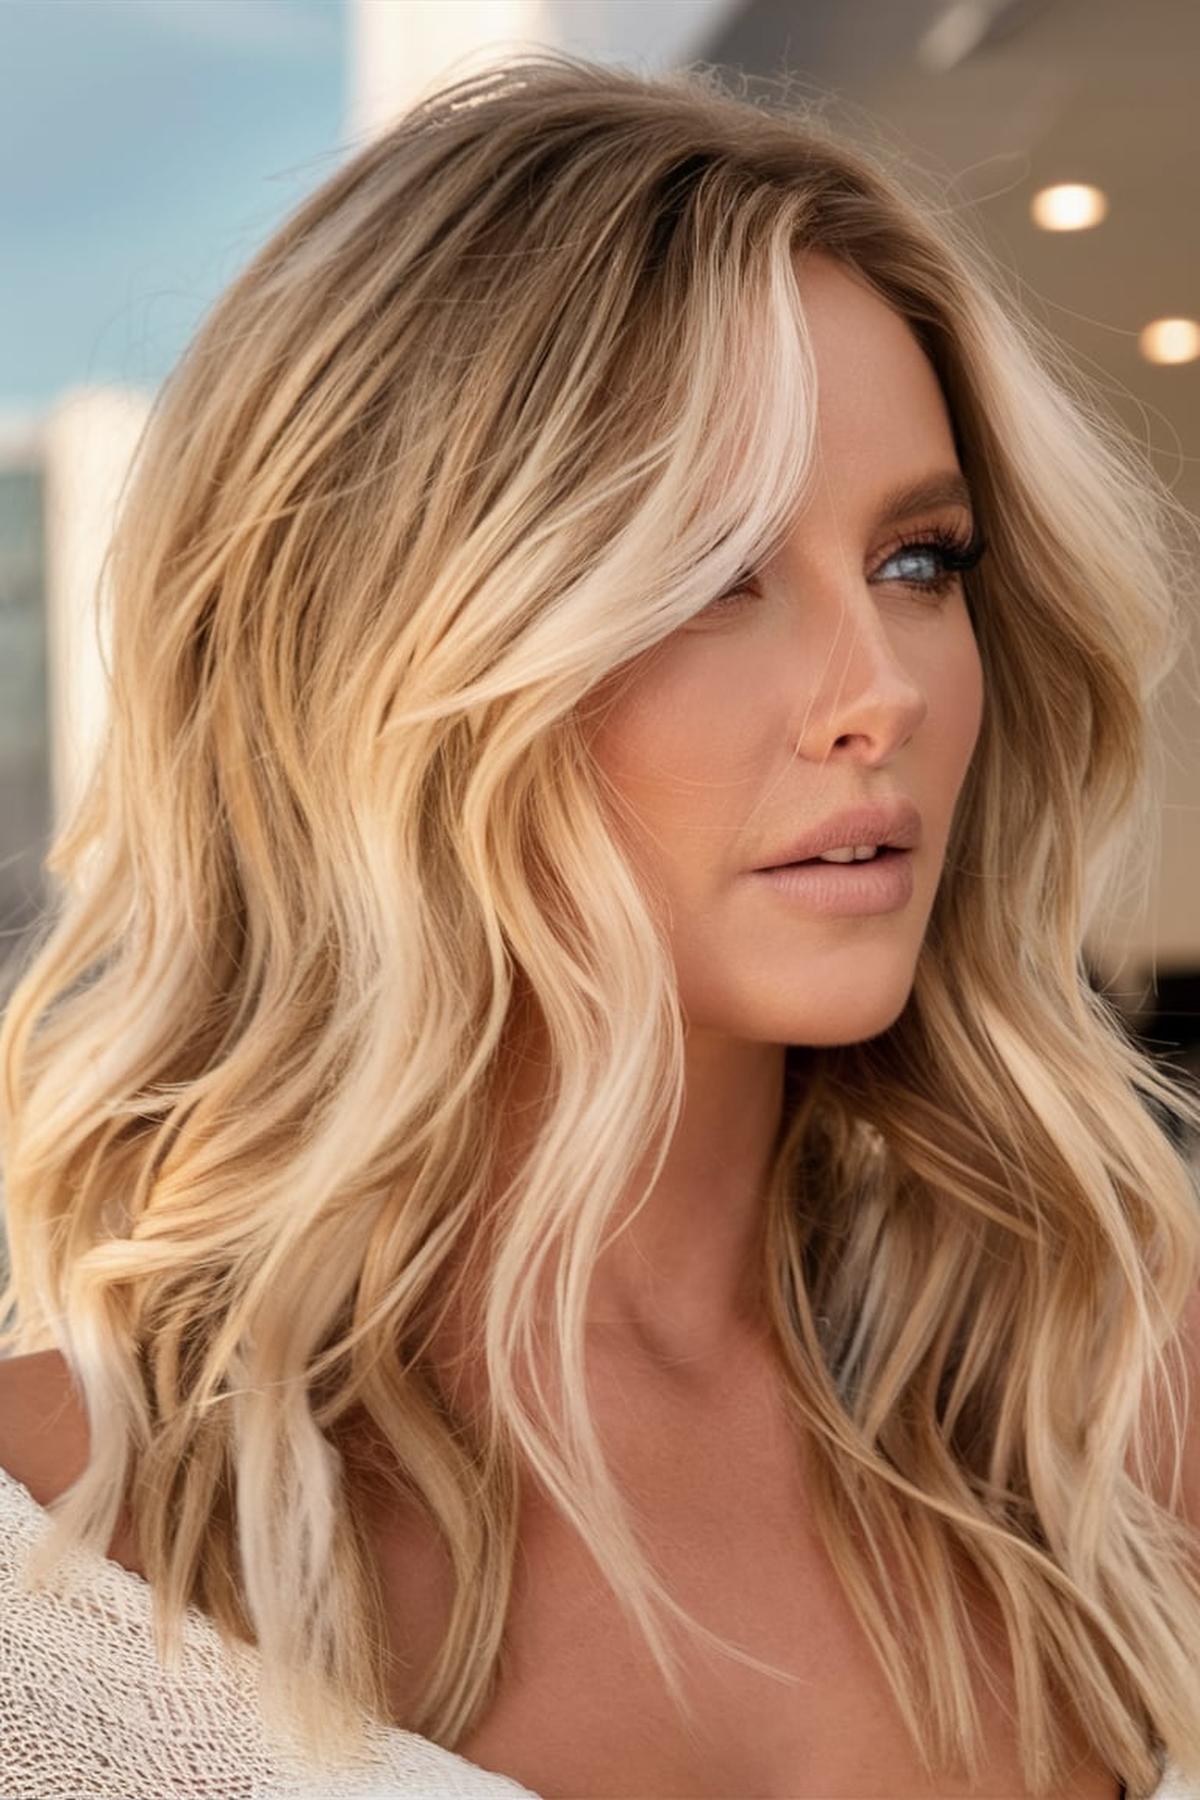
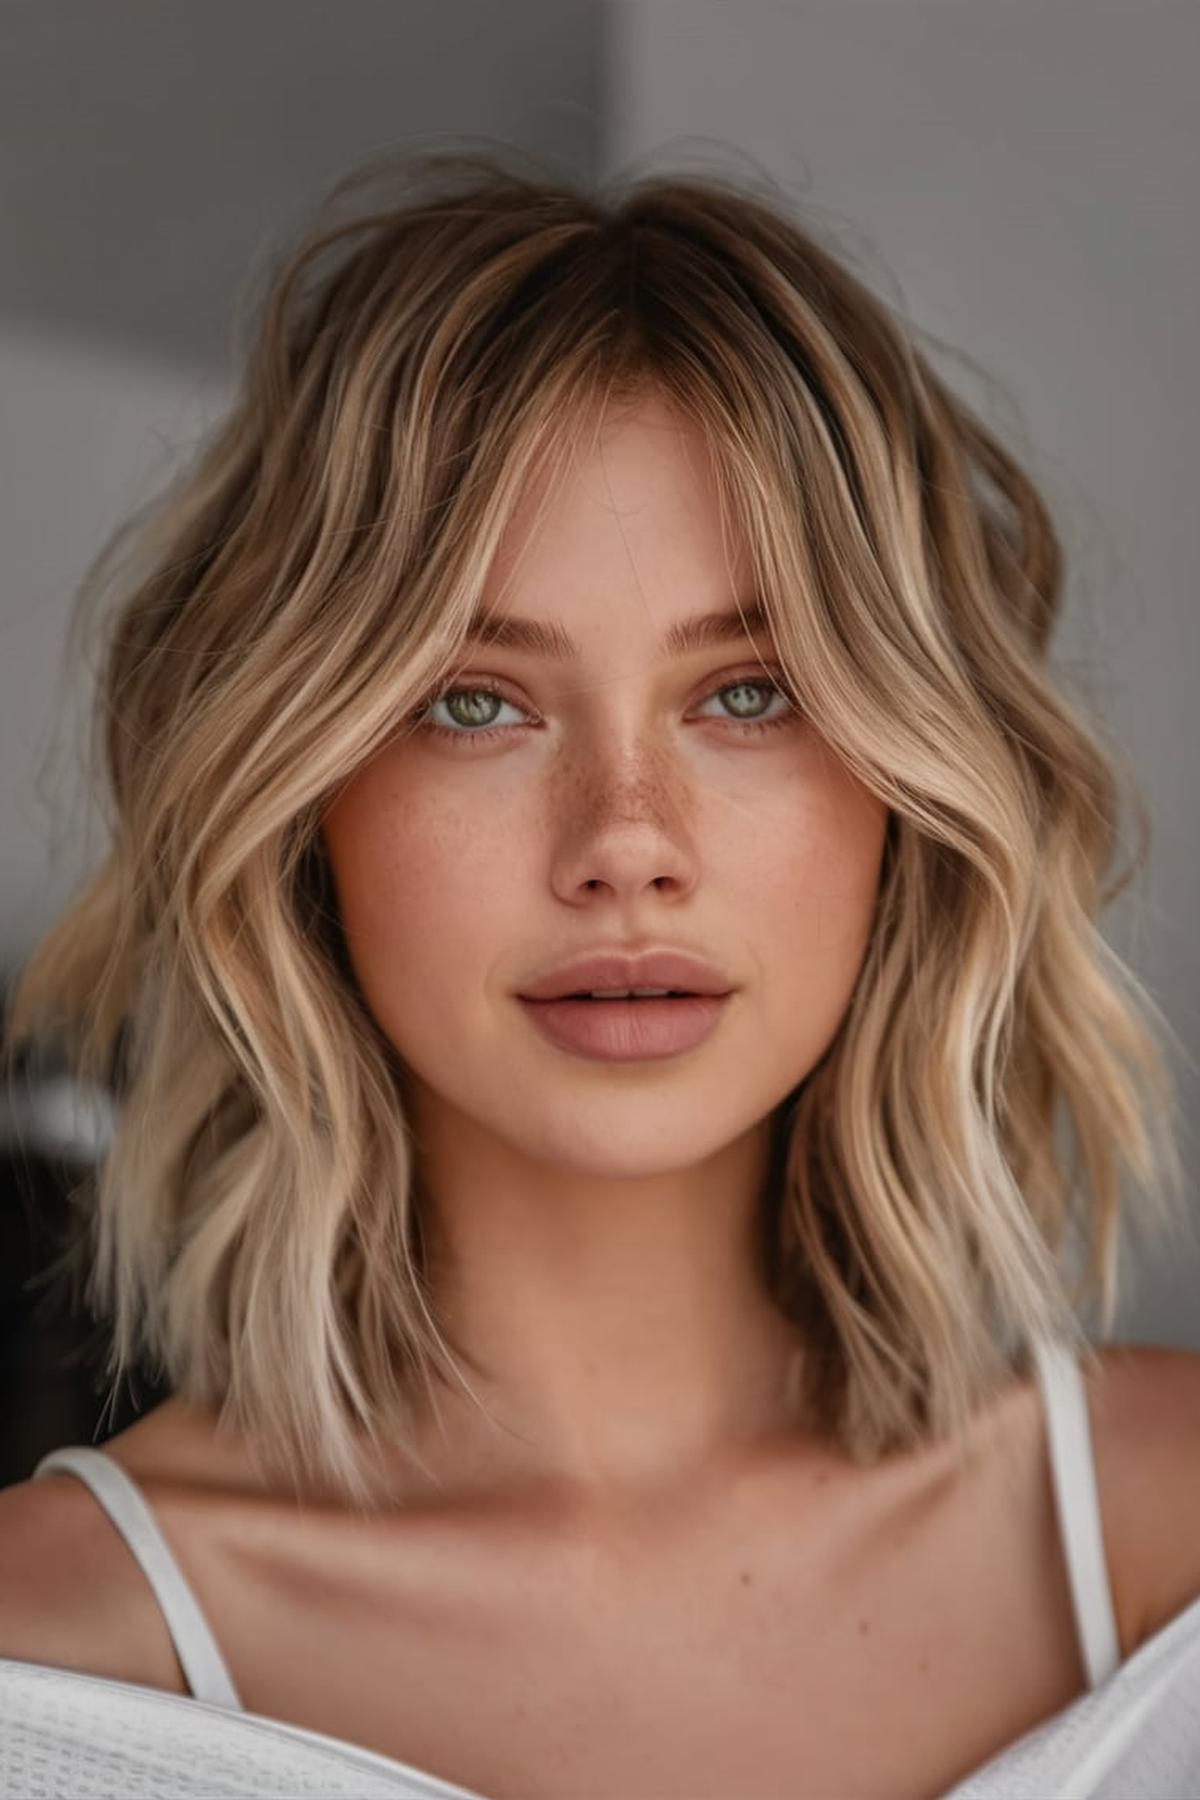
These hairstyles are designed to look great with just a simple wash, without the need for extensive styling. Popular options include the pixie cut, which is a super short and edgy style that requires little maintenance, and the bob cut, which offers a timeless and chic look. The lob, or long bob, is another versatile choice that provides a bit more length while still being easy to manage.
A wavy bob or beach waves can give a relaxed, beachy vibe, while a textured short cut or tousled layers add a playful touch. These styles allow curls to shine without the need for heat styling, and they can be enhanced with products like leave-in conditioners to maintain moisture and reduce frizz.
Boho braids, messy buns, high ponytails, and low ponytails are versatile options that work for both casual and formal occasions. Space buns and quick twists add a fun, youthful twist to any look, while a half-up, half-down style offers a balance between casual and elegant.
Now, without further ado, let’s dive into 23 effortless wash and wear hairstyles for women.
Pixie Cut
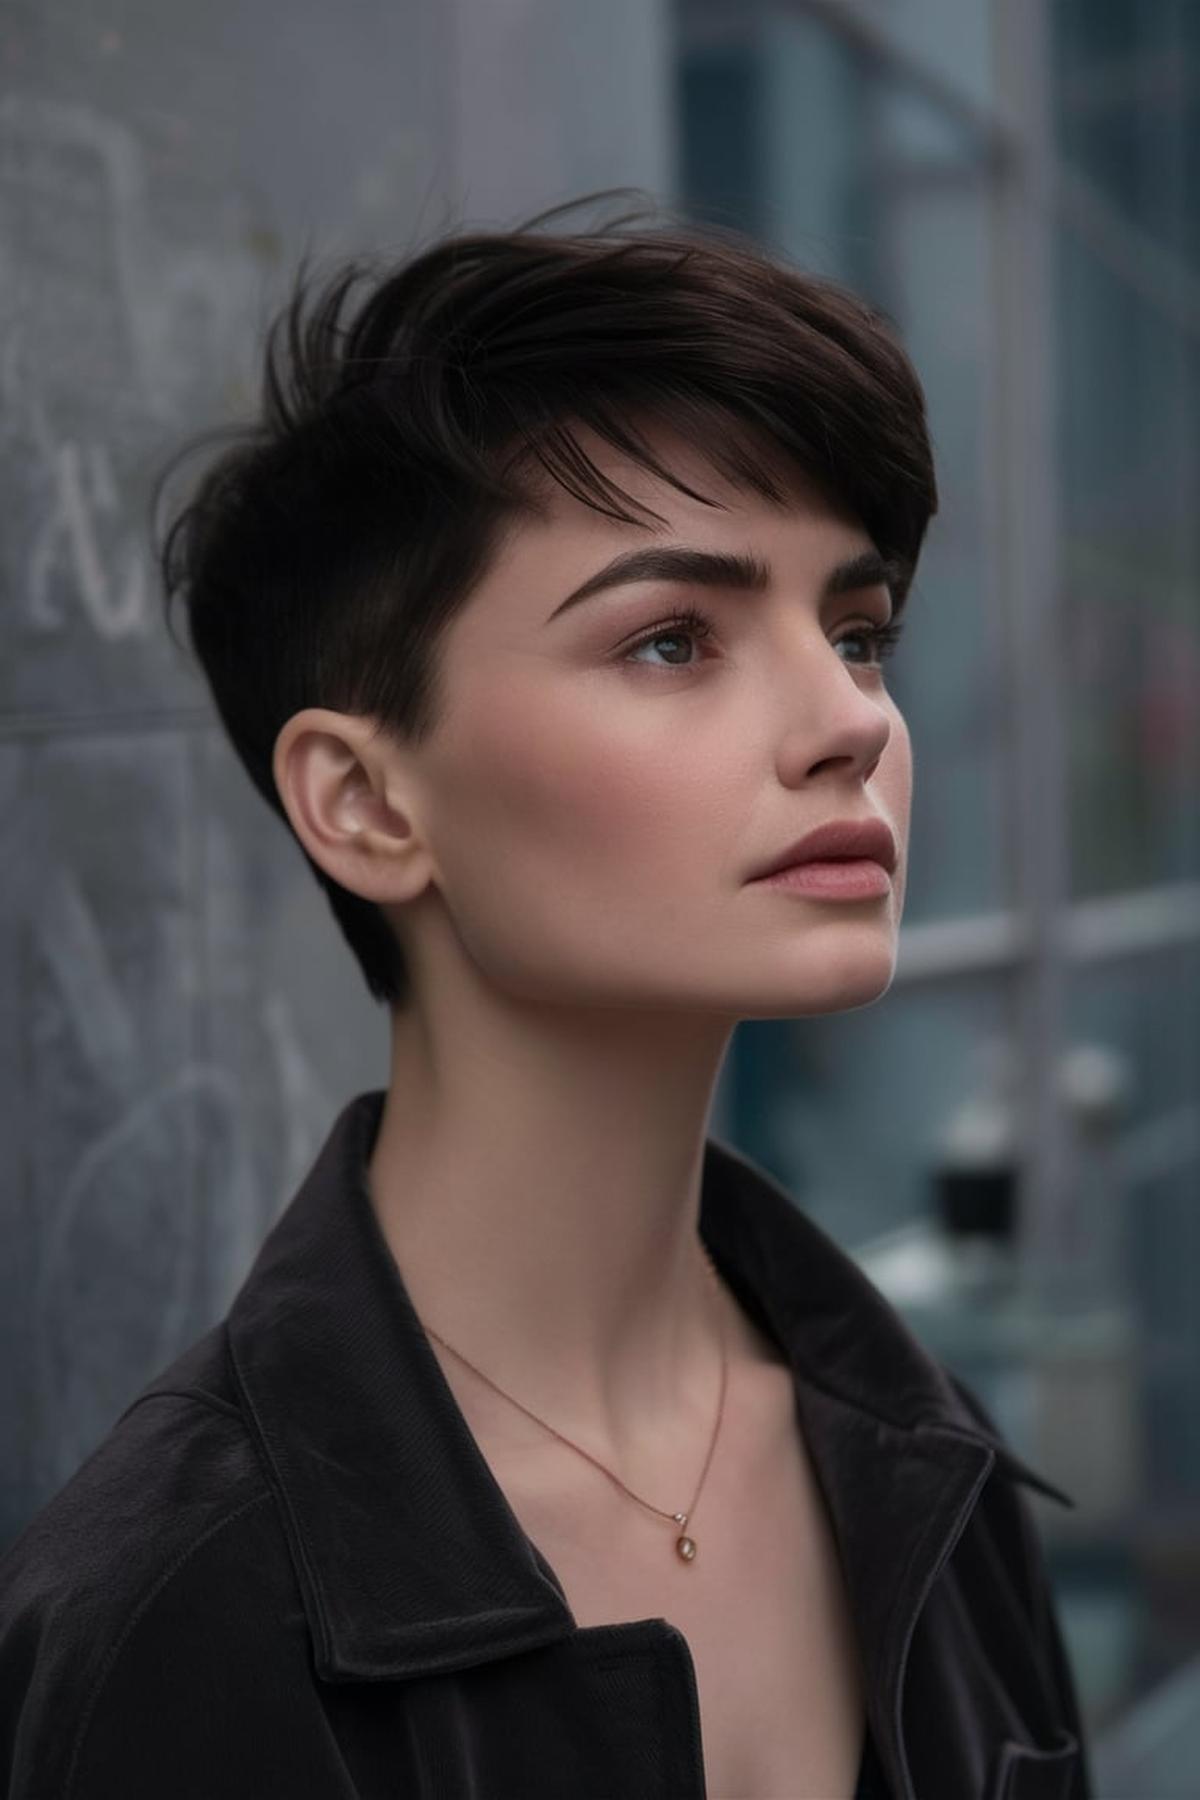
A pixie cut is a short hairstyle that usually features layers, giving it a stylish and slightly messy look. This haircut is perfect for those who want a fresh and easy-to-manage style that highlights their facial features. It’s a popular choice among many celebrities and can be customized to suit different face shapes and personal styles.
They might use clippers for a clean look and then scissors to add texture and shape. It’s important to communicate with your stylist about the length and style you want, as there are many variations of the pixie cut, from very short to slightly longer styles with bangs.
Blow-drying your hair can also help create the desired shape. Experimenting with different styles, like tousled looks or sleek finishes, can keep your pixie cut feeling fresh and fun. Remember, confidence is essential when rocking a pixie cut, so own your new look!
Bob Cut
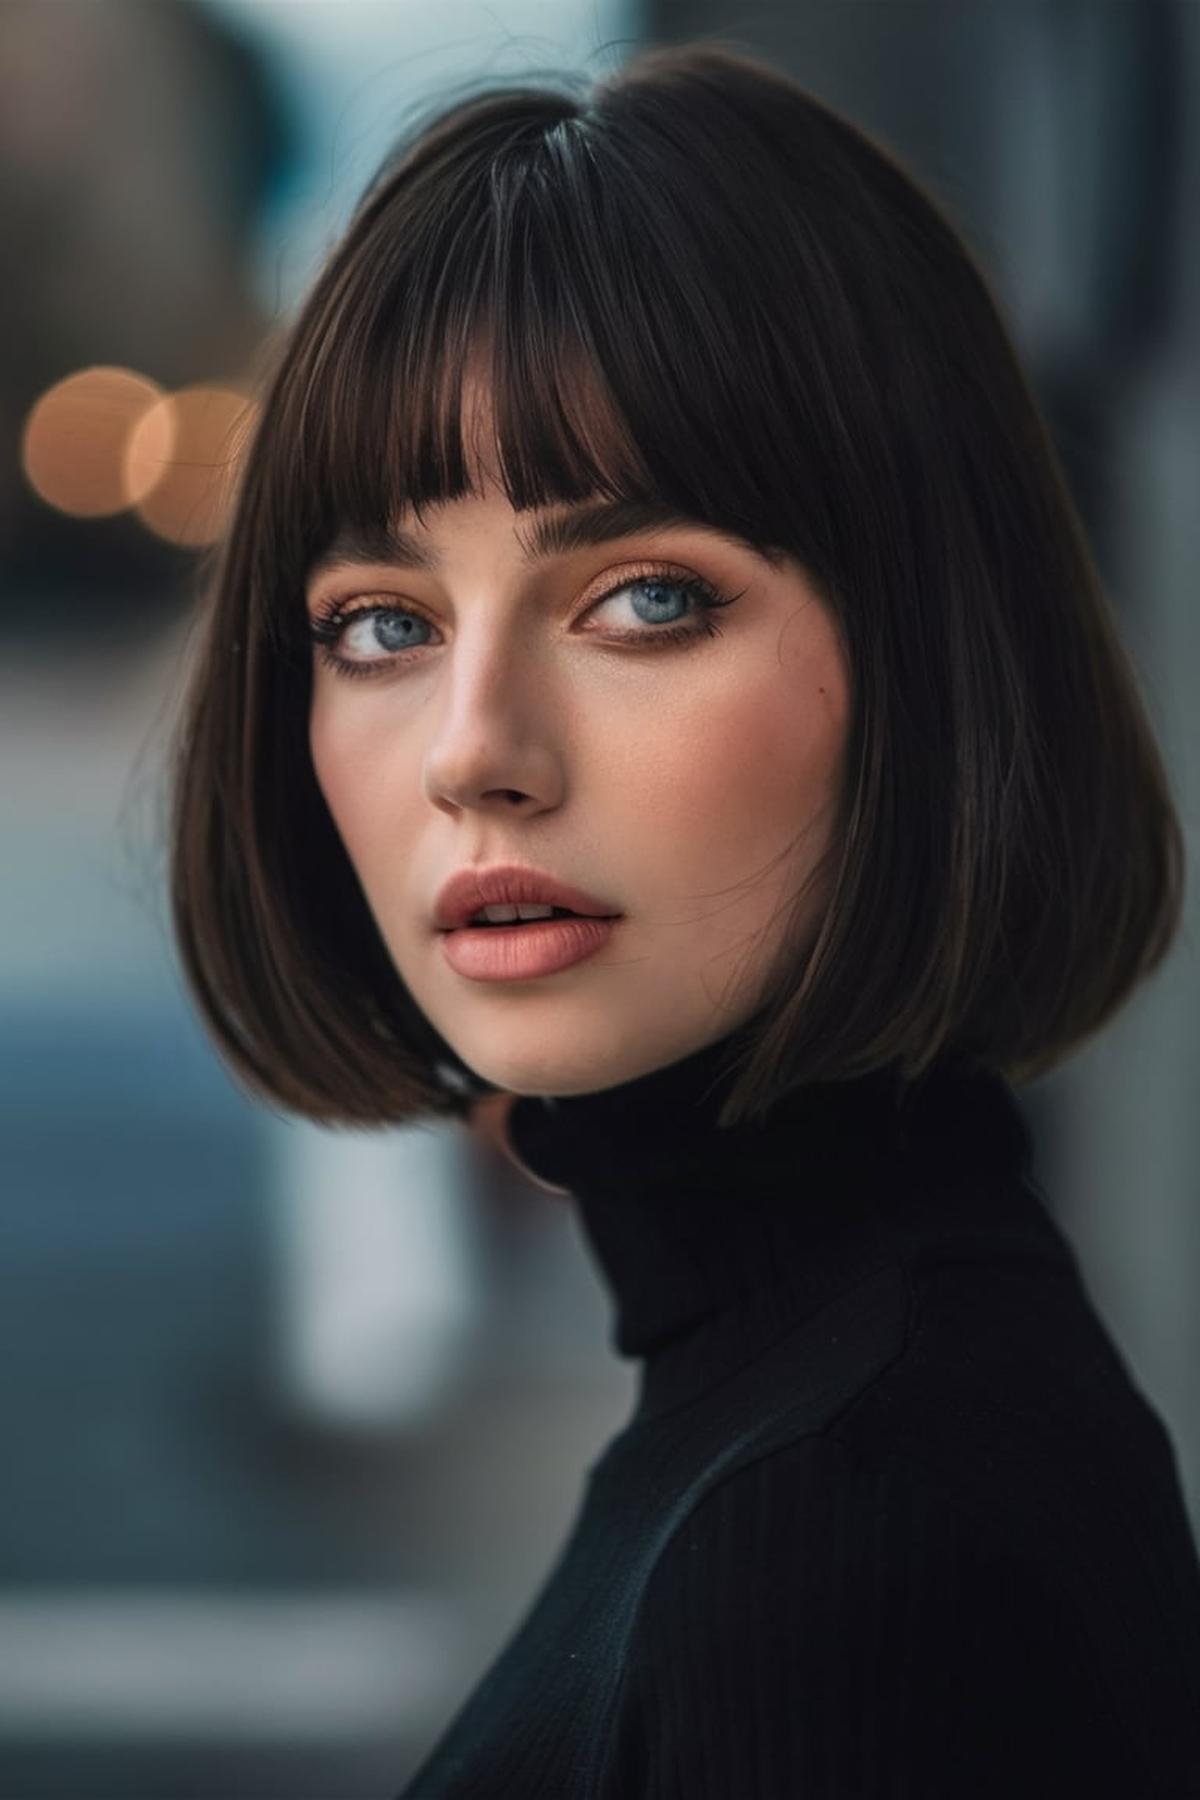
A bob can be blunt, asymmetrical, or textured, and it typically falls around the chin or shoulders. Each style frames the face differently, so consider your face shape when choosing a bob. For example, a blunt bob can make your features look sharper, while a wavy bob adds softness.
For a sleek and polished look, use a flat iron to straighten your hair and finish with a shine serum. If you want something more casual, try creating loose waves using a curling iron or a straightener. A messy waves bob is easy to achieve by using a texturizing spray on damp hair and scrunching it with your fingers.
You can try a half-up, half-down style by pulling back the top section of your hair and securing it with a clip or band. For a trendy touch, use a claw clip to create a simple updo. Don’t forget to use heat protectant products when styling to keep your hair healthy and shiny. With these tips, you can easily master the art of styling a bob cut!
Lob (Long Bob)
The lob is a versatile haircut that typically falls between the chin and collarbone, making it a great choice for many face shapes. It can be worn straight, wavy, or curly, allowing for various looks depending on your mood or occasion. The lob is not just a haircut; it’s a statement that shows confidence and a modern approach to beauty. Many people find that this style is easier to manage than long hair, as it requires less product and styling time, making it practical for everyday wear.
After drying, use a curling iron or flat iron to create loose waves. It’s important to alternate the direction of the curls for a more natural appearance. Finish off with a texture spray or light hairspray to hold the style without making it stiff.
Regular trims every 6-8 weeks will help prevent split ends and keep the shape sharp. Experimenting with different styling products can also help you find what works best for your hair type. Remember, the lob is all about expressing your individuality, so don’t hesitate to personalize it with bangs, layers, or even color. Embrace the change and enjoy the freedom that comes with this chic hairstyle!
Shag Cut
The shag cut features lots of layers, giving it a messy yet stylish look. This haircut is great for medium to thick hair and works well with straight, wavy, or curly textures. One of the best things about the shag is that it’s low-maintenance; you can simply let your hair air dry or use a blow dryer with some mousse for added volume.
Start with a consultation to discuss what you want, as this cut can involve removing a lot of hair. It’s essential to consider your hair’s natural texture—whether it’s straight, wavy, or curly—because this will affect how the cut looks. For straight hair, the stylist may cut it while wet, while for wavy or curly hair, cutting it dry can help customize the shape better.
After washing your hair, you can use a volume-enhancing shampoo and conditioner to help create that rock-star look. A texture spray can also be helpful to add definition to your layers. The shag is all about looking effortlessly cool, so you don’t need to spend a lot of time styling it. Just a quick spritz of product and some tousling with your fingers can give you that perfect, casual vibe that the shag is known for.
Blunt Cut
A blunt cut means all your hair is cut to the same length, creating a clean and sharp appearance. This style is popular because it can make your hair look thicker and healthier, especially if you have fine hair. When getting a blunt cut, your stylist will use scissors to cut straight across, avoiding any layering that can make the hair look uneven.
For those with fine hair, a shorter blunt cut can help give the illusion of more volume. If you have thick hair, it’s best to avoid overly short cuts, as they can make your hair look bulky. Instead, aim for a length just above your shoulders to maintain a clean line without adding too much weight.
To keep the ends looking sharp, plan to visit your stylist every four to six weeks. At home, using the right hair care products is crucial. Hydrating treatments can keep your hair looking healthy, while styling products can help you achieve different looks, from sleek and straight to textured waves. With the right care and regular visits to the salon, you can enjoy the benefits of a blunt cut and keep it looking fresh.
Layered Cut
Layering involves cutting hair at different lengths to create volume and movement. This technique can be used on various hair types, whether straight, wavy, or curly. The first step in achieving a great layered look is to assess the hair’s texture and thickness. For instance, curly hair should be cut dry to see how it naturally falls, while straight hair is best cut when wet.
Start by dividing the hair into manageable parts, usually separating it into front and back sections. This organization allows you to focus on one area at a time, ensuring that each layer is cut evenly. When cutting, begin with the interior layers and work your way outwards.
Regular trims will help preserve the shape and movement of the layers. Additionally, using the right styling products can enhance the layers’ definition and volume. For example, mousse can add body to fine hair, while curl activators can help define curls in layered cuts. With practice and the right techniques, anyone can master the art of layering hair and achieve a stylish look.
Curly Bangs
It’s best to get your bangs cut when your hair is dry because curly hair shrinks as it dries. This way, you can see exactly how short your bangs will be. When cutting, aim for a longer style at first, and gradually go shorter if you want to. Always consult with a stylist who knows how to work with curly hair to avoid any mishaps.
After washing your hair, avoid rubbing your bangs with a towel, as this can create frizz. Instead, gently squeeze out excess water and apply a curl cream or gel while your hair is still wet. You can twist your bangs around your fingers to shape them or use a curling wand if they need a little extra help. If you prefer a softer look, you can lightly straighten them with a brush or blow dryer.
Curly bangs tend to get dirty and greasy faster than the rest of your hair, so wash or spritz them more often. Use your fingers to style them instead of a brush, as this helps preserve their bounce and curl. Regular trims are also important to keep your bangs looking neat. Don’t hesitate to experiment with accessories like clips or bobby pins for different styles, and most importantly, have fun with your new look!.
Wavy Bob
If you have naturally wavy hair, you’re already halfway there! For those with straight hair, you can achieve the look using a flat iron. Simply clamp a section of hair in the straightener, twist it 180 degrees, and pull it through while loosening your grip before reaching the ends.
Choosing the right products is also key to perfecting your wavy bob. Use a lightweight styling cream or mousse to add texture without weighing your hair down. Apply the product to damp hair and scrunch it to enhance your waves.
Finally, maintenance is important for keeping your wavy bob looking fresh. Avoid using too many products to prevent buildup, and try to wash your hair less frequently to maintain its natural oils. When you sleep, protect your waves by using a silk pillowcase or a loose braid to minimize frizz. With these tips, you’ll be able to rock a stylish wavy bob effortlessly!
Beach Waves
After washing and conditioning, let your hair air dry until it’s about 80% dry. This helps reduce heat damage. Once it’s mostly dry, apply a heat protectant spray to shield your hair from blow-drying and curling. As you blow-dry, use your hands to scrunch small sections of hair to encourage natural waves.
Use a curling iron with a barrel size of about 1 to 1.5 inches. Take small sections of hair, wrap them around the iron, but leave the last 2-3 inches uncurled. This technique gives the waves a relaxed, beachy vibe.
Finish off with a light-hold hairspray to keep your style in place without making it stiff or crunchy. For those who prefer a no-heat method, you can also achieve beach waves by braiding slightly damp hair into loose braids and letting it dry overnight. This technique is great for protecting your hair from heat damage while still getting that beachy look. No matter which method you choose, remember that the key to perfect beach waves is to embrace a slightly messy, effortless style, so don’t worry about making everything look perfect.
Textured Short Cut
Texture refers to how your hair feels and looks, including its thickness and curl pattern. For a stylish textured look, you want to create layers and movement in your hair. This can be done by using specific cutting techniques, like point cutting, where scissors are held at an angle to create softer edges and add volume without making the hair look too blunt or flat.
A good stylist will assess your hair type and decide where to add texture, usually focusing on the ends and layers. This helps in achieving a more dynamic and lively hairstyle.
After the haircut, use products like styling wax or mousse to define the texture and add hold. You can scrunch your hair with your fingers while blow-drying to enhance the natural waves or curls. Remember, practice makes perfect, so don’t hesitate to experiment with different products and techniques until you find what works best for your unique hair type and style preferences.
Tousled Layers
This style involves cutting hair into different lengths, which adds volume and movement. To achieve this look, you can ask your hairstylist for long layers that frame your face. It’s important to communicate what you want clearly, so bringing a picture can help.
After washing your hair, use a lightweight mousse or sea salt spray to create texture. Apply the product evenly while your hair is still damp. Then, you can either let your hair air dry or use a blow dryer with a diffuser to add volume.
Finally, finish off your style with some hair spray or texturizing spray to hold the waves in place without making your hair stiff. Remember to avoid heavy products that can weigh your hair down. Regular trims will keep your layers looking fresh and prevent split ends. With practice, you’ll be able to master tousled layers and enjoy a stylish, laid-back hairstyle that suits any occasion.
Natural Curls
Curly hair can vary greatly, so it’s essential to know whether you have loose waves or tight coils. This knowledge will help you choose the right products and techniques. For instance, if you have tighter curls, you may need more moisture and specific styling products to keep your curls defined and healthy. Embracing your natural texture is the first step to rocking your curls confidently.
When you do wash it, use a good moisturizing shampoo and conditioner. After washing, apply styling products while your hair is still wet. This helps to lock in moisture and reduce frizz.
Avoid towel drying, which can cause frizz; instead, gently squeeze out excess water. Letting your hair air dry is best, but if you’re in a hurry, use a diffuser on a low setting to maintain curl definition. Once your hair is dry, you can gently tousle it with your fingers to add volume. Remember, practice makes perfect, so keep experimenting with different products and techniques until you find what works best for your unique curls.
Soft Waves
First, wash and condition your hair, then apply a heat protection spray to keep it safe from damage. This step is crucial because heat styling can harm your hair over time. After applying the spray, blow-dry your hair until it’s completely dry.
Take a small section of hair and wrap it around a curling wand or a flat iron, holding it for a few seconds. If you’re using a curling wand, make sure to wrap the hair away from your face for a more natural look. After curling each section, pin the curl in place with a bobby pin to let it cool down.
Finally, once all your curls are pinned and cooled, gently remove the pins and use your fingers to separate the curls for a softer, more relaxed wave. You can finish off with a light hairspray to keep the waves in place without making them stiff. Remember, practice makes perfect, so don’t get discouraged if it doesn’t look perfect the first time! With time, you’ll get better at creating those beautiful soft waves.
Straight and Sleek
Begin by brushing your hair thoroughly to remove any knots. This is crucial because tangles can make it hard to achieve that smooth look. If your hair is a bit wavy or frizzy, consider braiding it overnight to help it air dry straight. When you’re ready to style, section your hair into smaller parts.
This step is essential to prevent damage from the straightener. When you use the straightener, start from the roots and slowly glide it down to the ends. Make sure to keep the straightener moving to avoid burning your hair.
Finally, to keep your hair looking shiny and sleek, apply a small amount of hair oil or shine spray after styling. This will help tame any flyaways and add a polished look. Remember not to use too much product, as it can make your hair look greasy. With practice and the right techniques, you can achieve a beautiful straight and sleek hairstyle that lasts all day.
Boho Braids
Begin by separating a section of hair from the front of your head, about one-third back. Divide this section into three smaller parts to create a French braid. As you braid, add more hair from the large section to keep the braid tight at the top.
Next, to achieve that effortless boho vibe, it’s important to loosen your braid a bit. After securing it with a small elastic, gently pull at the braid to create a fuller, messier appearance. This adds to the bohemian style, making it look more natural and less polished.
Make sure to spritz your hair with water and use a bit of oil on your scalp to prevent dryness. If your braids start to frizz, applying some mousse can help tame them. Sleeping on a silk pillow or wearing a bonnet will also keep your braids looking fresh for longer. With these tips, you’ll be able to rock your boho braids with confidence and style.
Messy Bun
Hair that’s a day or two old is ideal because it has more texture, which helps the bun hold better. Begin by flipping your head upside down and gathering your hair into a loose ponytail at your desired height. Don’t stress about making it perfect; some bumps and loose strands are totally fine and actually add to the messy look.
Secure it with a hair tie or a scrunchie. If the bun looks too neat, gently pull it apart with your fingers to achieve that desired messy vibe.
Lastly, finish your messy bun with a light hairspray to keep it in place throughout the day. If you want to add a little flair, you can use bobby pins to secure any loose pieces or to shape the bun. Remember, the key to a great messy bun is to embrace imperfections—it’s all about looking effortlessly chic while feeling comfortable and confident.
High Ponytail
Gather all your hair at the crown of your head, which is the highest point on your head. Use one hand to hold the gathered hair in place while you use your other hand to grab a hair tie. Secure the hair tie around the ponytail, making sure it feels tight enough to hold your hair without being too tight to cause discomfort.
You can tease the hair at the crown slightly before gathering it into a ponytail. This creates a bit of lift and makes the ponytail look fuller. After securing the ponytail, you can take a small section of hair from the bottom of the ponytail and wrap it around the hair tie to hide it.
For a fun twist, try adding a scrunchie or a cute hair clip. You can also experiment with variations like braiding the ponytail or leaving some strands loose for a more relaxed look. Remember, practice makes perfect, so don’t be afraid to try different techniques until you find the one that works best for you.
Low Ponytail
Make sure it’s clean and free of tangles by brushing it well. If your hair is a bit messy or has some waves, that’s actually great! It adds texture and makes the ponytail look more stylish.
Next, to make your low ponytail stand out, consider adding some flair. You can wrap a small section of hair around the hair tie to hide it, which gives a more polished appearance. If you want to make it even fancier, use a cute hair accessory like a ribbon or a decorative clip.
After securing your ponytail, gently pull at the hair at the base to create a fuller look. If you like a bit of messiness, you can tease the ponytail slightly or let a few pieces fall out. Finish off with a light mist of hairspray to keep everything in place. With these steps, you’ll have a stylish low ponytail that’s perfect for any occasion!
Space Buns
First, it’s best to do this style when your hair is a bit dirty, as it holds better. Spray some dry shampoo on your roots to add texture and volume. Then, part your hair down the middle to create two even sections.
Next, it’s time to create the buns. For each ponytail, twist the hair loosely and wrap it around the base of the ponytail to form a bun. Secure the bun with bobby pins, tucking in any loose ends.
Finally, to keep your space buns looking great all day, finish off with a light mist of hairspray. Hold the can about 12 inches away from your head and spray evenly. This will help your hairstyle stay in place without feeling stiff. Enjoy your stylish space buns, perfect for any casual outing or festival!
Quick Twist
Brush it out thoroughly to remove any knots, as this will make styling easier and prevent breakage. Once your hair is smooth, part it down the middle or to the side, depending on your preference. This will help you create two sections, which is essential for the twisting technique.
You can start at the roots and work your way down, adding more hair as you go for a more intricate look. Secure the twist with a hair tie or bobby pins to keep it in place. If you want to add some flair, you can pull at the twist gently to make it look fuller and more relaxed.
This can give your look a fun touch. Remember, practice makes perfect, so don’t worry if it doesn’t look perfect the first time. With a little time and effort, you’ll be able to create this cute hairstyle quickly and easily!
Half-Up, Half-Down
Use a brush to smooth it out and create a clean look. Secure this section with a hair tie or elastic. You can make it a simple ponytail or twist it into a bun for a more stylish appearance.
You can leave a few strands out at the front to soften the look. If you want to add some texture, consider curling the loose hair with a curling iron. This adds a fun, relaxed vibe to the hairstyle.
Don’t be discouraged if it doesn’t look exactly how you want it the first time. Keep trying different styles and techniques until you find what works best for you. Watching tutorials online can also help you pick up new tips and tricks to elevate your half-up, half-down style. Enjoy experimenting and have fun with your hair!
Natural Afro
Afro hair comes in different types, mainly categorized as 4A, 4B, and 4C, each with its own texture and curl pattern. This hair type tends to be dry and fragile, so knowing how to care for it is essential for maintaining its health and style. Regular moisturizing and using products specifically designed for afro hair can help keep it looking vibrant and reduce breakage.
You can try different hairstyles like braids, twists, or puffs, which are not only stylish but also protective for your hair. Involve friends or family in the process to make it fun, perhaps by watching a movie or listening to music while you style.
The afro is a beautiful representation of natural texture, and there are countless ways to style it. Whether you want a big, bold afro or prefer smaller puffs, the key is to experiment and find what looks best on you. Remember, taking care of your afro is a journey that requires patience and creativity, so enjoy the process and celebrate your unique hair.
Simple Side Part
First, make sure your hair is clean and dry. If you want extra smoothness, you can use a bit of hair serum or leave-in conditioner. Then, use a comb to create a straight line where you want the part to be. For a side part, you can choose either side of your head—just pick the one that looks best on you.
If you want a sleek look, you can use a flat iron to straighten your hair after parting it. For added volume, you might consider curling the ends slightly or using a round brush while blow-drying. If you prefer a more casual look, you can let your hair be a bit messy or tousled.
Hair clips, headbands, or even a cute hat can enhance your side part hairstyle. Experiment with different looks to see what suits you best. The key is to practice and find a style that feels comfortable and confident for you. With a bit of practice, you’ll be able to rock the simple side part effortlessly!
Q&As for wash and wear hairstyles for women
Q: What are some easy wash and wear hairstyles for women that require minimal styling?
A: Wash and wear hairstyles are designed to look great with just a basic wash and minimal styling. Styles like the bob with bangs, feathered jaw-length bob, and curly shag are popular because they maintain a polished look with minimal effort.
Q: How can a pixie cut be styled for a wash and wear look?
A: A pixie cut is a super short hairstyle that is easy to maintain. It combines ease with edgy sophistication, requiring little more than a wash and air dry to look chic and modern.
Q: What makes a bob cut suitable for a wash and wear hairstyle?
A: A bob cut, especially when paired with bangs, offers a timeless look that is easy to style. It provides a striking silhouette and polished simplicity, making it ideal for a wash and wear hairstyle.
Q: How can someone with curly hair achieve a wash and wear style?
A: For curly hair, a style that dusts the shoulders with long layers is ideal. This cut balances wild and soft elements, allowing curls to maintain their natural shape with minimal styling.
Q: What is a good wash and wear hairstyle for wavy hair?
A: Wavy hair benefits from layers of varying lengths to encourage the natural shape of the waves. This cut looks fuller and is easy to maintain, making it perfect for a wash and wear style.
