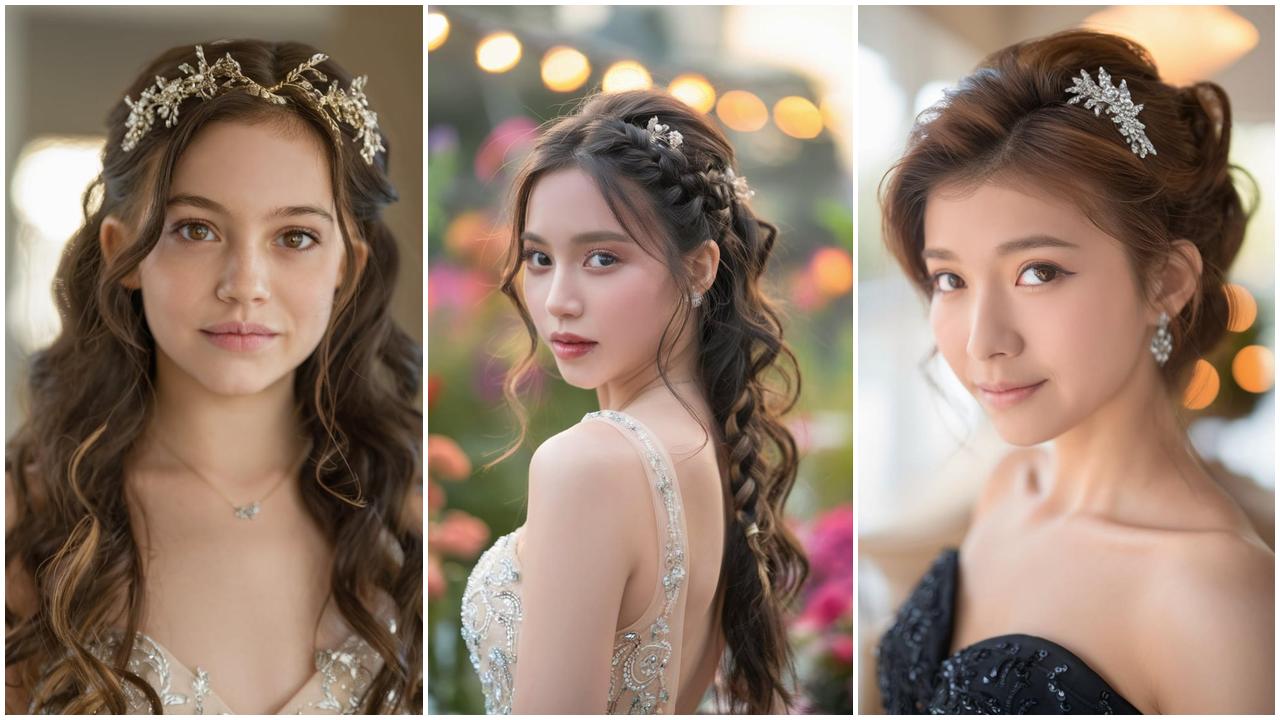
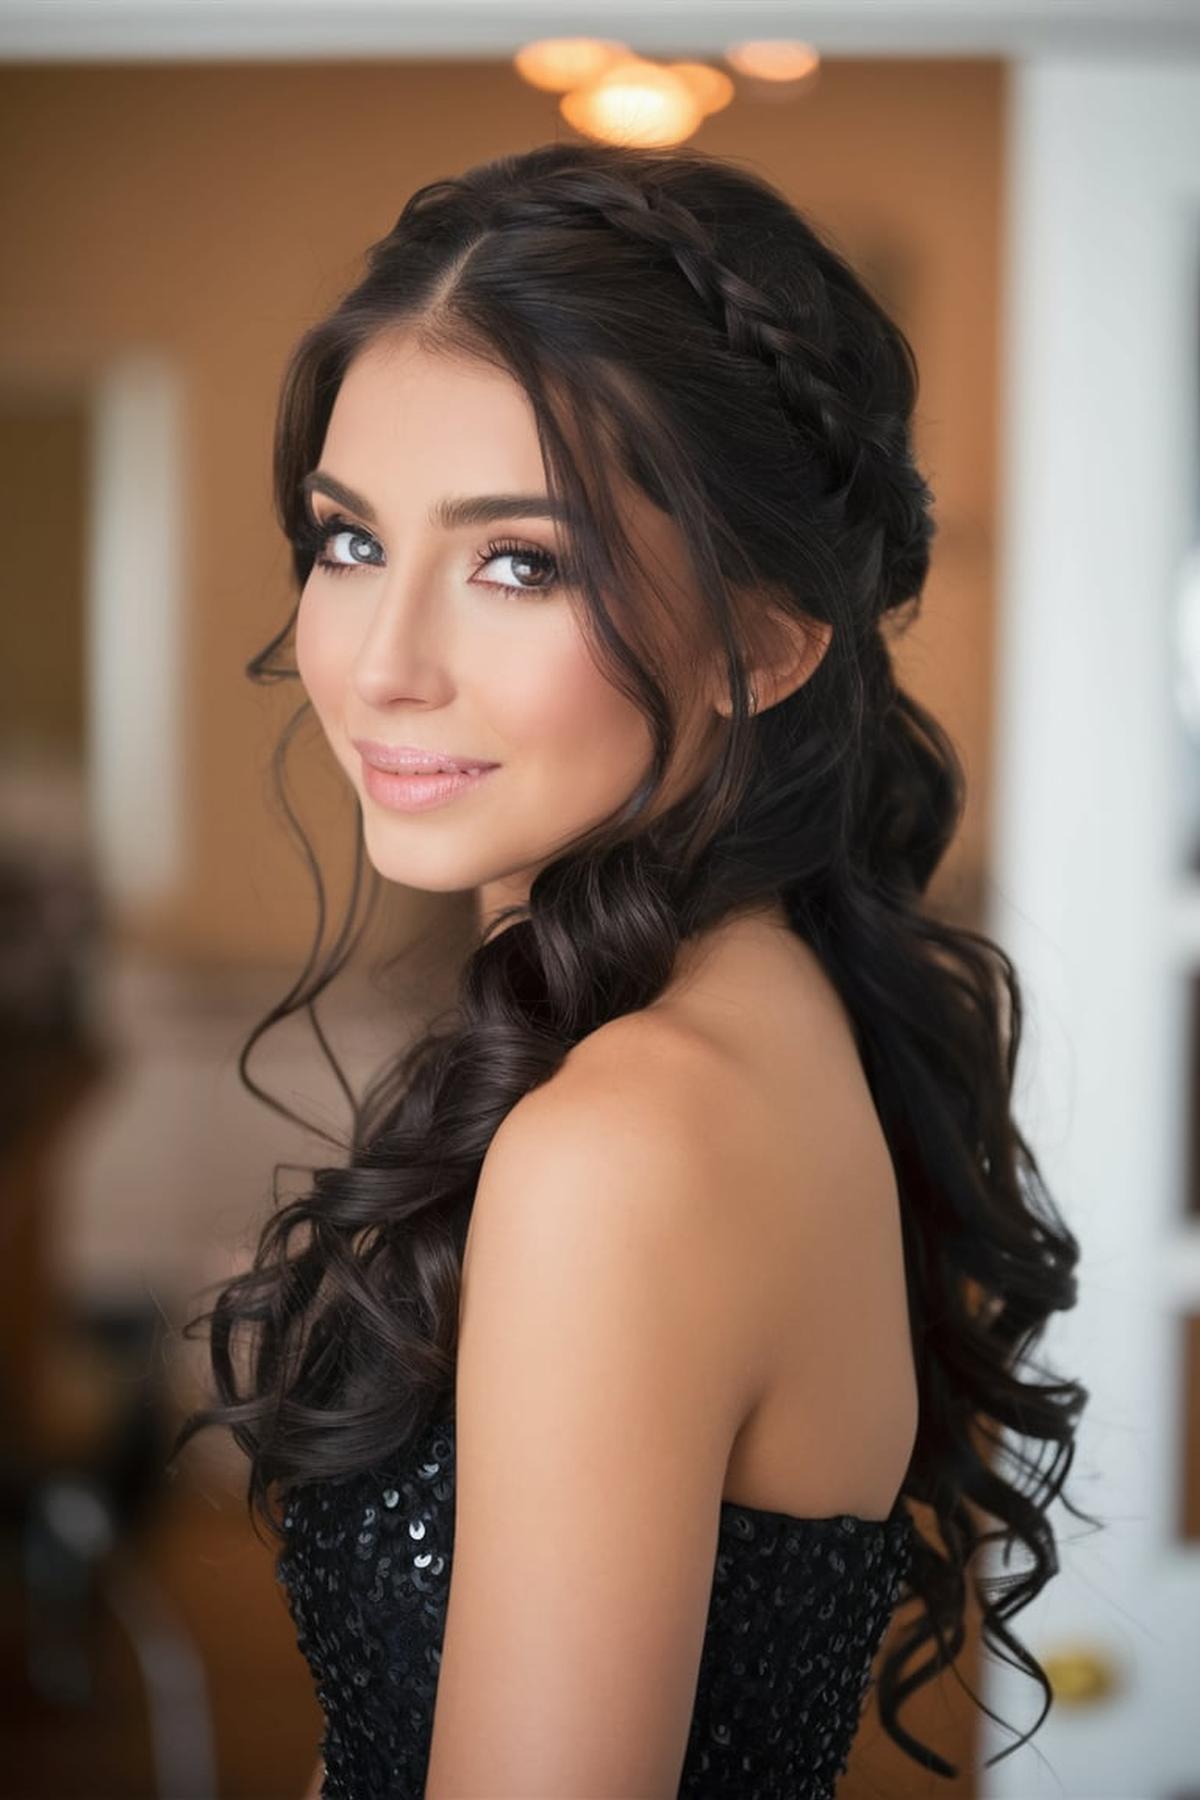
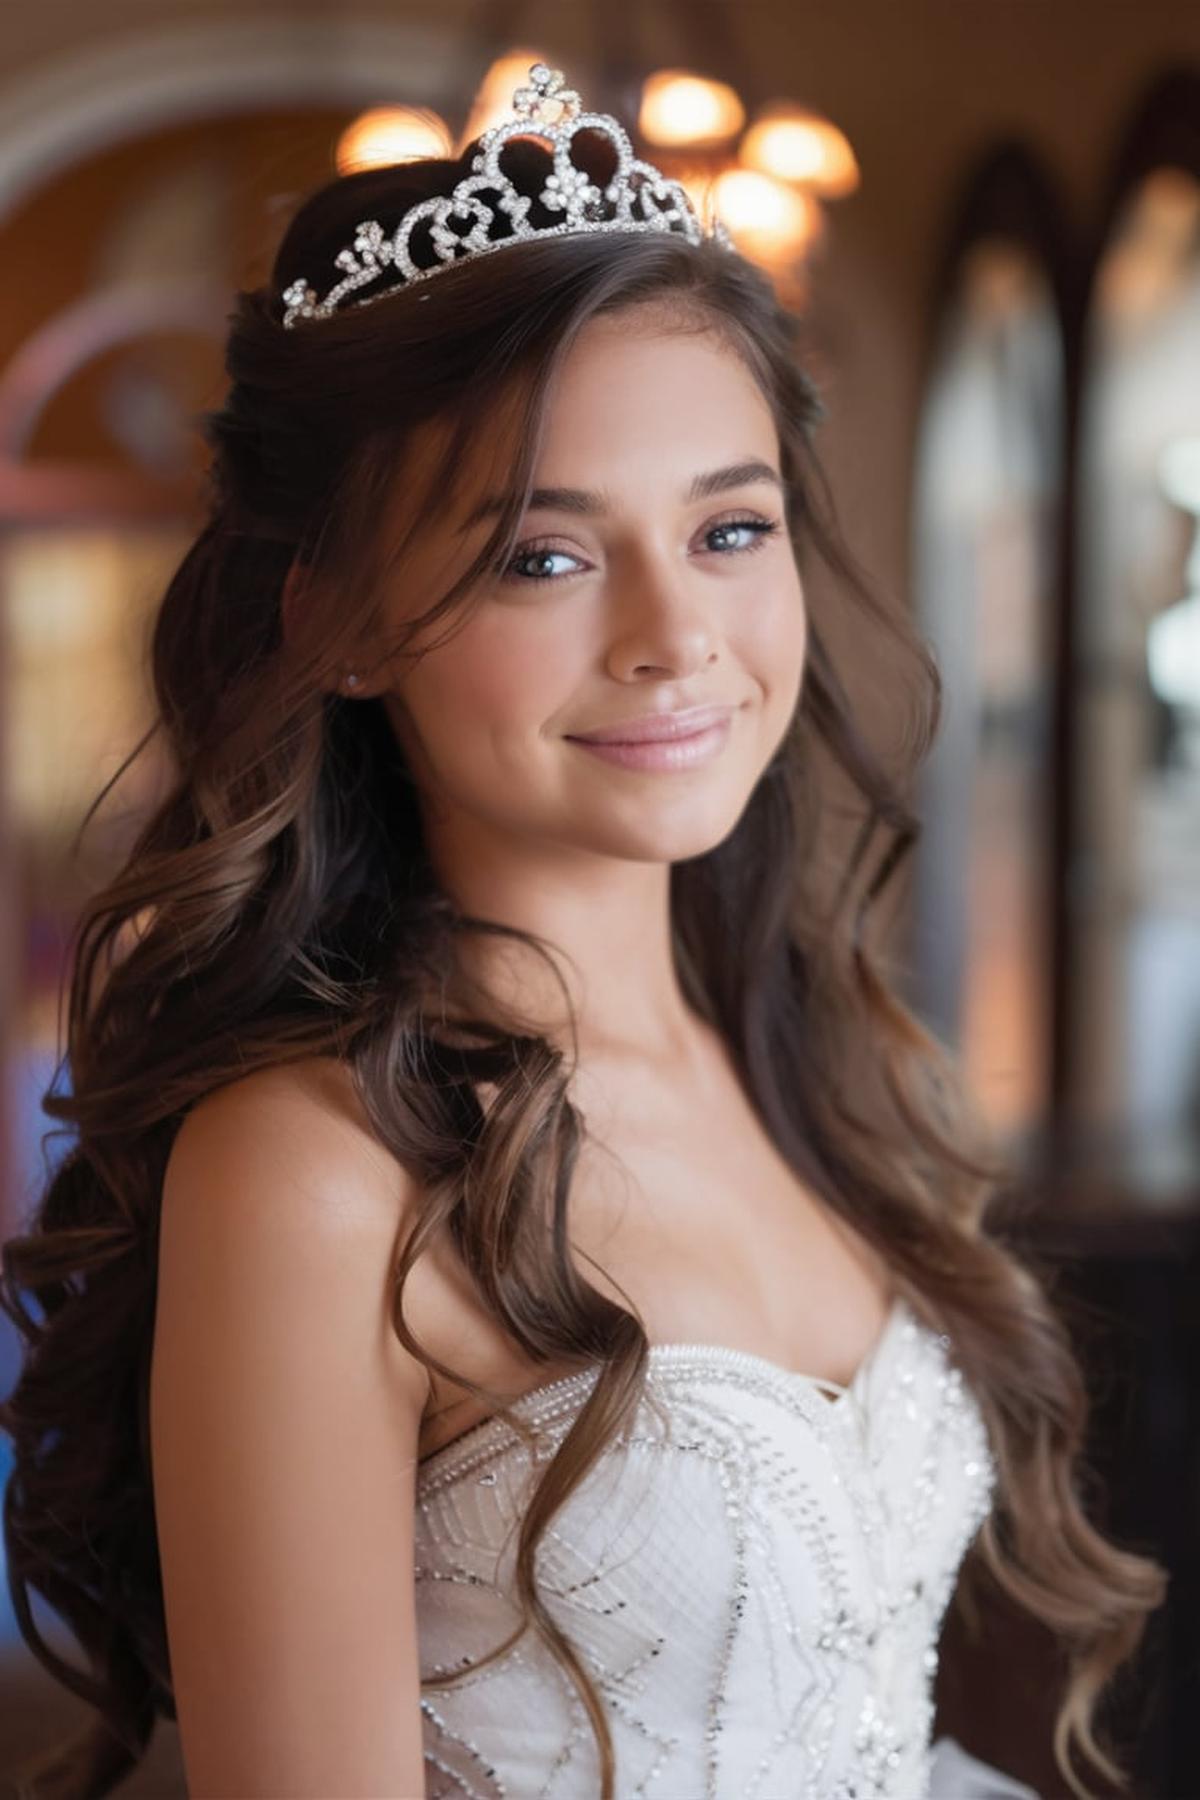
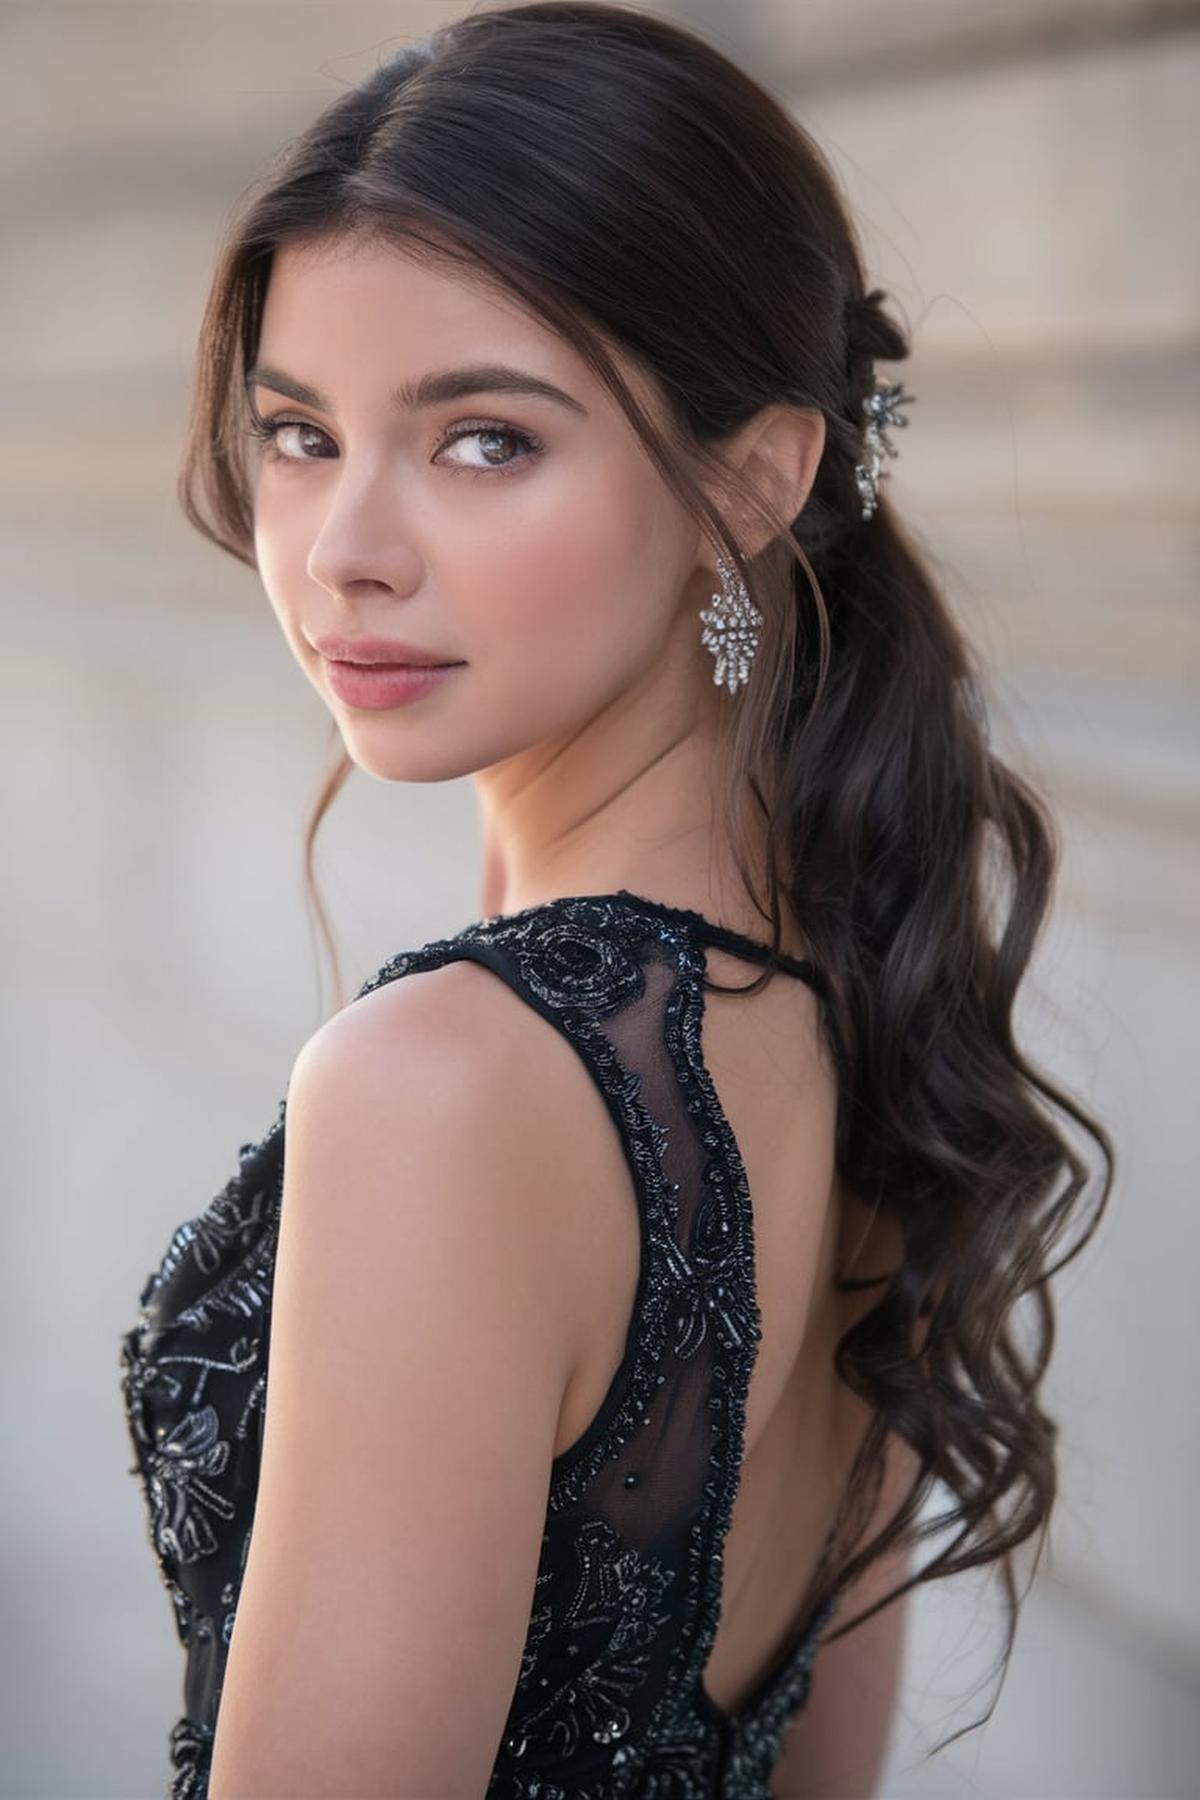
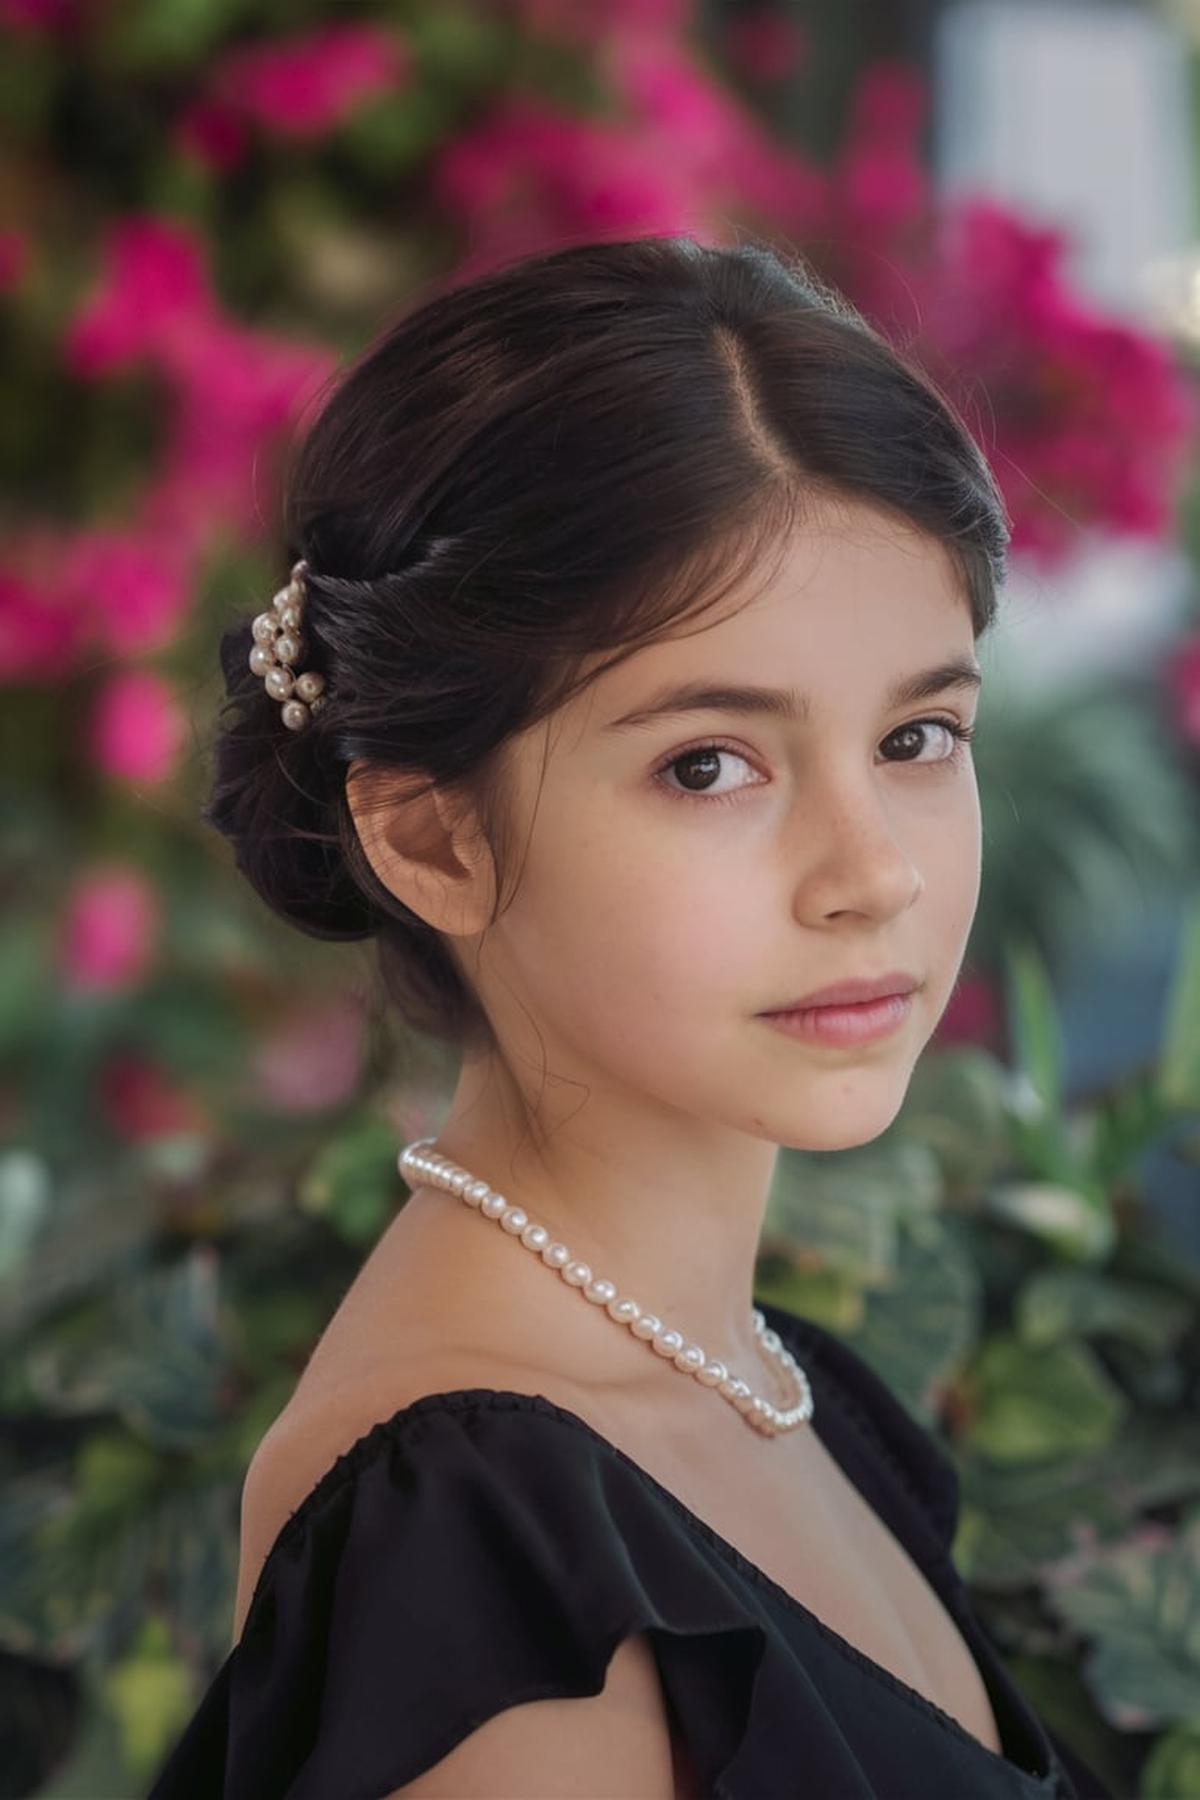
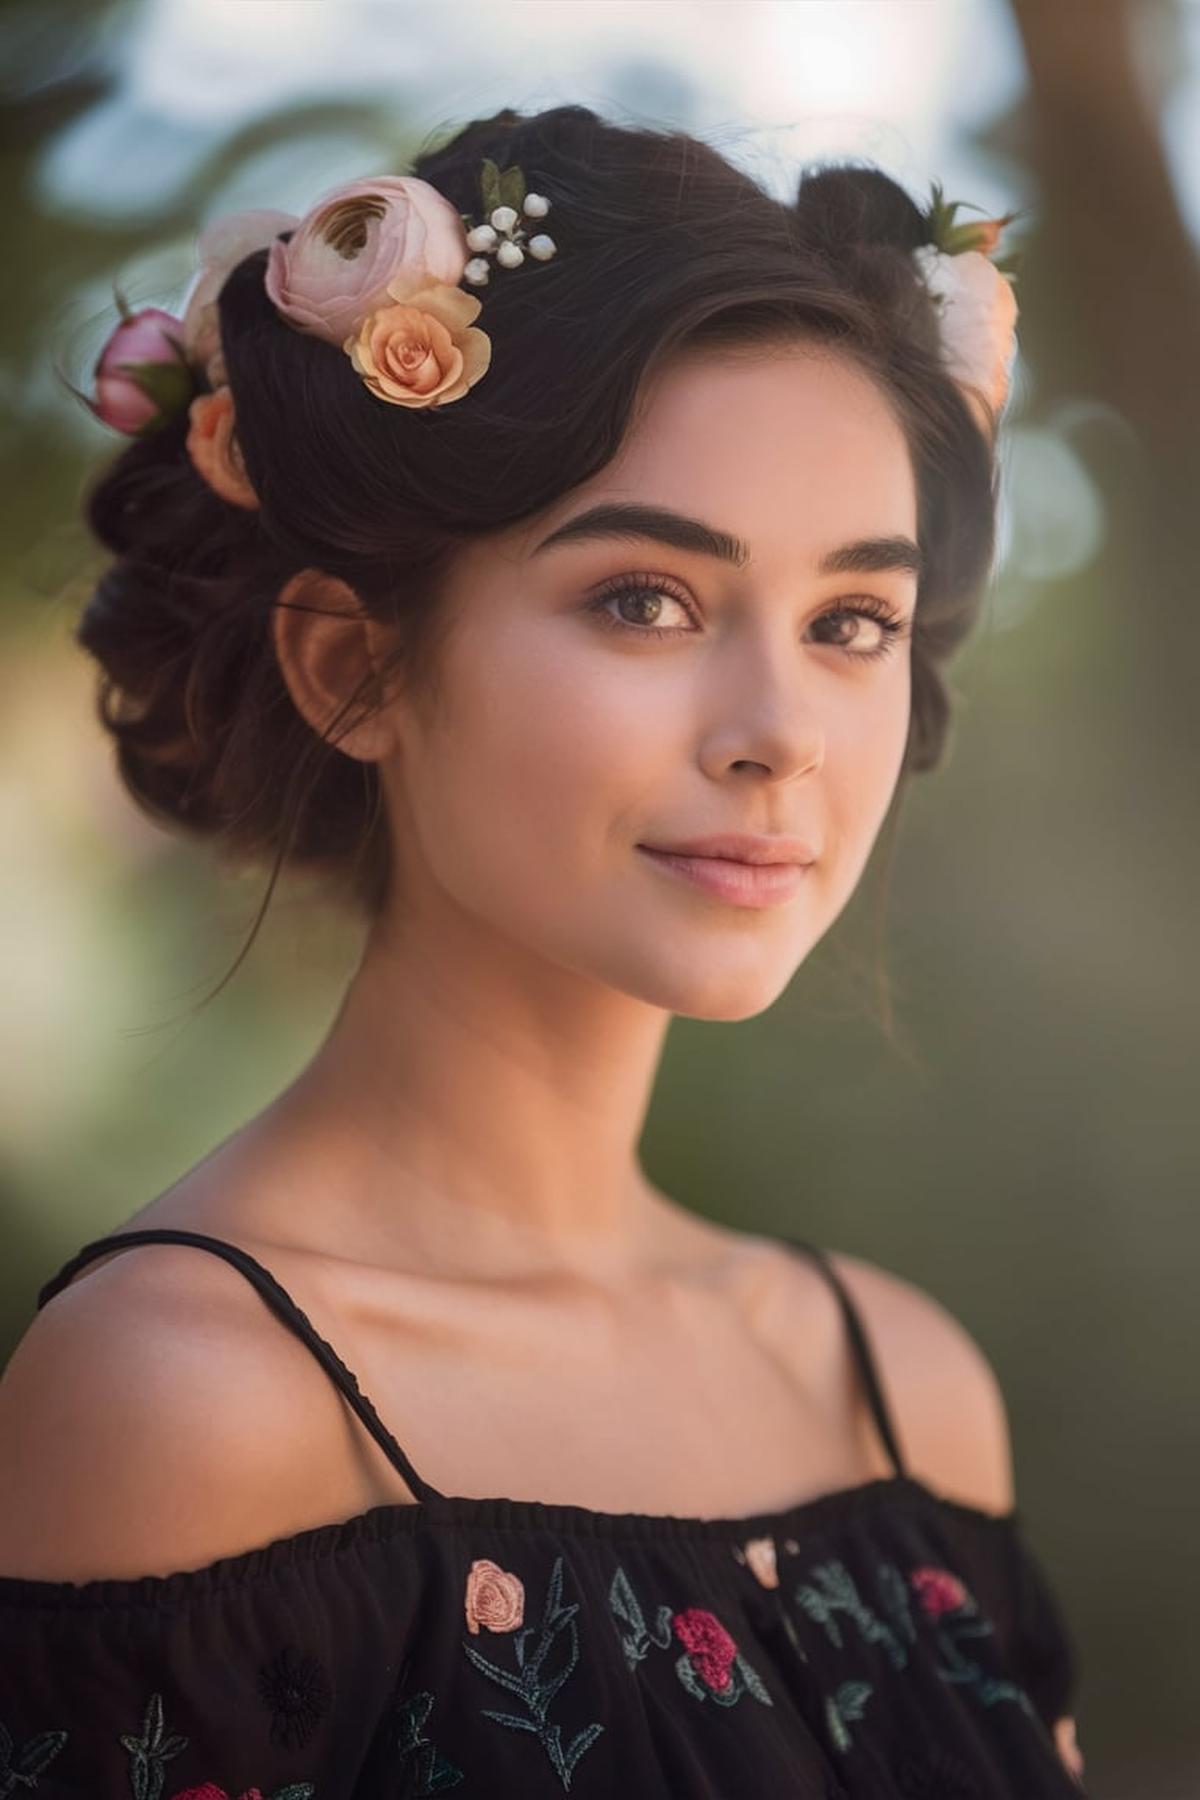
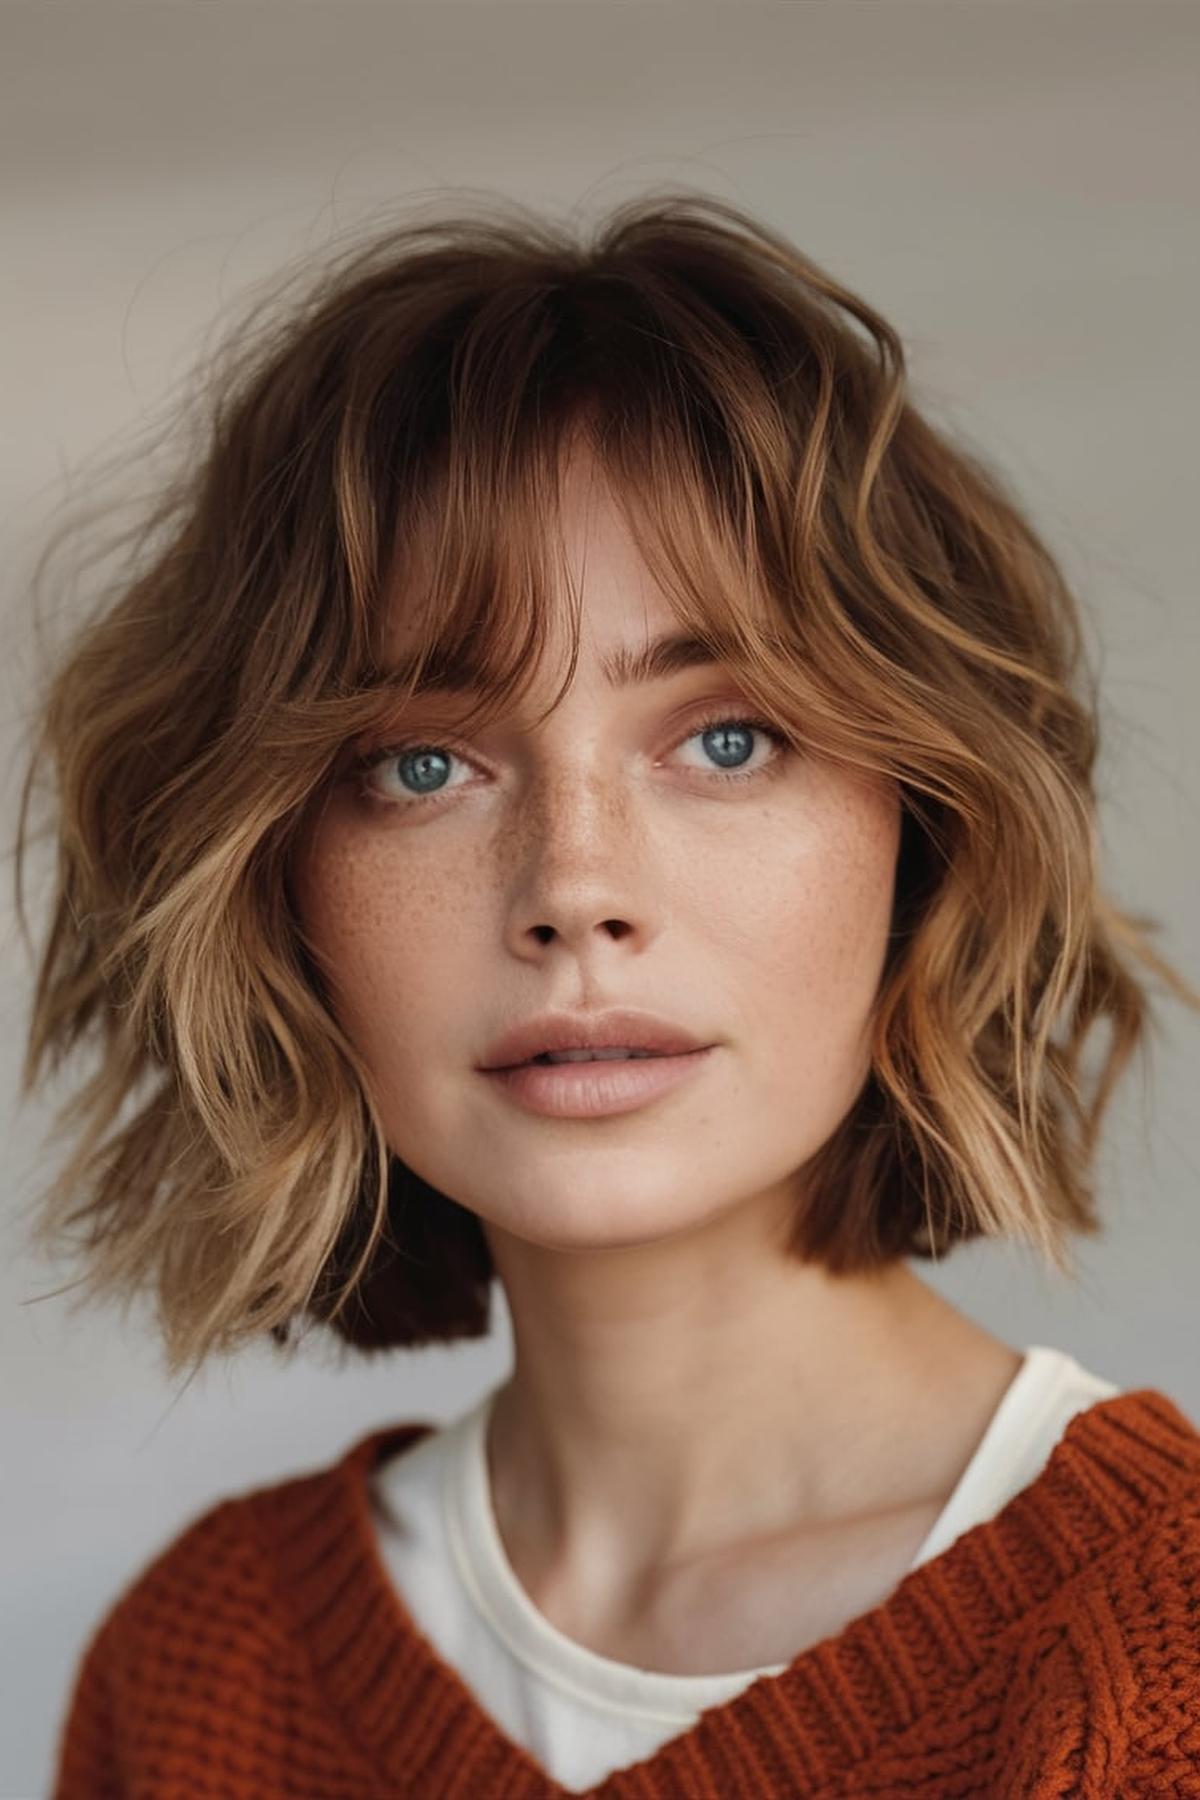
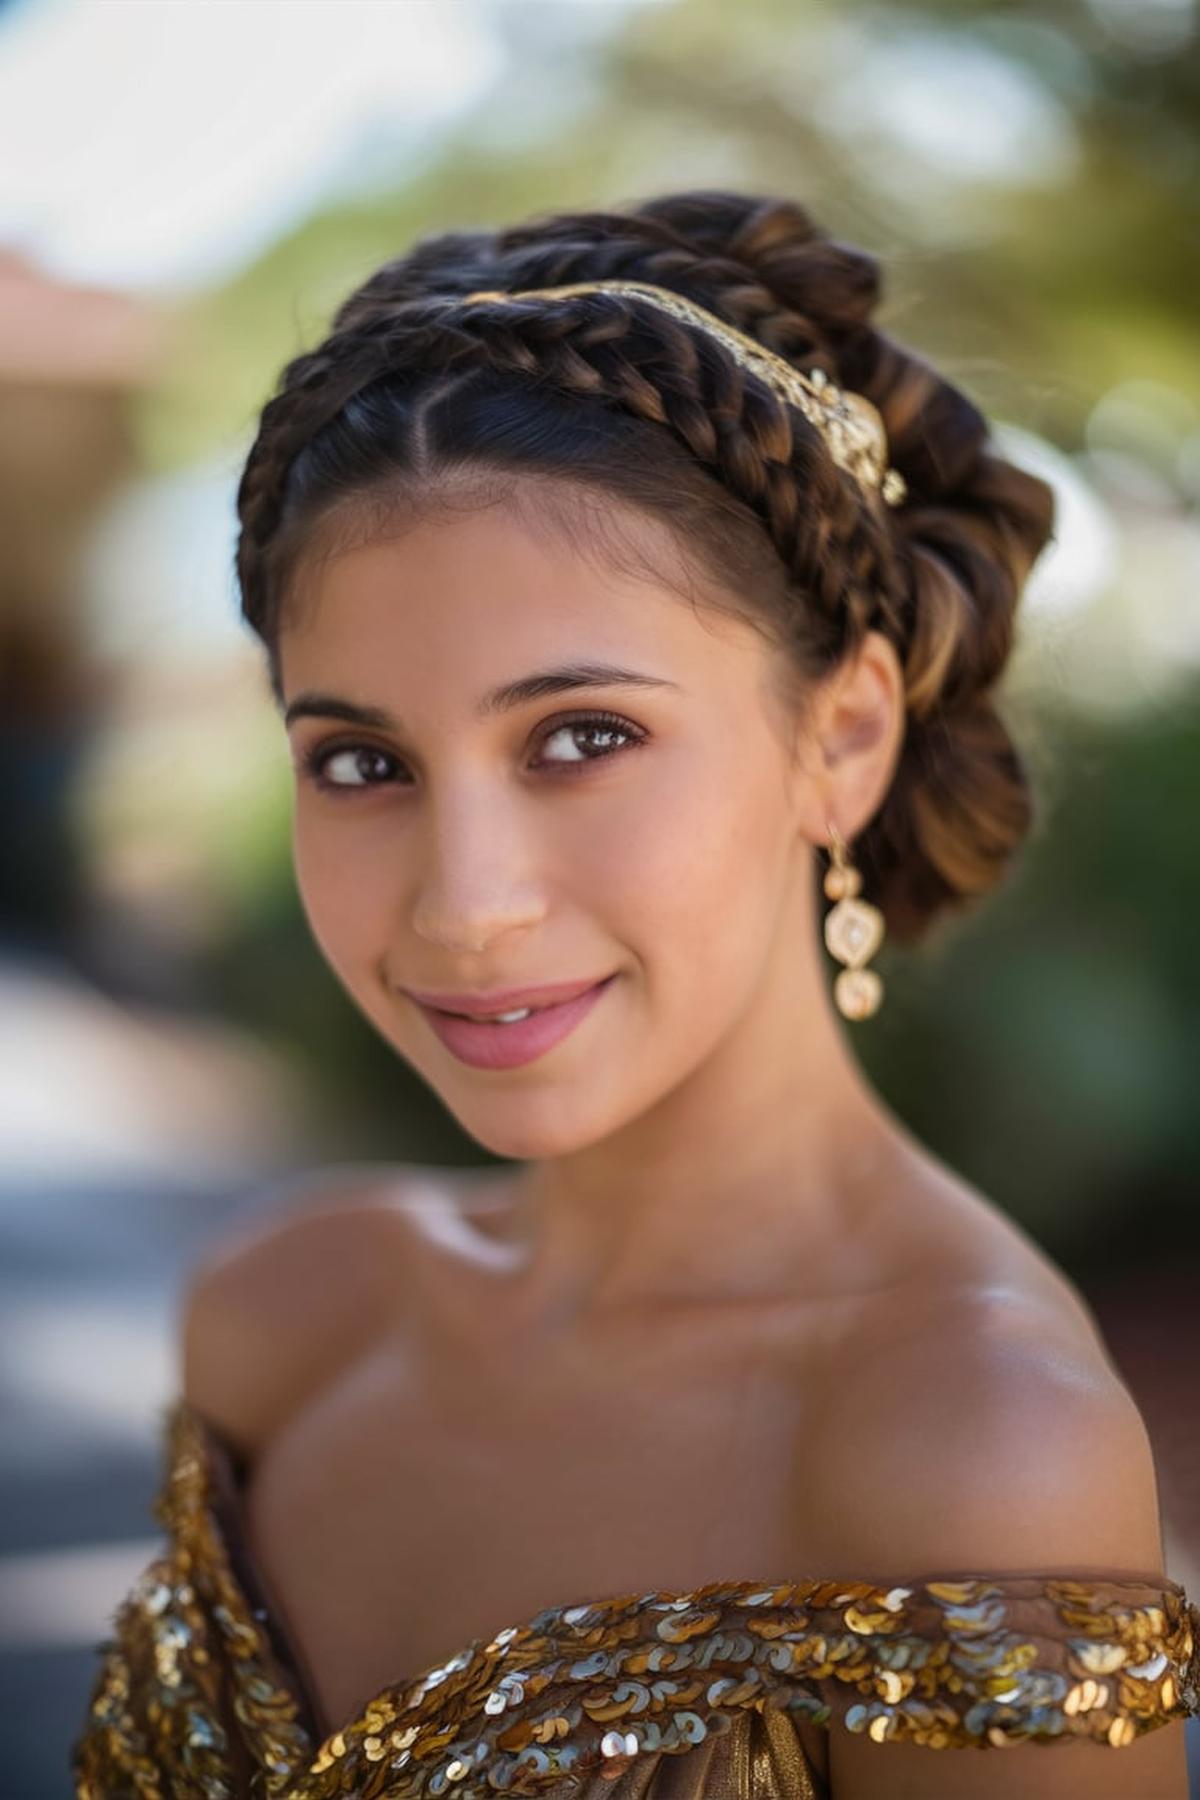
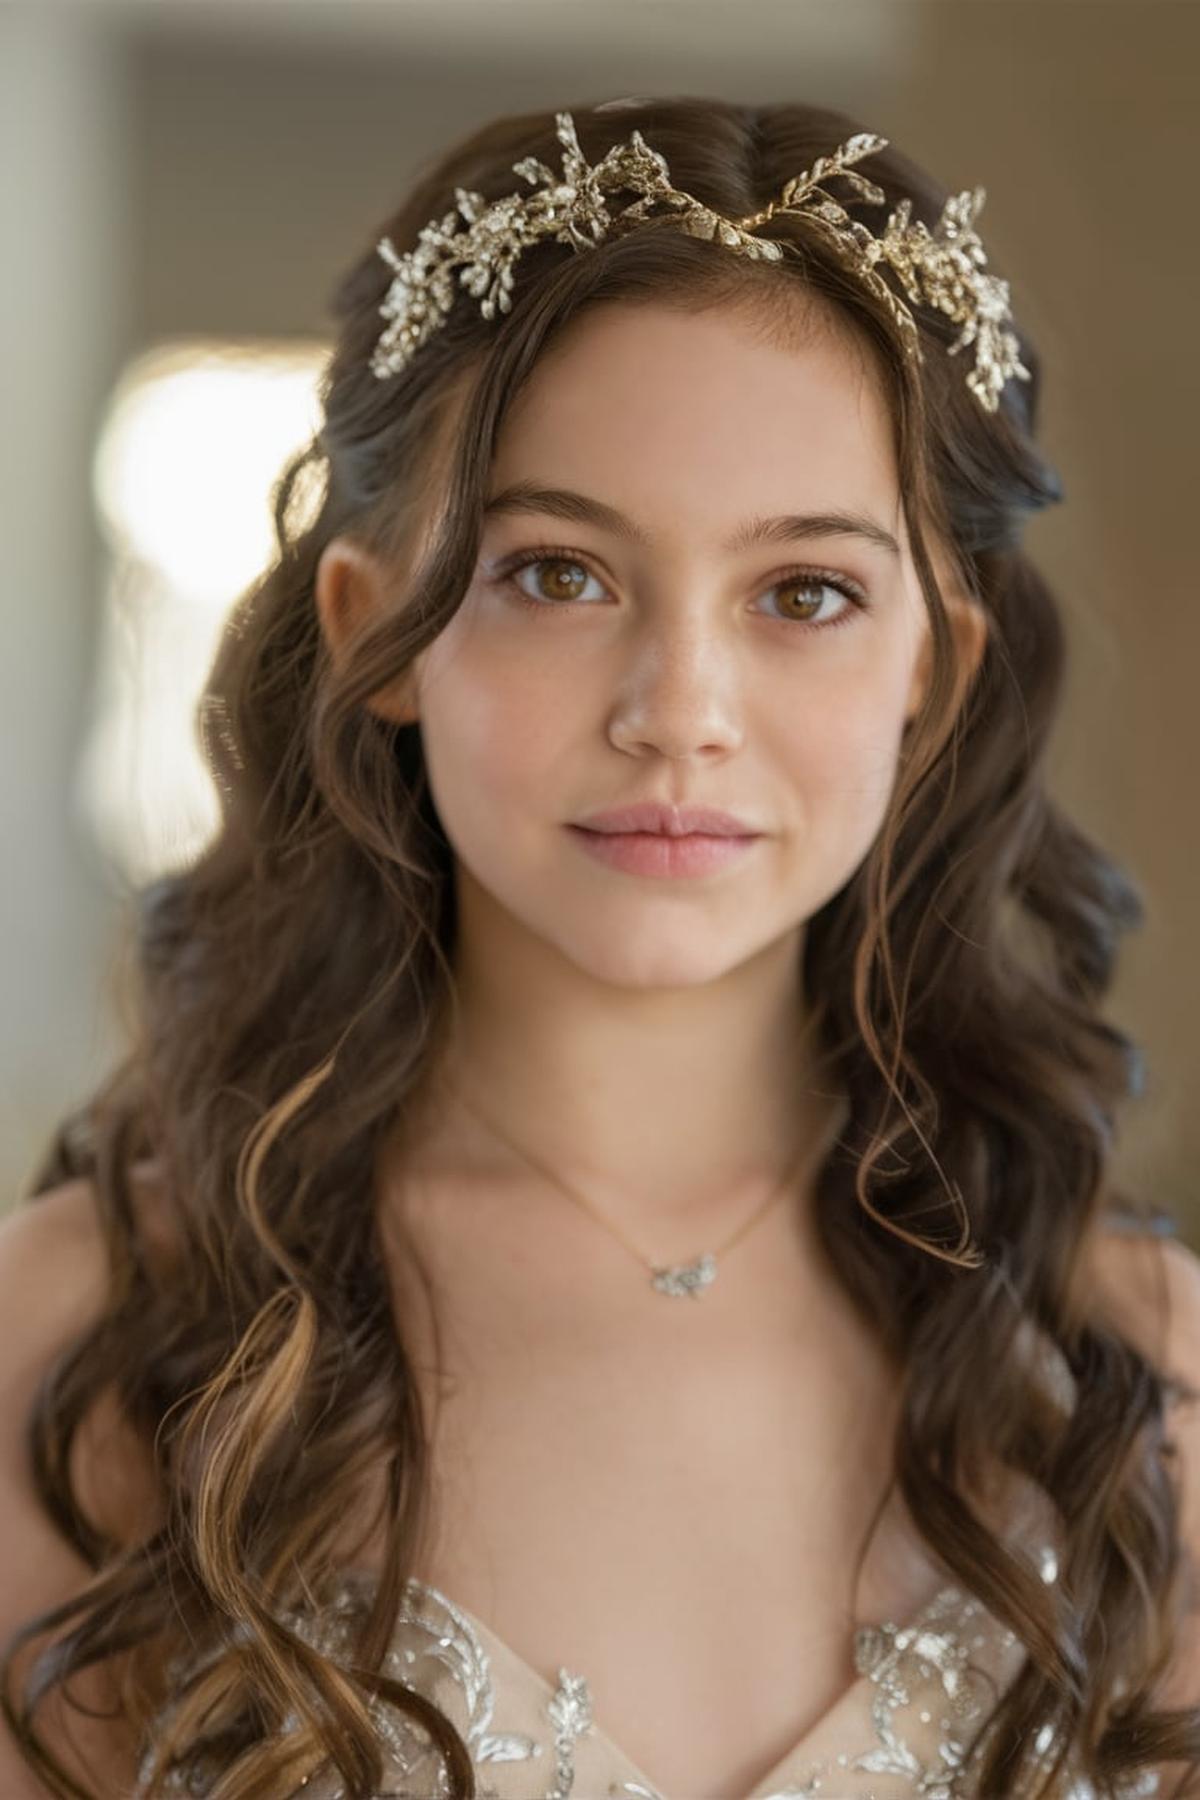
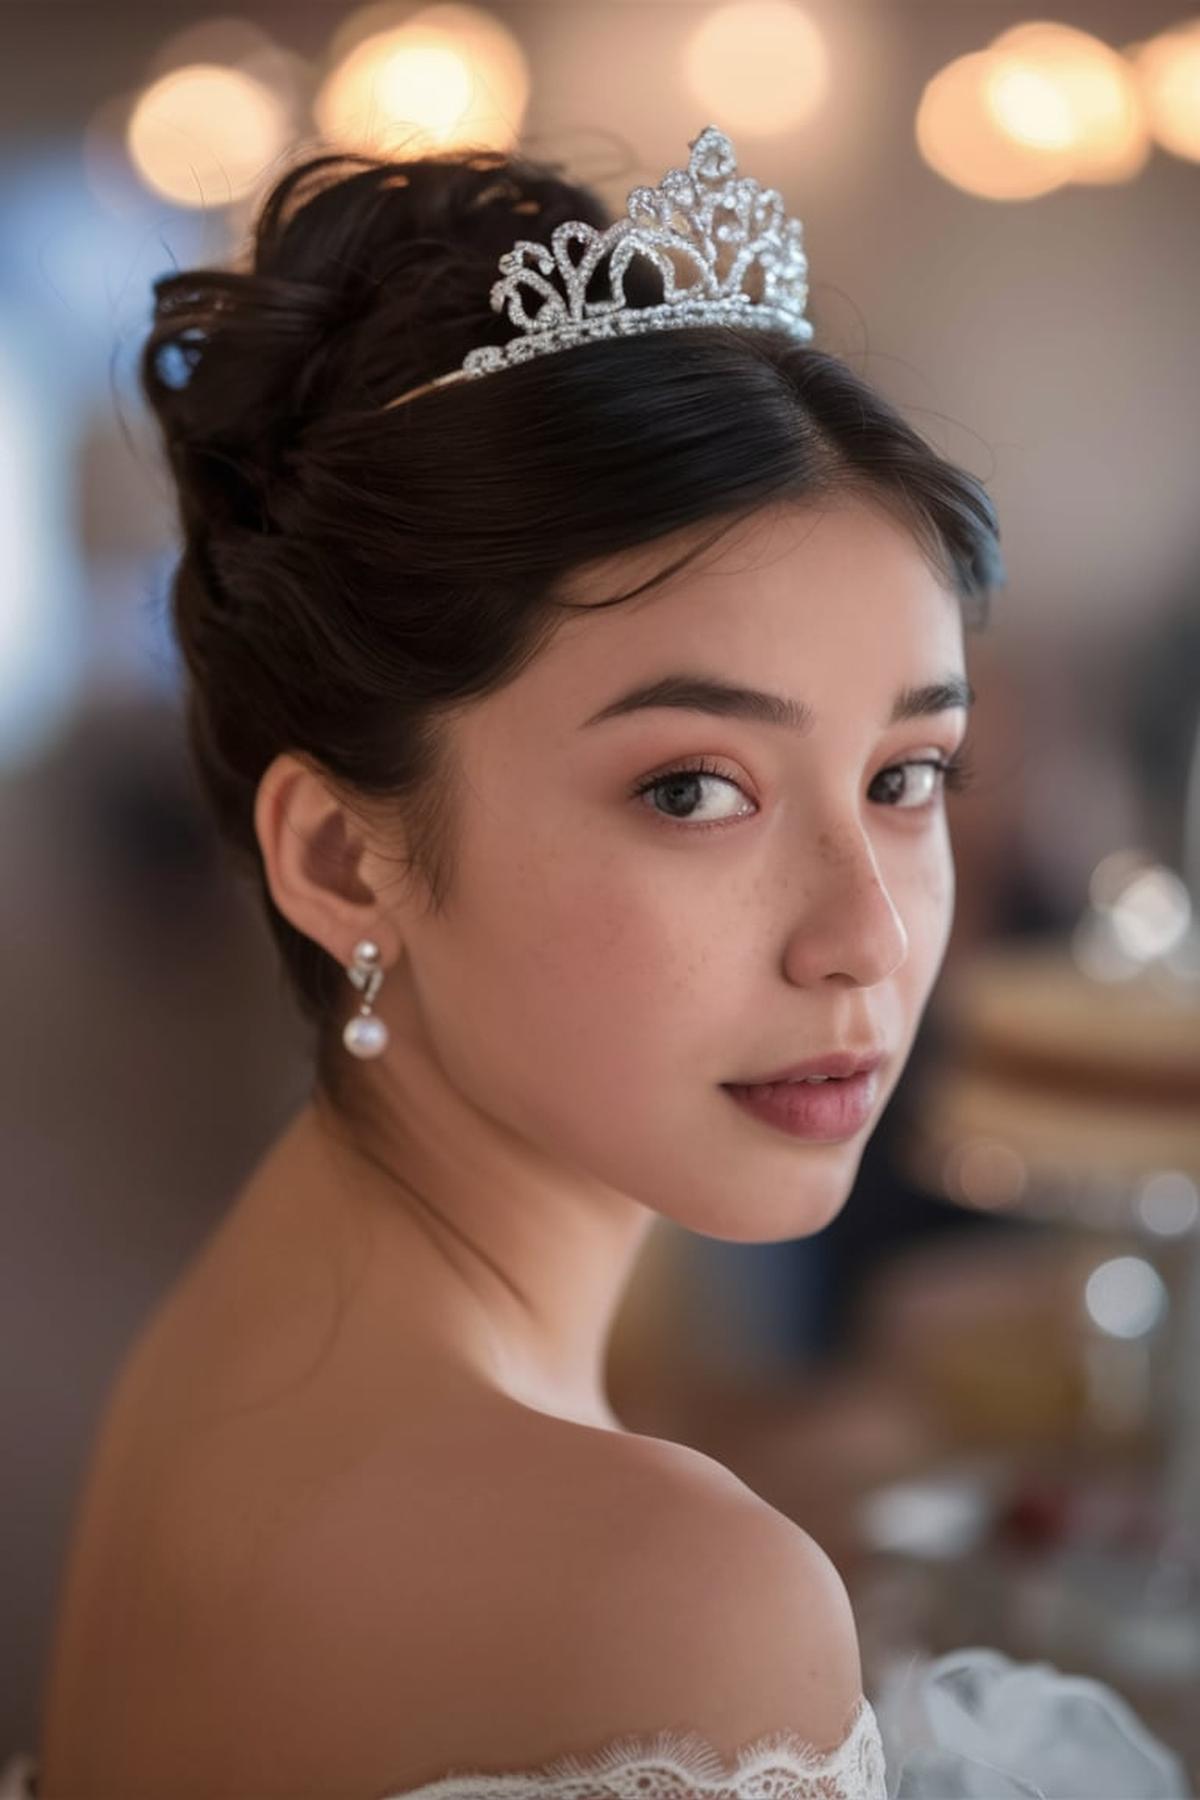
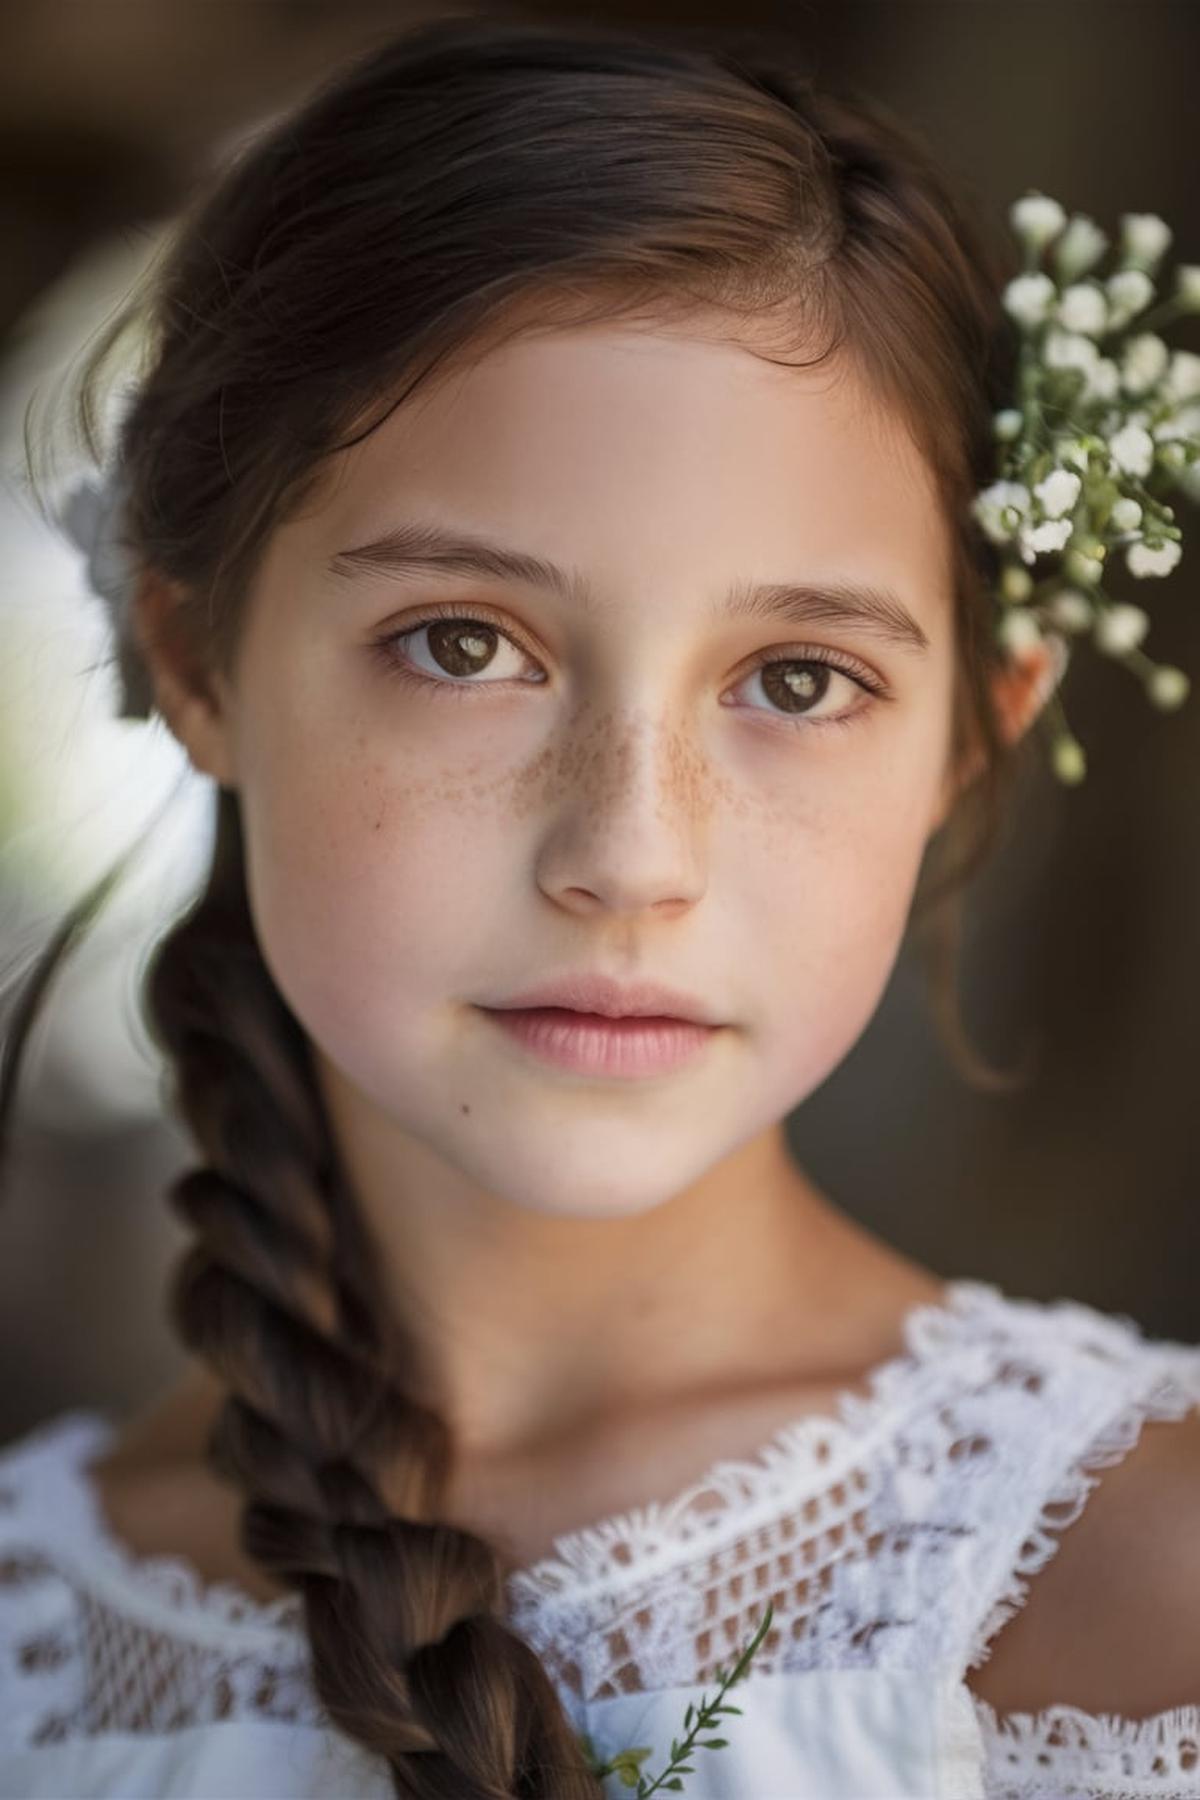
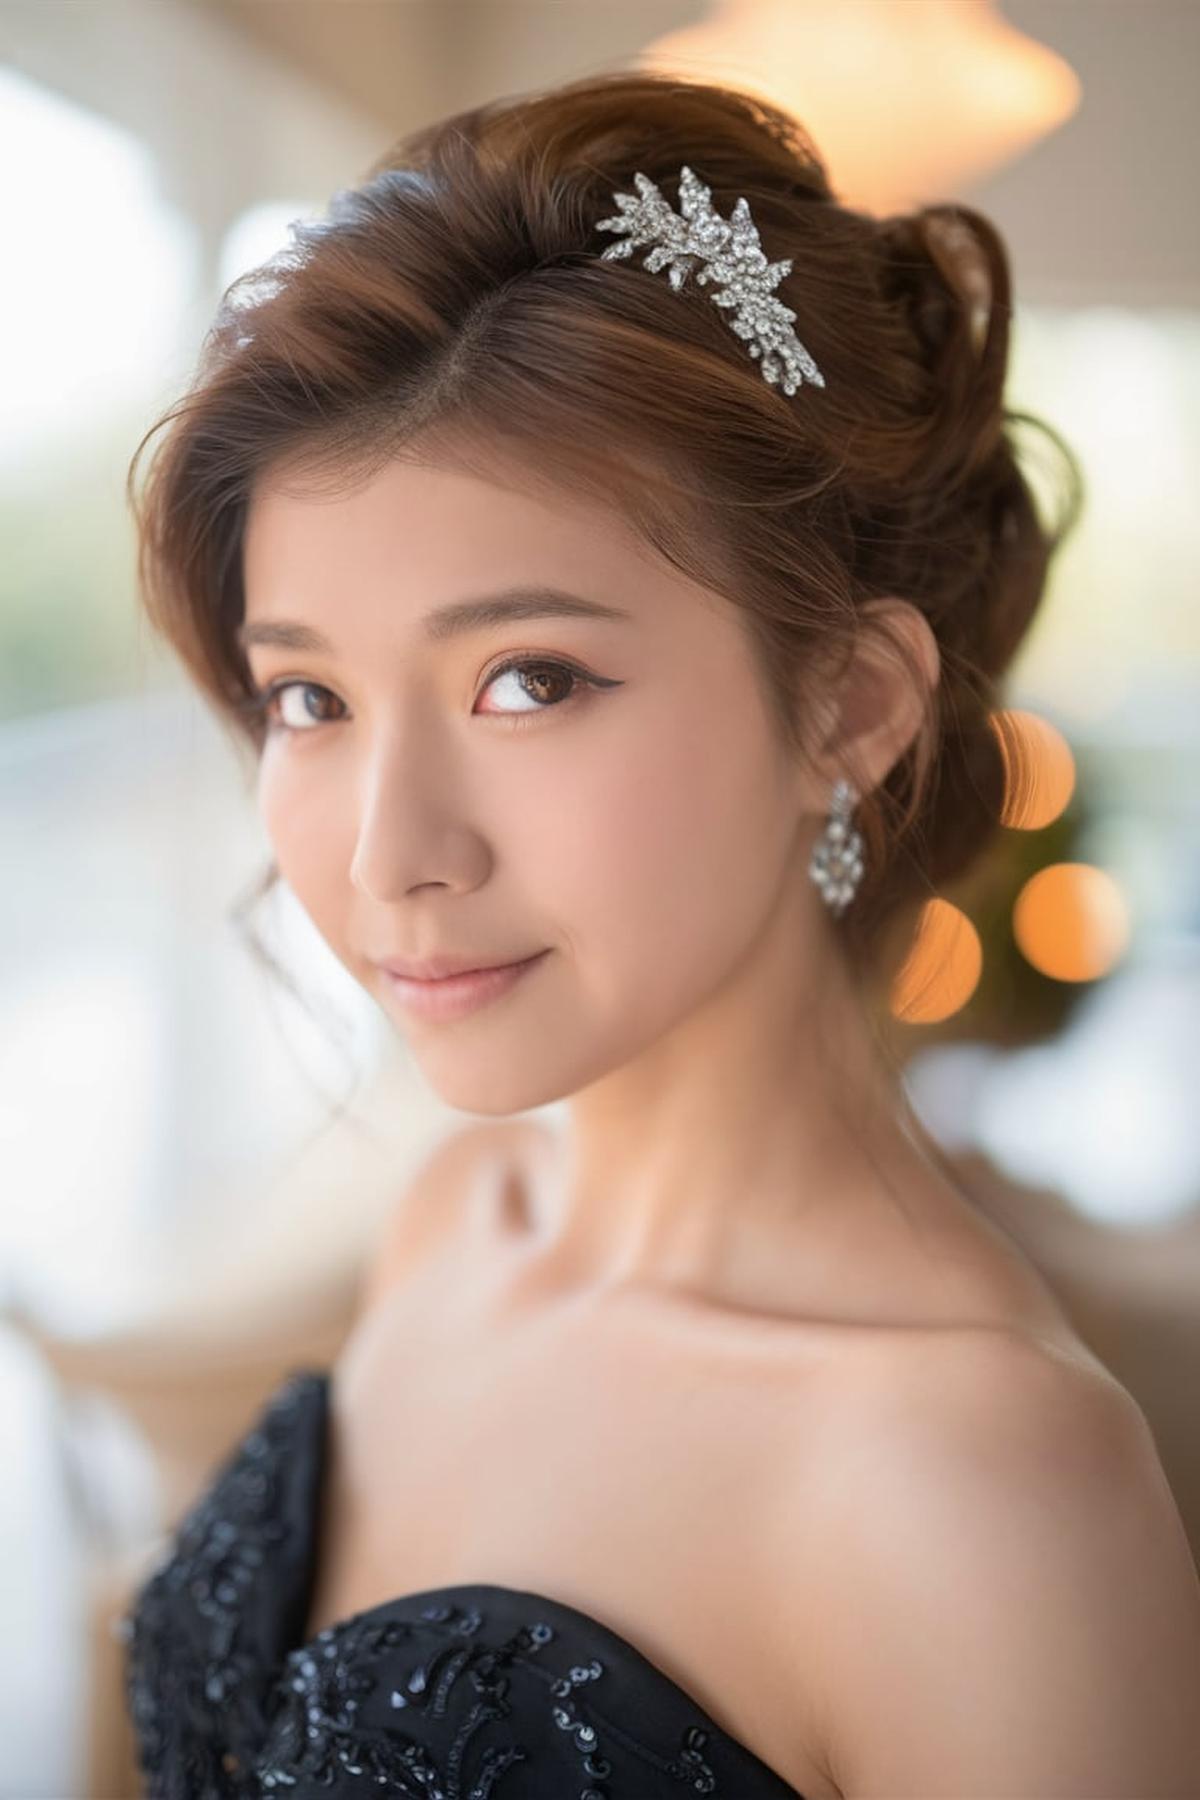
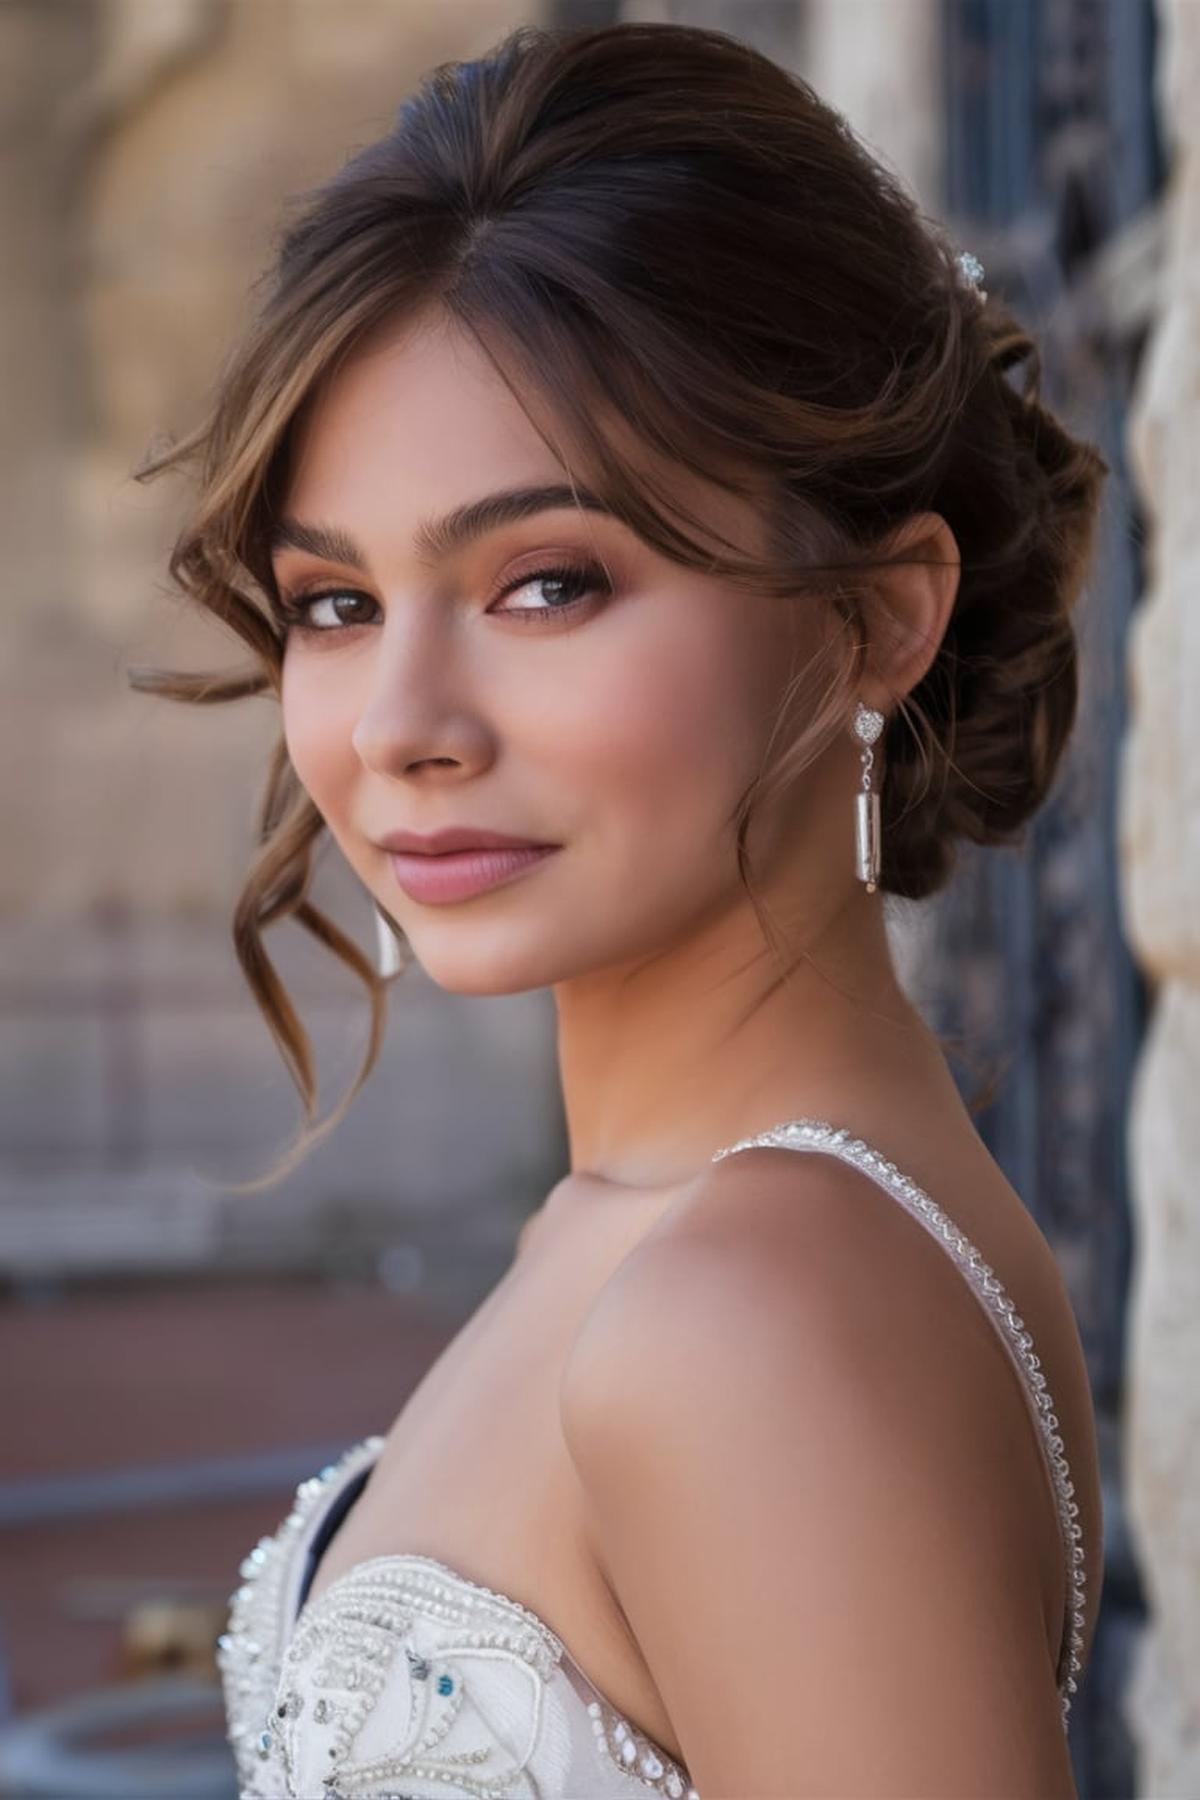
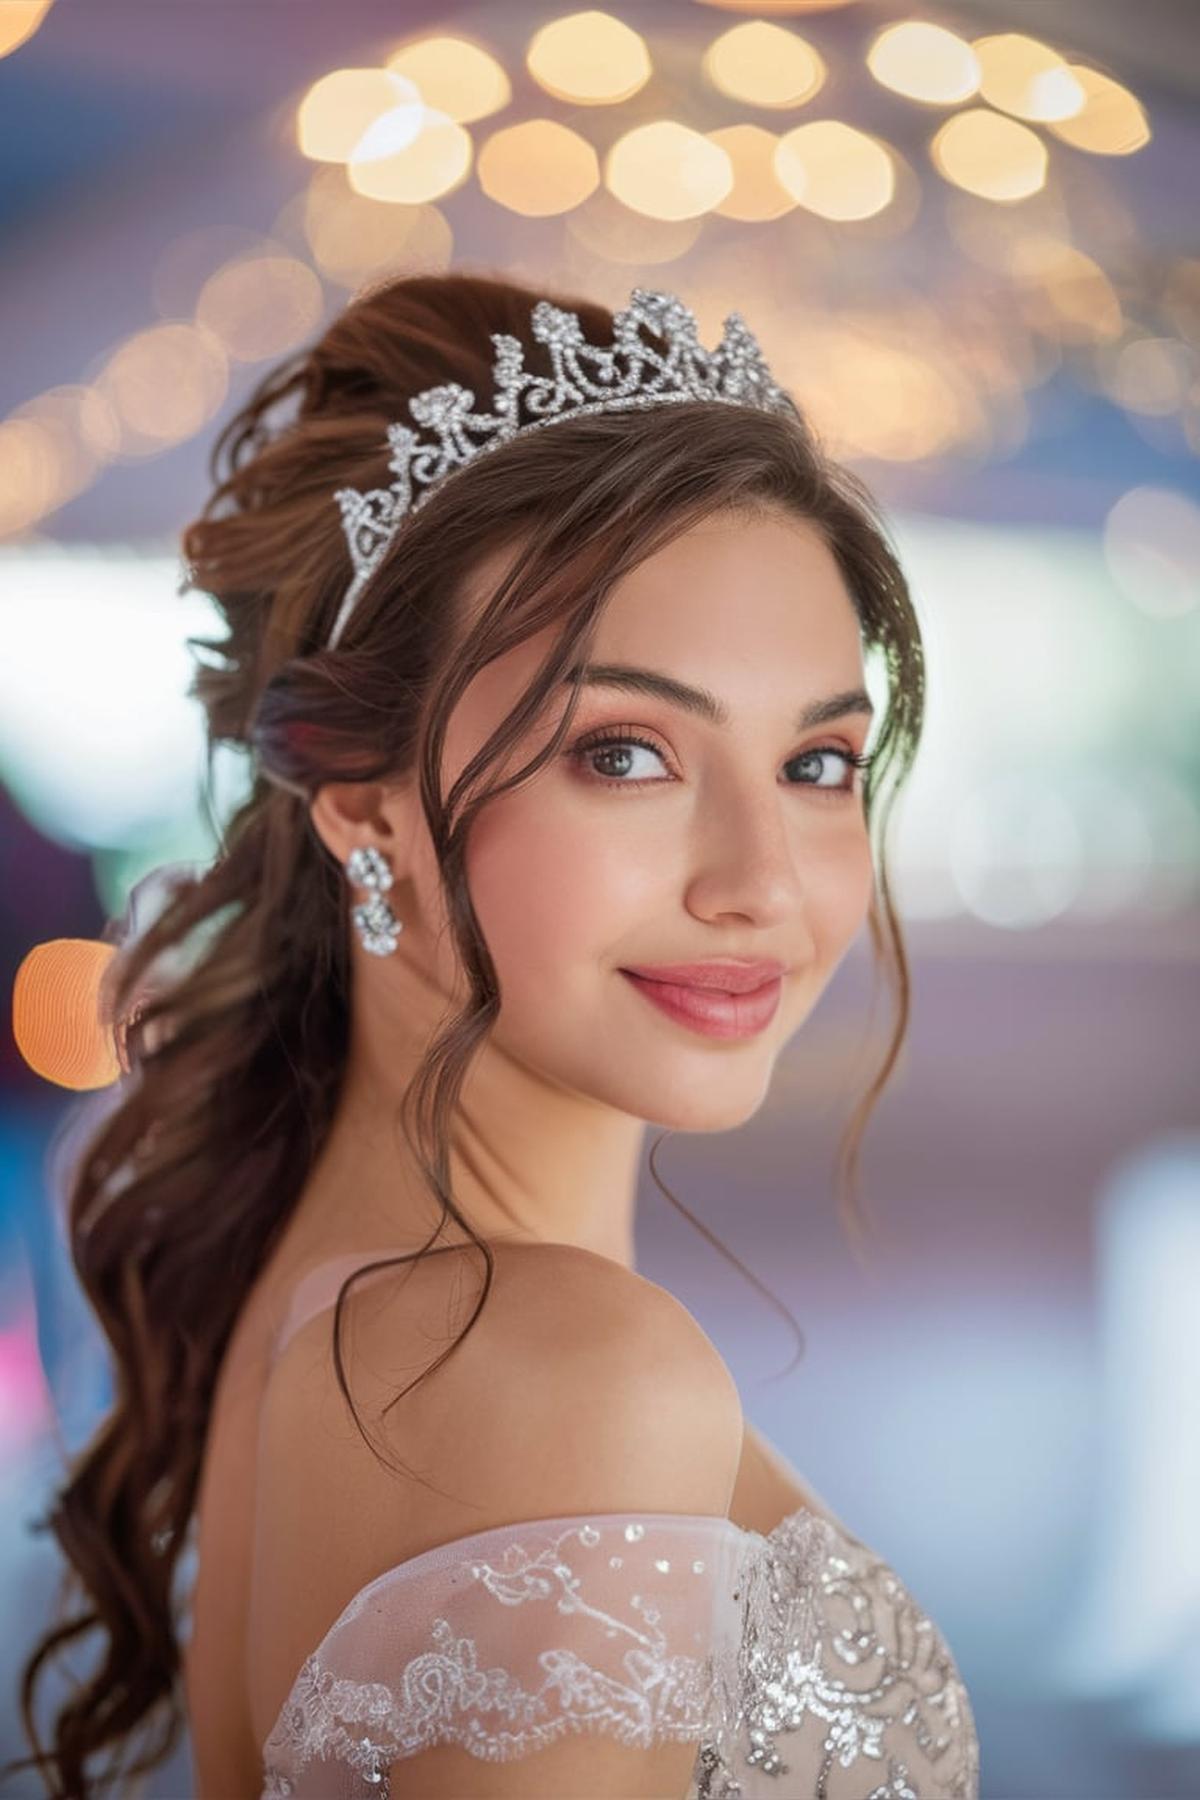
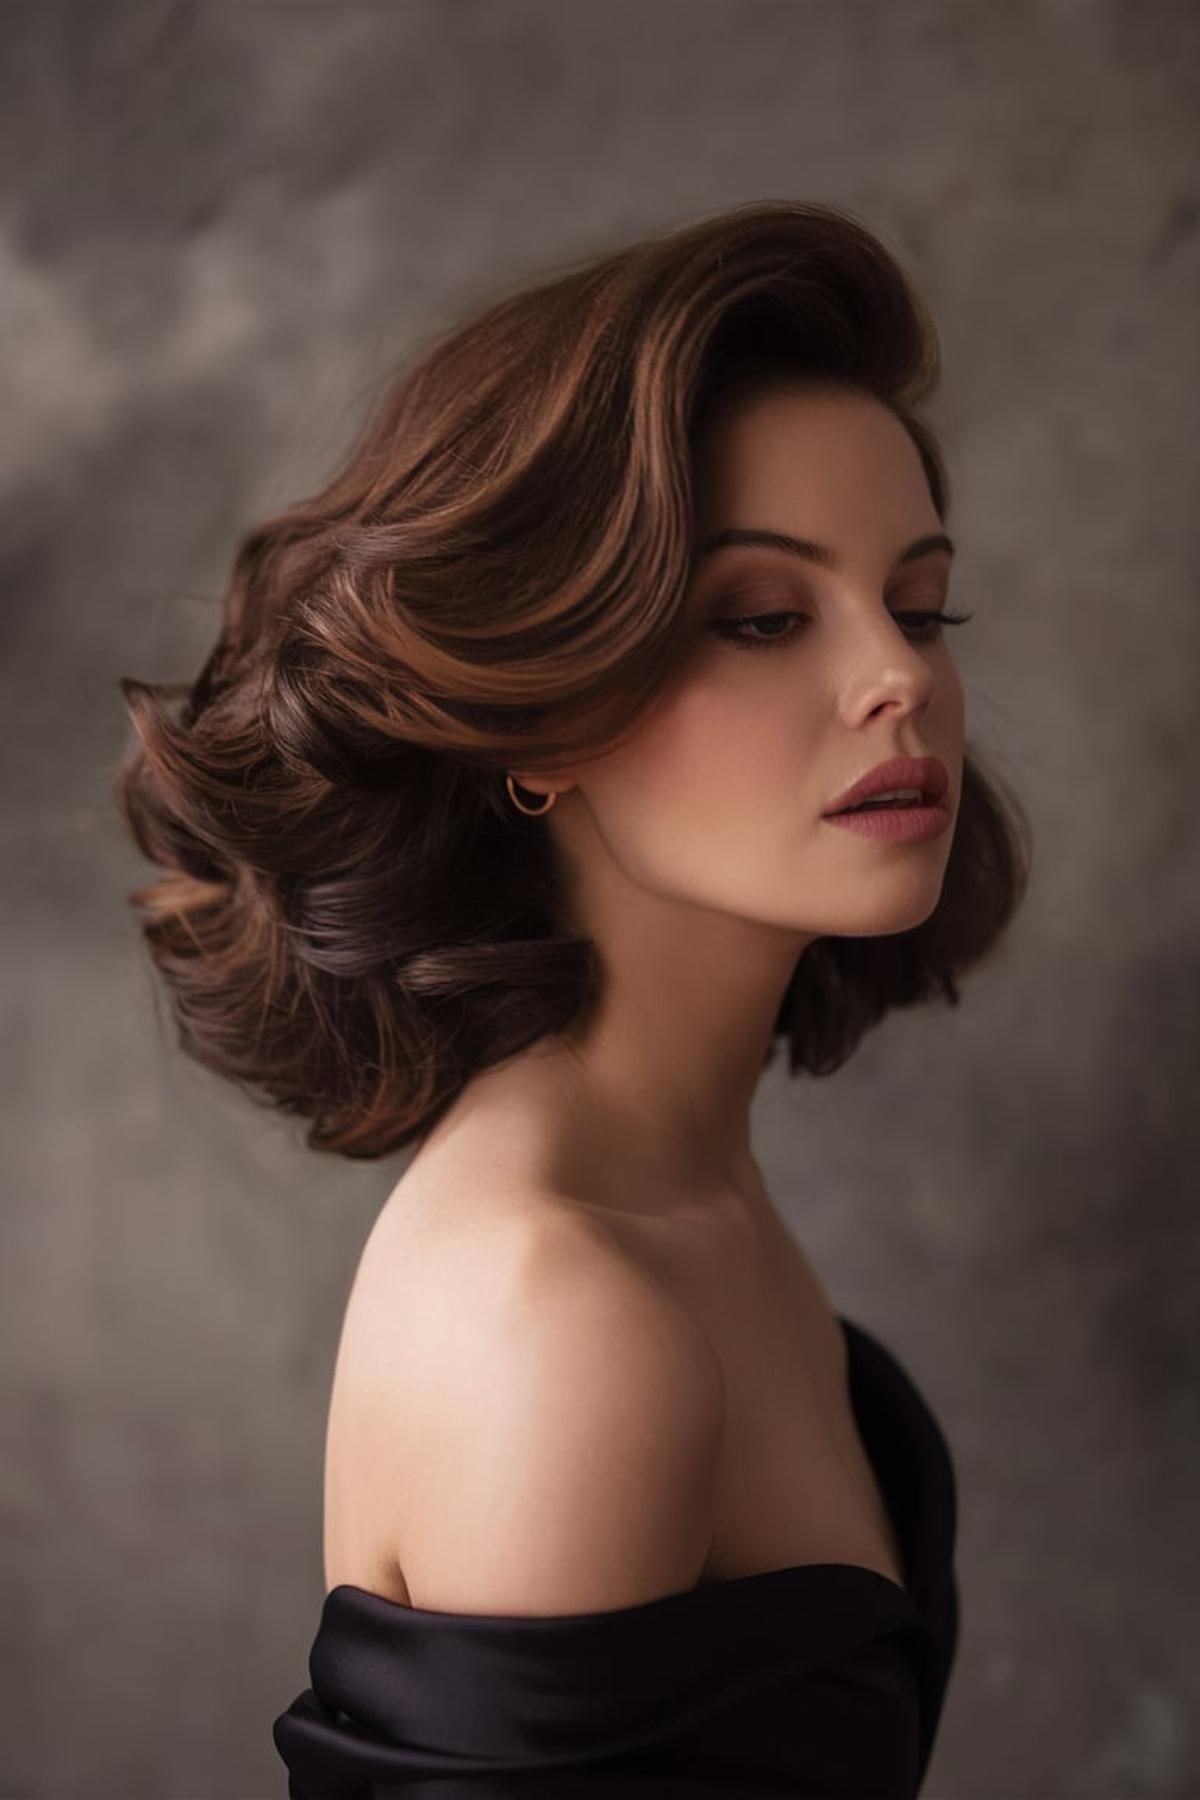
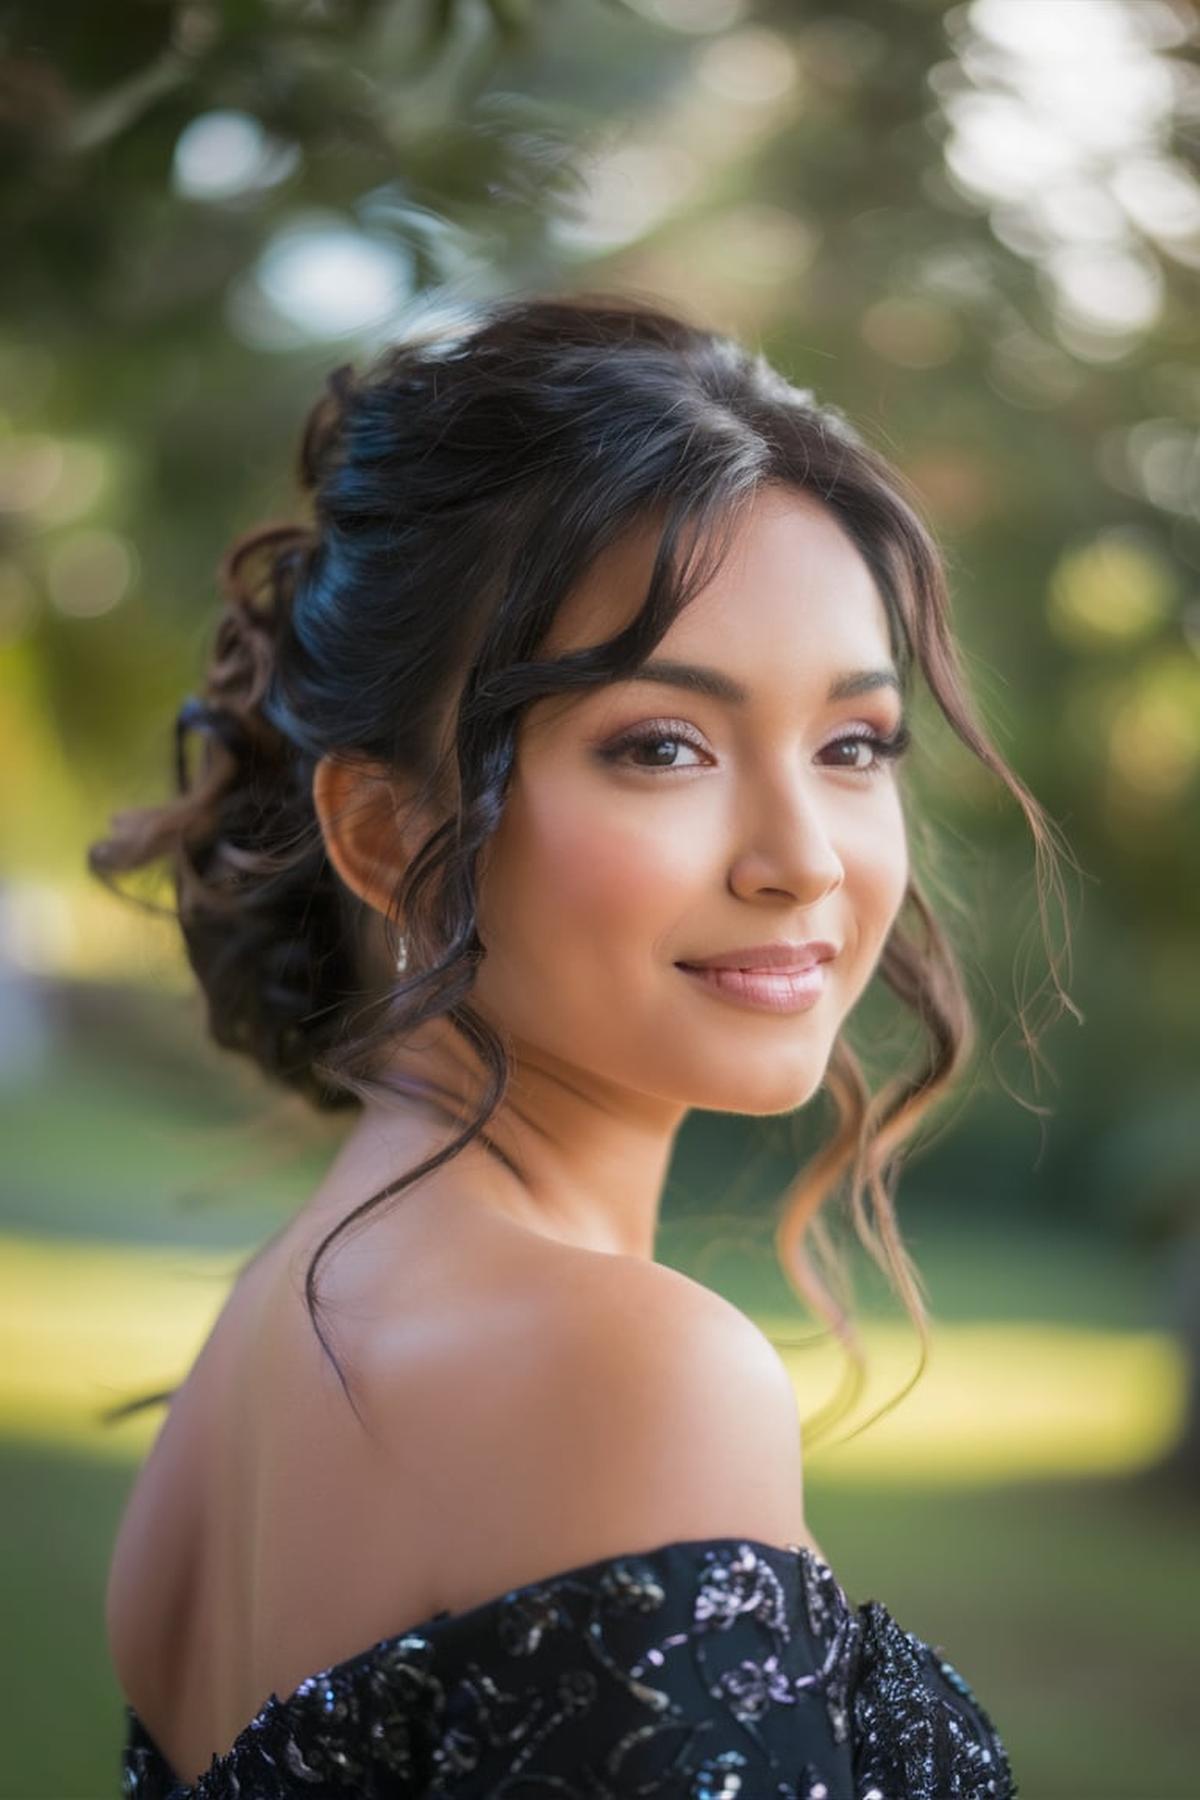
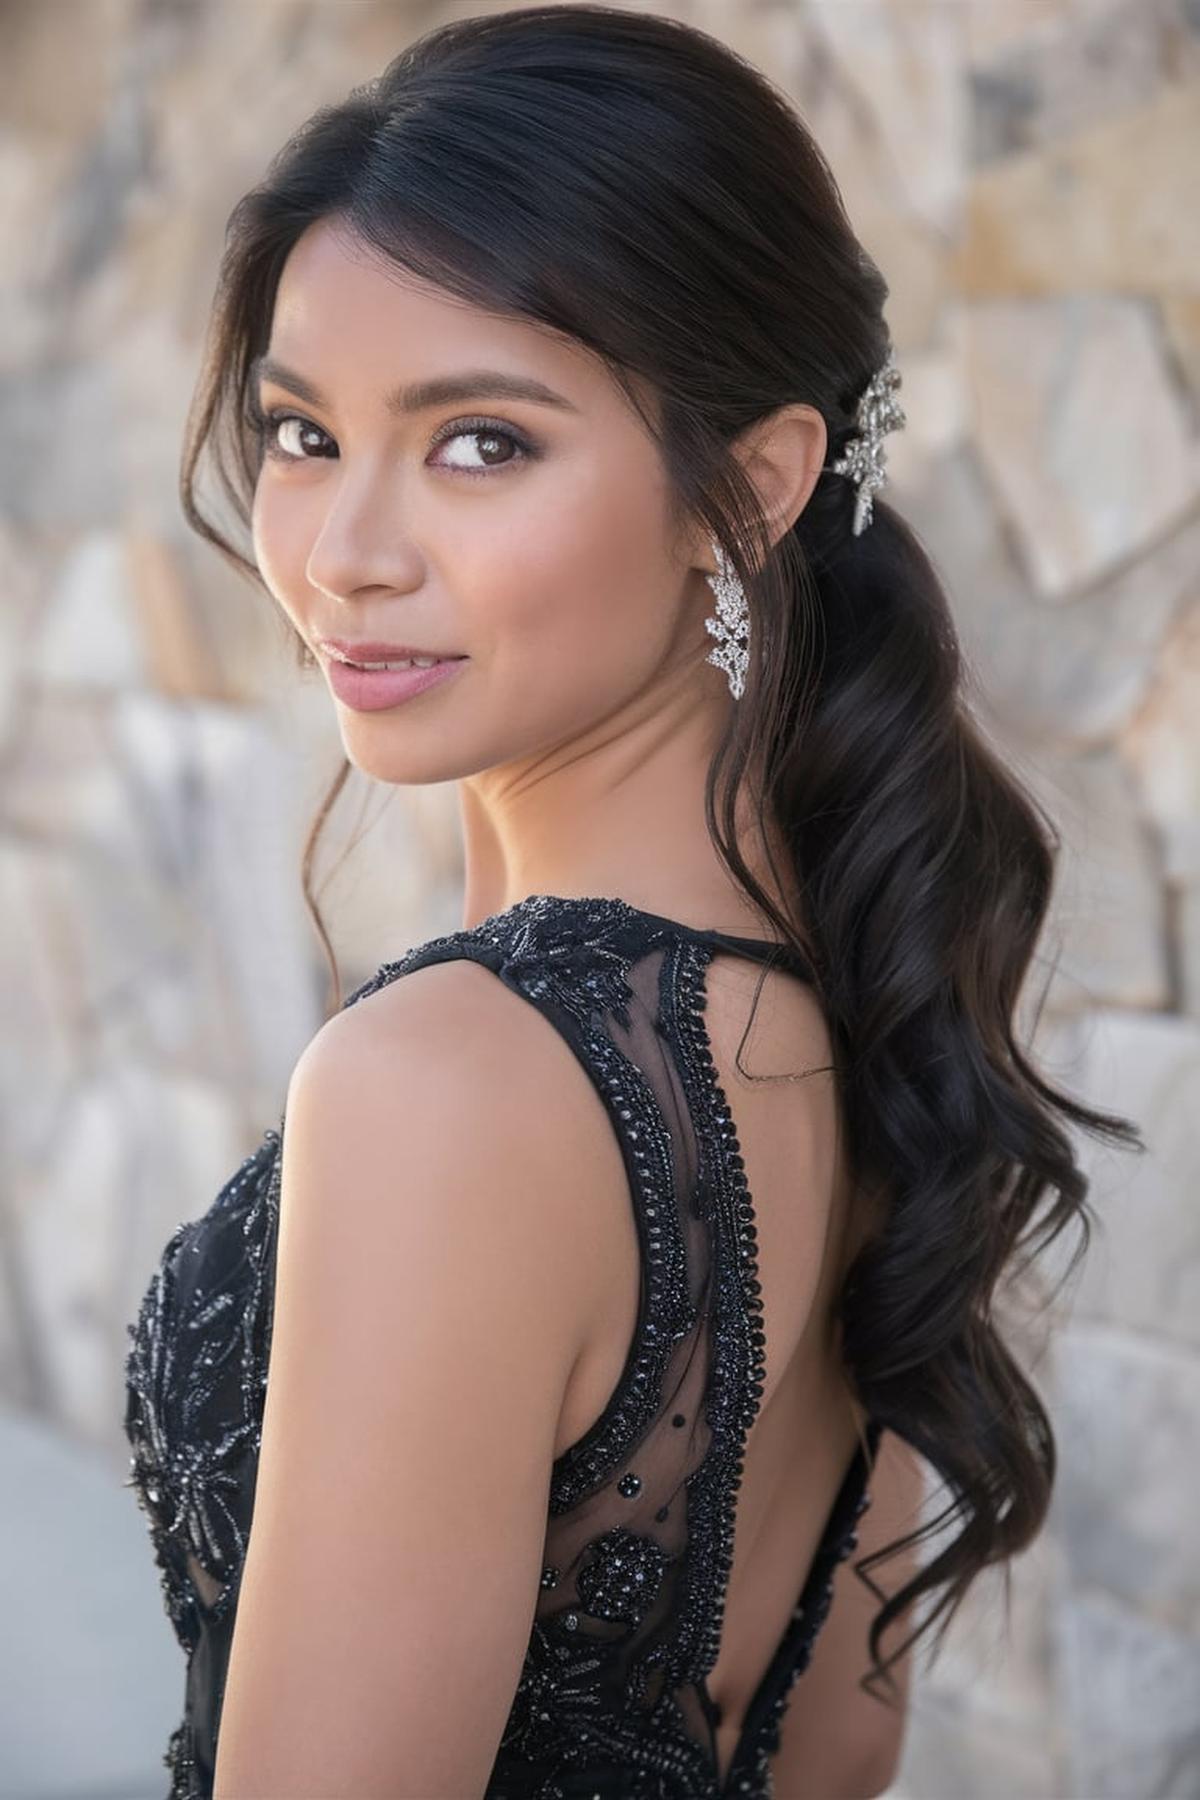
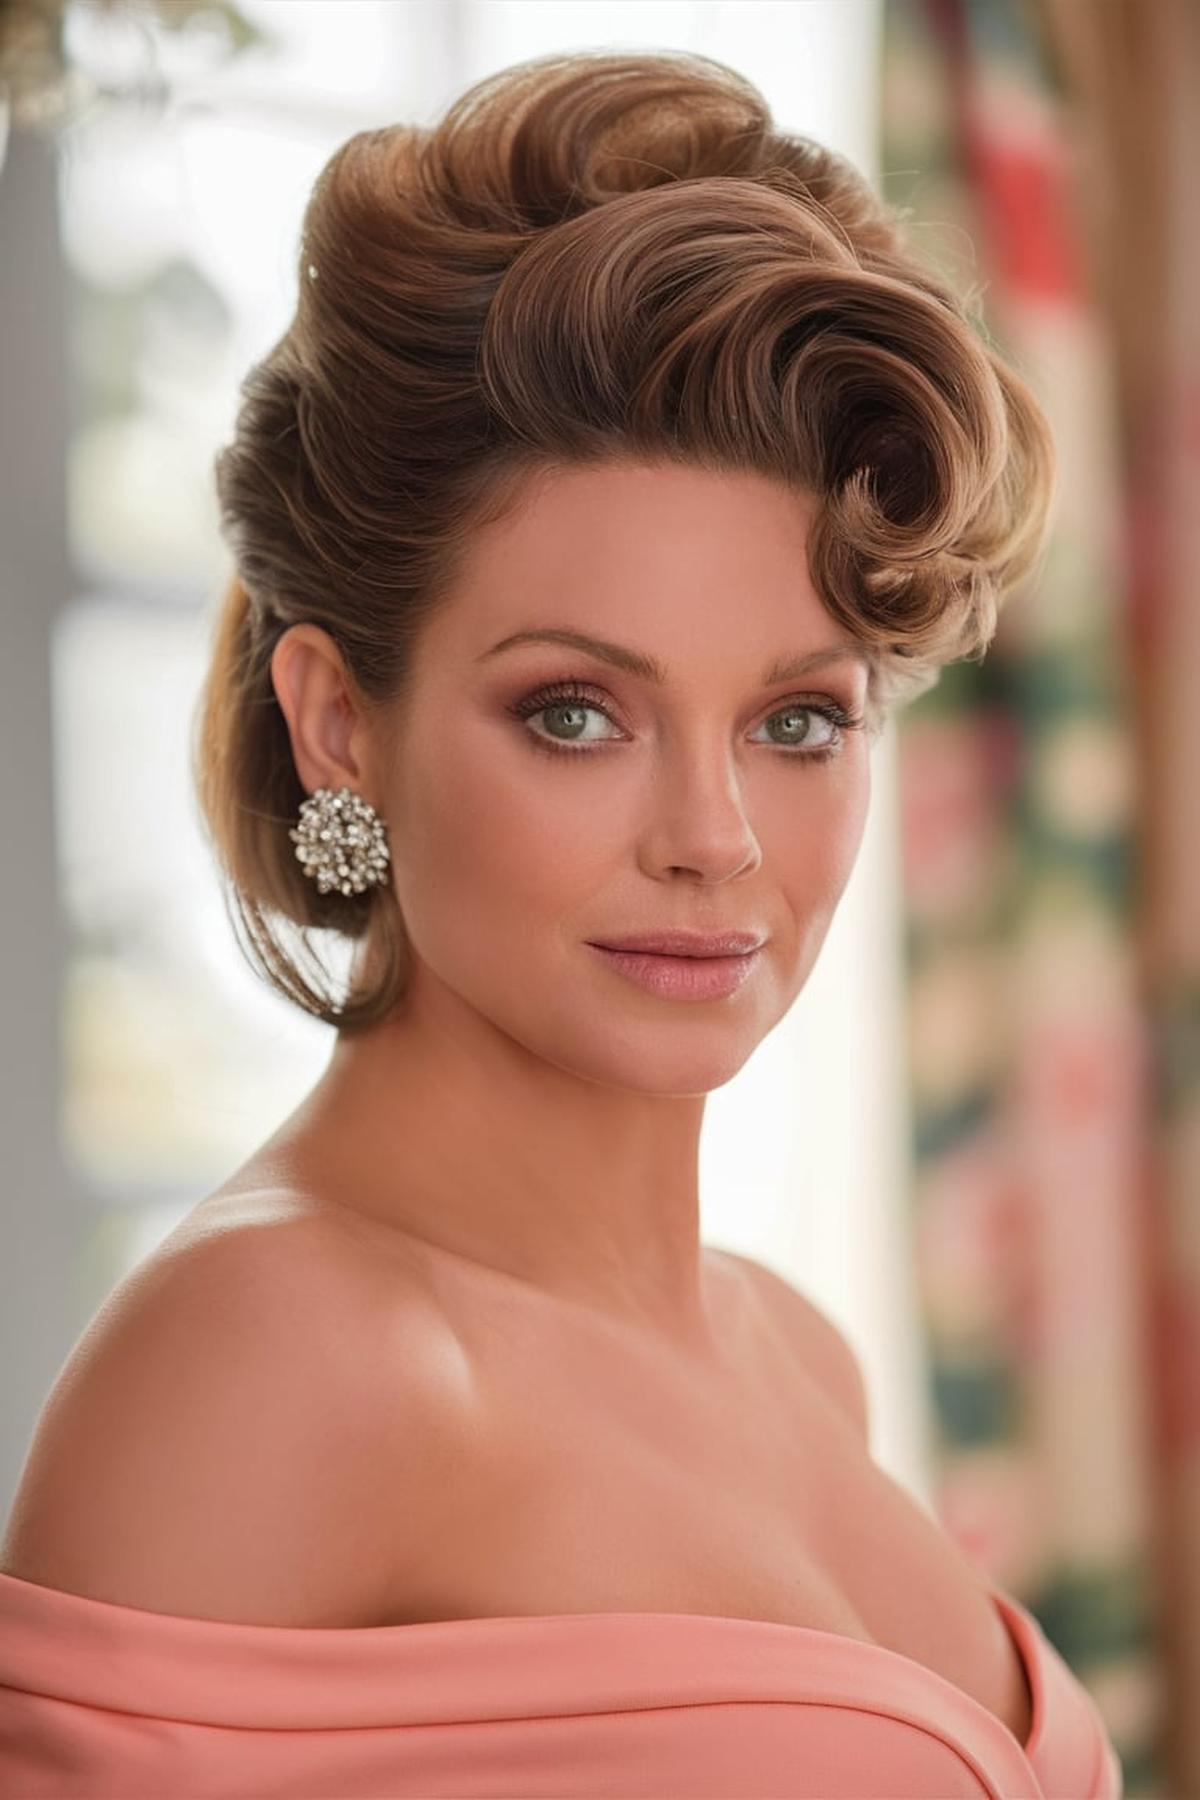
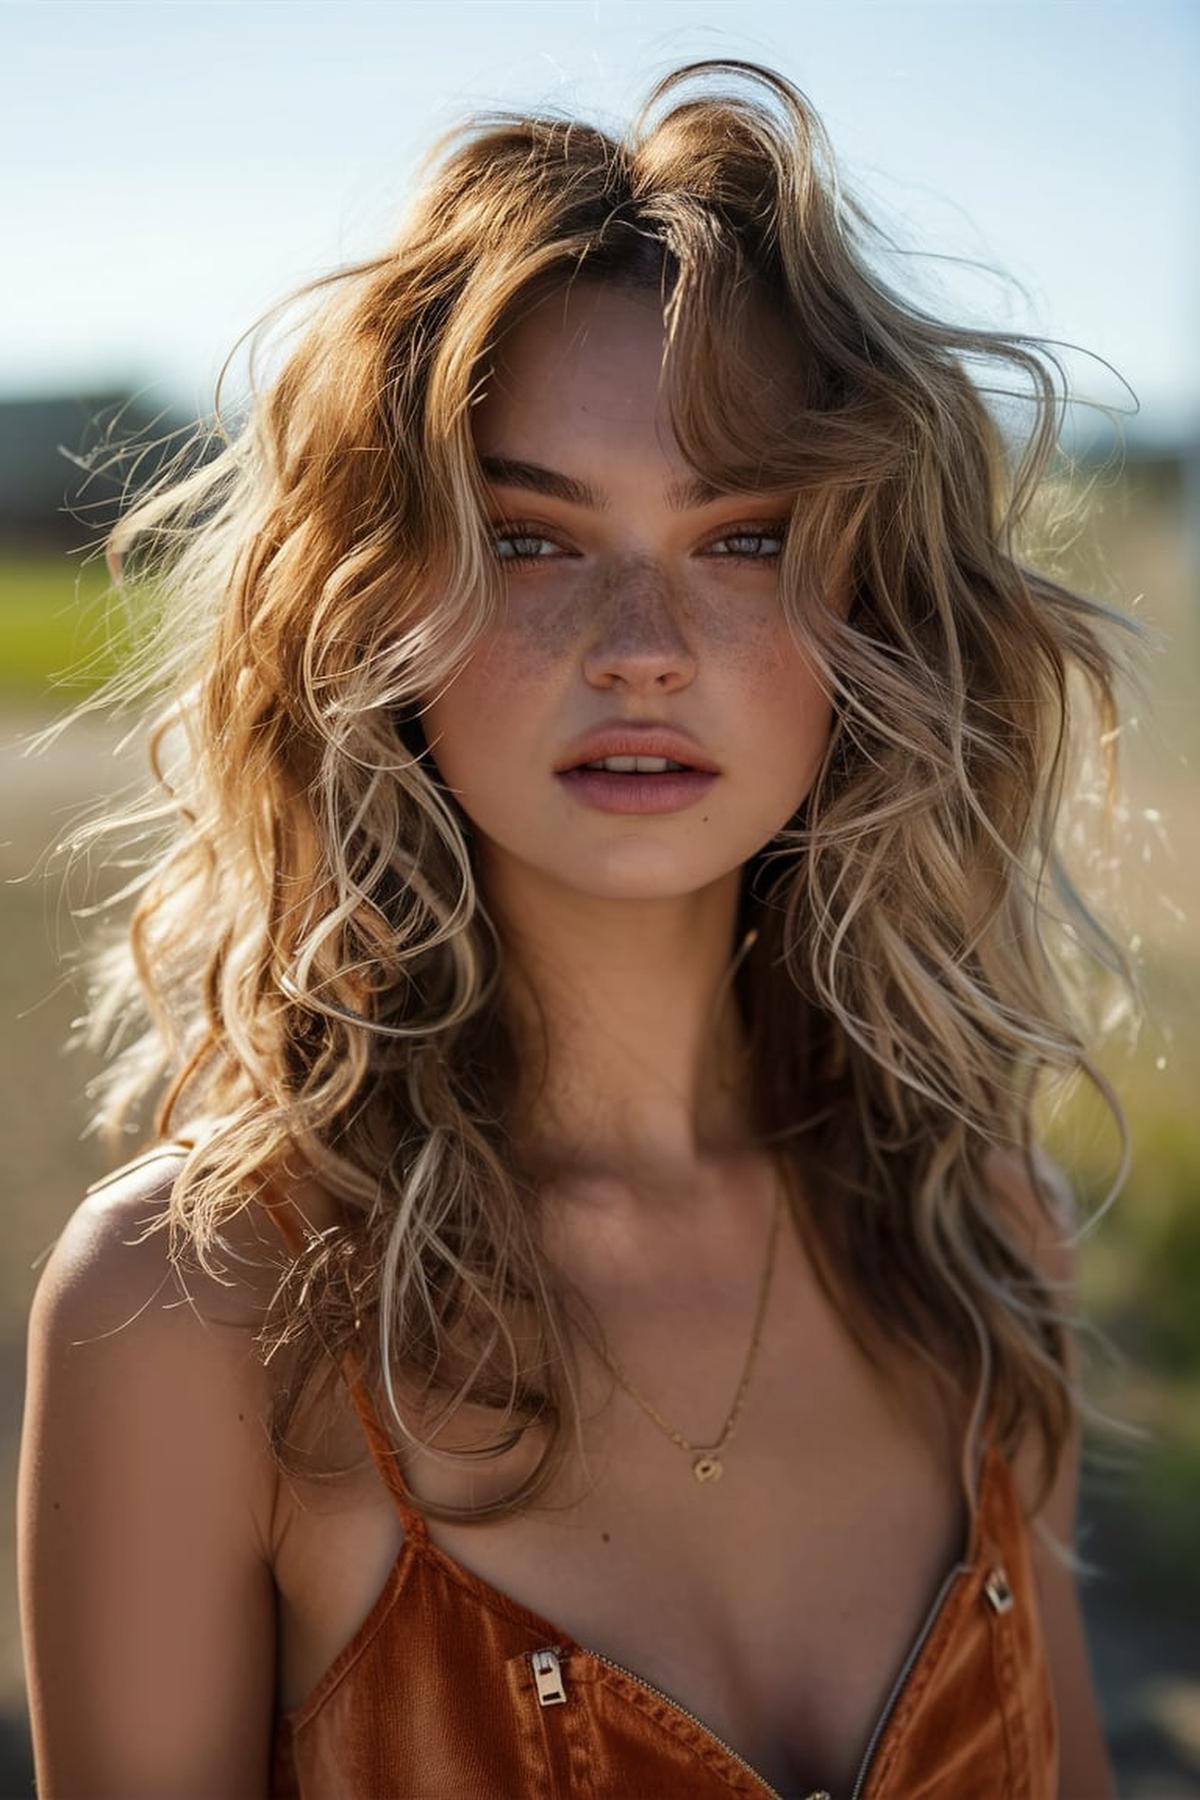
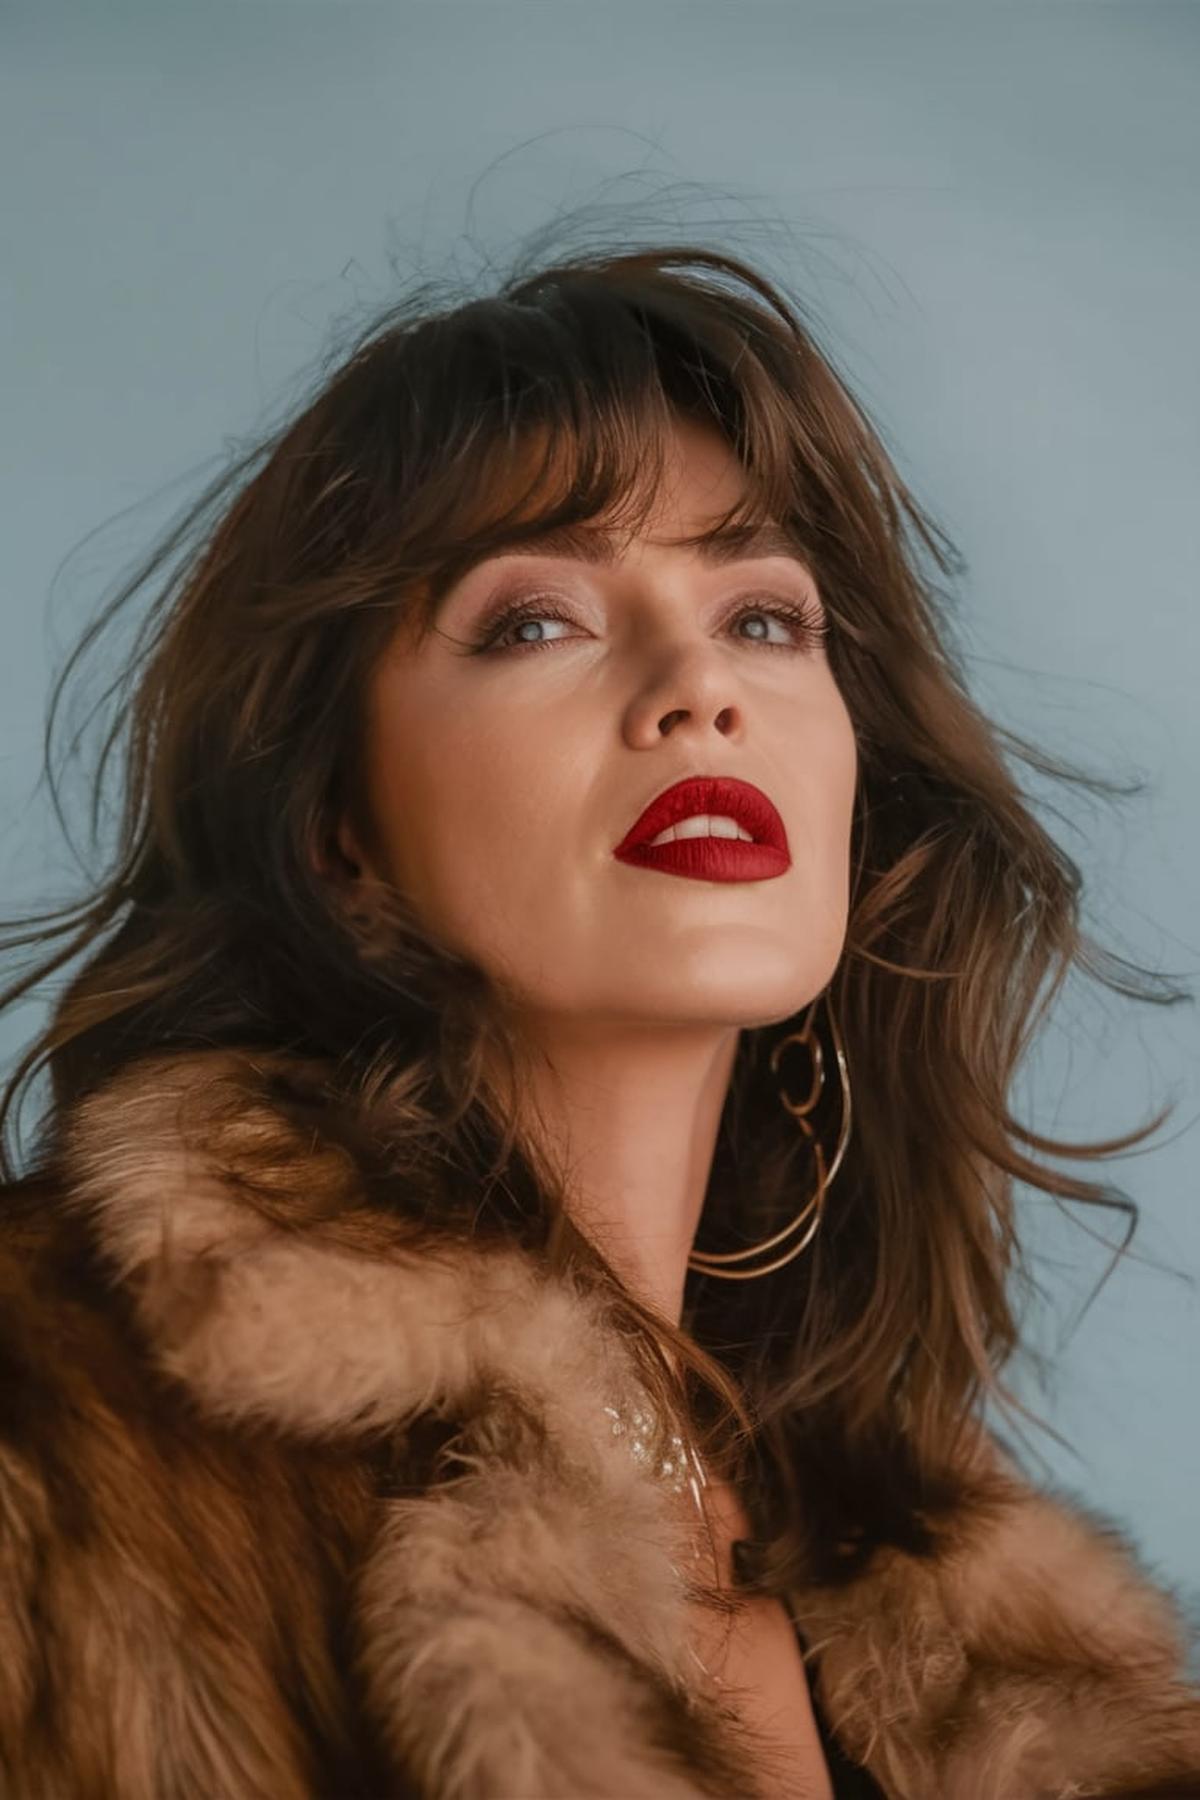
There are many options to consider, whether you want something elegant or playful. For a classic look, an elegant updo with floral accents can create a princess vibe, while romantic curls with a tiara add a touch of glamour.
For a more modern twist, consider a twisted updo with a sparkling headband or double Dutch braids into a low bun. These styles not only look great but also keep your hair secure throughout the festivities.
A messy updo with braided details can also give off a fun, carefree vibe.
Now, without further ado, let’s dive into 25 cute hairstyles for quinceañeras that will make you feel like a princess.
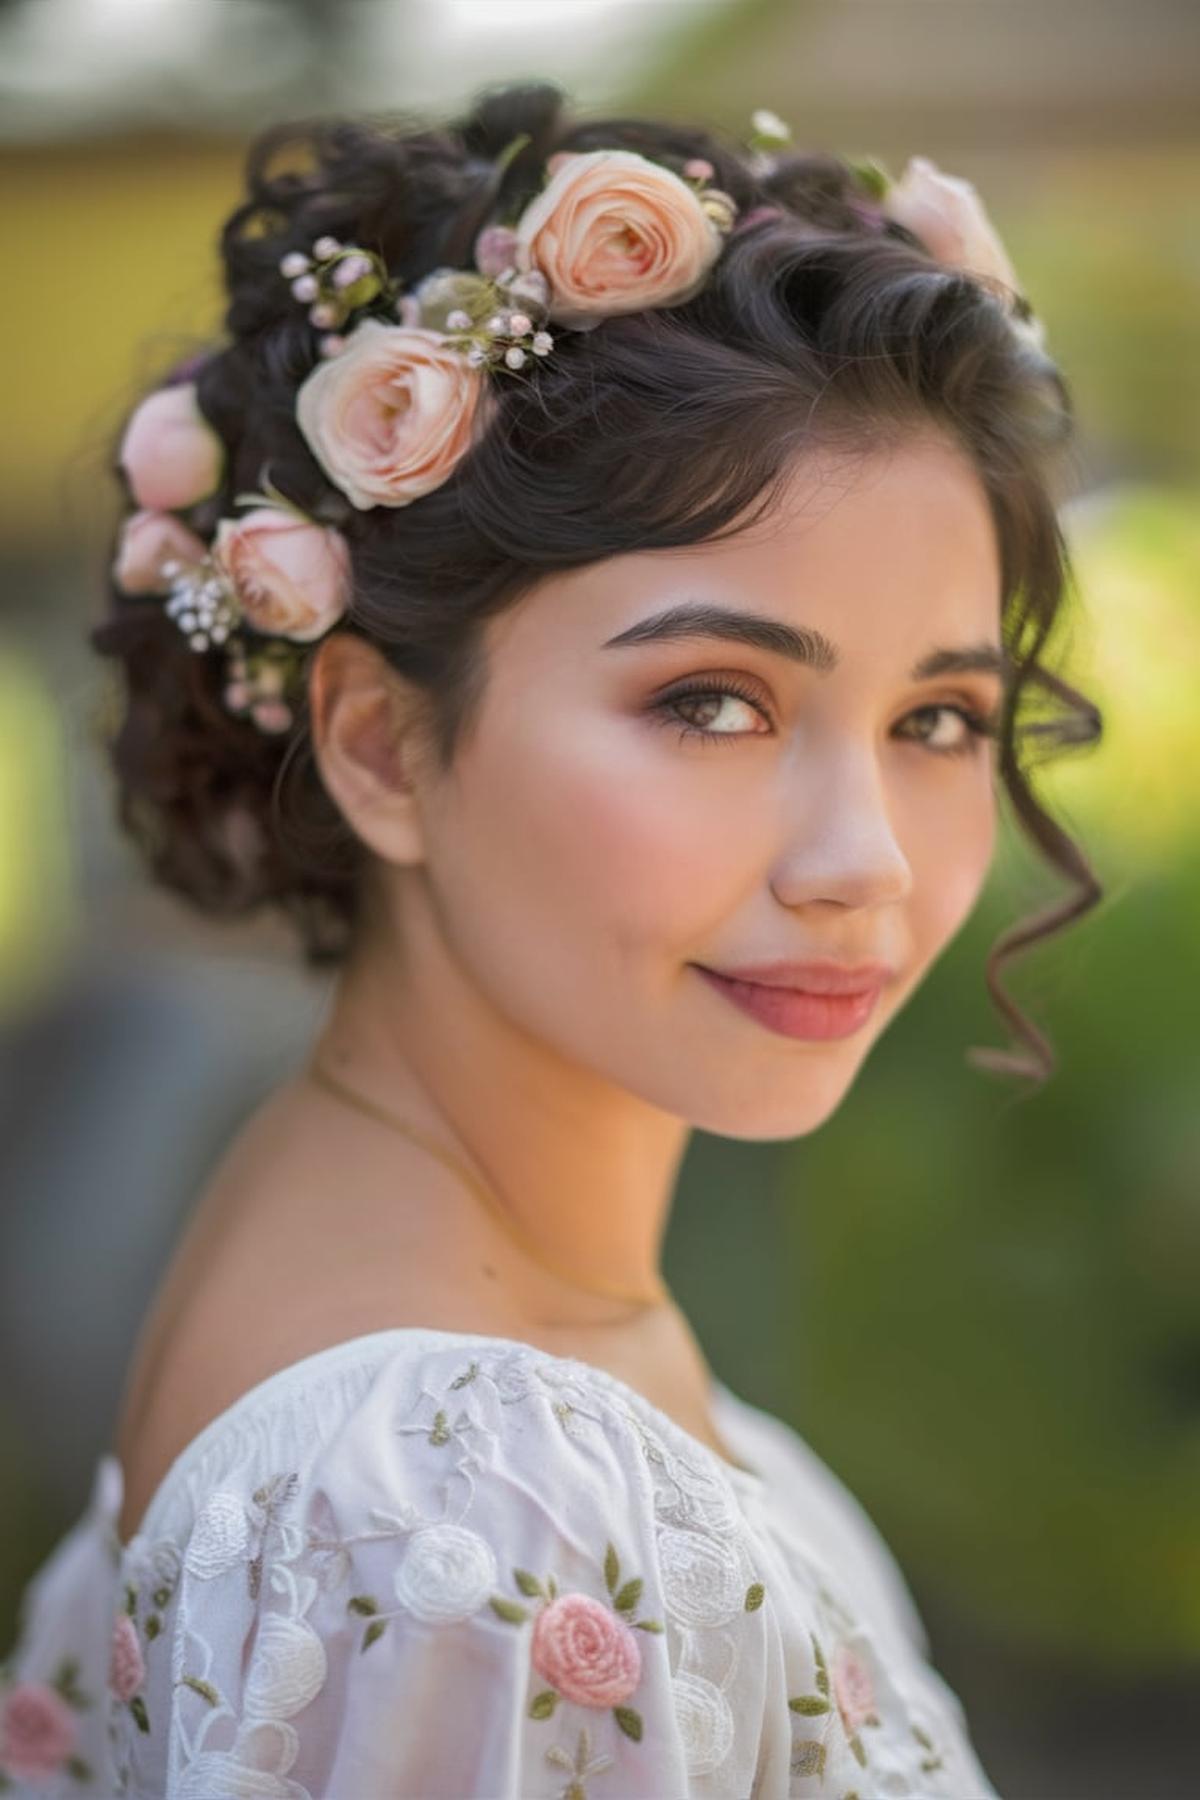
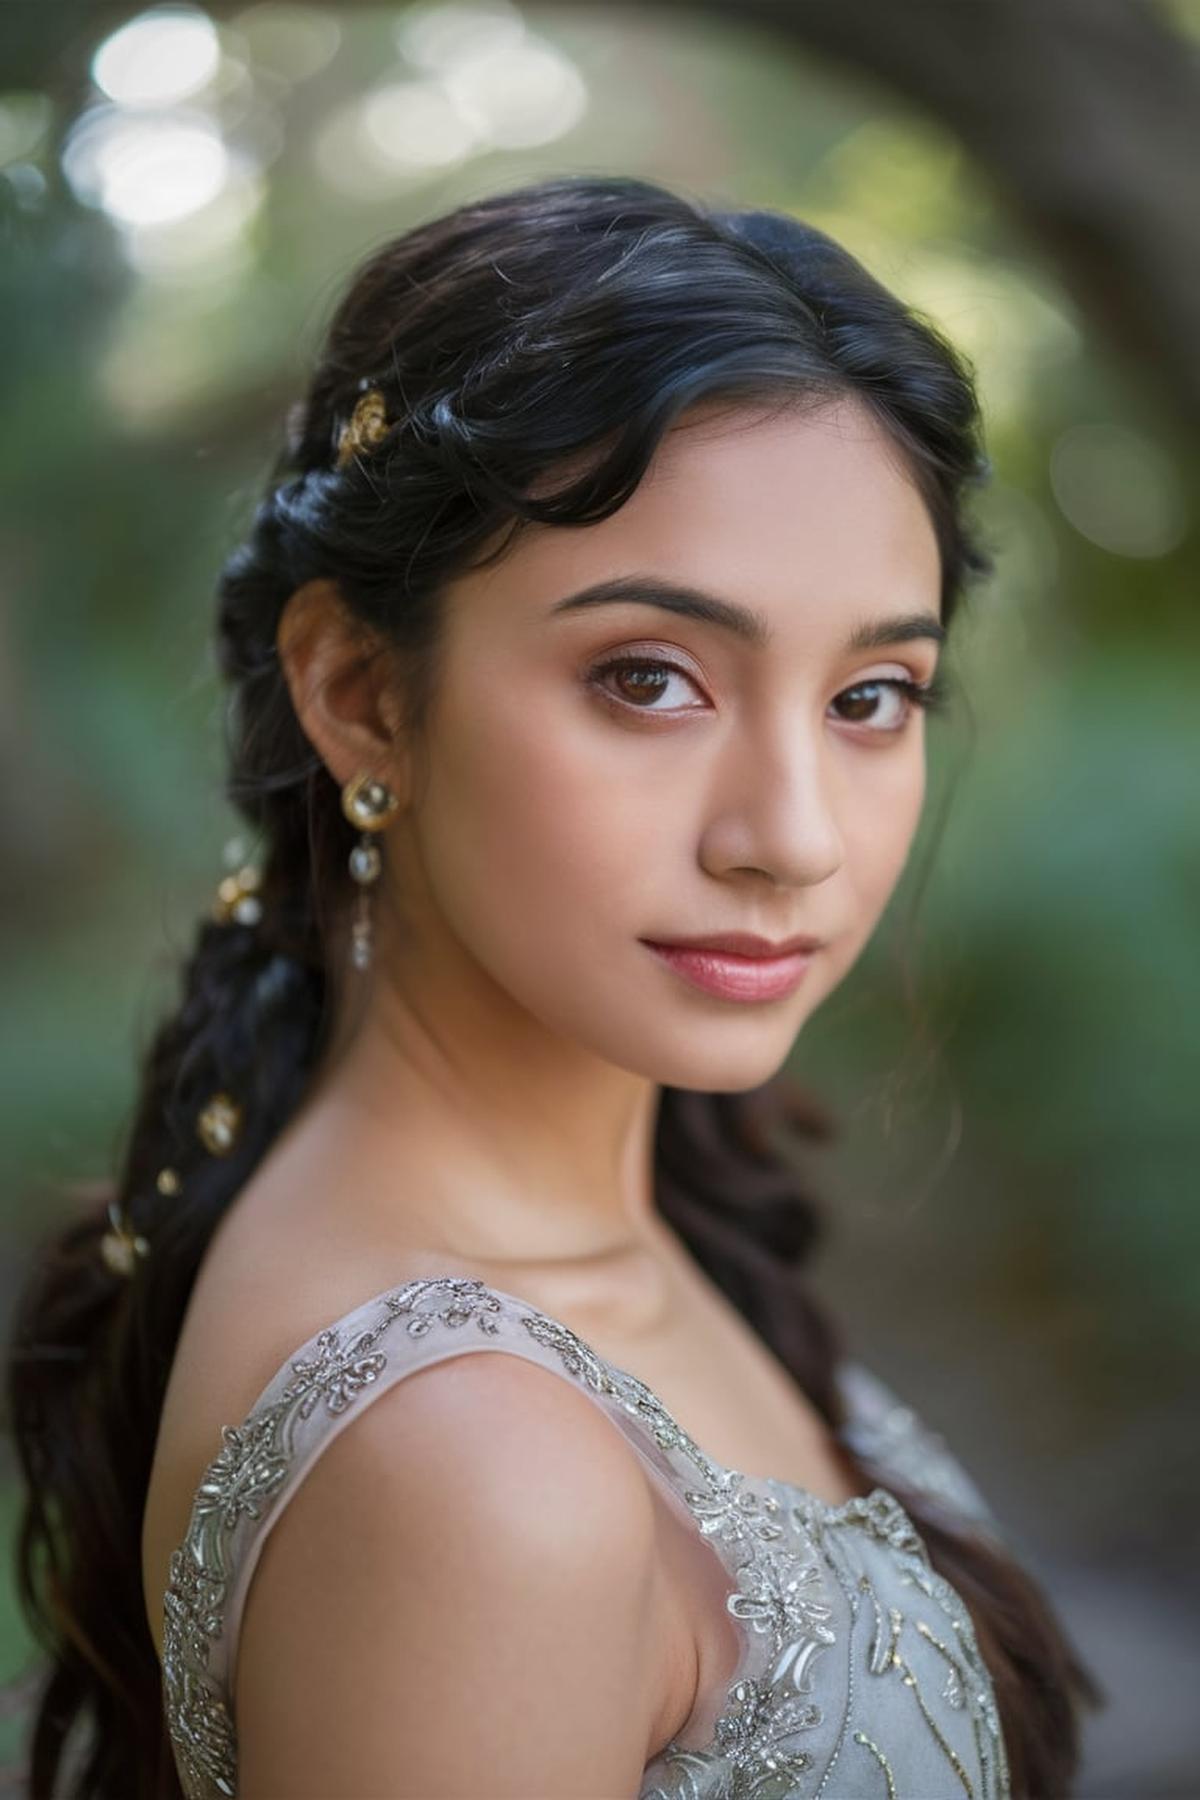
Elegant Updo with Floral Accents
Begin with clean, dry hair and brush it to remove any tangles. If you want extra volume, consider using hair extensions. Part your hair to your preference—either in the middle or to the side. Leave out some front pieces for a softer look.
Use a stretchy hair tie to secure it, ensuring the ponytail is smooth and tight. To create the bun, twist the ponytail around itself and secure it with bobby pins. Make sure the bun is firm and not floppy. You can also pancake the bun by gently pulling at the edges to give it a fuller look.
You can use fresh flowers or floral hair accessories that match your outfit. Simply tuck the flowers into the bun or around the twists you created. This will not only enhance the beauty of your hairstyle but also give it a charming, romantic vibe, perfect for events like weddings or proms. With practice, you’ll be able to create this stunning look effortlessly!
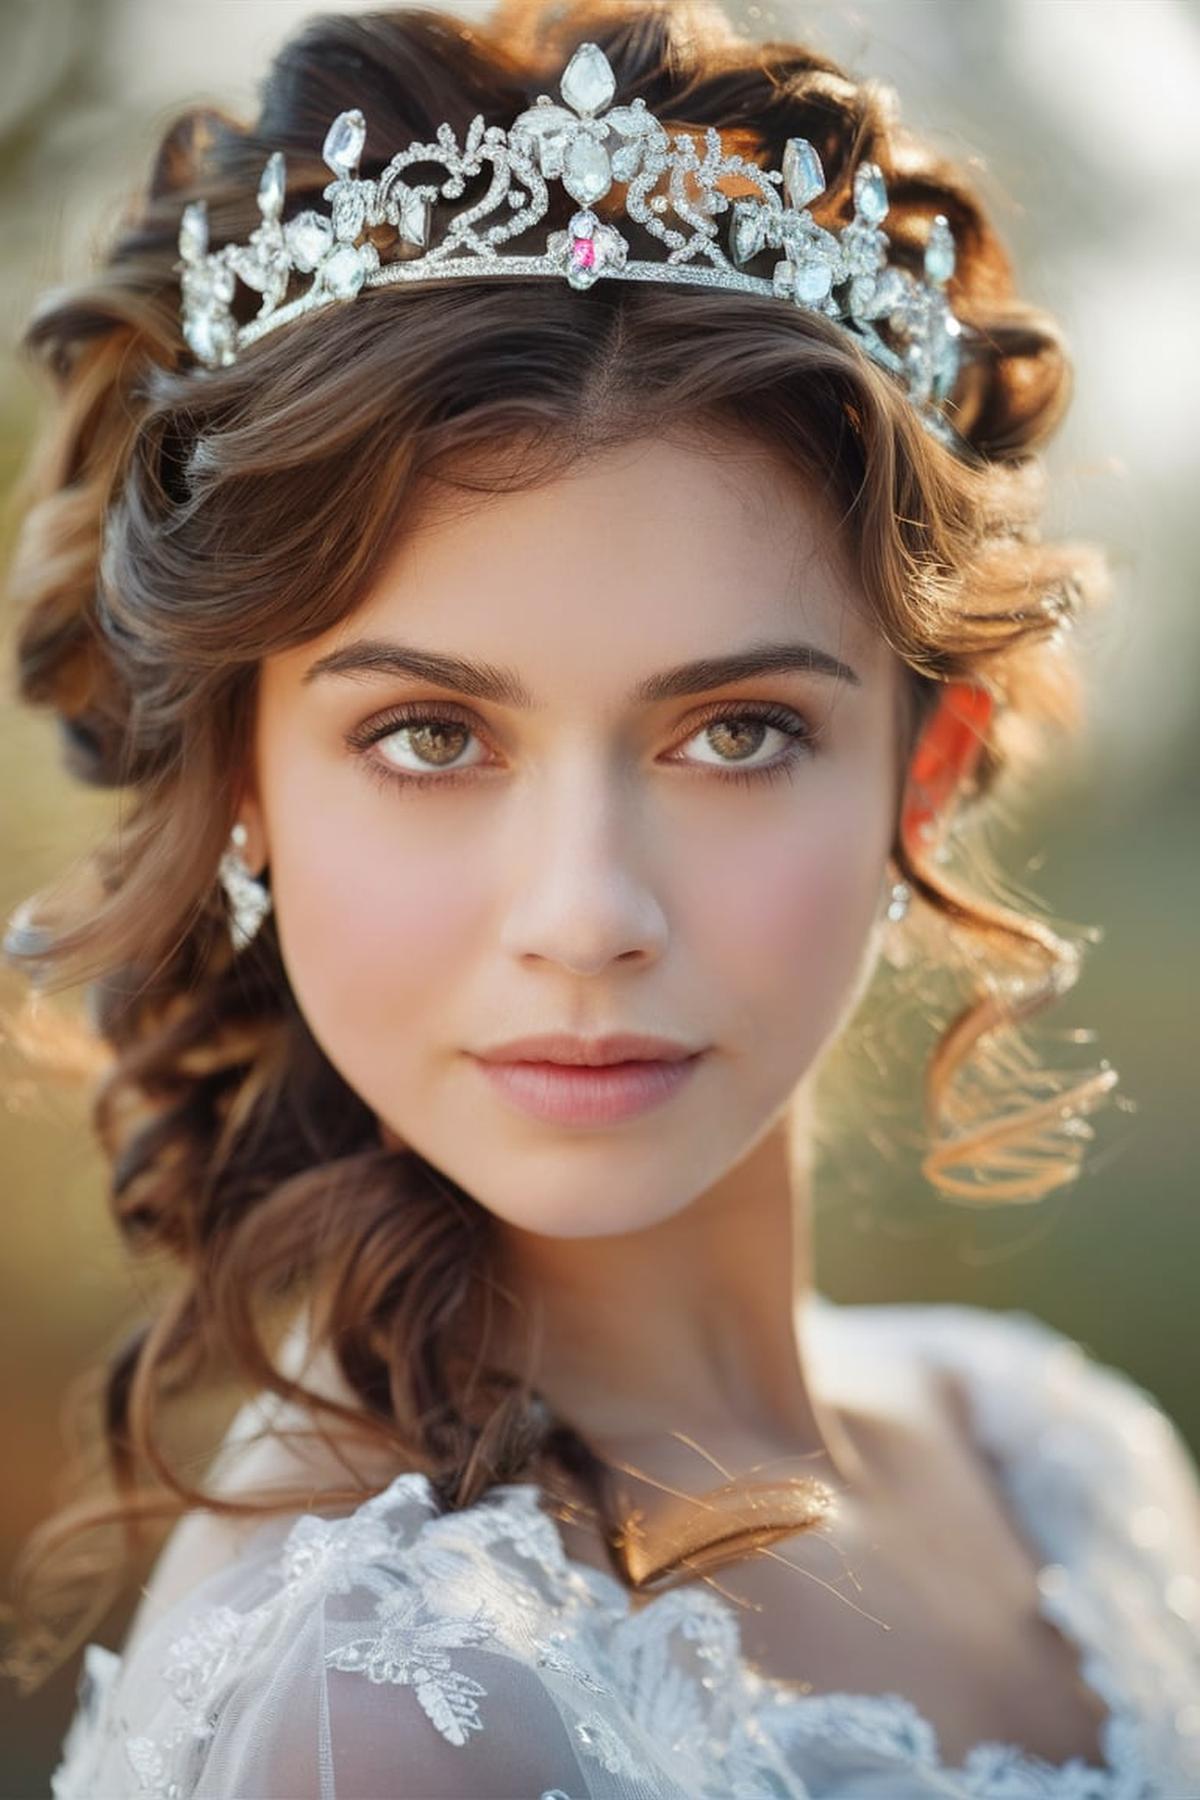
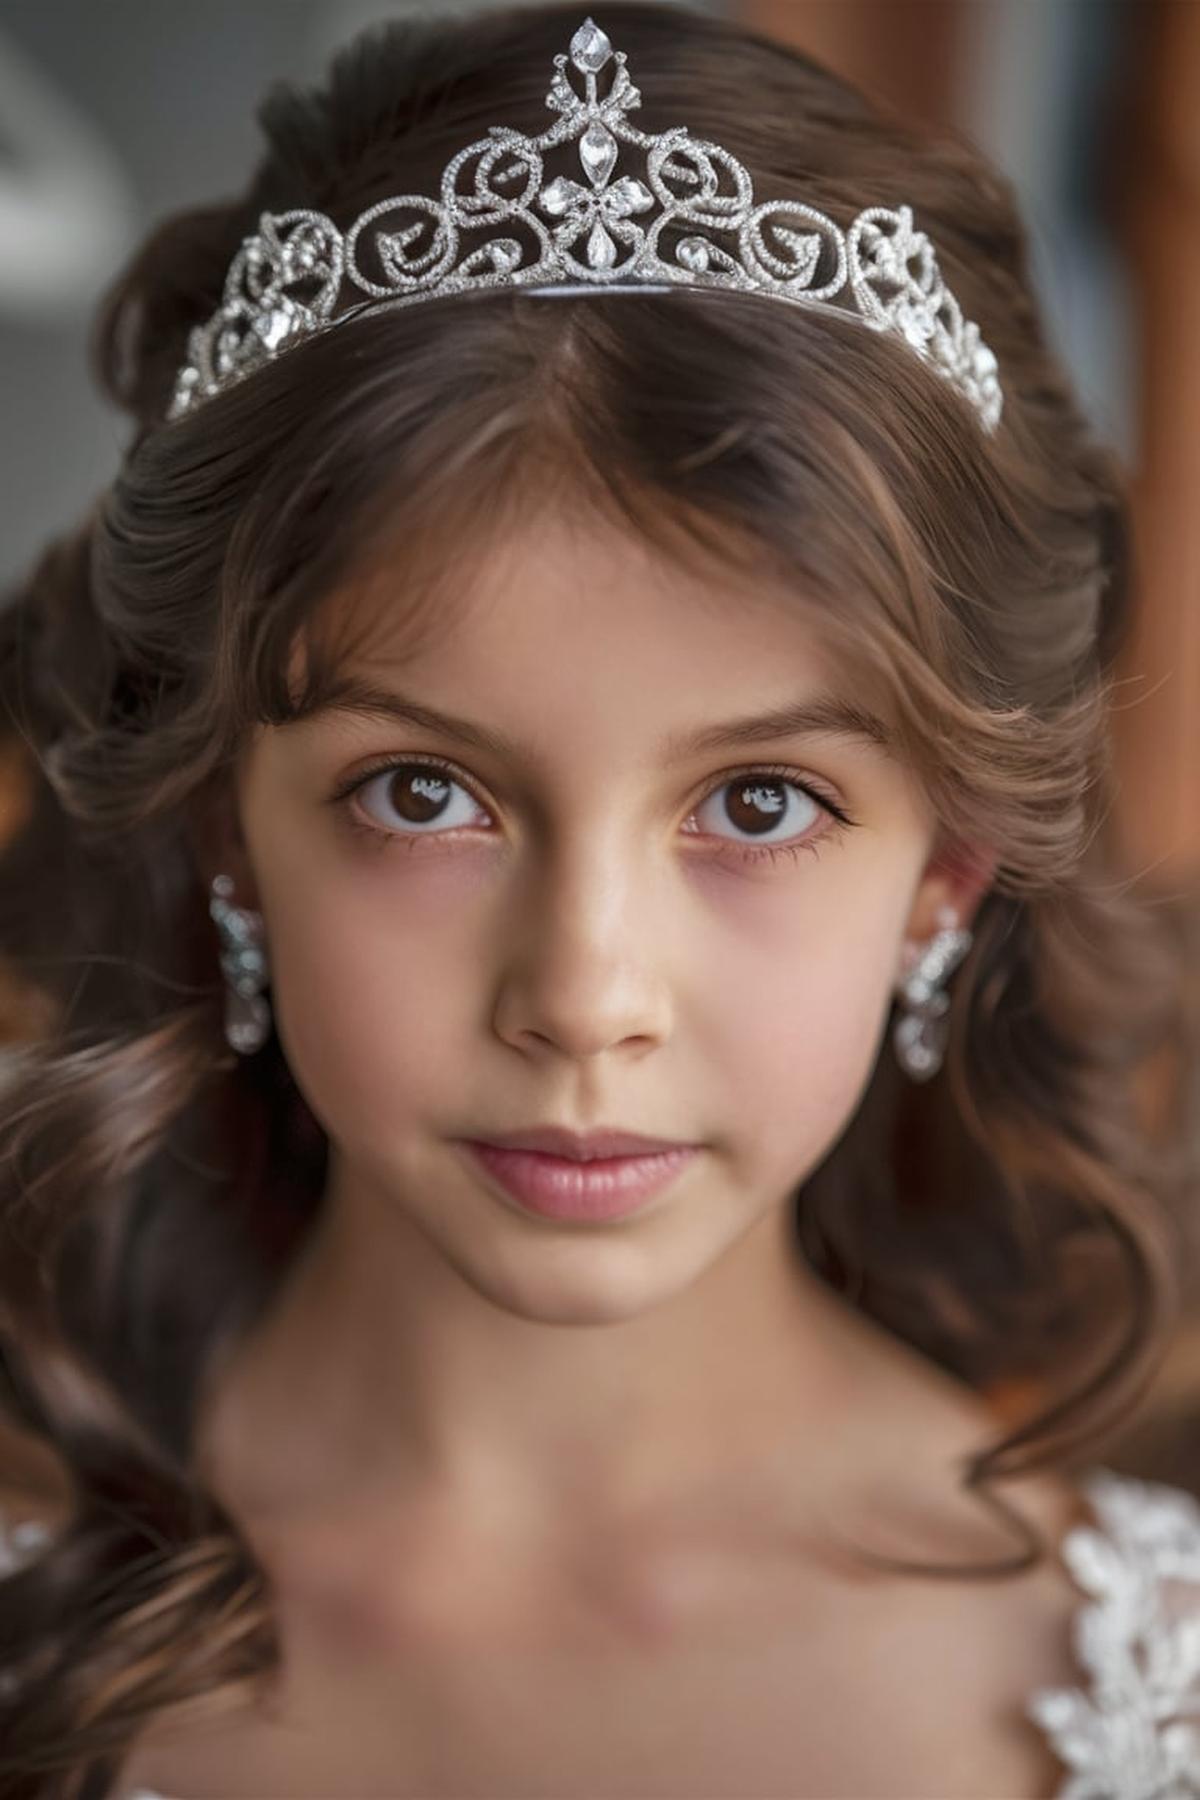
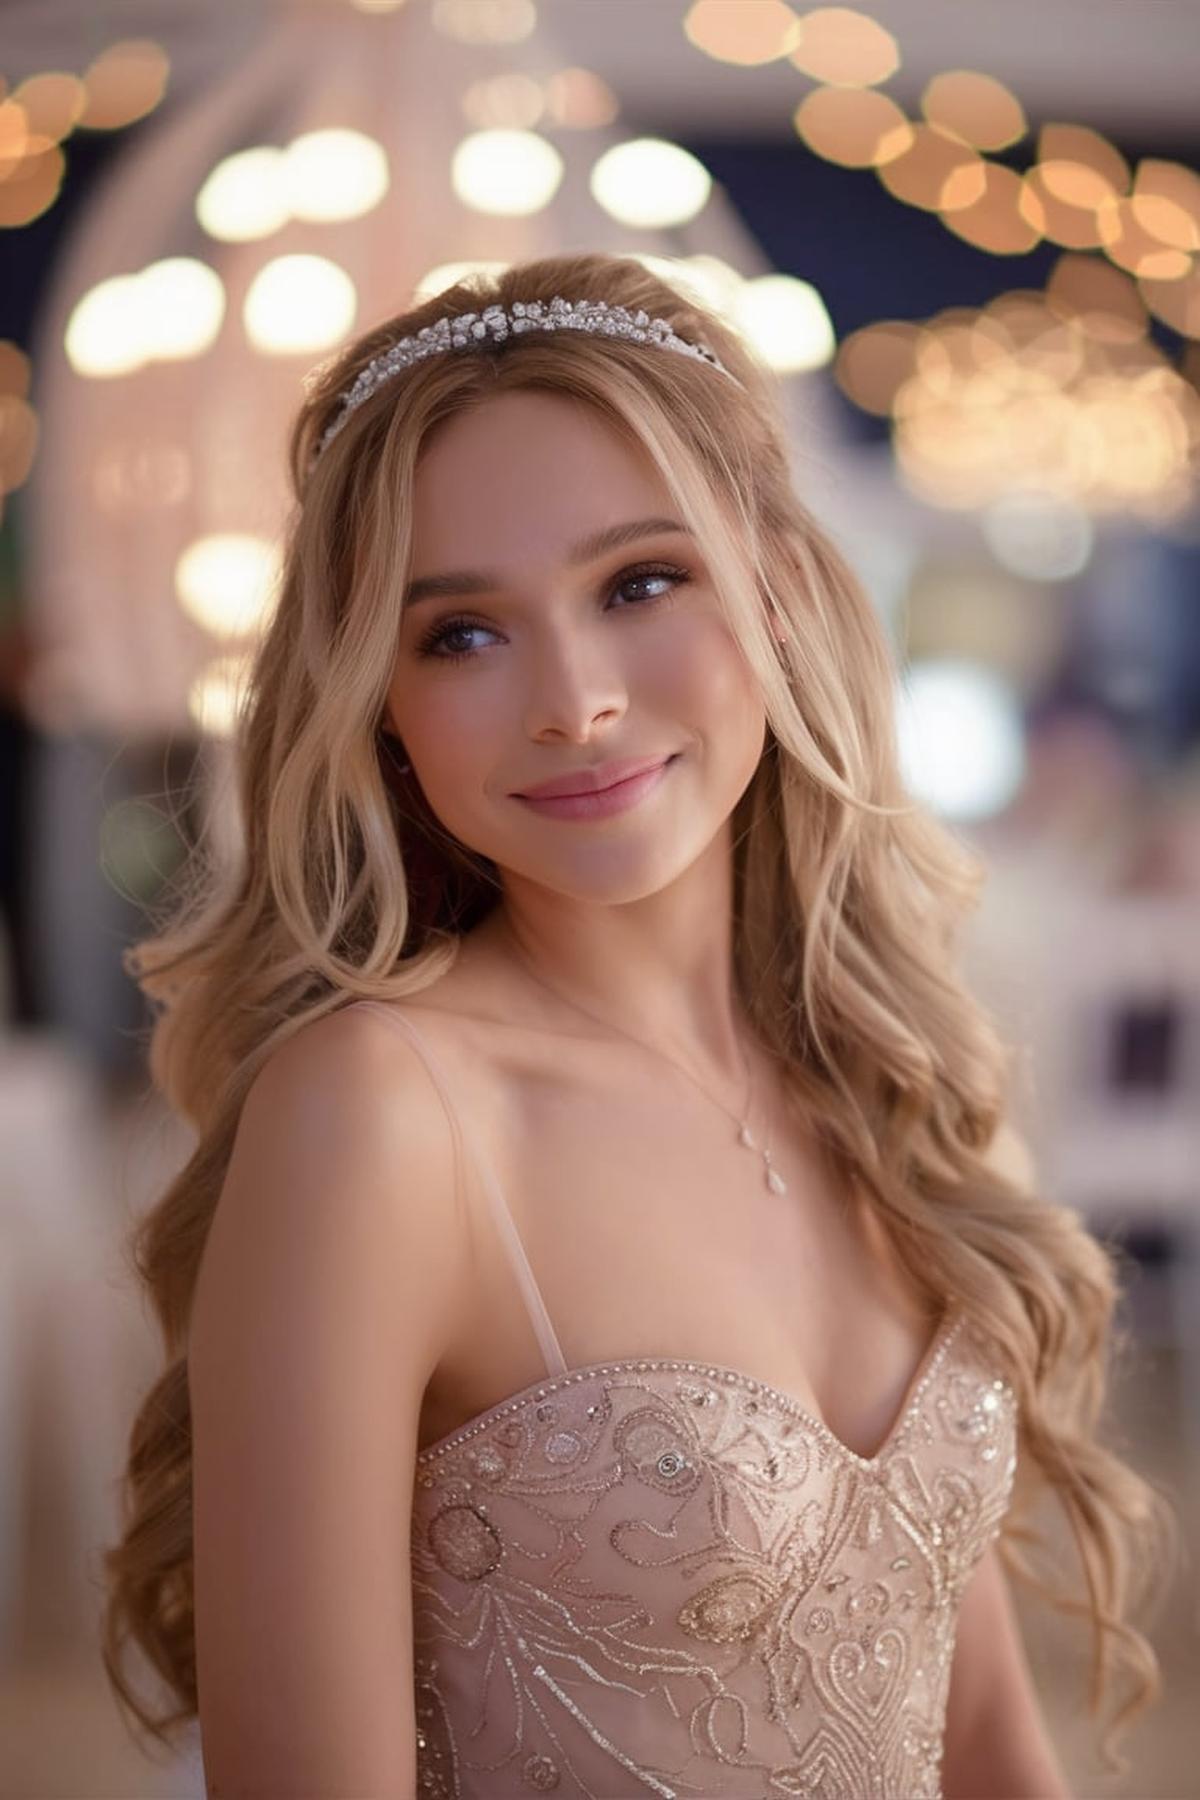
Romantic Curls with a Tiara
First, wash and dry your hair, then apply a heat protectant to keep it safe from styling tools. Use a curling iron or a curling wand to create soft curls. Take small sections of hair, wrap them around the barrel, and hold for a few seconds before releasing. This will give you bouncy curls that look elegant and romantic.
Position the tiara on your head where you want it to sit, usually just above your forehead. To secure it, you can use bobby pins. Make sure to pin it in place so it won’t slip off.
Just remember to keep everything neat and tidy. Finally, finish your look with some hairspray to hold the curls and keep the tiara in place. This will help your hairstyle last longer, especially if you’re going to an event. With these steps, you’ll have a stunning hairstyle that looks like you just stepped out of a fairy tale, perfect for any special occasion!
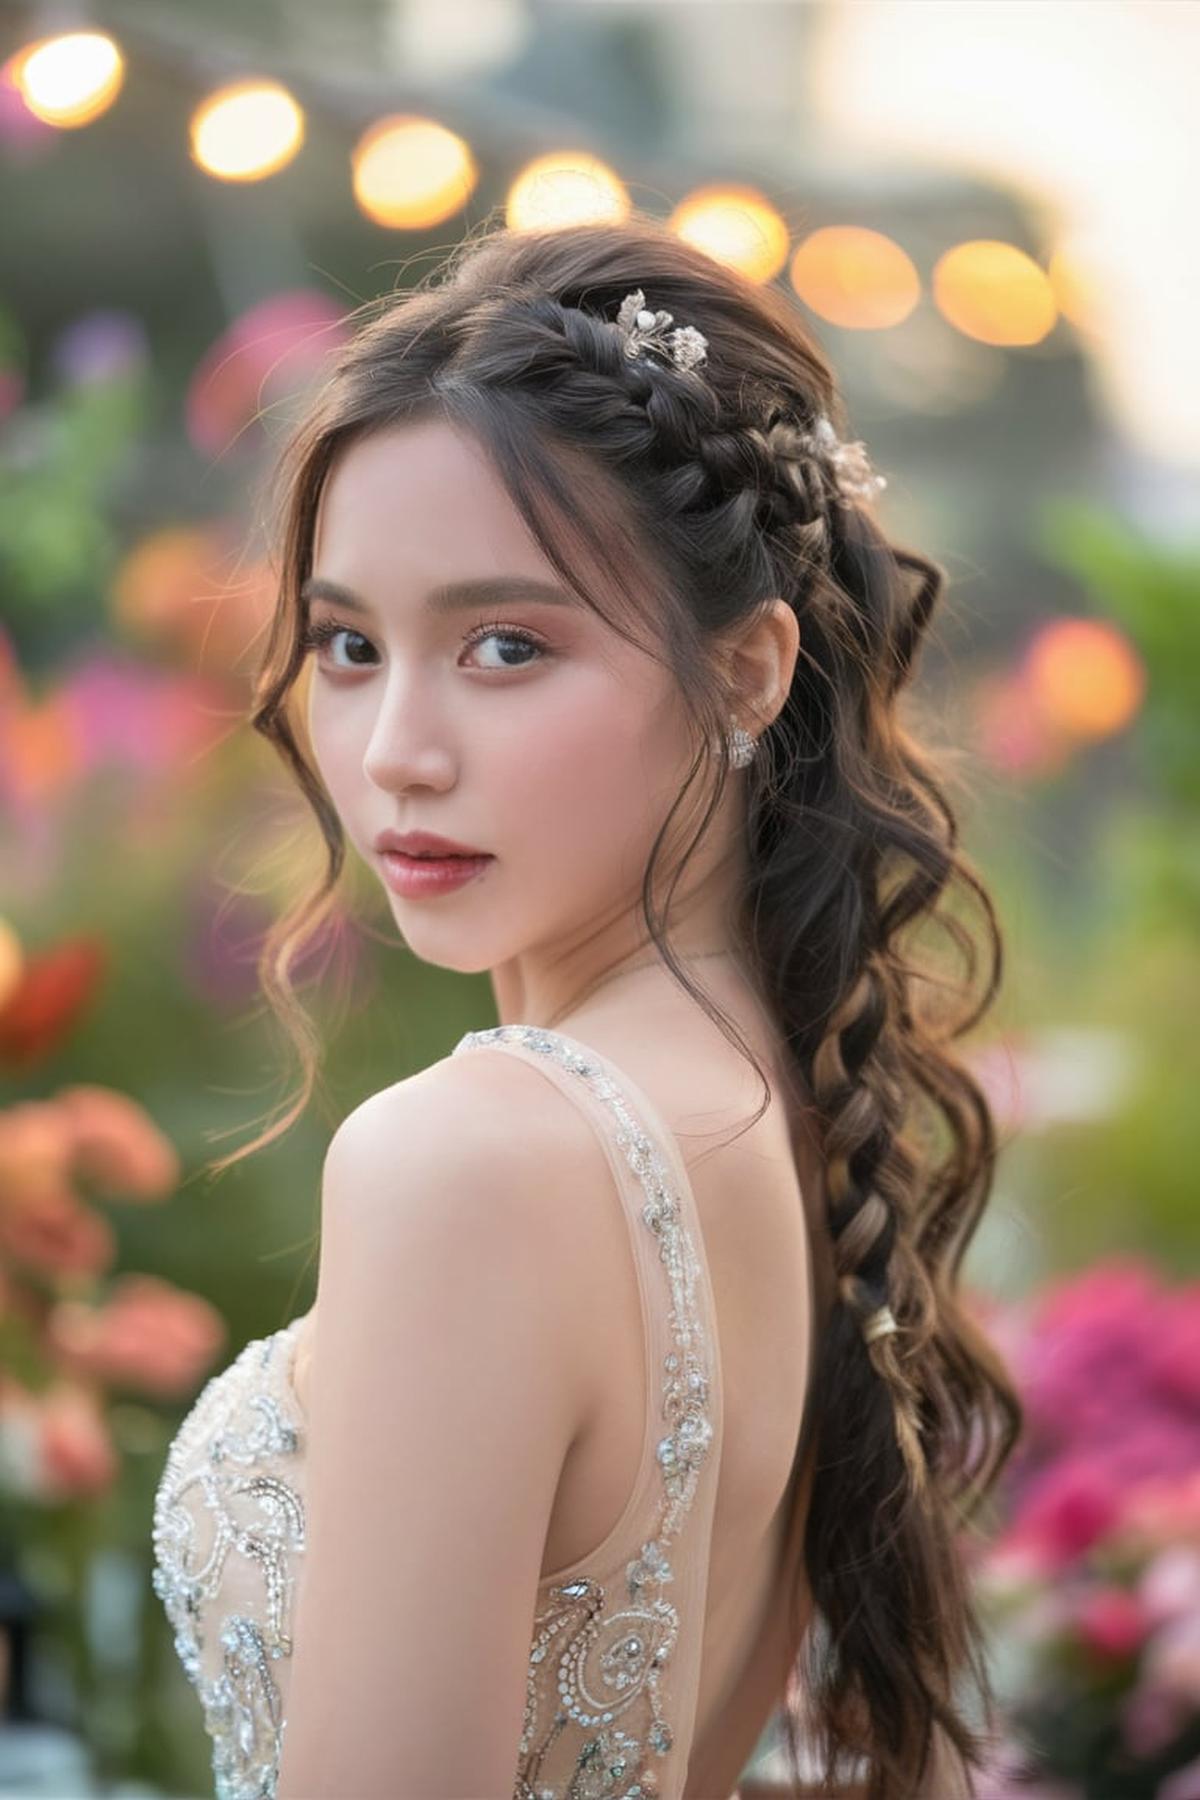
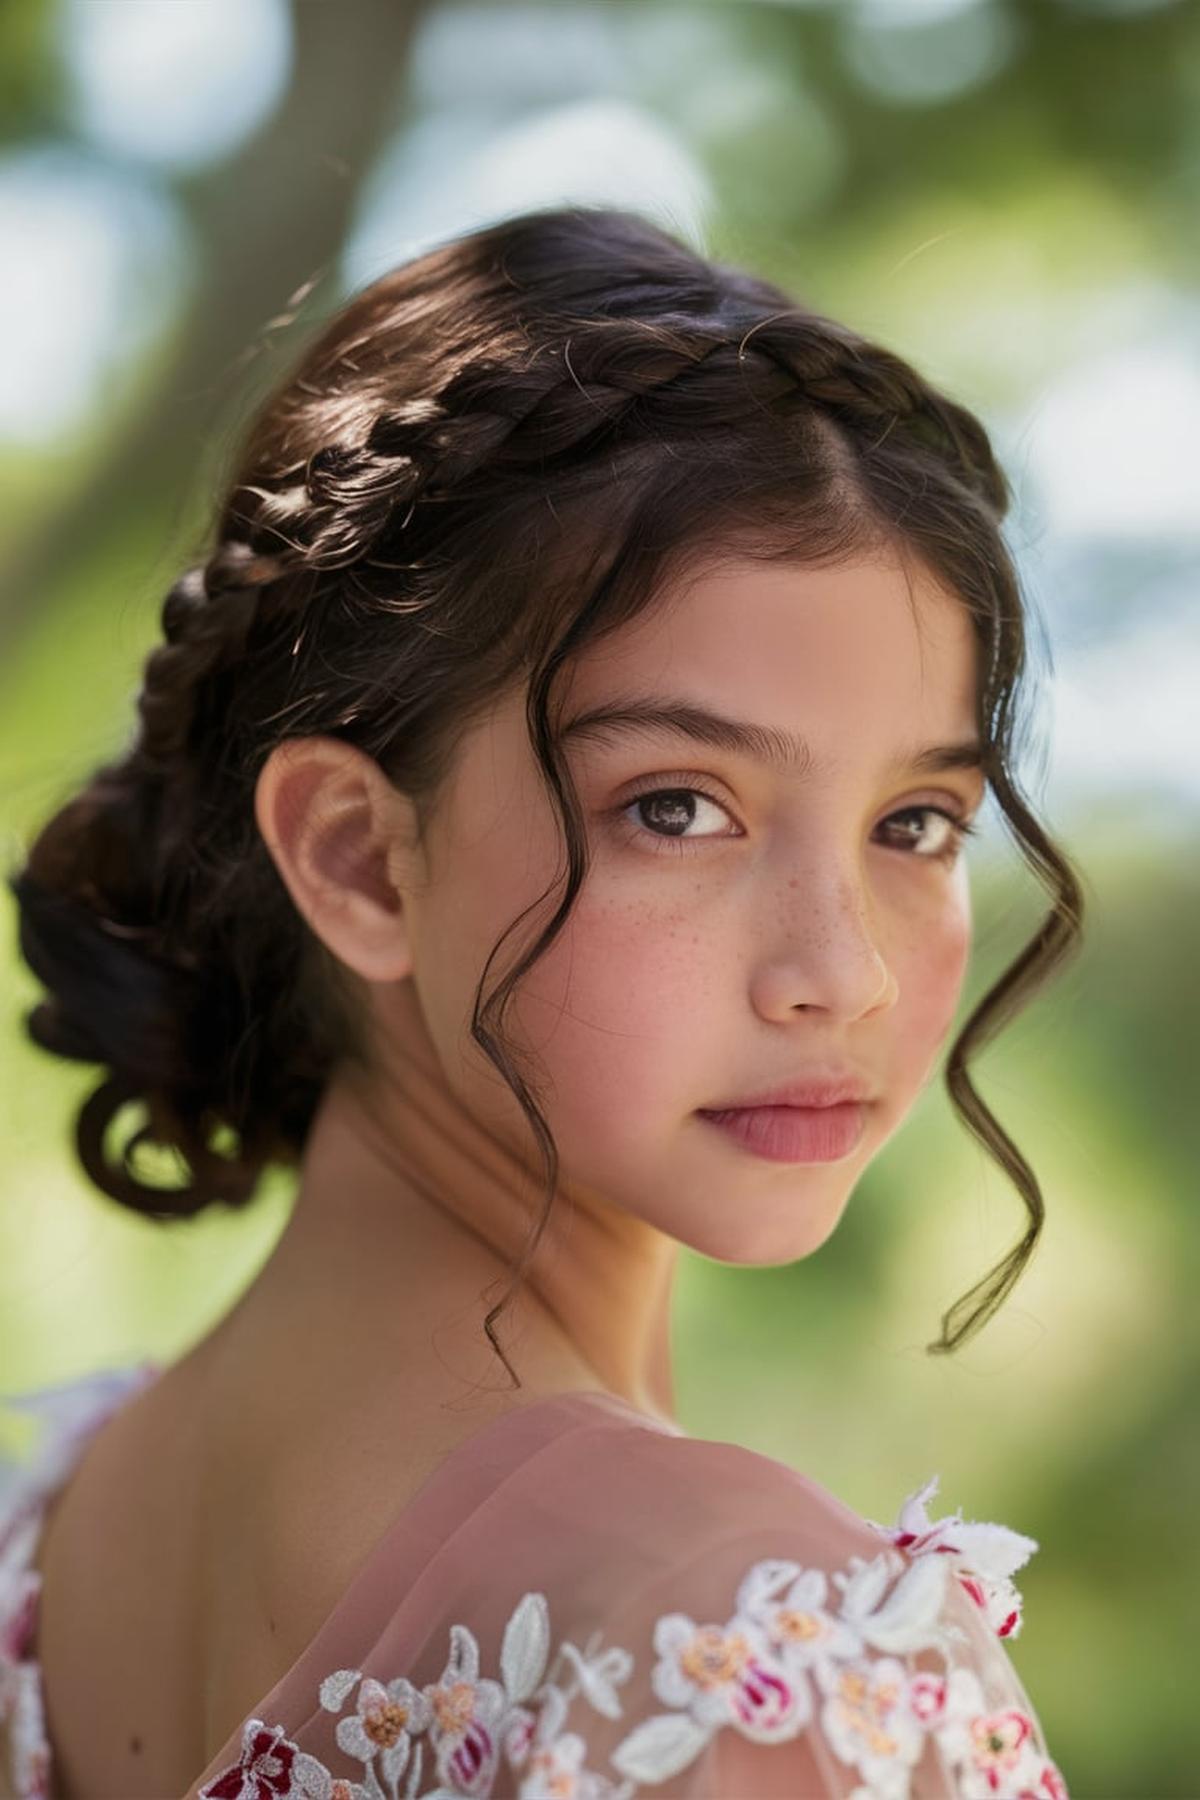
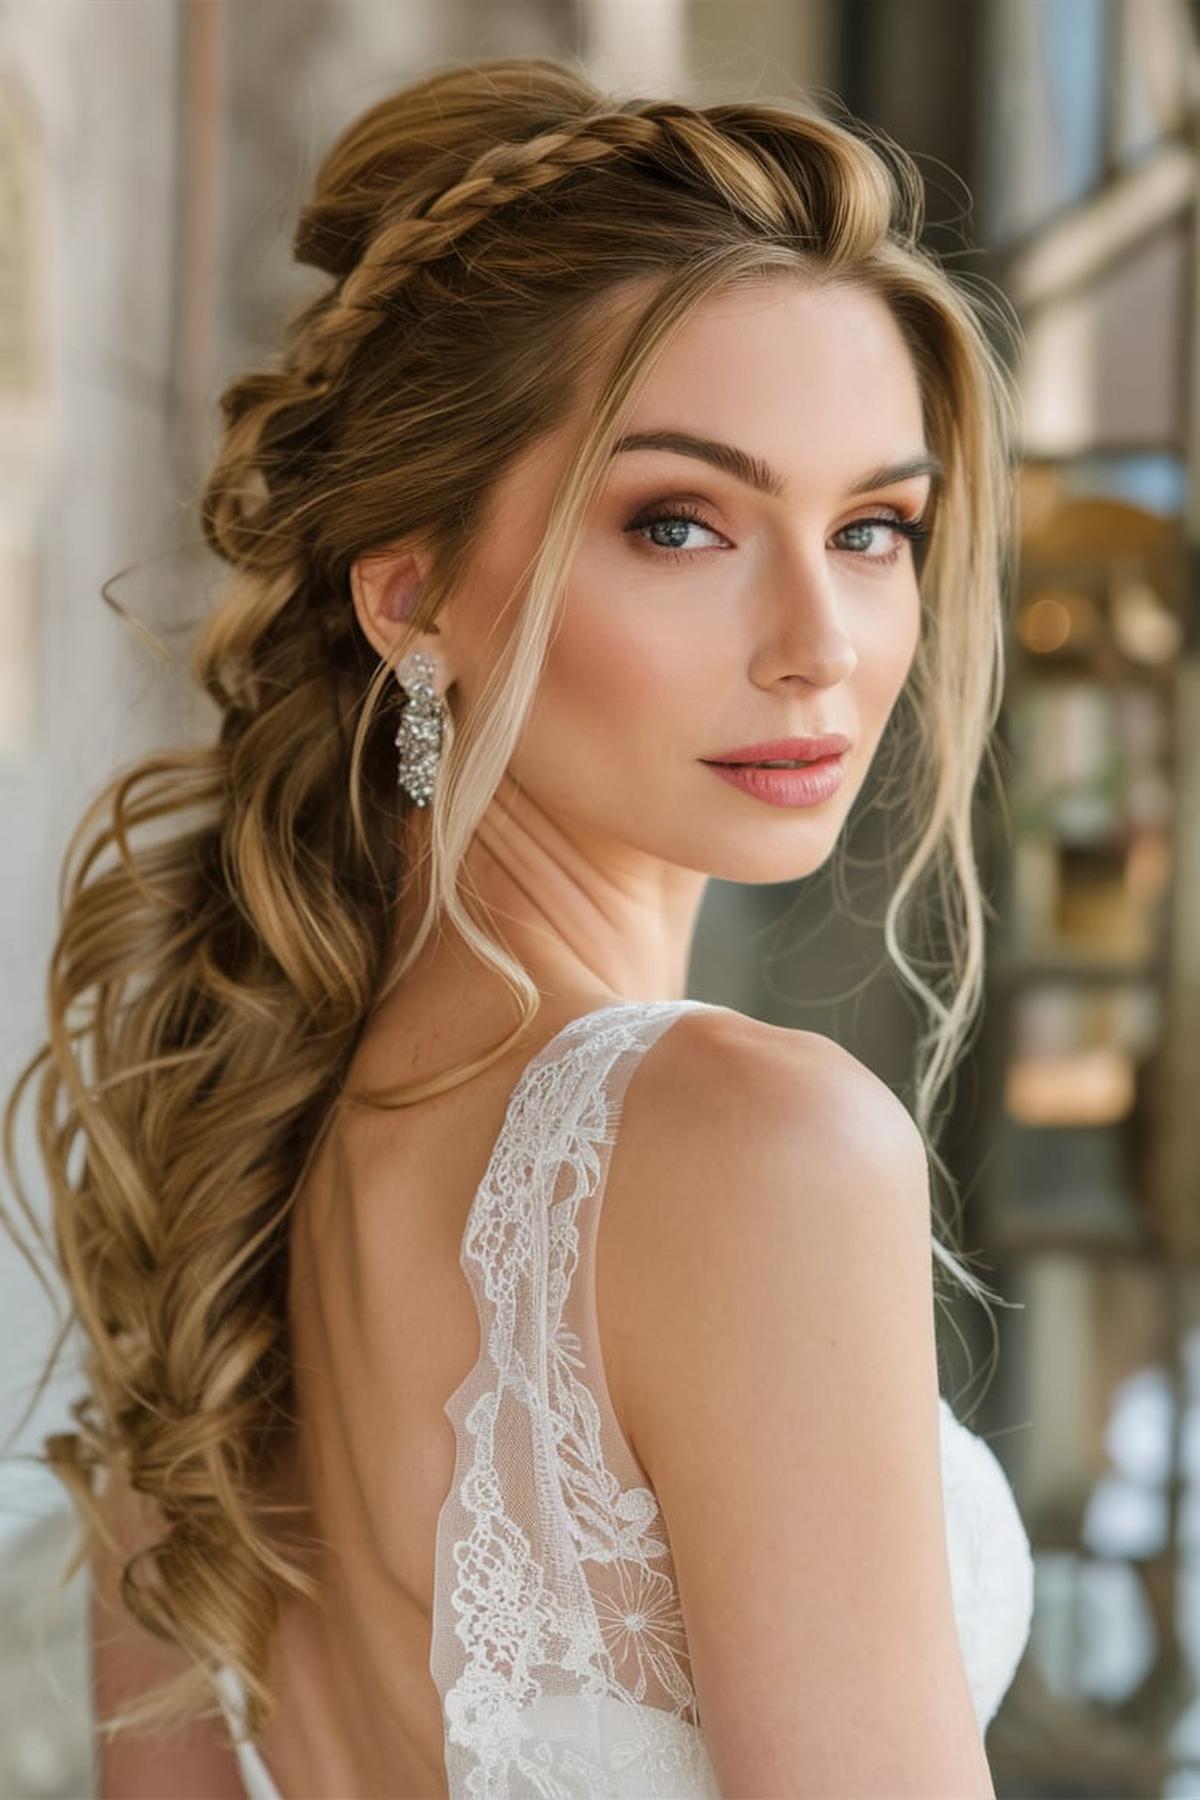
Braided Crown with Loose Waves
It’s best to begin with hair that has some texture, so consider curling or waving it first. This adds volume and makes the braiding easier. Once your hair is styled, divide it into three sections.
Next, you’ll want to create the crown effect. Take the first braid and wrap it around the back of your head, securing it with bobby pins. Then, do the same with the second braid, crossing it over the first one.
Finally, to complete the look, gently pull apart the braids to make them appear fuller and a bit messy, which adds to the charm of the hairstyle. You can finish off with a light hairspray to hold everything in place. This hairstyle is versatile and works well for various occasions, making it a great choice for both casual outings and more formal events.
Sleek Low Bun with Jeweled Pins
Begin with clean or slightly dirty hair, as second or third-day hair works best for this style. Apply a smoothing product or hair oil to tame any frizz and make your hair shiny. Then, use a soft-bristle brush to create a sleek look by brushing your hair back into a low ponytail, ensuring it sits just below eye level.
Use bobby pins to secure the bun in place, making sure to tuck any loose strands. If you want a more polished appearance, you can use a bit of gel or hairspray to smooth down any flyaways. For added flair, you can leave a few ends out to create a trendy look.
Simply insert the pins into the bun, spacing them out for a balanced look. This hairstyle is versatile and can be worn for various occasions, from casual outings to formal events. With a little practice and the right products, you’ll be able to achieve a chic and sophisticated sleek low bun that stands out.
Half-Up, Half-Down with Curls
If your hair is straight, use a curling iron to create soft curls throughout your hair. For those with naturally curly hair, you can enhance your curls with a little styling cream or mousse to keep them bouncy and defined. Once your curls are ready, gently run your fingers through them to loosen them up a bit, giving a more relaxed look.
Gather this top section and secure it with a hair elastic. To make the hairstyle look polished, take a small piece of hair from the ponytail and wrap it around the elastic to hide it.
You can tease the hair at the crown for extra volume, or pull out a few face-framing strands for a softer look. If you want, accessorize with a cute clip or hairband to make it more stylish. This half-up, half-down with curls is perfect for any occasion and is easy to achieve with just a few simple steps!
Side-Swept Hollywood Waves
Begin by washing and drying your hair, then apply a heat protectant to keep your strands safe from heat damage. Section your hair into large parts, which makes it easier to curl. Use a curling iron with a barrel size of about 25 to 32 mm, depending on how tight or loose you want your waves to be.
Let the curls cool down for a bit, then gently brush through them with a wide-tooth comb or a dressing brush. This will help blend the curls into soft waves. For added volume, you can lightly tease the roots.
Finally, to keep your hairstyle in place, use a strong-hold hairspray. This will help your waves last throughout the day, keeping them looking fresh and stylish. You can also personalize your look by adjusting the size of the waves or adding accessories like hairpins or clips. With a bit of practice and the right products, you’ll be able to rock those stunning side-swept Hollywood waves effortlessly!
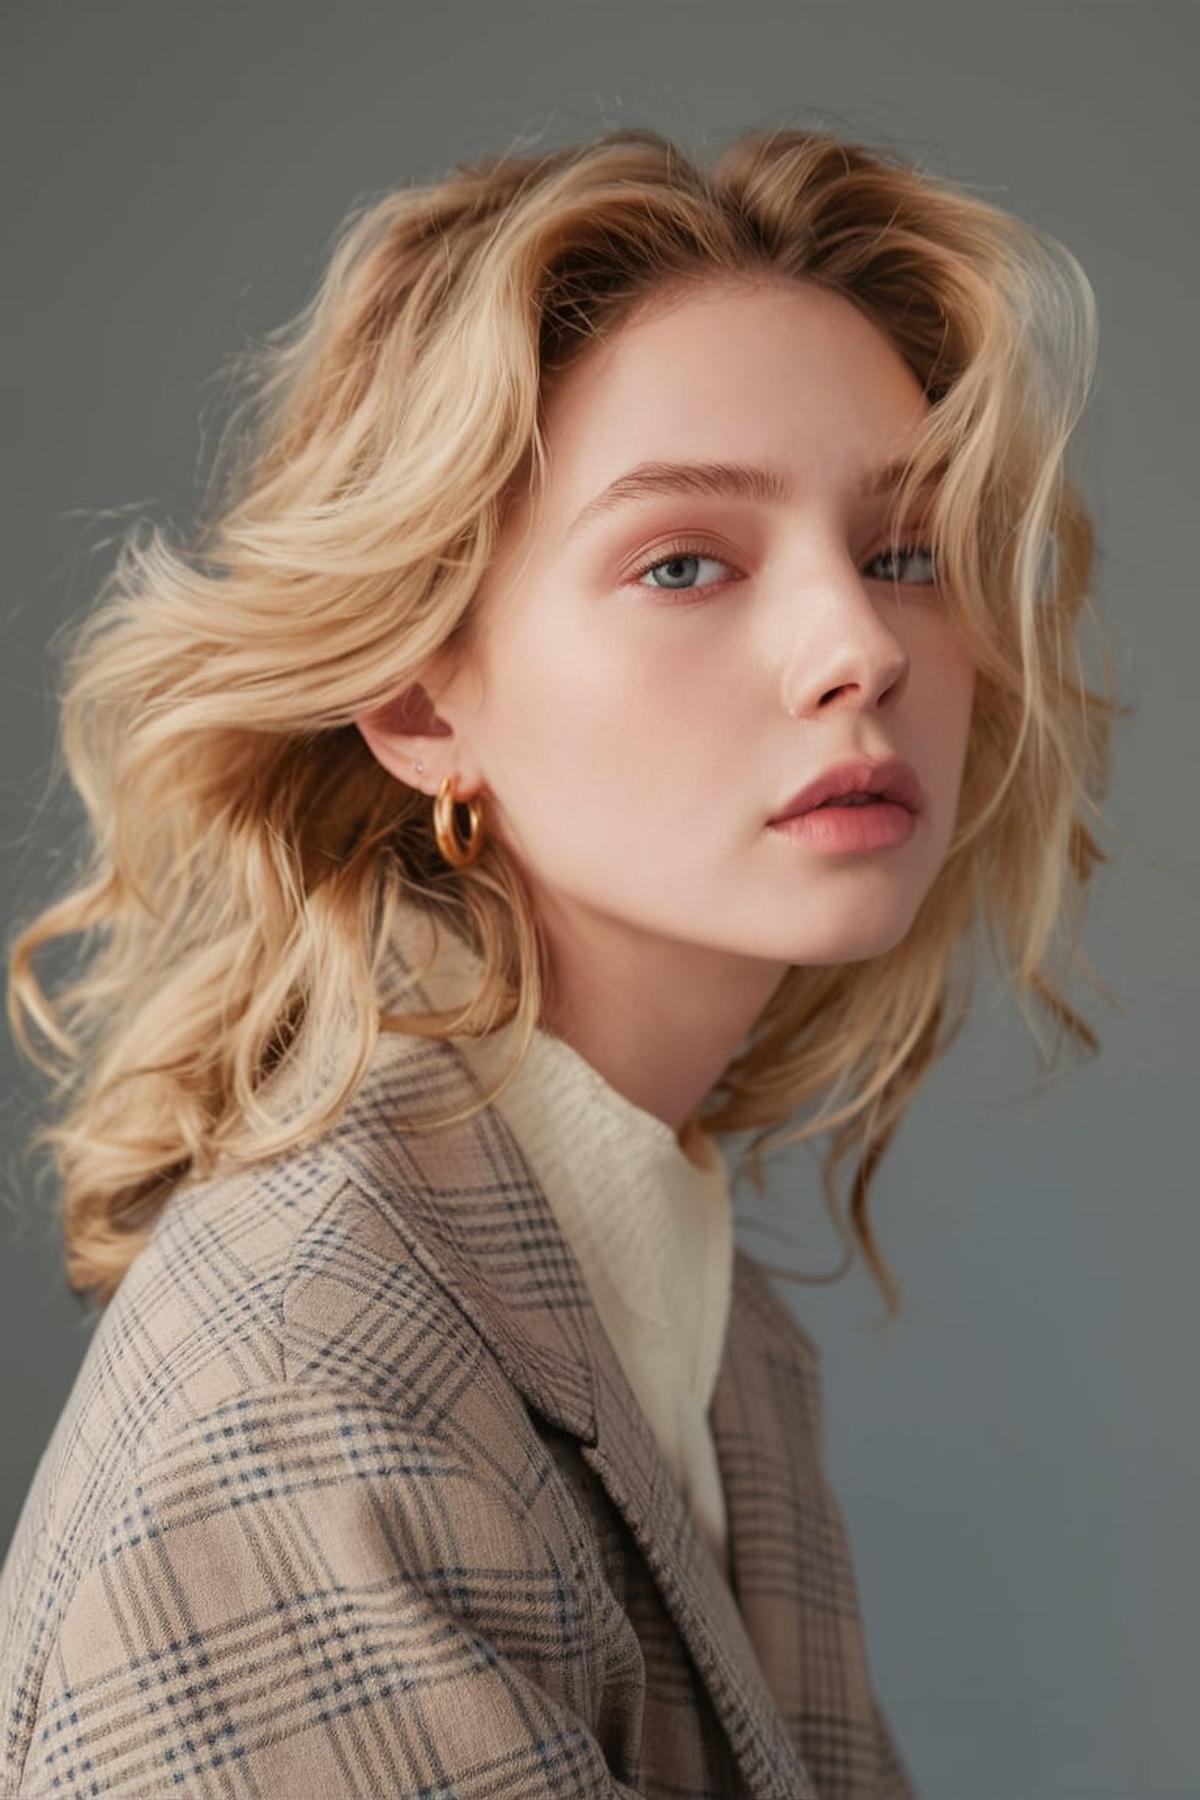
Cascading Waves
Begin with clean, dry hair, and apply a heat protectant spray to shield your strands from damage. It’s essential to use a curling wand or a flat iron to create those beautiful waves. If you have straight hair, consider using a volumizing mousse or a sea salt spray to add texture and hold, making it easier to achieve the desired look.
Take a small section of hair, wrap it around the curling wand or flat iron, and hold it for about 10-15 seconds. Make sure to alternate the direction of the curls for a more natural, cascading effect. After curling each section, gently pull on the curls to loosen them up and create that flowing wave appearance.
For added shine, you can use a light hair oil or serum. Remember, practice makes perfect! Experiment with different curling techniques and products to find what works best for your hair type, and soon you’ll be rocking those gorgeous cascading waves with confidence.
Low Ponytail with Cascading Curls
It’s best to curl your hair first using a curling iron or wand to create loose waves. If your hair is freshly washed, consider using a texturizing spray to add some grip and volume. This helps the curls hold better.
Next, create the cascading curls. Take small sections of hair from the ponytail and wrap them around the curling iron, holding for a few seconds before releasing. This will give you beautiful, bouncy curls that cascade down from the ponytail.
Finally, to add some finishing touches, take the front sections of hair you left out earlier and curl them slightly for a soft, romantic look. You can also tease the ponytail a bit at the base to add volume. If you want, wrap a small section of hair around the hair tie to hide it, securing it with a bobby pin. This hairstyle is versatile and can be worn for casual outings or more formal events, making it a great choice for any occasion.
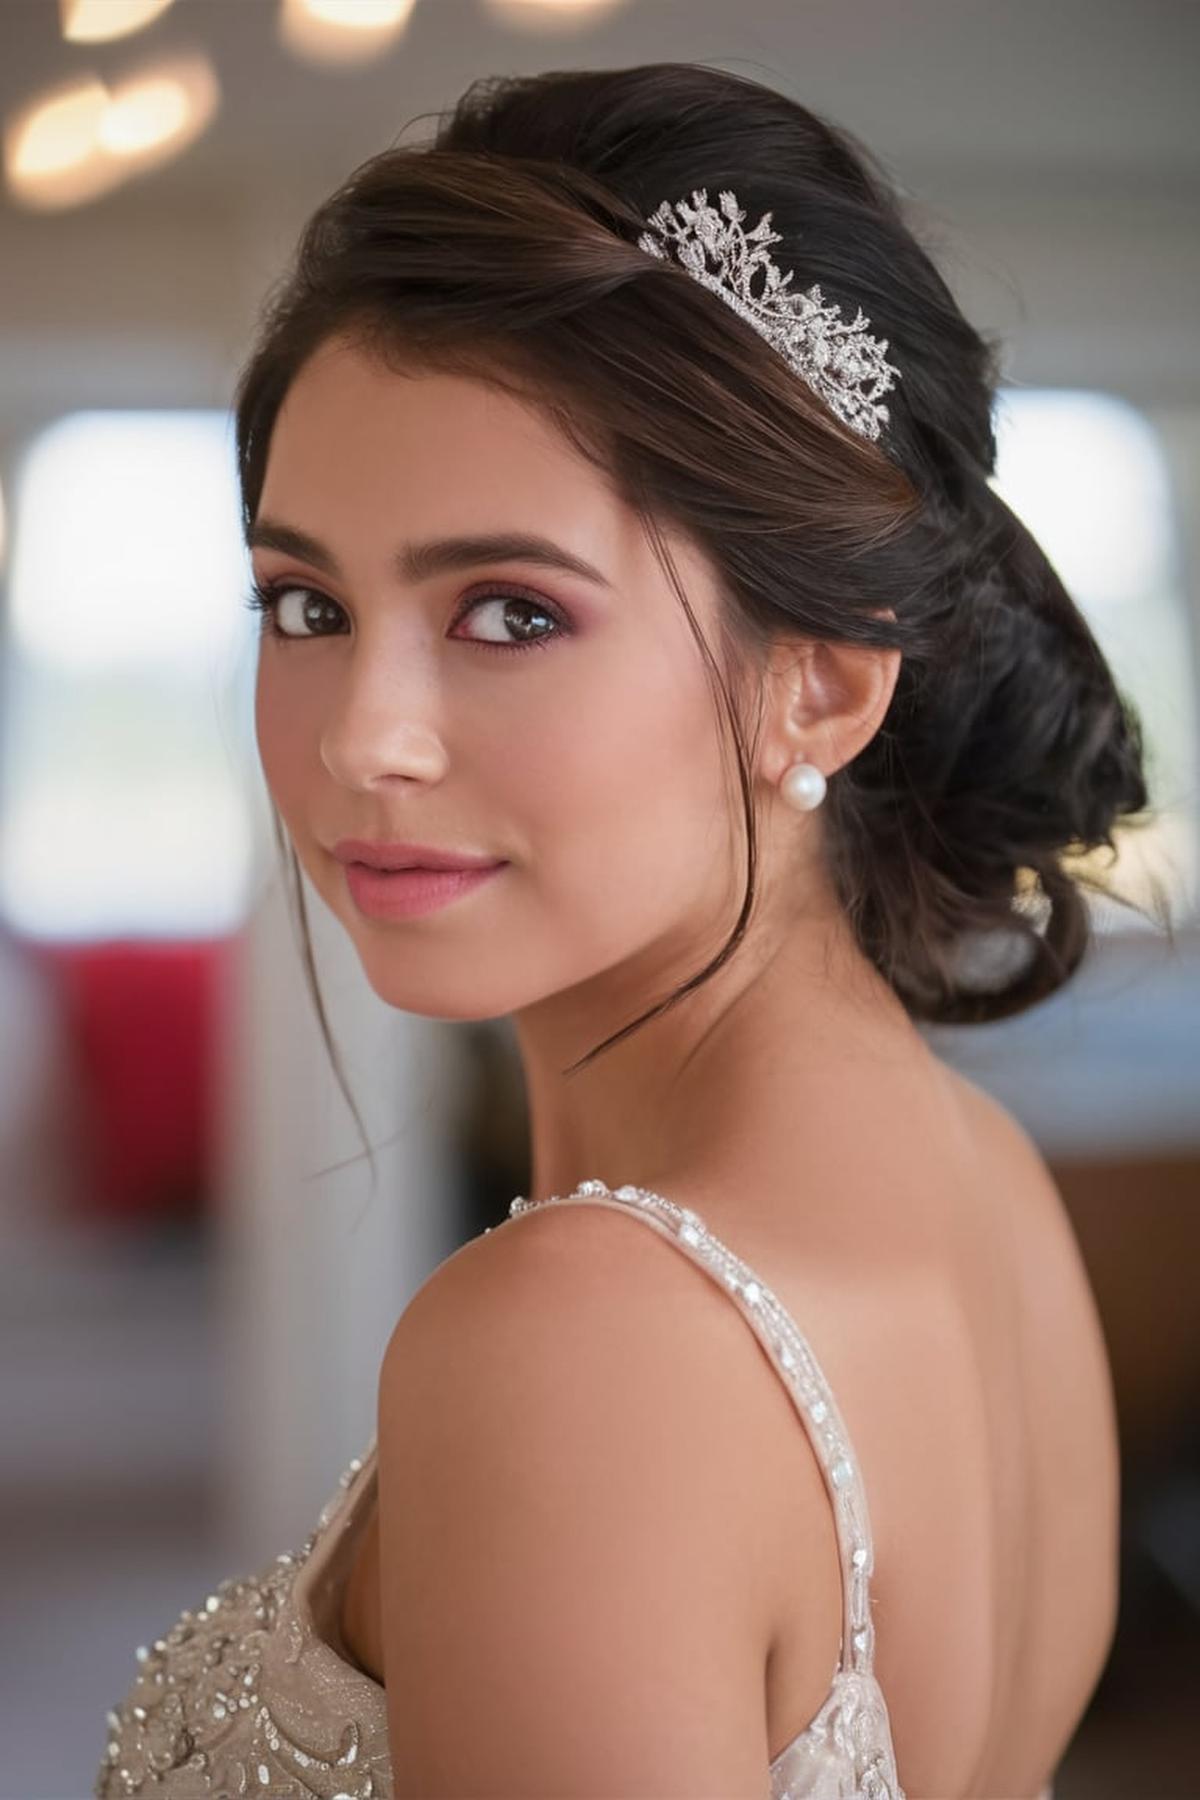
Classic Chignon with Pearl Accents
It’s best to style your hair when it’s a day or two old since this gives it more texture, making it easier to hold the style. Begin by brushing your hair to remove any tangles, and then gather it into a low ponytail at the nape of your neck. Secure the ponytail with a hair elastic but leave the ends out so you can create a bun.
Take the ends of your ponytail and twist them around the base to form a bun shape. Secure the bun in place with bobby pins, making sure it’s tight enough to hold but still looks soft and elegant. If you want a more relaxed look, gently pull at the bun to loosen it a bit.
Finally, finish off your look with hairspray to keep everything in place. Make sure to check for any stray hairs and adjust them as needed. You can also play around with the placement of the pearls to find what looks best for you. With practice, you’ll be able to create a beautiful classic chignon that’s perfect for any occasion, from casual outings to formal events.
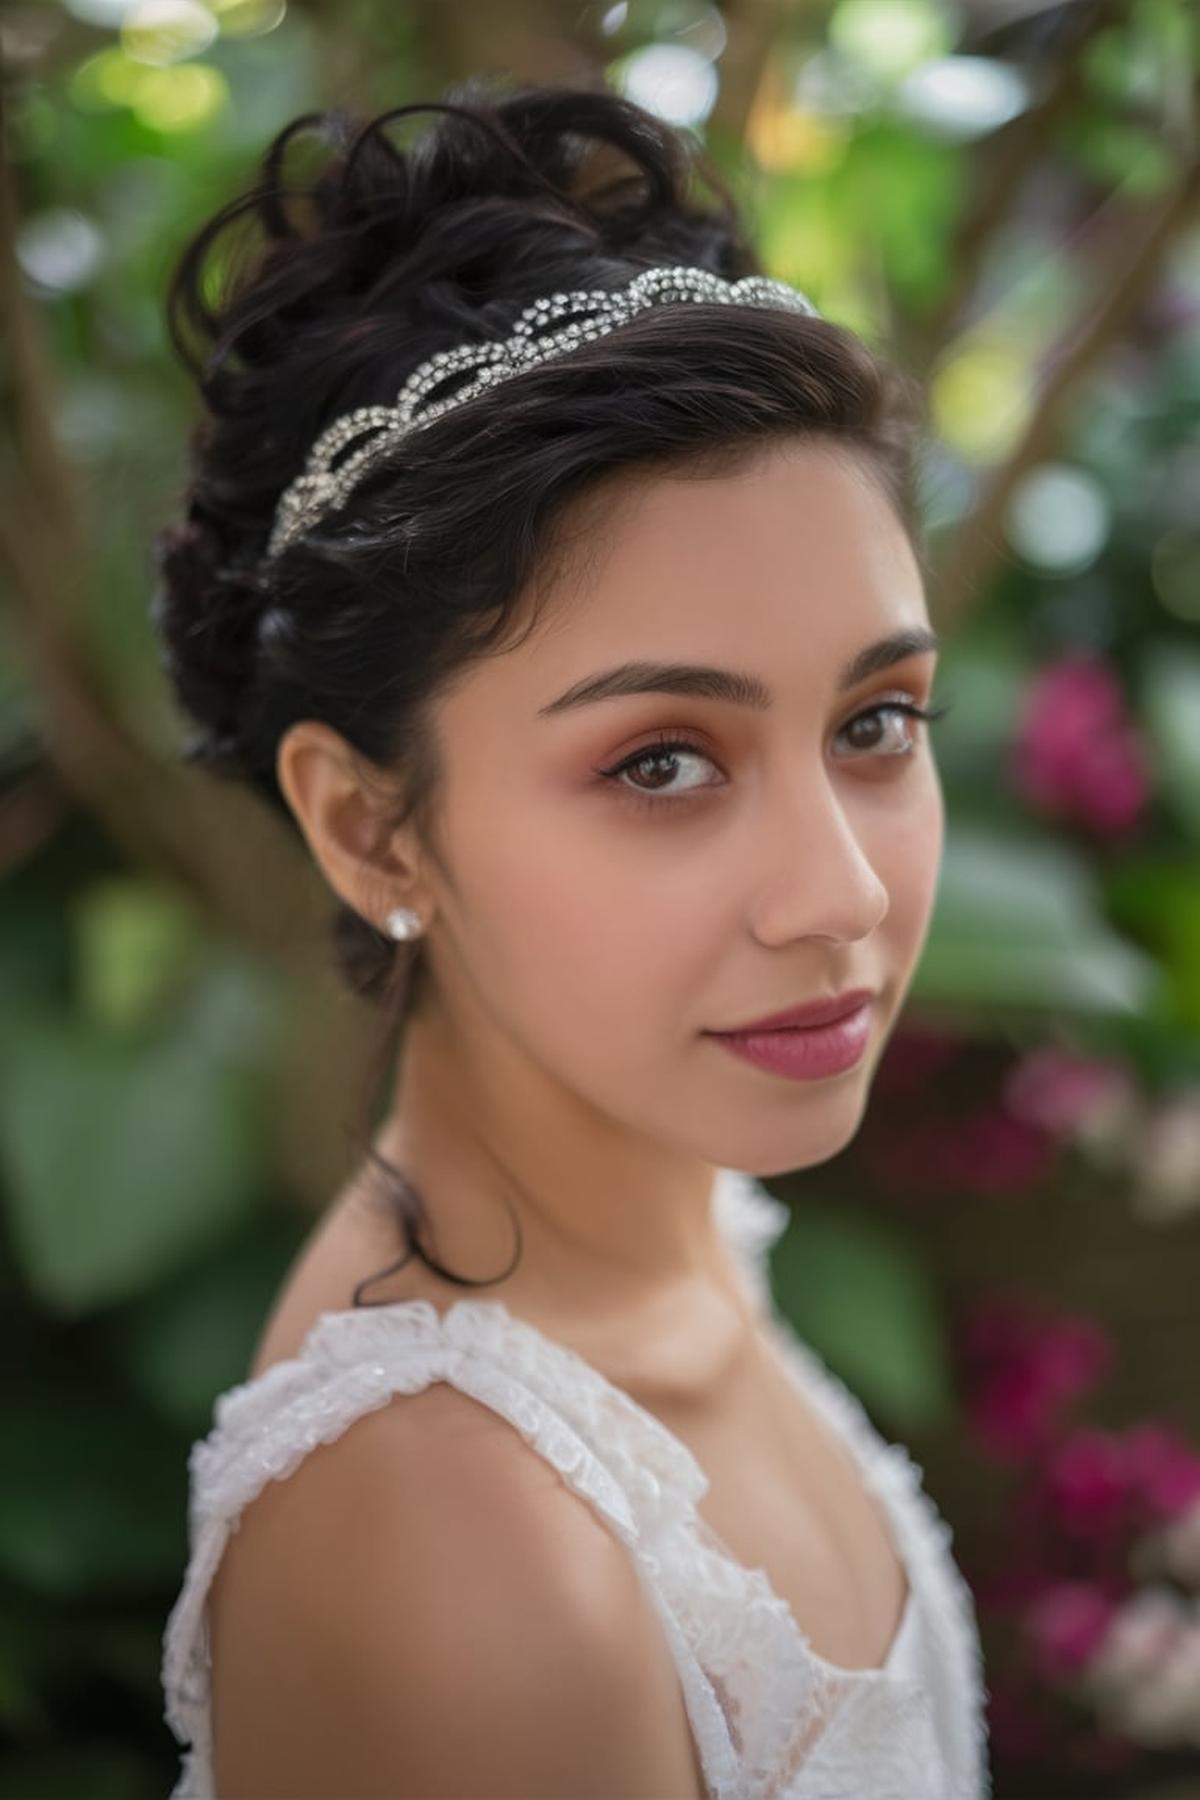
Twisted Updo with a Sparkling Headband
It’s best to work with hair that is a day or two old, as it holds styles better than freshly washed hair. Begin by putting on an elastic headband that fits snugly around your head. This will be the base for your updo.
You can divide your hair into two parts, and twist each section towards your face. Once you have a twist, cross it over to the back of your head. This creates a rope braid effect.
Finally, to add some sparkle, place a decorative headband on top of your twisted updo. This not only enhances the look but also helps to keep everything secure. If you want, you can leave some bangs or front layers loose for a softer appearance. With practice, you’ll find this hairstyle becomes easier and quicker to do, making it a great choice for parties or everyday wear.
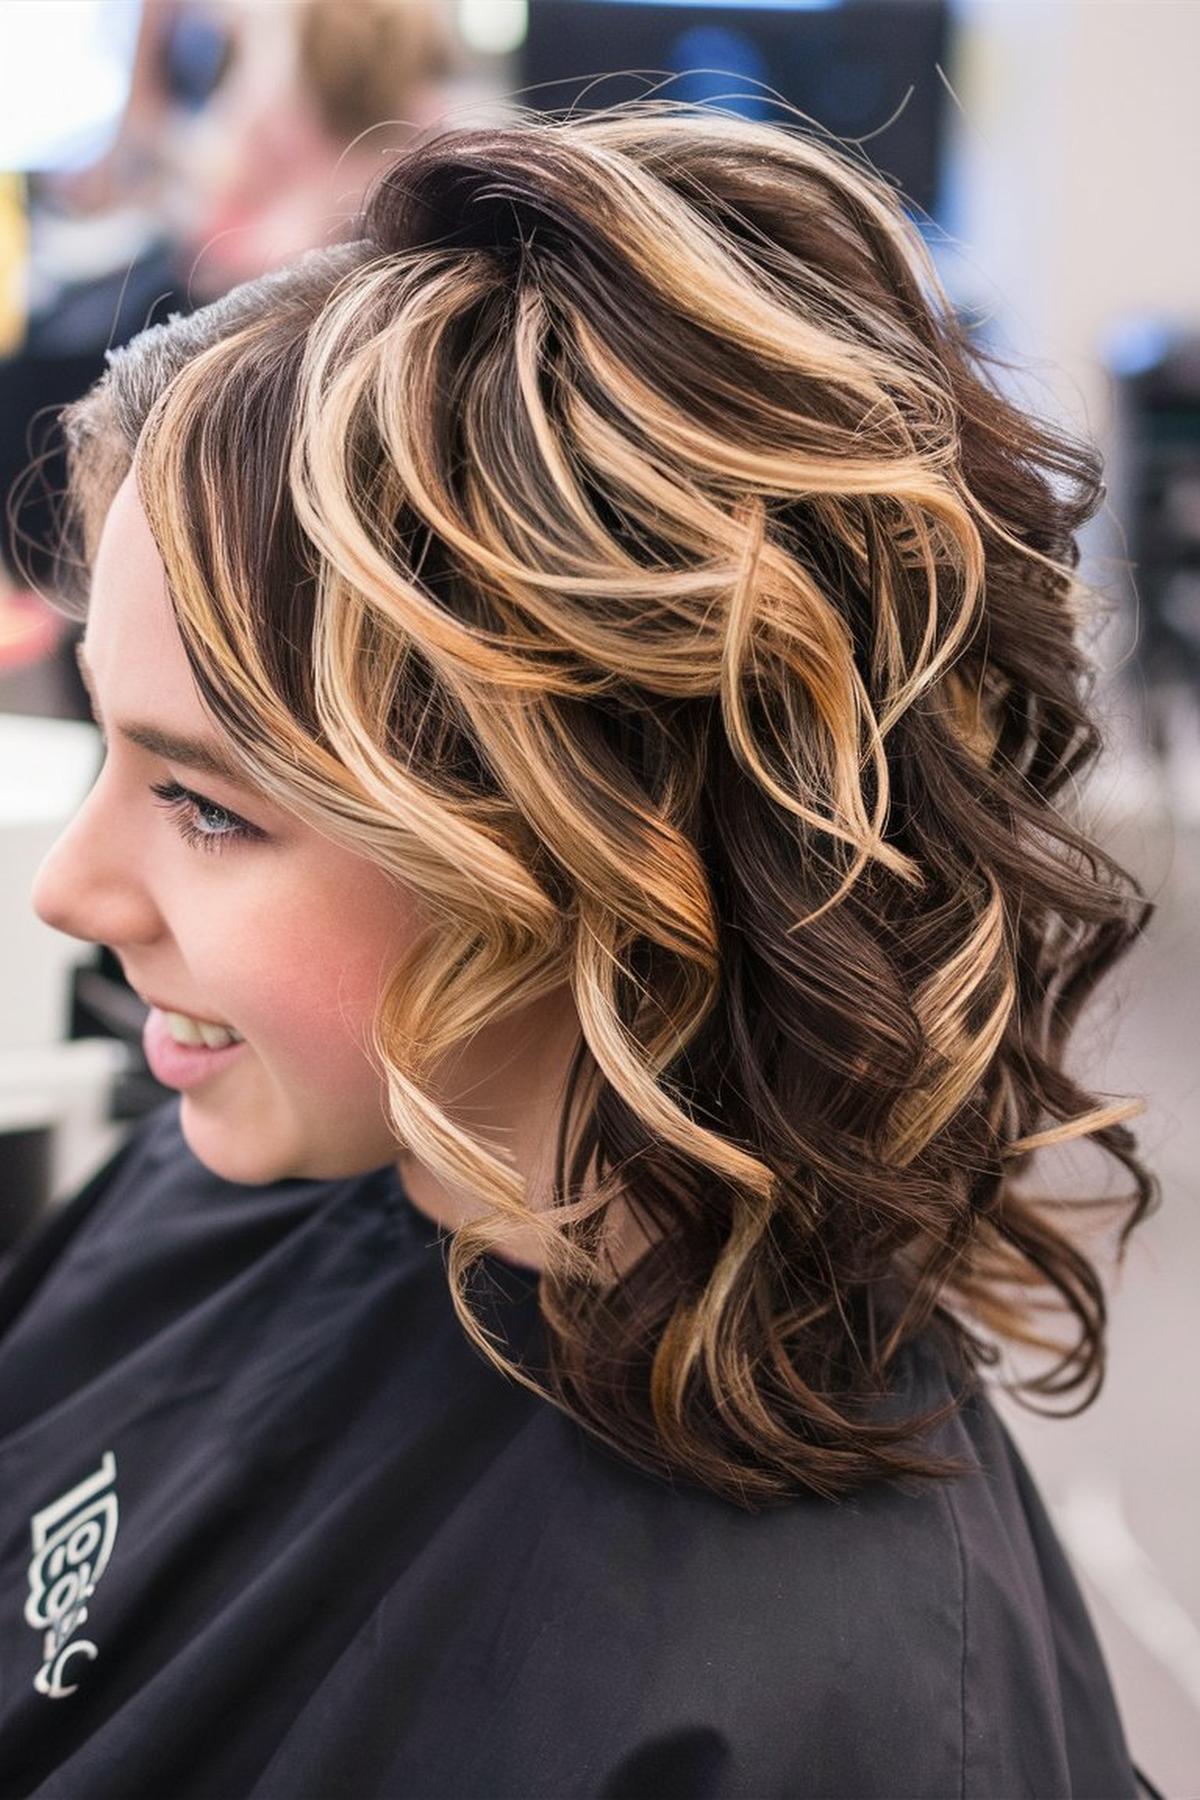
Balayage Waves with Bling Headband
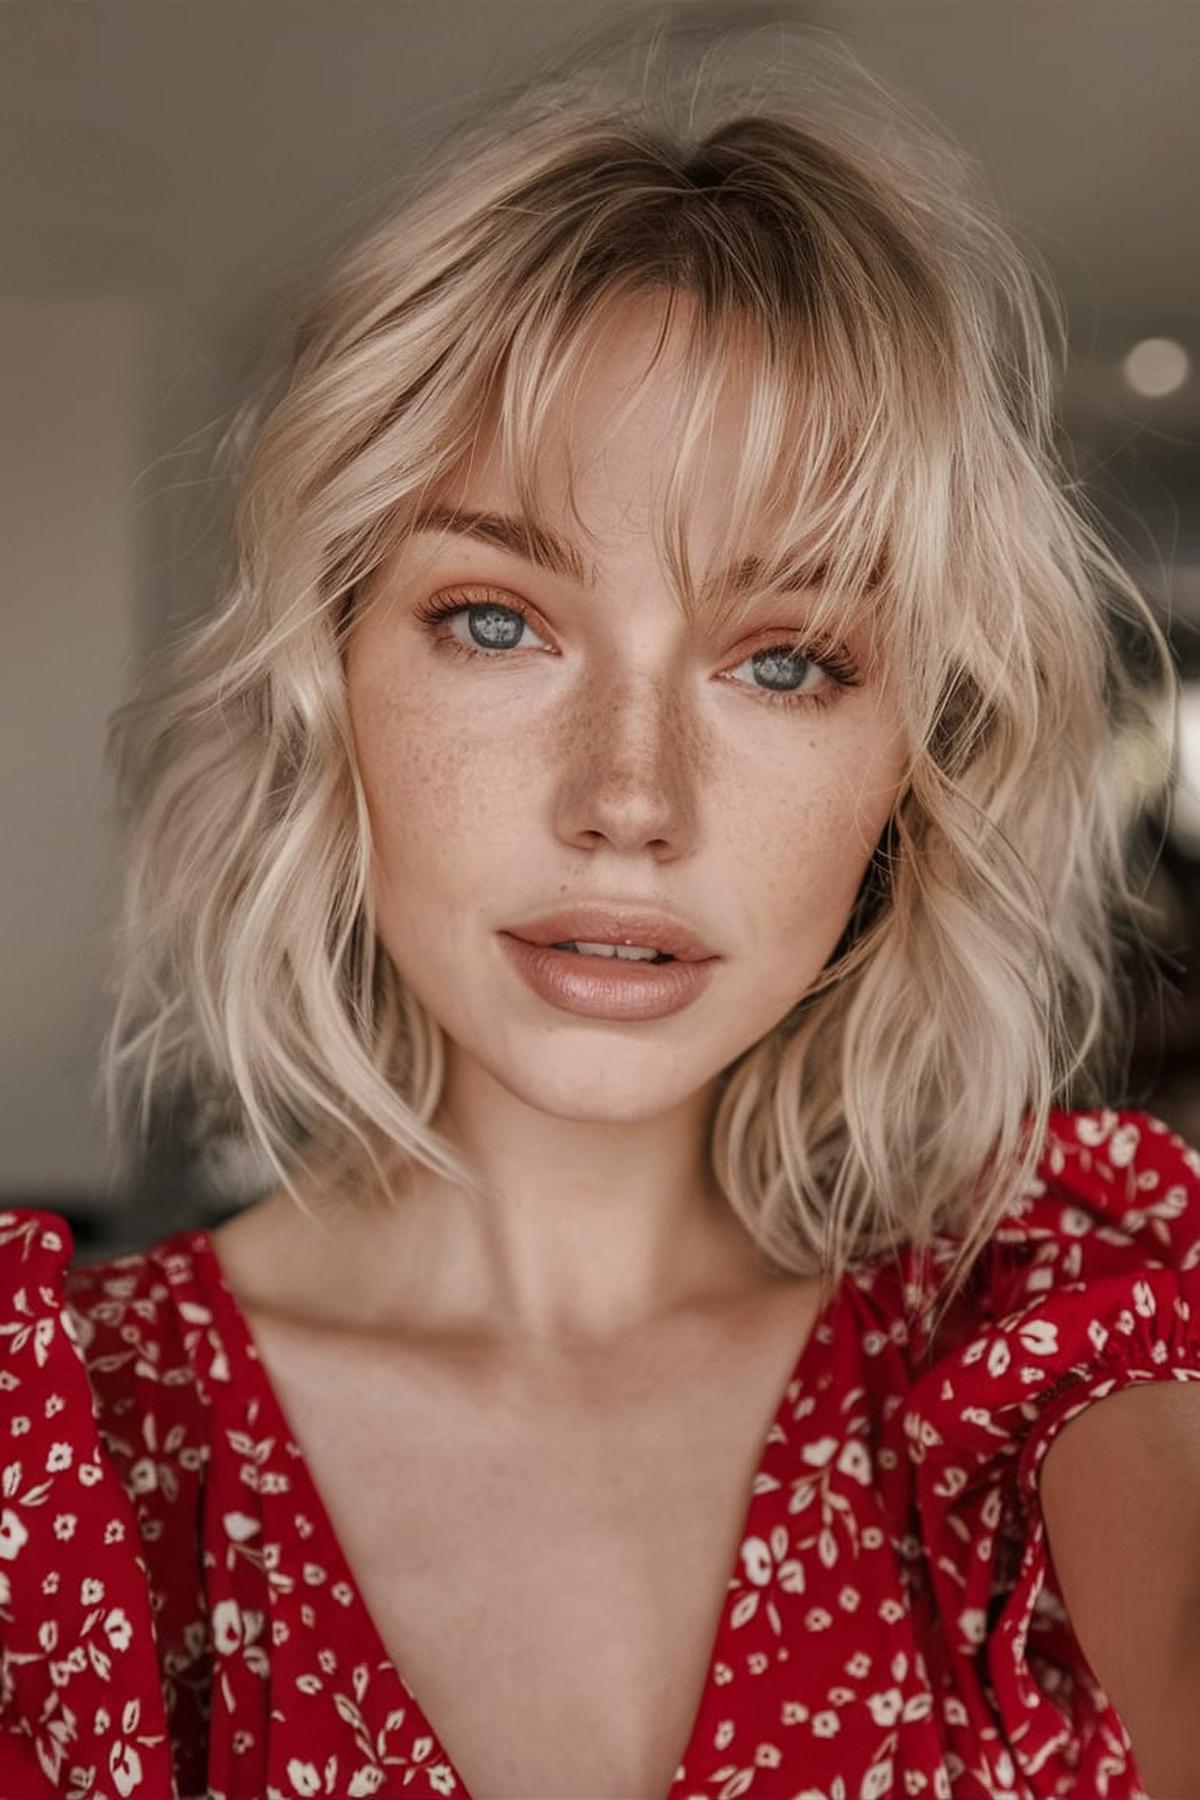
Balayage is a hair coloring method that creates a natural, sun-kissed look by painting color onto the hair. To achieve this, you should first consult with a stylist to discuss your desired look and hair type. The stylist will determine the best way to apply the color and ensure it blends well. If you’re doing it yourself, use a lightening product and section your hair carefully.
You can use a flat iron or a curling wand to achieve loose, beachy waves. Make sure your hair is completely dry, and section it into smaller parts for better results. When curling, leave the ends straight for a more relaxed look. Alternate the direction of the curls to add texture, and once you’re done, gently separate the waves with your fingers for a tousled effect.
Headbands can elevate your hairstyle and add a fun twist. To wear one, part your hair as you normally would and smooth down any flyaways. Place the headband over your hair, ensuring it sits comfortably without pushing your hair back too much. You can choose a sparkly or embellished headband to make your waves pop. This combination of balayage waves and a stylish headband will give you a chic and trendy look perfect for any occasion.
Fishtail Braid Crown
Begin with clean, dry hair and gather it into a side ponytail at the base of your neck. Divide the ponytail into two equal sections. From one section, take a small piece of hair from the outer edge and cross it over to the other section. Then, do the same from the opposite side.
Once you’ve got the fishtail braid down, you can create the crown look. Instead of starting with a ponytail, divide your hair into two sections from the front to the back. Begin the fishtail braid by taking small sections from the front and crossing them over to the back. Continue this until you reach the nape of your neck, then secure the braid with a small elastic.
To finish your fishtail braid crown, you can add some volume and texture. Gently pull at the sides of the braids to loosen them up, giving them a more relaxed and fuller appearance. You can also use hairspray to keep everything in place. This hairstyle is not only pretty but also versatile, making it perfect for casual outings or special occasions. With a bit of practice, you’ll be able to create stunning fishtail braid crowns that will impress your friends.
Low Side Bun with Floral Accents
You’ll need bobby pins, hair ties, hairspray, and a pretty barrette or hairpin to add some flair. This hairstyle is versatile and can be dressed up or down, making it perfect for casual outings or special occasions.
For a more relaxed look, you can leave some strands loose around your face.
You can experiment with different types of floral accents, like fresh flowers or decorative clips, to match your outfit or the occasion. With a little practice, you’ll be able to achieve a beautiful low side bun that looks effortlessly stylish!
Dutch Braid Updo
A Dutch braid is similar to a French braid, but instead of crossing the strands over each other, you cross them under. Begin by dividing your hair into three equal sections at the top of your head. Then, take the right section and cross it under the middle section, followed by the left section crossing under the new middle section.
For an updo, you can gather the braided hair into a bun or a ponytail. A messy bun works well with Dutch braids, as it adds a relaxed vibe to your look. To create a messy bun, twist the braid and pin it into place with bobby pins, allowing some strands to fall out for a softer appearance.
Don’t worry if it doesn’t look perfect the first time. The more you practice, the easier it will become. You can also experiment with different variations, such as incorporating hair extensions for added volume or trying double Dutch braids. Remember, the goal is to have fun and express your style, so keep practicing and enjoy the process of creating beautiful hairstyles.
Long Curls with a Statement Hairpiece
Begin by washing your hair and letting it air dry for a bit, or use a heat protectant if you plan to style it right away. Section your hair into manageable parts, usually two or three sections, and use a curling wand or iron. Make sure to curl the hair away from your face and hold each section for about 6-10 seconds to get those soft curls.
This could be a decorative clip, a headband, or any accessory that stands out. Before placing the hairpiece, gently run your fingers through your curls to separate them and create a more relaxed look. This will help your hairstyle appear more effortless and stylish.
If you want your hairstyle to last longer, consider putting your hair in a loose ponytail with a scrunchie before bed. This helps maintain the curls and keeps them from getting tangled. With practice, you’ll find the right techniques that work for your hair type, and soon you’ll be able to rock those long curls with confidence.
Sleek Straight Hair
Begin by brushing your hair to remove any knots, as this is crucial for a smooth finish. After washing, let your hair air dry partially or use a blow dryer on a low setting. Once your hair is mostly dry, section it off into smaller parts.
Set the flat iron to a suitable temperature for your hair type; lower settings work best for fine hair, while thicker hair may need higher heat. Slowly run the flat iron down each section of hair, starting from the roots and moving to the ends. For best results, go over each section only once or twice to avoid heat damage.
This helps to eliminate any remaining frizz and adds a glossy finish. To maintain your sleek look, consider using a silk or satin pillowcase when you sleep, as this reduces friction and prevents your hair from getting tangled or wavy overnight. Following these steps will help you master the sleek straight hair style with ease.
Ballerina Bun with a Tiara
First, gather your materials: a hairbrush or comb, elastic hair ties, bobby pins, a hair net, and some hair gel or hairspray. Begin by brushing your hair back into a high ponytail, securing it tightly with an elastic band. If you have any short strands sticking out, use gel or hairspray to smooth them down.
Secure it in place with bobby pins, making sure to pin it against your head to keep it flat. If your hair is thick, you might want to divide the ponytail into two sections and twist each one separately before wrapping them around. Use as many bobby pins as you need to ensure it feels secure.
Make sure your bun is secure enough to hold the tiara in place. If you want extra hold, use a light hairspray to keep everything in position. This hairstyle is not only practical for dance but also looks elegant for any special occasion, making you feel like a true ballerina!
Loose Fishtail Braid with Baby’s Breath
Make sure your hair is clean and dry. You can use a texturizing spray to add some volume and grip, which will help the braid hold better. Begin by separating a small section of hair at the front and tie it into a high ponytail. This will give you a base to work with and help create that relaxed, boho look.
From the right section, take a small piece of hair from the outside and cross it over to the left section. Then, do the same from the left side to the right. Keep repeating this process, making sure to take small sections each time.
Finally, to add a touch of beauty, incorporate baby’s breath flowers into your hairstyle. You can tuck small sprigs of these delicate flowers into the braid or around your ponytail. This not only enhances the overall look but also adds a charming, floral touch that is perfect for special occasions. With some practice, you’ll be able to create stunning fishtail braids that are both stylish and unique!
French Twist with a Modern Hair Clip
Brush your hair to remove any tangles and then pull it back as if you were making a low ponytail. Twist your hair into a coil and fold it up against your head, creating a sleek tube shape. For a clean look, fan out the coil evenly. Use a flat hair clip, like a claw clip, to secure the twist in place.
If you want a more casual or messy look, don’t worry about making everything perfect. You can let a few strands fall out around your face for a softer appearance. If your hair is longer or thicker, consider using two clips: one at the top and one at the bottom, and angle them horizontally for a stylish touch.
The French twist is a versatile hairstyle that works for different occasions, from casual outings to formal events. Experiment with different textures by using dry shampoo or curling your hair before styling. This will help create volume and hold, making your twist look even better. With a little practice, you’ll be able to create a beautiful French twist that showcases your personal style.
Glamorous Side Bun with Crystal Pins
It’s best to work with hair that hasn’t been washed for a day or two, as this adds texture and makes it easier to style. Begin by gathering your hair to one side, using your fingers instead of a brush for a more relaxed look. You can also use a bit of dry shampoo or texturizing spray to help your hair grip better and create volume.
Gather your hair into a low ponytail on the side, then twist the ponytail and wrap it around the base to form a bun. Secure it with bobby pins or hairpins, making sure to tuck in any loose ends. For added glamour, insert crystal pins into the bun.
You can pull it slightly apart to create a more relaxed, messy appearance or keep it tight for a sleek finish. Don’t forget to set your style with a light hairspray to ensure it stays in place throughout the day. With practice, you’ll be able to create this stunning side bun effortlessly, perfect for any occasion, from casual outings to formal events.
Volume Waves with a Headband
First, tease the hair at the back to create some volume. This means gently combing the hair towards the roots to make it fuller. After teasing, smooth the top layer to hide any tangles. Next, place a headband over your hair, positioning it just above your forehead.
Start from the front, taking small pieces of hair and wrapping them around the band, moving from the front to the back. Make sure to tuck the hair under the band to keep it secure. The key is to keep the sections loose and a bit messy for a natural look. If you want more volume, you can pull at the hair slightly after tucking it in.
You can leave it like this for a few hours or even overnight for better results. When you’re ready, simply remove the headband and gently shake out your hair. You should have beautiful, bouncy waves with lots of volume. If needed, you can use some hairspray to hold the style in place. Enjoy your new look!
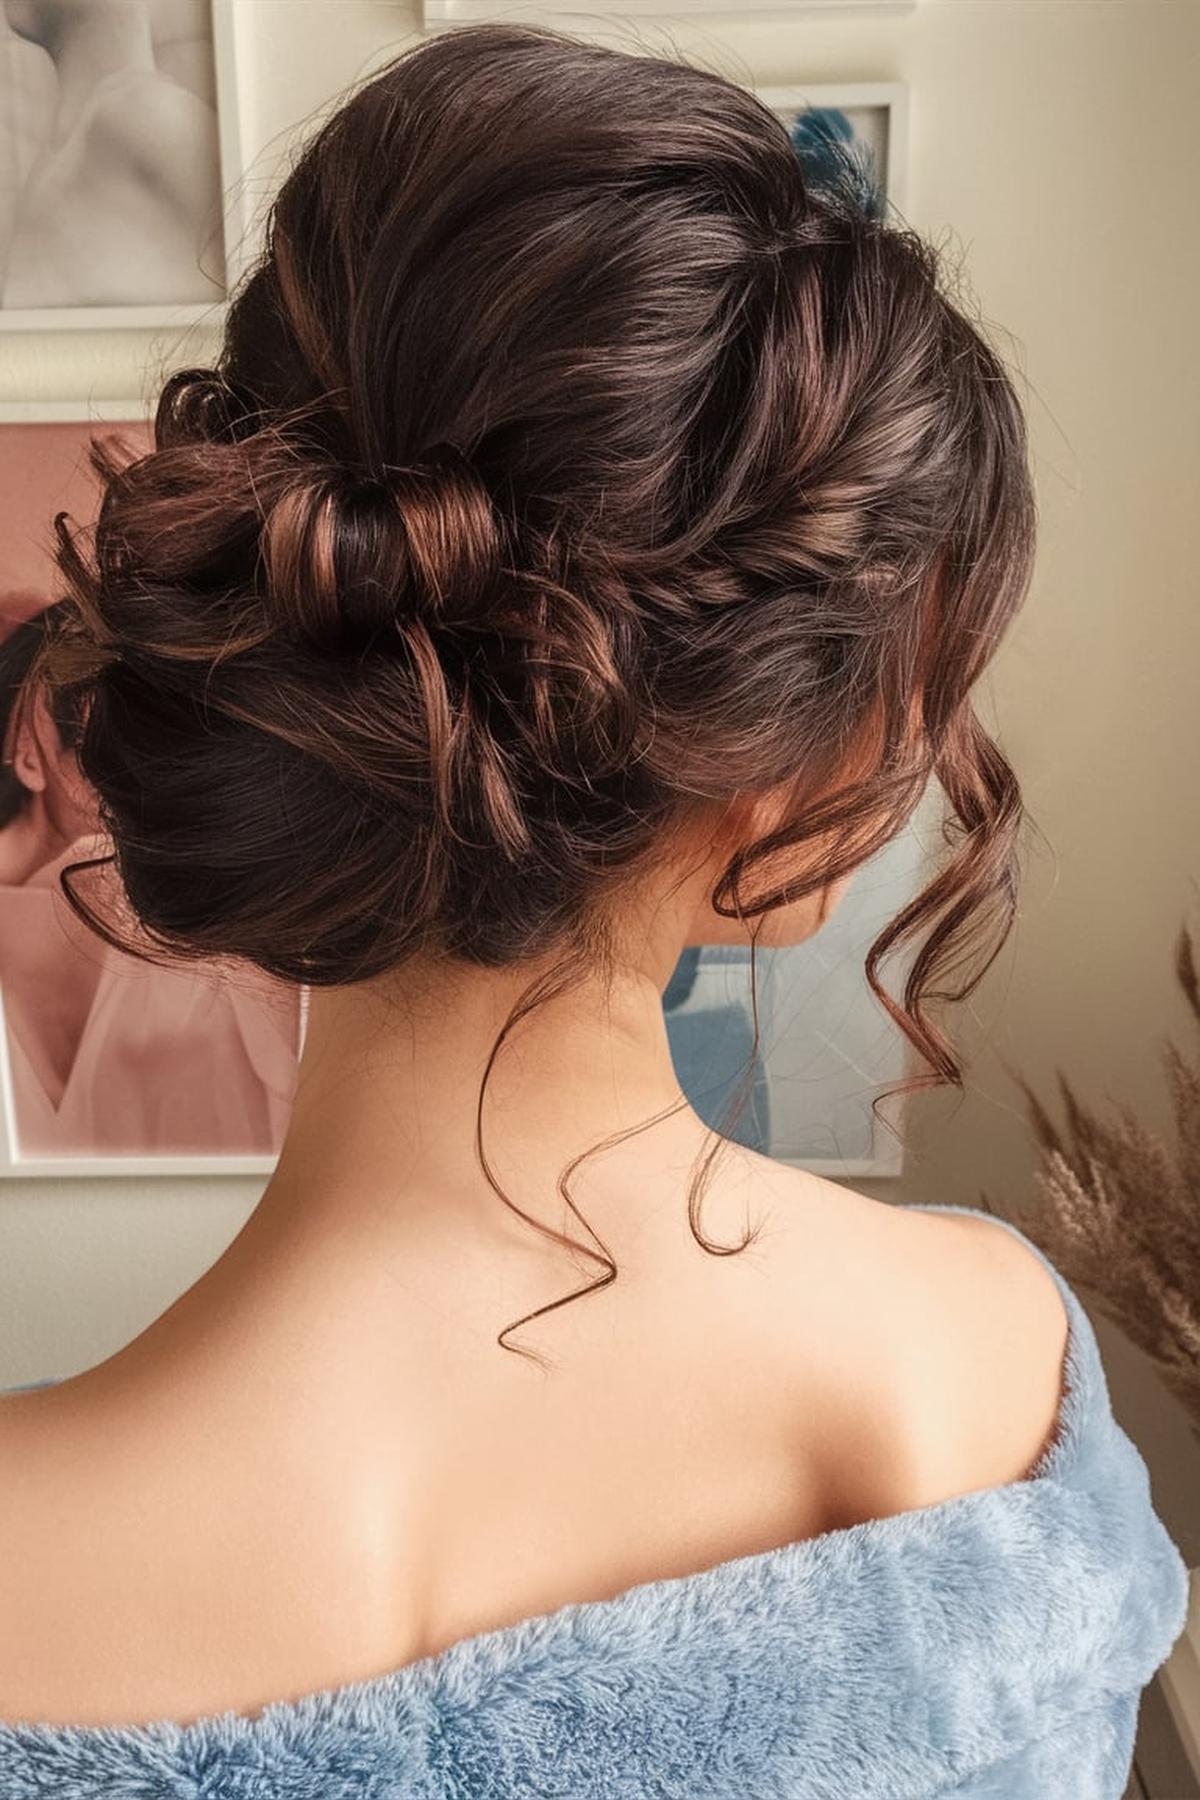
Messy Updo with Braided Details
It’s best to work with hair that has some texture, so if your hair is straight, consider adding some waves or curls using a curling iron. Once your hair is slightly messy or wavy, gather it into a loose ponytail at the back of your head. Don’t worry about making it perfect; the goal is to create a casual look.
You can choose a simple three-strand braid or try a fishtail braid for a more intricate look. As you braid, gently pull on the edges of the braid to make it look fuller and more relaxed—this technique is often called “pancaking.” Once you’ve finished braiding, wrap the braid around the base of the ponytail to form a bun. Use bobby pins to secure the braid in place, ensuring it stays put while still looking effortless.
You can also use hairspray to hold the style without making it stiff. If you want more flair, consider adding small accessories like hairpins or flowers to the braid. This hairstyle is versatile and can be dressed up or down, making it perfect for any occasion!
Sleek Ponytail with a Twist
Begin with damp hair, as this helps prevent frizz and makes styling easier. Use a spray bottle filled with water and a bit of leave-in conditioner to keep your hair smooth. Once your hair is wet, brush it to remove any knots. Then, create a middle part and gather all your hair into a high ponytail at the back of your head, securing it with a hair tie.
Take a small section of hair from the front on one side and twist it away from your face, adding more hair as you go until you reach the back of your ear. Secure this twist with a small elastic band. Repeat the same process on the other side, twisting the hair around to meet the first twist.
Finally, finish off your sleek ponytail with some hairspray to hold everything in place. A boar bristle brush can help smooth out any bumps and give your hair that sleek, shiny finish. If you want to add a little extra flair, consider tucking the ponytail through the twists or wrapping a small section of hair around the base of the ponytail to hide the hair tie. With a bit of practice, this hairstyle can become a quick go-to for any occasion.
Double Dutch Braids into a Low Bun
It’s easier to braid when your hair is slightly damp, so consider washing it beforehand. Once your hair is ready, part it down the middle and create two sections. Secure one side with a clip to keep it out of the way while you work on the other side. This organization will help you focus on each braid without getting tangled up.
For a Dutch braid, you will braid the strands underneath each other instead of over. Start with the right strand, crossing it under the middle strand, then the left strand under the new middle. As you braid, add more hair from the sides to keep the braid close to your head. Continue this process until you reach the end of your hair, then secure it with a small elastic band.
Gather both braids at the nape of your neck and twist them together to form a bun. Secure the bun with another elastic band or some bobby pins to keep it in place. For a more relaxed look, gently pull on the edges of the braids to make them fuller. This hairstyle is not only cute but also practical for school or outings, and with practice, you’ll be able to do it quickly and easily!
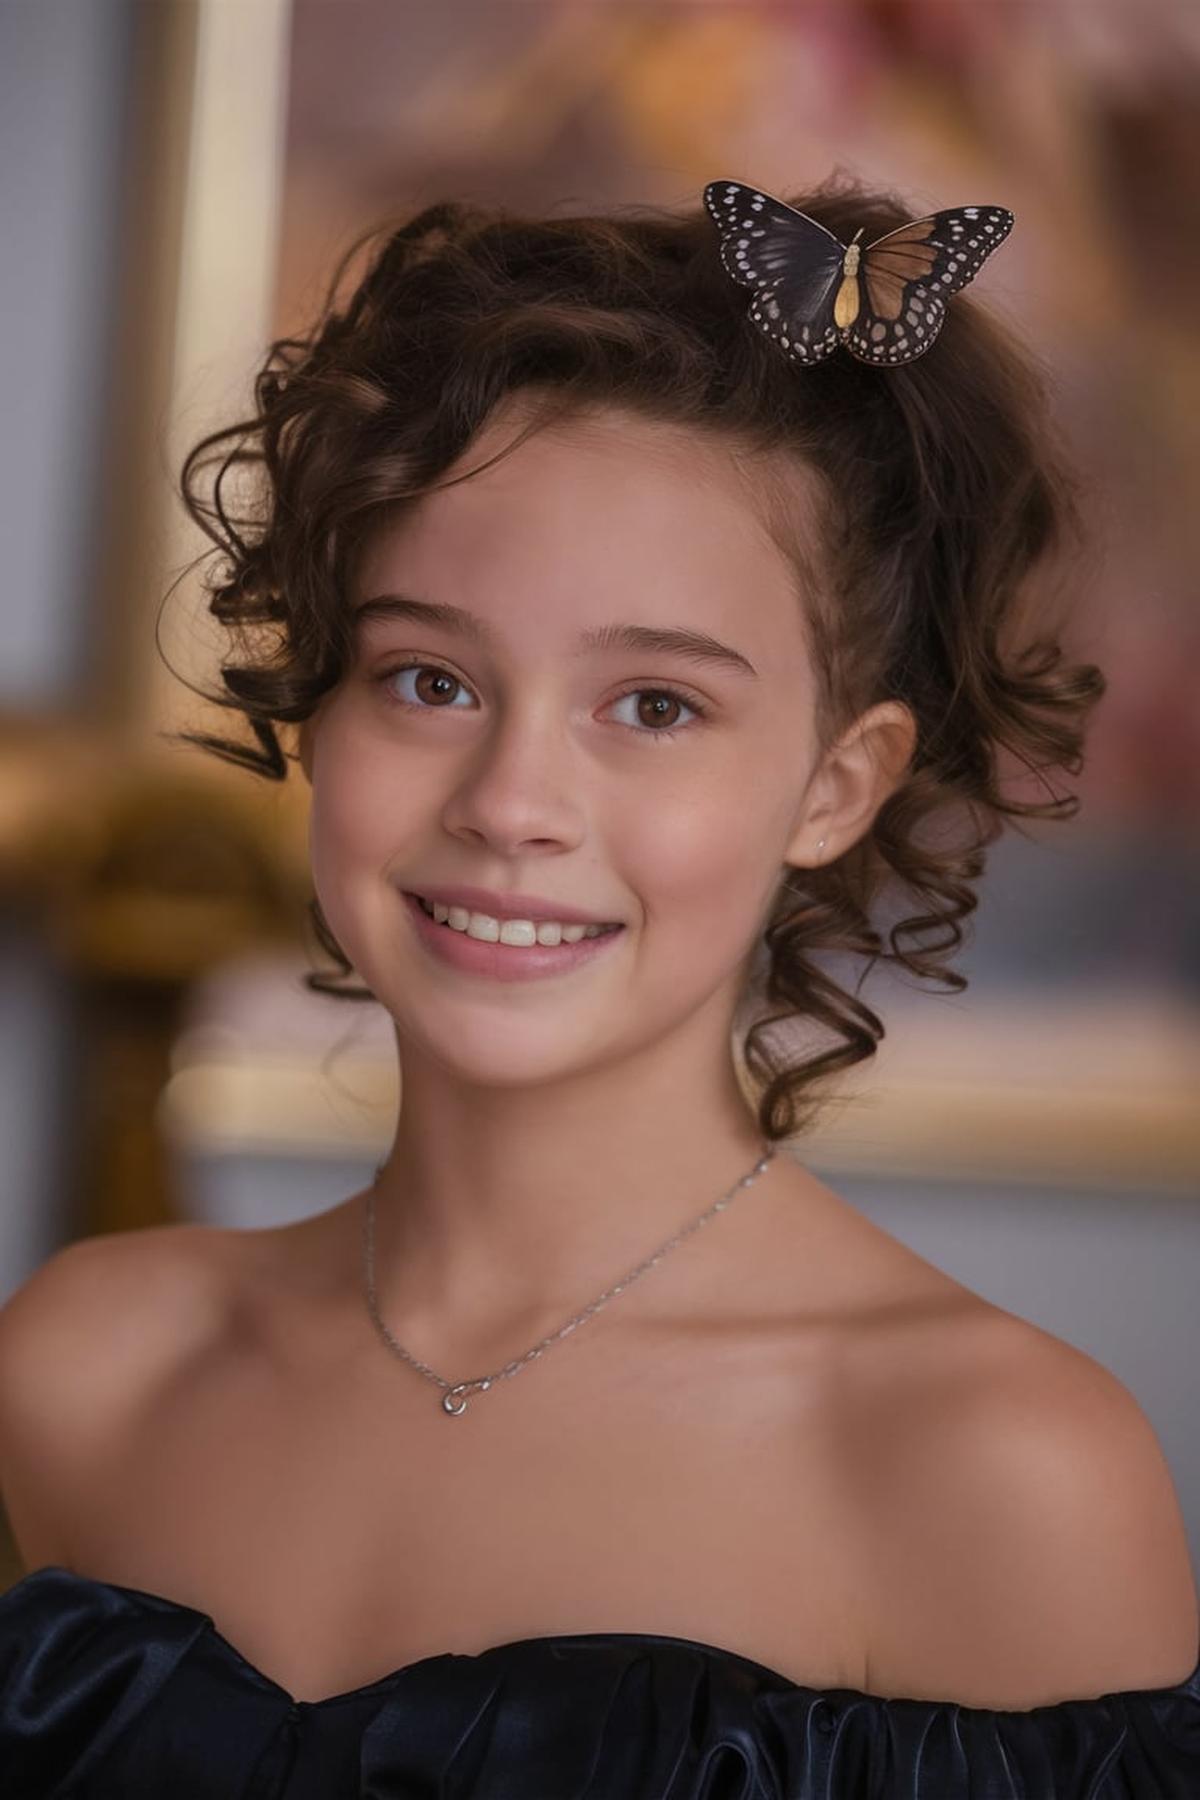
Curly Updo with a Butterfly Clip
It’s best to work with damp hair, as this makes it easier to style. Use a leave-in conditioner or a styling mousse to add some volume and hold. Once your hair is ready, gather it into a high ponytail at the crown of your head.
Next, create the curls that will give your updo its shape. You can use a curling iron or hot rollers to curl the hair in the ponytail. For a more voluminous look, wrap the hair around the rollers or curling iron, making sure to curl away from your face.
Finally, gather the curled ponytail and twist it into a bun or a loose updo shape. Use the butterfly clip to secure the style in place, allowing some curls to cascade down for a softer look. Adjust the curls as needed to frame your face, and finish with a light hairspray to hold everything in place. This hairstyle is not only stylish but also keeps your hair out of your face while showcasing your beautiful curls.
Q&As for cute hairstyles for quinceaneras
Q: What are some cute hairstyles for quinceañeras?
A: There are many cute hairstyles for quinceañeras, like elegant updos with floral accents, romantic curls with a tiara, and braided crowns with loose waves. You can also try a sleek low bun with jeweled pins or a half-up, half-down style with curls.
Q: How can I make a romantic curls hairstyle special for my quinceañera?
A: To make romantic curls special, add a tiara or a beautiful hair accessory. This will enhance the curls and give you a princess-like look for your big day.
Q: What’s a fun way to wear a braid for my quinceañera?
A: A fishtail braid crown is a fun option! It looks stylish and keeps your hair out of your face while still showing off your beautiful locks.
Q: What hairstyle works well with a simple dress?
A: A sleek low ponytail with cascading curls is perfect for a simple dress. It looks elegant and keeps the focus on your outfit while adding a touch of glam.
Q: How can I style my hair if I want to look classic?
A: A classic chignon with pearl accents is a great choice for a timeless look. It’s elegant and pairs beautifully with any quinceañera dress.
