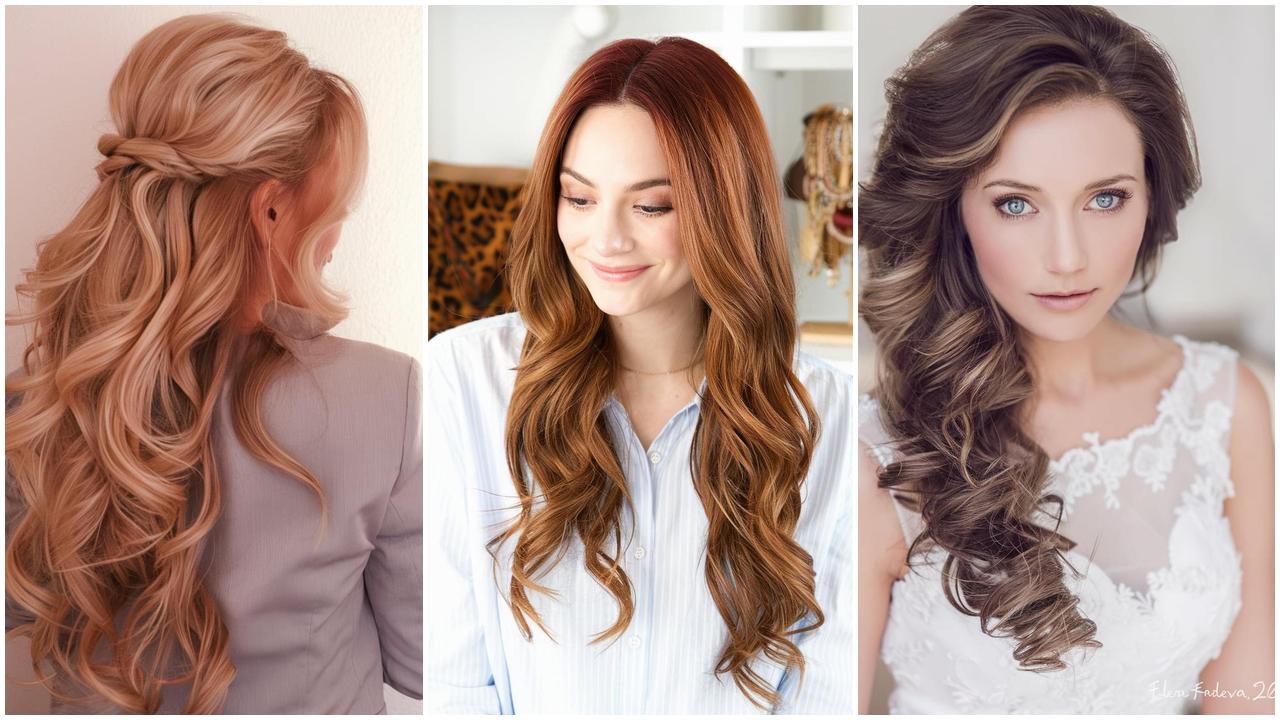
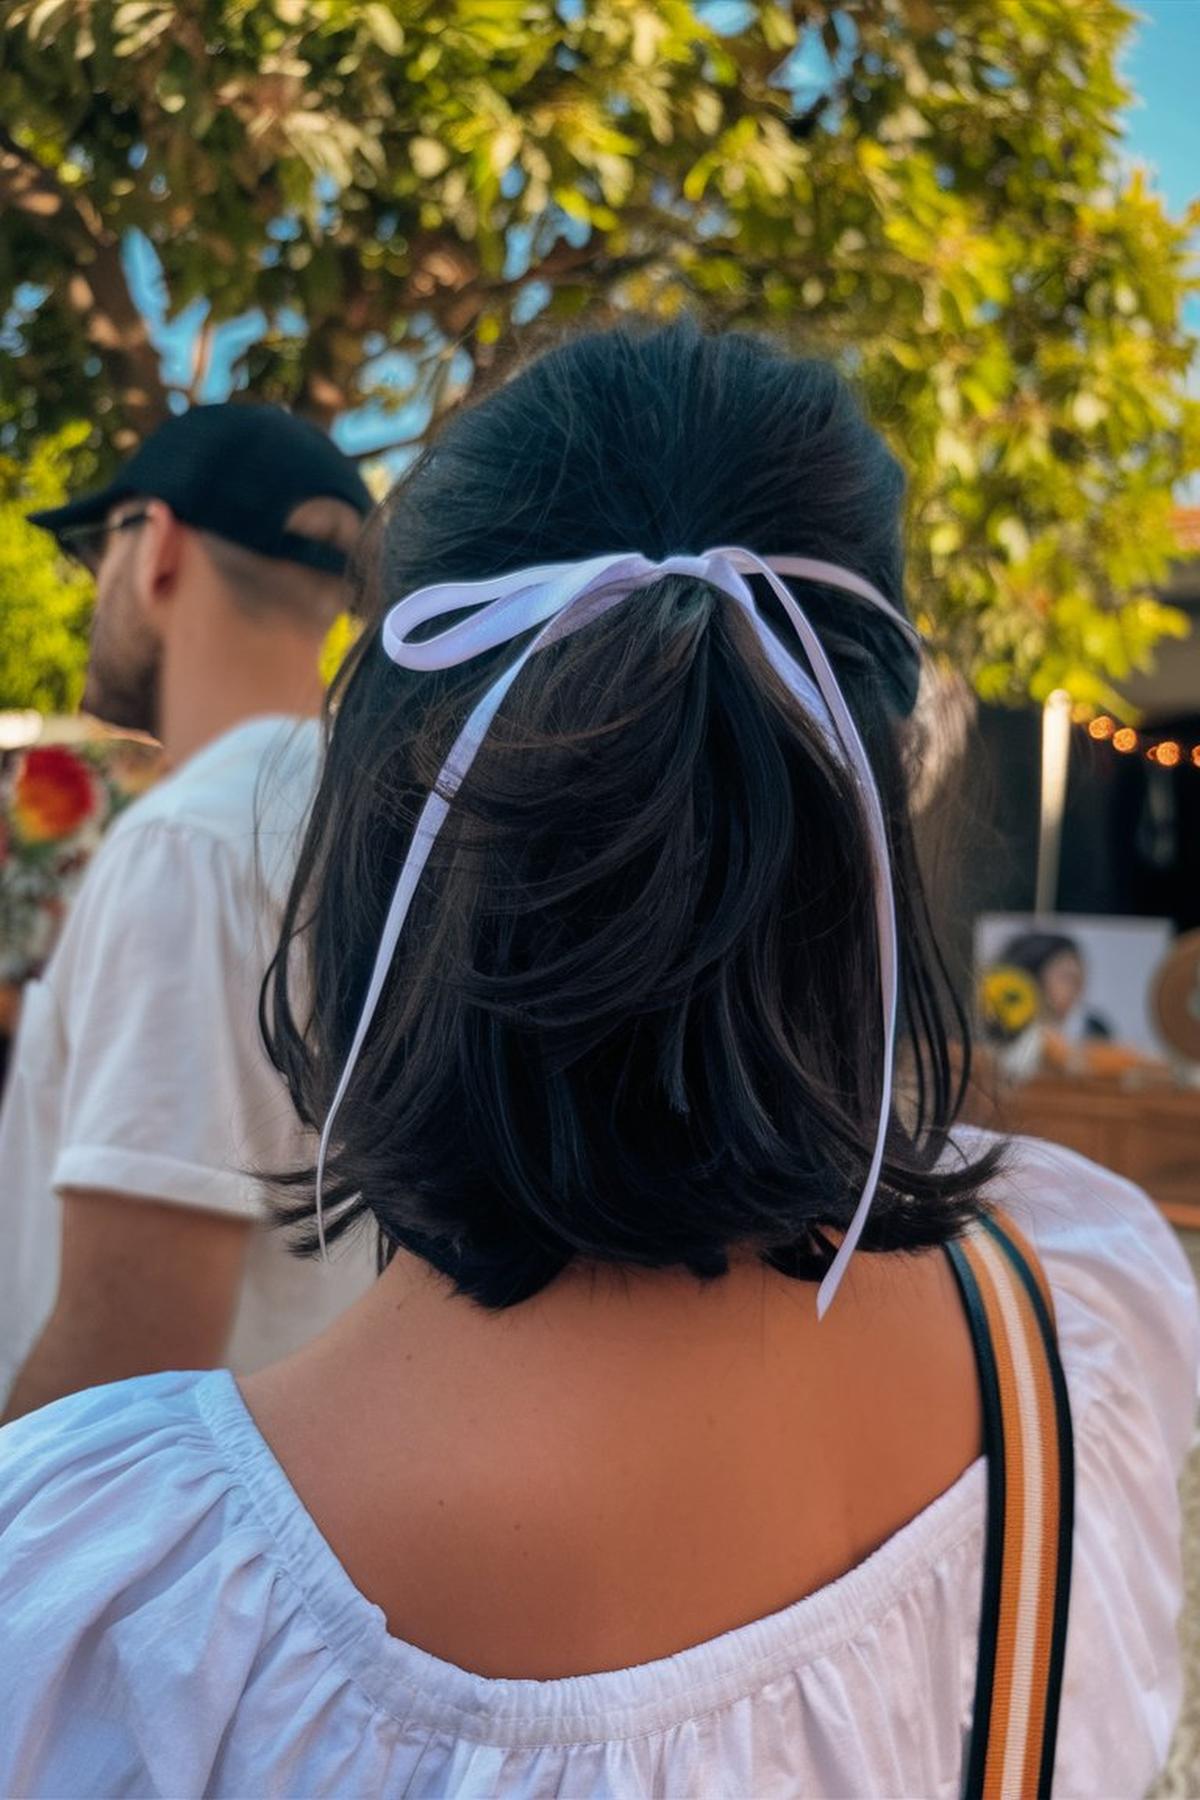
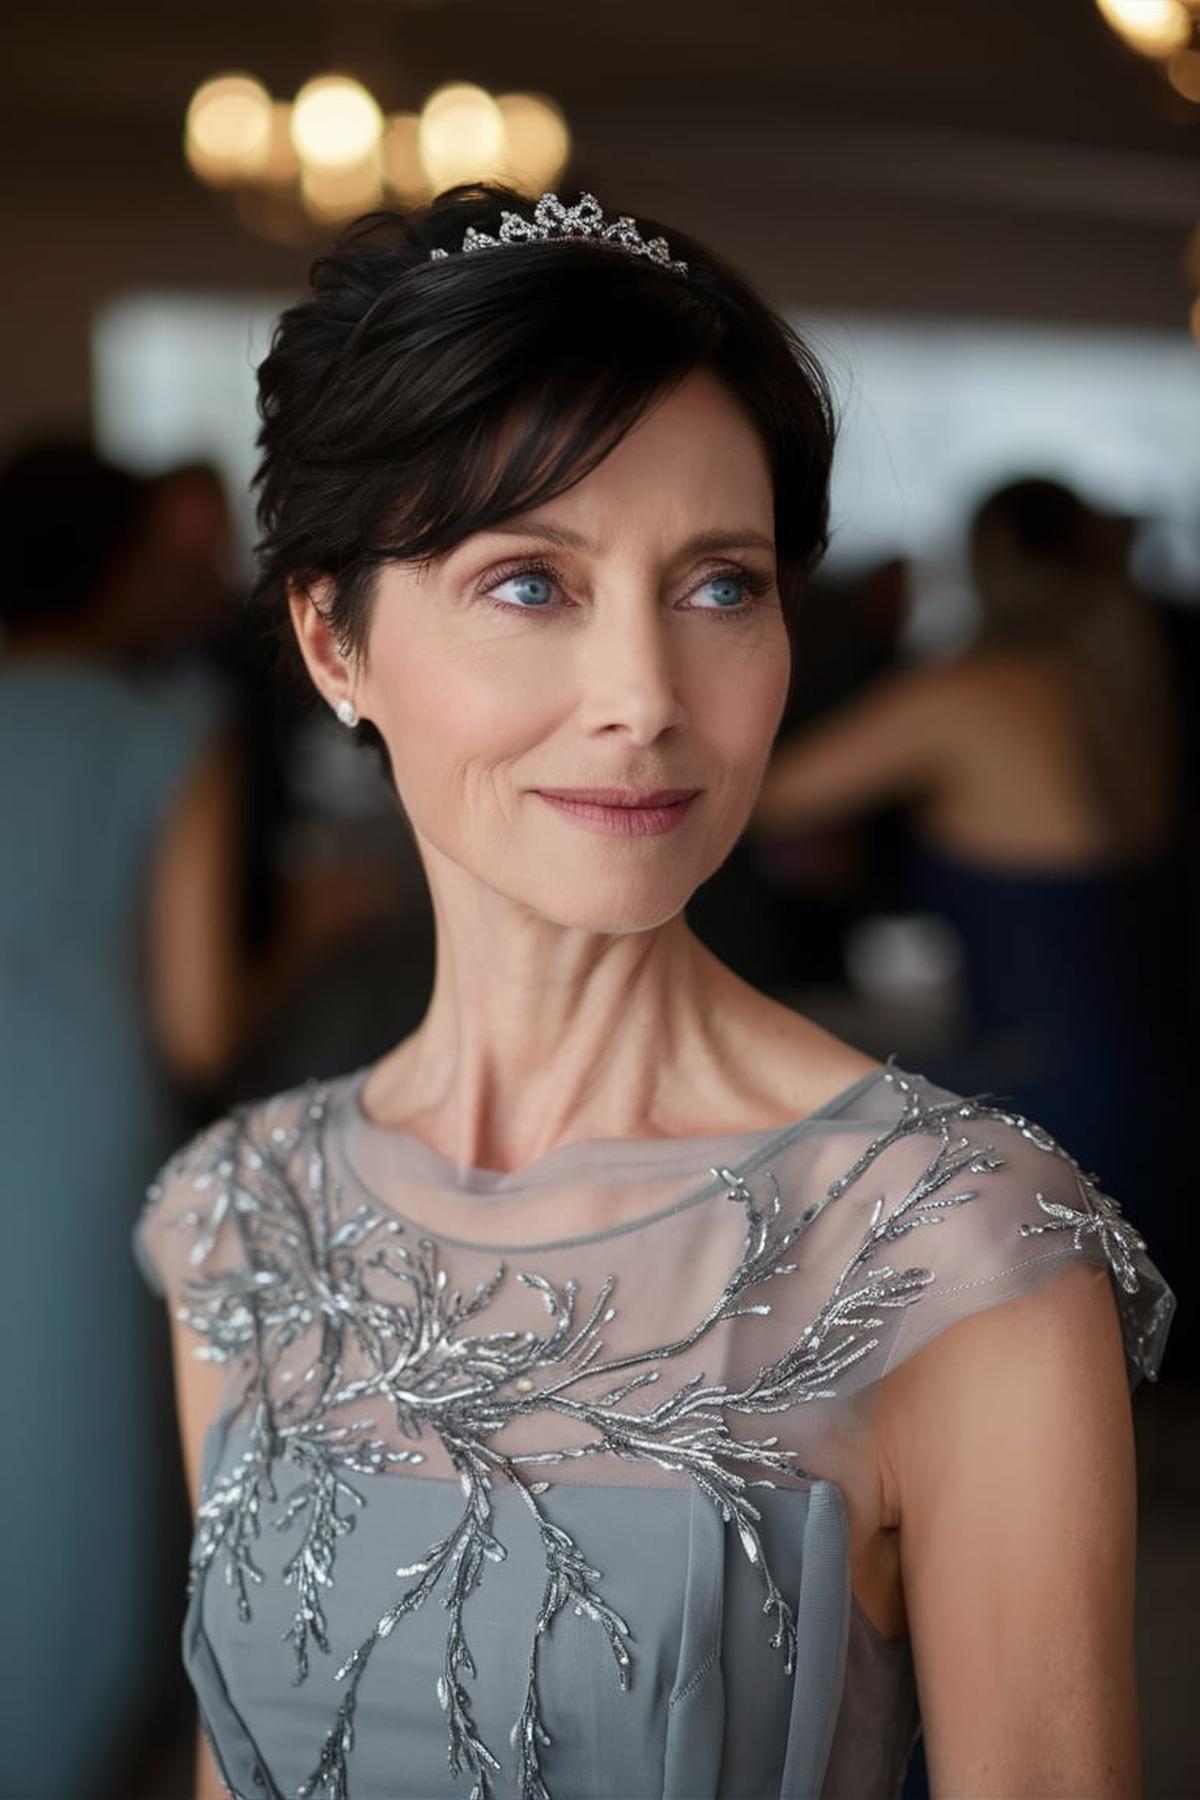
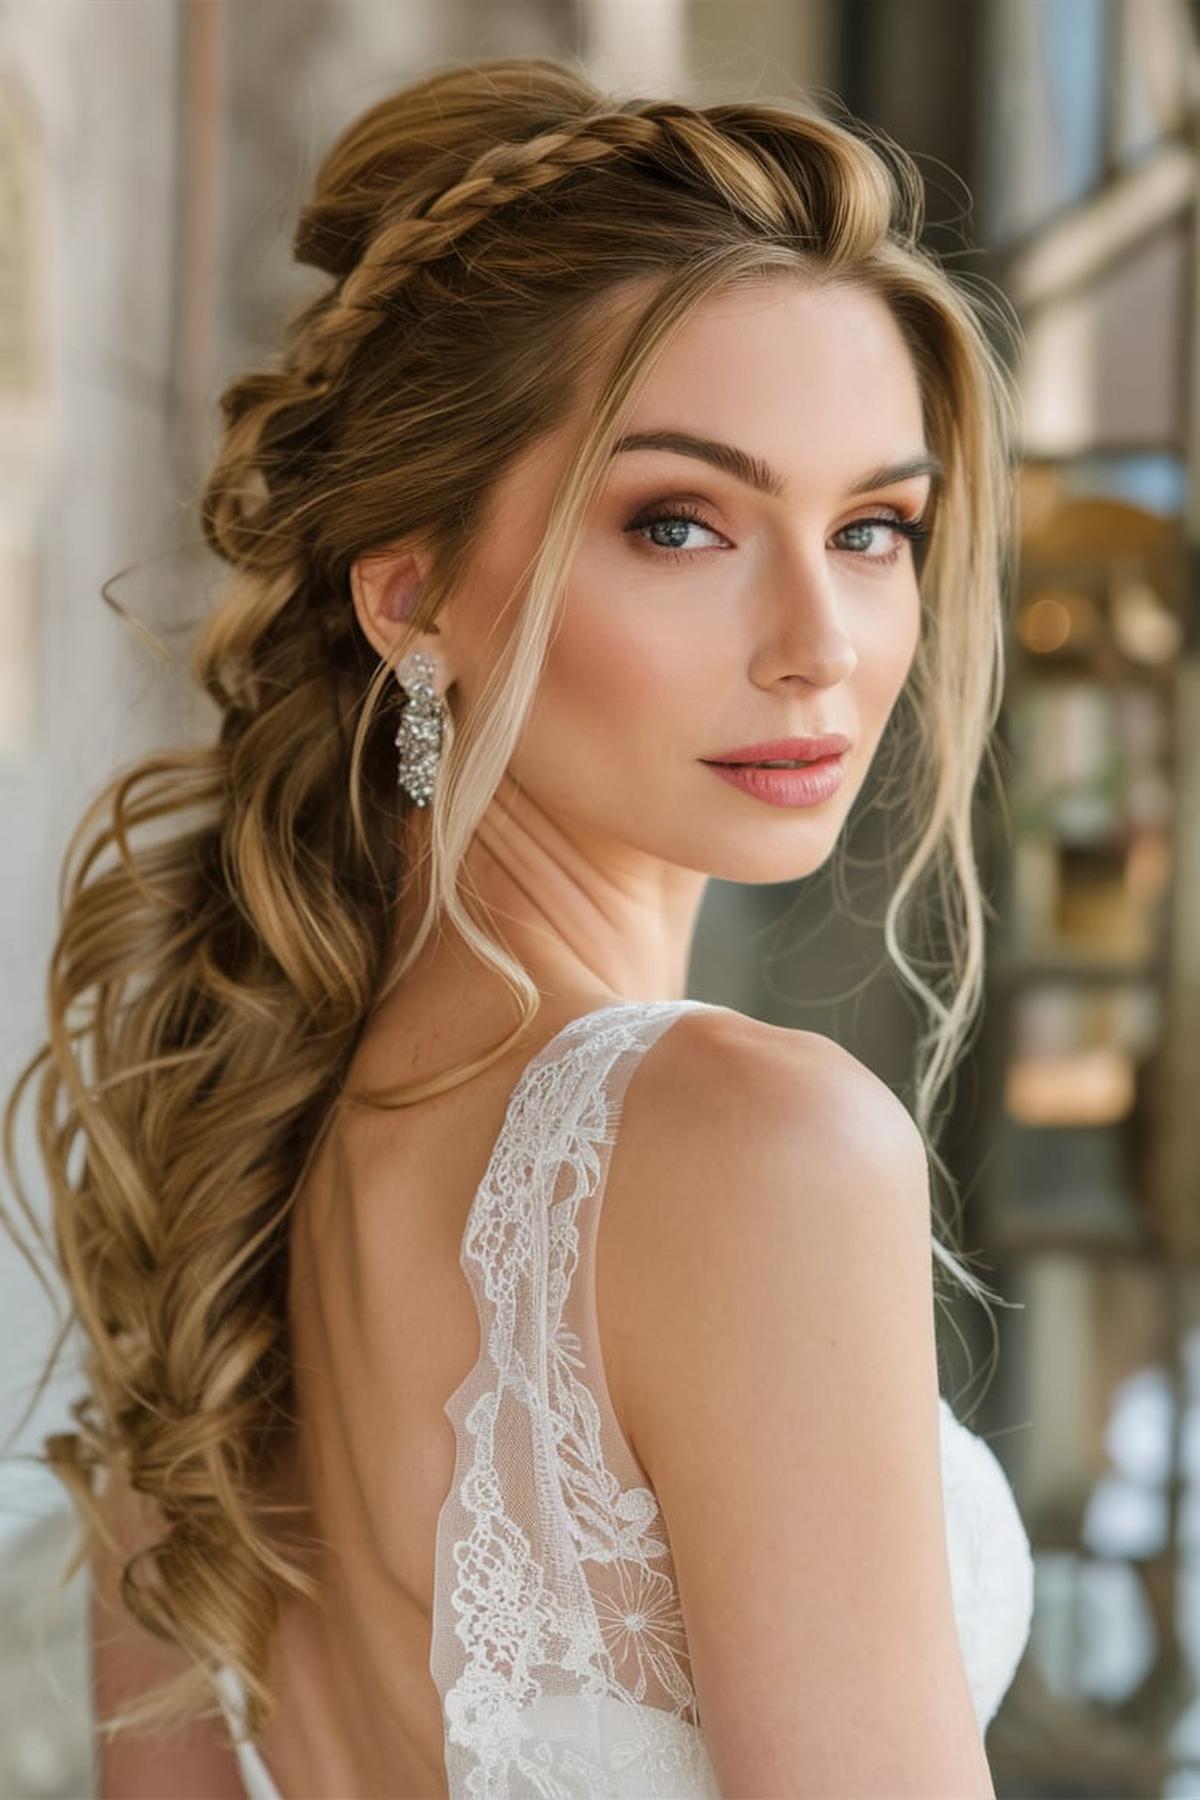
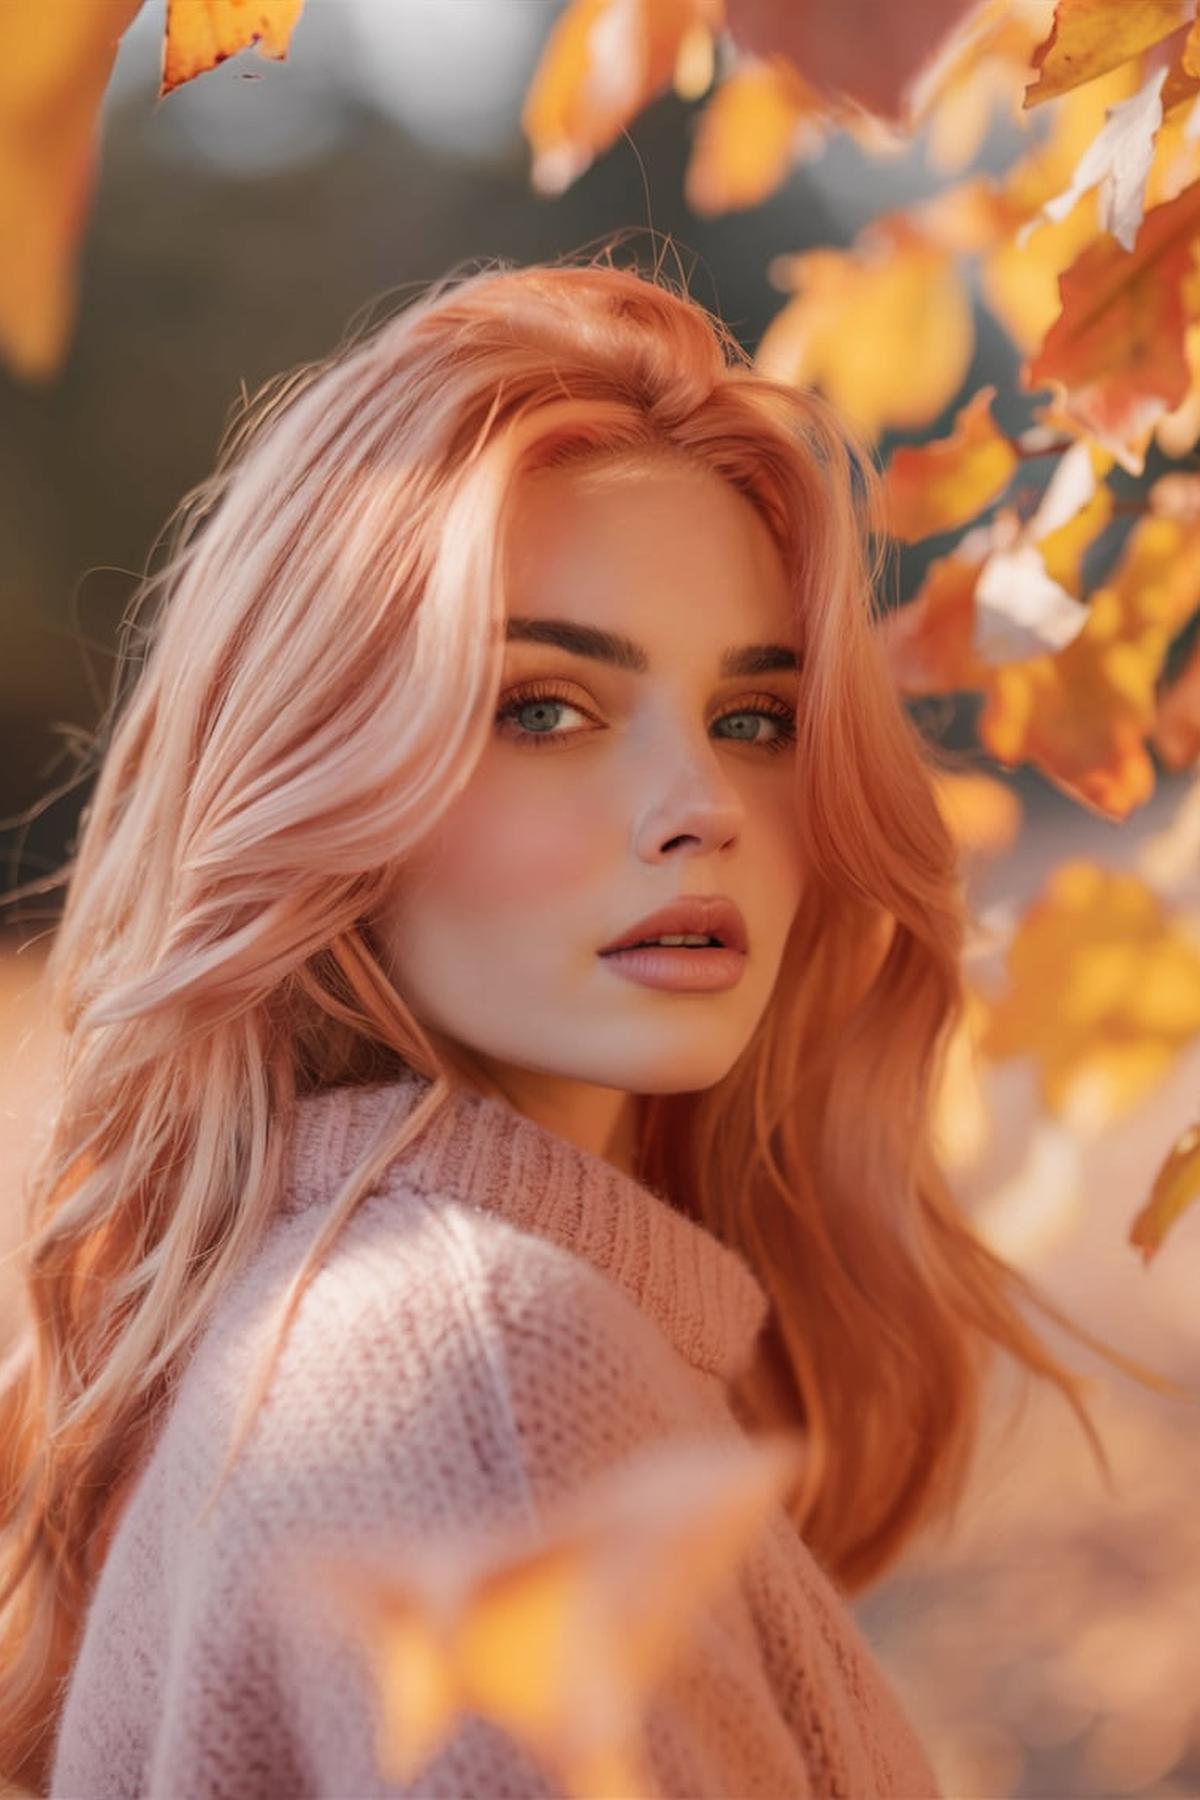
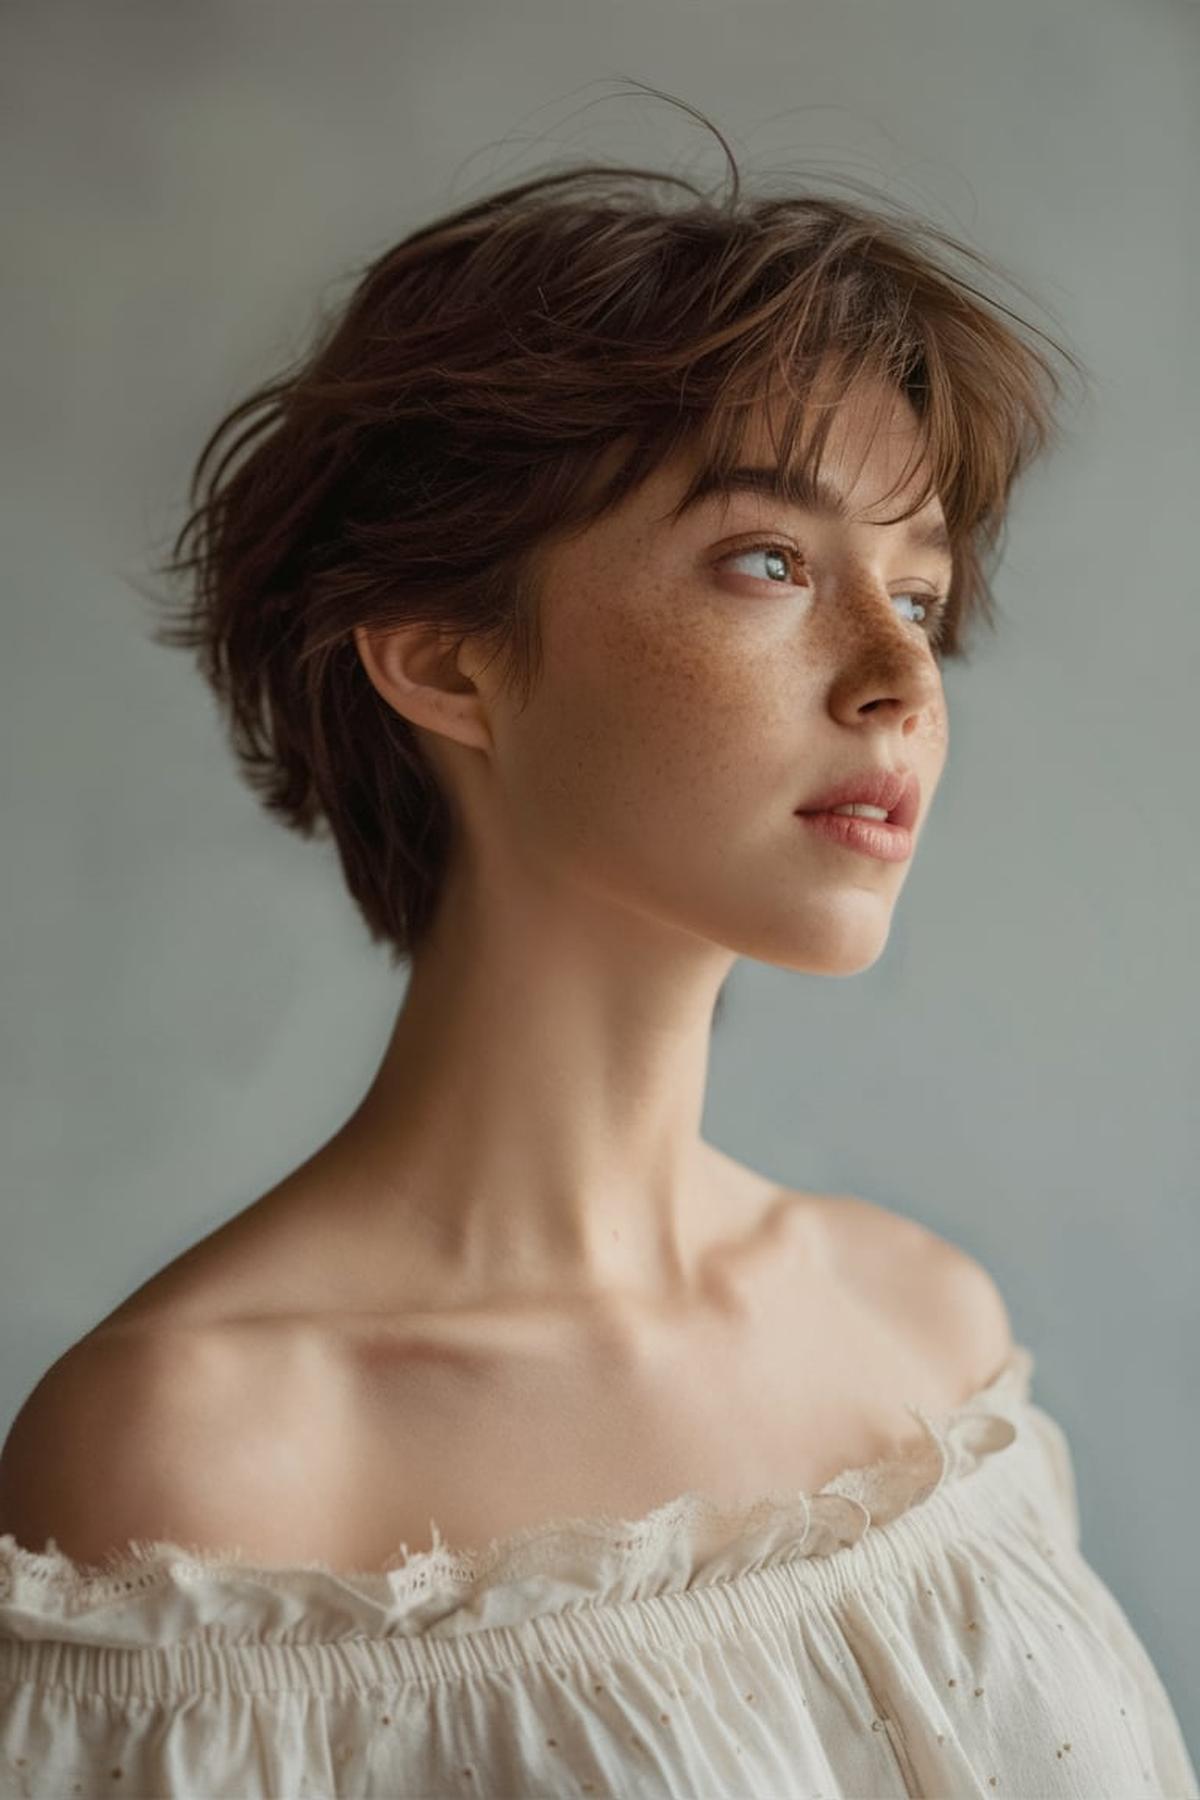
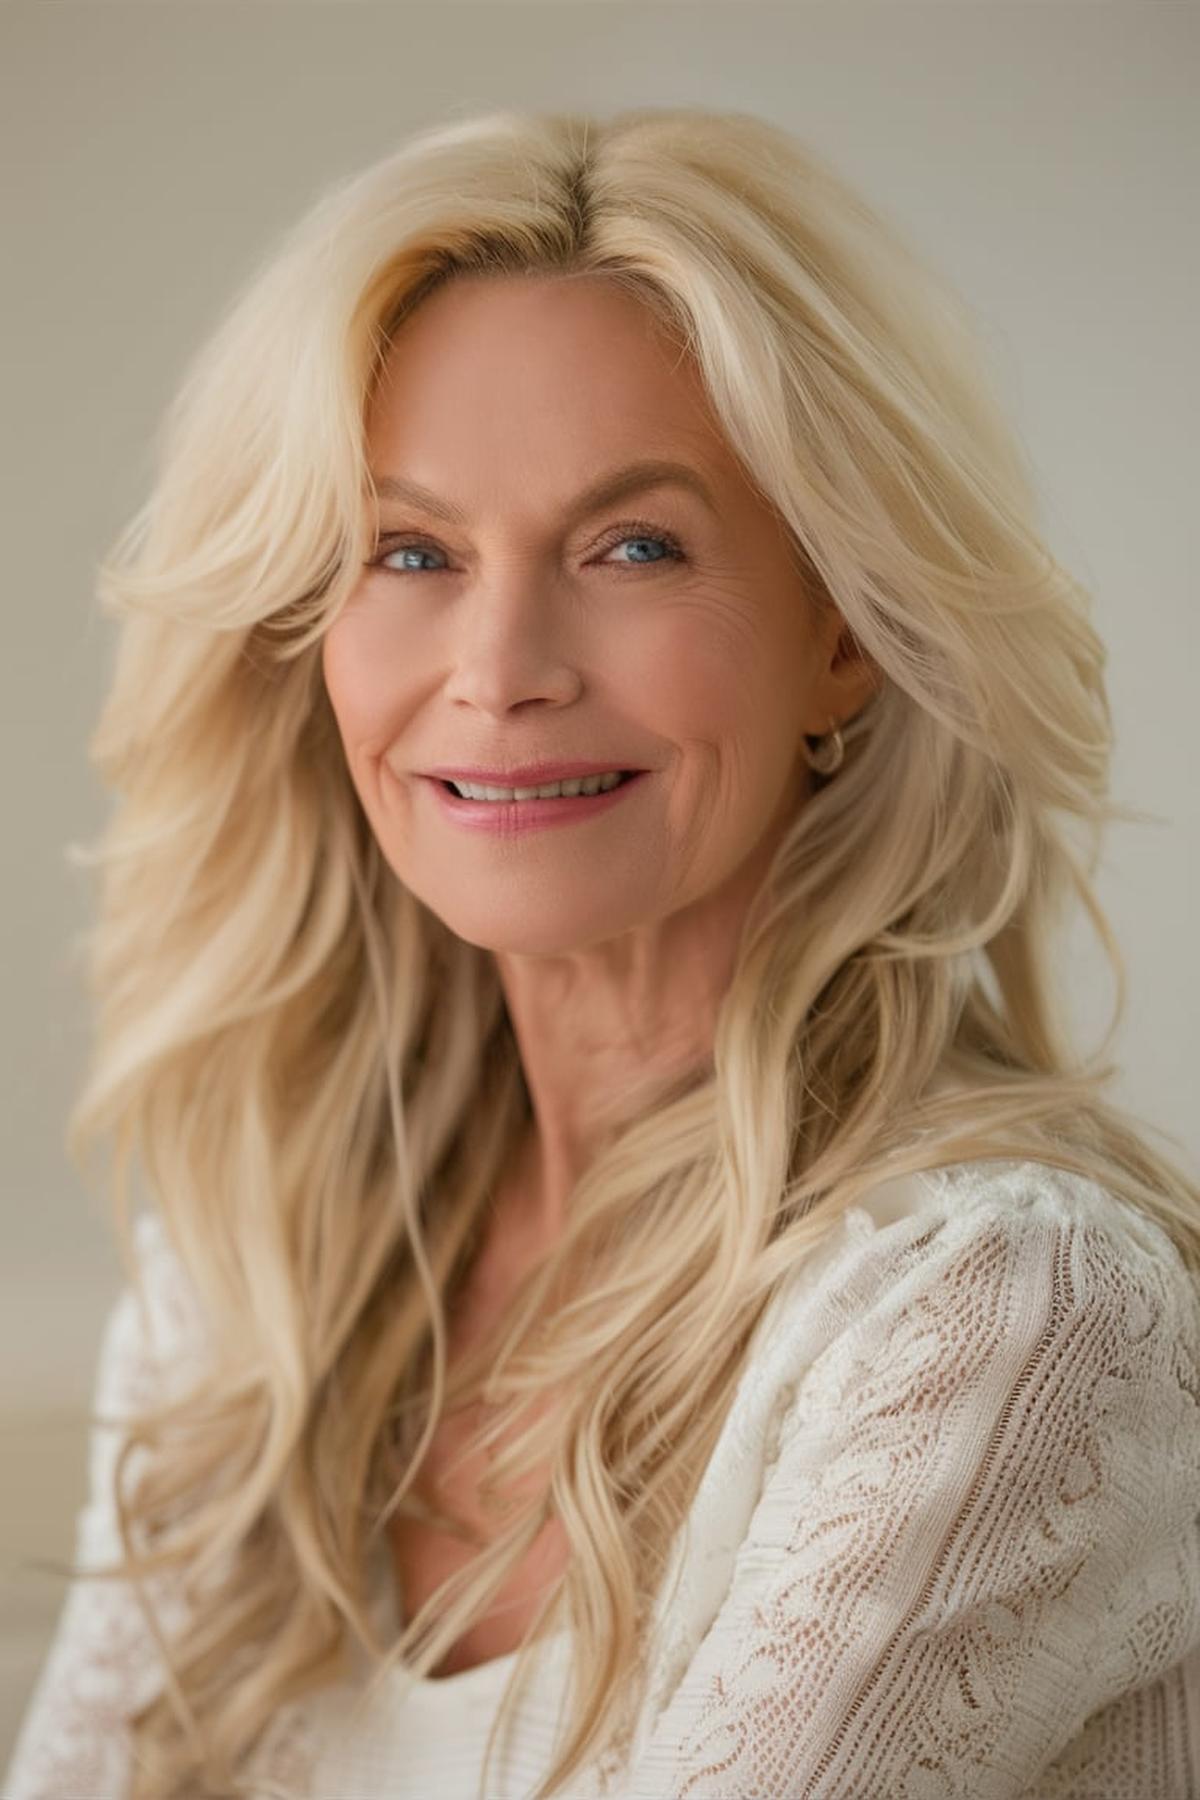
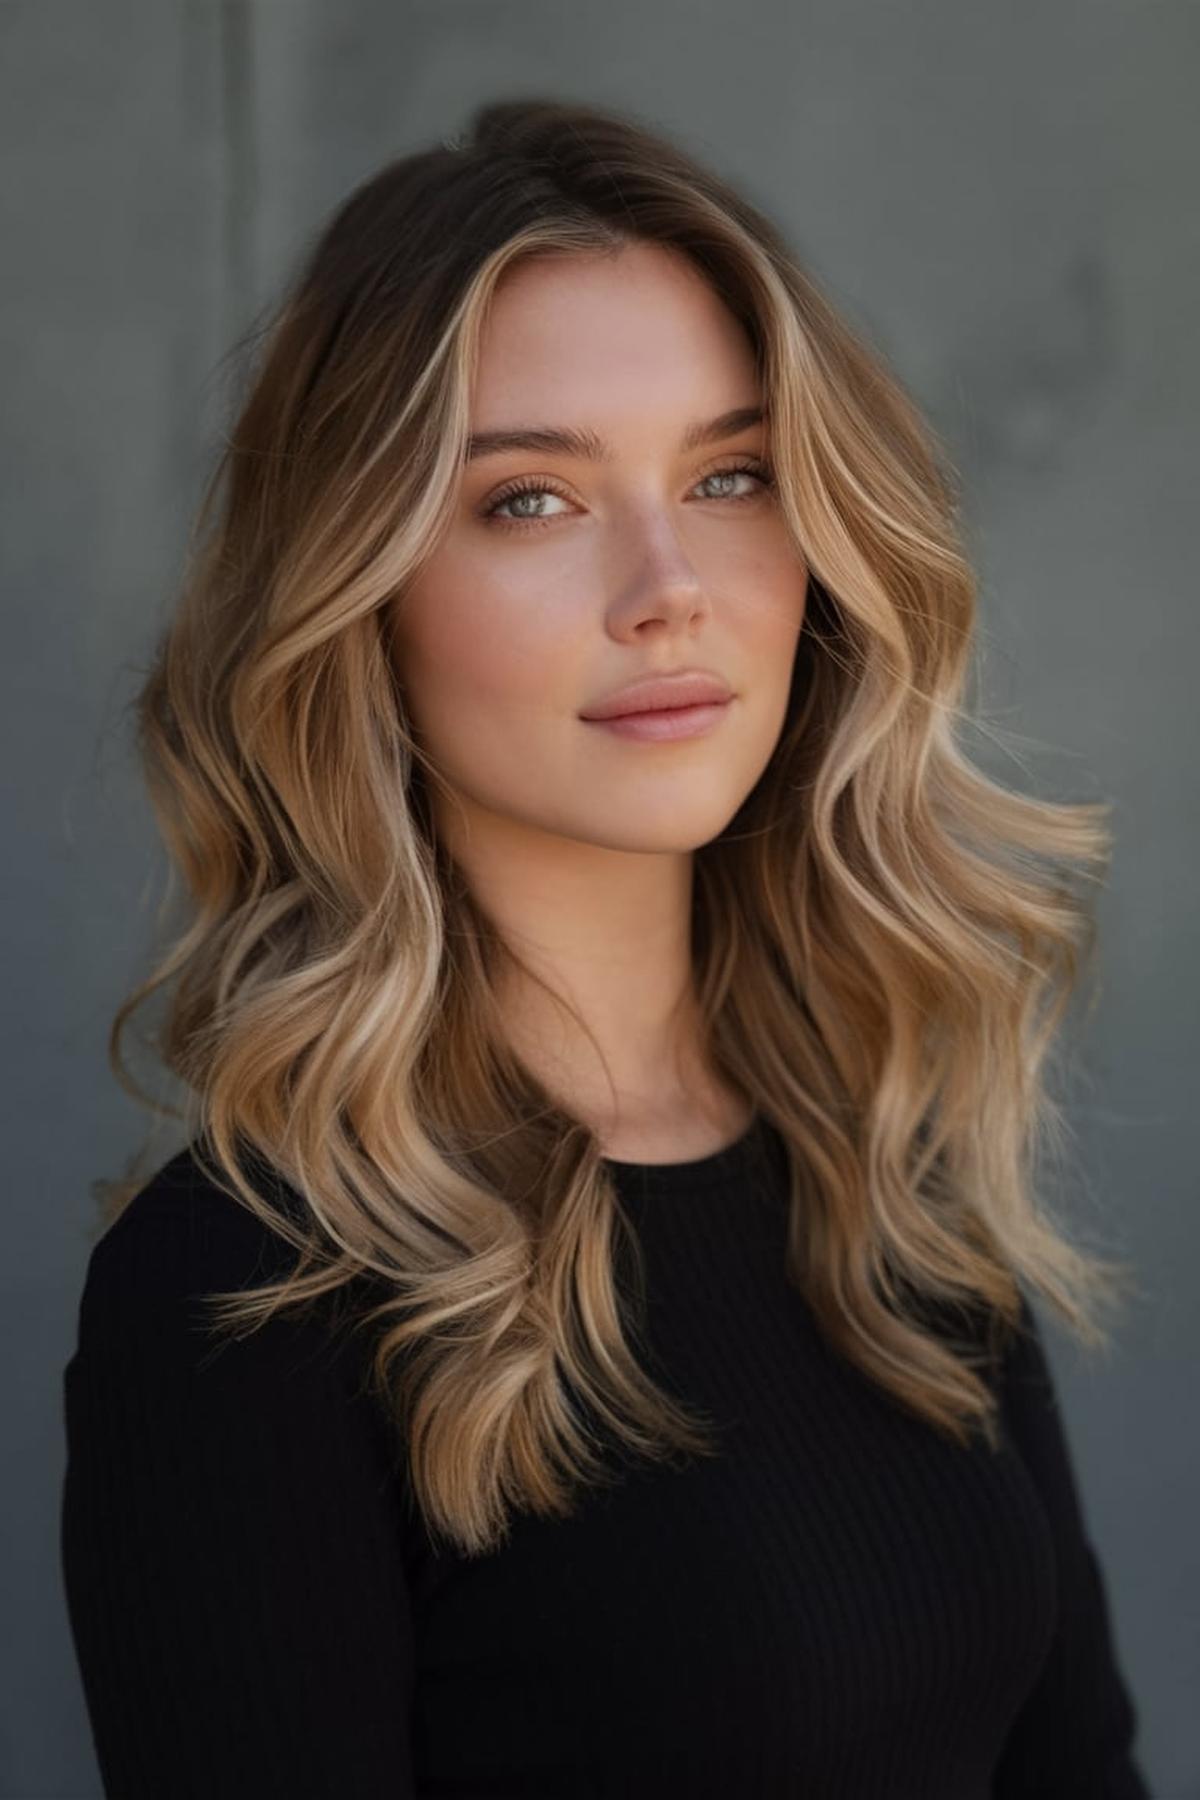
You have lots of options, from pixie cuts with textured layers to side-parted blunt bobs and wrapped buns with side bangs.
These styles are easy to do yourself and work great with many dress types. If you want something fancier, go for an accent braid updo, half-up beehive, or vintage finger waves.
A chic bob with highlights or a textured pixie with hair accessories can make a big impact. Soft waves with a side part or flirty side-swept curls are always classic choices.
Now, without further ado, let’s dive into 20 short hairstyles to dazzle at homecoming.
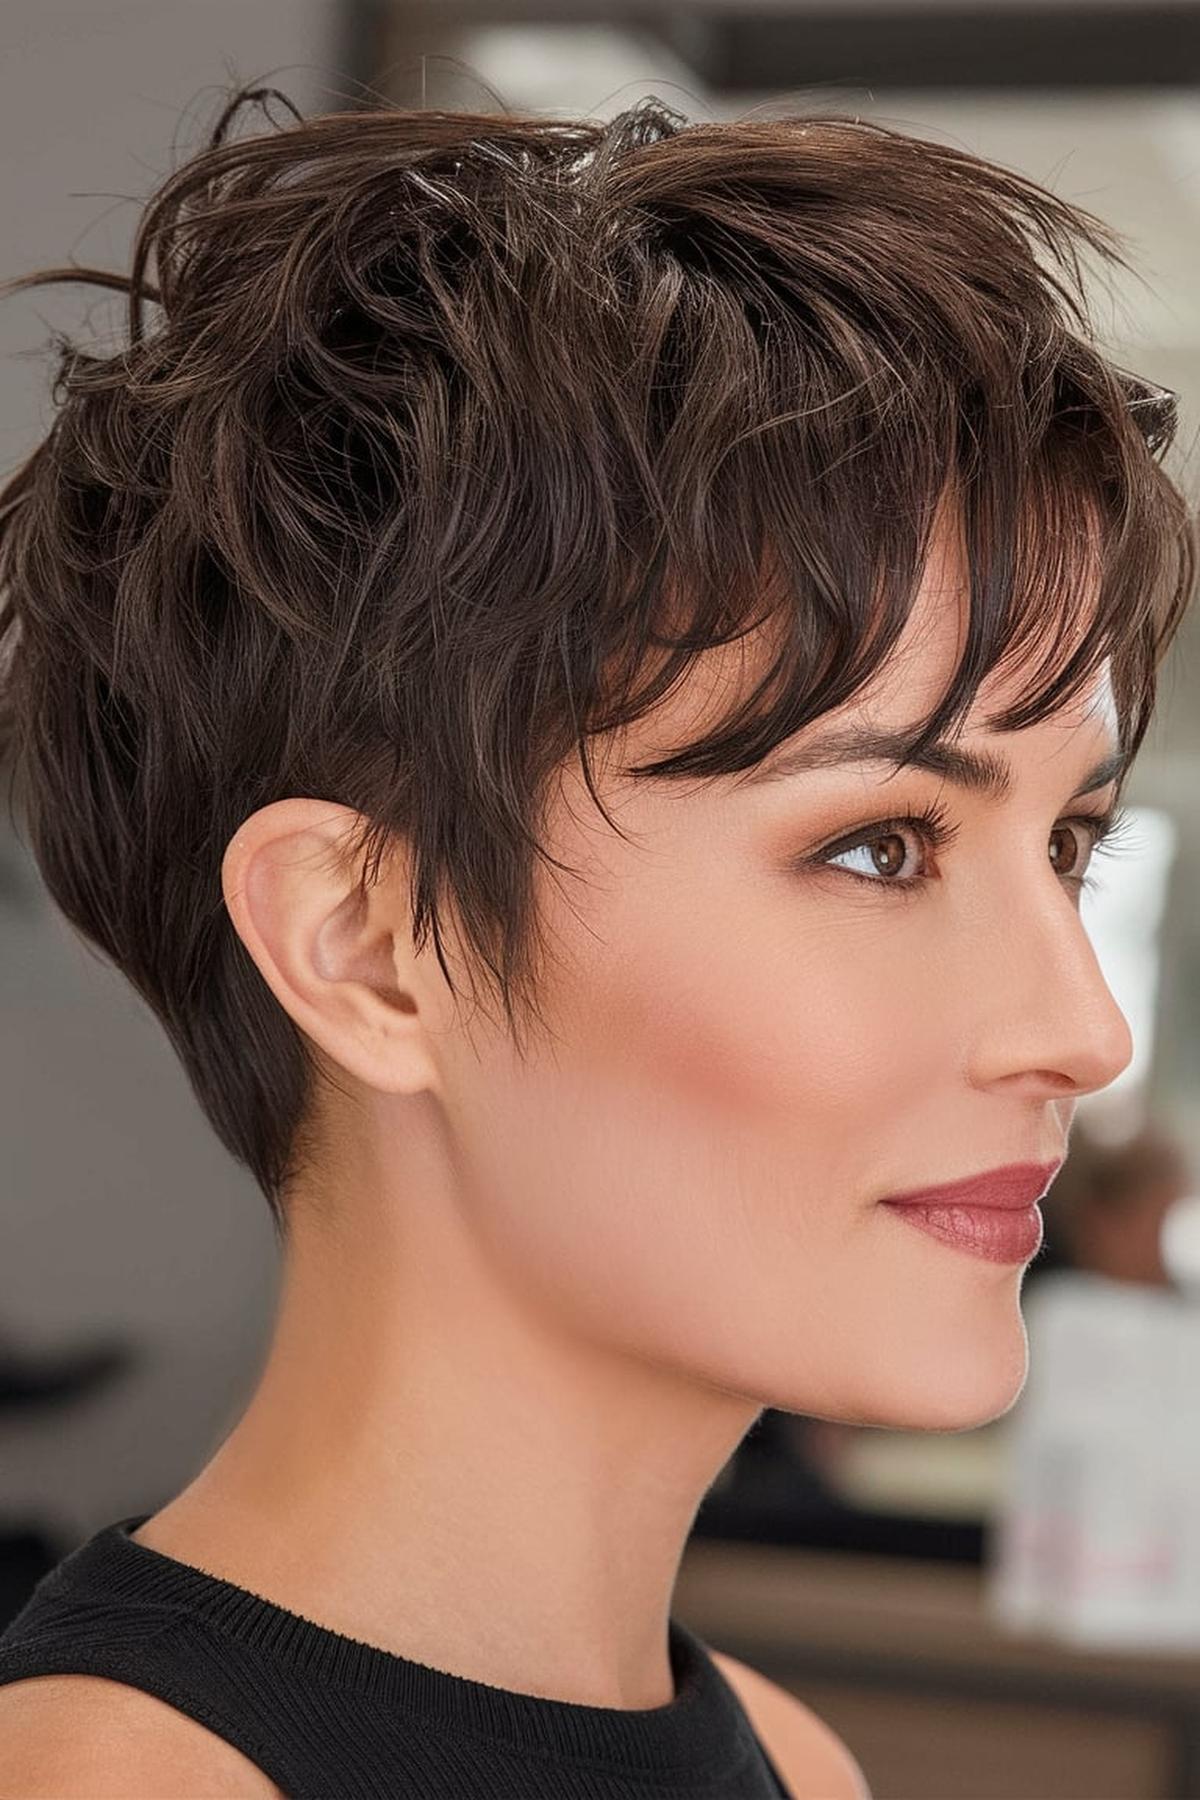
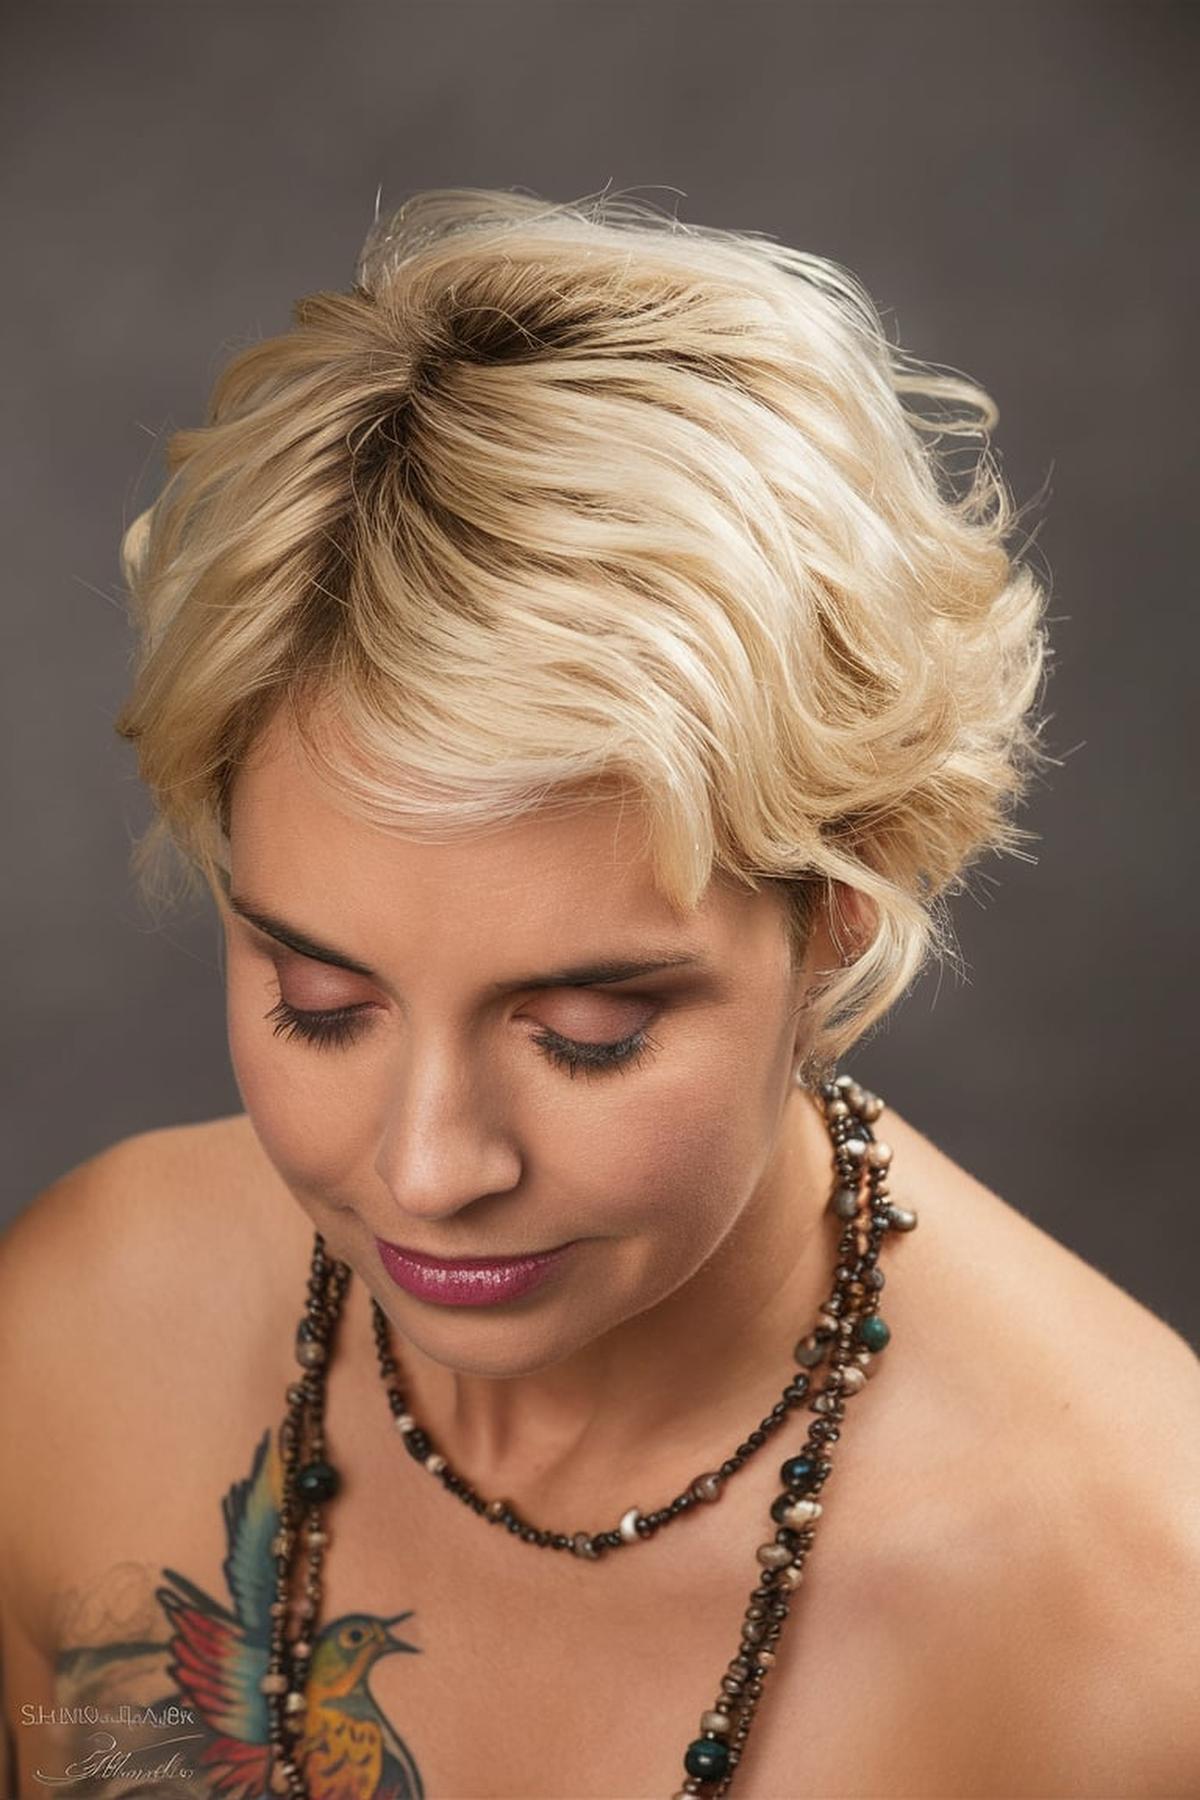
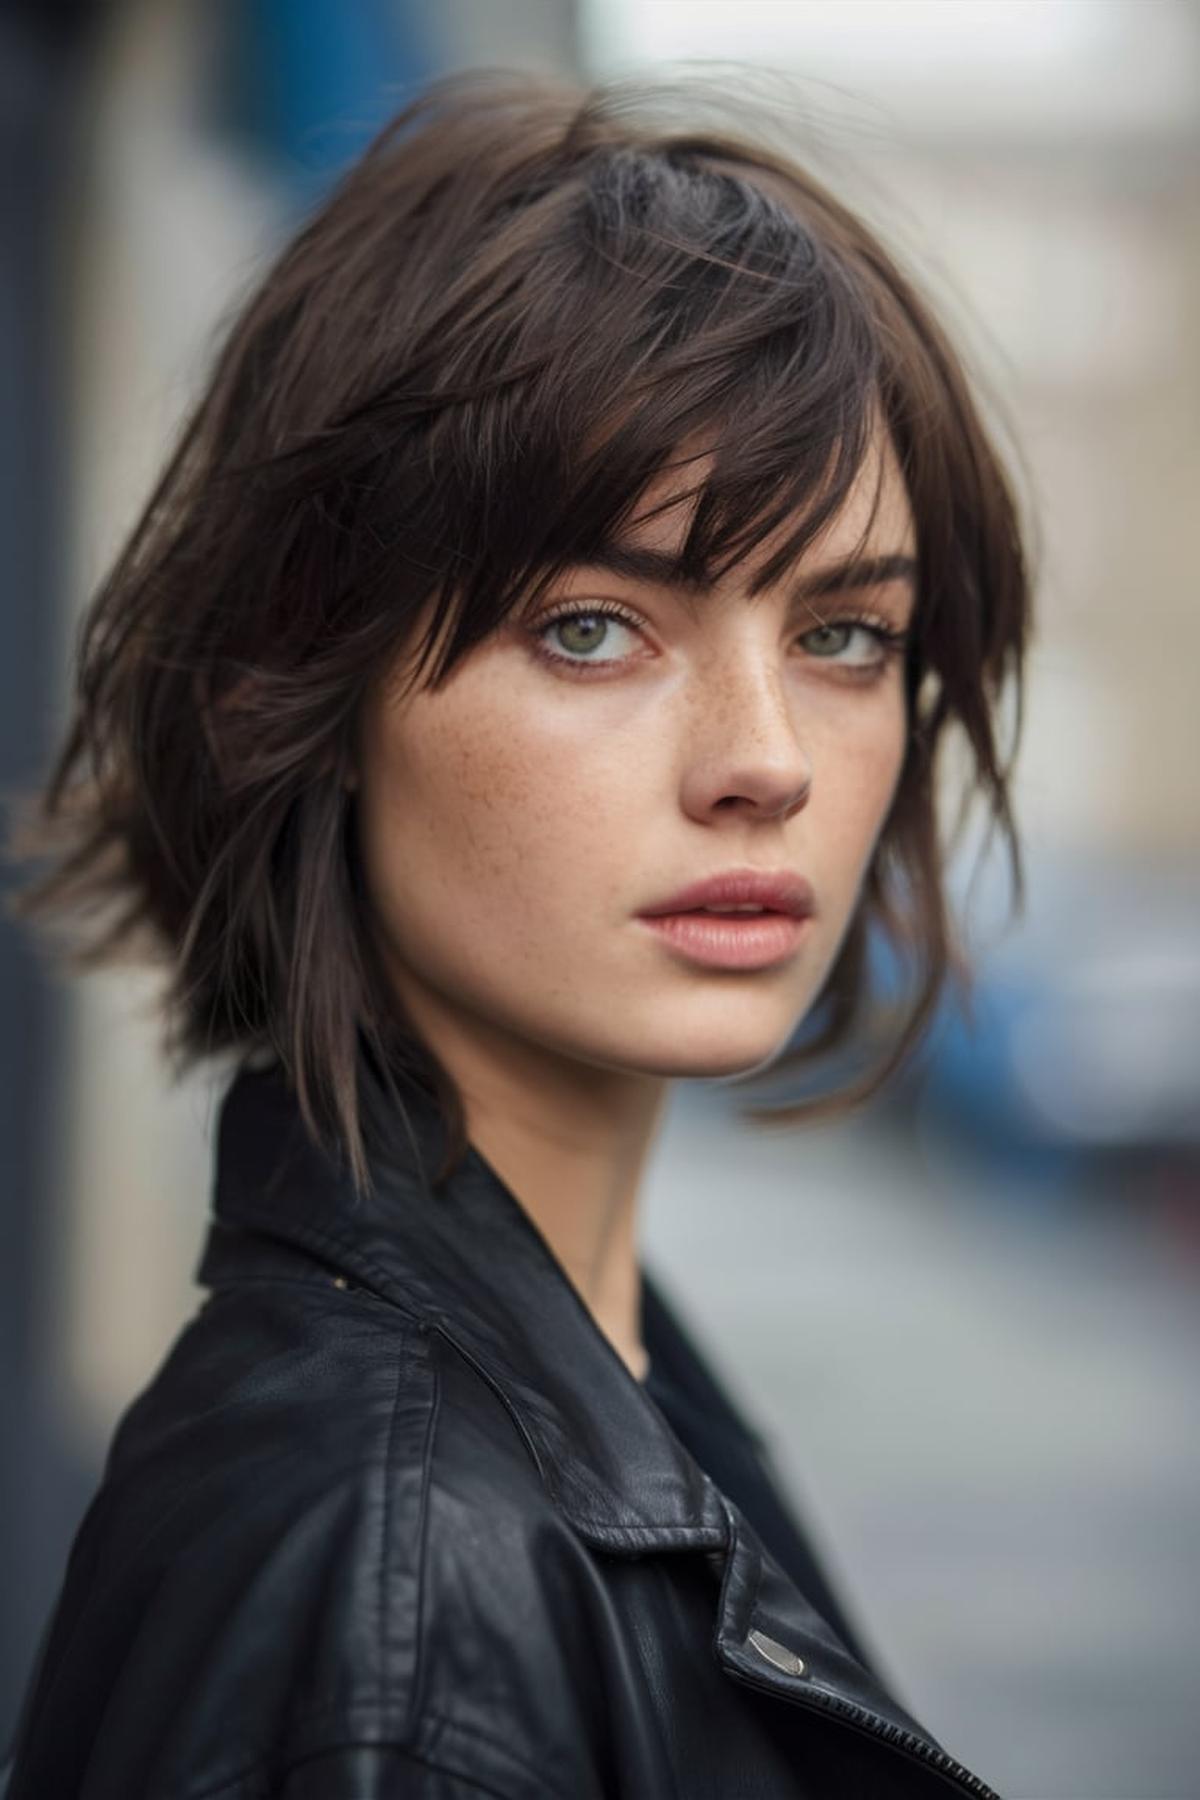
Pixie Cut with Textured Layers
This cut features short hair with layers that add movement and dimension, making it look lively and modern. Whether your hair is straight, wavy, or curly, a pixie cut can be adapted to fit your unique style.
For example, if you have fine hair, the layers can create the illusion of more volume, while thicker hair may require more texturing to avoid a bulky look. Regular trims every 4-6 weeks are also important to maintain the shape and keep your hairstyle looking fresh.
Simply tousle your hair with your fingers or use a round brush to style your bangs. This hairstyle allows for creativity, so don’t hesitate to experiment with different looks, whether you prefer it sleek and polished or messy and carefree.
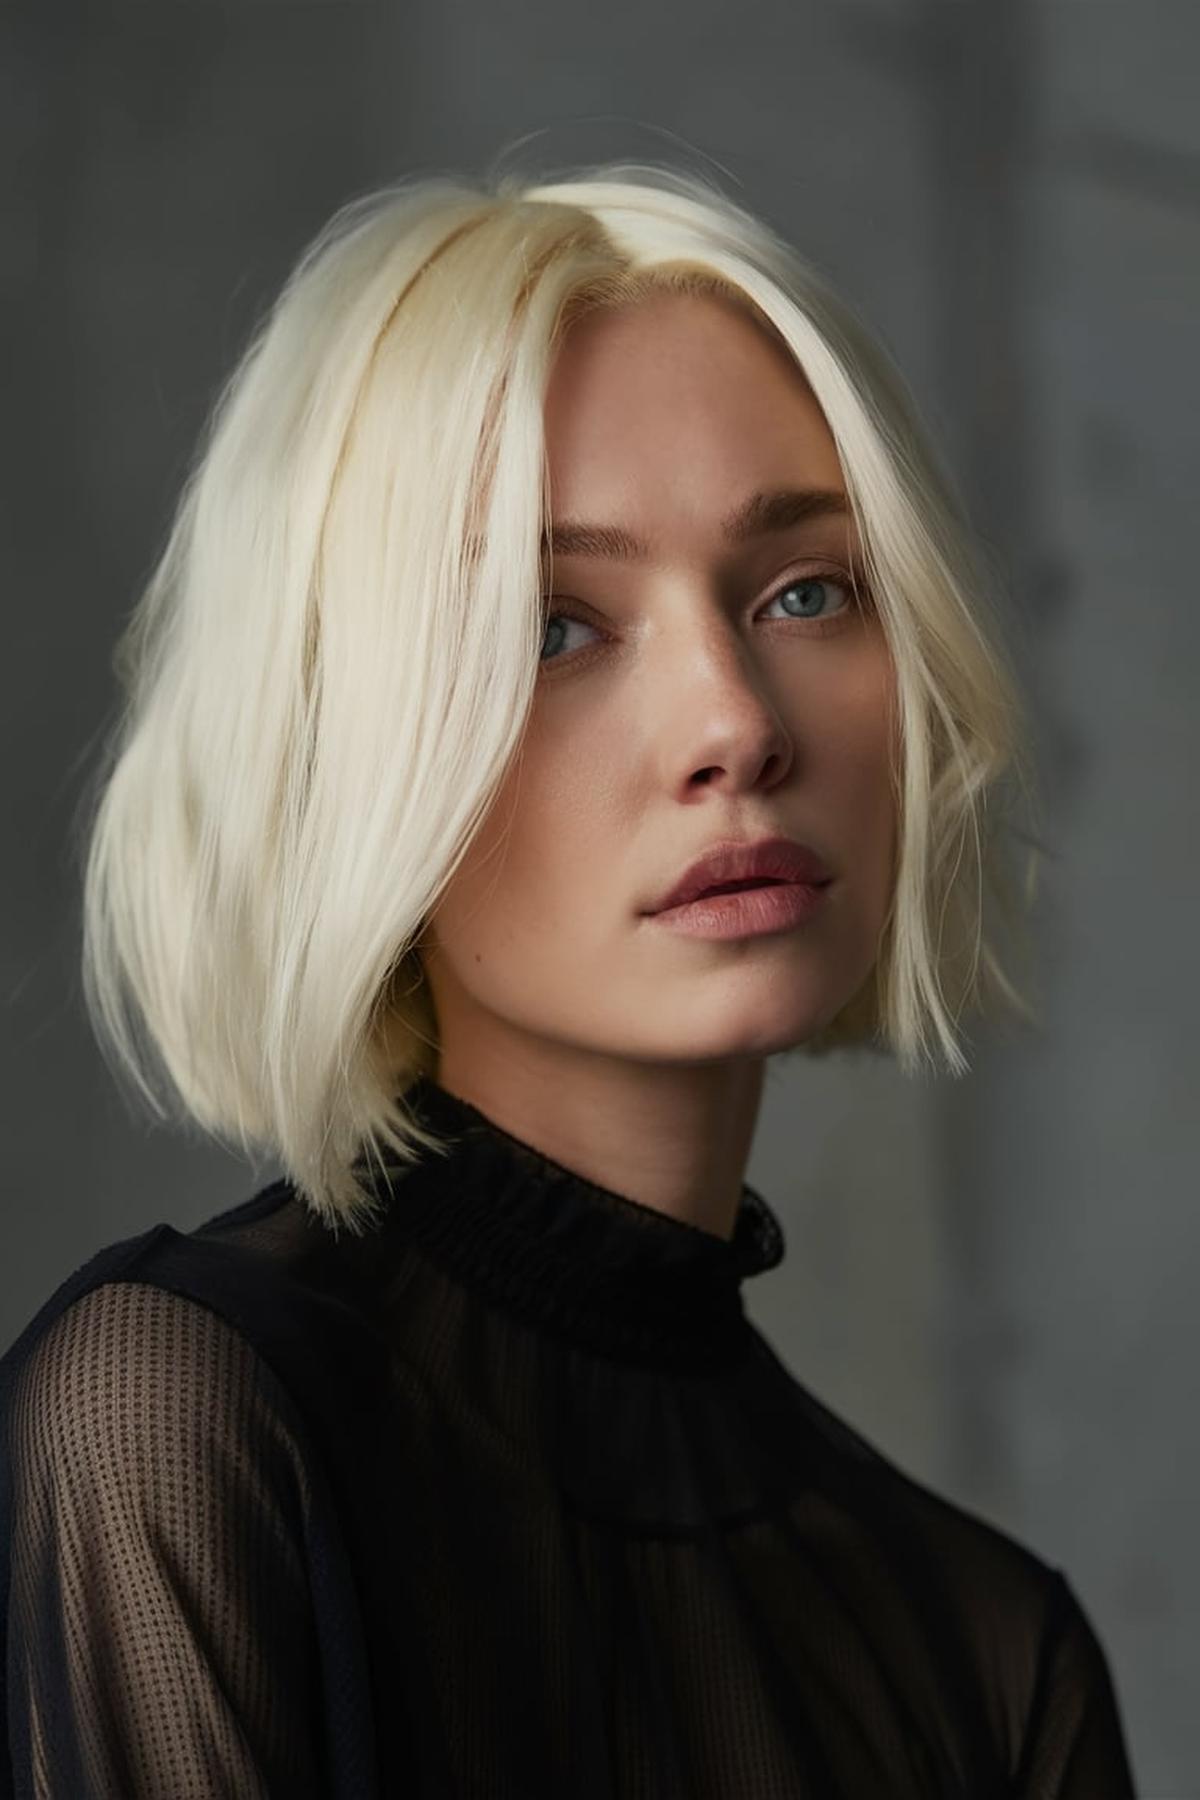
Side-Parted Blunt Bob
This haircut features a straight cut at the ends, giving it a clean and polished look. The side part adds a bit of flair, allowing you to change up your style easily. It’s versatile enough to be worn straight, wavy, or with added texture, depending on your mood.
This means the hair should be cut straight across at the ends, creating a sharp look. You can also ask for some layers around the face to add softness. Choosing the right length is important too; a bob that sits just above the shoulders is a popular choice and looks great on many face shapes.
For a sleek look, blow-dry your hair straight and finish with a smoothing serum for shine. If you prefer waves, use a curling iron to create soft curls, then run your fingers through them for a more relaxed vibe. Don’t forget to use hairspray to hold your style in place!
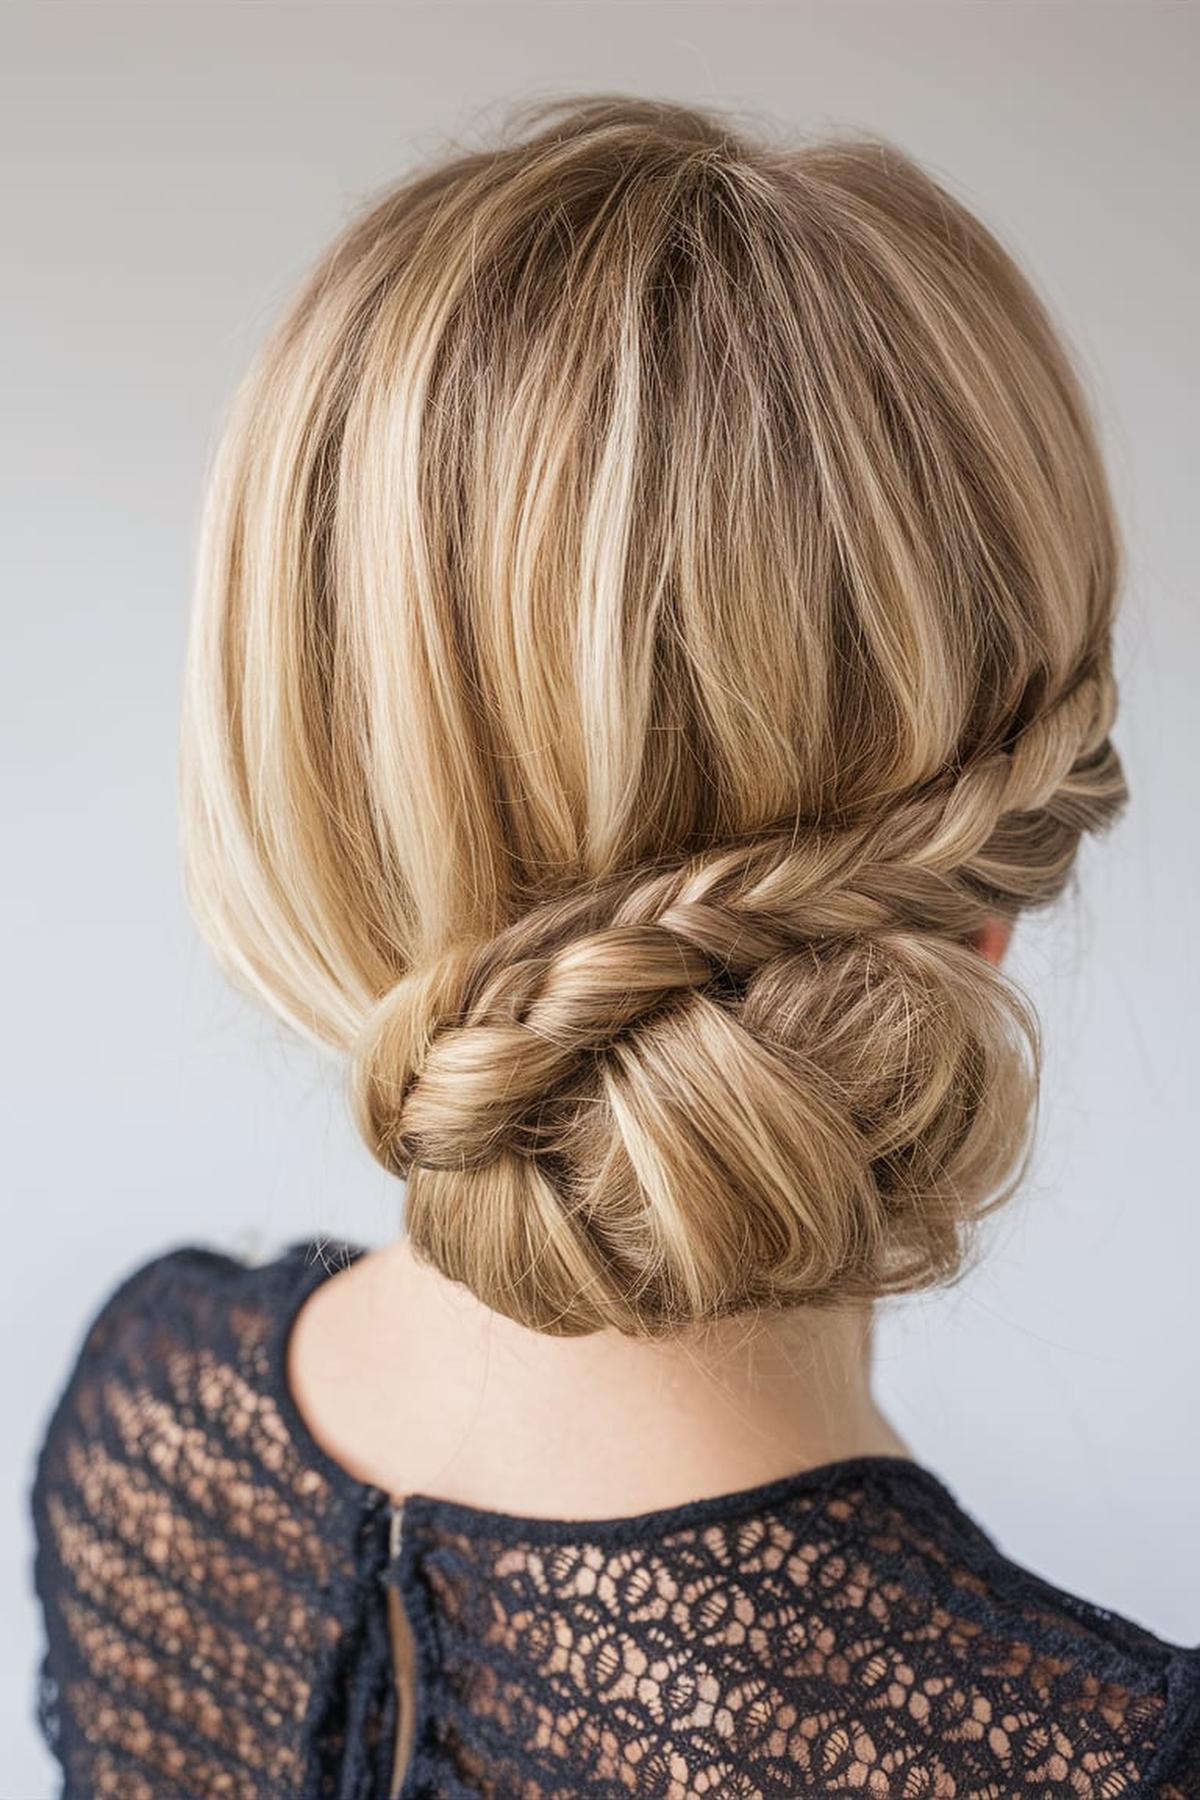
Wrapped Bun with Side Bangs
To achieve this look, start by gathering your hair into a high ponytail. You can use a hair tie to secure it, but for a more relaxed look, consider using bobby pins instead. Once your ponytail is secure, twist the hair around itself to form a bun and pin it in place.
Part a small section of hair on one side of your head and use a curling iron or flat iron to create soft waves. This will give your bangs a nice swoop effect. If you want a more casual look, you can also leave your bangs straight.
You can pull out a few strands for a messy look or smooth everything down for a more polished appearance. This hairstyle is great for any occasion and can be dressed up or down depending on your outfit. Enjoy your new look!
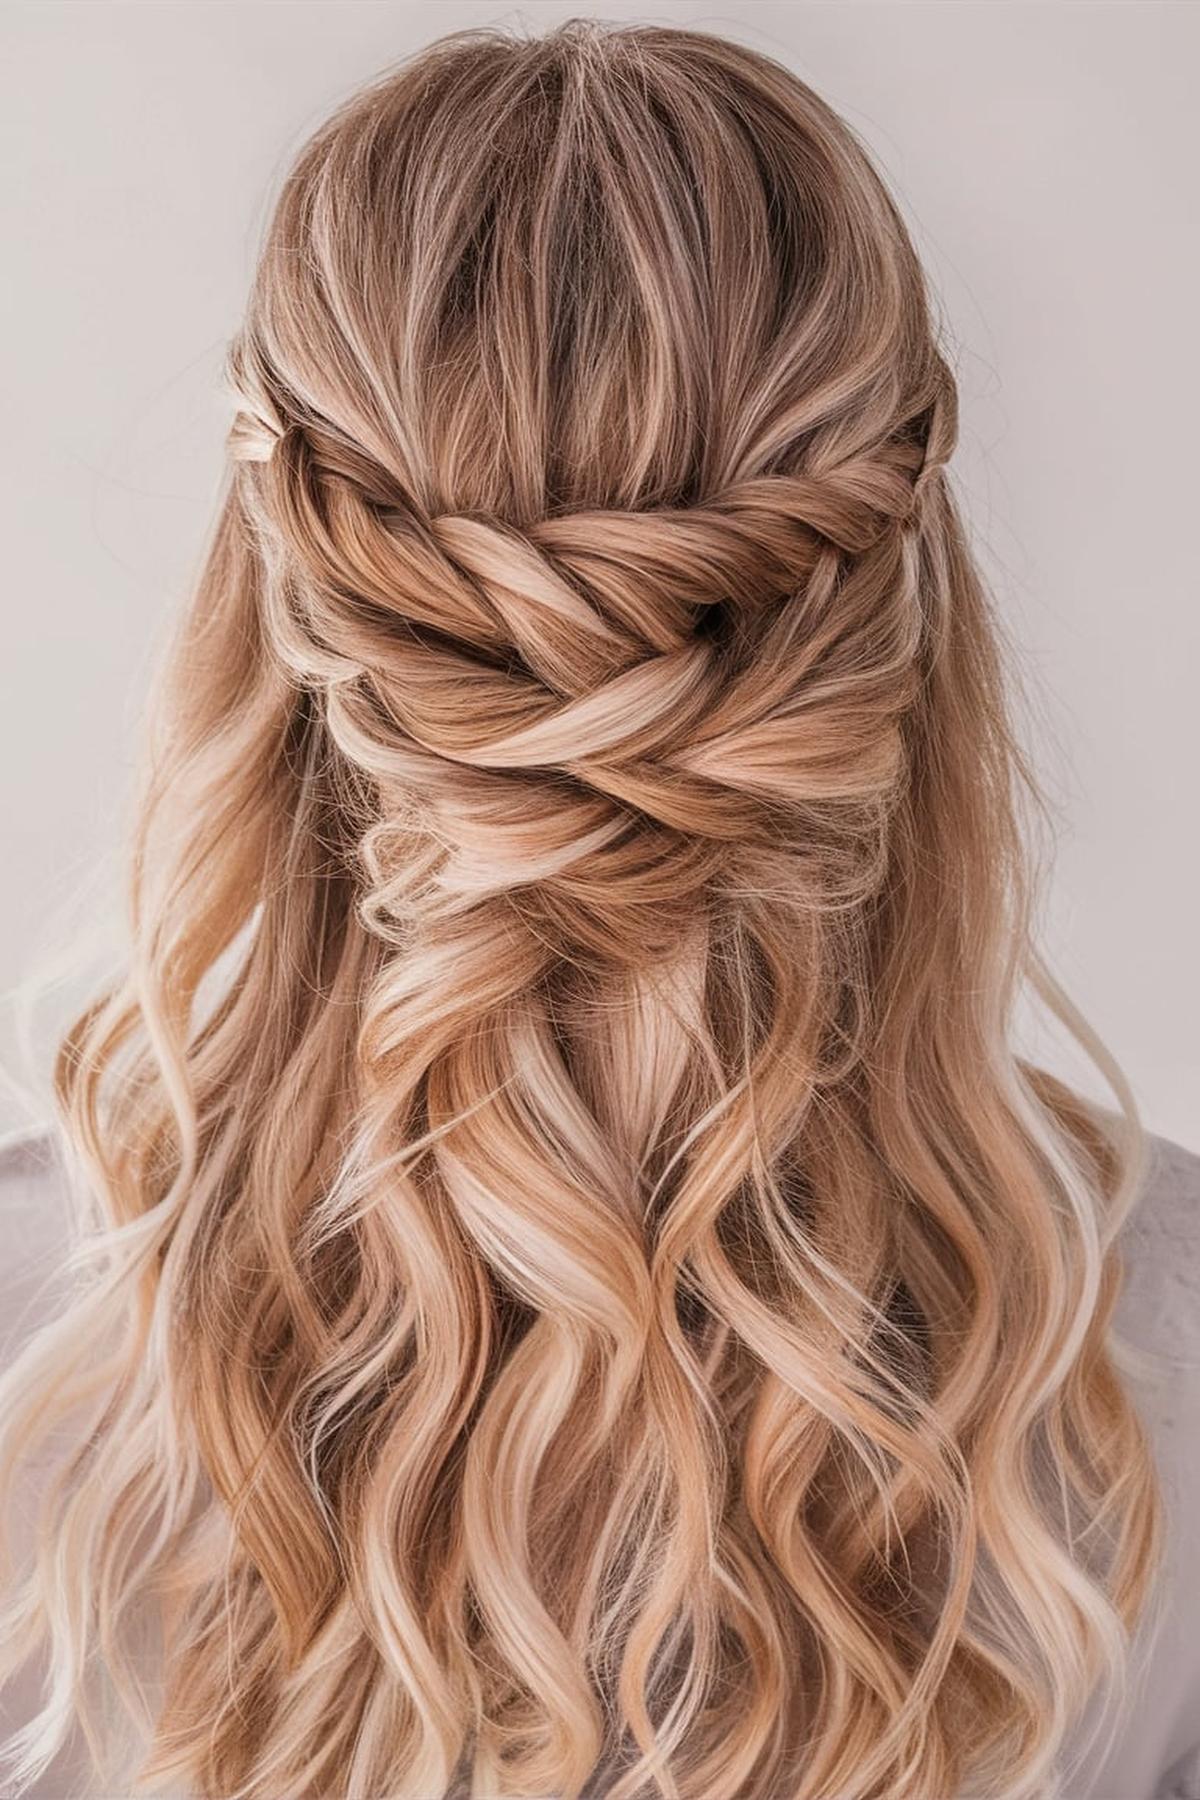
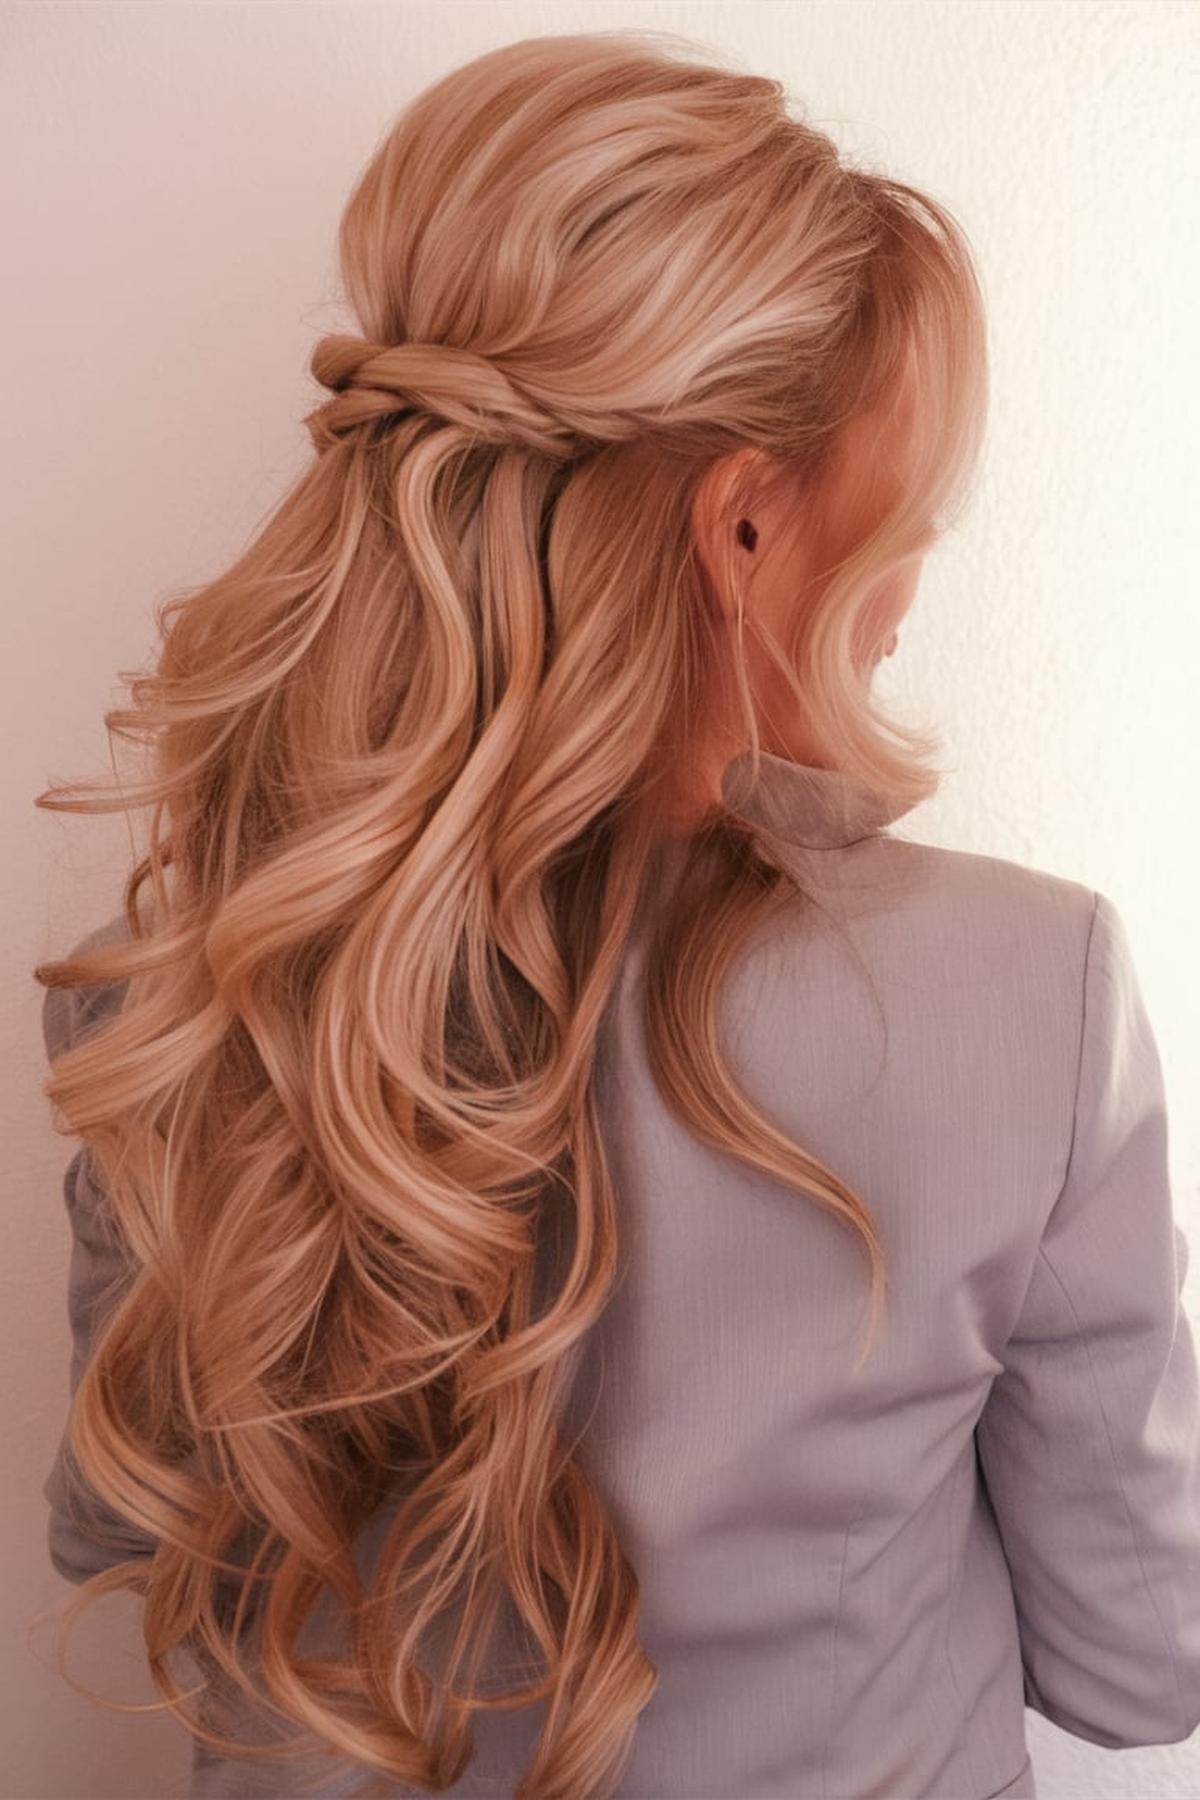
Twisted Half-Updo
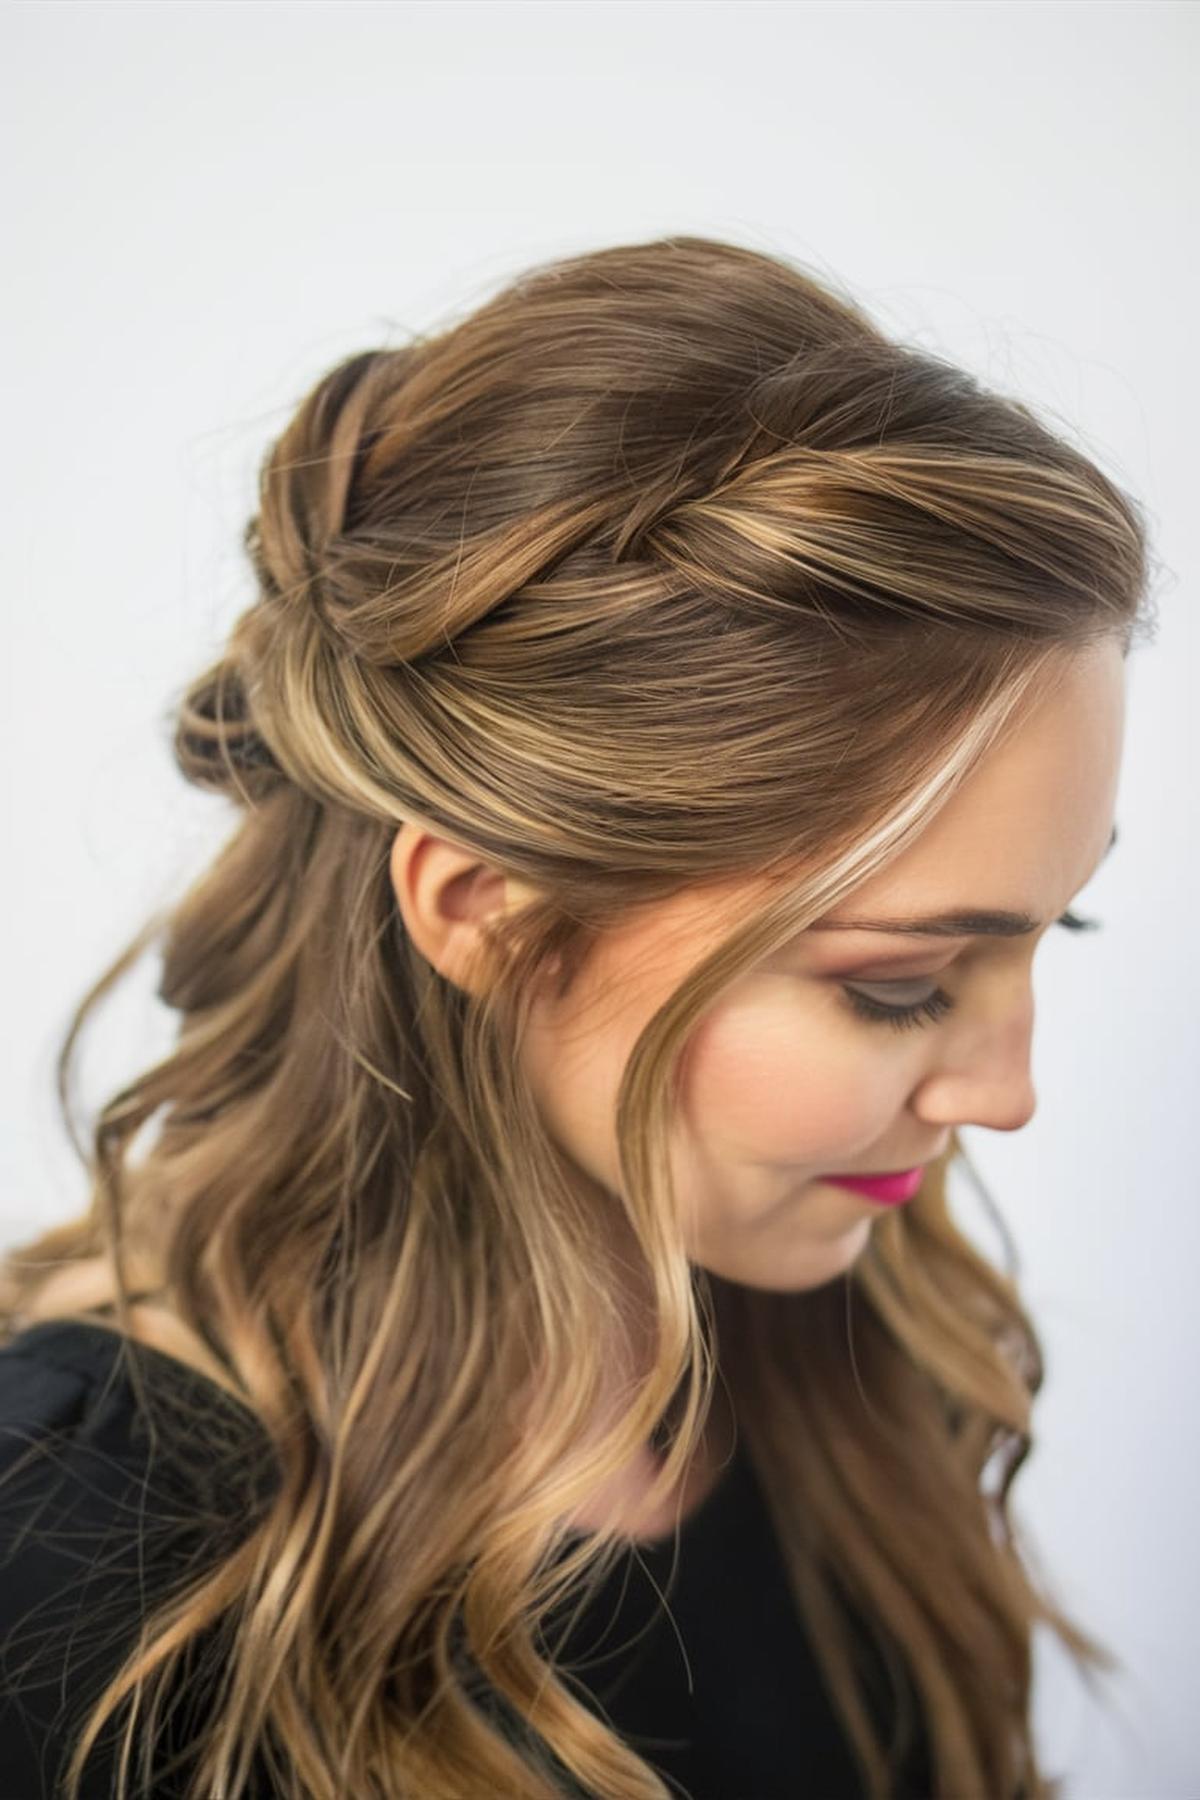
To start, it’s best to have loose waves in your hair, which gives it a nice texture. If you want to create this look, begin by taking a section of hair from one side of your head, twisting it back, and securing it with bobby pins.
This will create a beautiful layered effect that looks great for any occasion.
This will help your twisted half-updo stay secure throughout the day. With a little practice, you’ll be able to master this hairstyle and impress your friends with your hair skills!
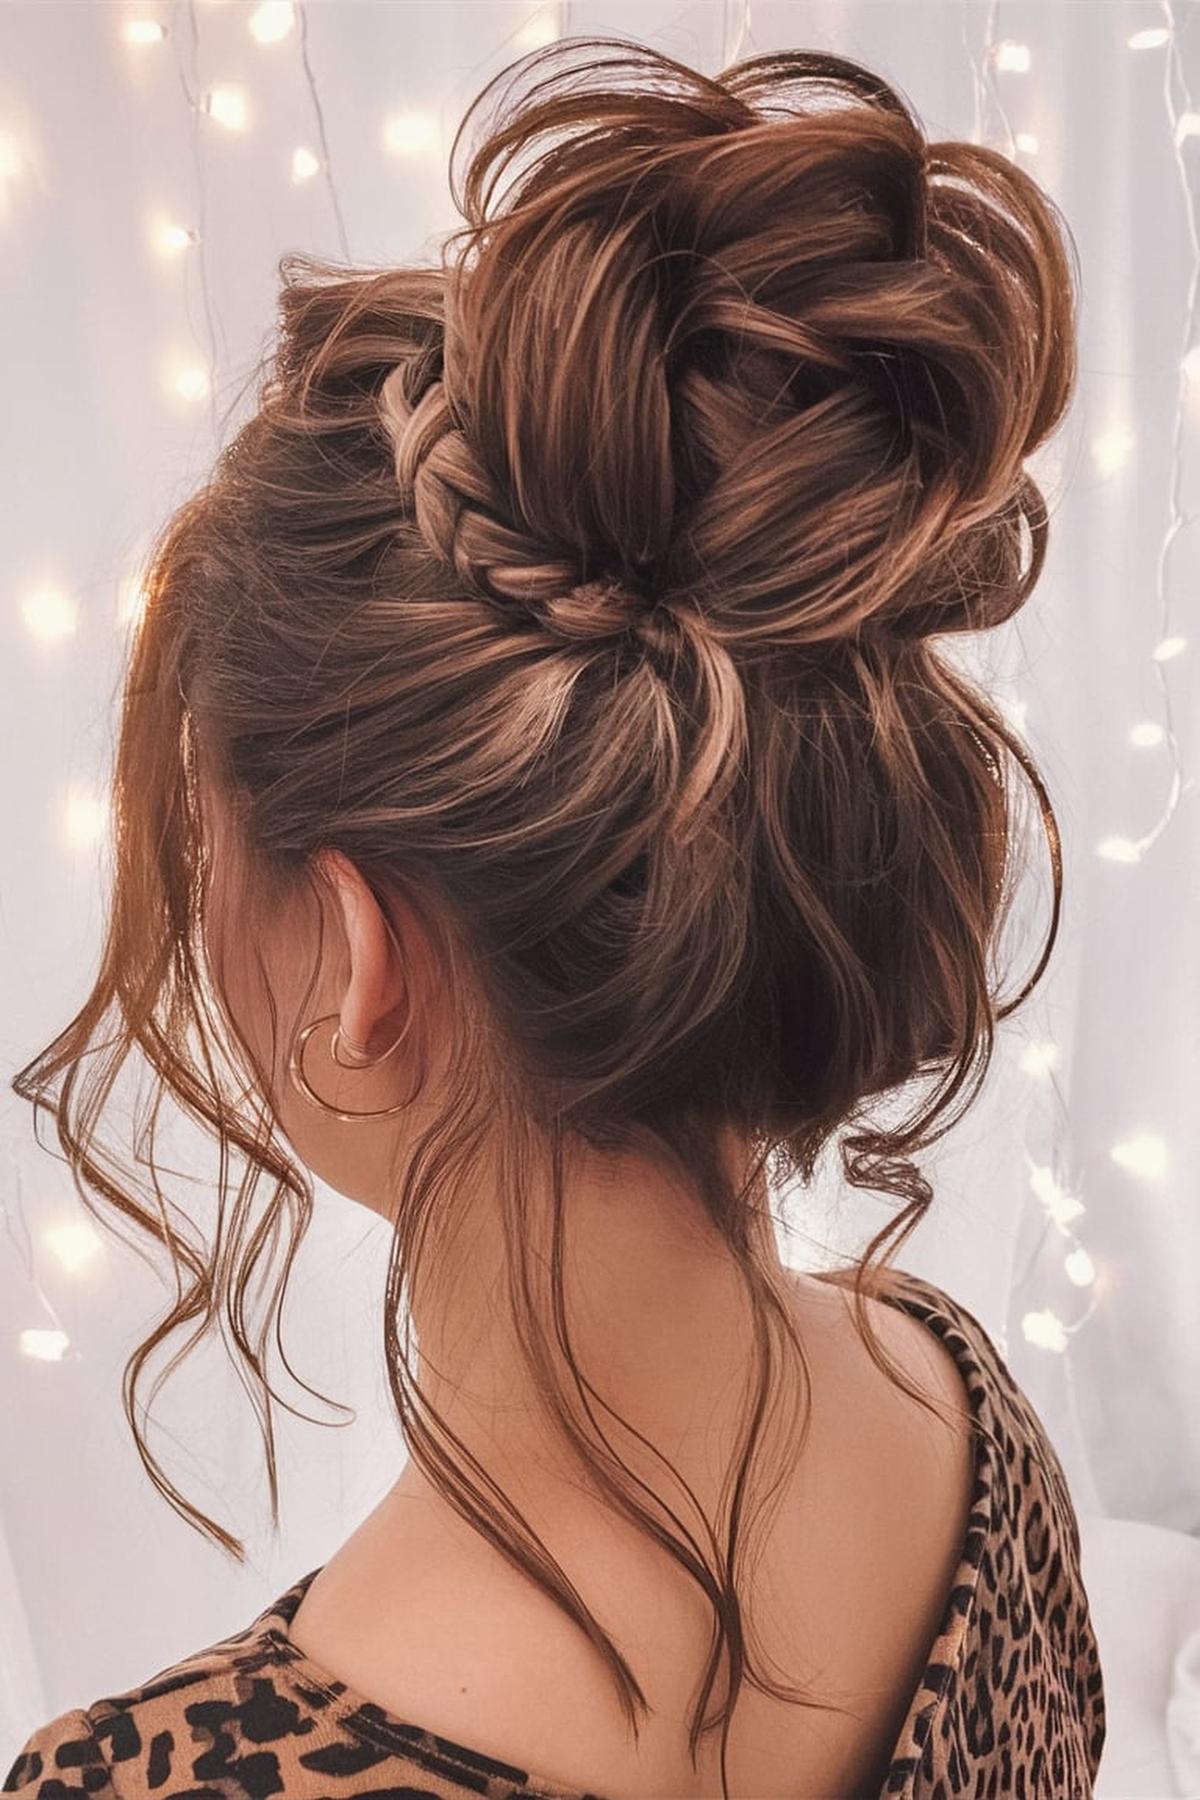
Messy Bun with Loose Strands
To create this look, start by gathering your hair into a high ponytail. You can do this by flipping your head upside down or simply pulling your hair back with your hands.
You can secure it with a hair tie, but don’t worry about making it perfect. The key to a messy bun is to embrace imperfections, so let some pieces stick out.
You can also use a bit of dry shampoo or texturizing spray to add volume and texture to your hair. Remember, the goal is to look like you just rolled out of bed but still put in a little effort, so have fun with it!
Braided Crown
To start, you need to part your hair and create two braids that wrap around your head like a crown. This style is not only pretty but also practical, keeping your hair out of your face and making it perfect for busy days. To create a braided crown, begin by dividing your hair into two sections.
Repeat this process on the other side. After both braids are done, gently pull on the edges of the braids to make them look fuller and more relaxed.
Don’t worry if your first attempt isn’t perfect. The goal is to create a soft and romantic look, so a little messiness is okay. With some practice, you’ll be able to master the braided crown and impress your friends with your hairstyling skills.
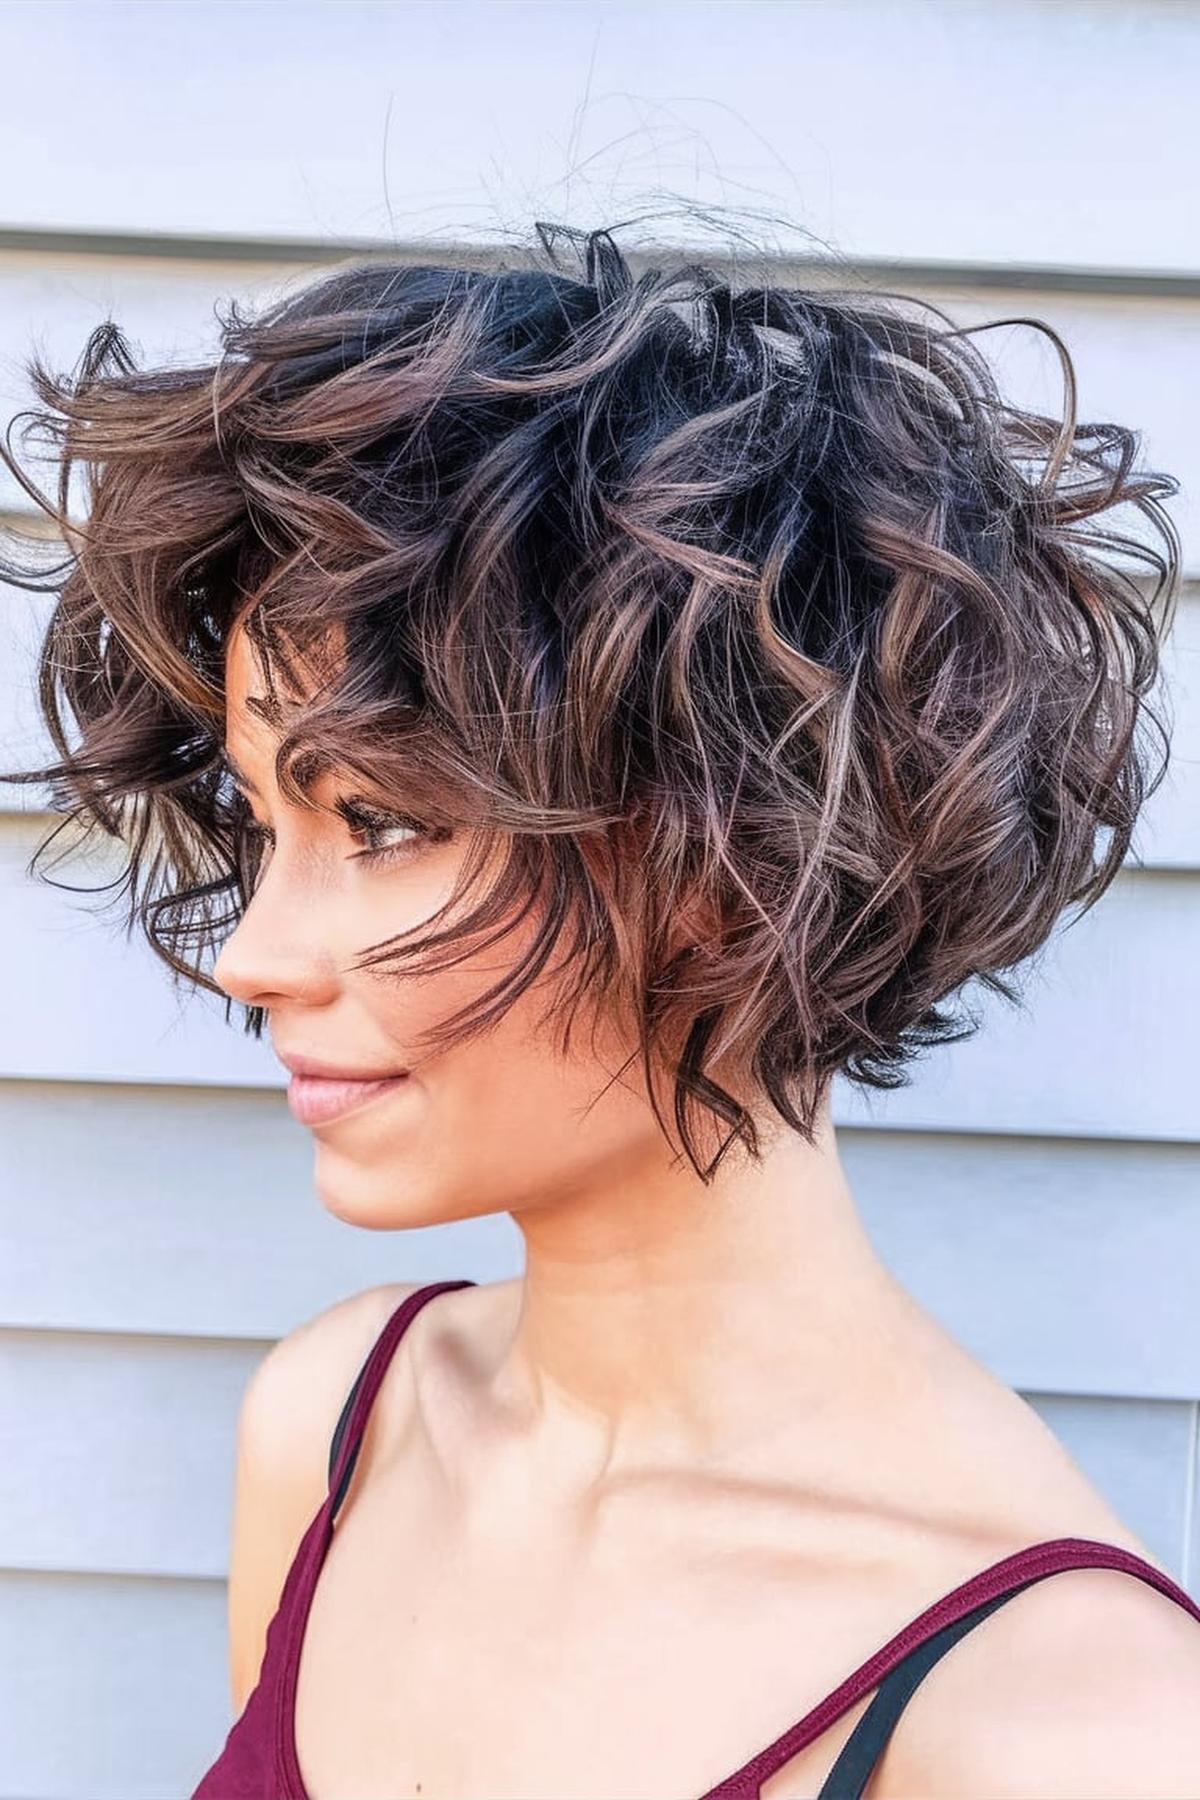
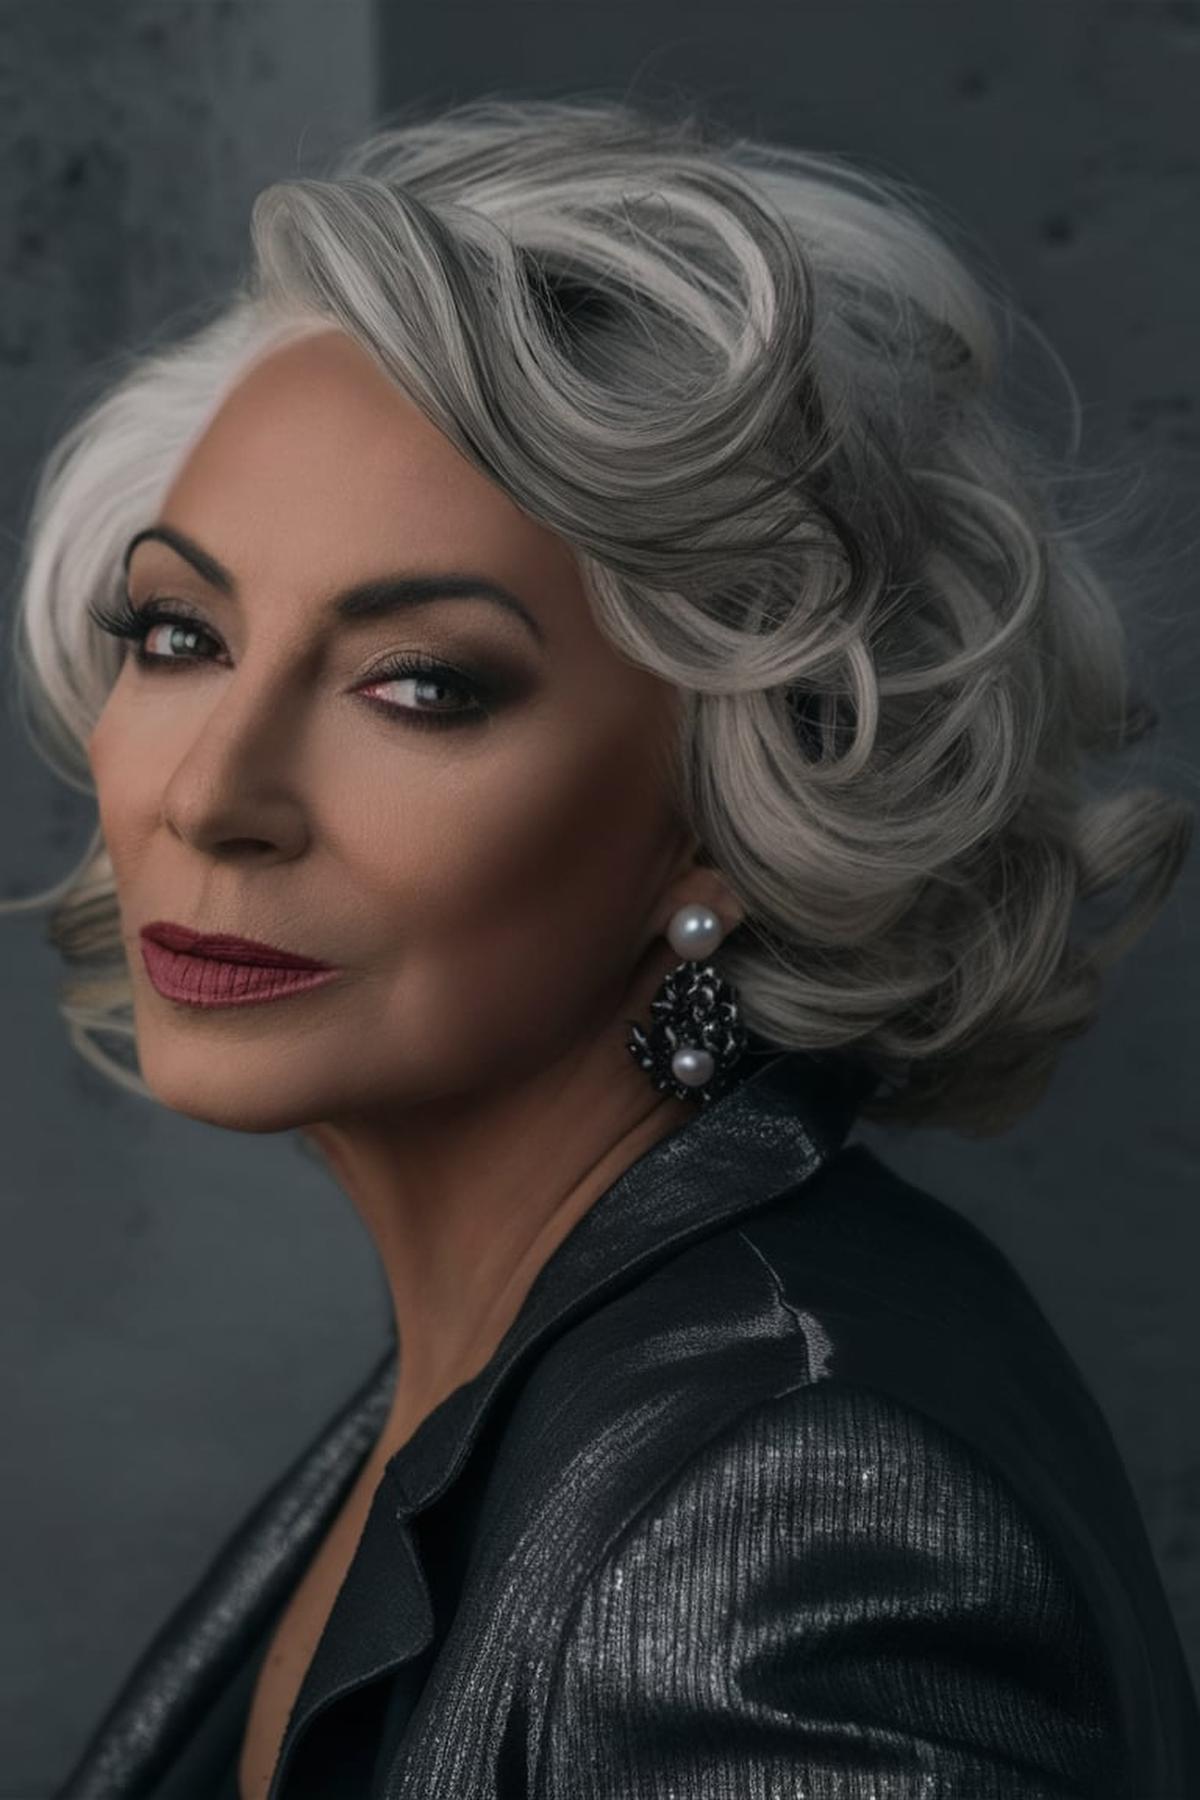
Curled Bob
To start, make sure your hair is damp but not dripping wet. Apply a volumizing spray and heat protectant to safeguard your hair from damage. Using a curling iron, take sections of your hair and wrap them around the barrel for about 5-7 seconds.
Curled bob styles can vary depending on your hair type. If you have naturally curly hair, you can enhance your curls by applying a curl-defining cream and scrunching your hair. A great tip is to tie your hair in a loose ponytail overnight to help maintain the curl shape.
Lastly, choosing the right haircut is crucial for a successful curled bob. It’s best to visit a stylist who specializes in curly hair, as they understand how to cut curls differently than straight hair. Layers can add volume and shape, making your bob look fuller and more dynamic. With the right products and techniques, you can rock a fabulous curled bob that showcases your personality and style.
Accent Braid Updo
To start, you’ll need some basic tools like a rat-tail comb, hair bands, bobby pins, and hairspray. This hairstyle is perfect for special occasions like homecoming or prom, and it’s easier to do than it looks!
You can choose different types of braids, like a fishtail or a simple three-strand braid, depending on your preference.
You can also pull out a few strands around your face for a softer appearance. With a little practice, you’ll be able to master this beautiful hairstyle and impress your friends!
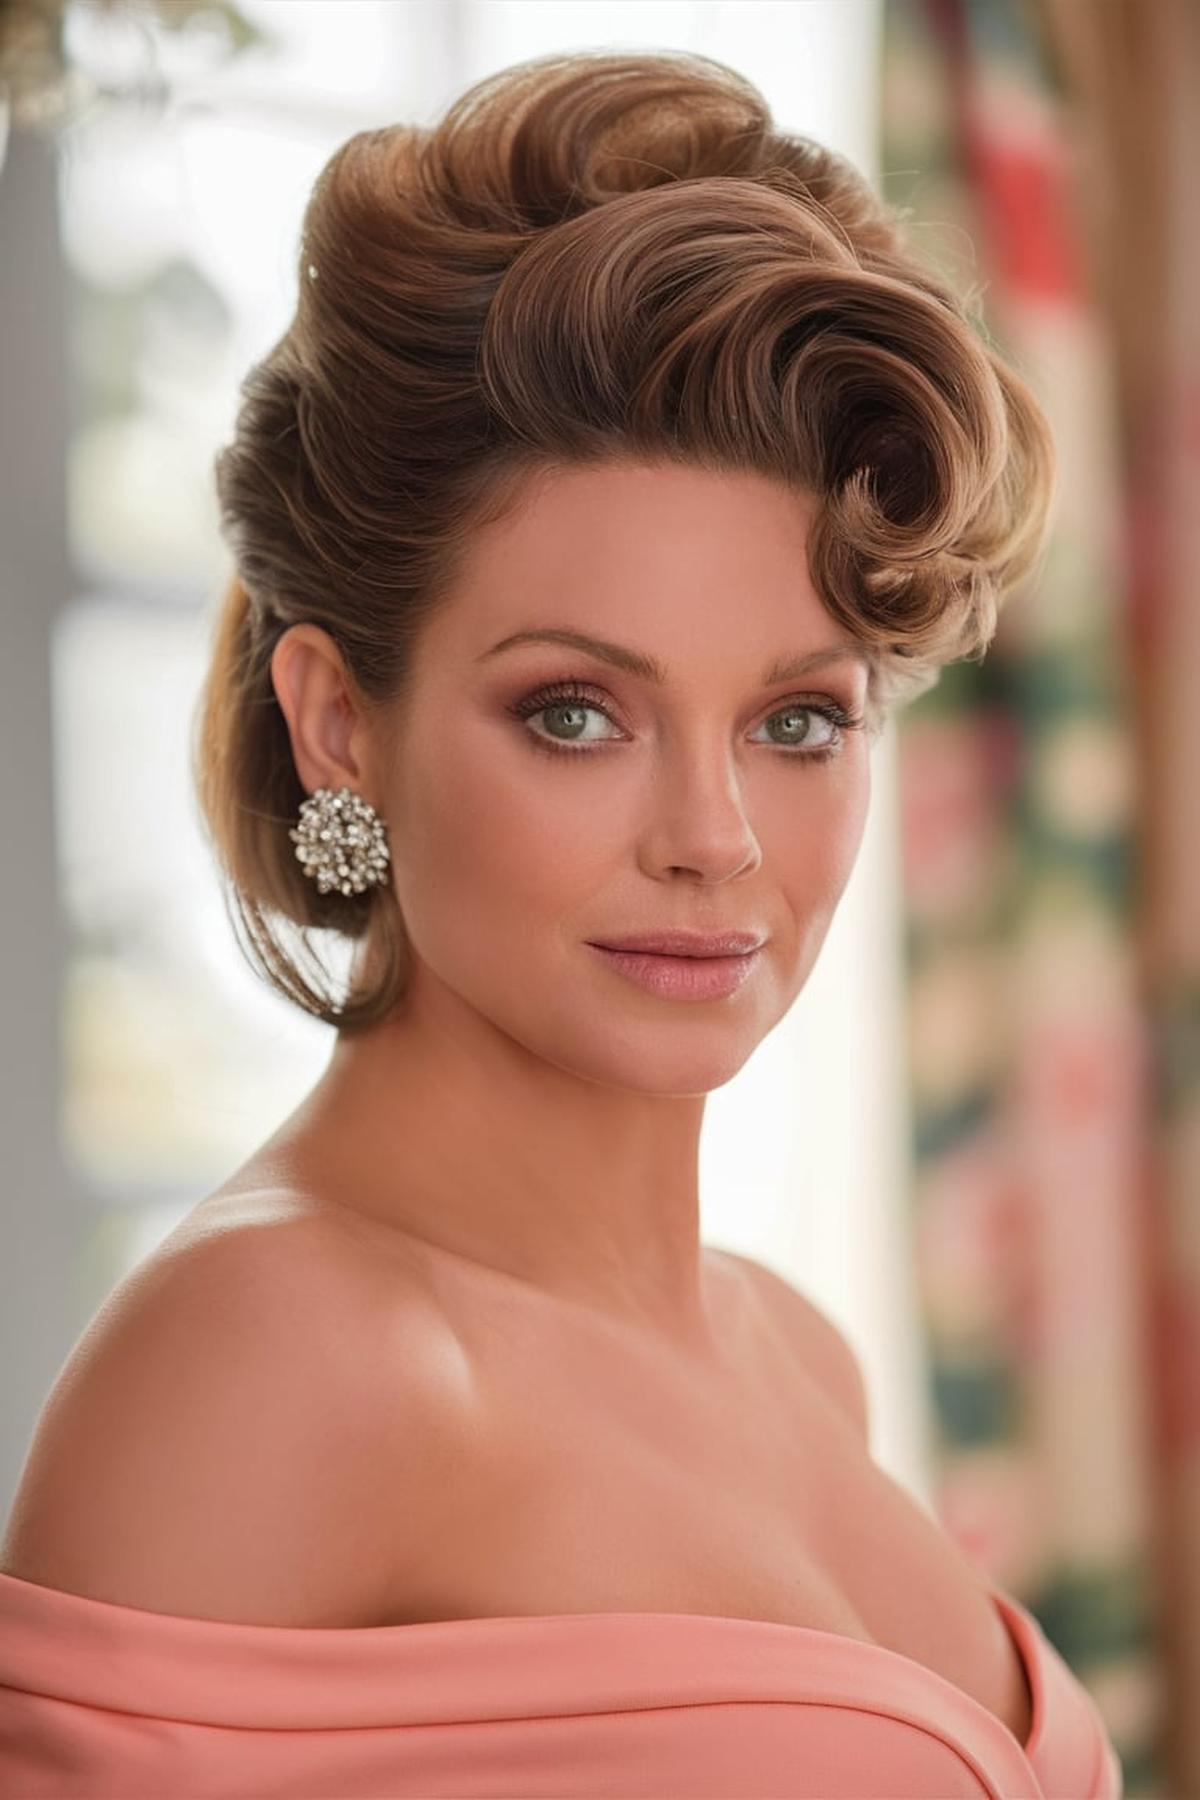
Half-Up Beehive
To start, you need to gather the top half of your hair while leaving the bottom half down. This creates a nice contrast and adds volume to the crown of your head.
This means you’ll comb the hair backward to create volume. Once you have enough volume, smooth the top layer with a brush to make it look neat.
Finally, finish your half-up beehive by using hairspray to keep everything in place. Make sure to check the front for any flyaway hairs and smooth them down. This hairstyle is perfect for parties or casual outings and can be customized with accessories like clips or flowers to make it even more unique!
Short Airy Curls with a Headband
To achieve this look, start with damp hair and a stretchy headband. Simply place the headband over your head, tuck sections of your hair into the headband, and let it sit for a few hours or overnight.
Before you start, apply a styling mousse or a light hairspray to your damp hair to give it some grip. This will help the curls hold their shape better.
To finish off your style, you can add a little bit of pomade or styling cream to tame any frizz and give your curls a polished finish. If you want to switch up your look, consider using a colorful or patterned headband to add some flair. With just a few simple steps, short airy curls with a headband can be your go-to hairstyle for any occasion!
Twisted Back Bangs with Loose Waves
To achieve this look, start by sectioning off your bangs and twisting them back away from your face. This creates a neat and elegant frame for your features.
Take small sections of hair, wrap them around the barrel, and hold for a few seconds before releasing. Make sure to alternate the direction of the curls to create a more natural look.
This will help your hairstyle last longer without making it feel stiff. You can also add some texturizing spray for extra volume and definition. With a little practice, twisted back bangs with loose waves can become your go-to hairstyle for any occasion!
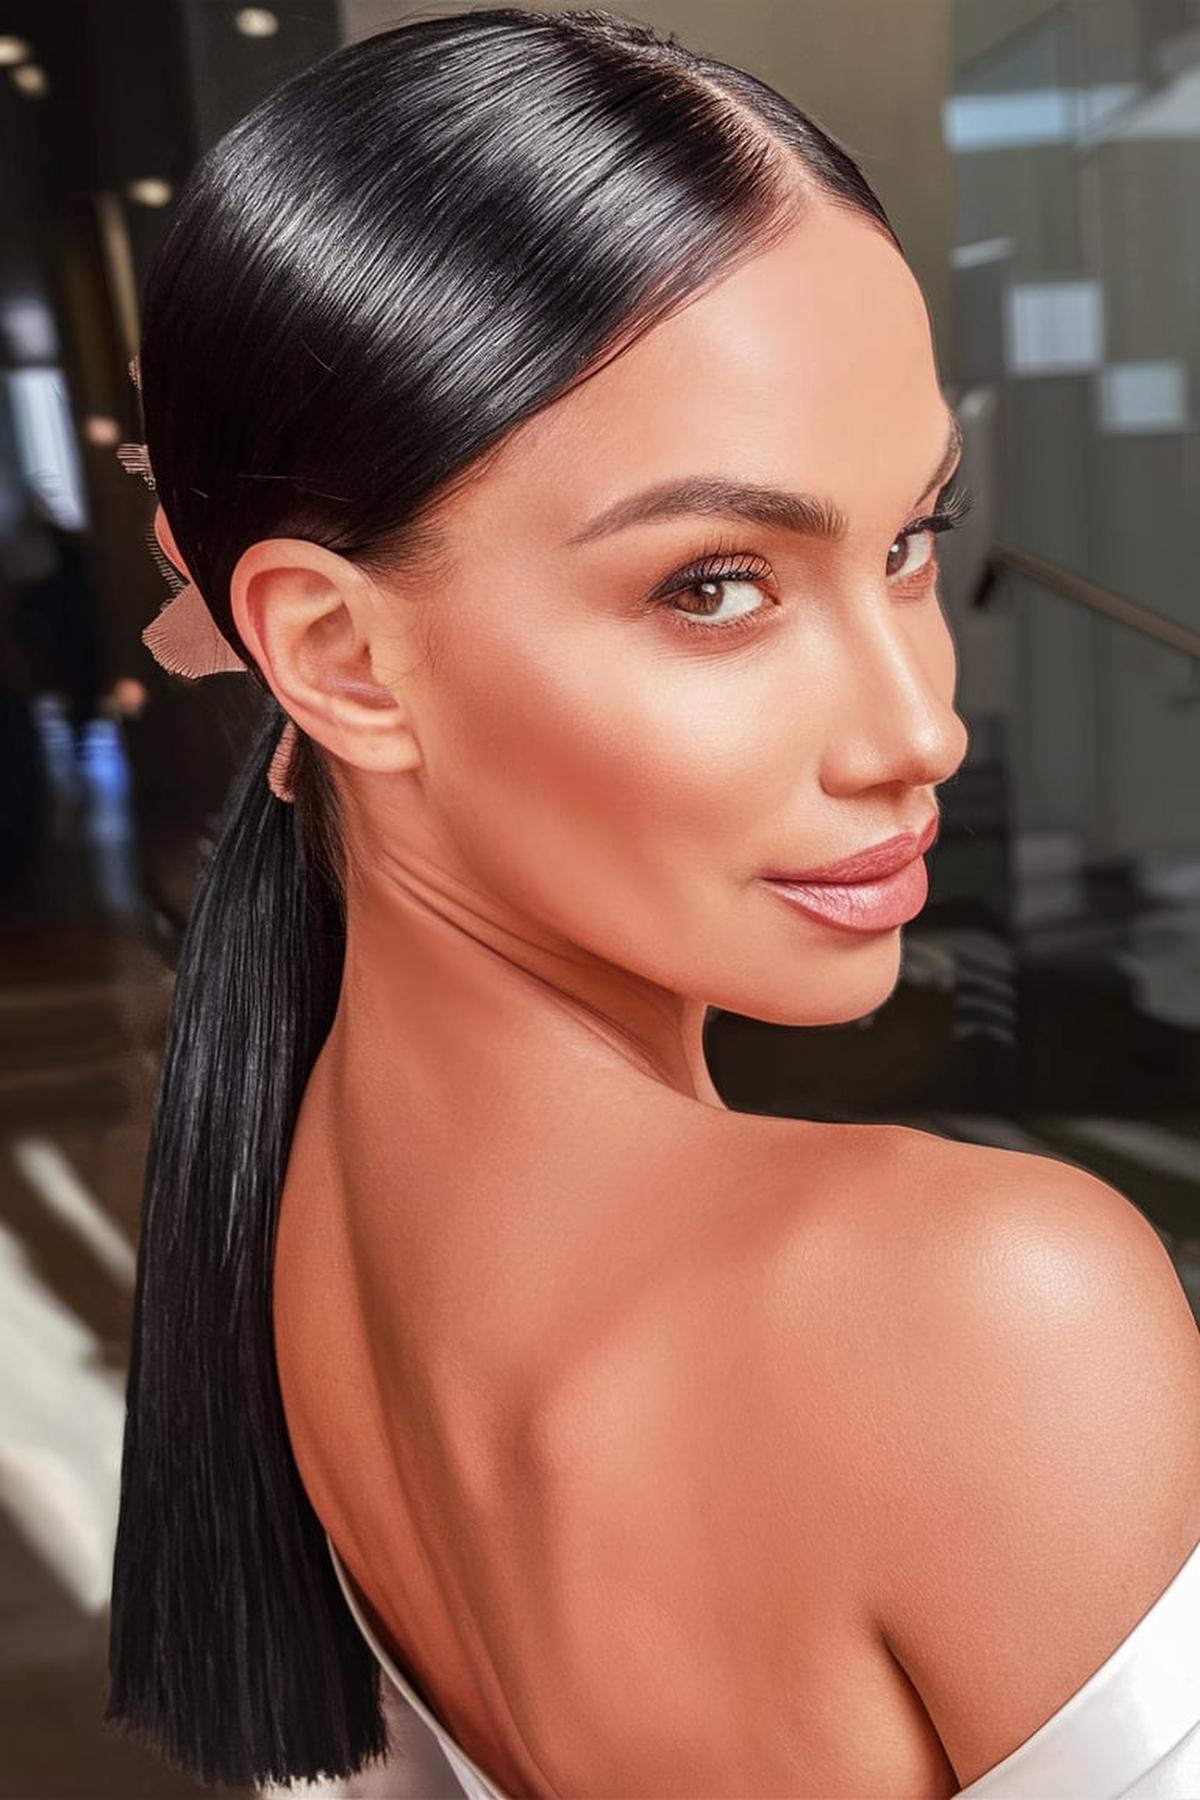
Sleek Low Ponytail
To achieve this look, start with clean or slightly dirty hair, as it can help the style hold better. First, brush your hair back to remove any tangles and create a smooth base.
Use a brush to evenly distribute the product and keep your hair looking polished. Gather your hair at the nape of your neck and secure it with a hair tie.
Finally, to finish off the sleek low ponytail, use hairspray to hold everything in place and tame any flyaways. You can also use a toothbrush or a small brush to smooth down any stubborn hairs. This hairstyle is perfect for showing off your makeup and can be done quickly, making it a great option for busy days or special events.
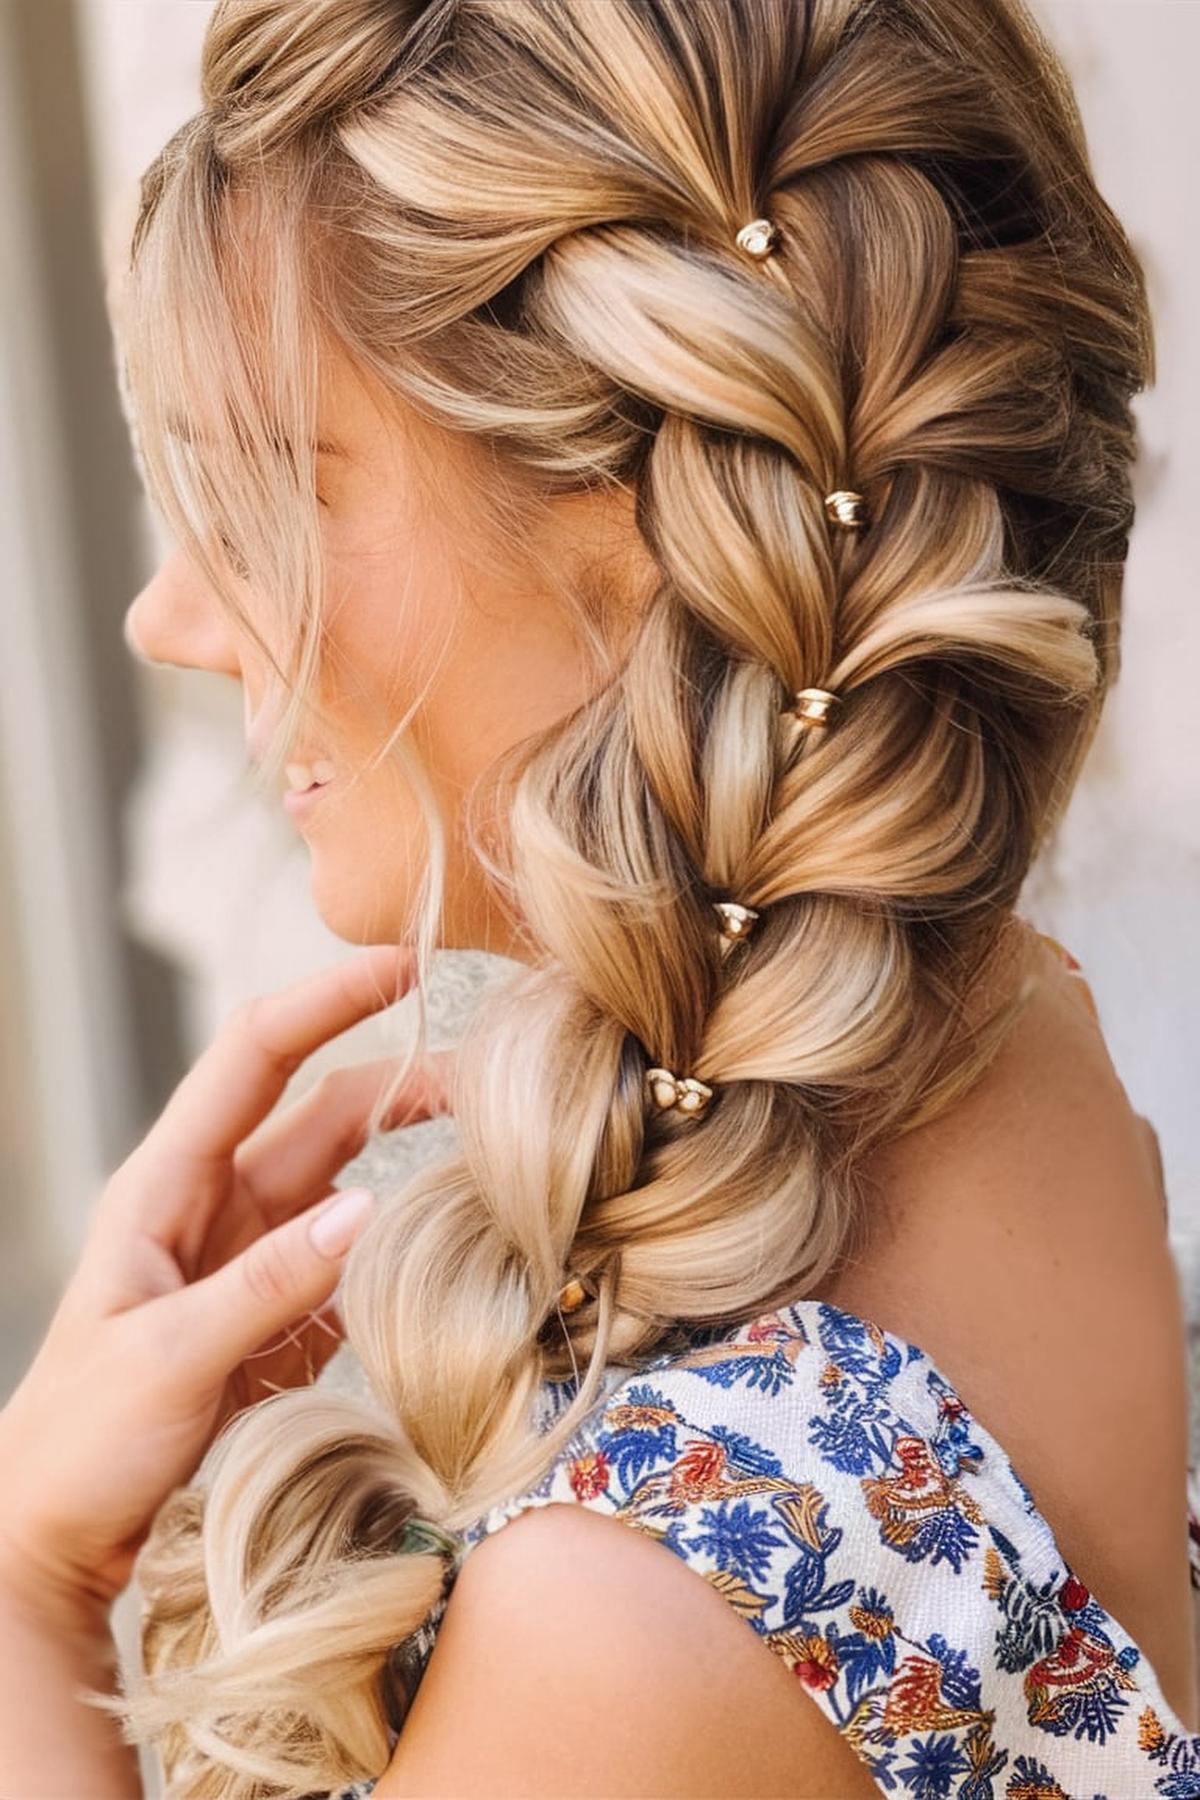
Pull-Through Braids with Loose Waves
To start, you’ll need a few clear hair elastics and some texture spray to give your hair a bit of grip. This hairstyle is all about creating a chunky braid that looks relaxed and boho, perfect for any casual outing. To create the pull-through braid, begin by sectioning your hair into two equal parts.
After that, secure it with another elastic. Keep repeating this process, pulling the hair through and securing it, until you reach the end of your hair.
You can achieve this by curling the ends of your hair away from your face. This adds volume and gives the hairstyle a romantic touch. Finally, feel free to accessorize with a hat or scarf to complete your look!
Vintage Finger Waves
This style involves creating smooth, “S-shaped” waves in the hair, which can add a touch of elegance to any look. While it may seem challenging, with the right techniques and products, anyone can master this vintage hairstyle.
The mousse helps to moisturize and give a soft hold, while the gel provides a stronger grip to keep the waves in place. Once your hair is damp and product is applied, use a fine-toothed comb to create a side part and prepare for styling.
Continue this motion to form the “S” waves, securing them with clips as you go. Finally, let the waves set by using a hooded hair dryer or allowing them to air dry. With practice, vintage finger waves can become a beautiful and timeless hairstyle that you can easily achieve at home.
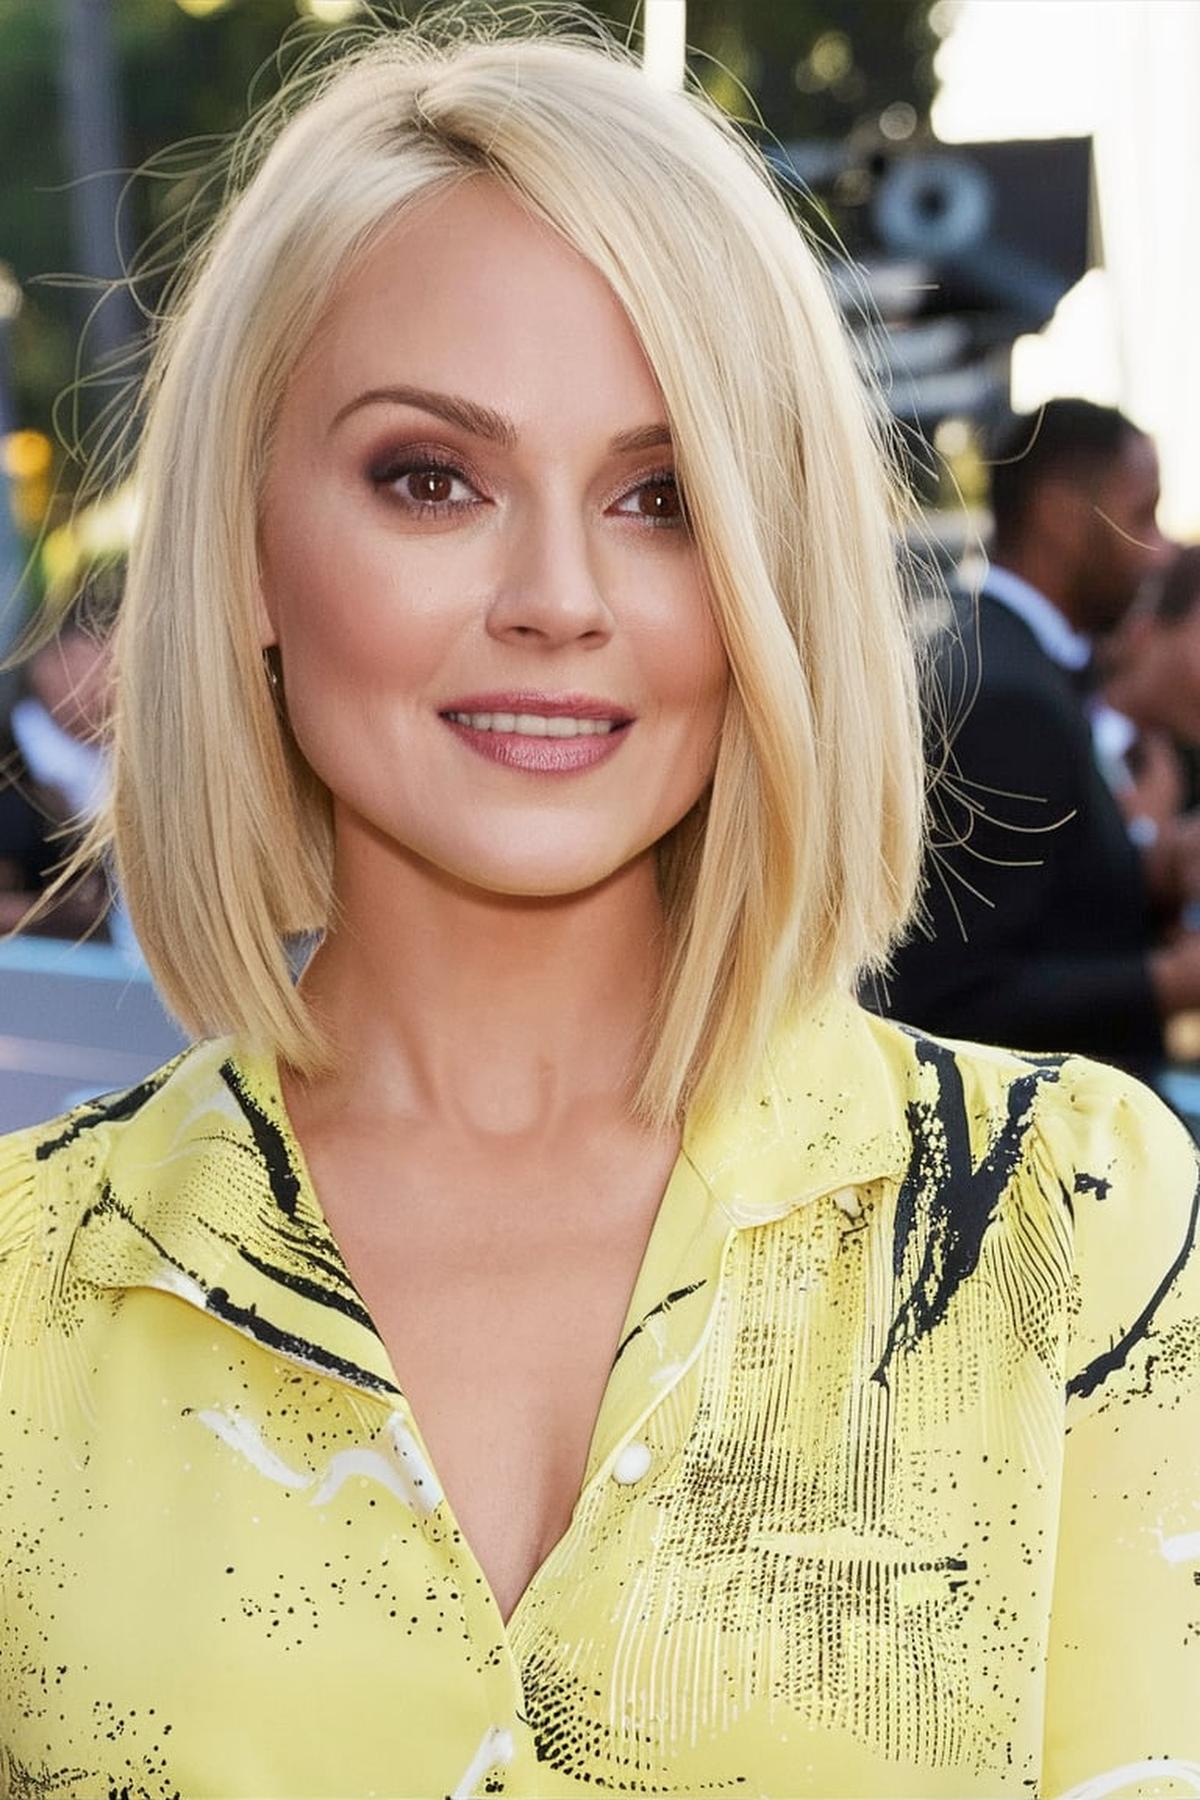
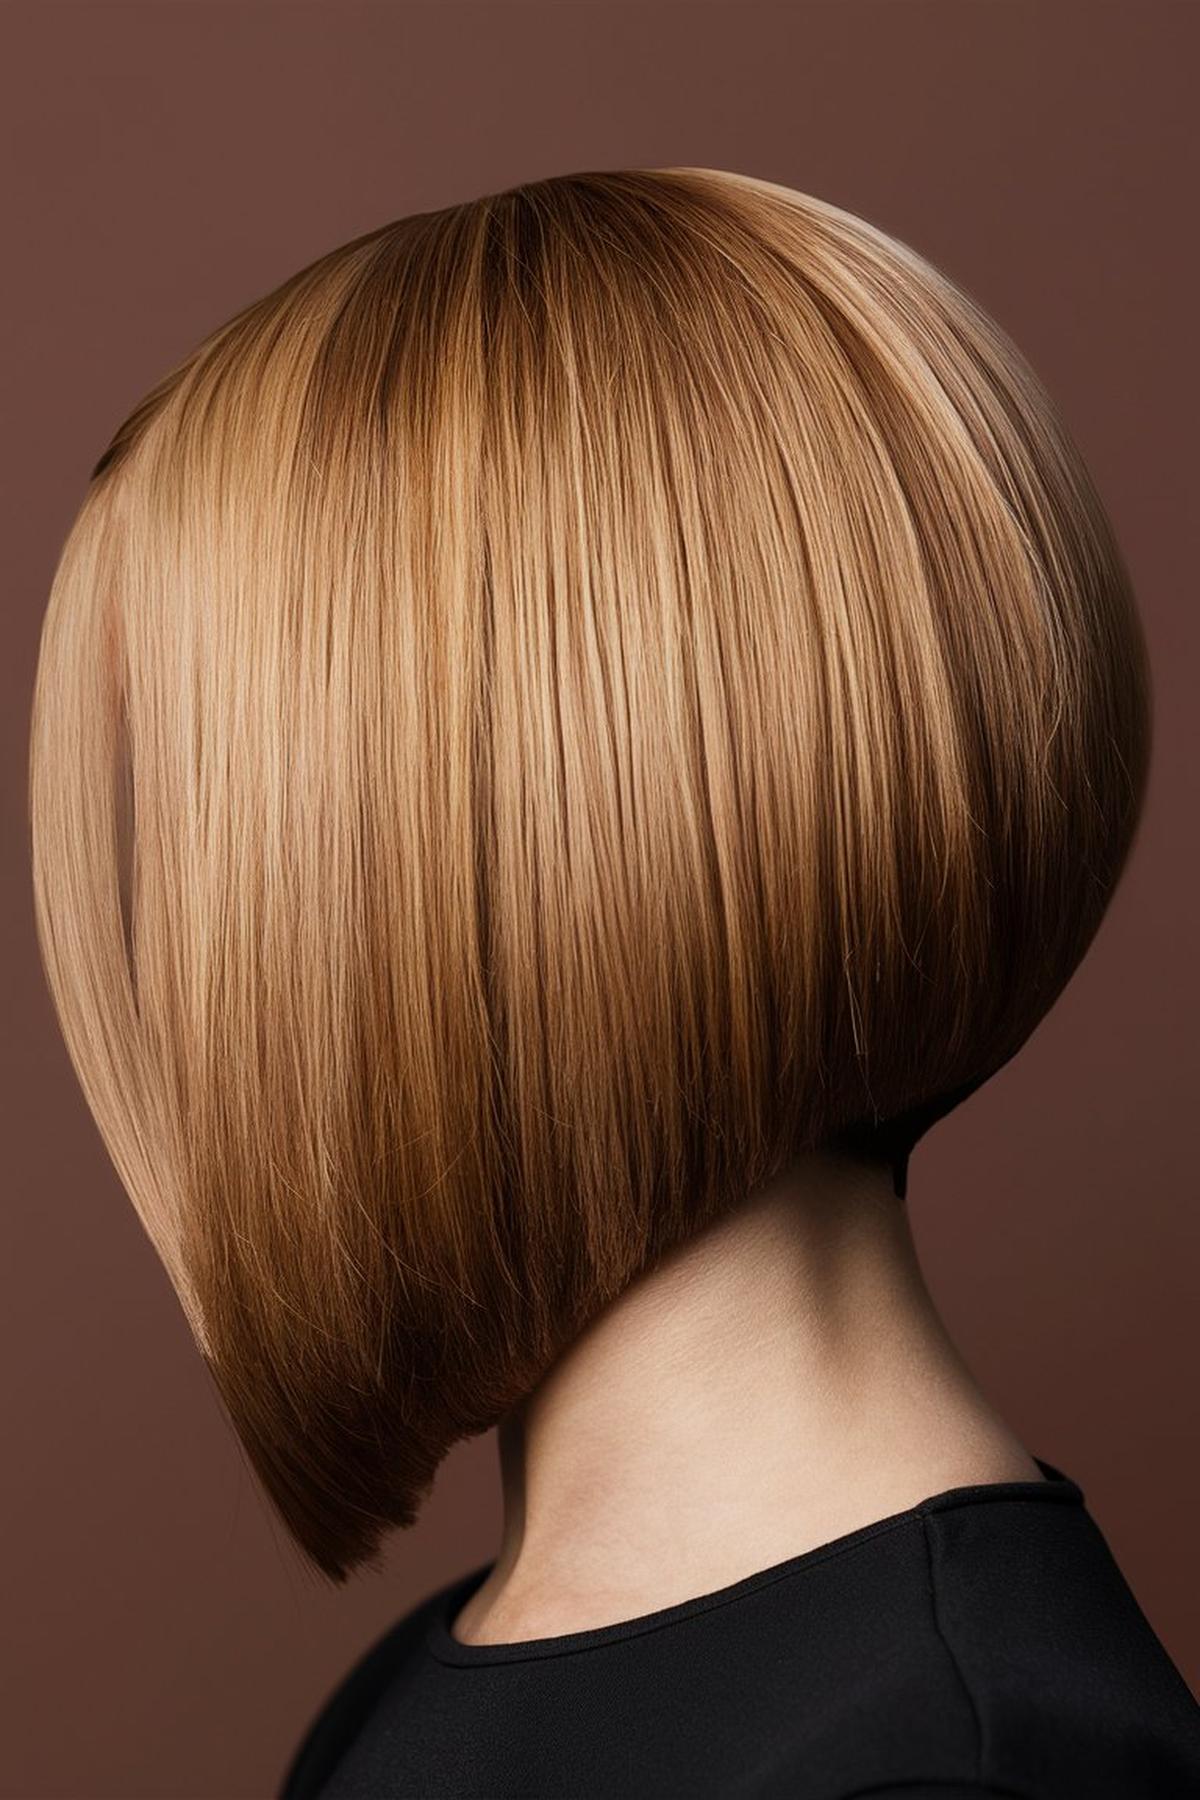
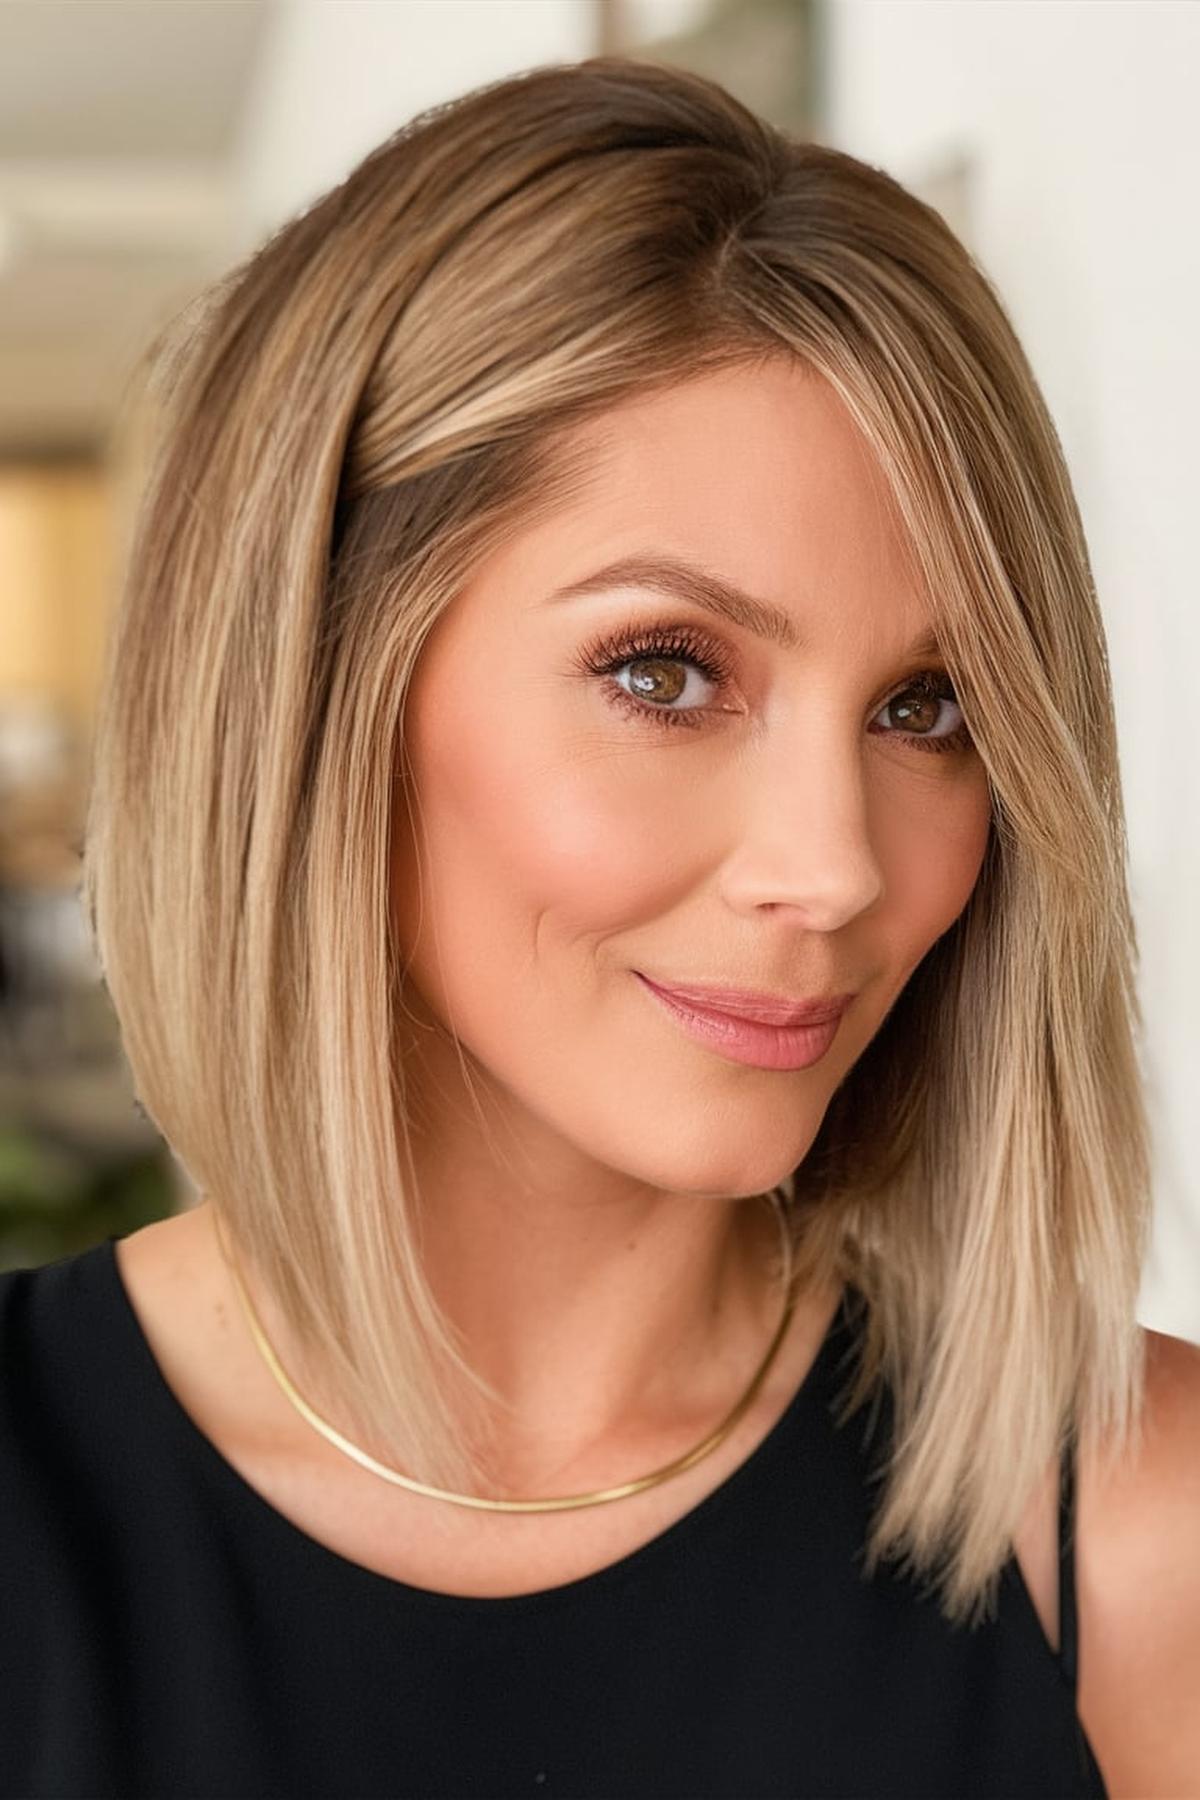
Chic Bob with Highlights
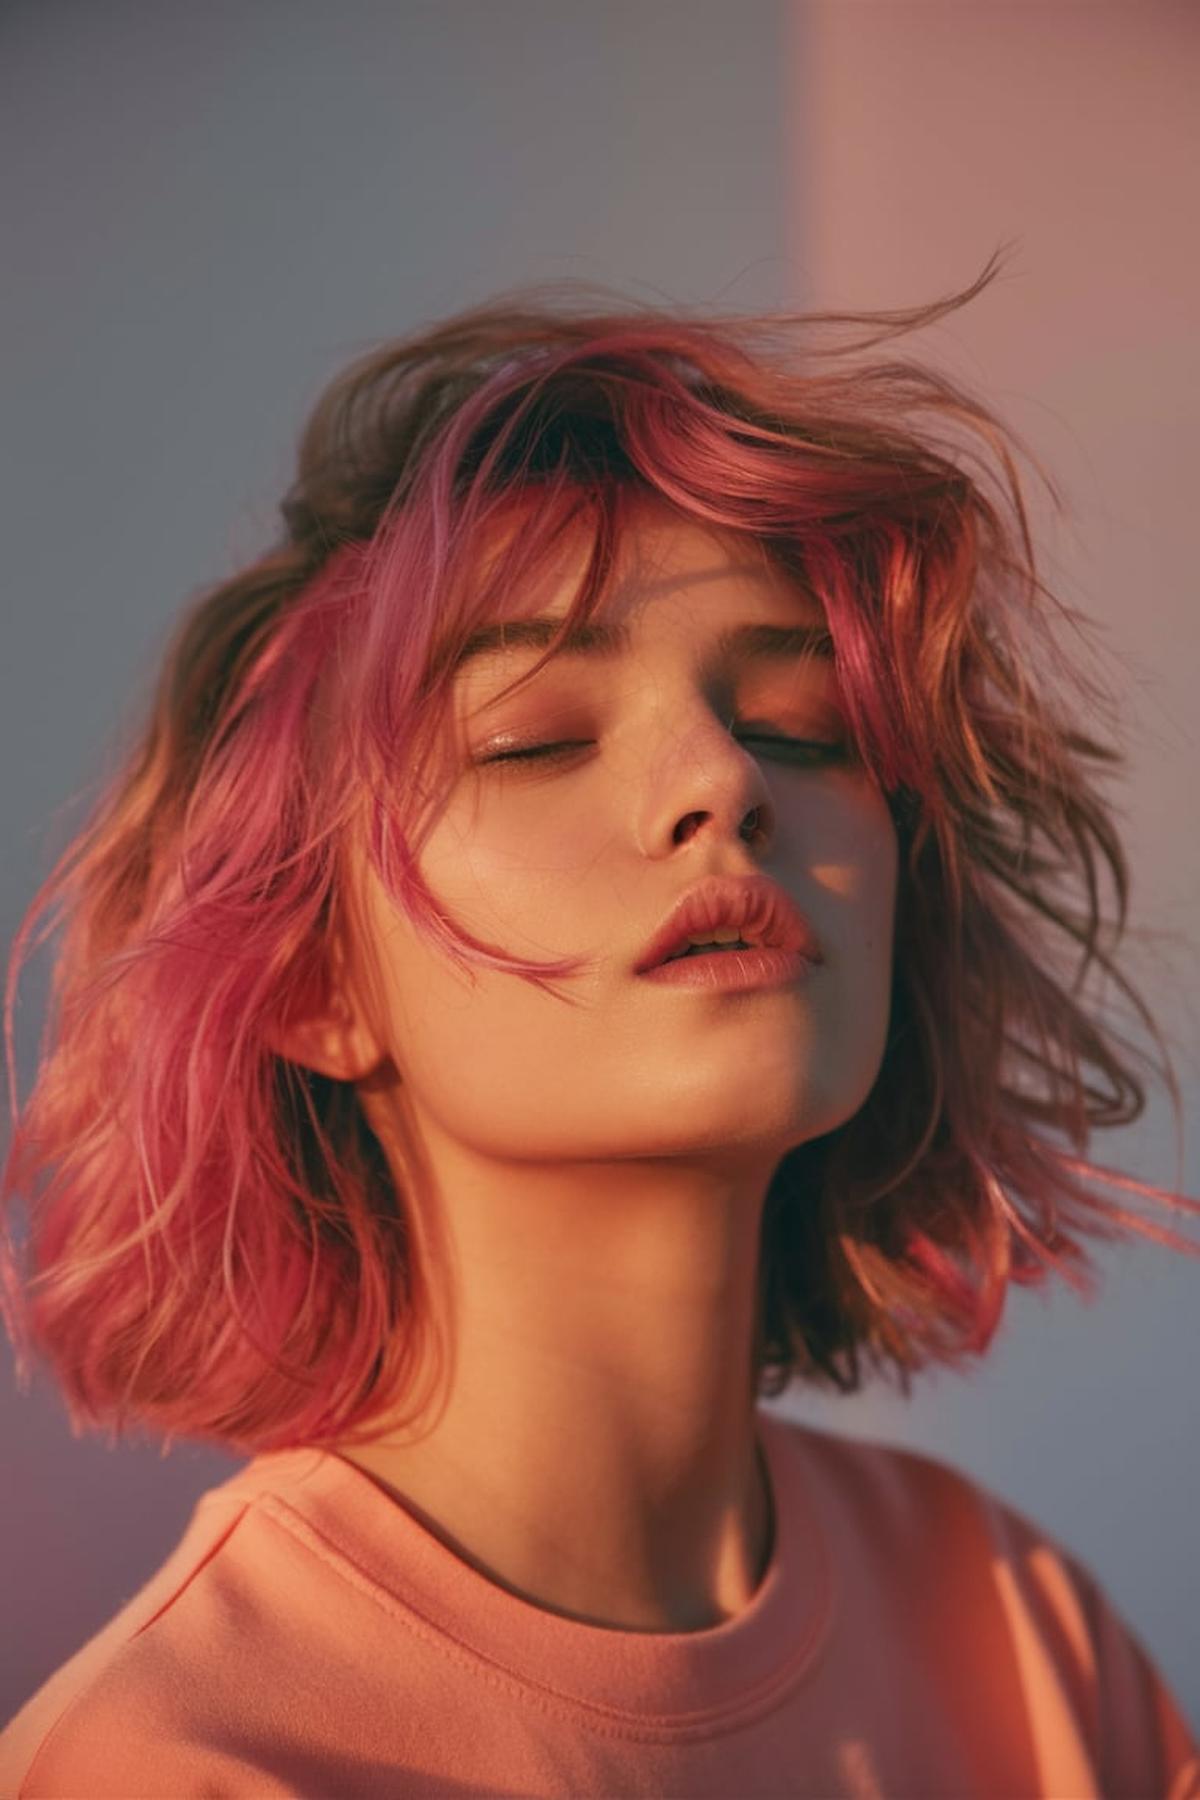
This look is great for adding dimension and personality to your hair, making it stand out. To achieve this style, you can choose from various bob lengths and types, like a sleek bob or a layered bob, depending on what suits your face shape and hair type best.
Once you have your haircut, the next step is to choose the right highlights. Lighter shades can brighten up your hair and create a sun-kissed effect, while darker highlights can add depth.
You can use a flat iron for a sleek finish or a curling wand for soft waves. Adding some hair products like mousse or sea salt spray can help enhance the texture and hold your style throughout the day. Regular trims will keep your bob looking fresh and healthy, so be sure to visit your stylist every few weeks to maintain the shape and highlights.
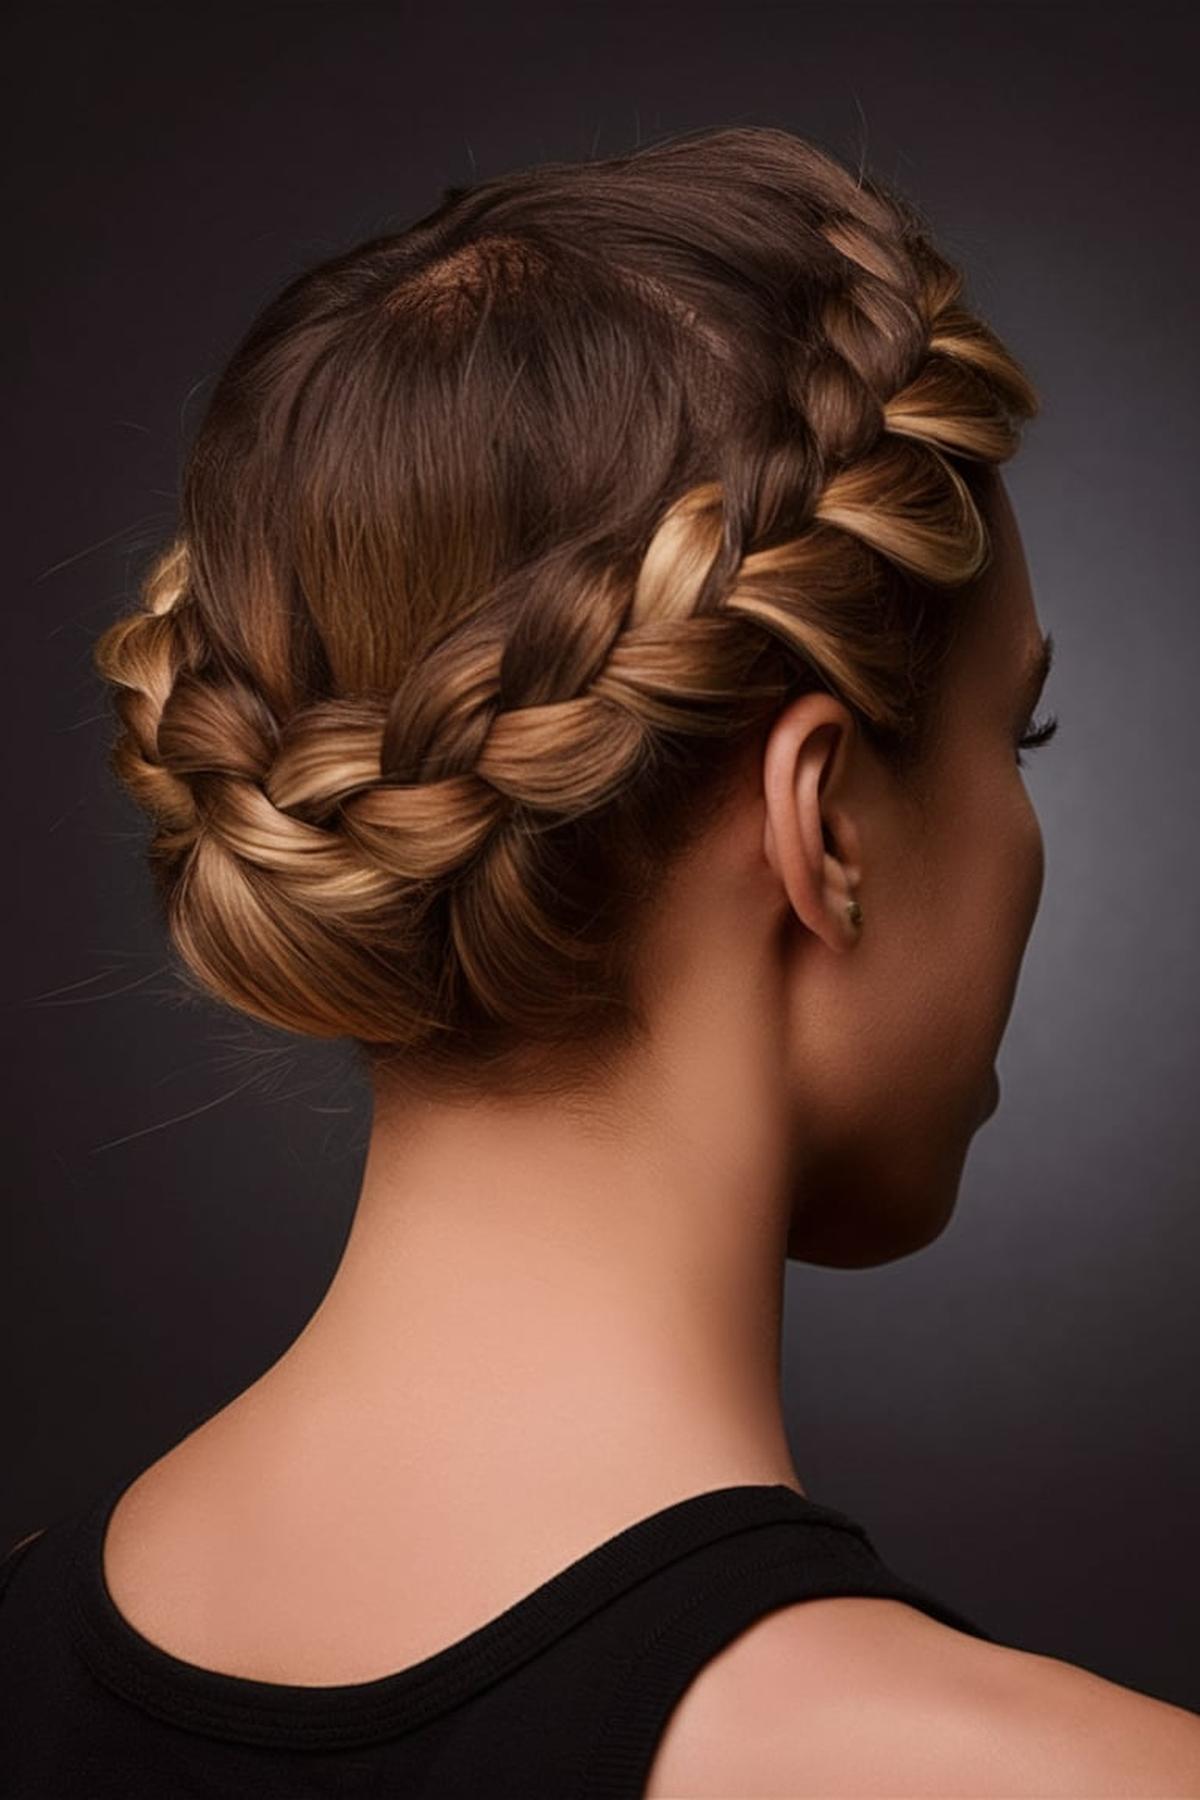
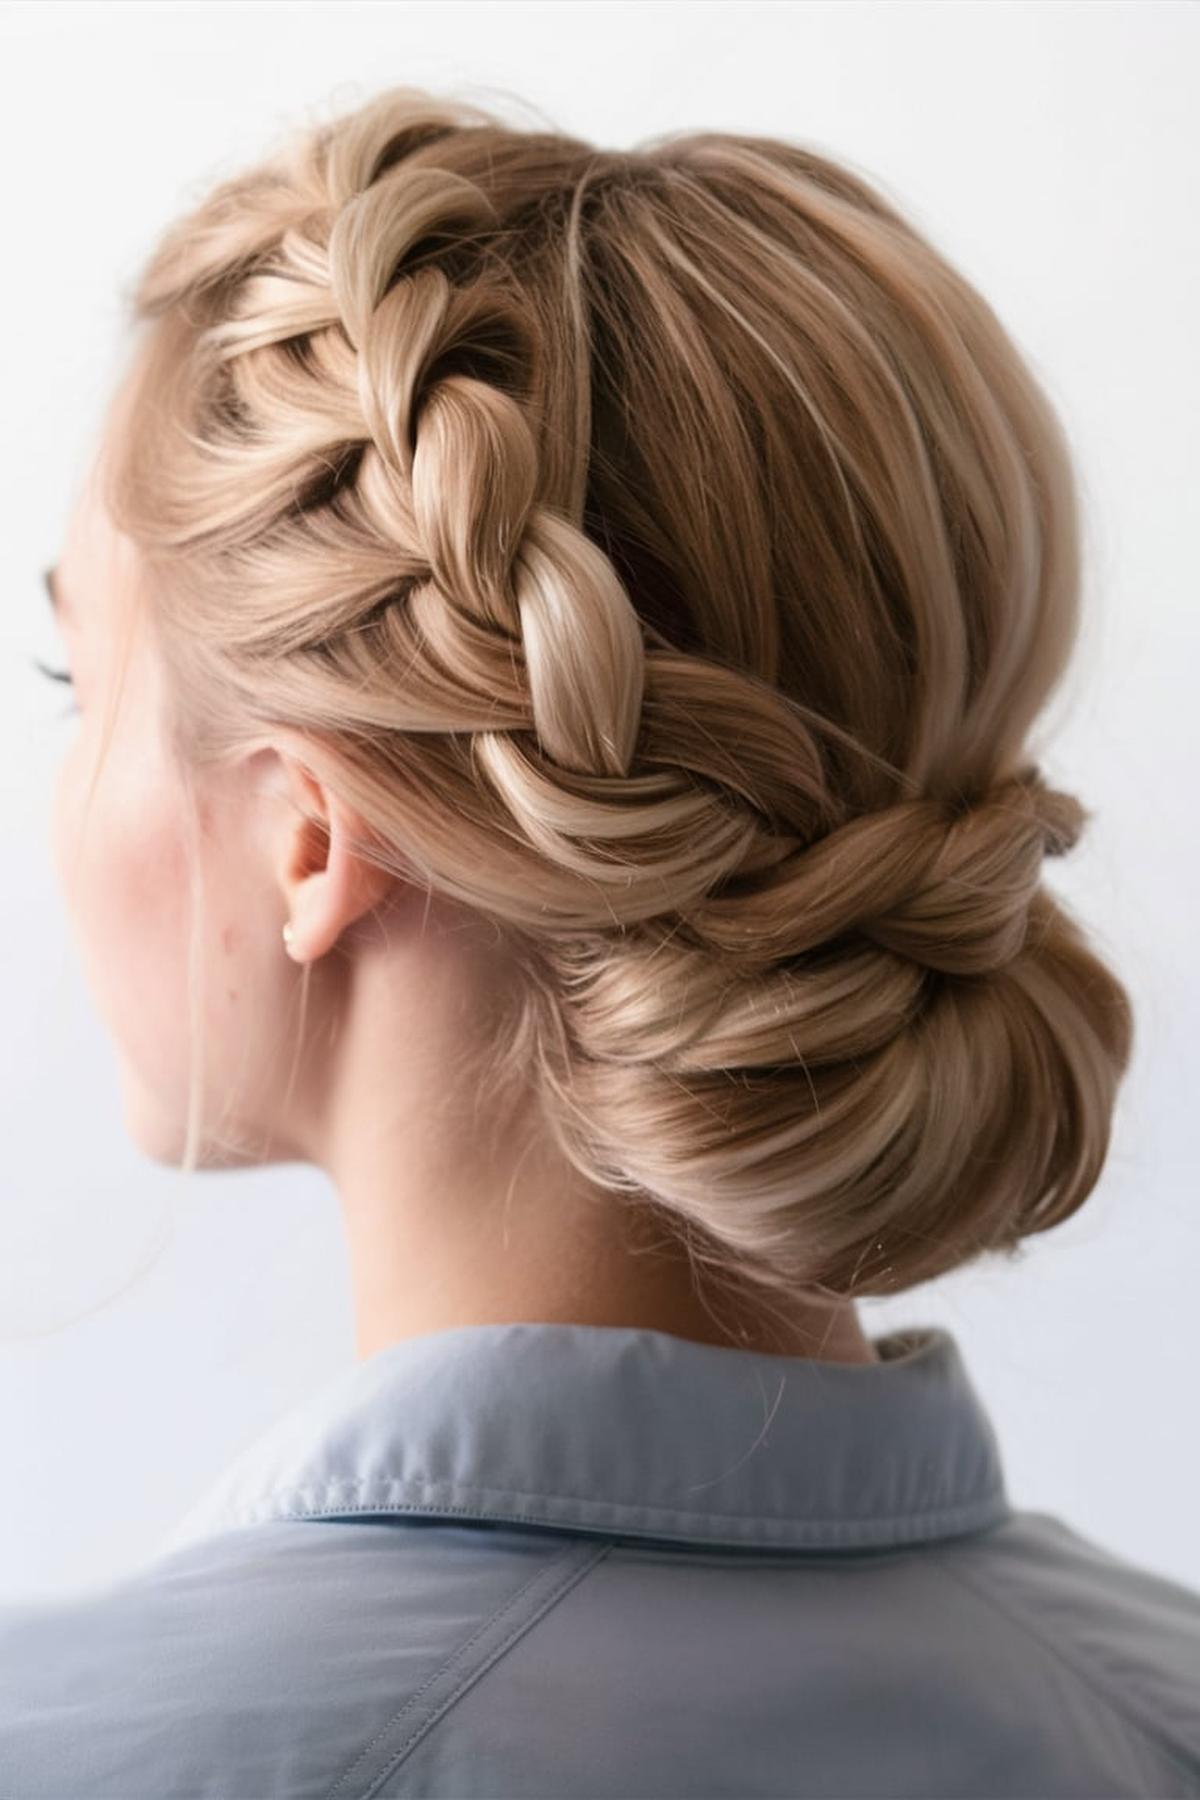
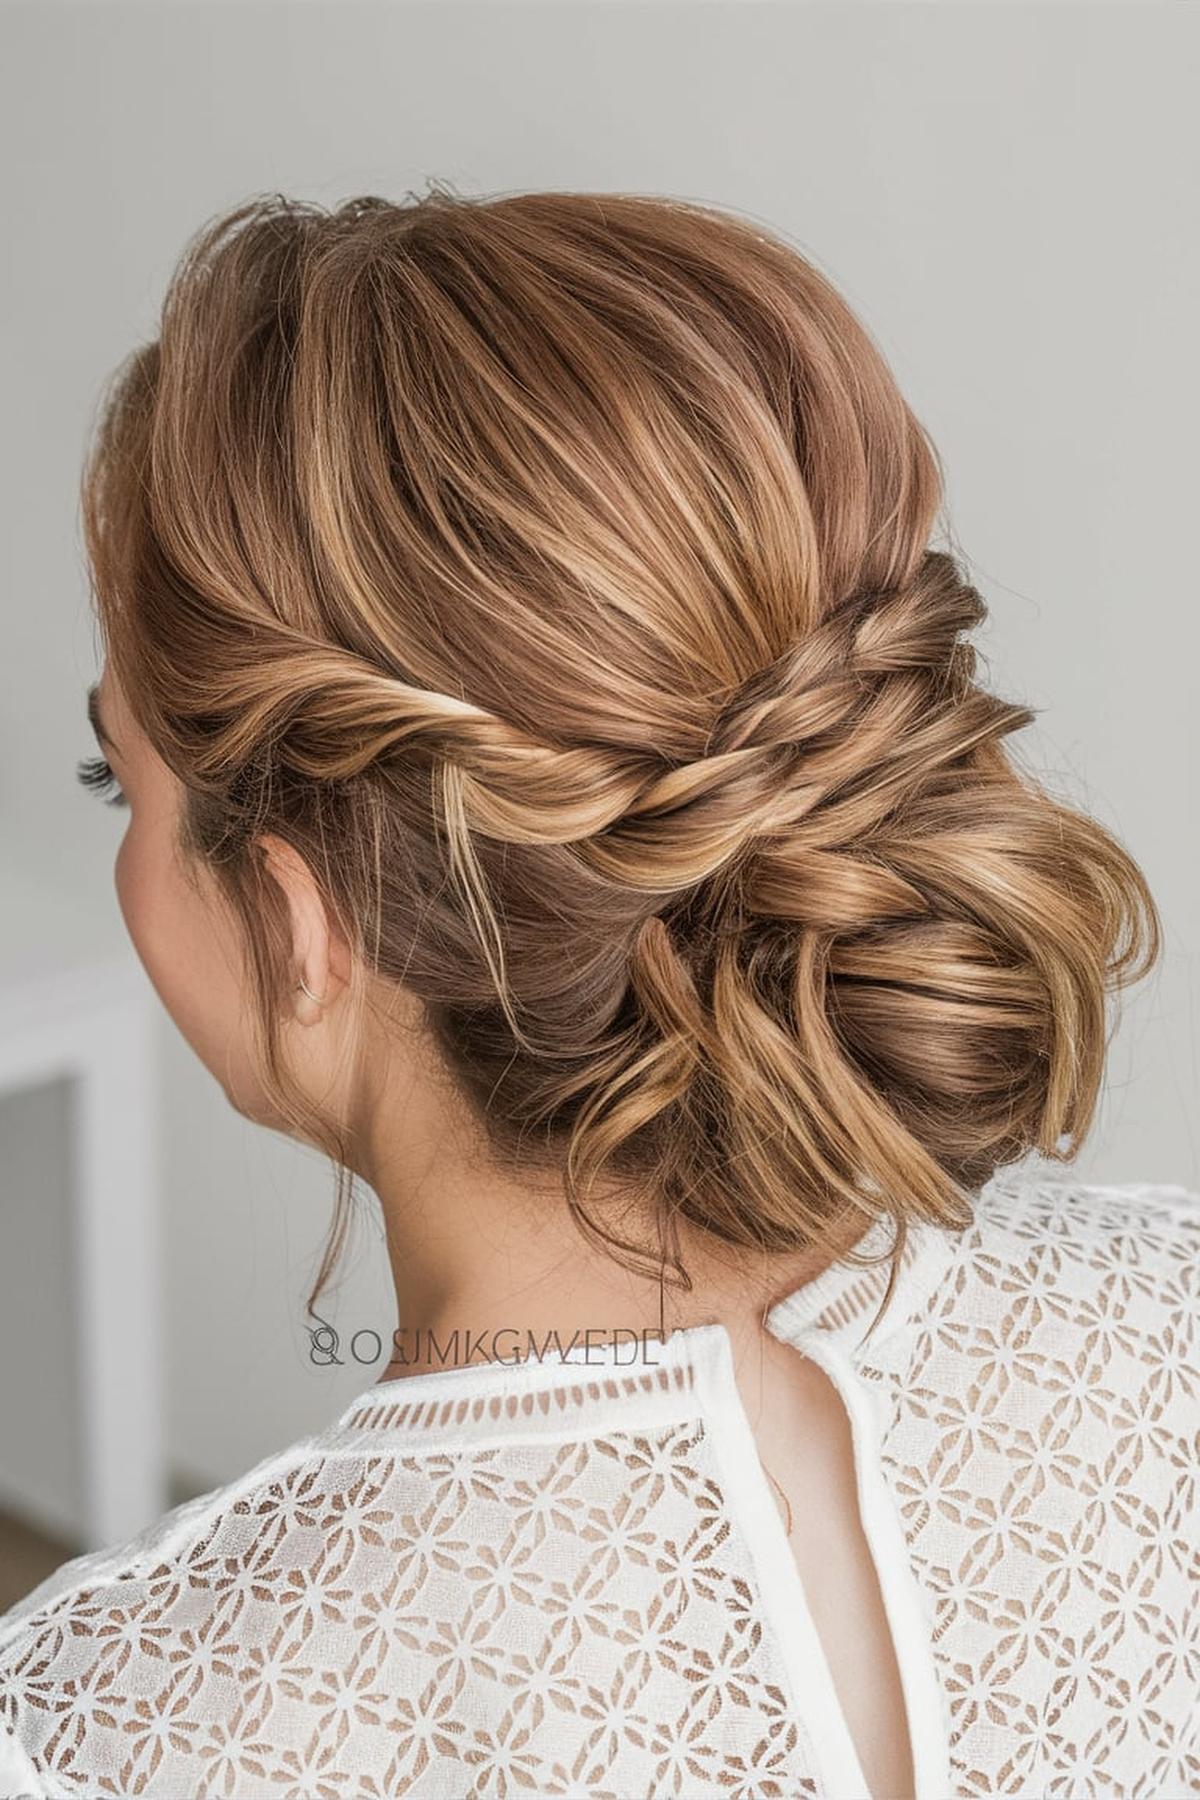
Braid-Accented Updo
To create this look, start by sectioning your hair and deciding how you want to style the braids. You can choose a Dutch braid, French braid, or even a fishtail braid, depending on your preference.
Brush out any tangles, and if you want more volume, use some texturizing spray. Once your hair is ready, create the braid of your choice.
Finally, finish off your braid-accented updo with some hair accessories or decorative pins to make it pop. You can pull out a few strands to create a softer, more relaxed look, or keep it sleek and polished. This hairstyle is perfect for any occasion, from casual outings to formal events, and with a little practice, you can master it in no time!
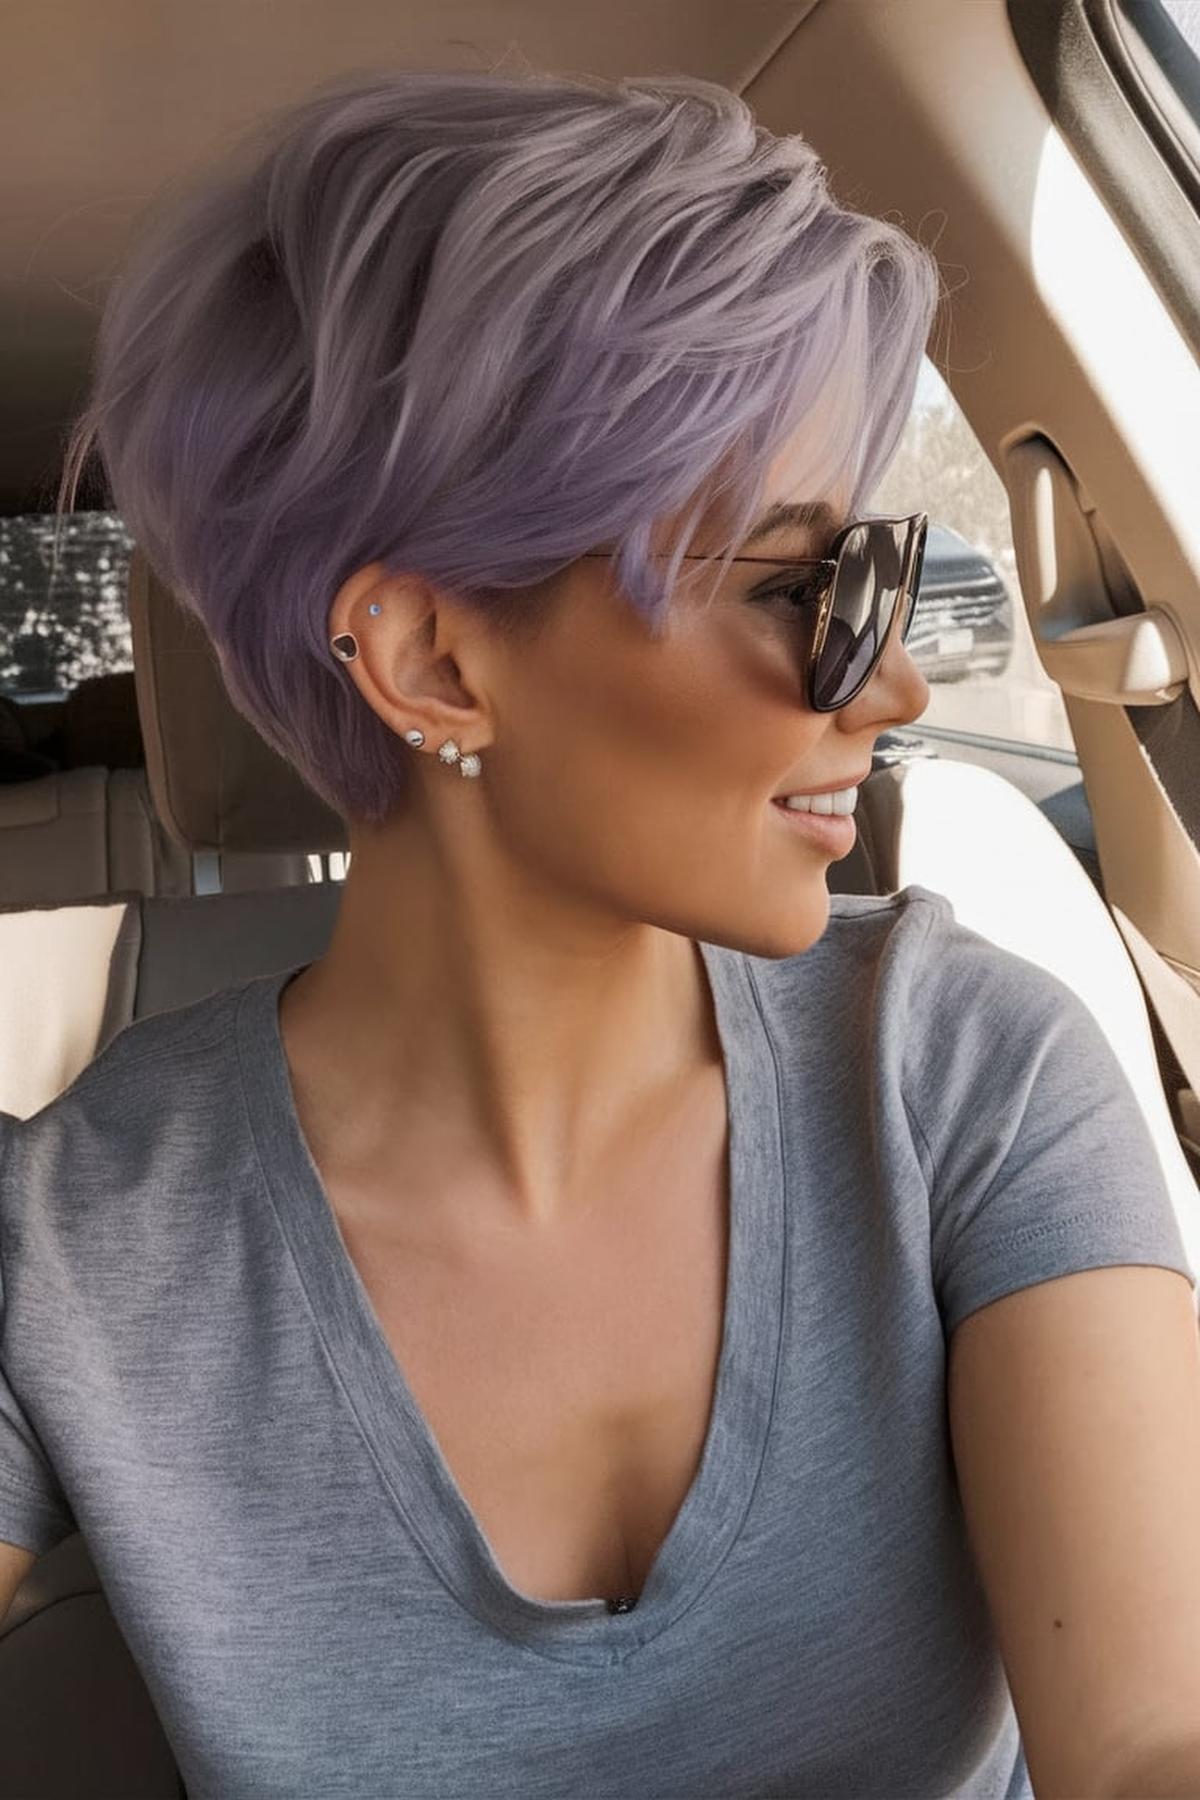
Textured Pixie with Hair Accessories
To achieve this look, start by making sure your hair is clean and dry. Use a texturizing spray to give your hair some volume and hold.
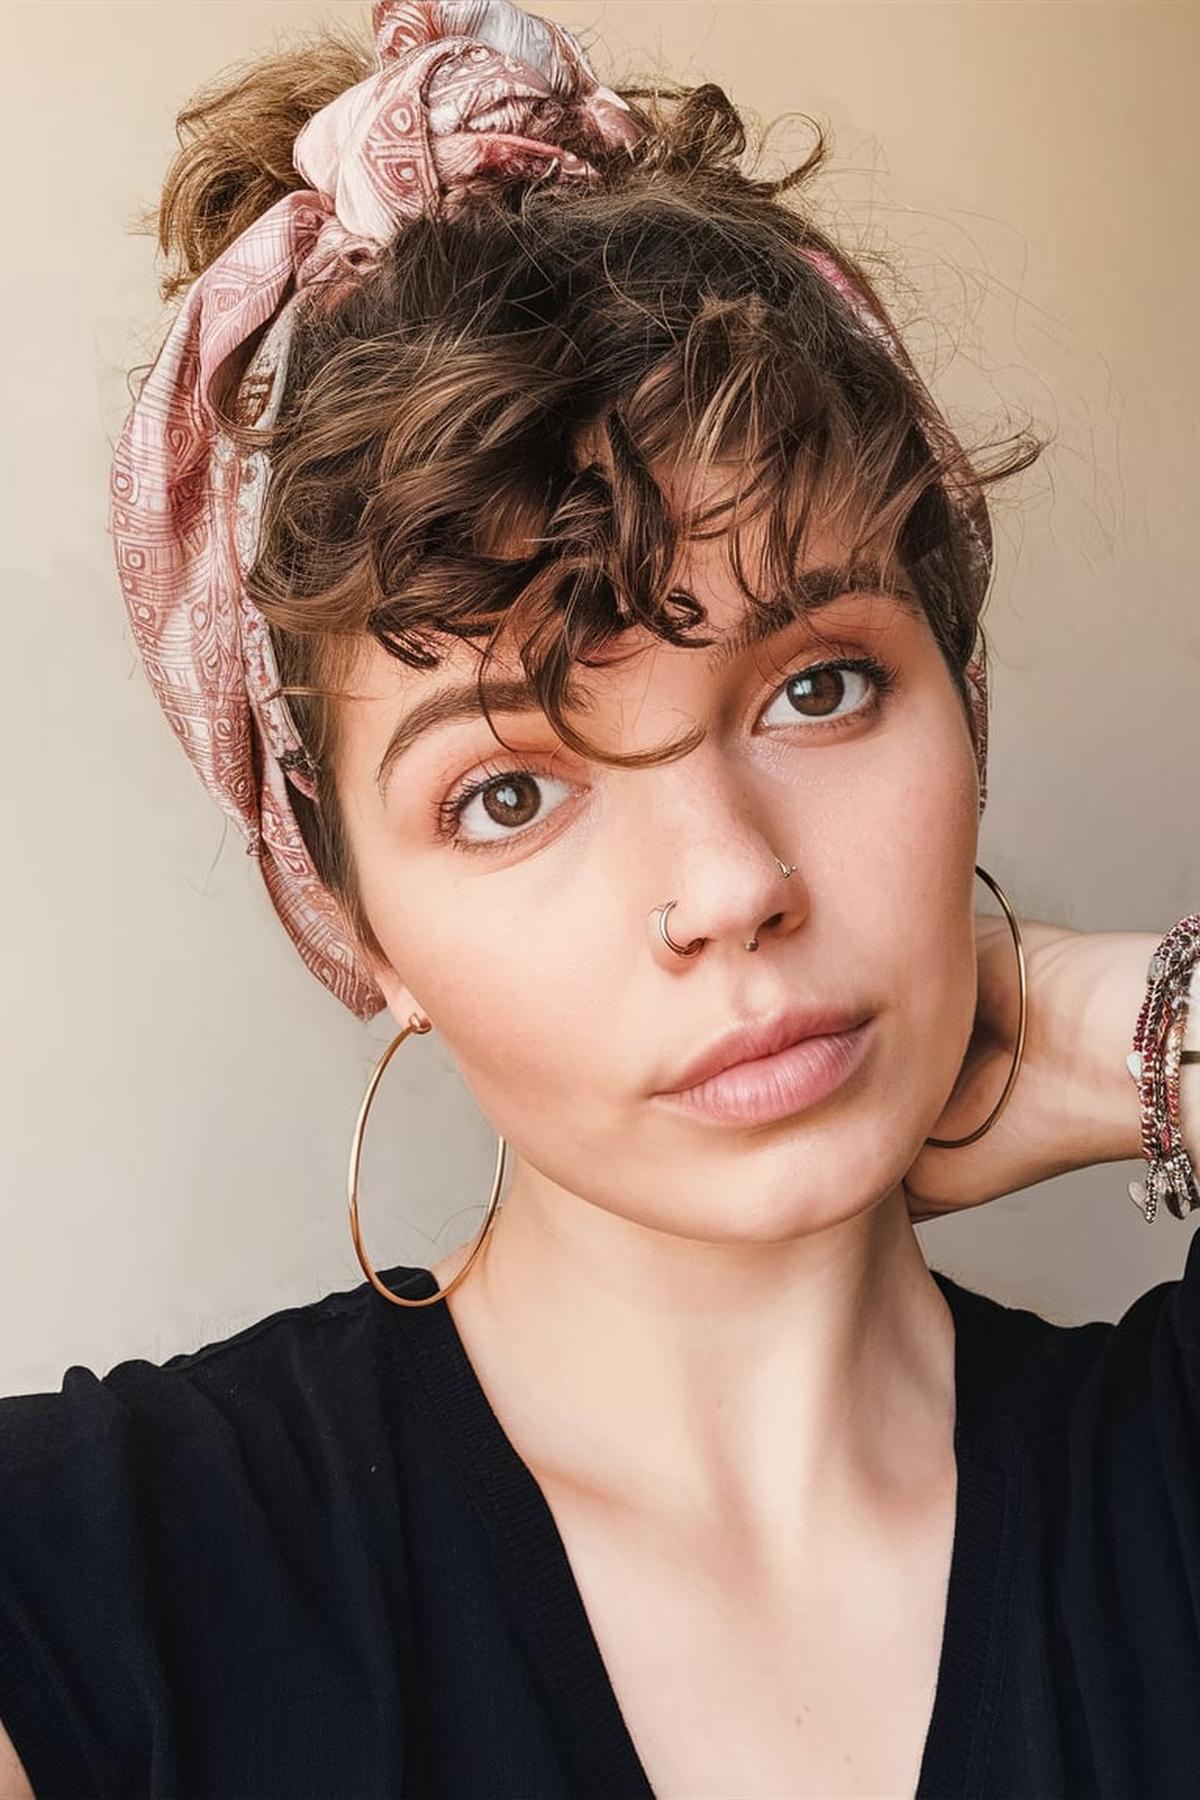
Next, incorporate hair accessories to enhance your textured pixie. Hair clips, headbands, and scarves can add a personal touch and help keep your hair looking neat throughout the day.
Finally, play around with different styles to find what you like best. You can easily switch up your look by changing the placement of your accessories or trying out new clips and bands. Remember, practice makes perfect, so don’t be afraid to experiment until you master the textured pixie with hair accessories!
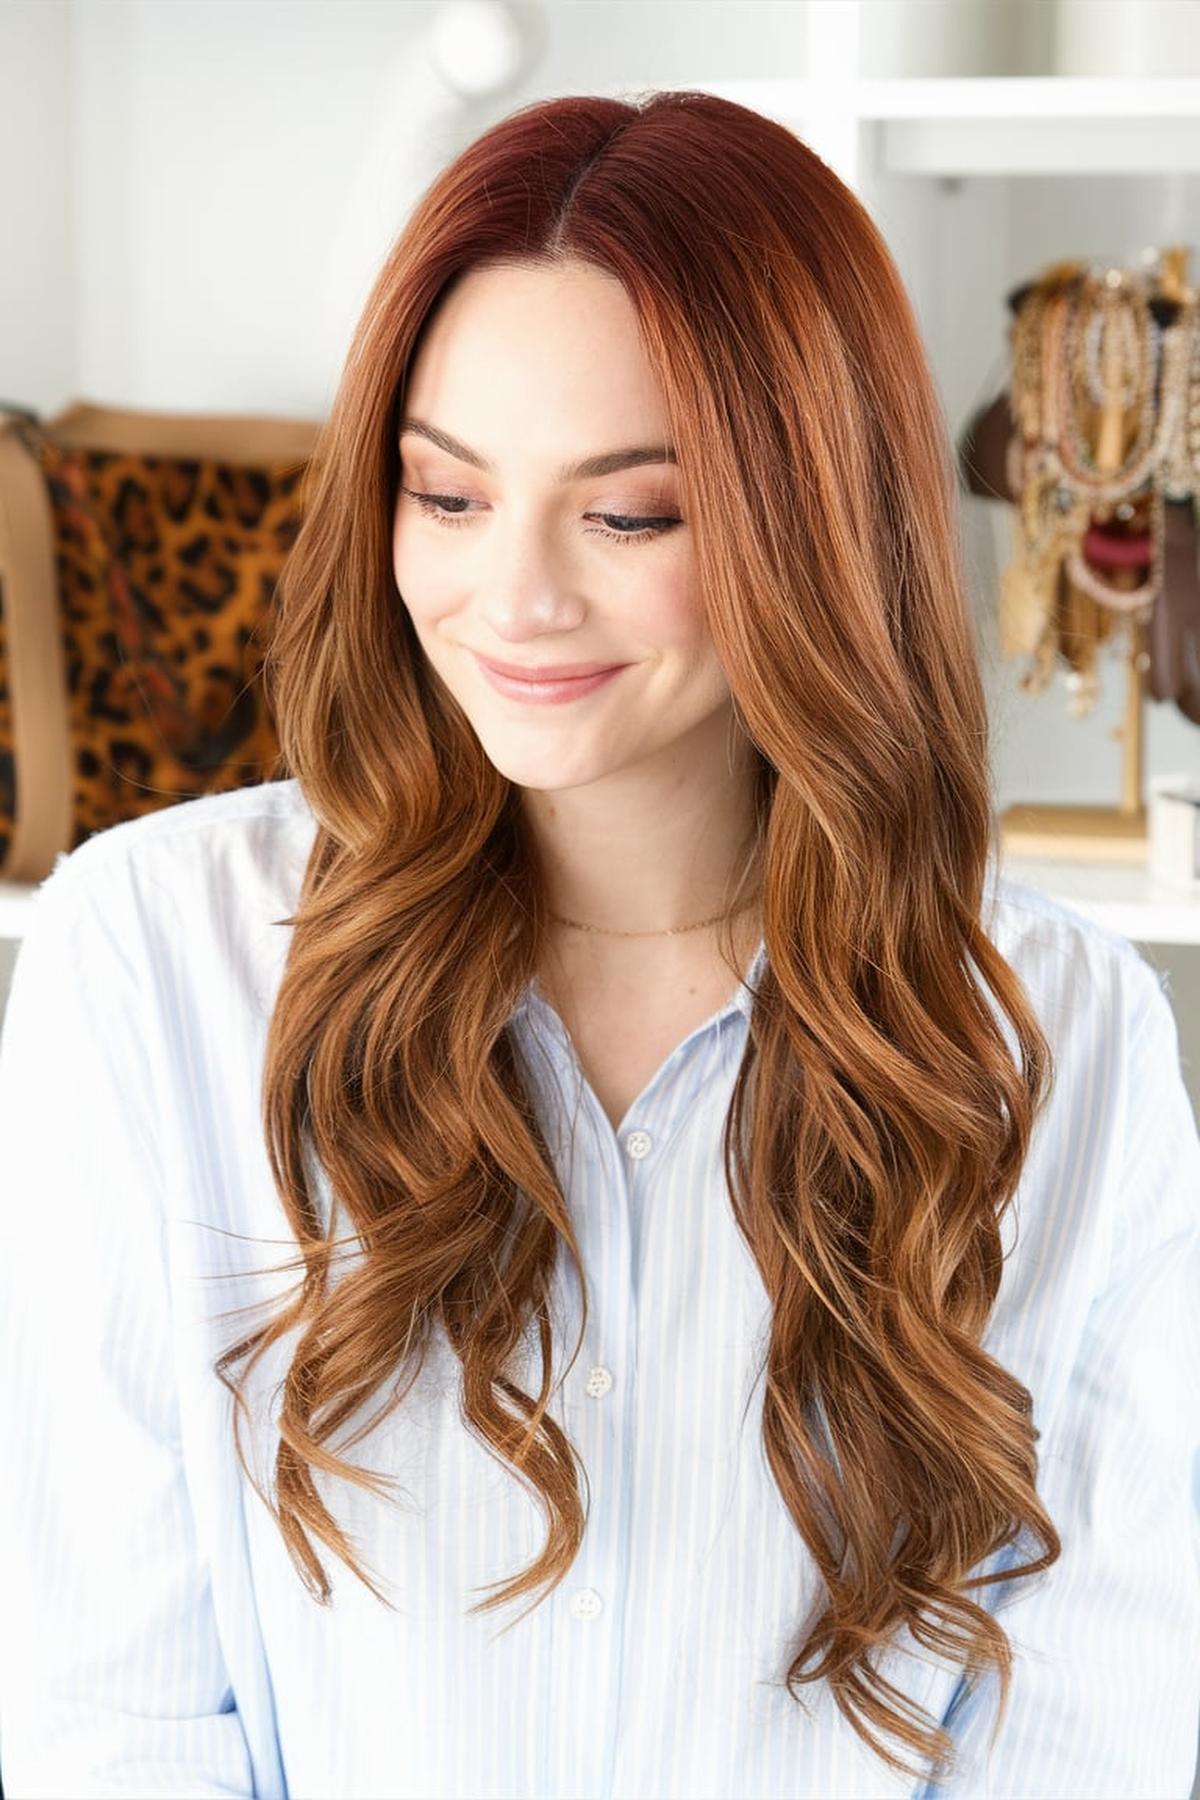
Soft Waves with a Side Part
To achieve this hairstyle, start by curling your hair with a curling iron. Use a one-inch curling iron for tighter curls, or a larger one for looser waves. Make sure to curl sections of your hair away from your face for a flattering effect.
A good tip is to part your hair at the highest point of your eyebrow for a natural look. After parting, gently tease the roots of the hair on the side with more volume to add lift. This will help your waves look fuller and more bouncy.
If you want extra texture, consider using a volume powder or a light mousse before styling. This will give your waves a bit more grip and make them last longer throughout the day. Remember to play around with the size of your curls and the depth of your part until you find what looks best for you!
Twisted Low Bun
To start, gather your hair into two sections at the base of your neck. This hairstyle works best if you add some texture by curling your hair loosely or using a texture spray.
Then, repeat this process with the other twist. This will give your bun a nice, voluminous look.
If you want, you can curl these strands for added style. This hairstyle is perfect for any occasion, whether it’s a casual day out or a special event like prom or a wedding. With a little practice, you’ll be able to create a beautiful twisted low bun in no time!
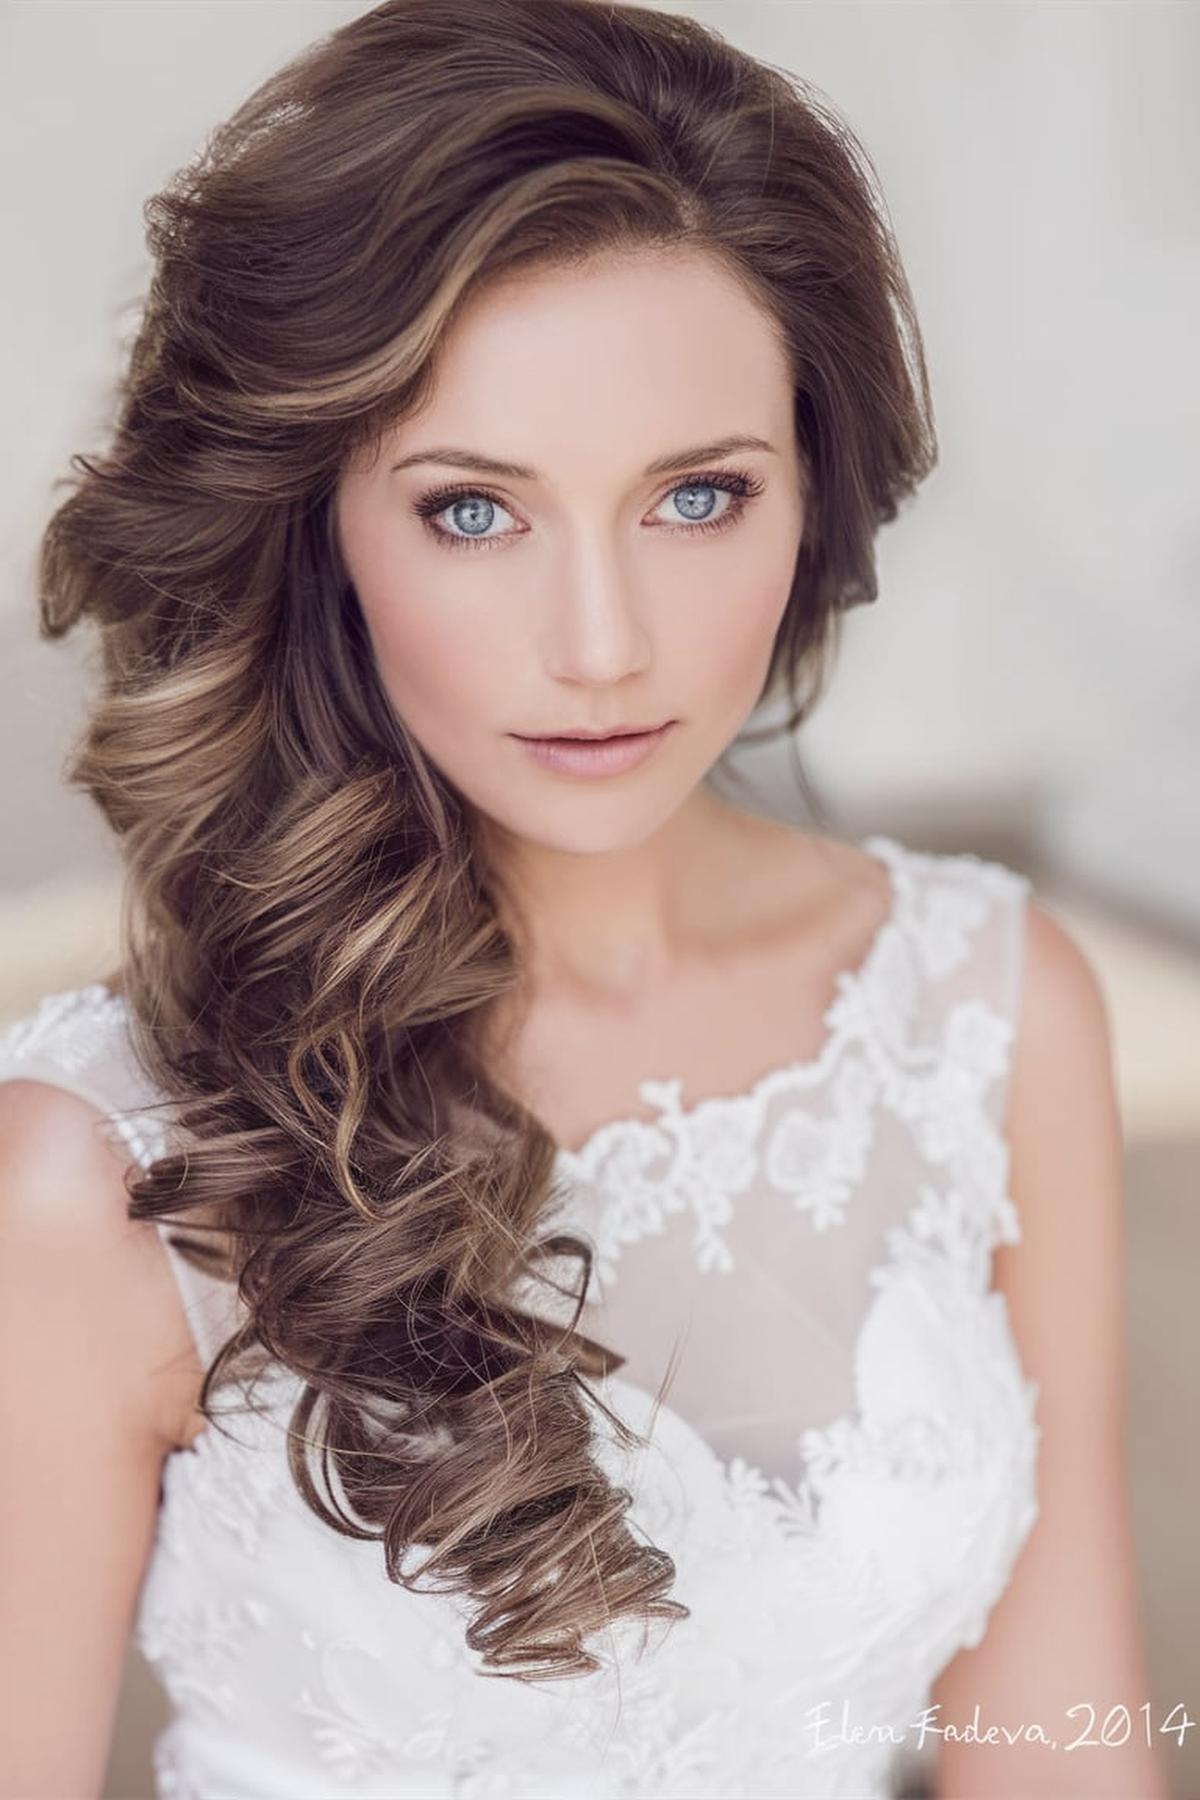
Flirty Side-Swept Curls
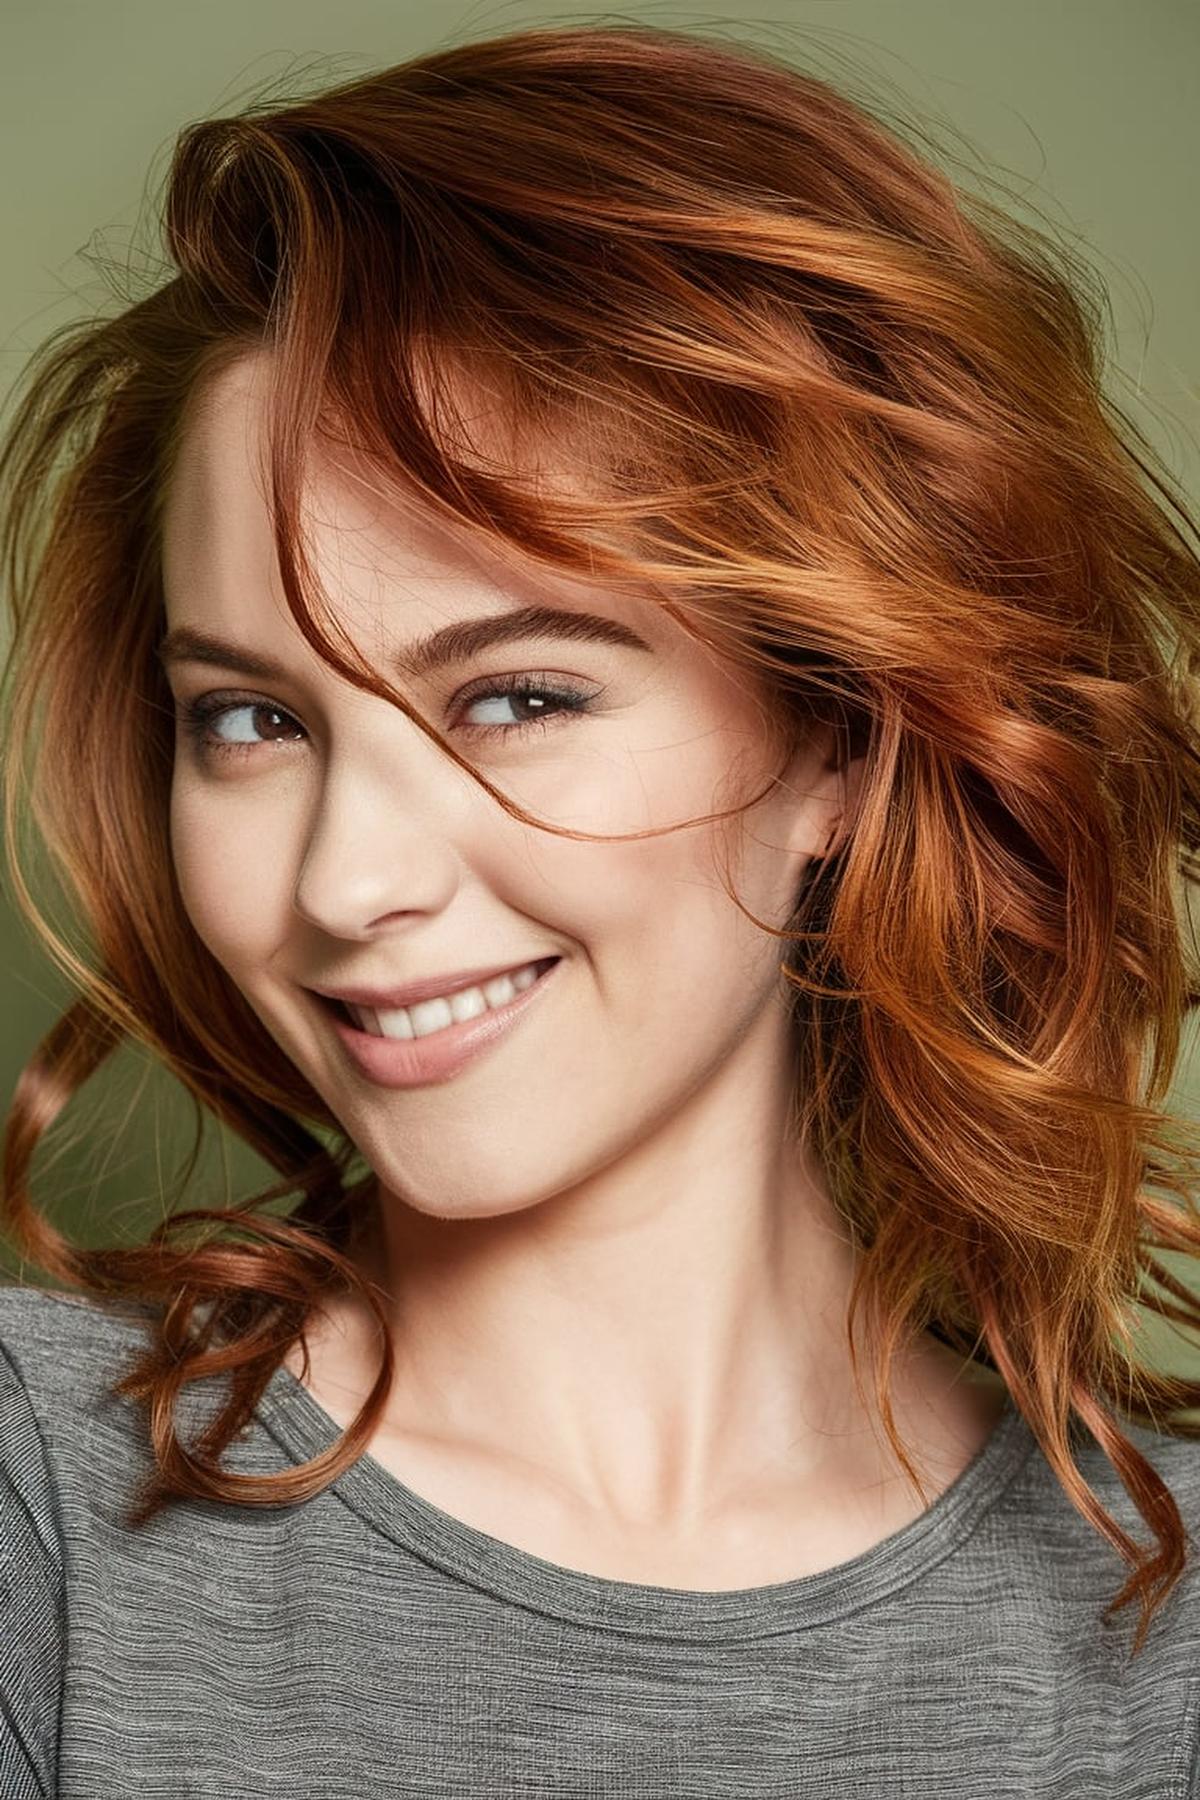
To start, you’ll want to create some big, bouncy curls using a curling iron or hair rollers. Once your curls are ready, flip your hair over to one side and make a deep side part.
After curling, gently pull the front section of your hair over one eye to add a touch of mystery.
You can also use hairspray to hold everything together. This hairstyle is not only easy to do but also versatile enough to wear for casual outings or special events, making it a great choice for any teenager looking to impress!
Q&As for short hairstyle ideas for homecoming dresses
Q: What’s an easy way to dress up a pixie cut for homecoming?
A: Try adding textured layers to your pixie cut. Use a texturizing spray and tousle your hair with your fingers for a messy, chic look. You can also add cute hair accessories like sparkly pins or a headband for extra flair.
Q: How can I make a bob hairstyle look more formal for homecoming?
A: Go for a side-parted blunt bob. Straighten your hair and create a deep side part for a sleek look. Add some shine spray for a glossy finish. You can also curl the ends slightly inward for a softer touch.
Q: What’s a quick updo I can do with short hair?
A: Try a wrapped bun with side bangs. Gather your hair into a low ponytail, twist it into a bun, and secure with bobby pins. Leave some strands loose at the front for side bangs. This style works great with shorter hair and looks elegant.
Q: How can I add some braids to my short hairstyle?
A: Create an accent braid updo. Start a small braid from one side of your head and pin it across the back. This works well with bob-length hair and adds a cute detail to your look. You can also try a braided crown if your hair is long enough.
Q: What’s a good half-up style for short hair?
A: Go for a twisted half-updo. Take the top section of your hair, twist it back, and secure with pins. Leave the rest of your hair down and add some loose waves for a romantic look. This style works well with shoulder-length or slightly shorter hair.
