The Pin-Up Pompadour, on the other hand, involves backcombing the hair at the crown to create volume, then smoothing the top layer for a polished finish.

The Perfectly Poodle, popular among women with naturally curly hair, is a short, layered cut that mimics a poodle’s coat, often complemented by a fringe or side part.
The Shagadelic Shag, with its layered and tousled appearance, offers a more relaxed vibe while still being chic.
Now, without further ado, let’s dive into these 14 vintage 1950s hairstyles are so chic, you’ll want to buy a poodle skirt.
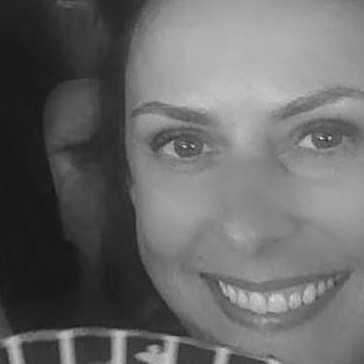
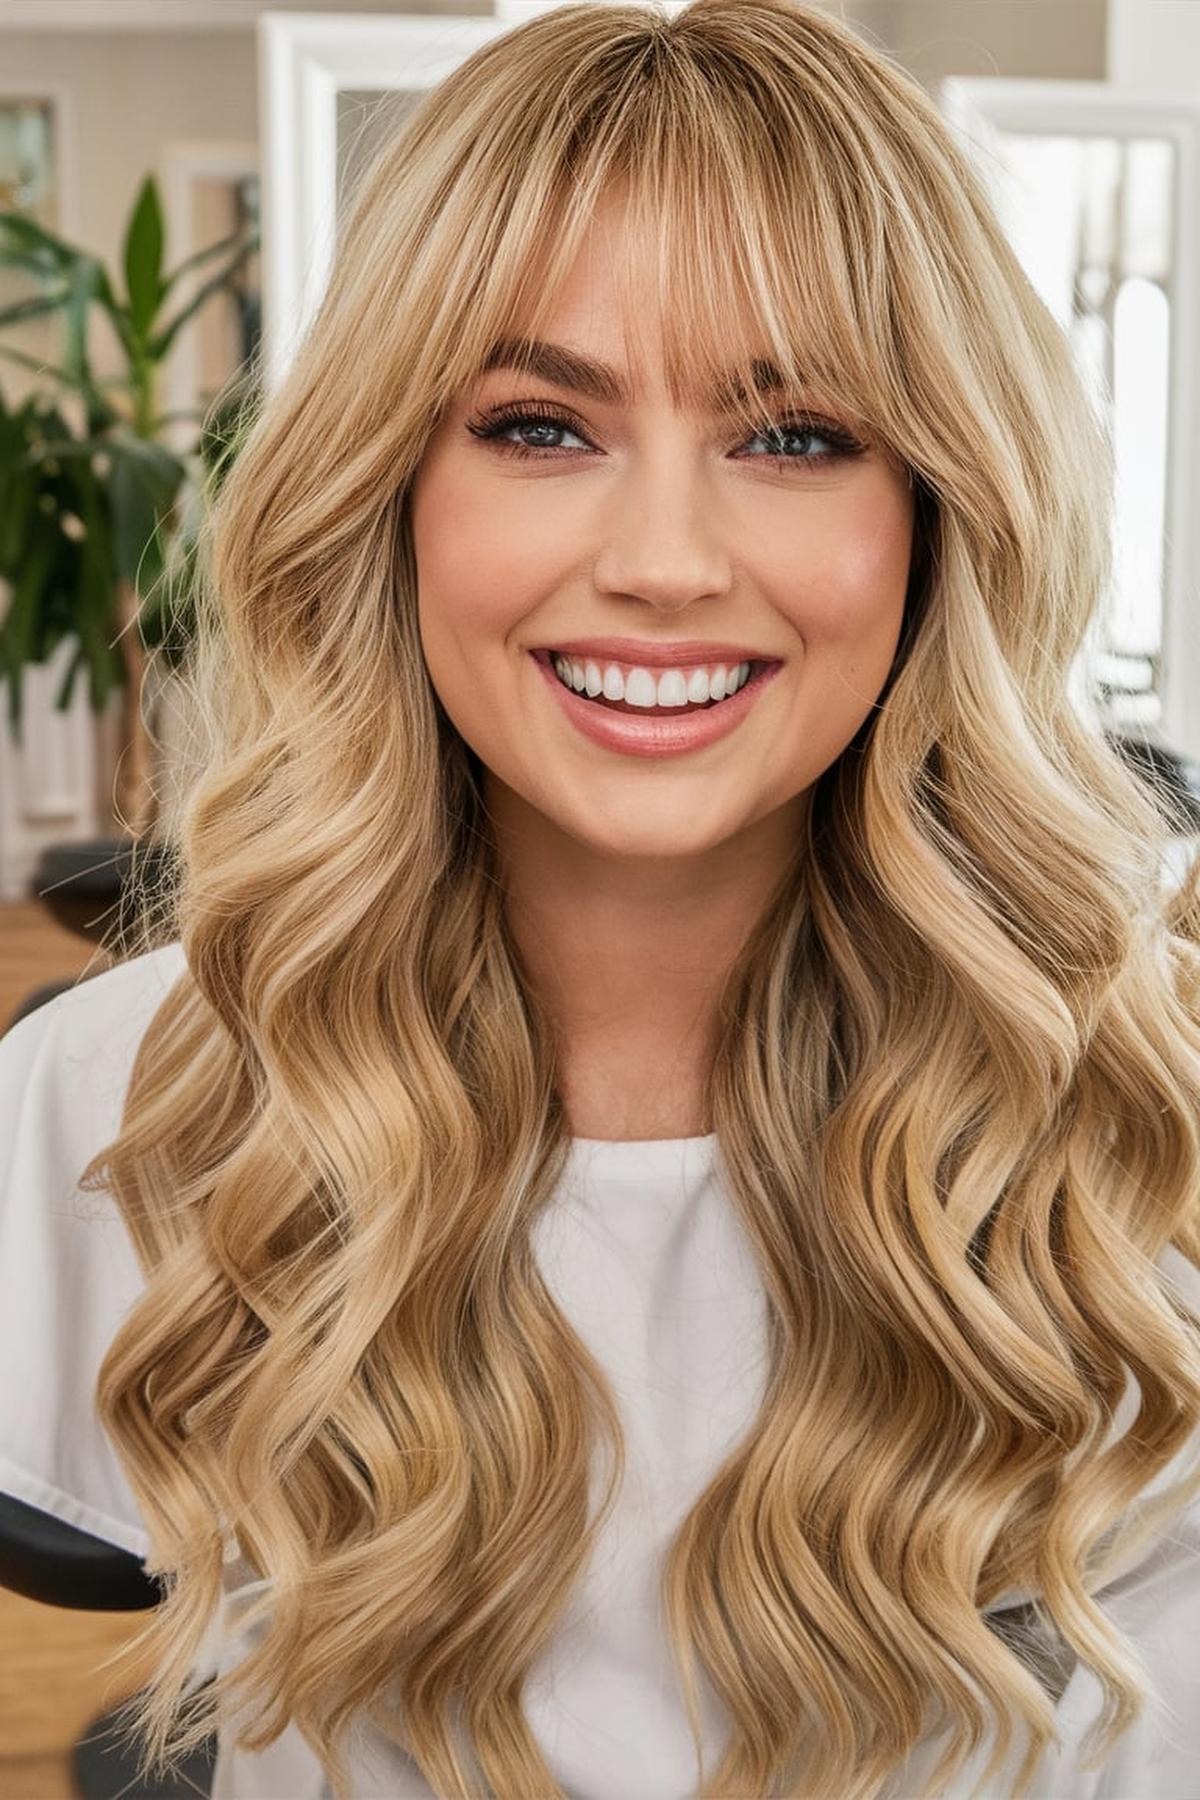
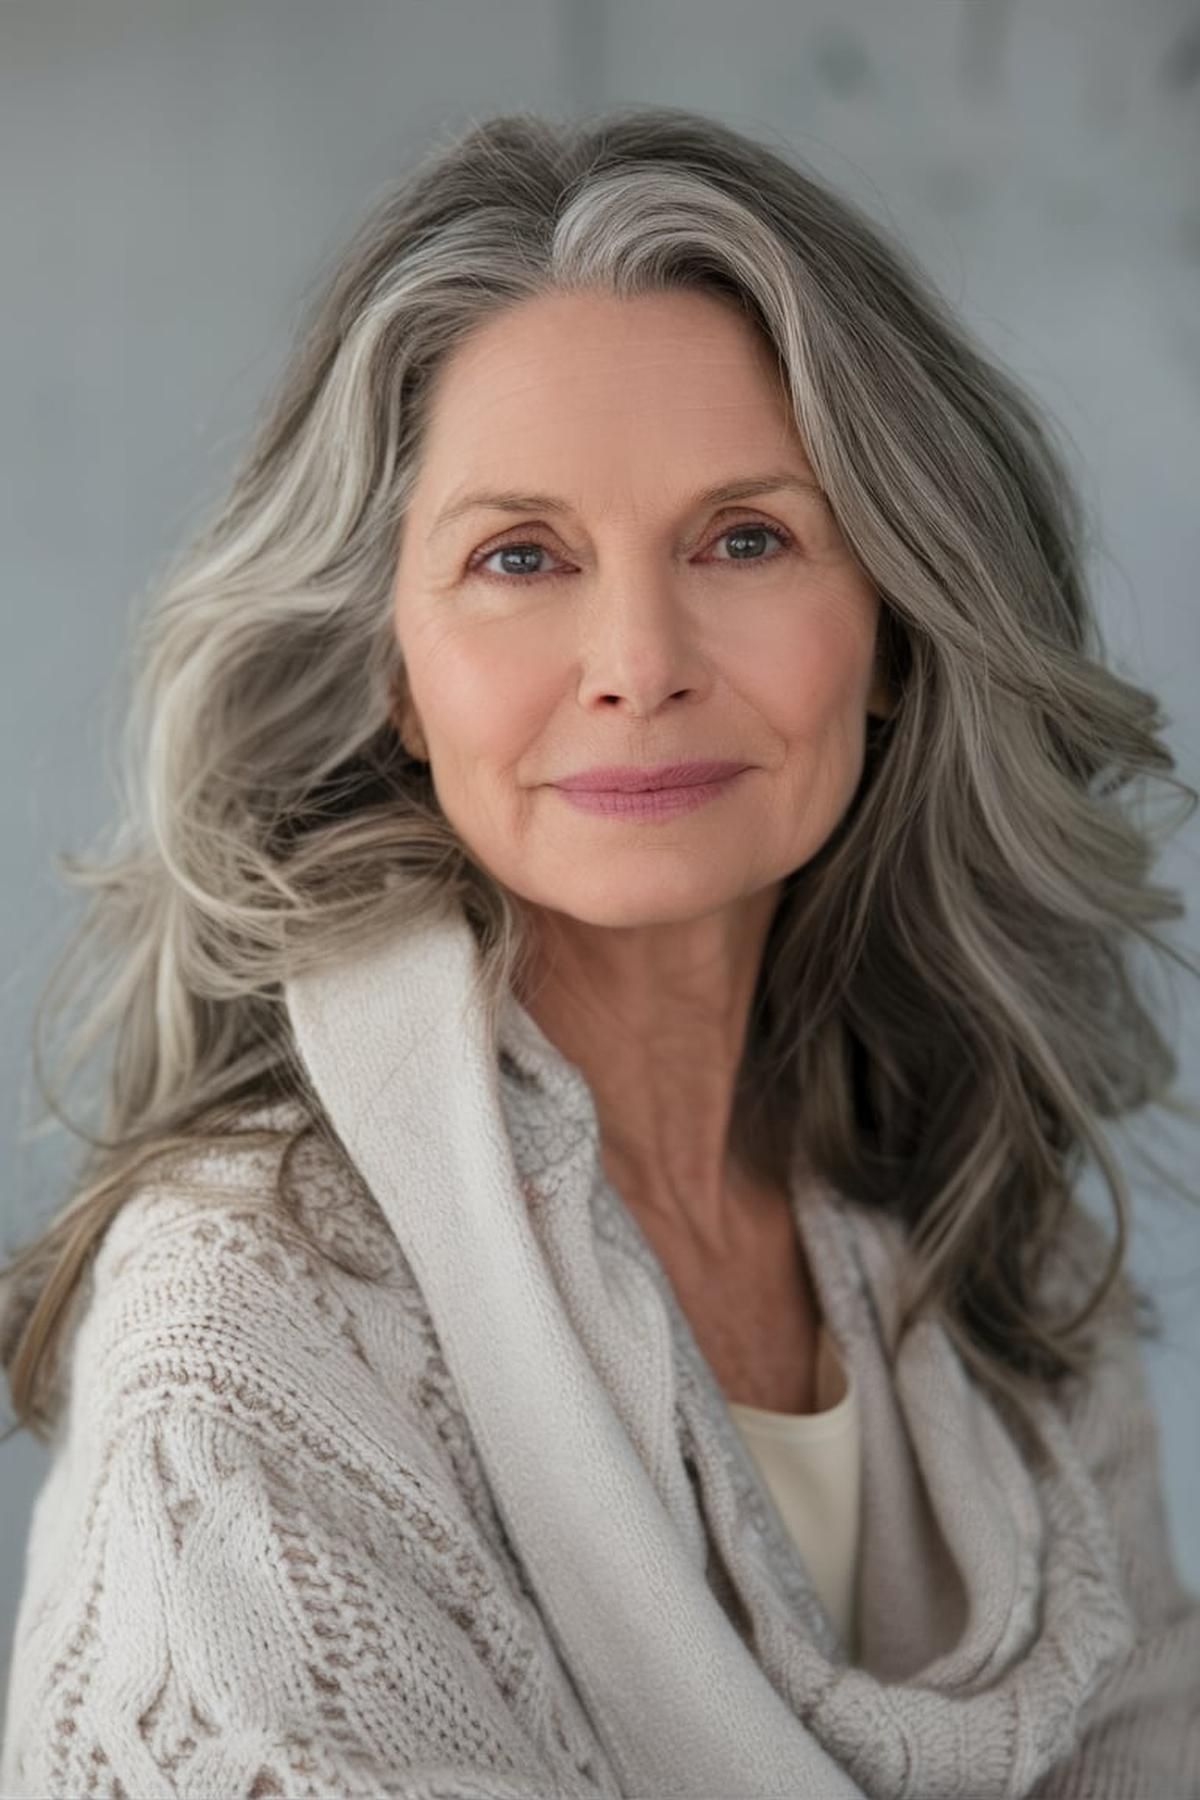
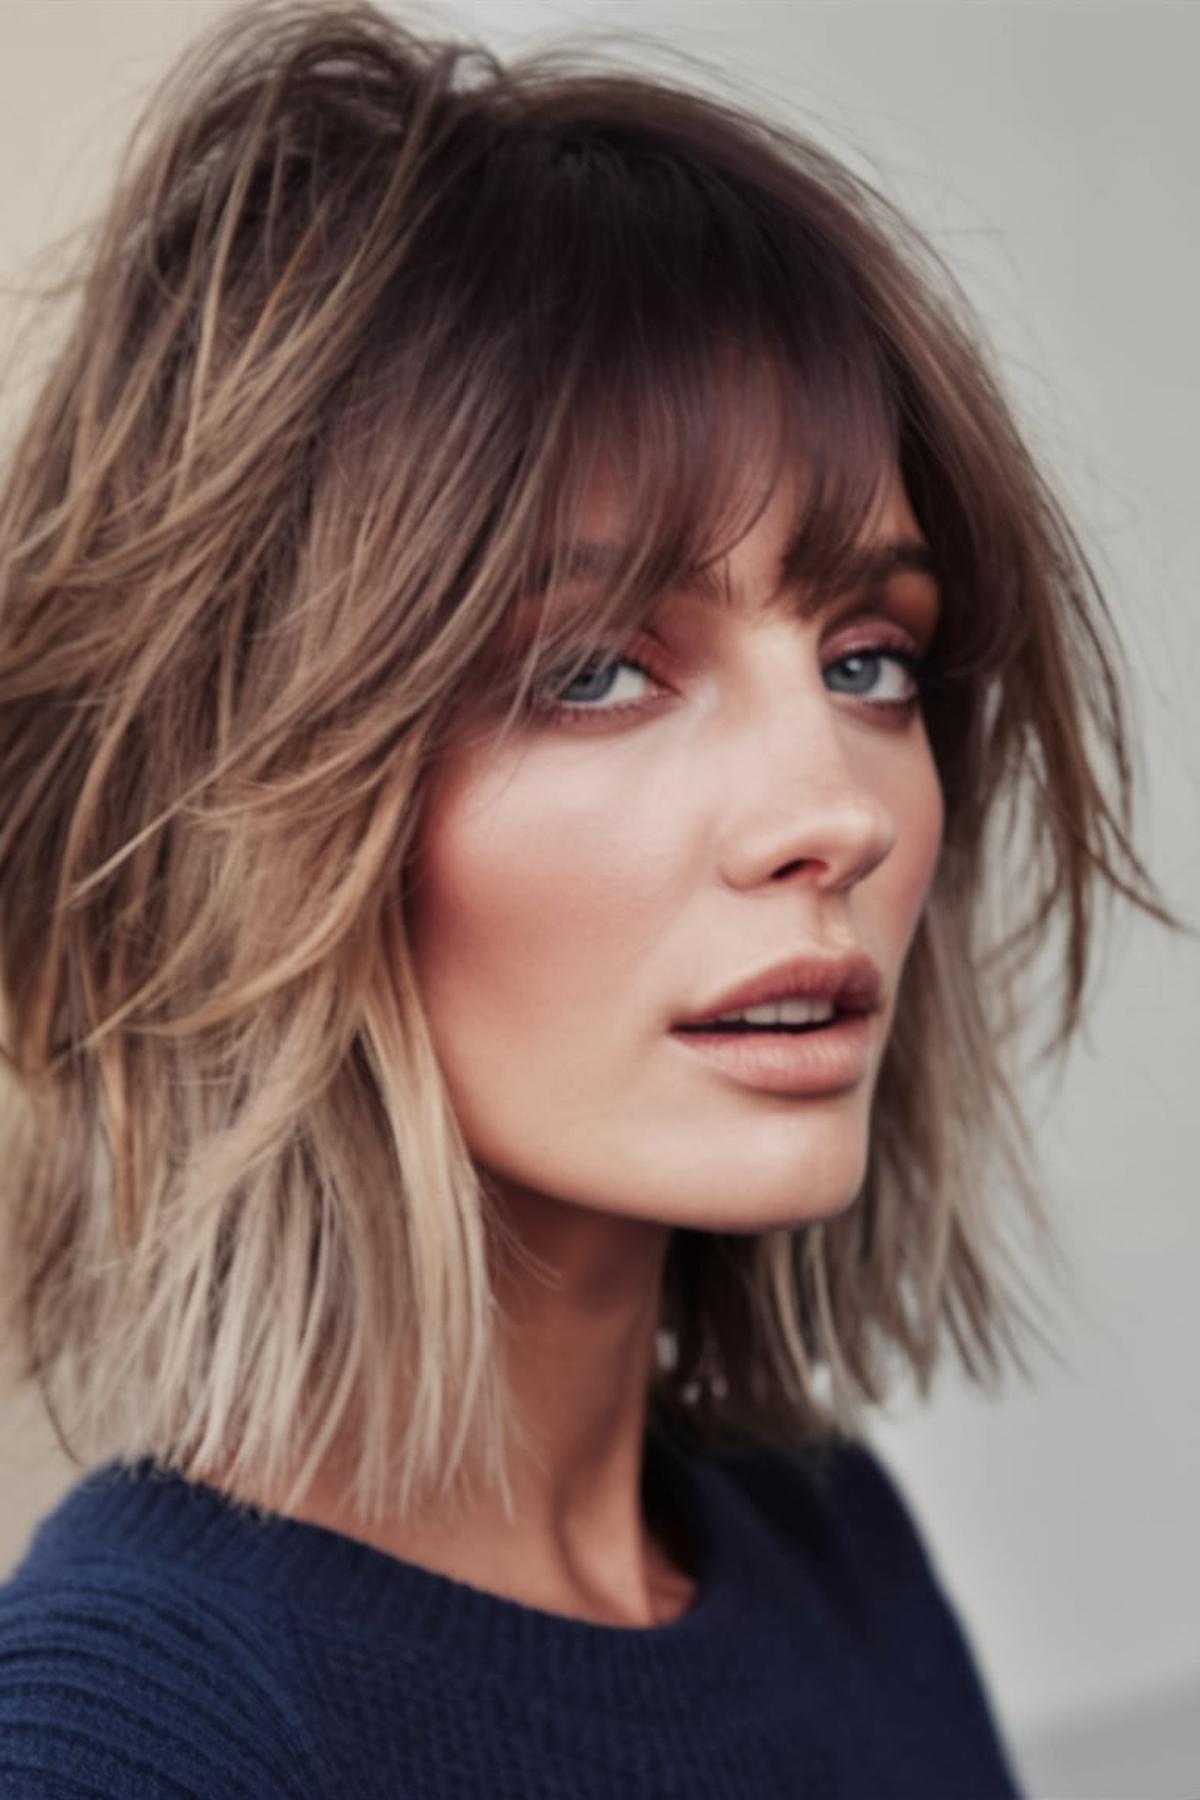
The Vintage Vixen Bob

Use a heat protectant spray before styling to keep your hair healthy. Begin by sectioning your hair into manageable parts. Use a curling iron or a flat iron to create soft waves.
Once you have your curls, it’s time to style them. Gently run your fingers through the curls to loosen them up and create volume. You can use a wide-tooth comb for this step, but be careful not to over-comb, as you want to maintain some of the wave definition.
You can also add accessories like a headband or a decorative clip to enhance the vintage vibe. Remember, practice makes perfect, so don’t be discouraged if it doesn’t look exactly right the first time. Keep experimenting until you find the look that suits you best!
You may also be interested in:
The Pin-Up Pompadour

The pompadour features a lot of volume at the front, with hair swept back and upwards. This style has roots in both women’s and men’s fashion, becoming popular in the 1950s with icons like Elvis Presley. To achieve this look, you need to create a “pomp” by lifting the hair at the front while keeping the sides and back smooth. The key is to have a confident attitude, as this hairstyle is all about making a bold statement. Next, you’ll need the right tools and products.
Start by taking a section of hair at the front and backcombing it gently to add volume. Then, smooth the top layer while pushing the hair upwards and back. Secure the pompadour with bobby pins or hair spray to keep it in place. It’s important to adjust the shape until it looks just how you want it.
The pin-up pompadour can be styled in many ways, so feel free to experiment with different looks. You can add curls or waves to the sides for a softer appearance or keep it sleek and polished. Don’t hesitate to try out various techniques until you find what works best for you. Remember, the pompadour is not just a hairstyle; it’s a way to express your personality and style. Enjoy the process and have fun with it!
The Retro Finger Wave

Begin with clean, damp hair, as this makes it easier to shape the waves. Apply a combination of mousse and hair gel to help hold the style. The mousse adds moisture while the gel provides a stronger hold. Make sure to use products that work well together to avoid any flaking.
Use a fine-toothed rattail comb to shape your hair into “S” shapes. Start by placing your finger near the part and use the comb to pull the hair forward and then back, creating a wave. Think of each wave as two “C” shapes facing opposite directions.
Finally, to set your finger waves, you’ll need to dry your hair. Sitting under a hooded hair dryer helps the waves hold their shape. Once your hair is completely dry, remove the clips and gently brush through the waves to soften them if needed. With practice, you can achieve beautiful, vintage-inspired finger waves that can last for days, especially if you maintain them with a satin scarf or bonnet at night.
You may also be interested in:
The Perfectly Poodle

Begin with clean, dry hair and apply a heat protectant spray to shield your locks from damage. Next, use a curling iron, preferably around 3/4 inch, to create small curls. Make sure to curl each section away from your face, and once you’ve curled all your hair, pin the curls in place to let them cool.
This step is crucial because it gives your hair a more relaxed and voluminous look. Now, gather all your hair at the back and smooth it down. For a neat finish, you can flip your head upside down while gathering the hair, which makes it easier to pin it securely.
You can tease the crown of your hair for added height and volume. If you want, use hairspray to keep everything in place. This hairstyle is fun and gives off a vintage vibe, making it perfect for parties or special occasions. With practice, you’ll be able to create this stylish look quickly!
The Beehive Beauté

You’ll need a few essential items: a bath loofah (which helps create volume), bobby pins, strong hold hairspray, and a hair tie. Using a loofah makes it easier to achieve that iconic height without having to tease your hair. If your hair is clean and slippery, consider using a bit of hairspray beforehand to give it more grip.
Position the loofah at the crown of your head, and start wrapping sections of hair around it, pinning them down as you go. Make sure to cover the loofah completely so it’s hidden, and use more bobby pins if necessary to secure everything in place.
You can leave it down or pull it up for a more classic look. Once everything is in place, give your hair a final spritz of hairspray to hold the style. With a little practice, you’ll be able to create a stunning beehive that’s perfect for any occasion!
You may also be interested in:
The Bouffant Bombshell

The first step is to create volume by teasing your hair. Gather a section of hair from the crown of your head and hold it straight up. Using a bristle brush, gently brush the hair down toward your scalp, creating a nest-like effect. This teasing adds height and fullness to your hair.
Next, you can style the bouffant to your liking. For a classic look, twist the top section of your hair and pin it back, securing it with bobby pins. This creates a nice shape and keeps the hair in place. If you want a more relaxed style, you can leave the ends of your hair loose.
Lastly, accessorizing can enhance your bouffant bombshell look. Consider adding a cute hair clip or headband to complement your outfit. This hairstyle is versatile and can be worn for casual outings or special events. With a little practice, you’ll be able to achieve this retro-inspired look effortlessly, impressing your friends and feeling fabulous at the same time.
The Chic Chignon

It’s best to style your hair when it’s a day or two old, as this gives it some texture and makes it easier to work with. If your hair is freshly washed, use a bit of product like hairspray to add grip. Begin by pulling your hair back into a low ponytail at the nape of your neck.
Next, create the chignon by twisting the ponytail around itself to form a bun. Tuck the ends of your hair underneath and secure everything in place with hairpins.
Finally, finish off your chic chignon with a spritz of hairspray to keep everything in place. Don’t hesitate to accessorize with hair clips, ribbons, or flowers to add a personal touch. With a little practice, you’ll be able to create this stylish updo for any occasion, from casual outings to formal events.
You may also be interested in:
The Pageant Princess ’Do

Start by teasing your hair to add height, which helps it look more impressive from a distance. Use plenty of hair products, like mousse and hairspray, to keep your hairstyle in place for hours. A big, bold hairstyle is essential because it catches the judges’ attention and enhances your overall look.
These not only add flair but can also help hide any imperfections in your hair. If you’re struggling with frizz or messy hair, a thin hair net can help keep everything smooth and neat. Remember, the right accessories can make a big difference in your pageant appearance.
If you have multiple rounds in a pageant, consider changing your hairstyle slightly between them to show off your styling skills. This can impress the judges and give you an edge. Always have a backup plan in case your hair doesn’t cooperate on the big day. The more comfortable and confident you feel with your hair, the better you’ll perform overall.
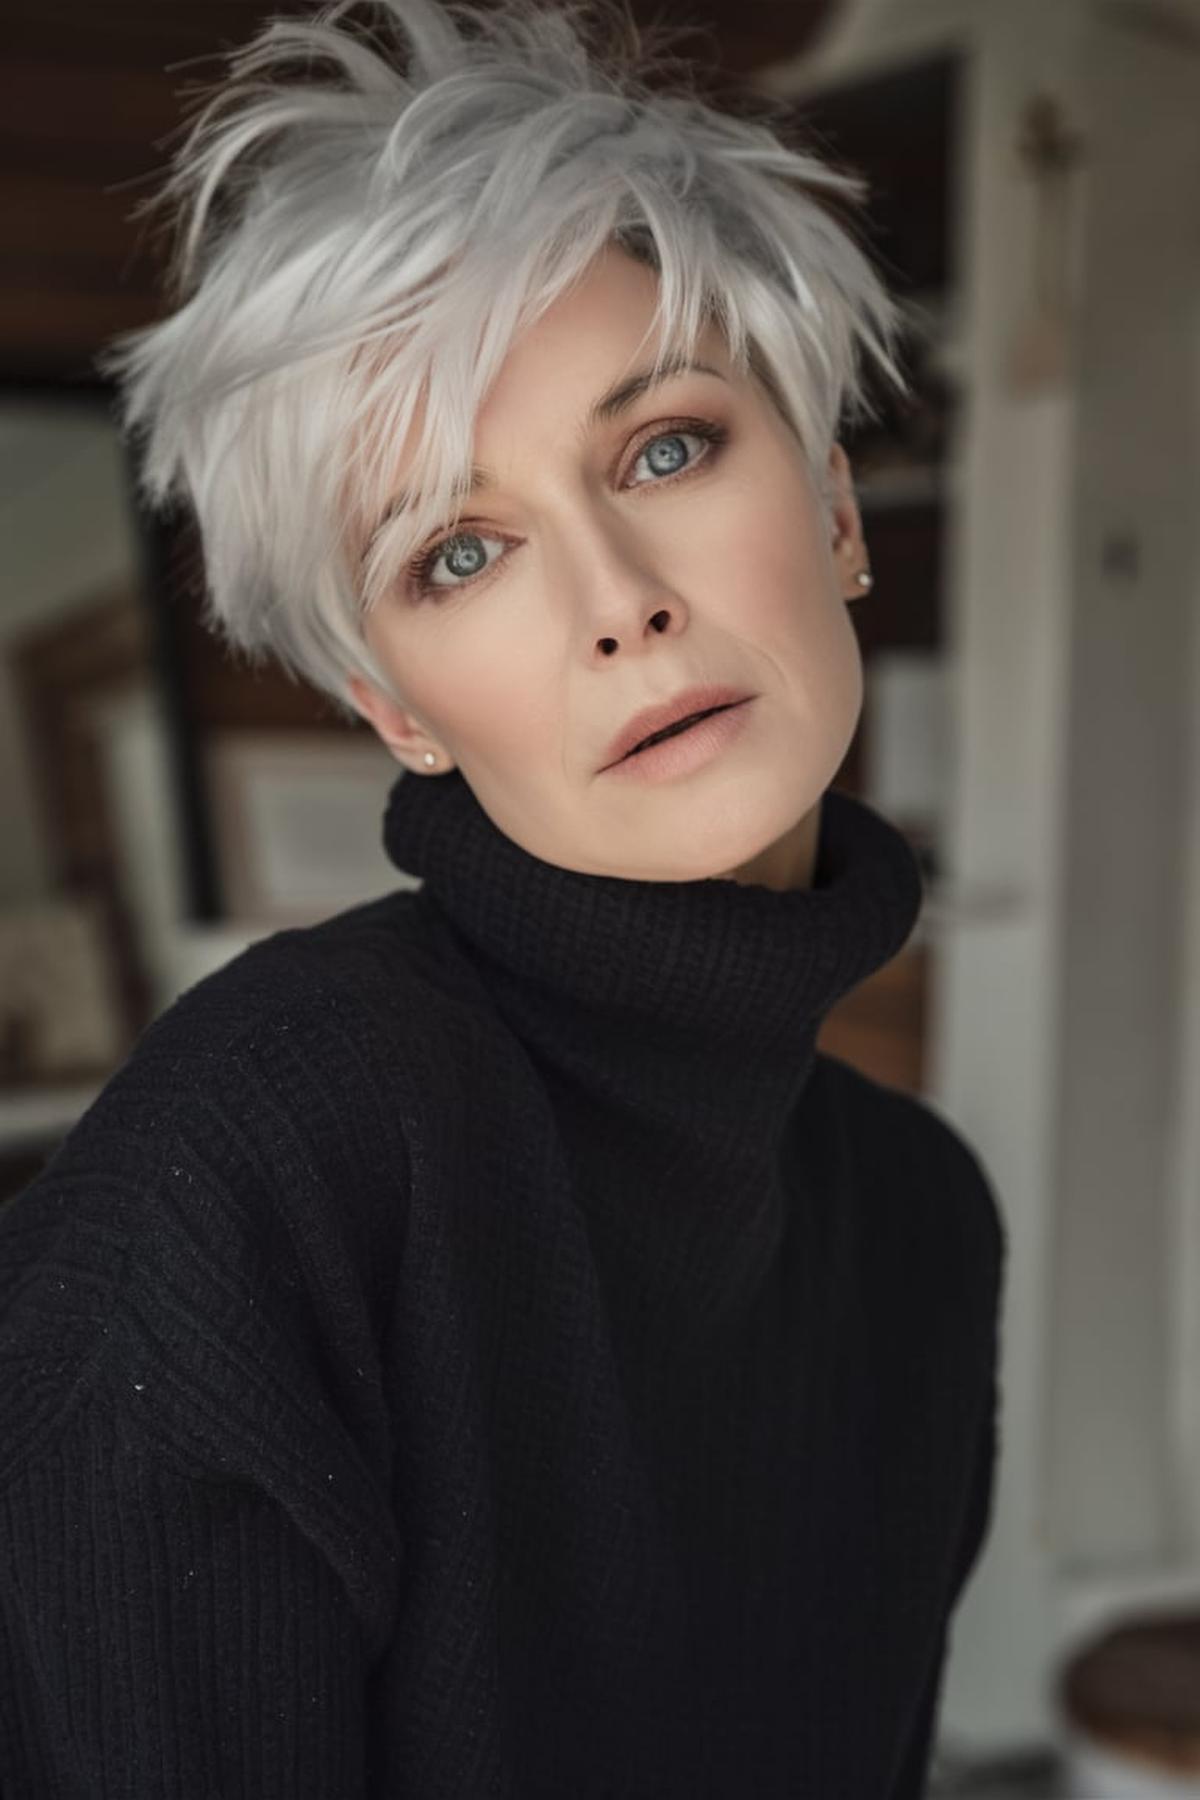
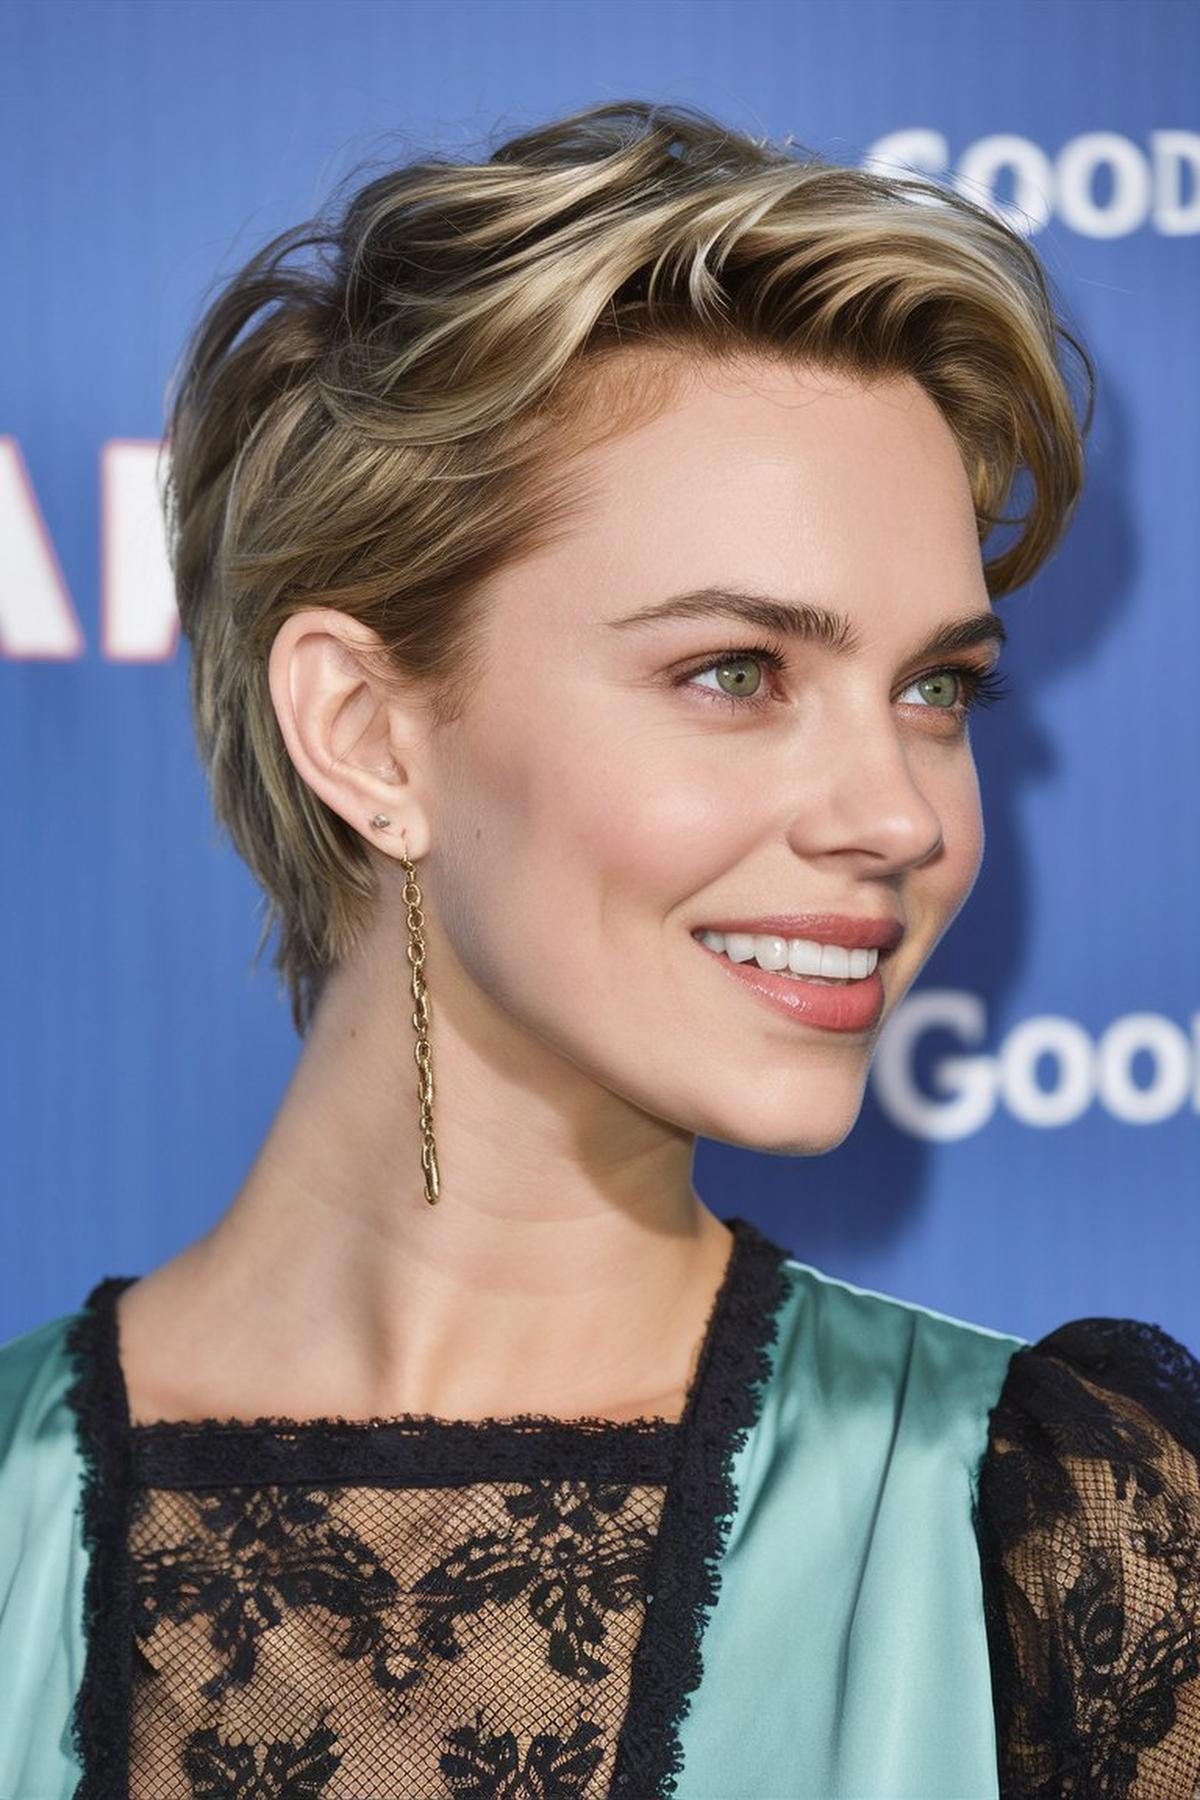
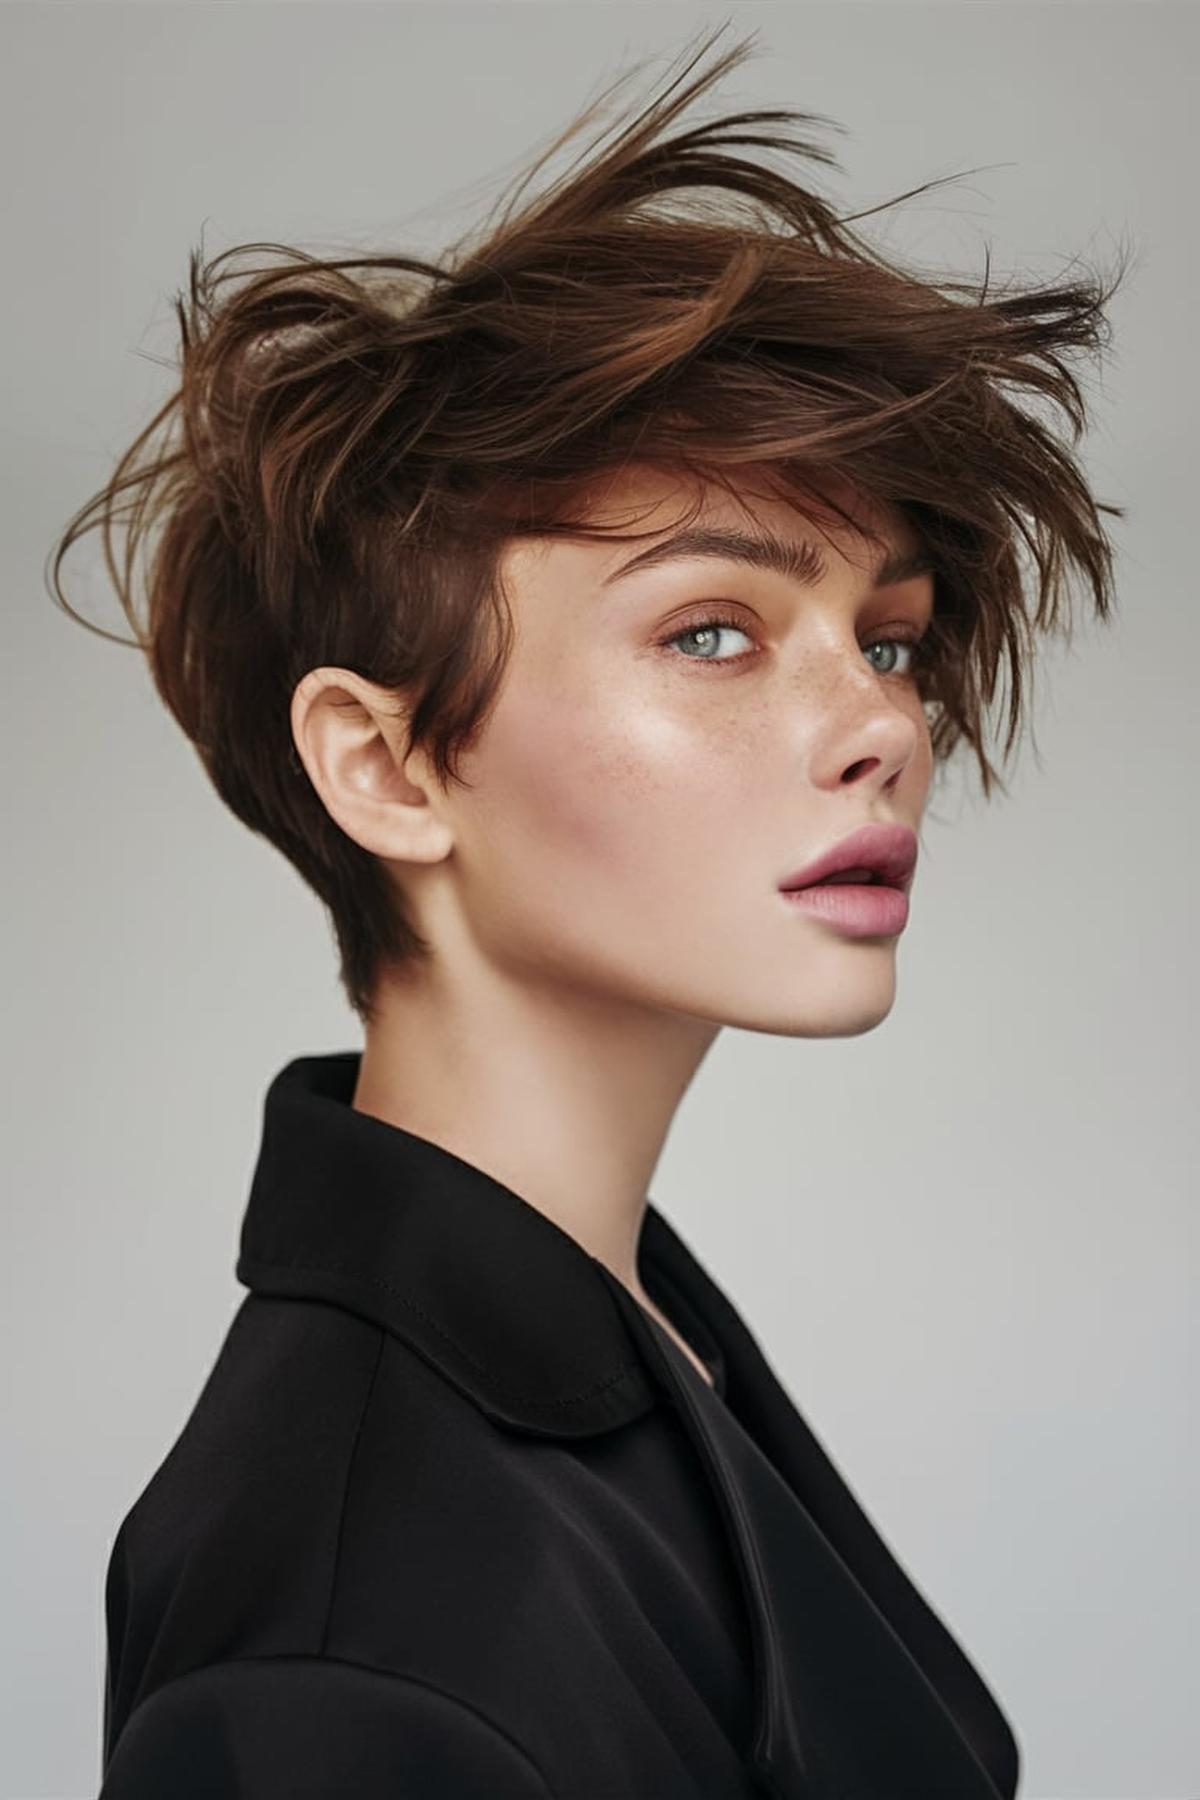
The Rebel Pixie

This style is characterized by short hair that’s edgy and playful. You can achieve this look by asking your stylist for a pixie cut that has textured layers. If you’re cutting your hair at home, use clippers for the sides and back, and scissors for the top. Make sure to leave some length on top for styling versatility.
Texturizing sprays, pomades, or waxes can add volume and definition to your hair. After washing your hair, apply a styling product while it’s still damp. You can use your fingers to mess it up a bit for that carefree look. If you want a more polished style, blow-dry your hair with a round brush to create smoothness and shape.
The rebel pixie is versatile, allowing you to style it in various ways. You can wear it sleek and smooth for a chic appearance or tousled and textured for a more casual vibe. Try different styles, like adding bangs or pushing your hair to one side for a fun twist. Remember, the key to mastering this hairstyle is practice and finding what makes you feel confident and unique.
You may also be interested in:
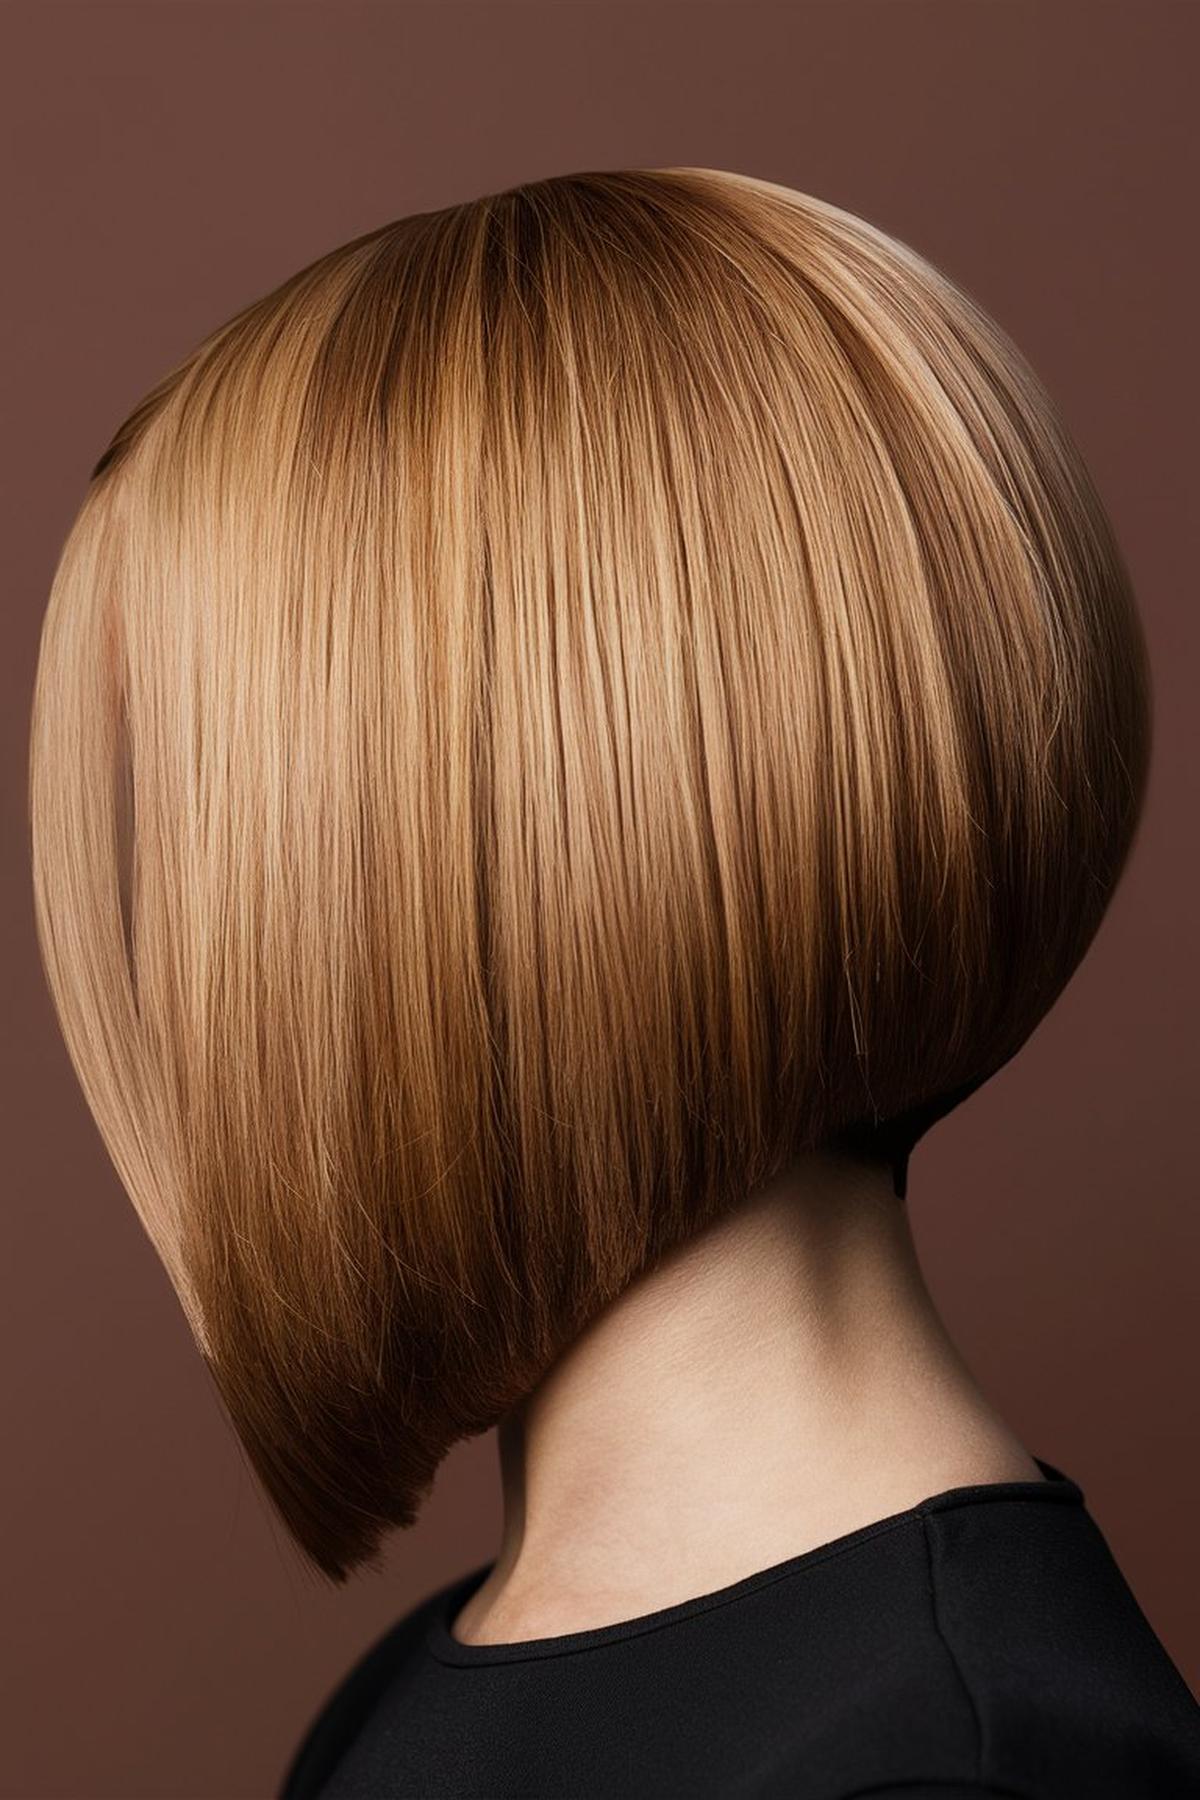
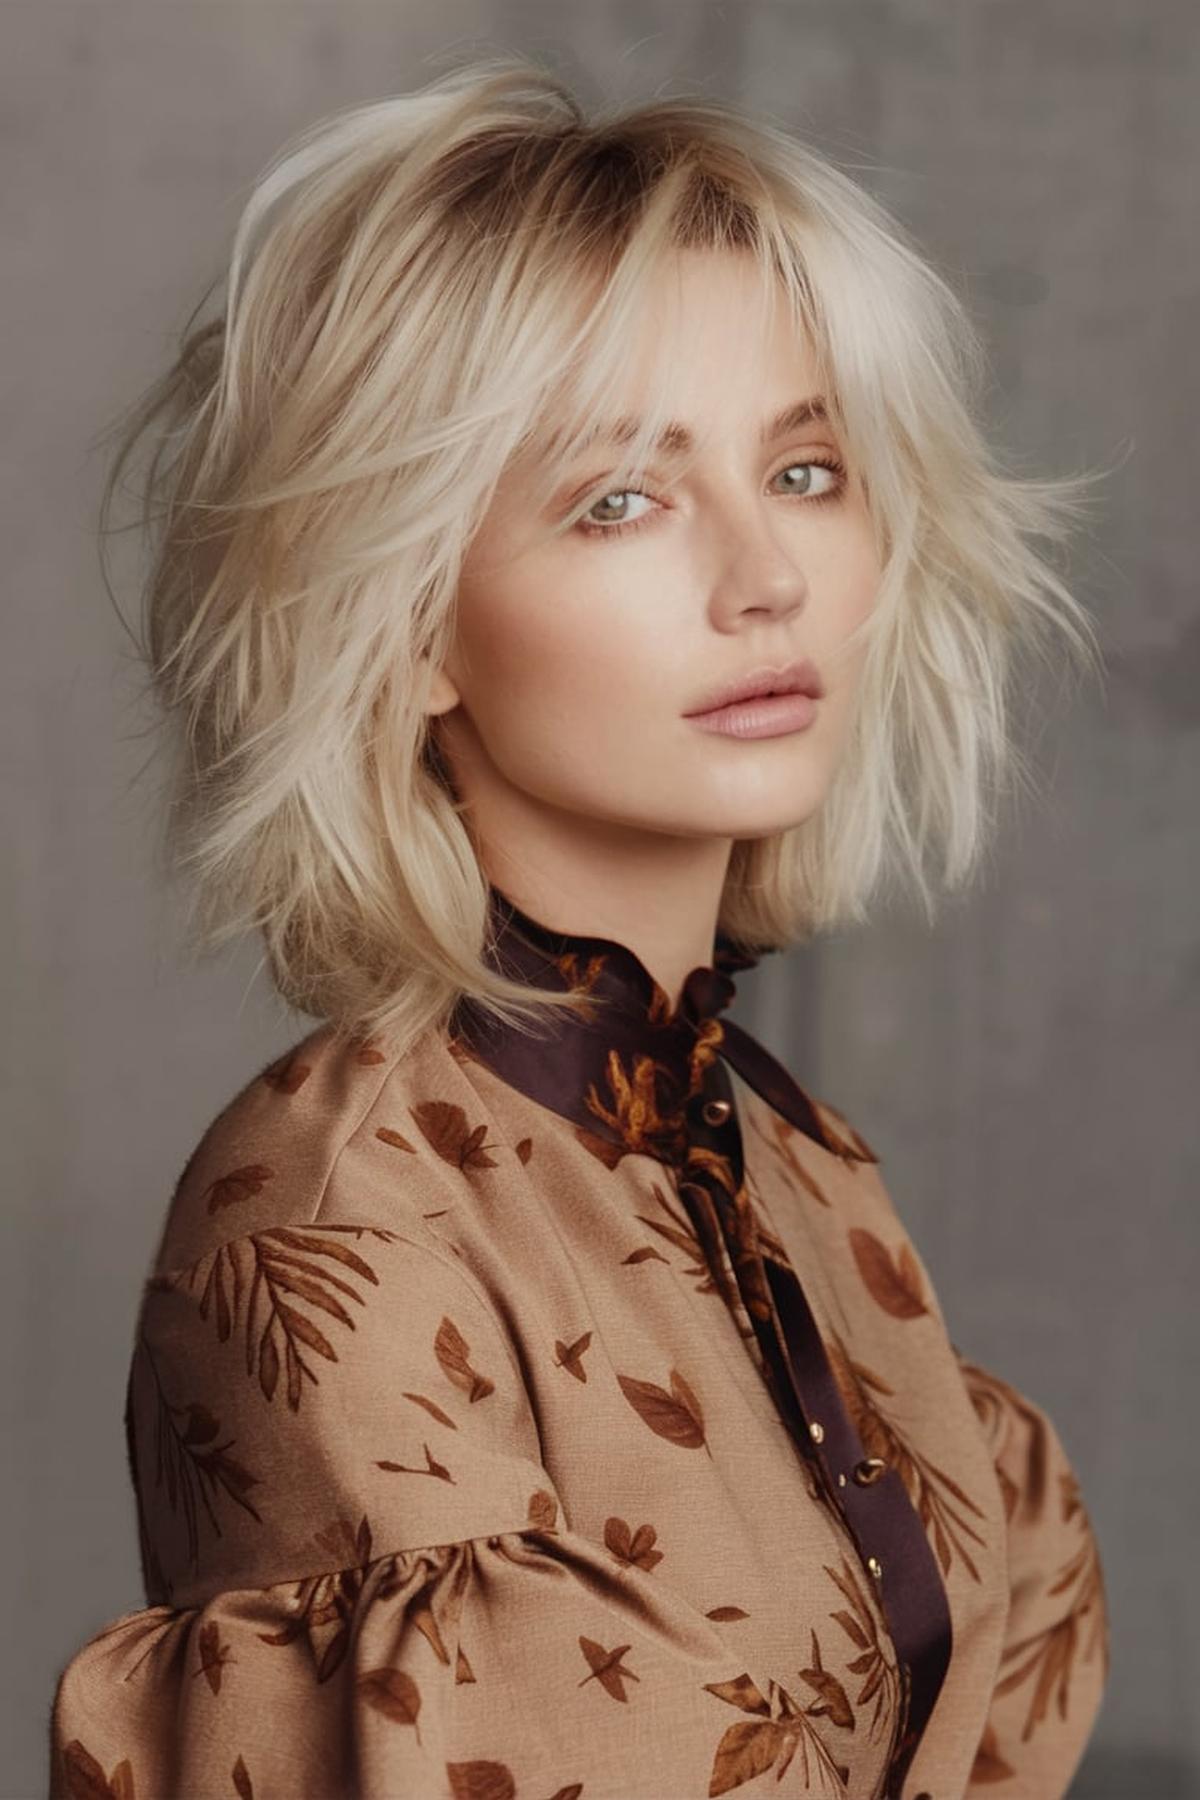
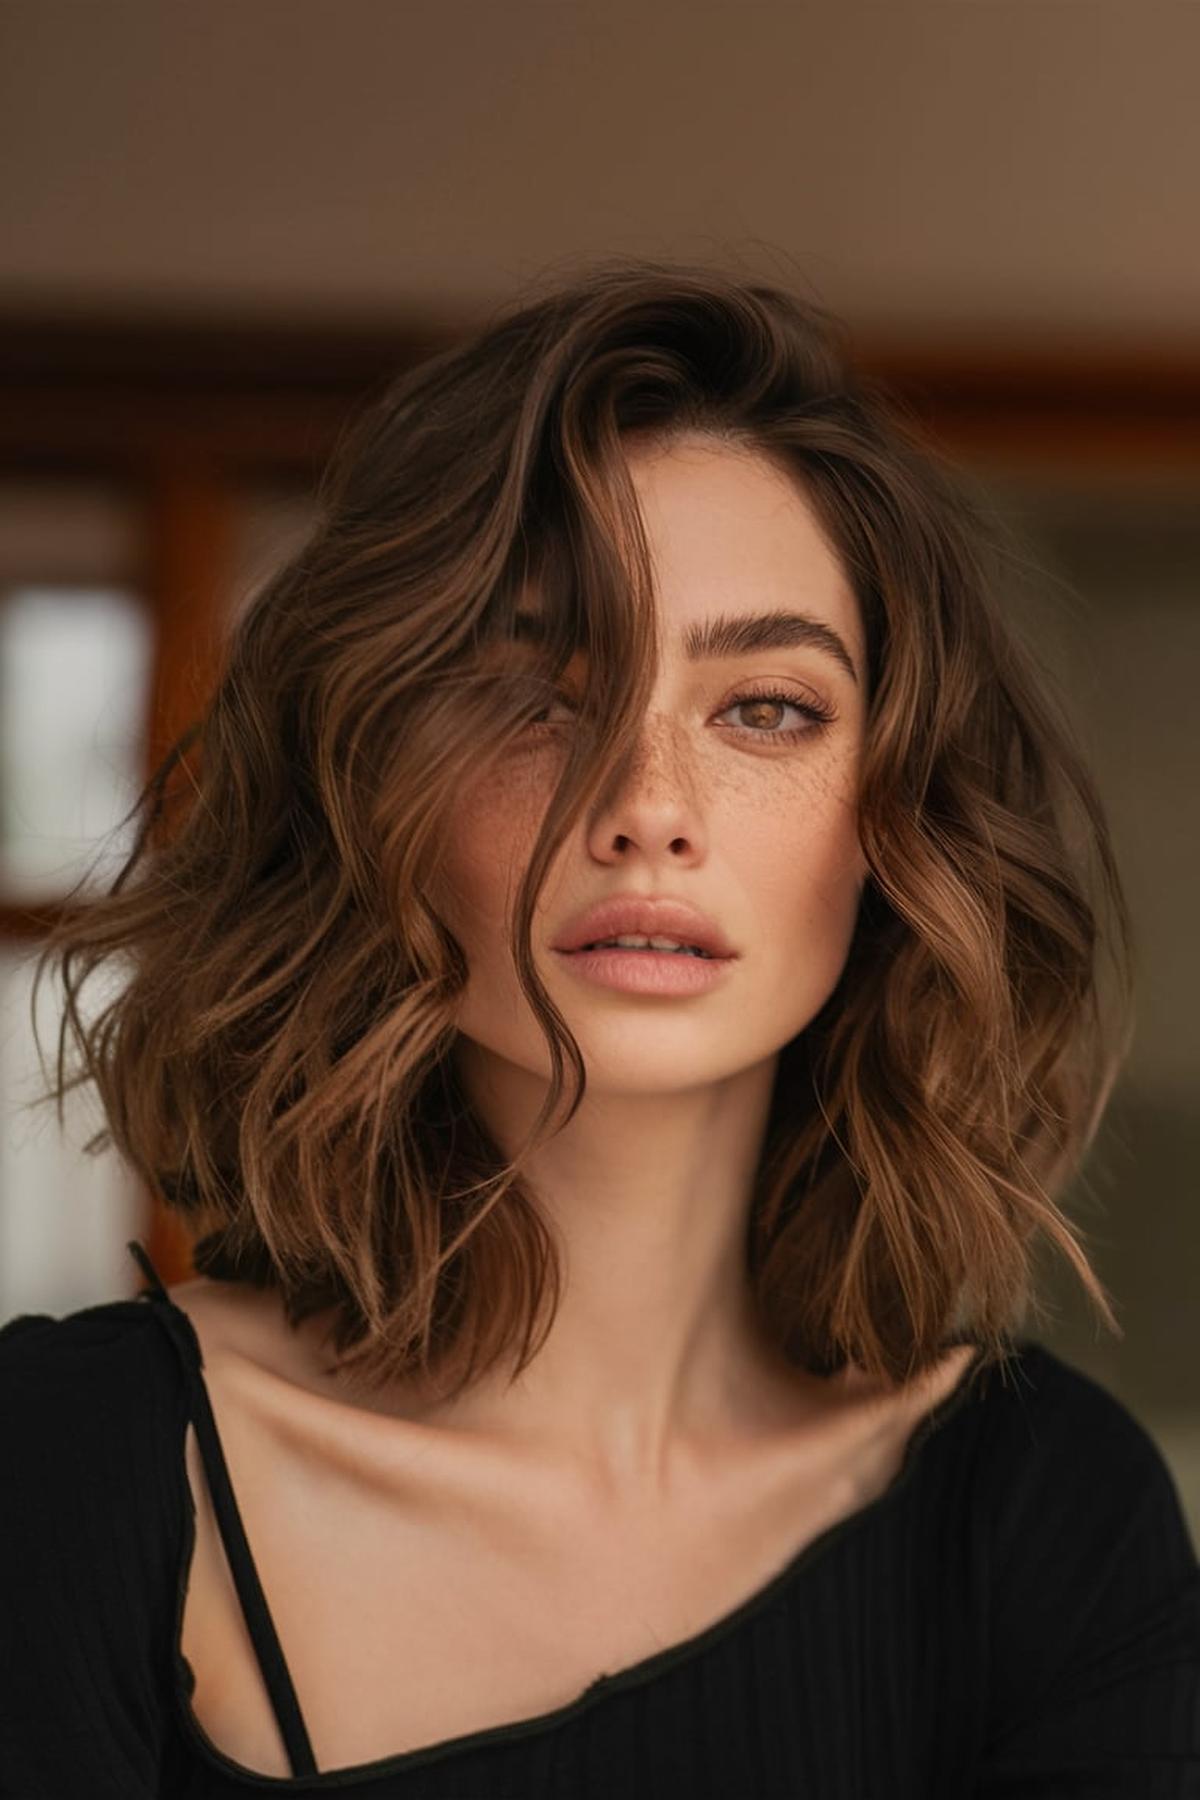
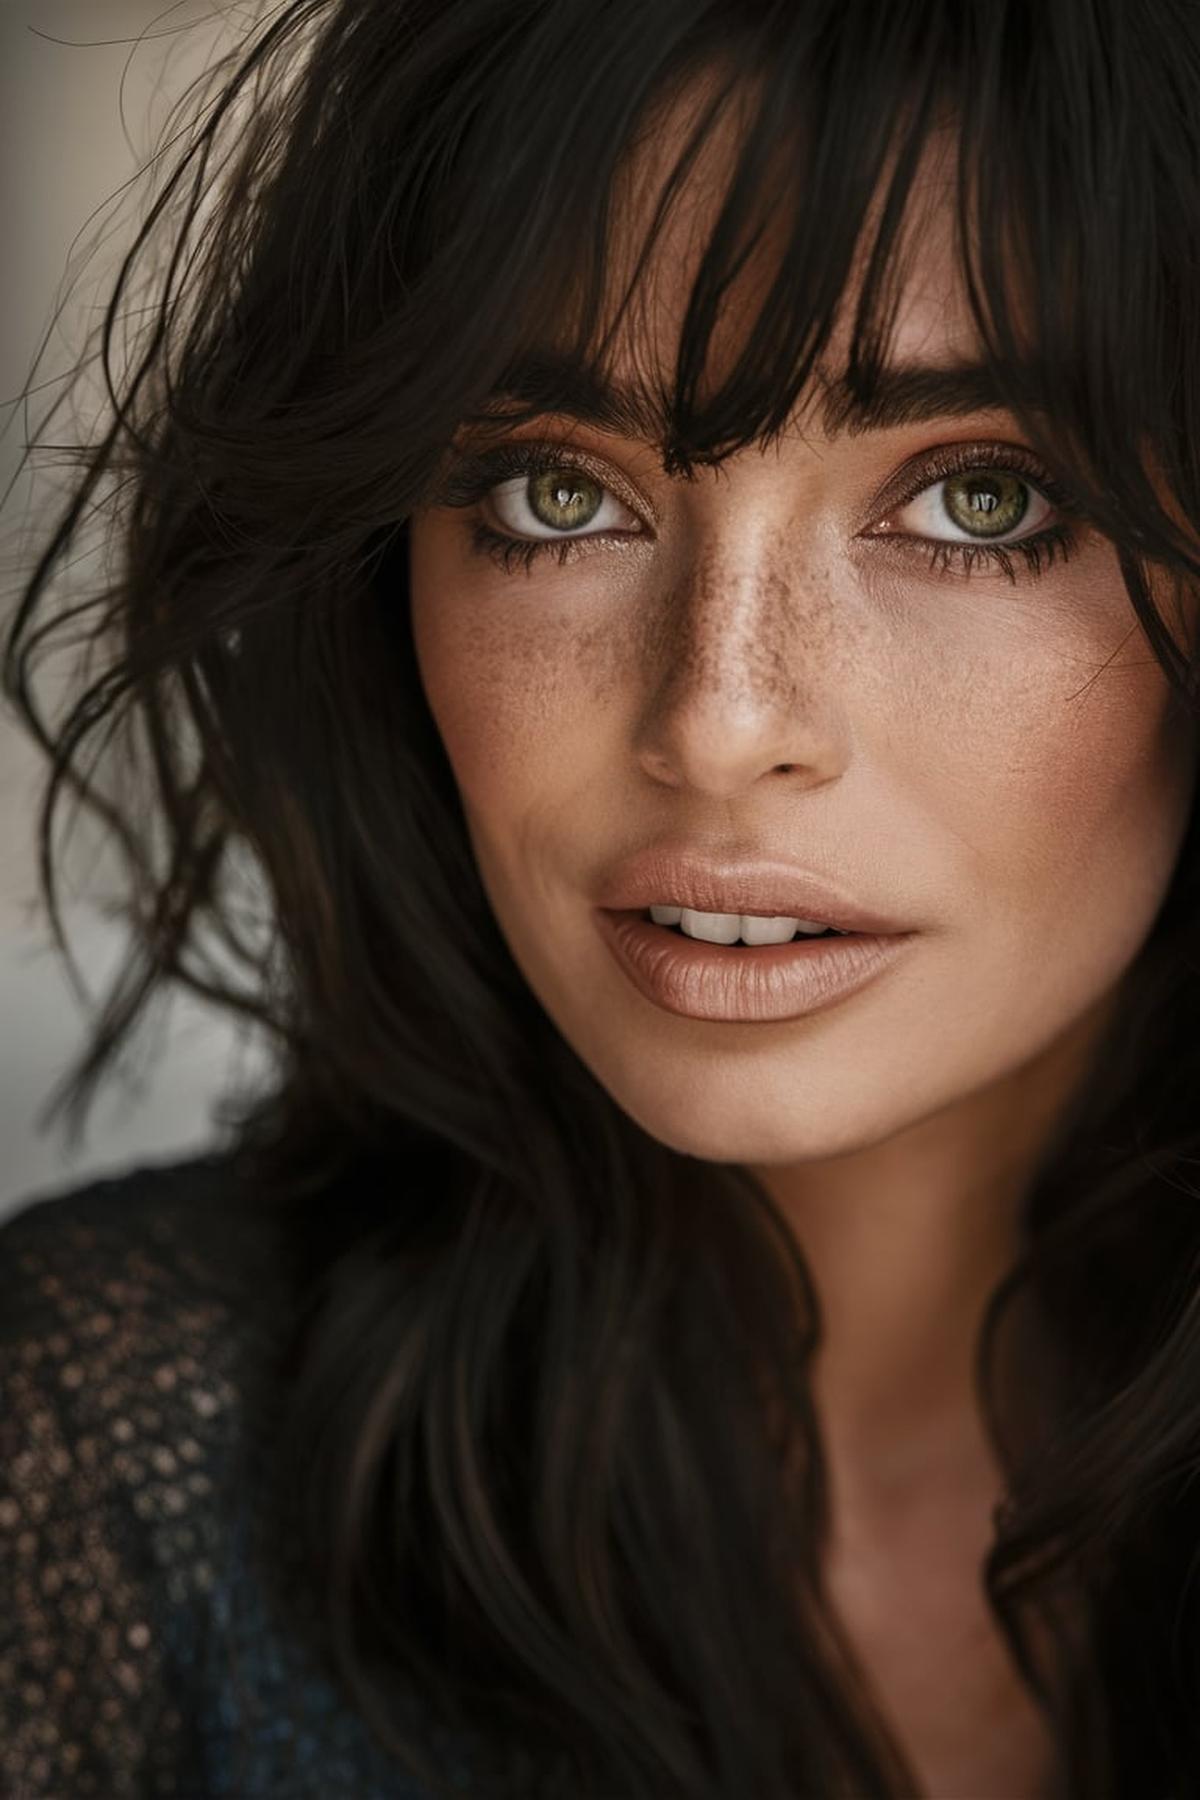
The Shagadelic Shag

The shag is all about layers and texture, giving your hair a messy yet stylish look. It’s a retro style that has come back in fashion, and it works well with different hair types. This cut often features bangs that can be short or long, and layers that frame your face.
Use products like volumizing shampoo and conditioner to give your hair a lift right from the start. After washing, you can let your hair air dry or use a blow dryer with a round brush to create some shape. If you want to add waves, a curling iron or flat iron can help.
They can be a defining feature of your shag. To style them, you might want to dampen them and blow dry them with a round brush for a polished look. Alternatively, you can let them air dry for a more casual vibe. The shagadelic shag is all about personal expression, so feel free to experiment with different lengths and styles until you find what works best for you.
The Bubble-licious Cut

You’ll need a good pair of scissors, a comb, and some styling products like mousse or gel. The bubble-licious cut is characterized by its voluminous, bouncy layers, so having the right tools will help you achieve that look. Begin by washing your hair and applying a volumizing mousse to give it some lift. Then, blow-dry your hair upside down to create extra volume at the roots.
The key to the bubble-licious cut is to make the layers uneven to create that playful, bouncy effect. Use your comb to lift sections of hair and cut at an angle. This will help create the bubble shape. If you’re unsure, it might be helpful to watch tutorials or ask a friend for help.
Once your hair is cut, use a curling iron to add some waves or curls. This will enhance the bouncy effect of the bubble-licious cut. Finish off with a light hairspray to hold the style in place without making it stiff. With practice and the right techniques, you’ll be able to rock the bubble-licious cut with confidence!
You may also be interested in:
The Rebel Ducktail

This style typically features short sides and a longer top that’s styled back. You should ask your barber or stylist for a tapered cut on the sides, while leaving enough length on top to create that iconic ducktail shape. The back should be rounded, which gives it a rebellious edge.
Use a good quality pomade or styling cream that provides hold without making your hair stiff. Apply a small amount to your hands and work it through your hair, focusing on the longer top section. Use a comb to slick back the hair, creating a smooth finish.
The Rebel Ducktail looks best when it’s fresh, so plan to visit your barber every few weeks. Additionally, keep your hair clean and use a good conditioner to maintain its health. If you want to add some flair, consider experimenting with hair colors or highlights that suit your personality, but remember to keep it within the style’s edgy vibe.
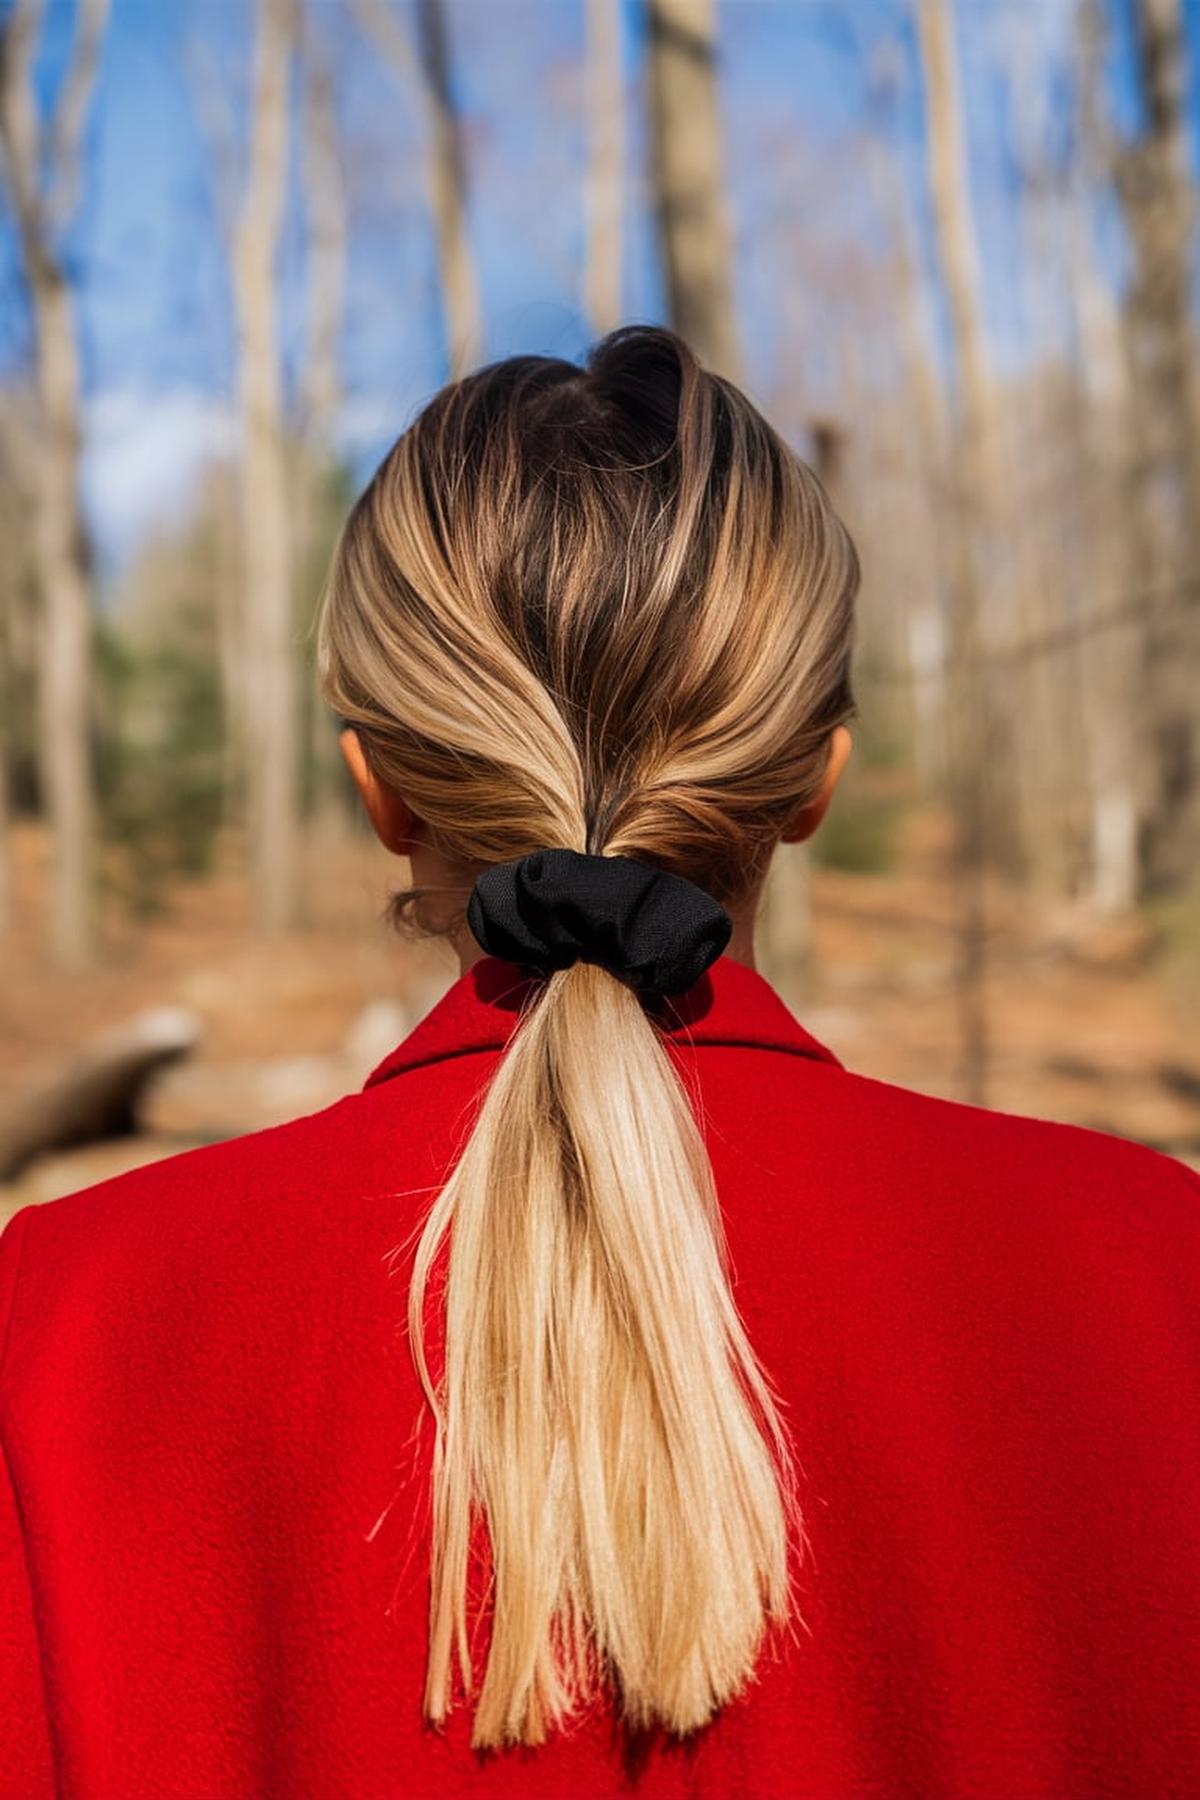
The Preppie Ponytail

Brush your hair thoroughly to remove any tangles. You can use a bit of styling product like mousse or gel to help keep your hair in place and add shine. Once your hair is prepped, gather it at the height you want—either high on your head for a sporty look or lower for a more classic style.
This hides the hair tie and makes your hairstyle look more sophisticated. Simply take a small piece of hair from the ponytail, wrap it around the base, and secure it with a bobby pin or tuck it under the ponytail.
If you want to add some flair, consider using a cute hair accessory like a ribbon or a decorative hair tie. This not only makes your ponytail stand out but also shows off your personal style. With a bit of practice, you’ll be able to create a chic and effortless preppie ponytail that looks great for any occasion!
You may also be interested in:
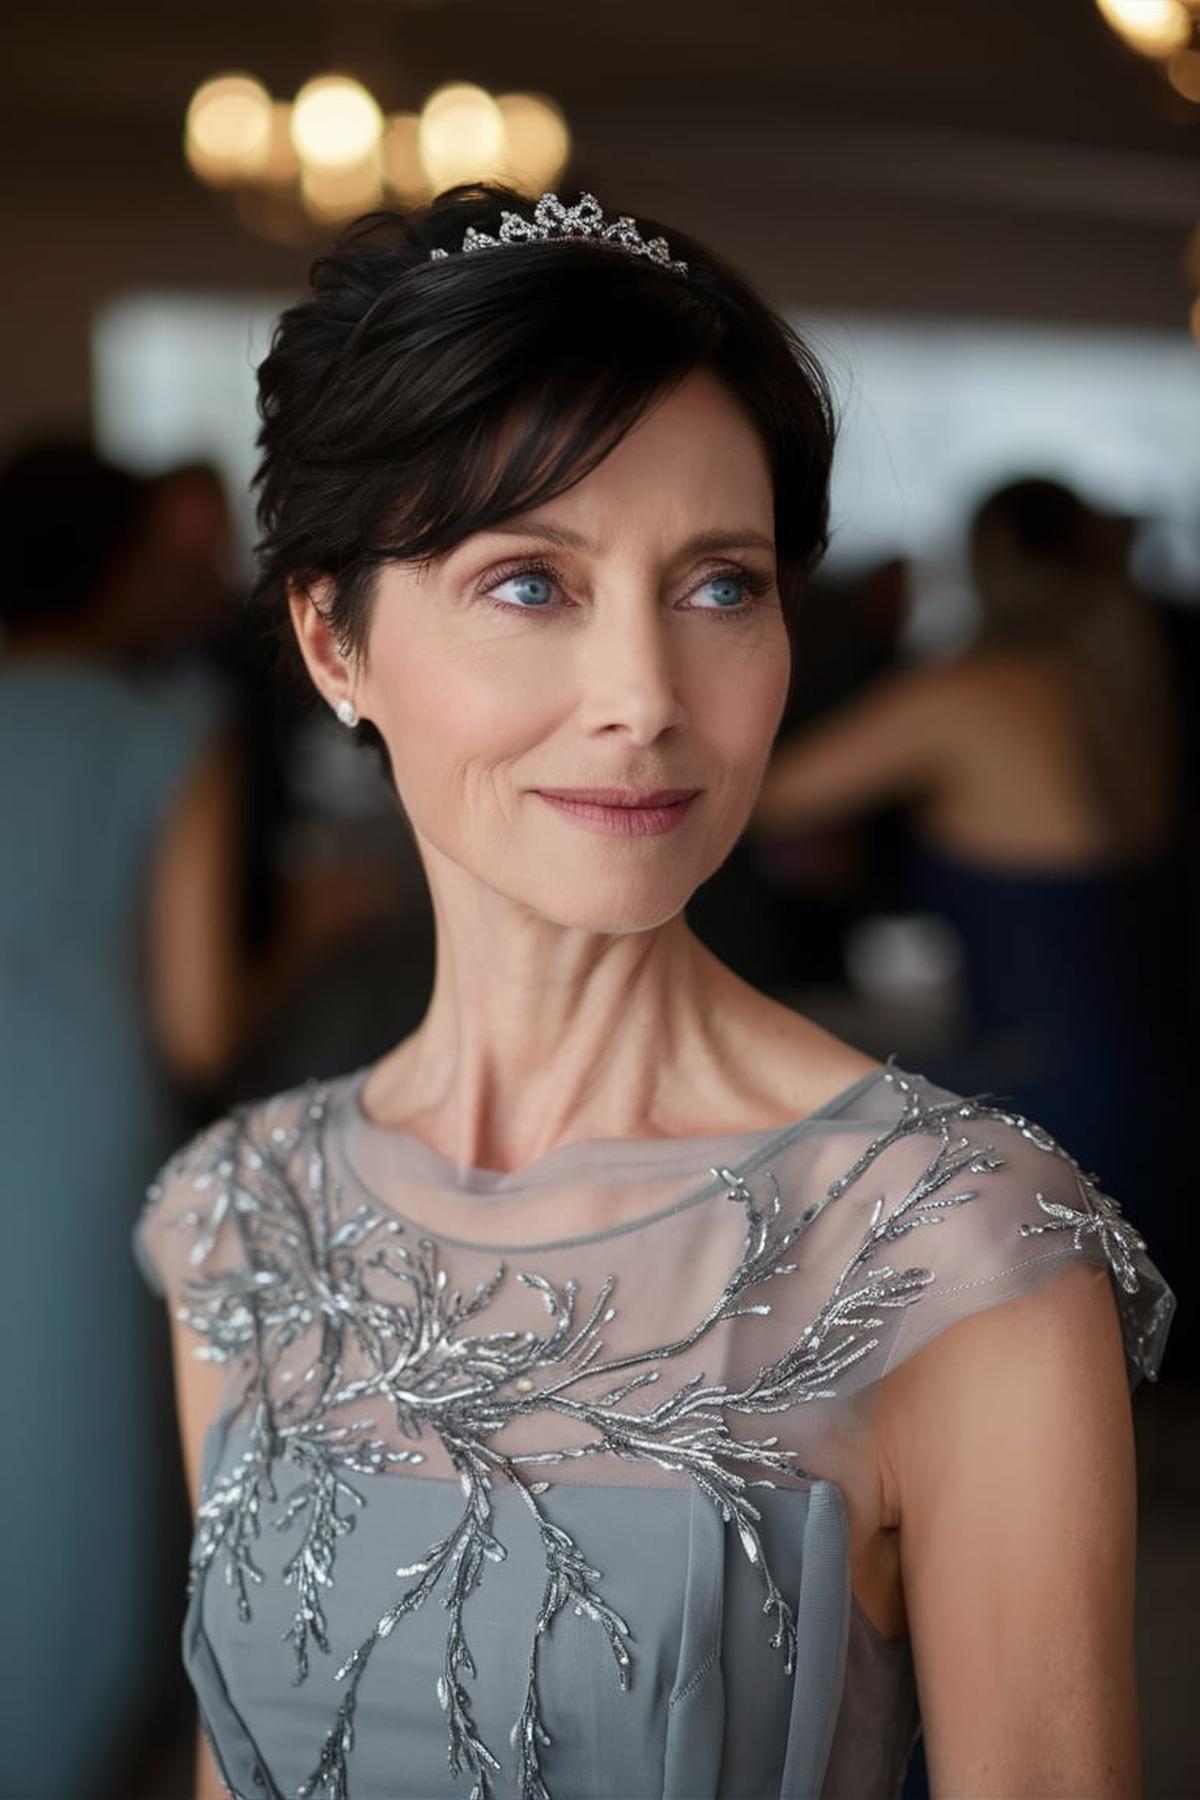
The Retro Updo

It’s best to work with hair that has some texture, so if your hair is freshly washed, consider using a bit of styling gel or mousse to give it grip. Begin by sectioning off your bangs and rolling them into a loose pin curl. Secure this curl with a bobby pin on one side of your head.
Create a pompadour by taking a triangular section of hair at the front, backcombing it for volume, and then twisting it back towards your head. Pin it in place with bobby pins. For added flair, you can twist the sides of your hair and pin them close to the pompadour.
Finally, finishing touches are key to making your retro updo stand out. Use hairspray to hold everything in place, and feel free to adjust the curls and twists until you’re happy with the look. You can also add flowers or other accessories to personalize your hairstyle. With practice, you’ll be able to create a stunning retro updo that’s perfect for any occasion.
Q&As for 1950s hairstyles
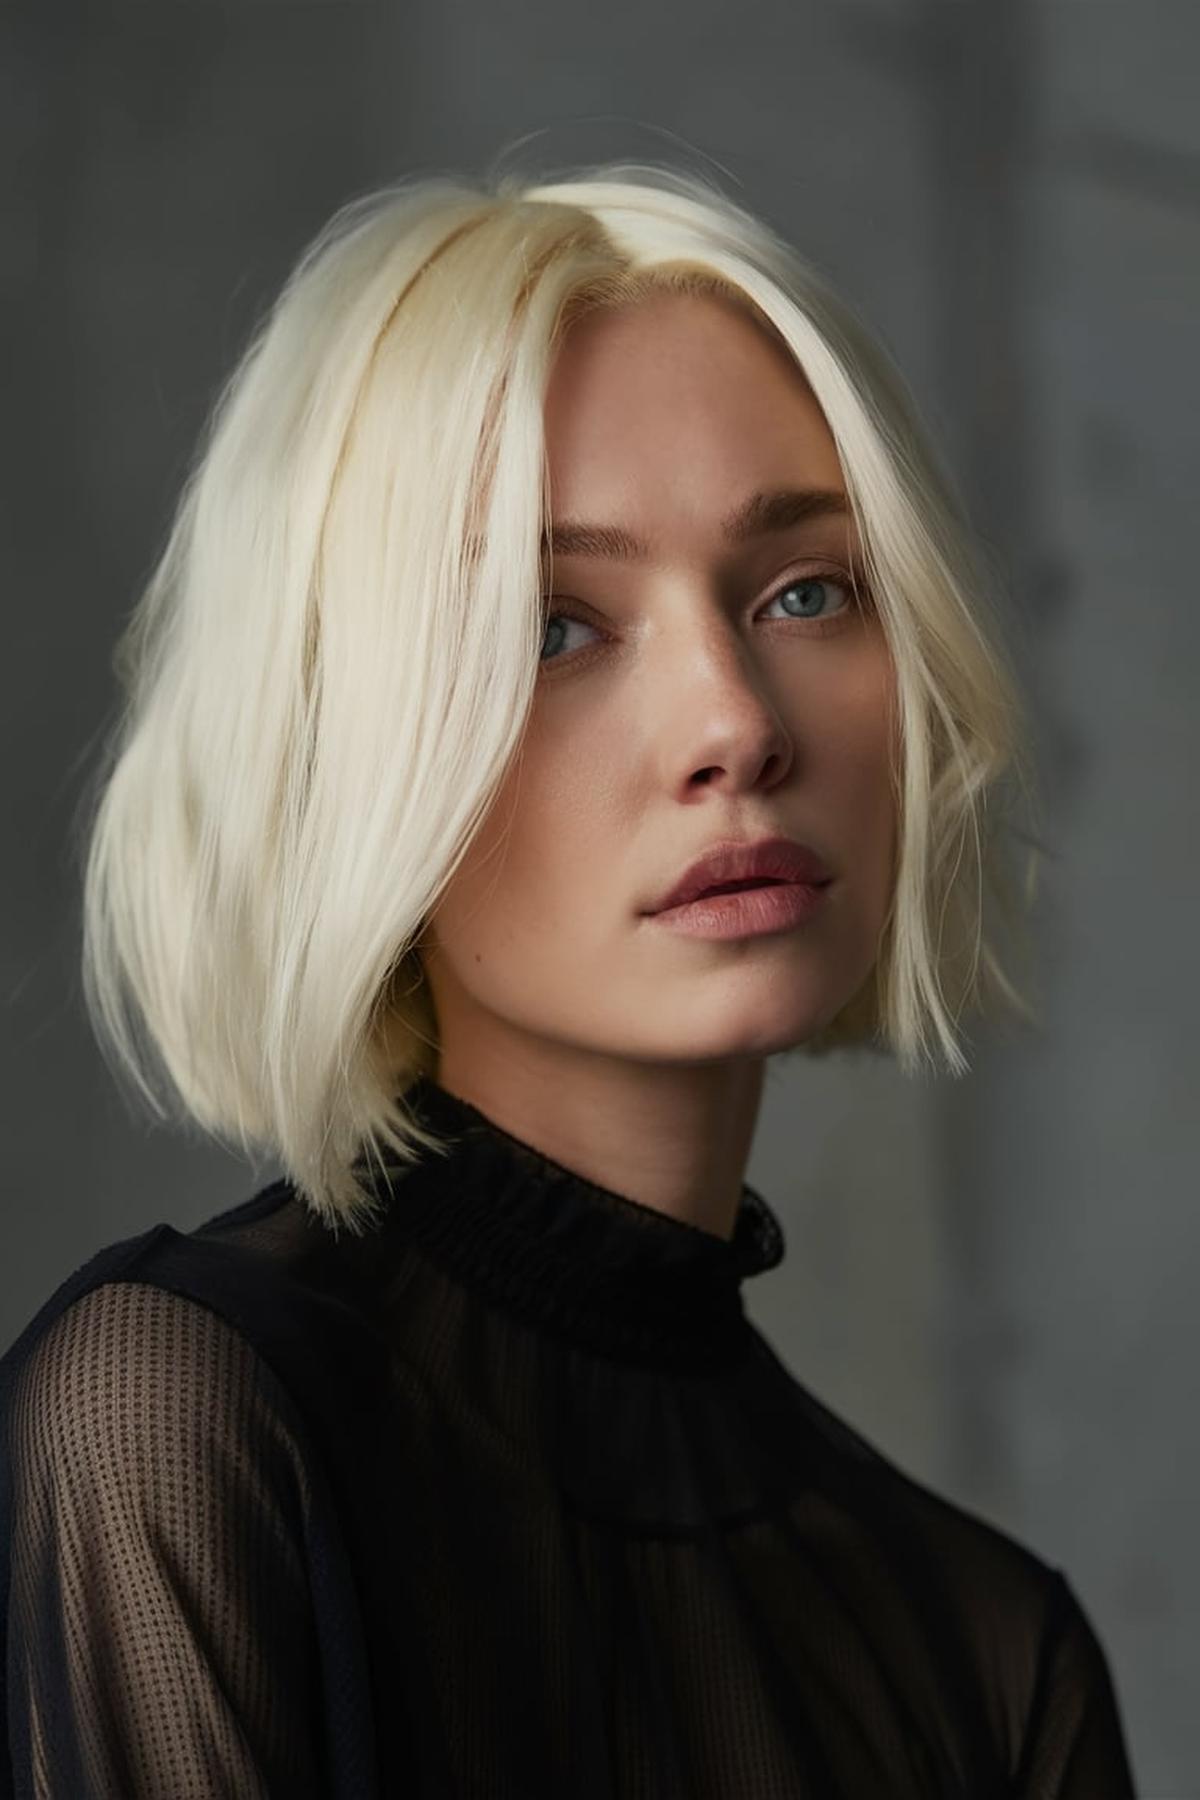
Q: How can I style my hair into a “Vintage Vixen Bob” for a 1950s look?
A: To get the “Vintage Vixen Bob,” cut your hair short and style it with loose curls around your face. Use a curling iron or rollers to achieve the look, and finish with hairspray to hold the curls in place.
Q: What is the best way to create a “Pin-Up Pompadour” hairstyle?
A: For a “Pin-Up Pompadour,” start by teasing the front section of your hair to add volume. Then, smooth the top layer and pin it back, creating a high bump. Secure the style with bobby pins and hairspray.
Q: How do I achieve the “Retro Finger Wave” style?
A: To create “Retro Finger Waves,” apply a styling gel to damp hair and use your fingers or a comb to shape waves. Pin the waves in place until they dry, then remove the pins and set with hairspray for a sleek finish.
Q: What steps should I follow to style a “Perfectly Poodle” hairdo?
A: For a “Perfectly Poodle” hairstyle, curl small sections of your hair tightly with a curling iron. Once curled, fluff the curls with your fingers and use hairspray to keep them bouncy and in place.
Q: How can I make my hair look like a “Beehive Beauté”?
A: To create a “Beehive Beauté,” backcomb the crown of your hair to add height, then smooth the top layer over the teased section. Gather the hair into a high bun and secure with pins. Finish with hairspray for a polished look.