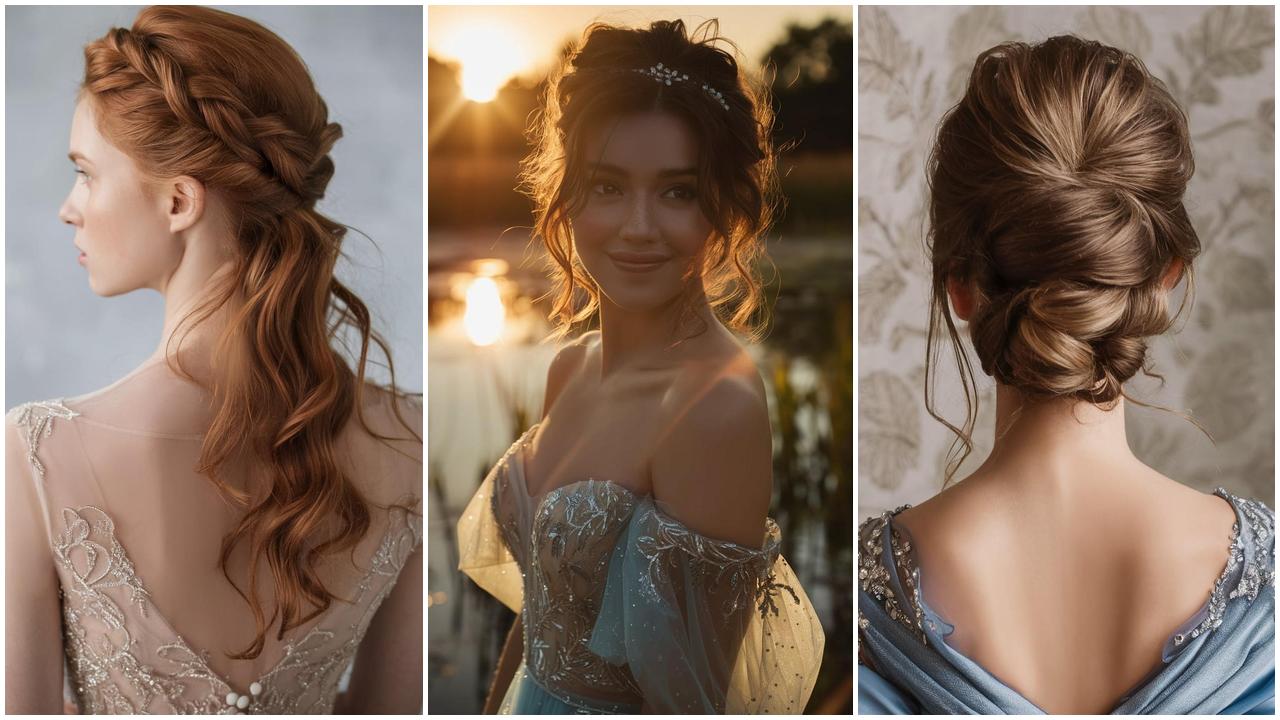
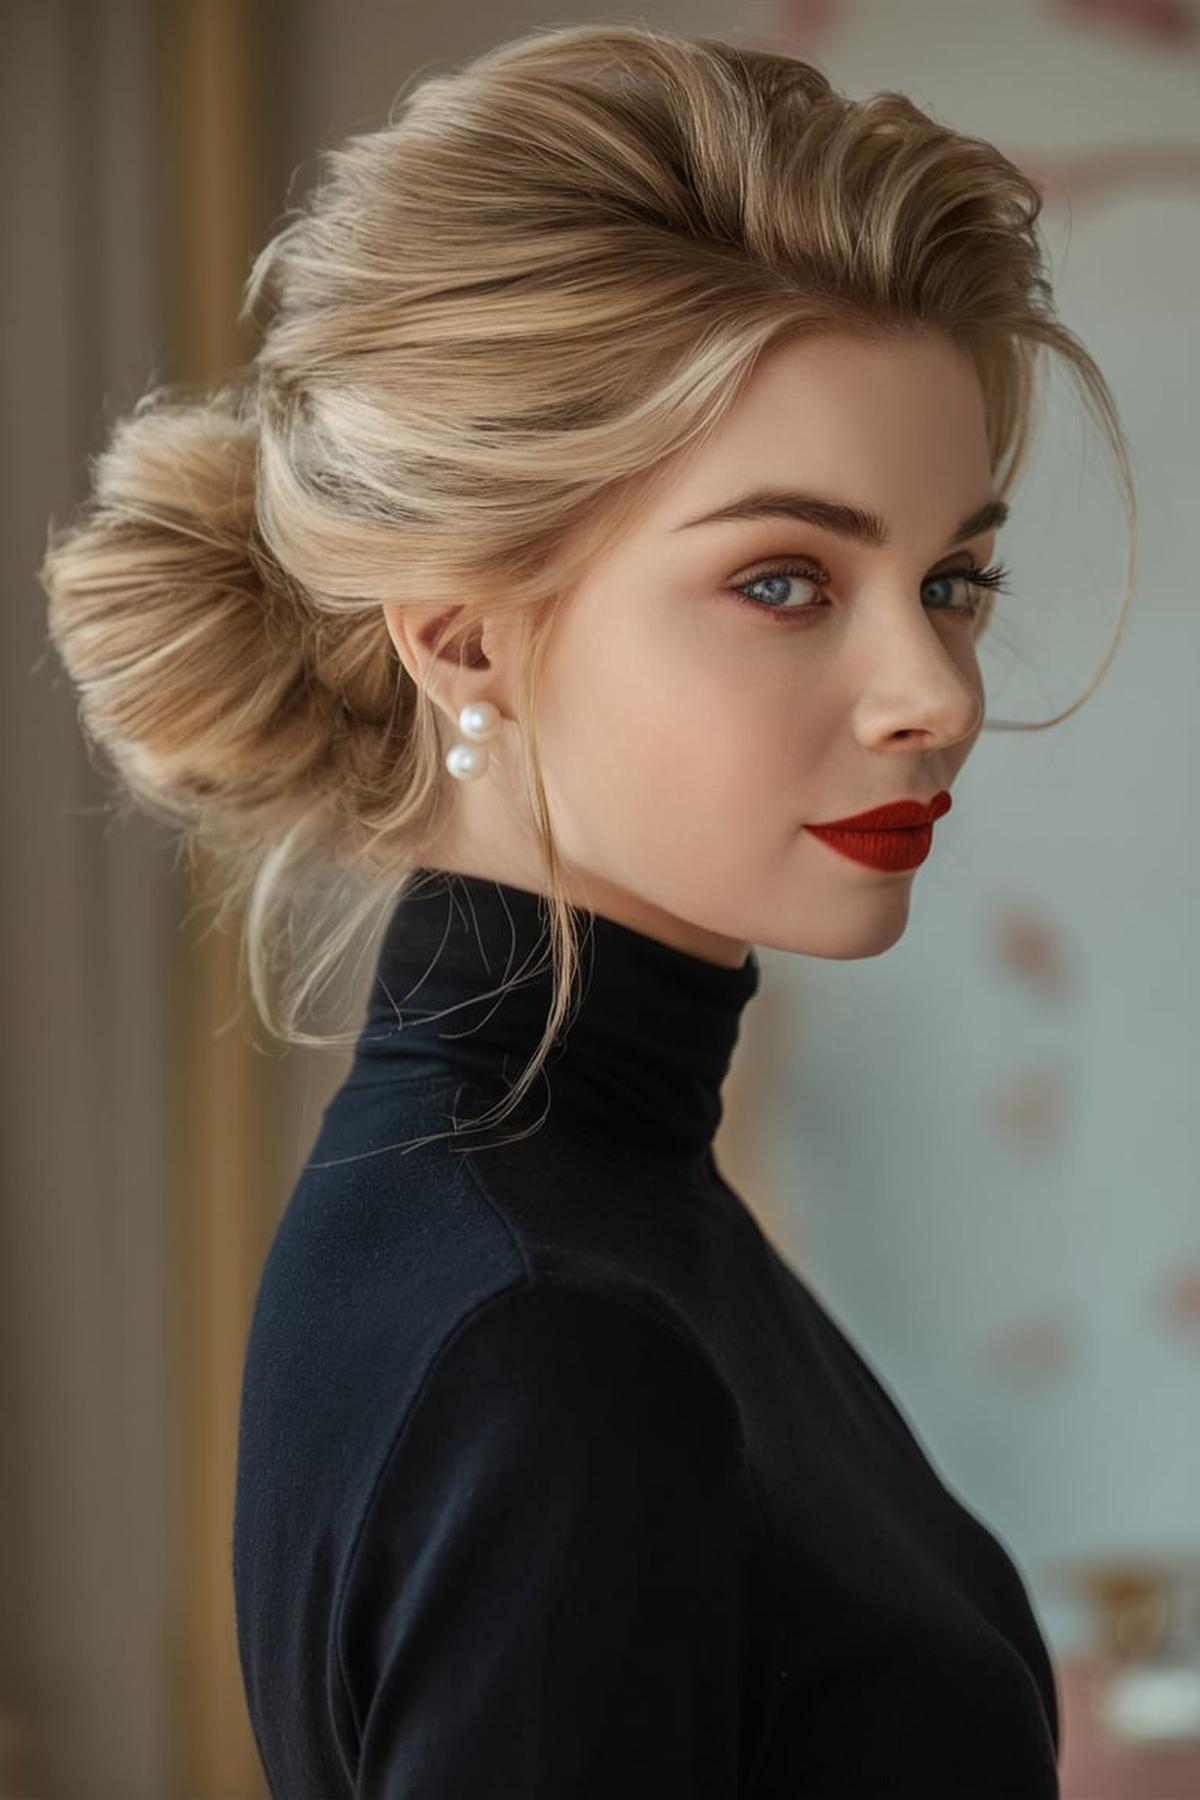
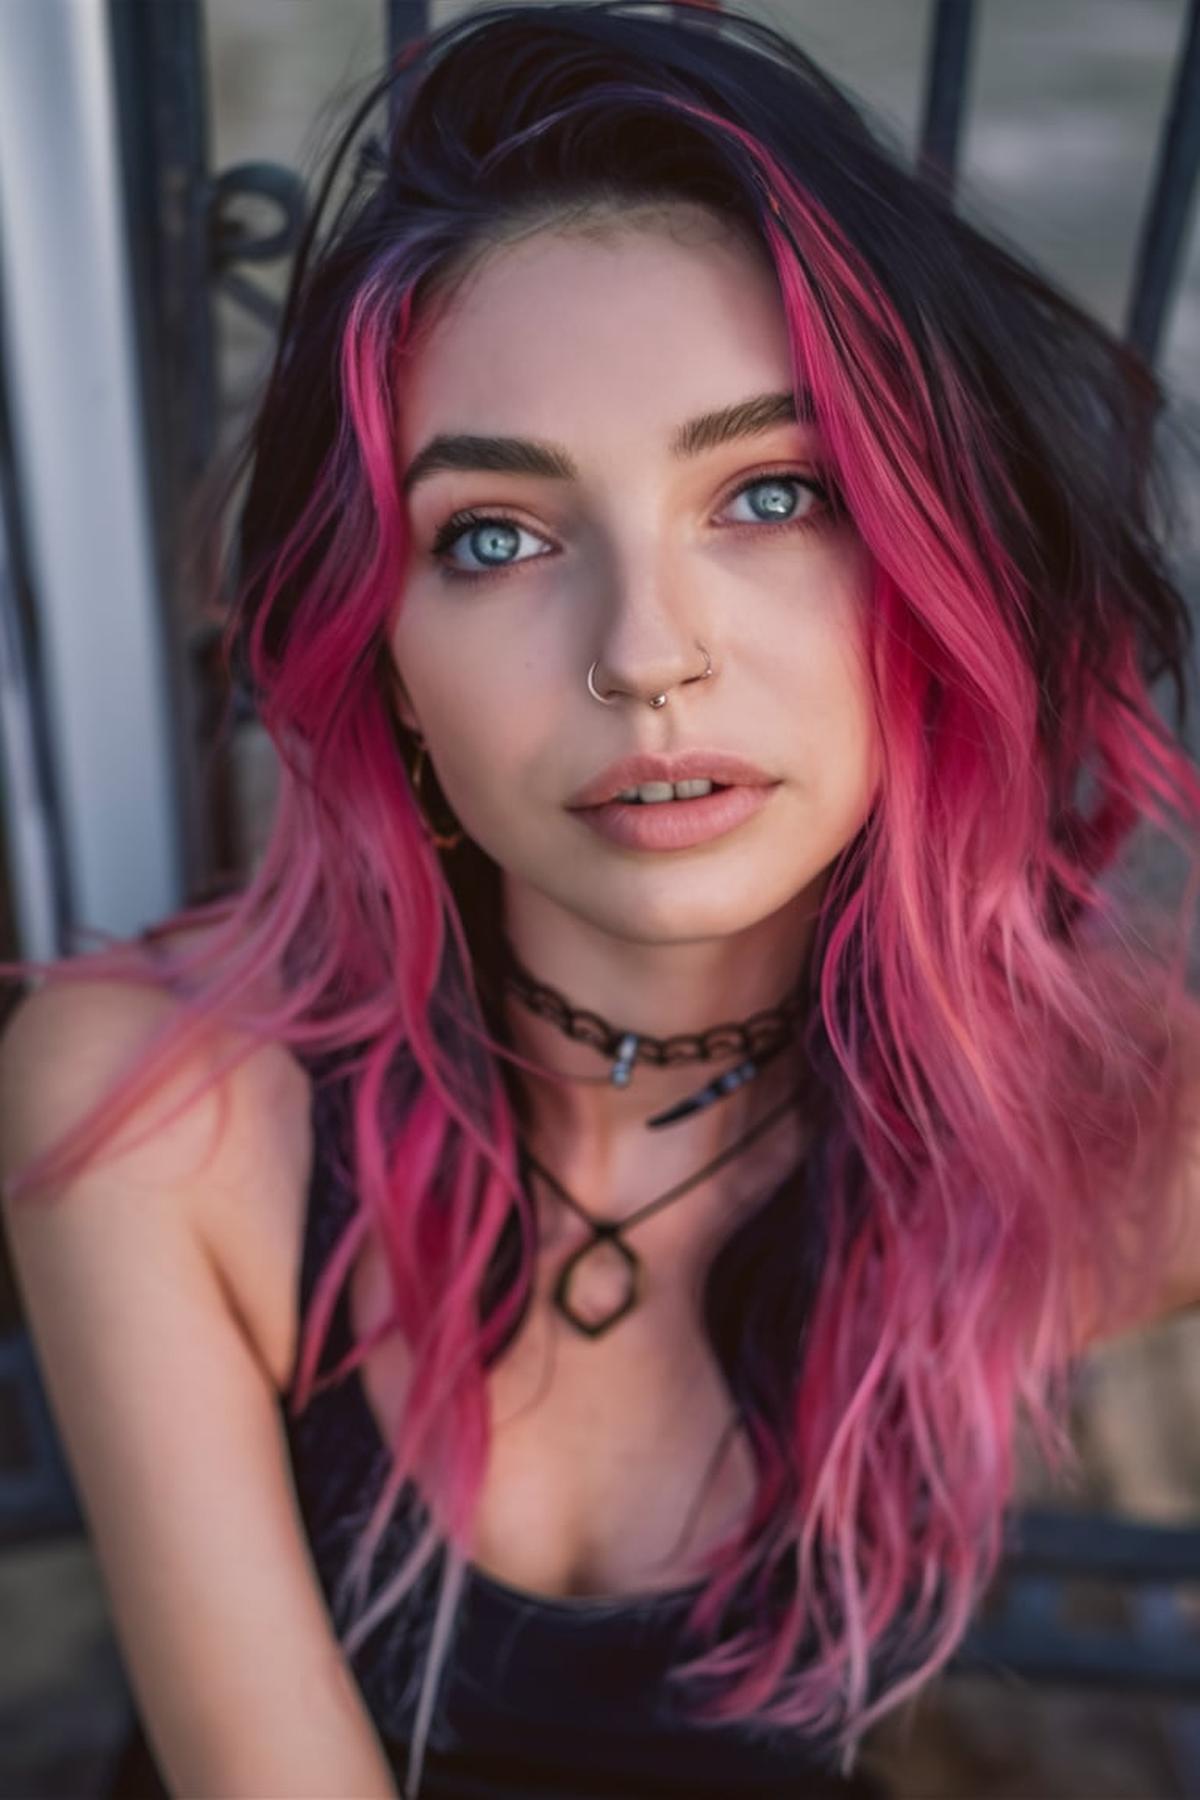
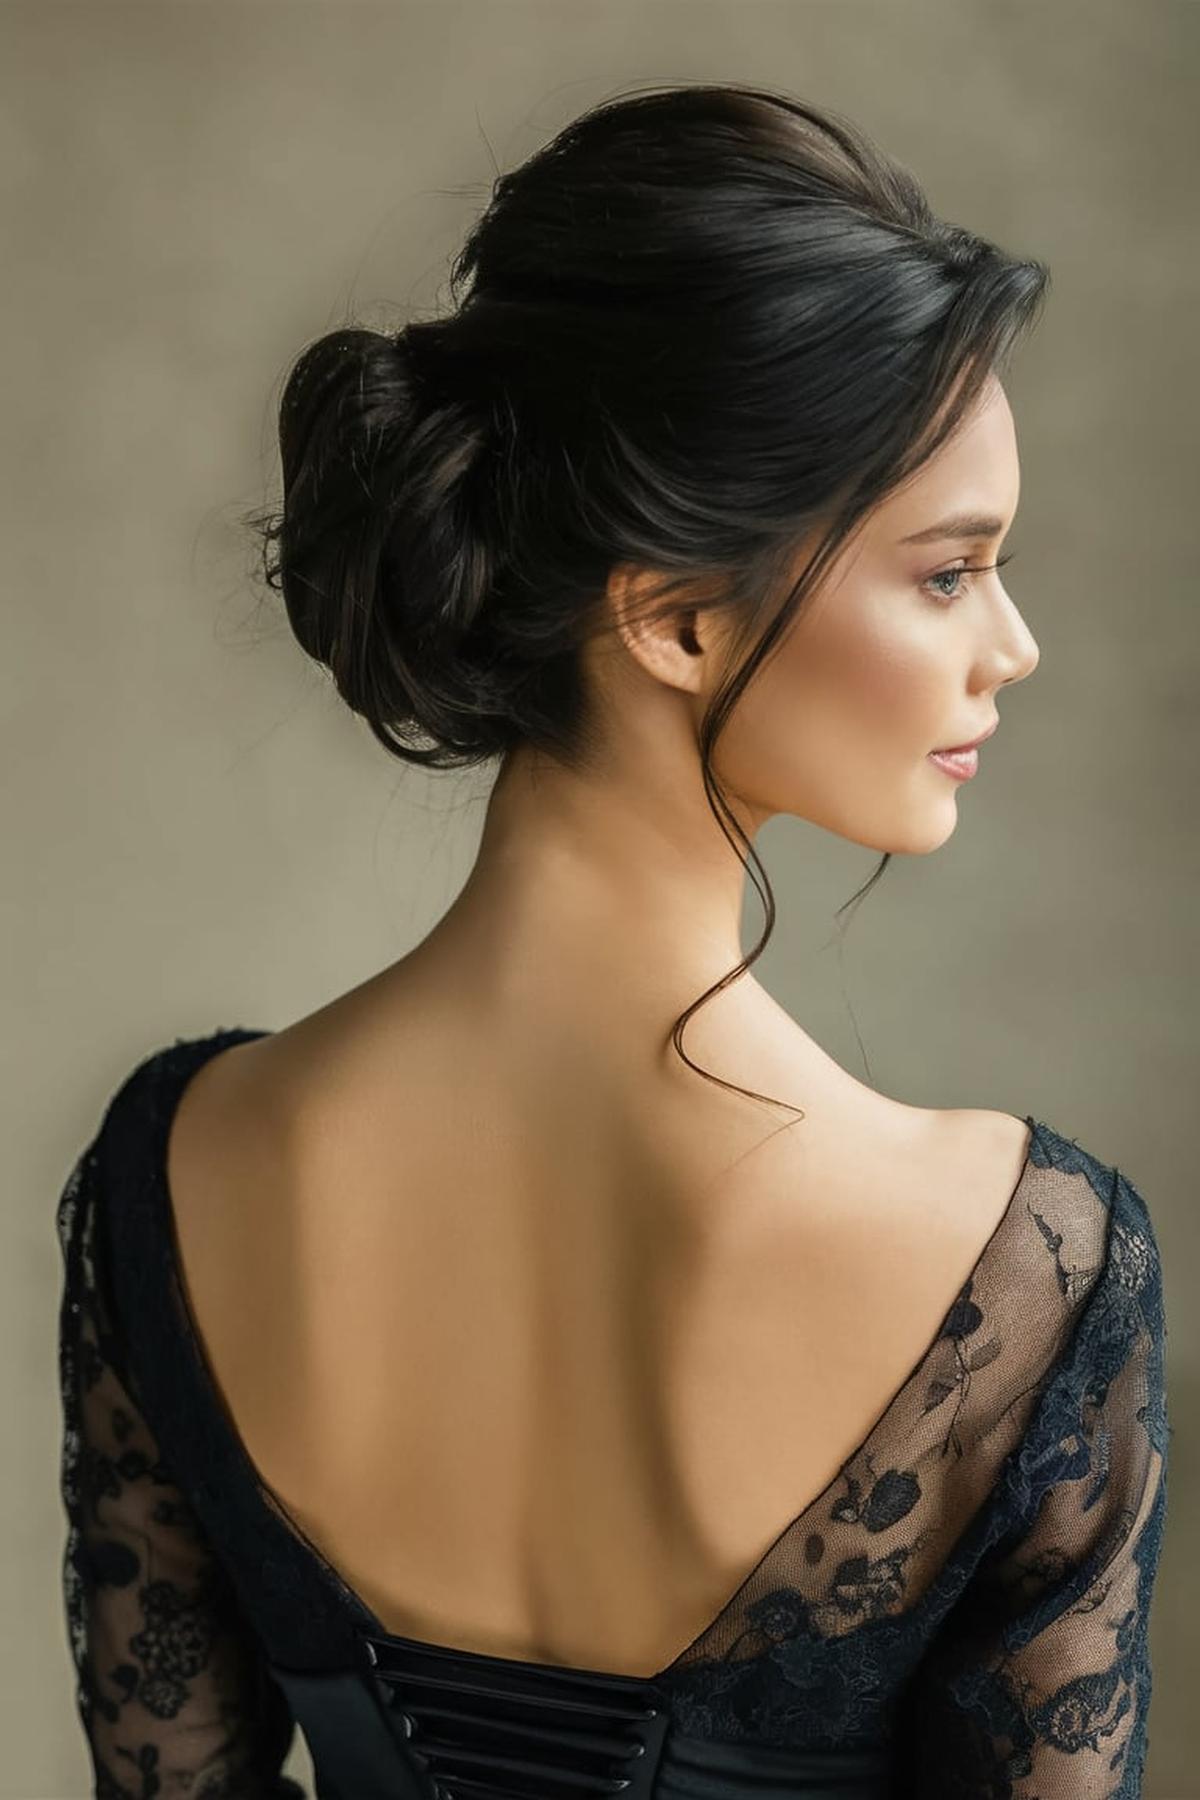
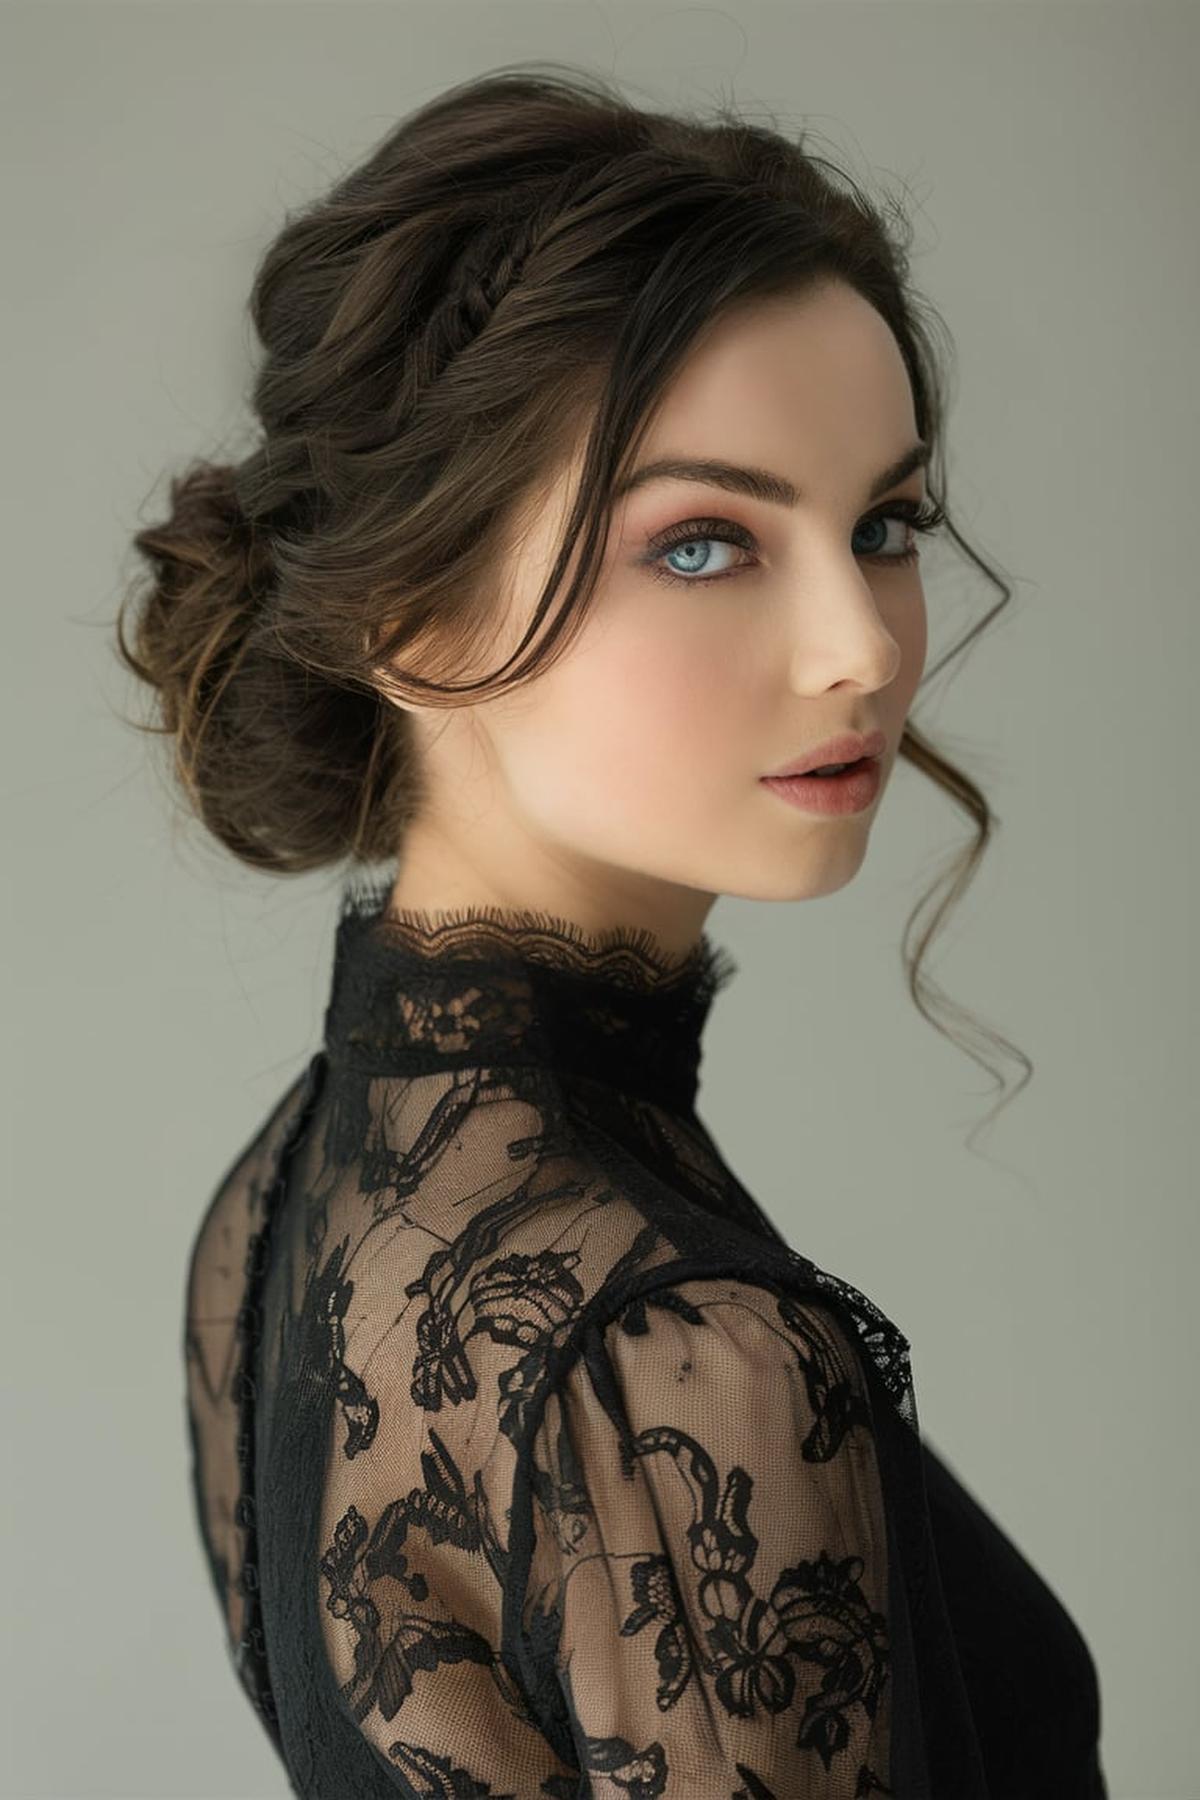
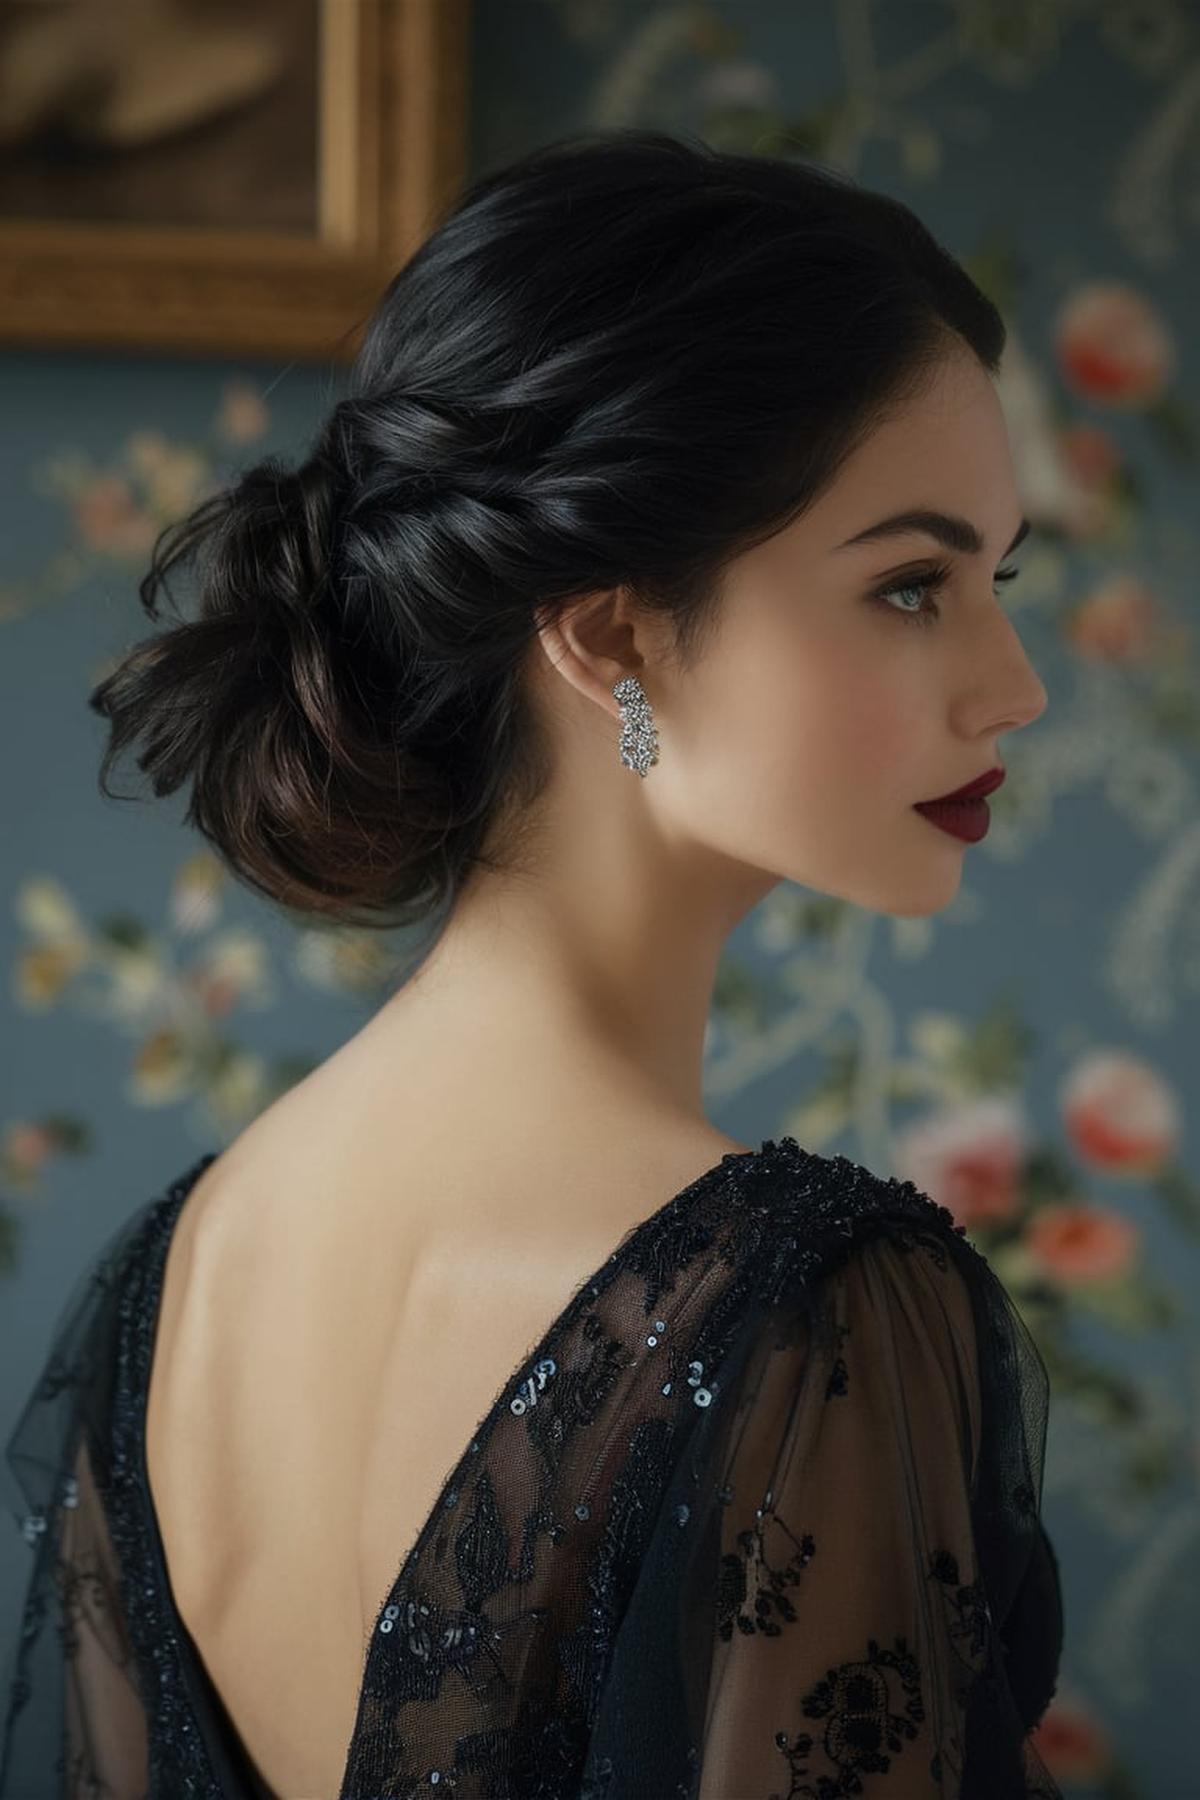
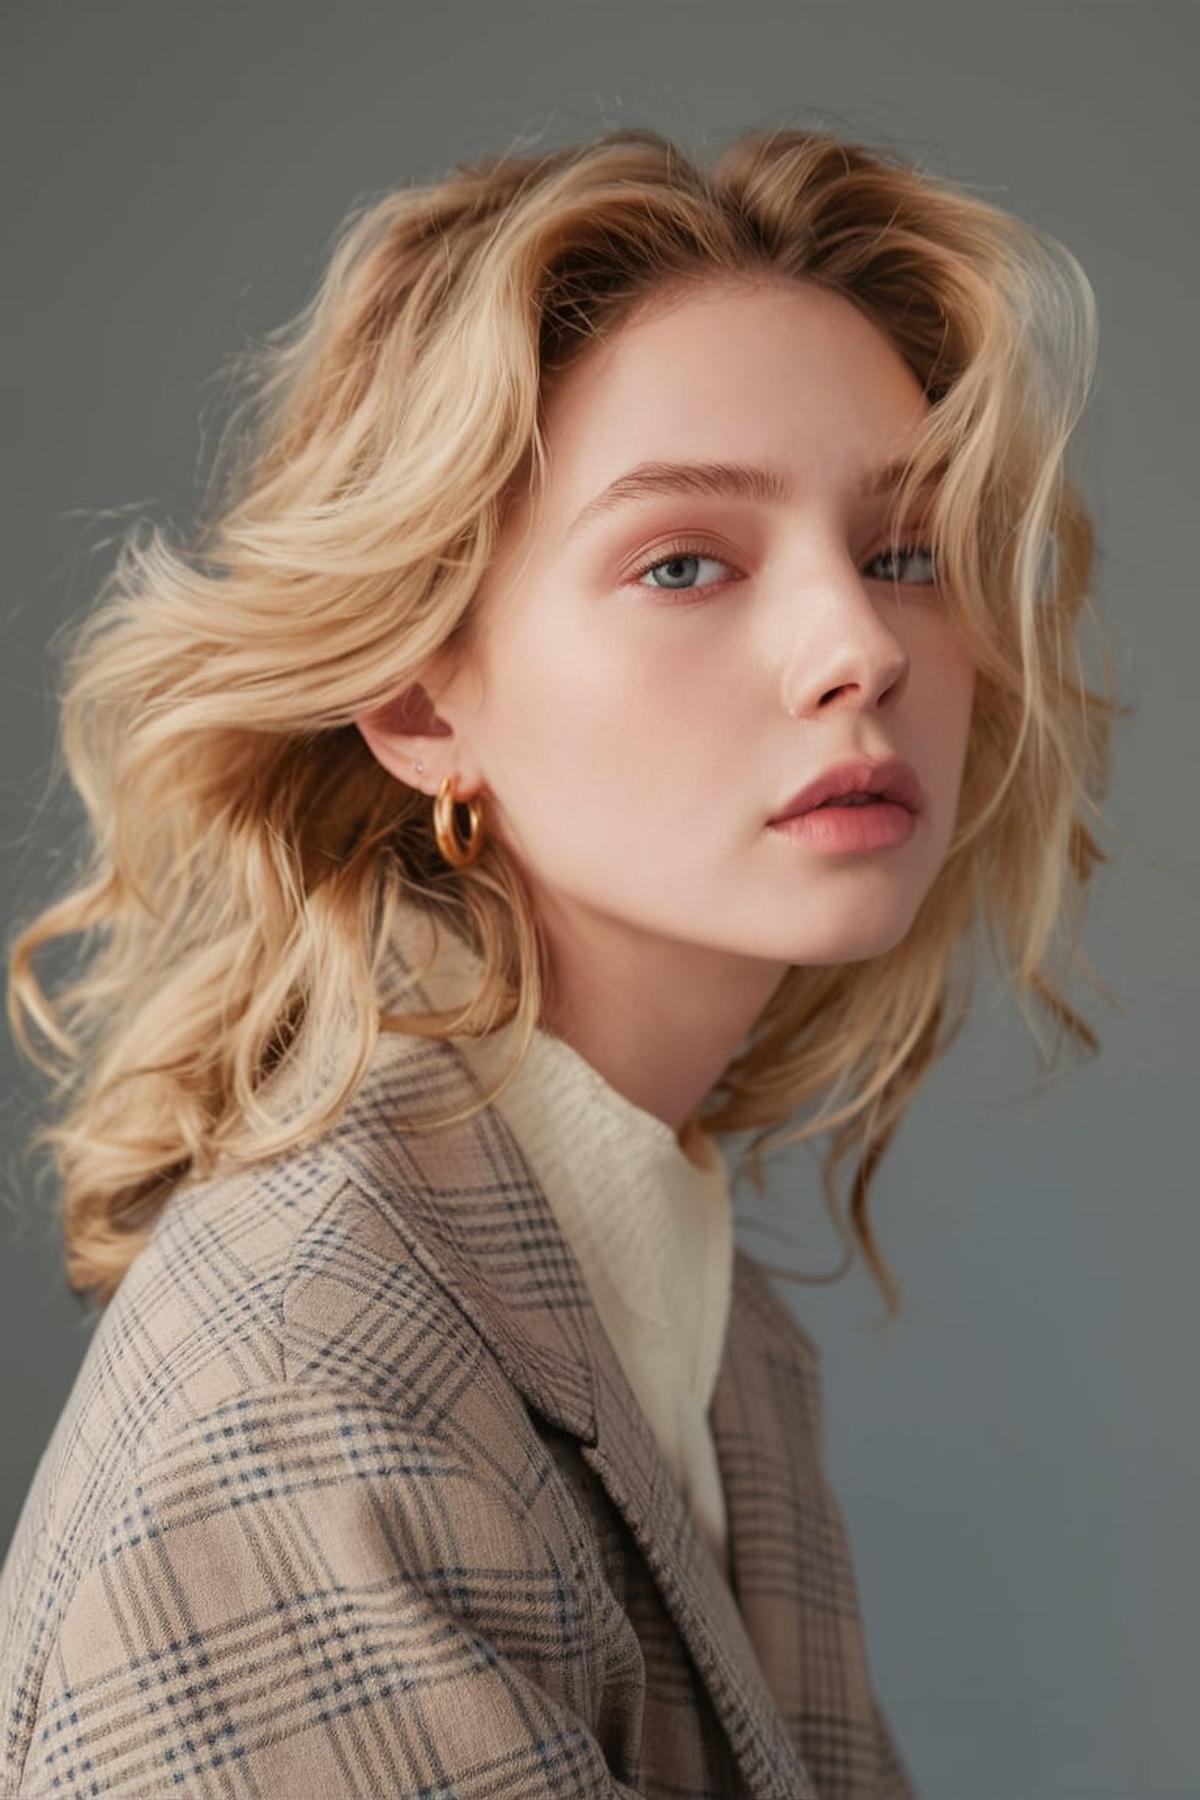
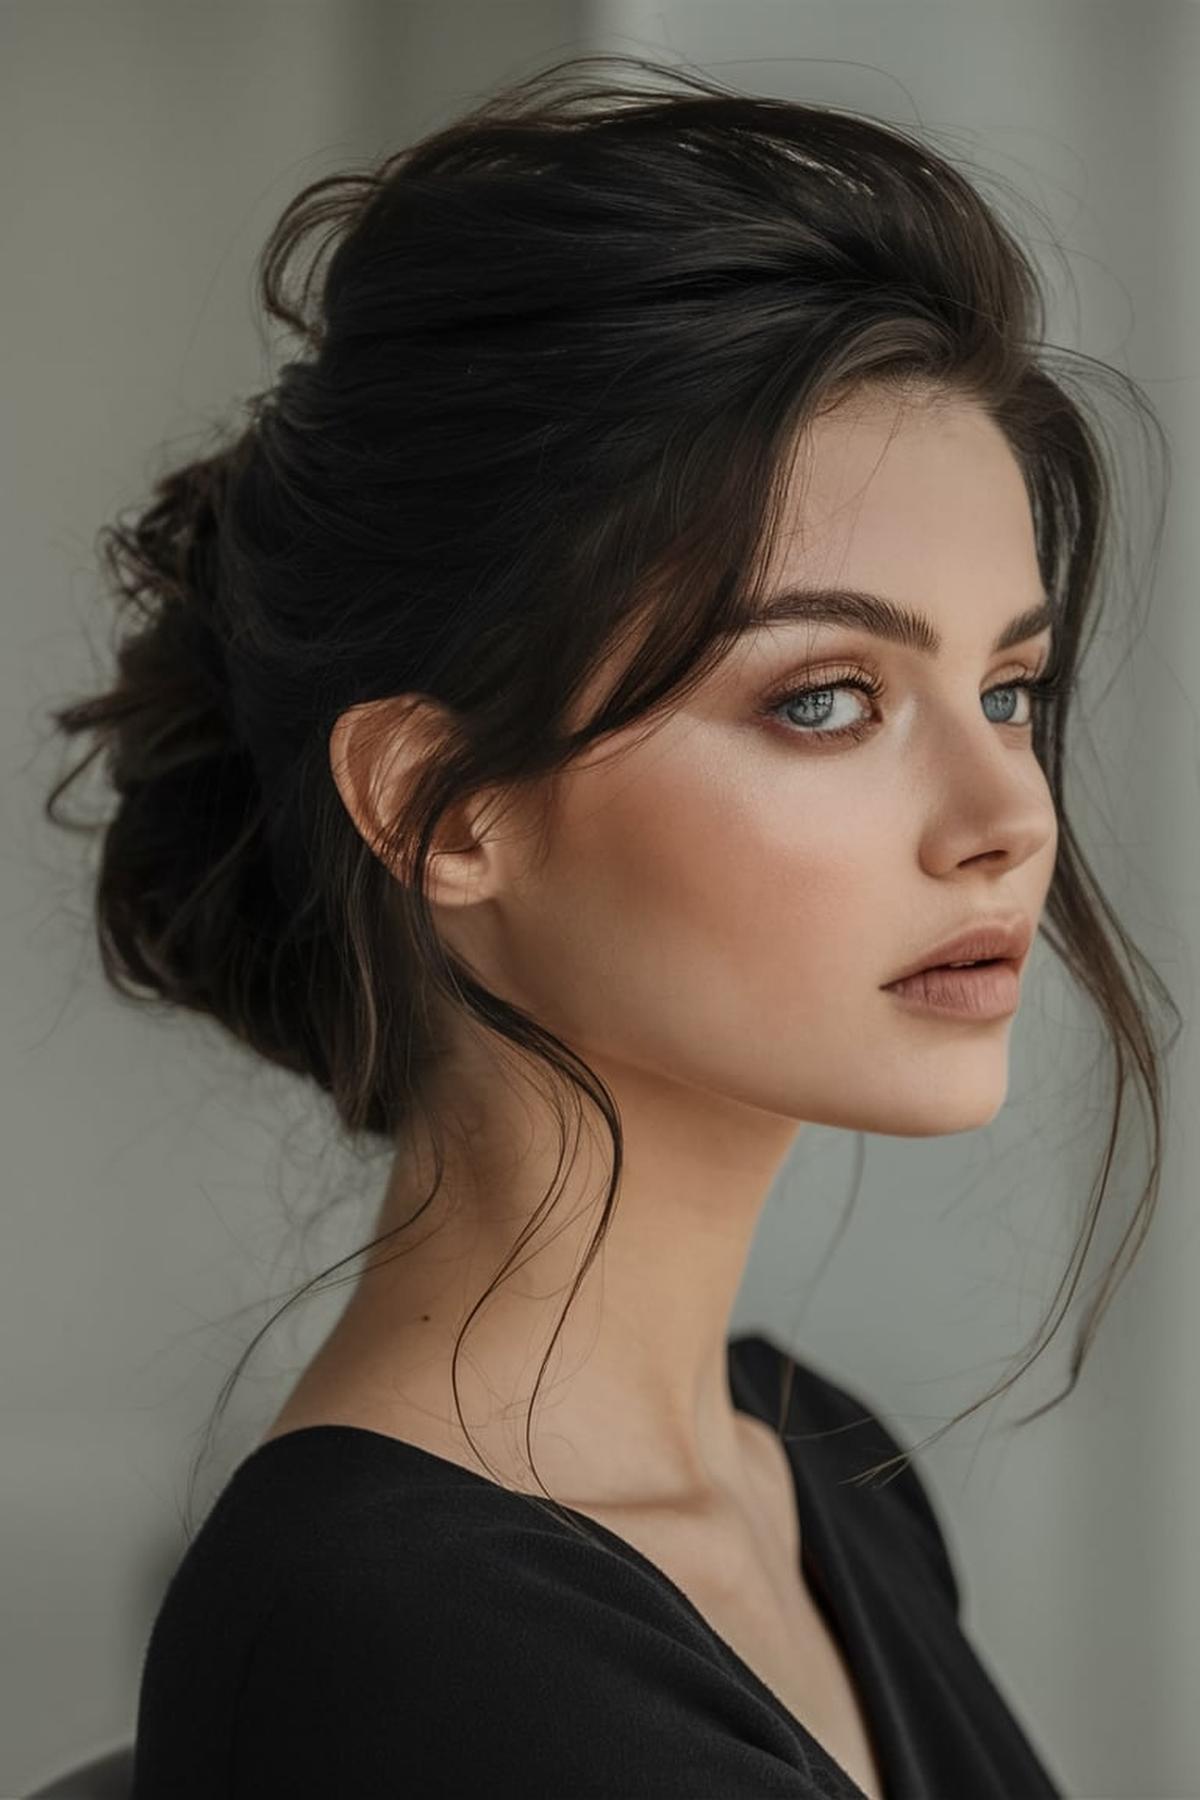
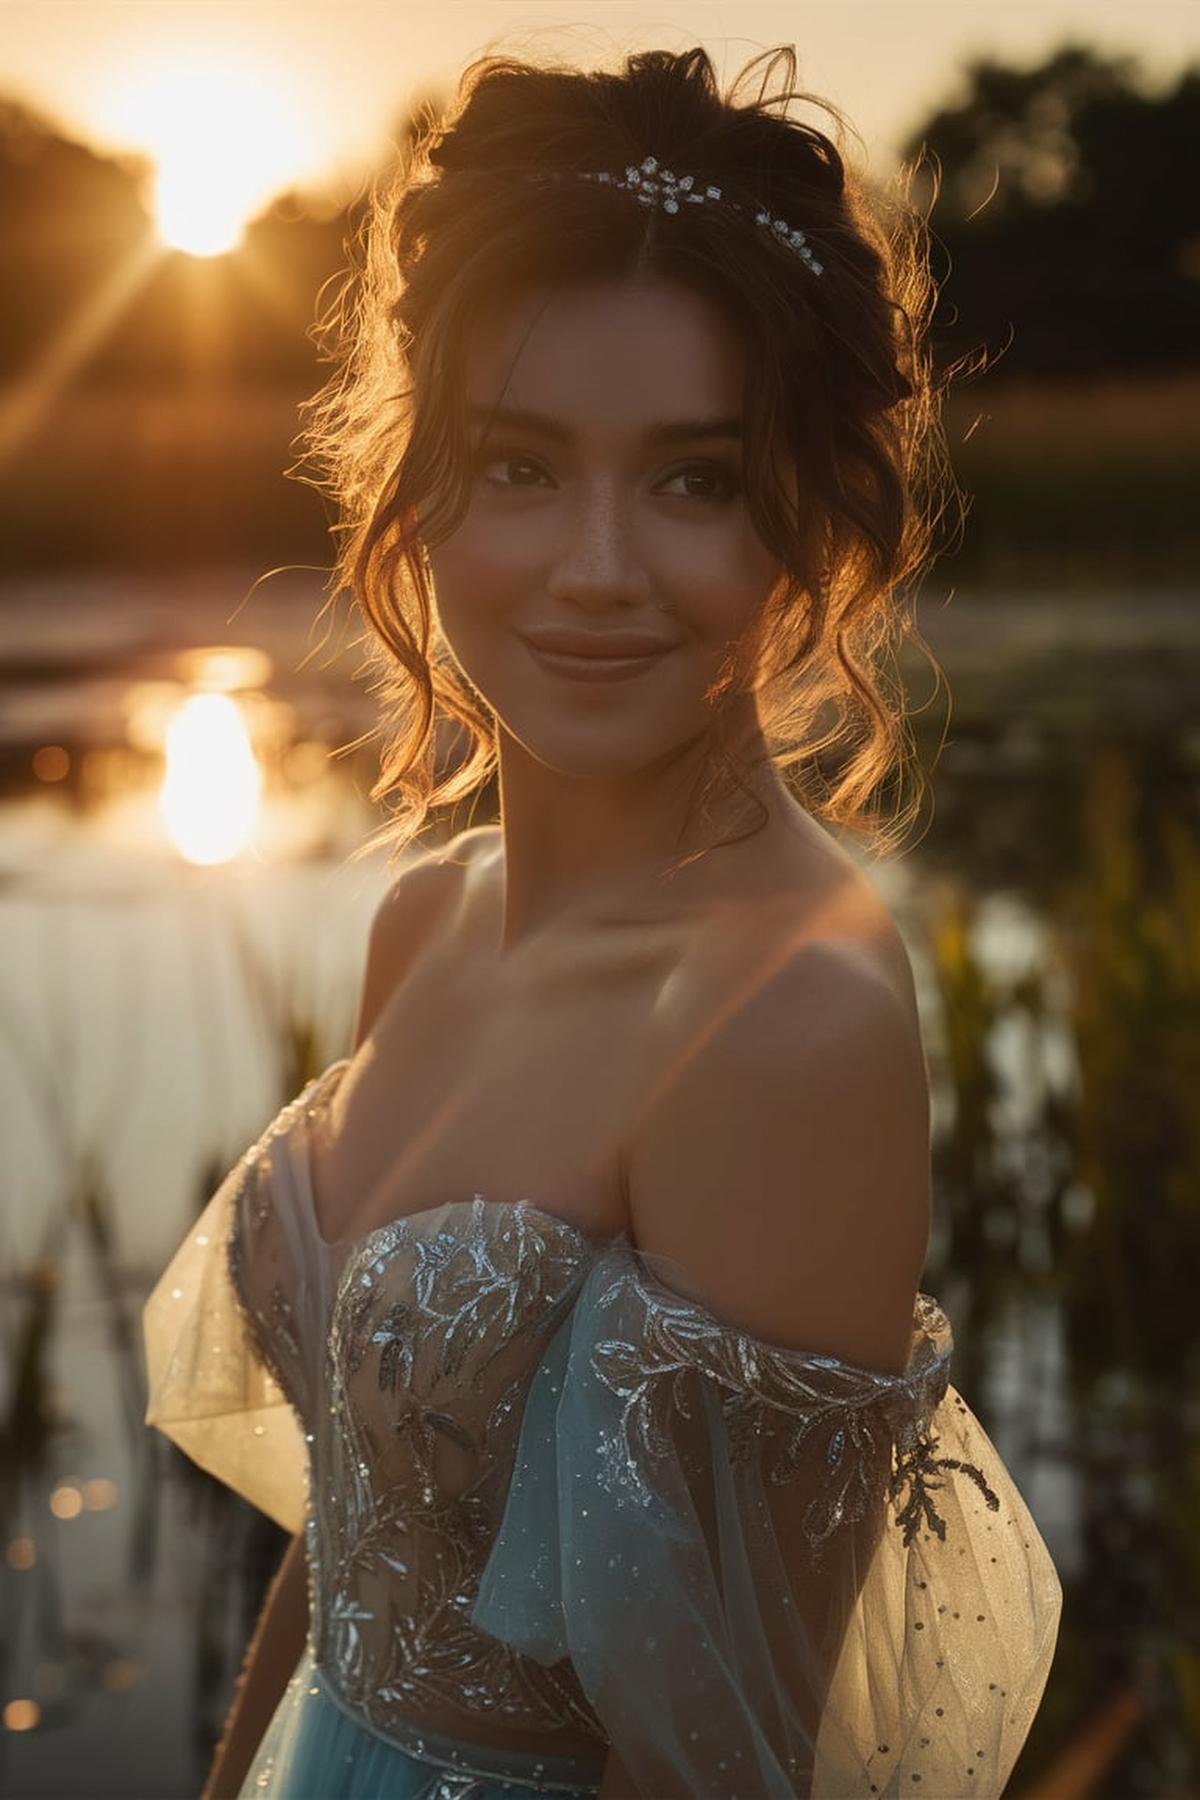
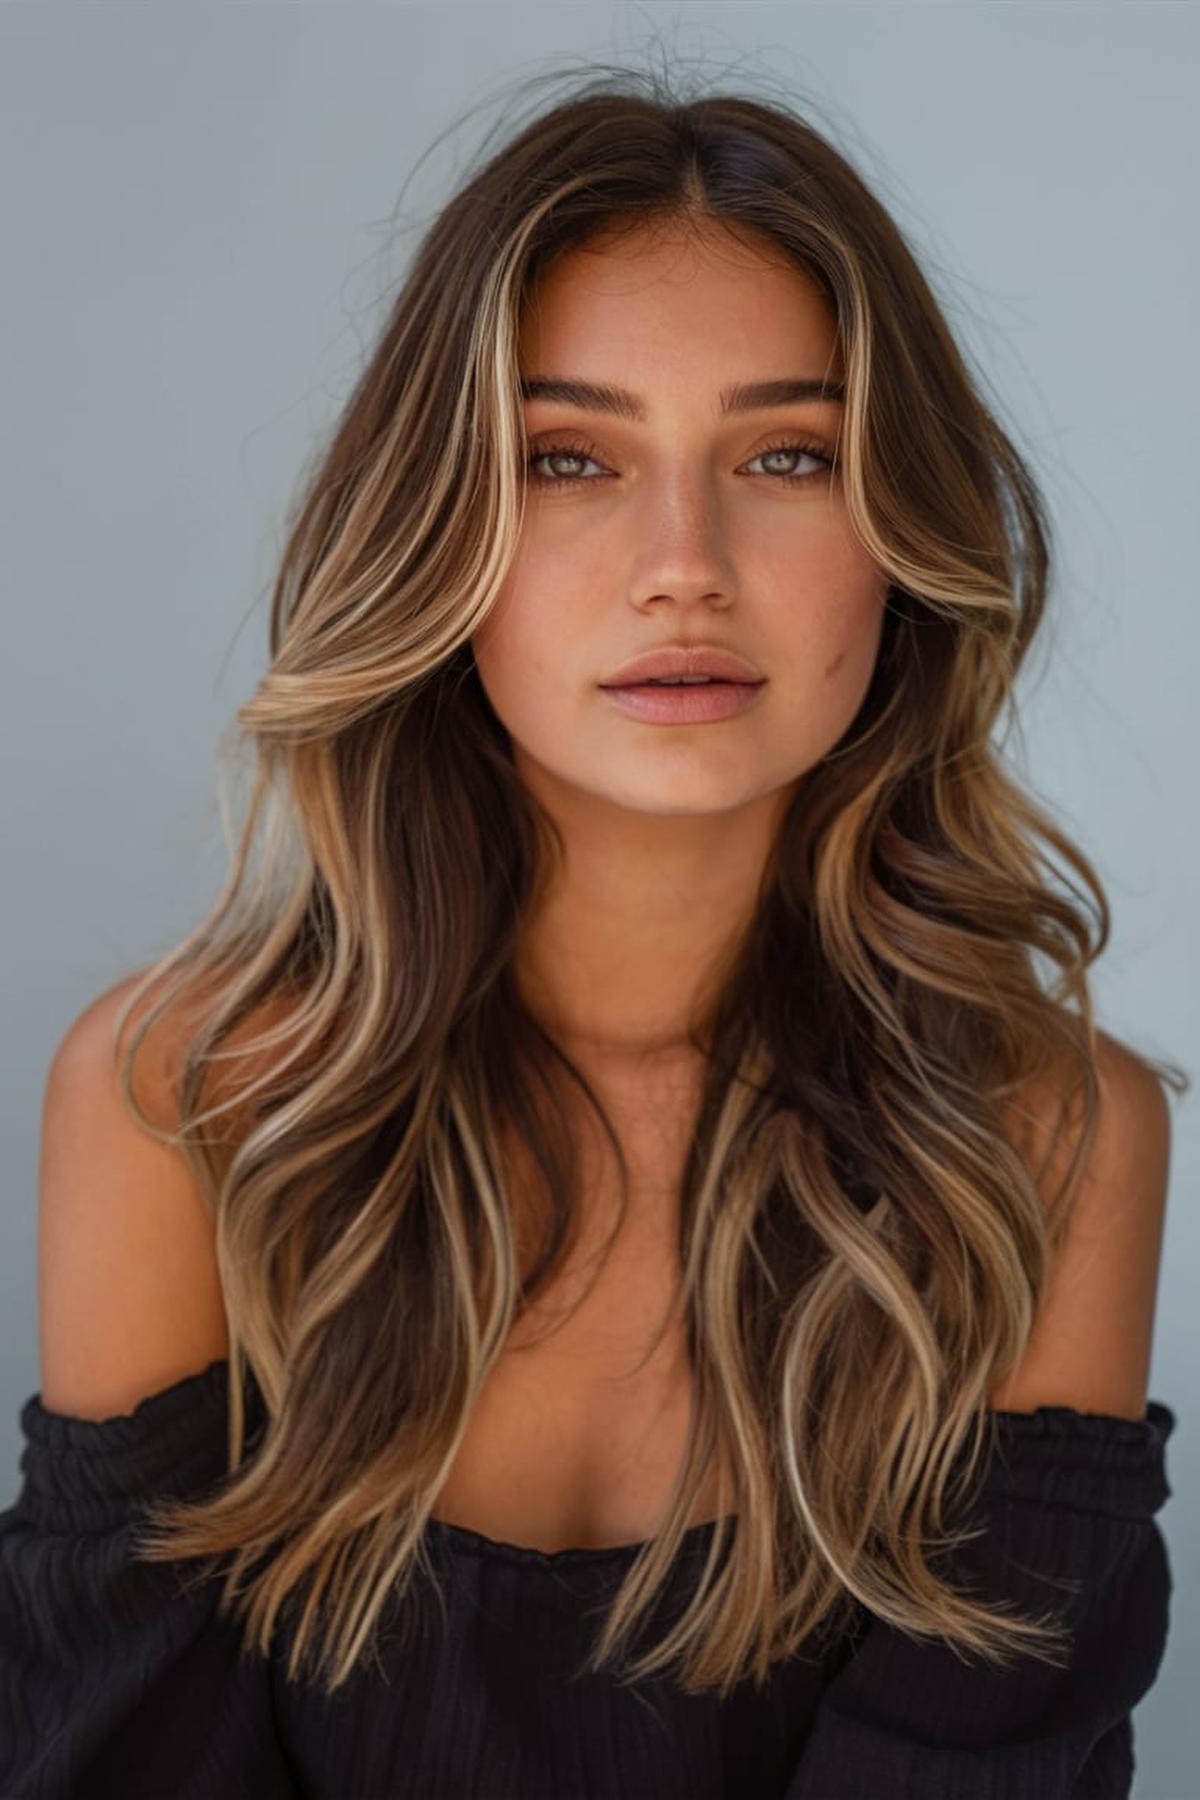
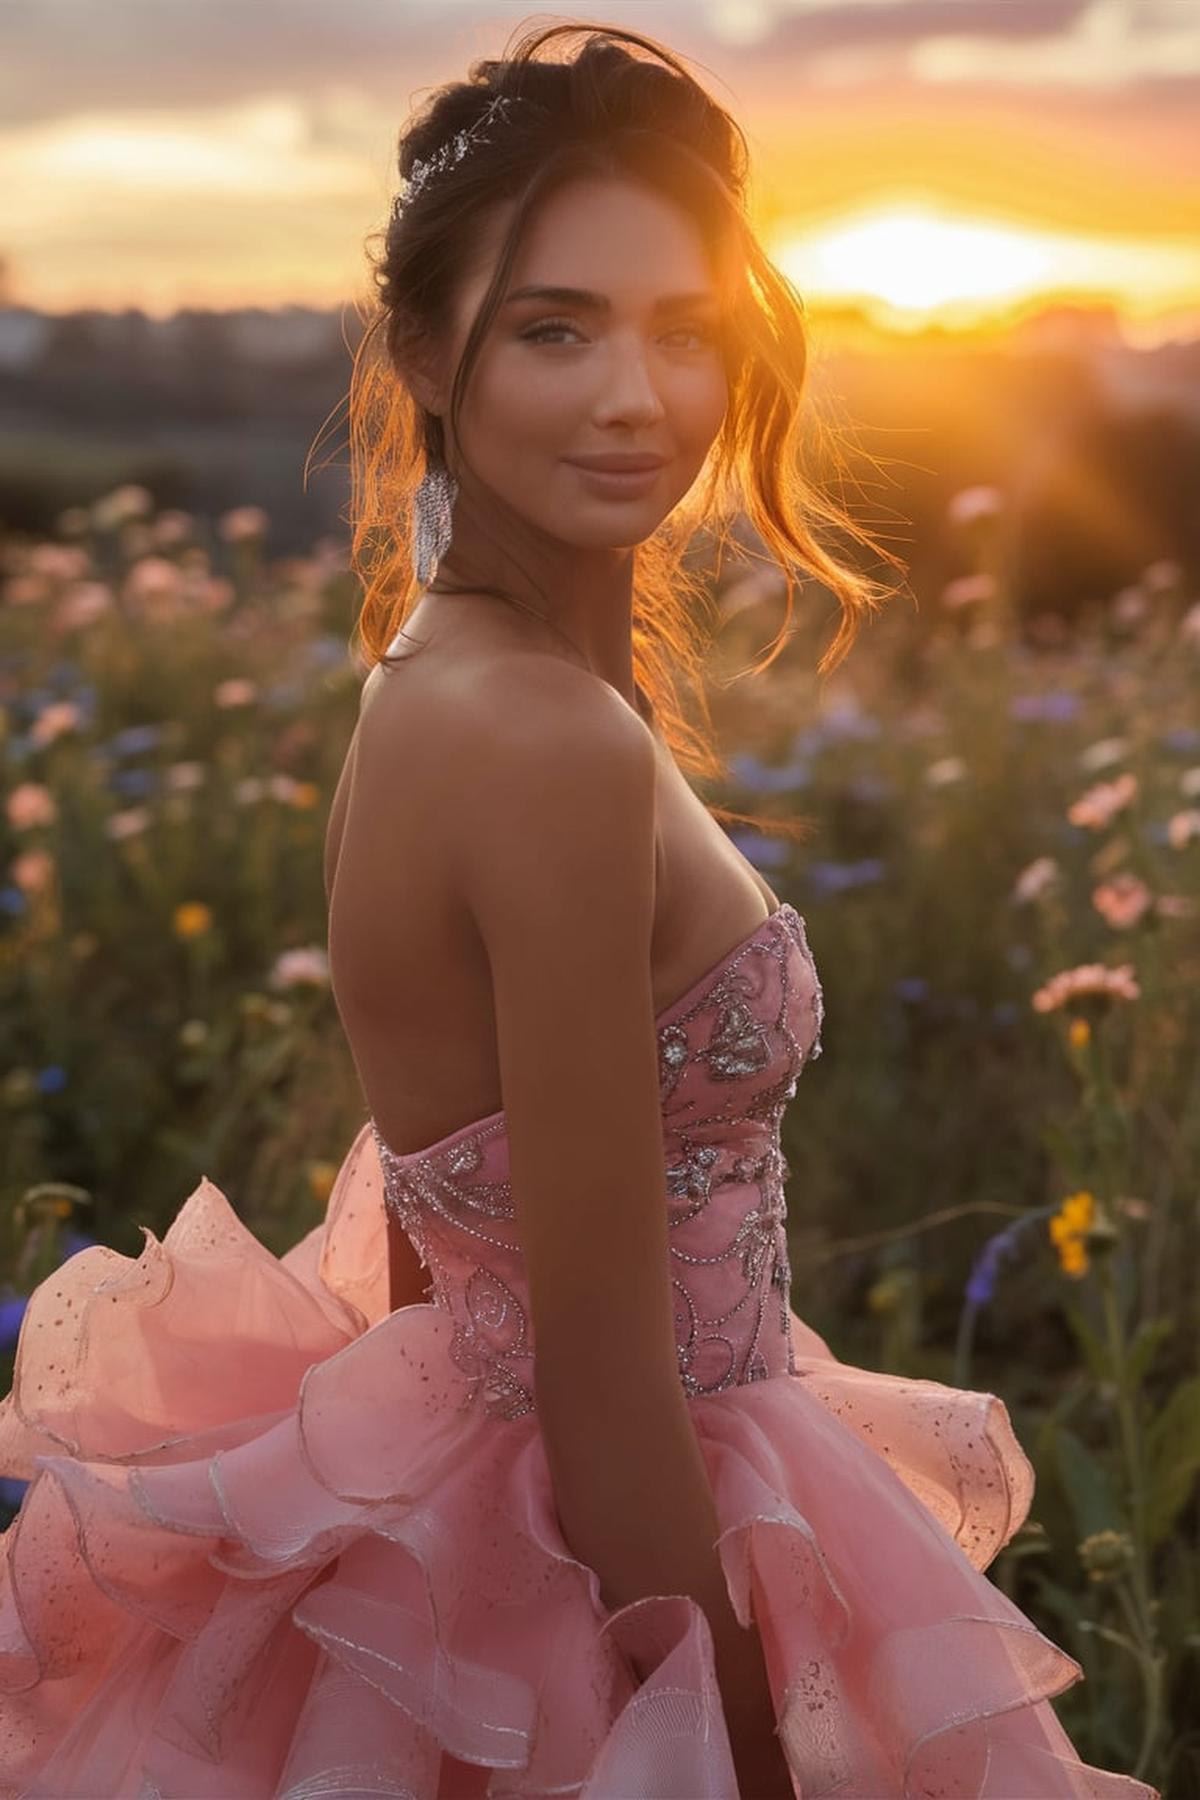
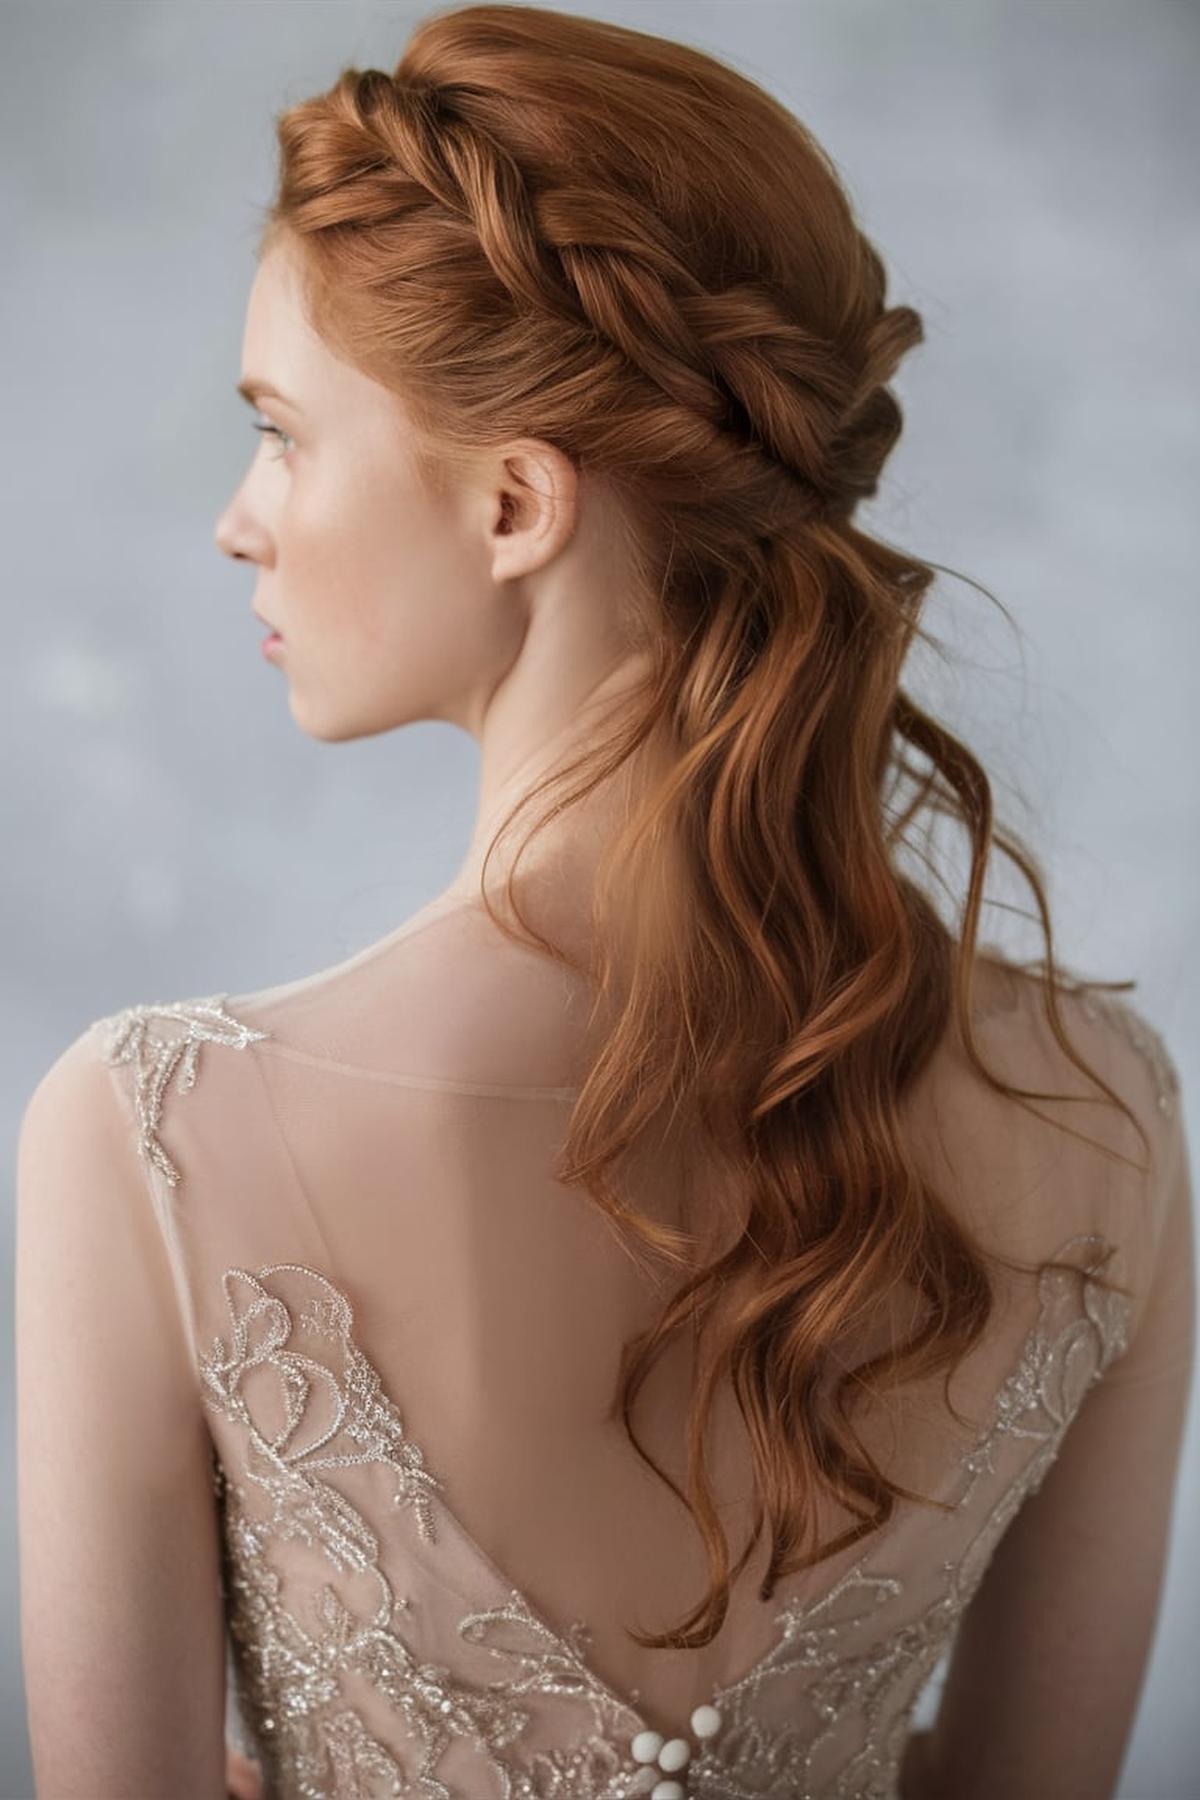
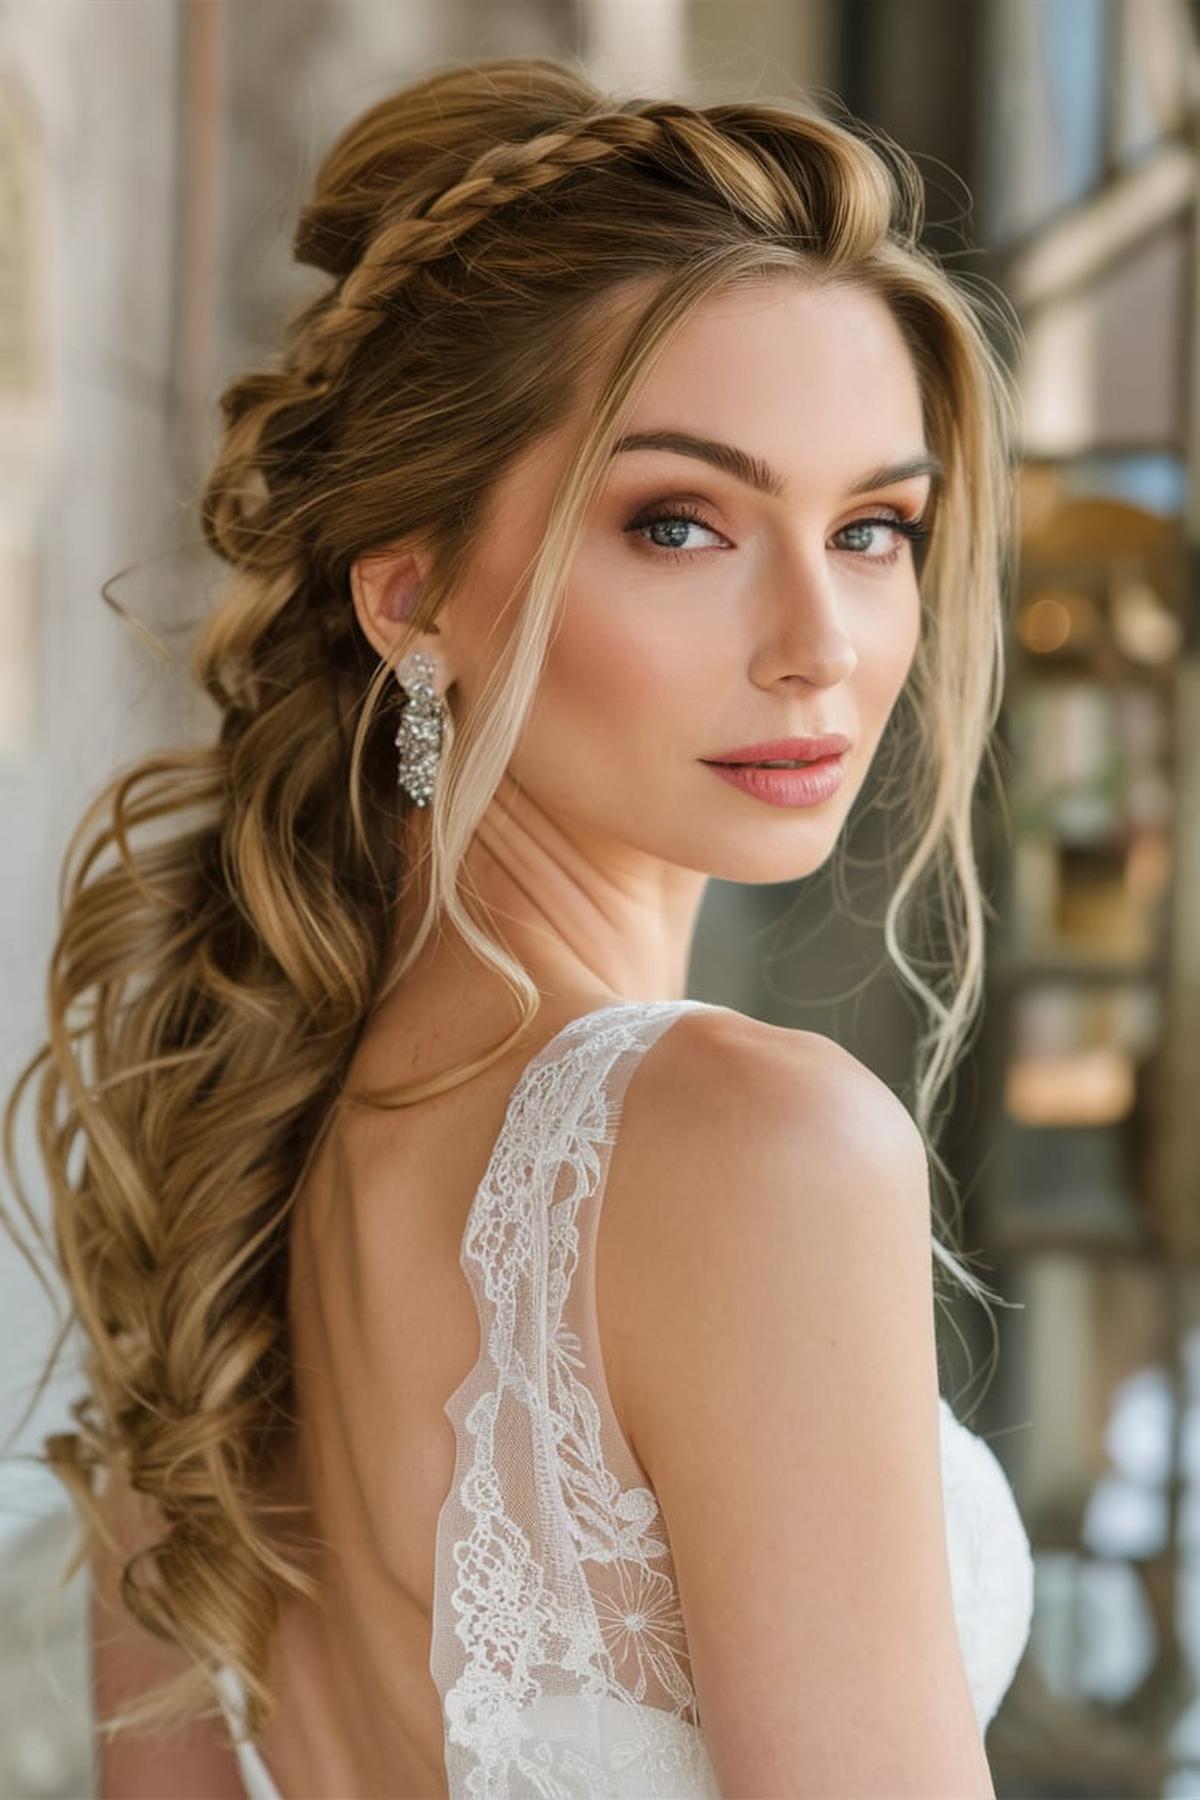
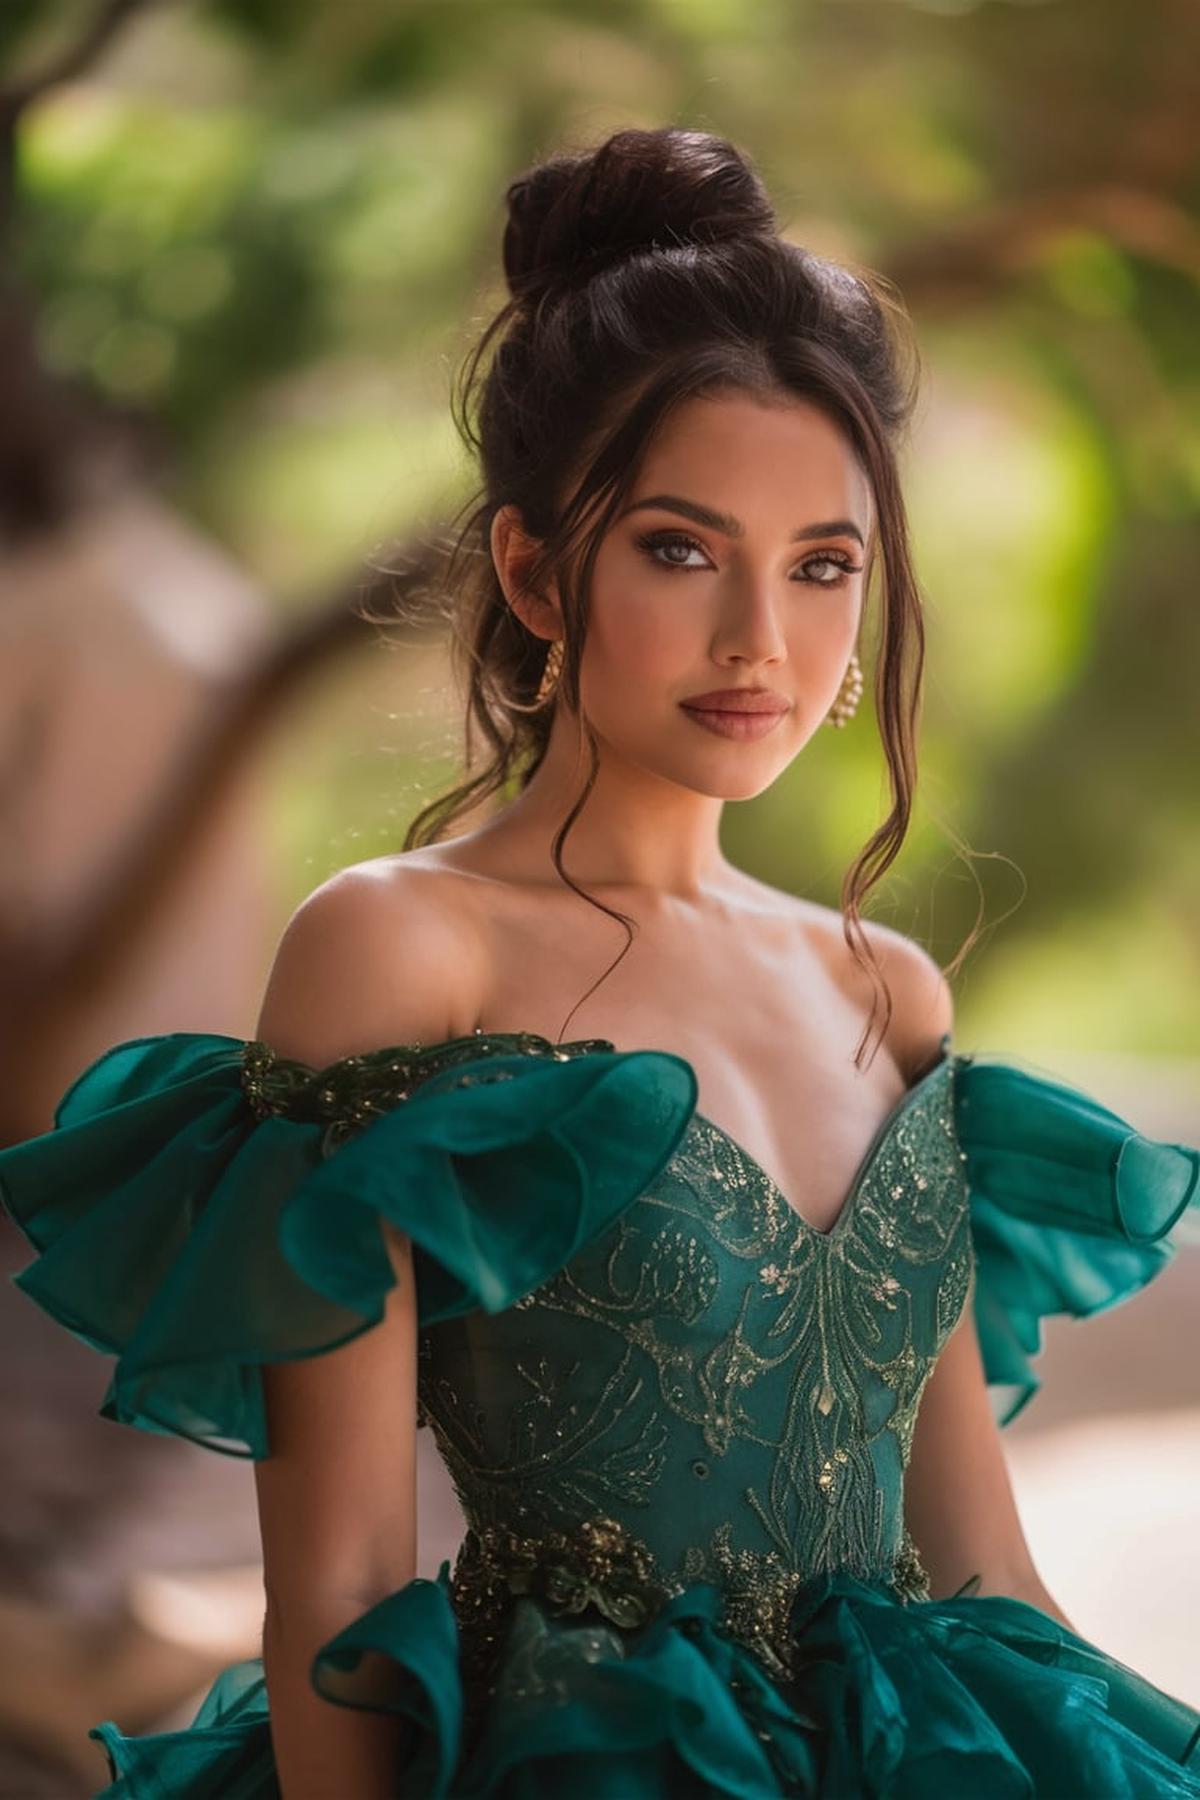
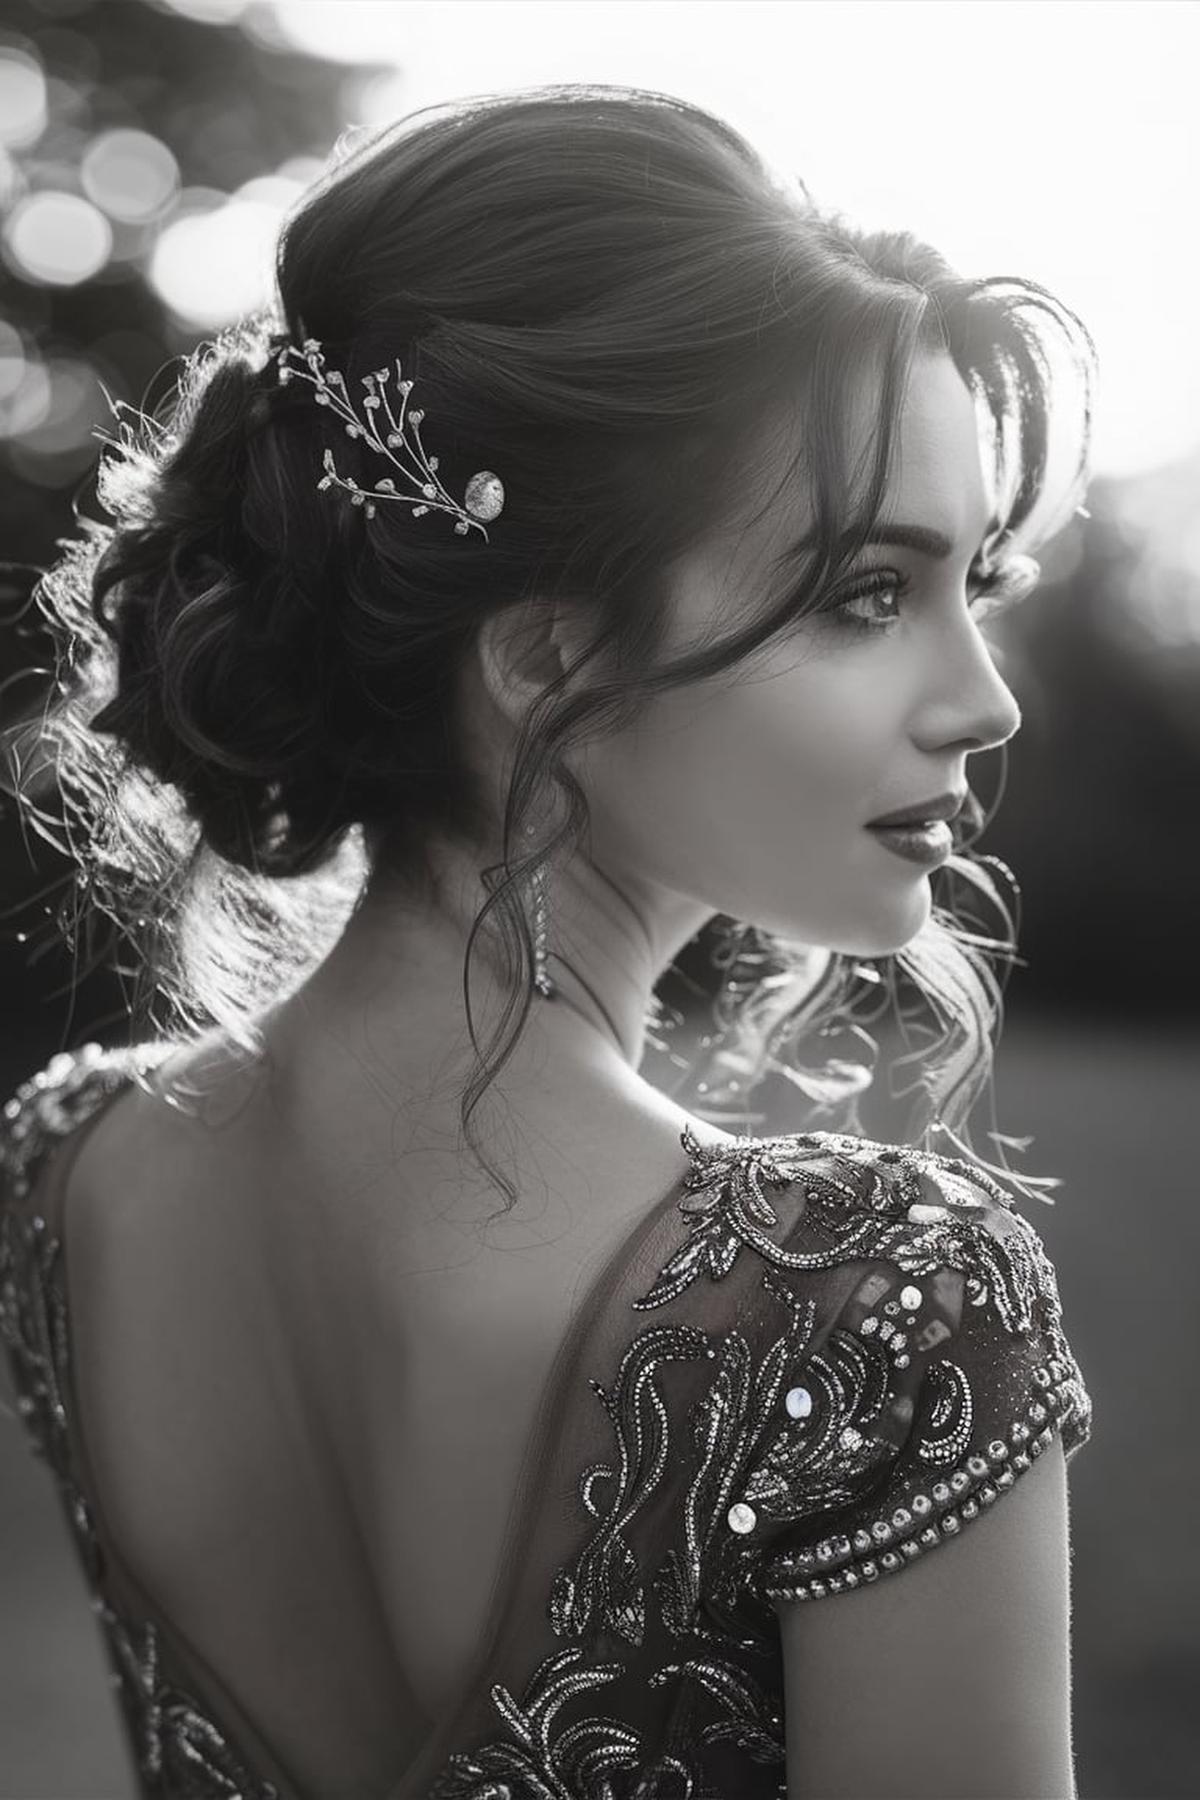
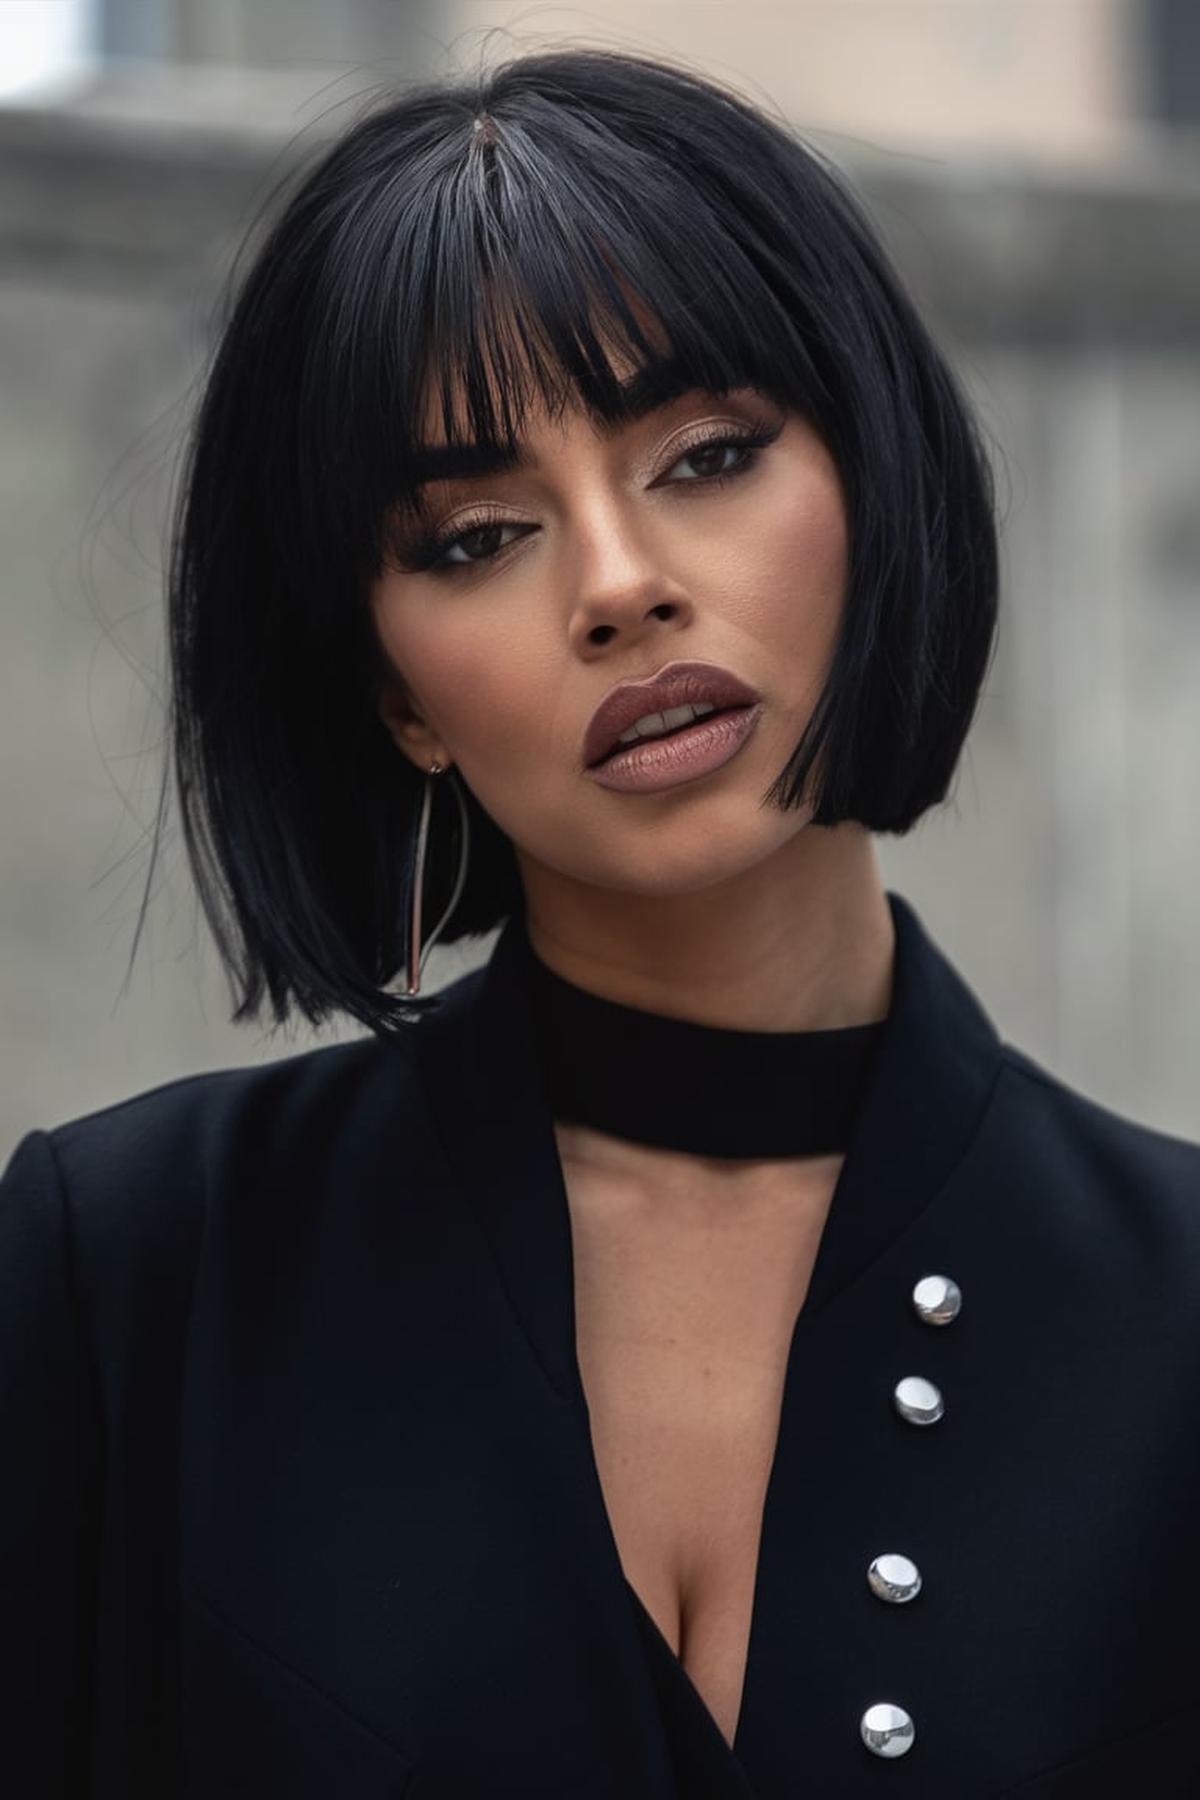
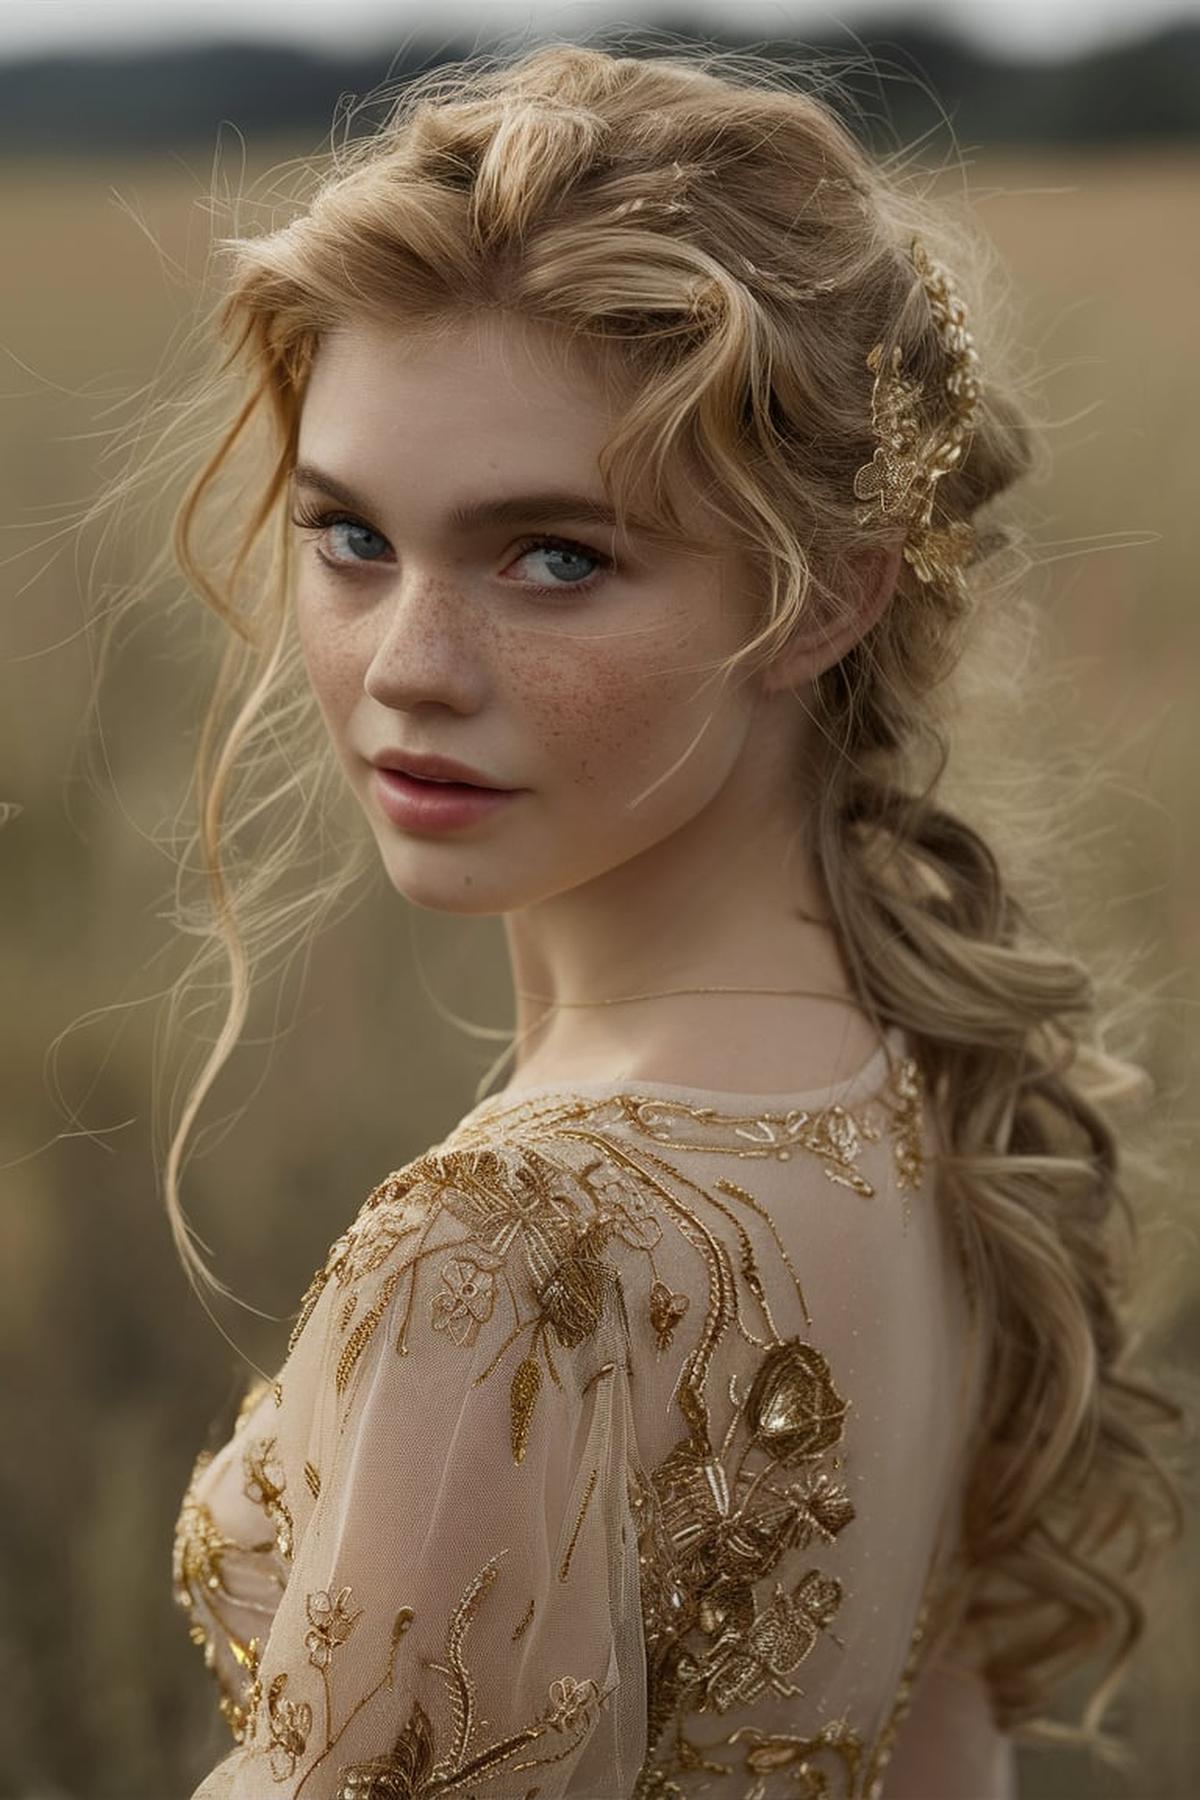
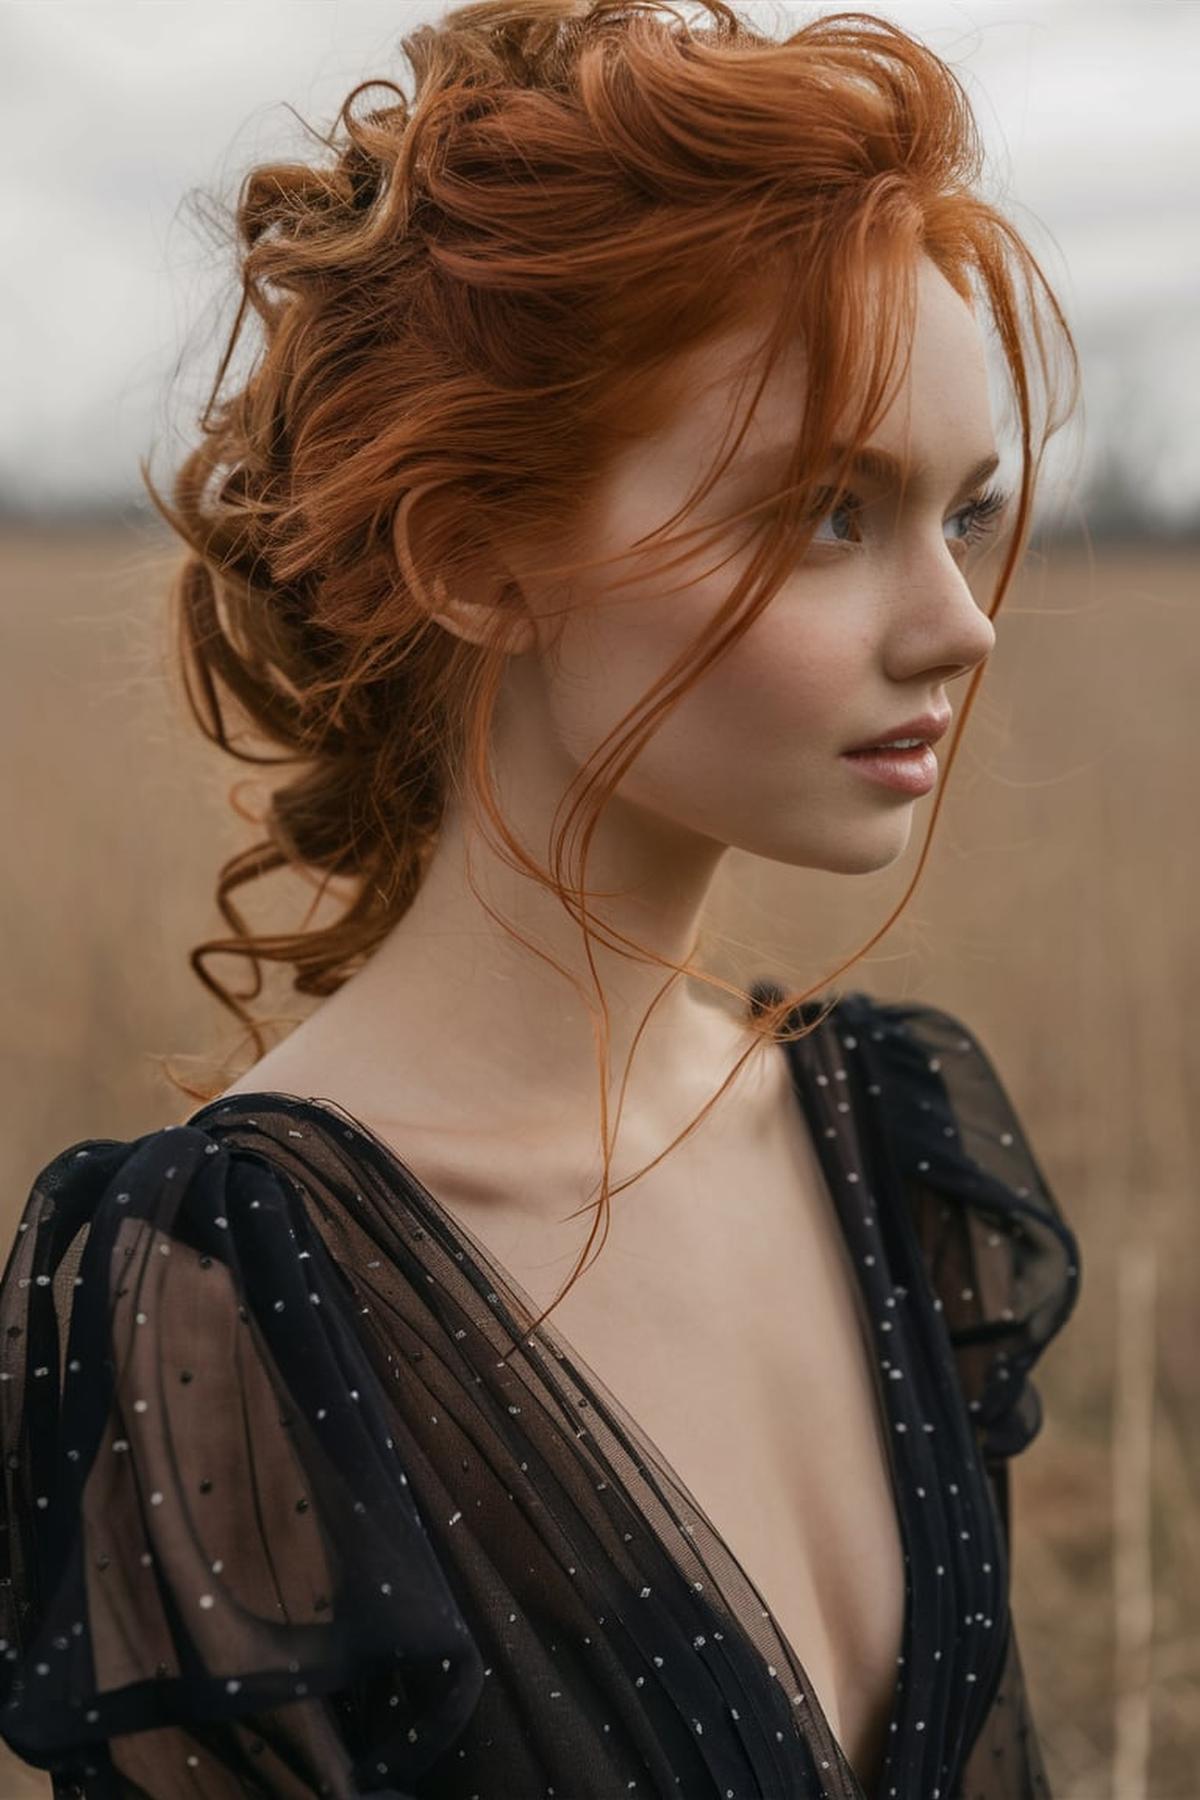
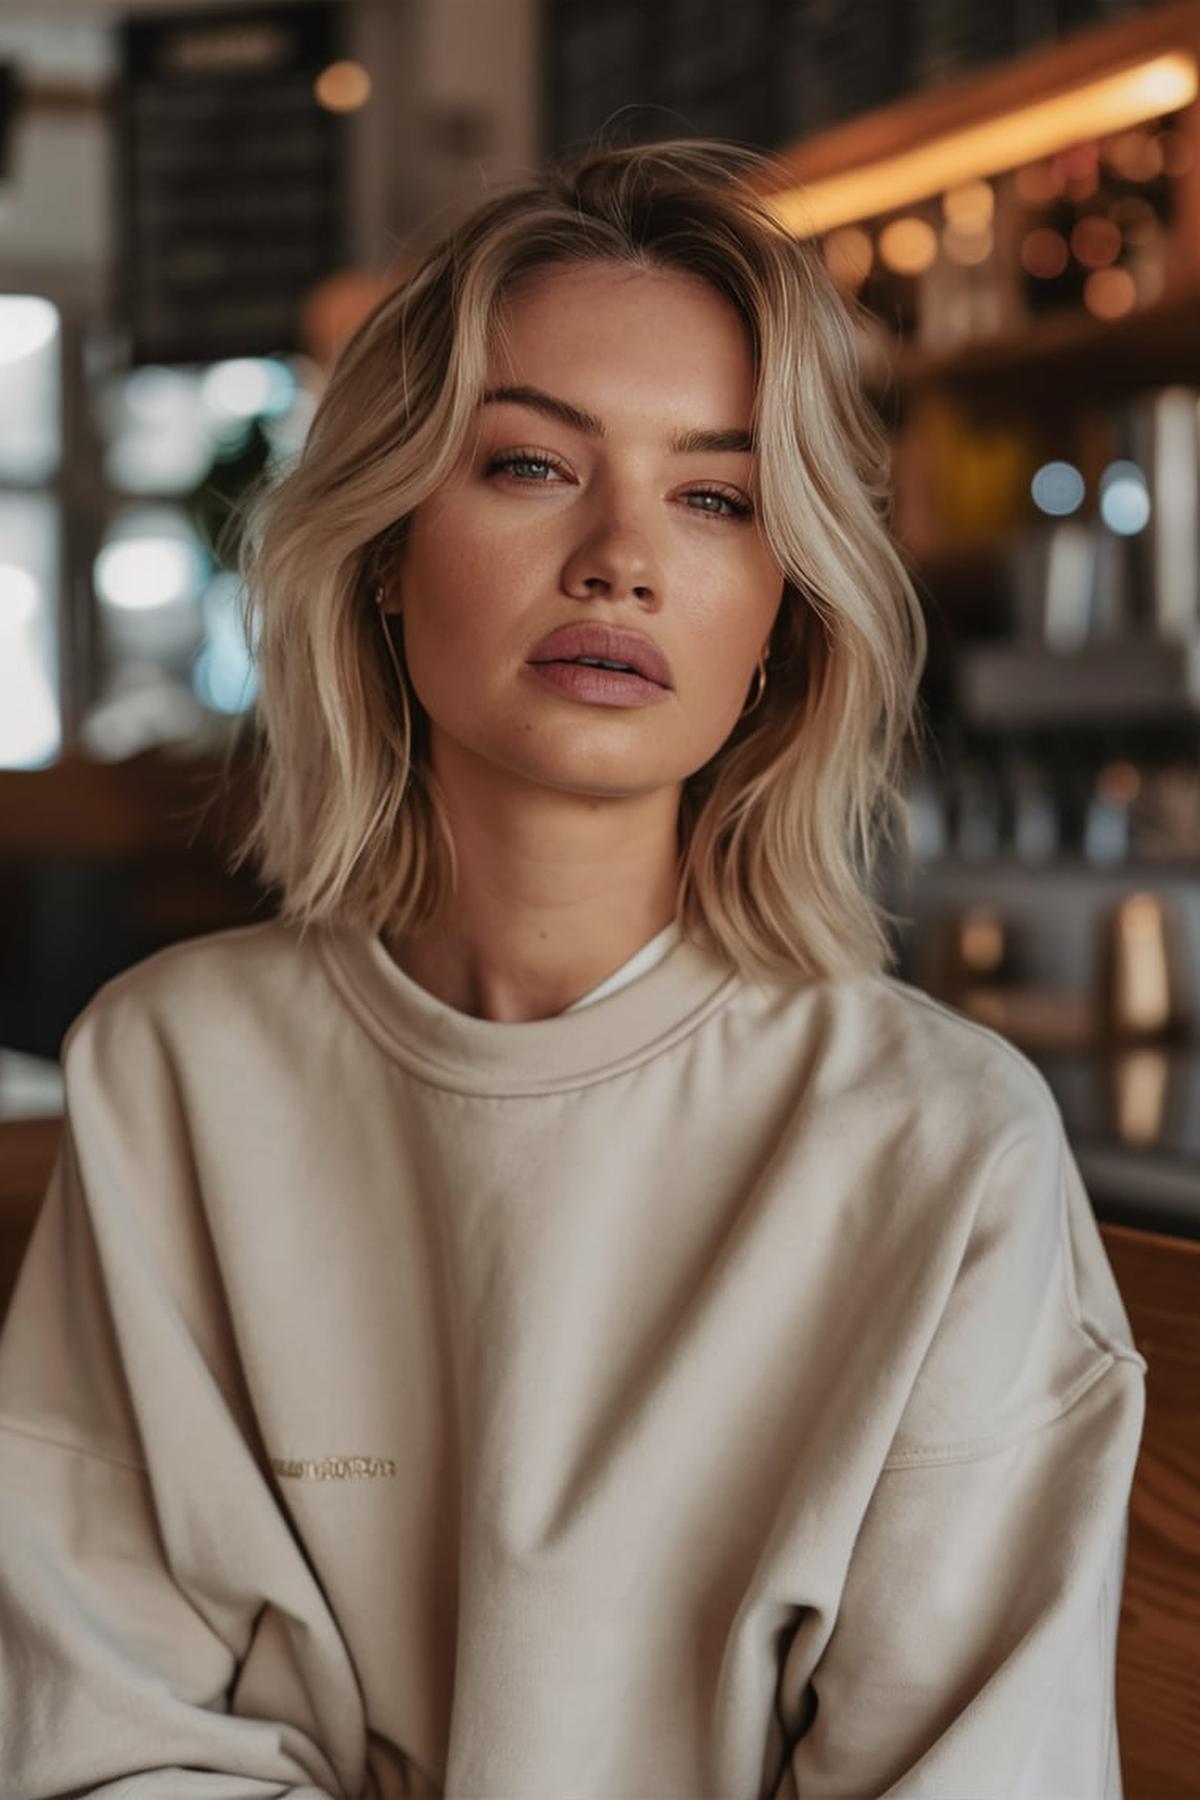
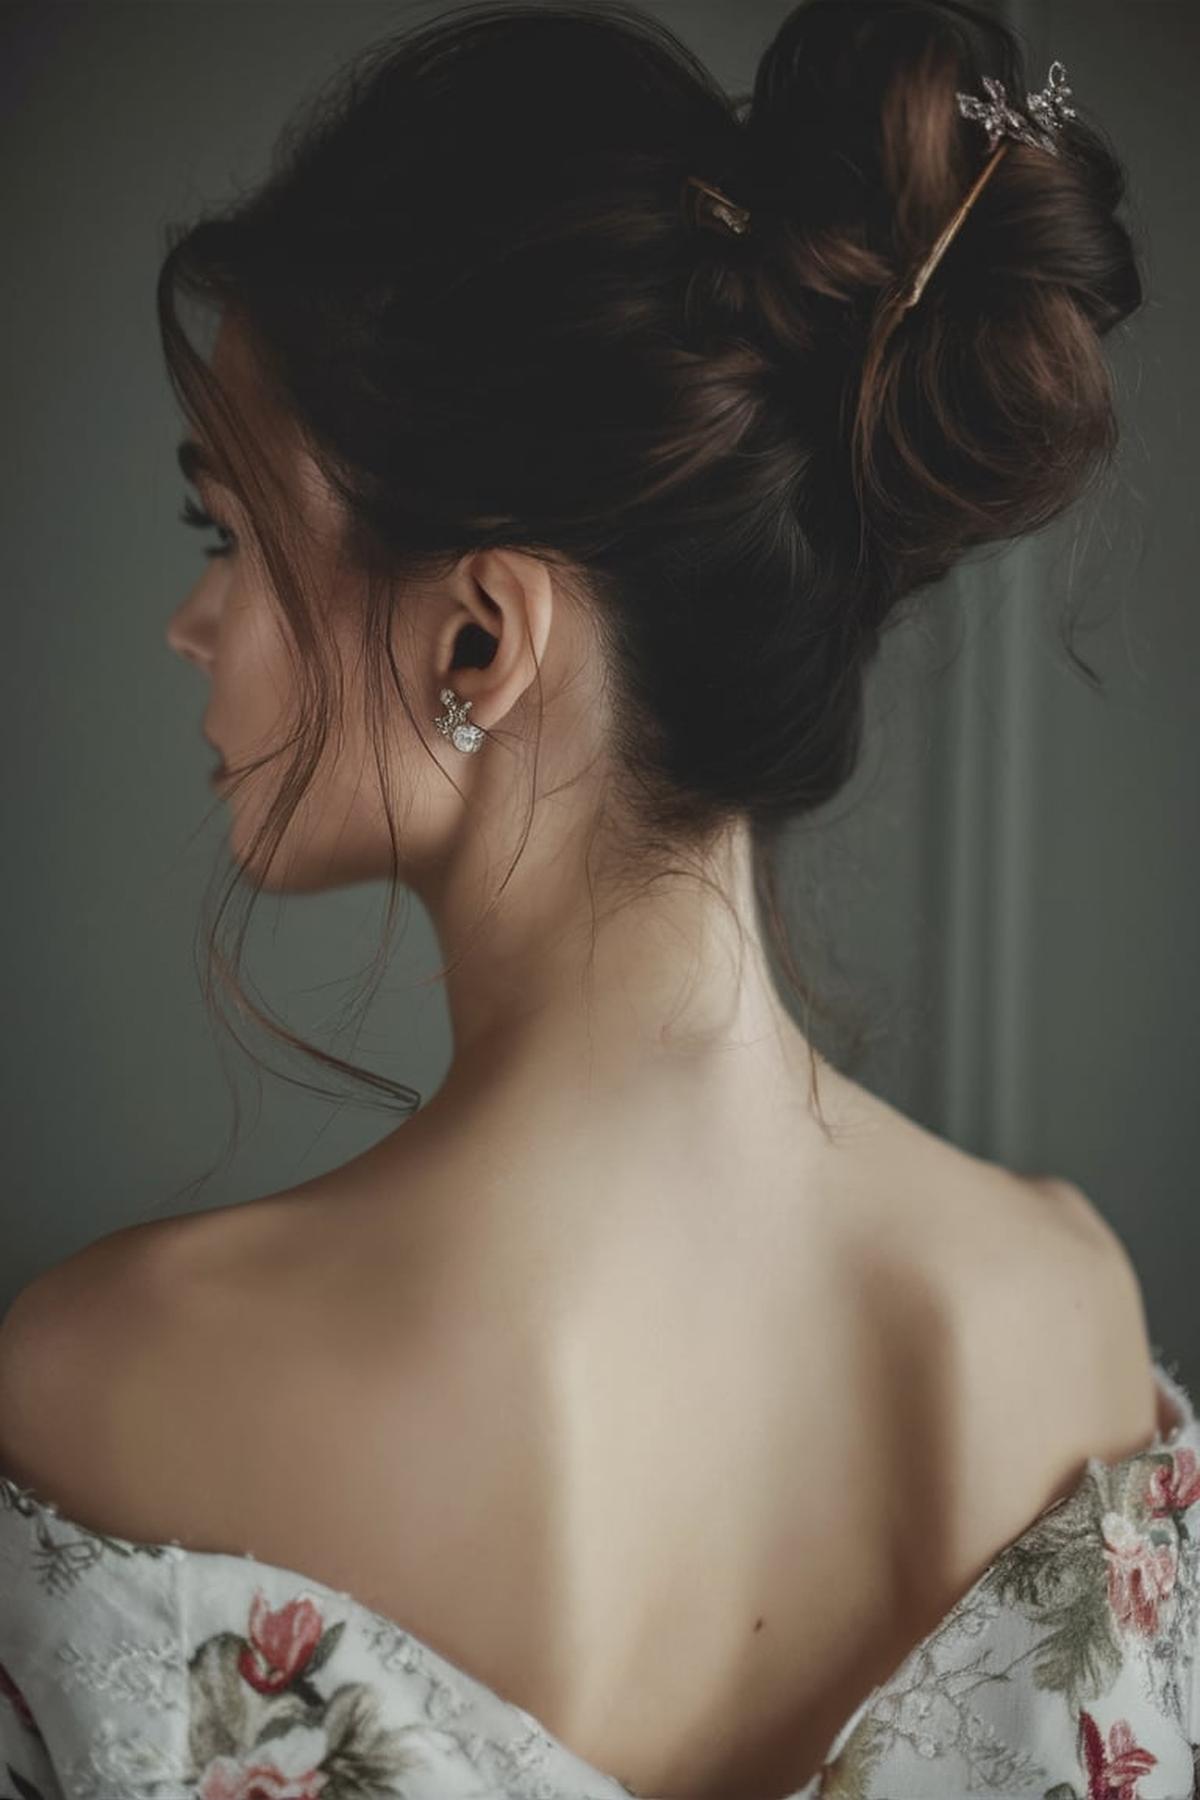
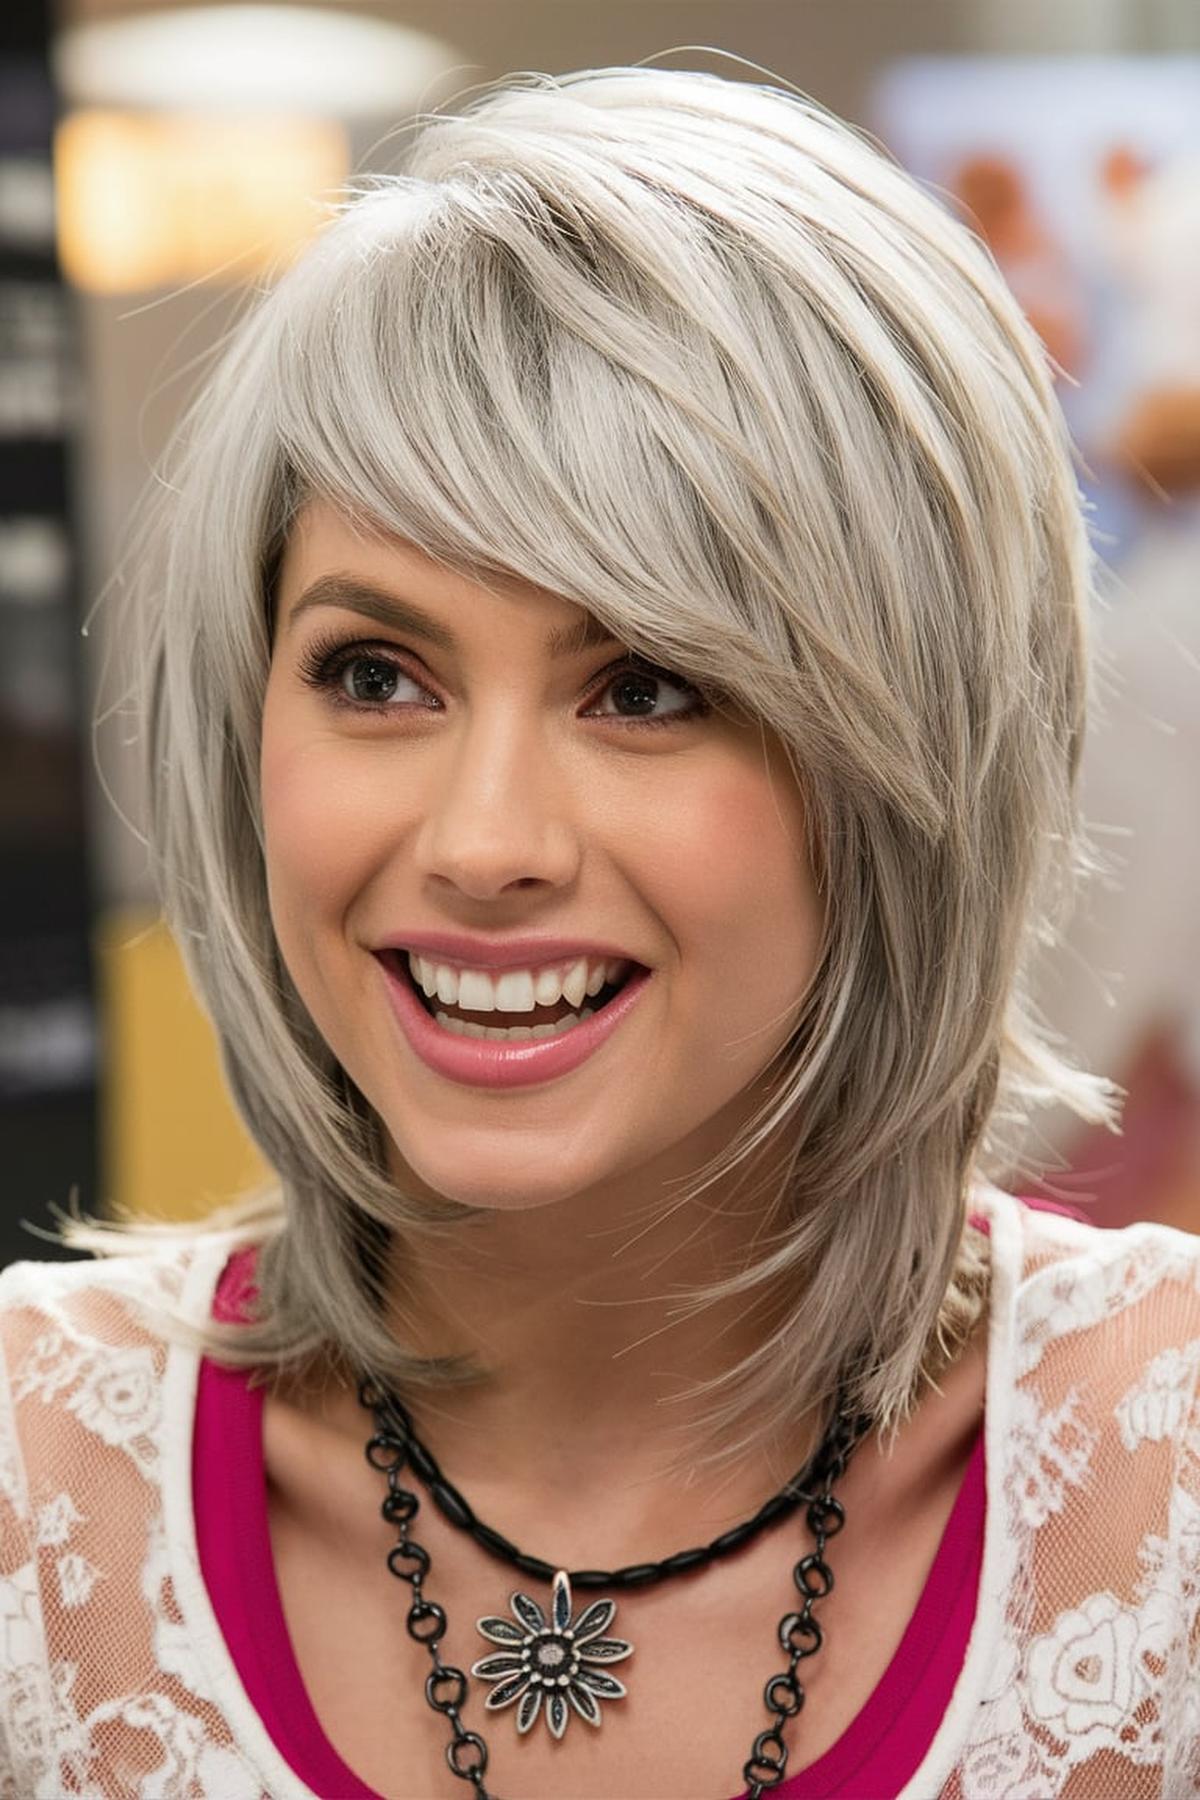
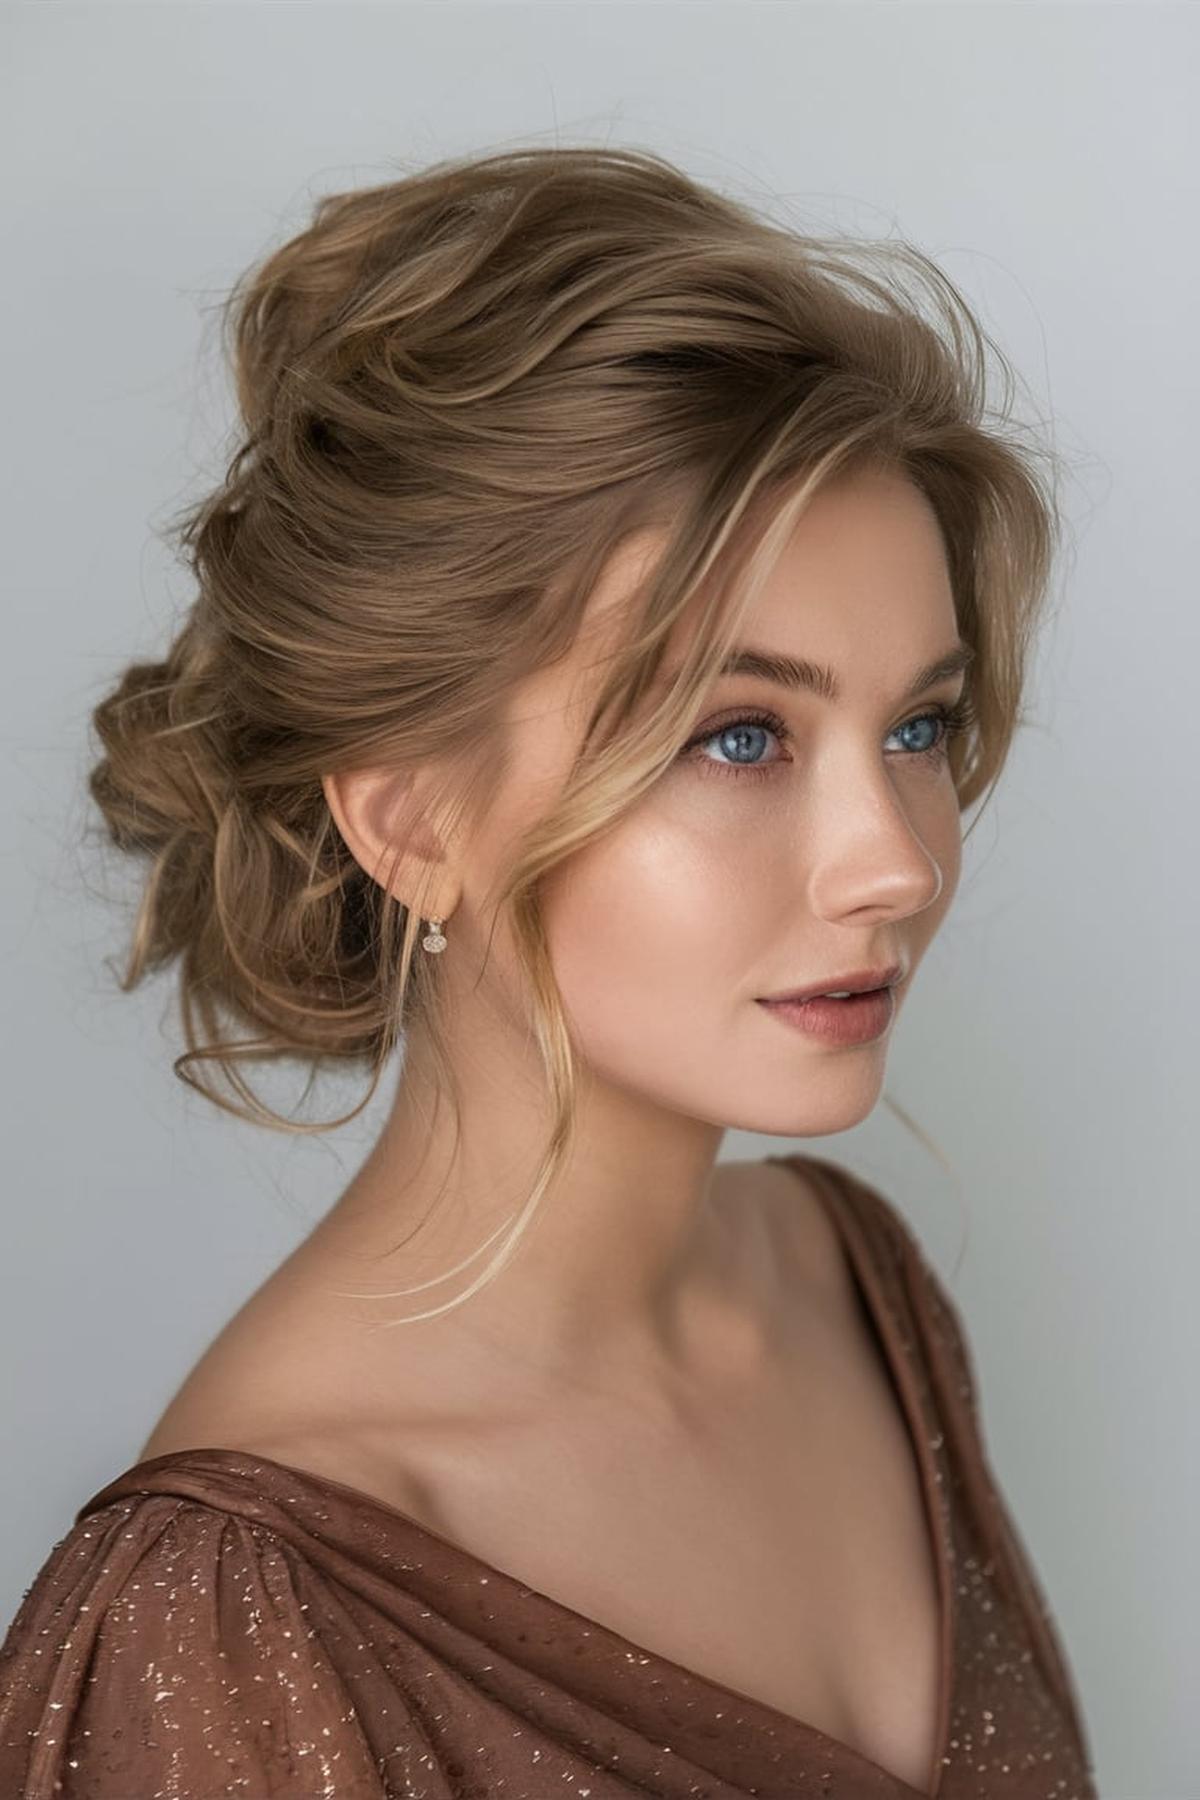
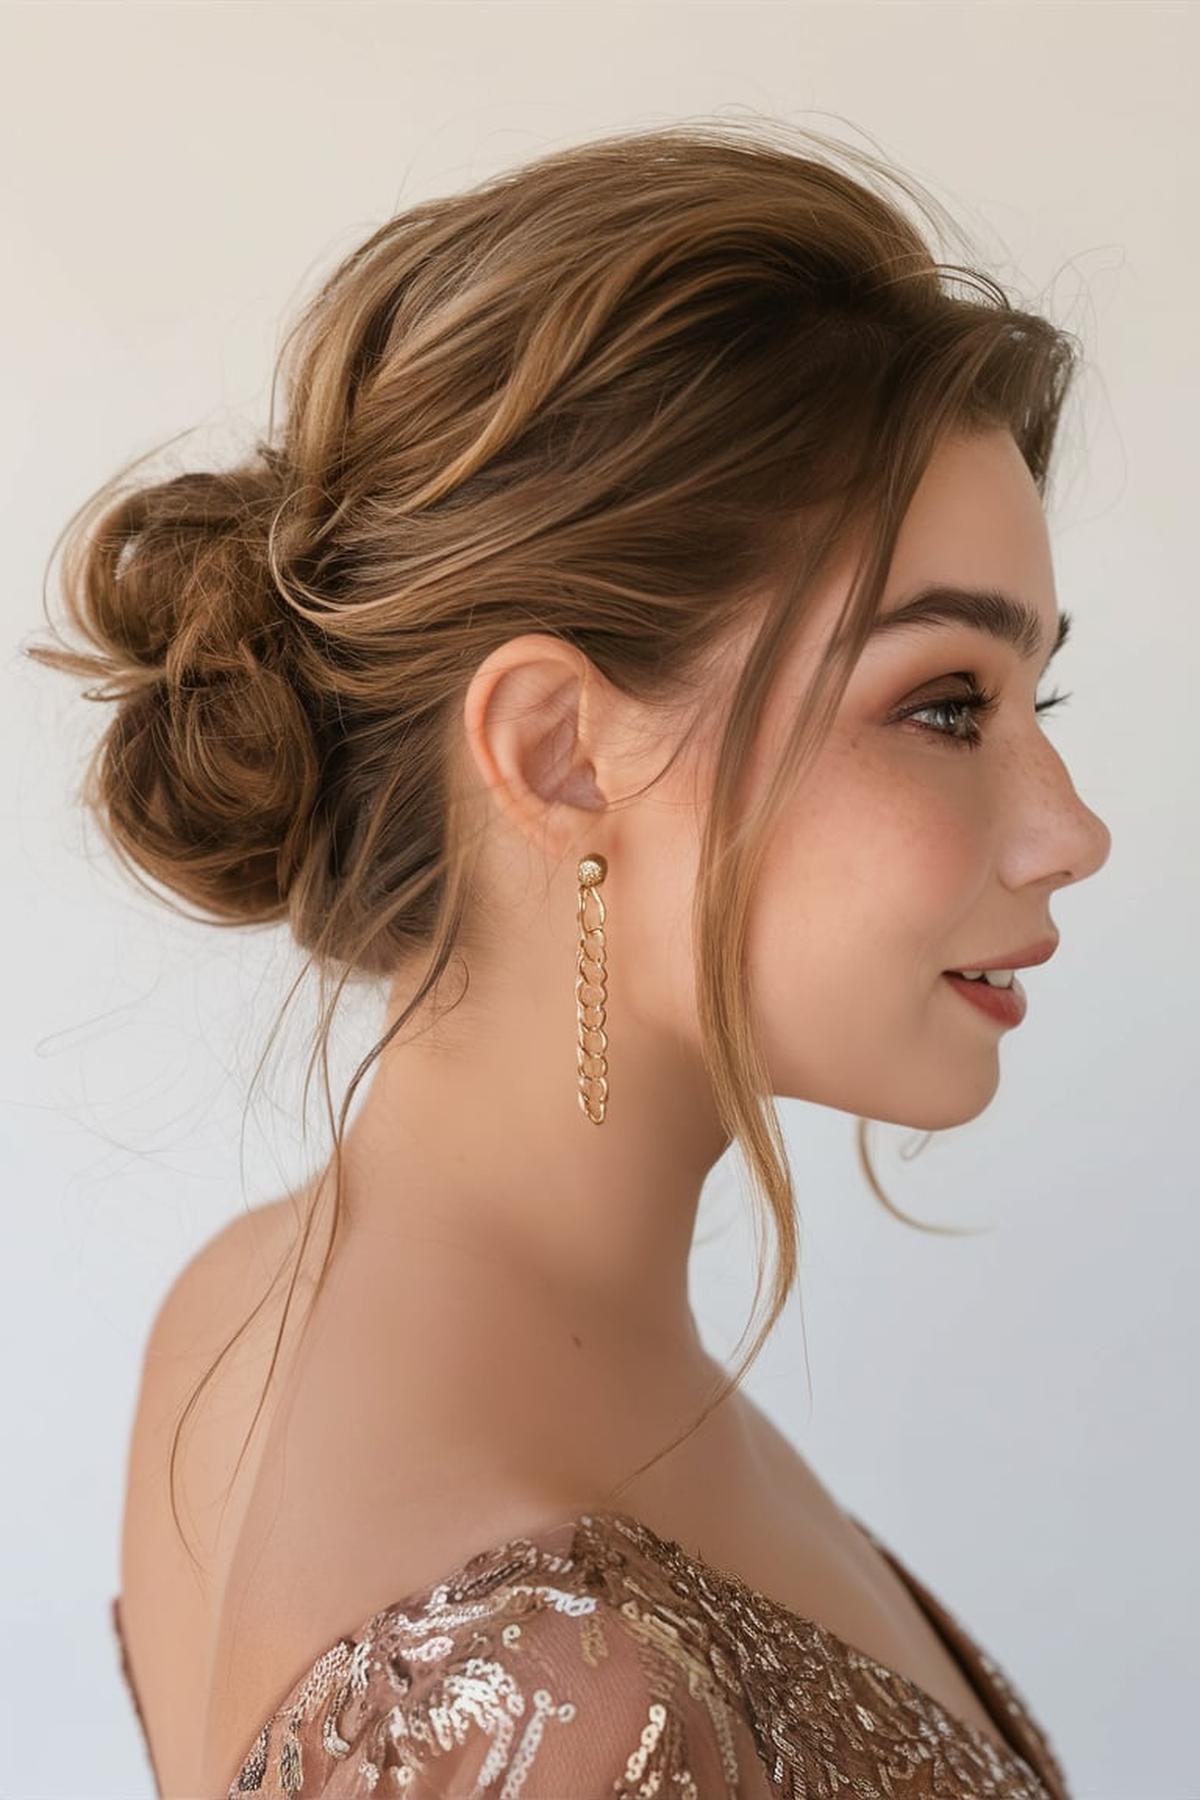
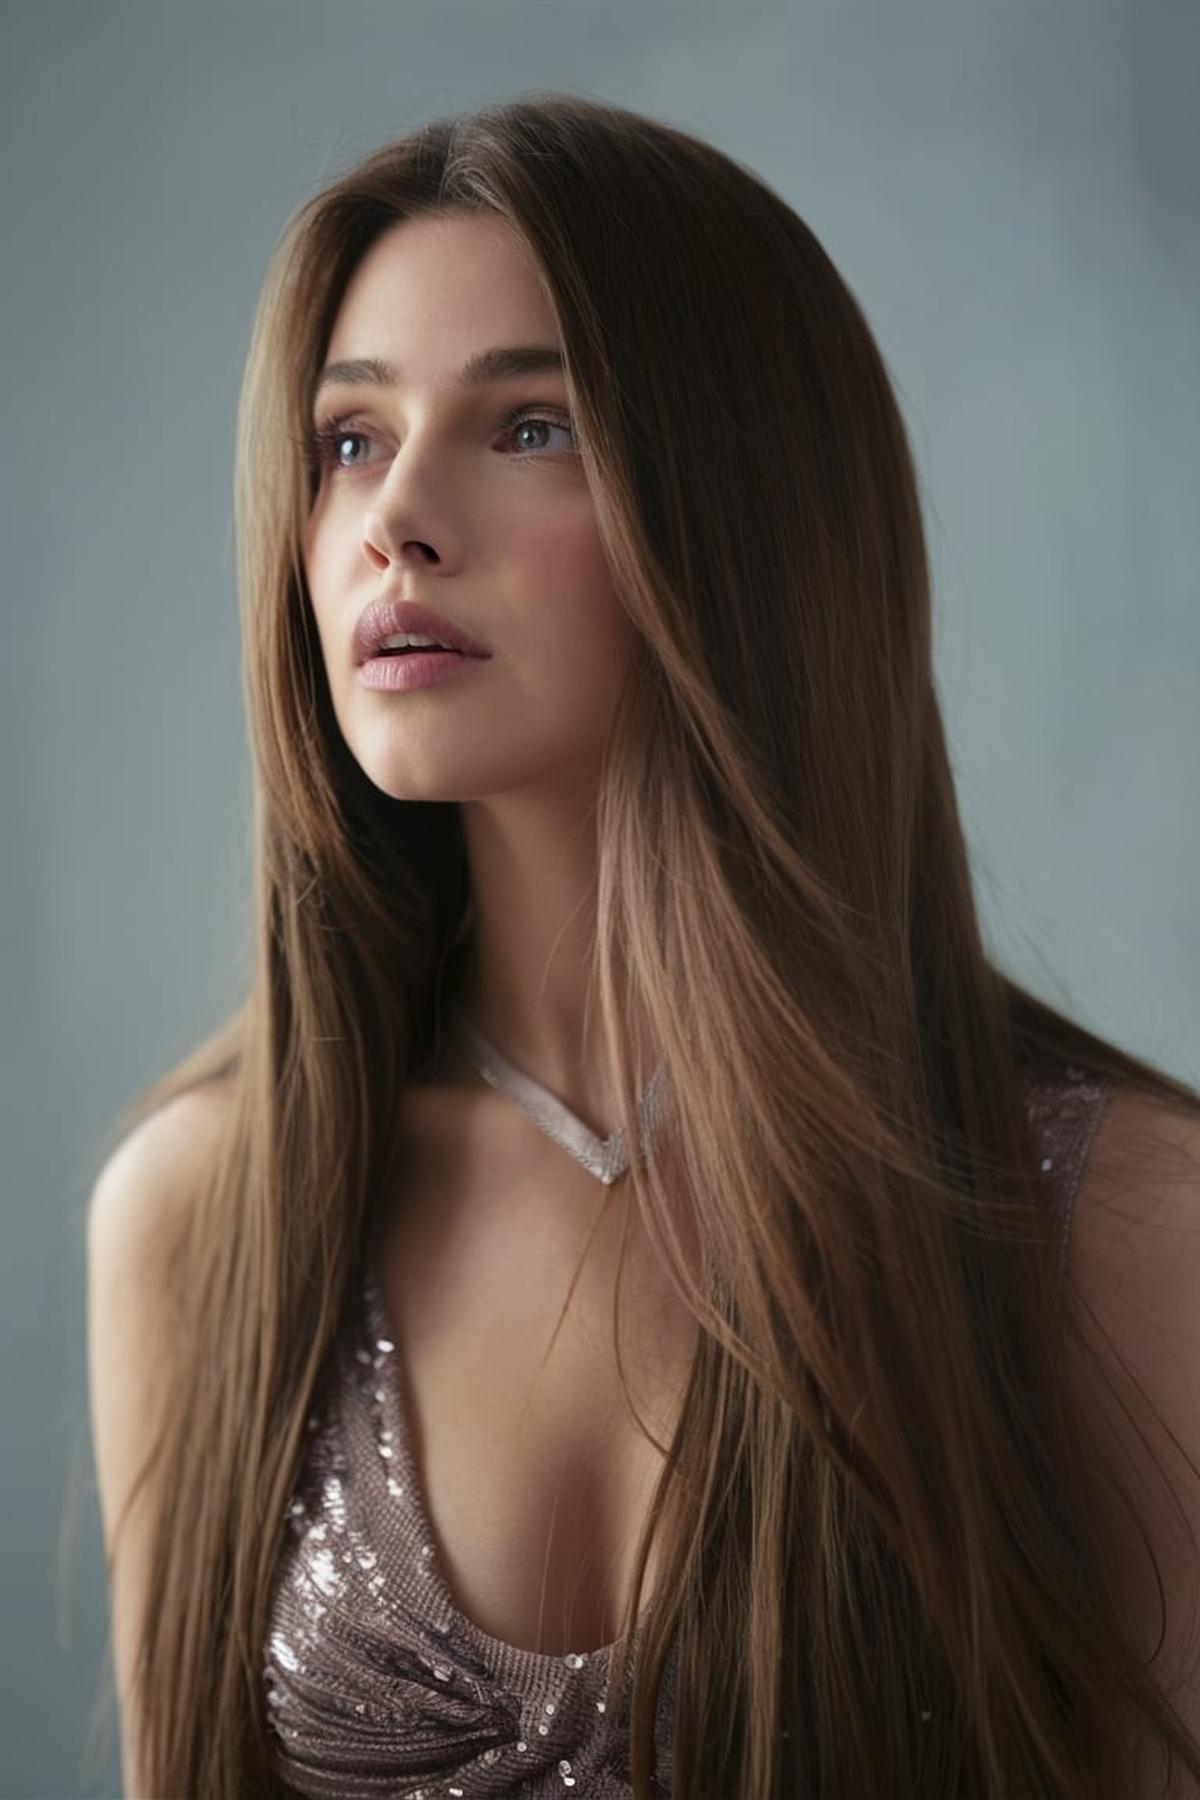
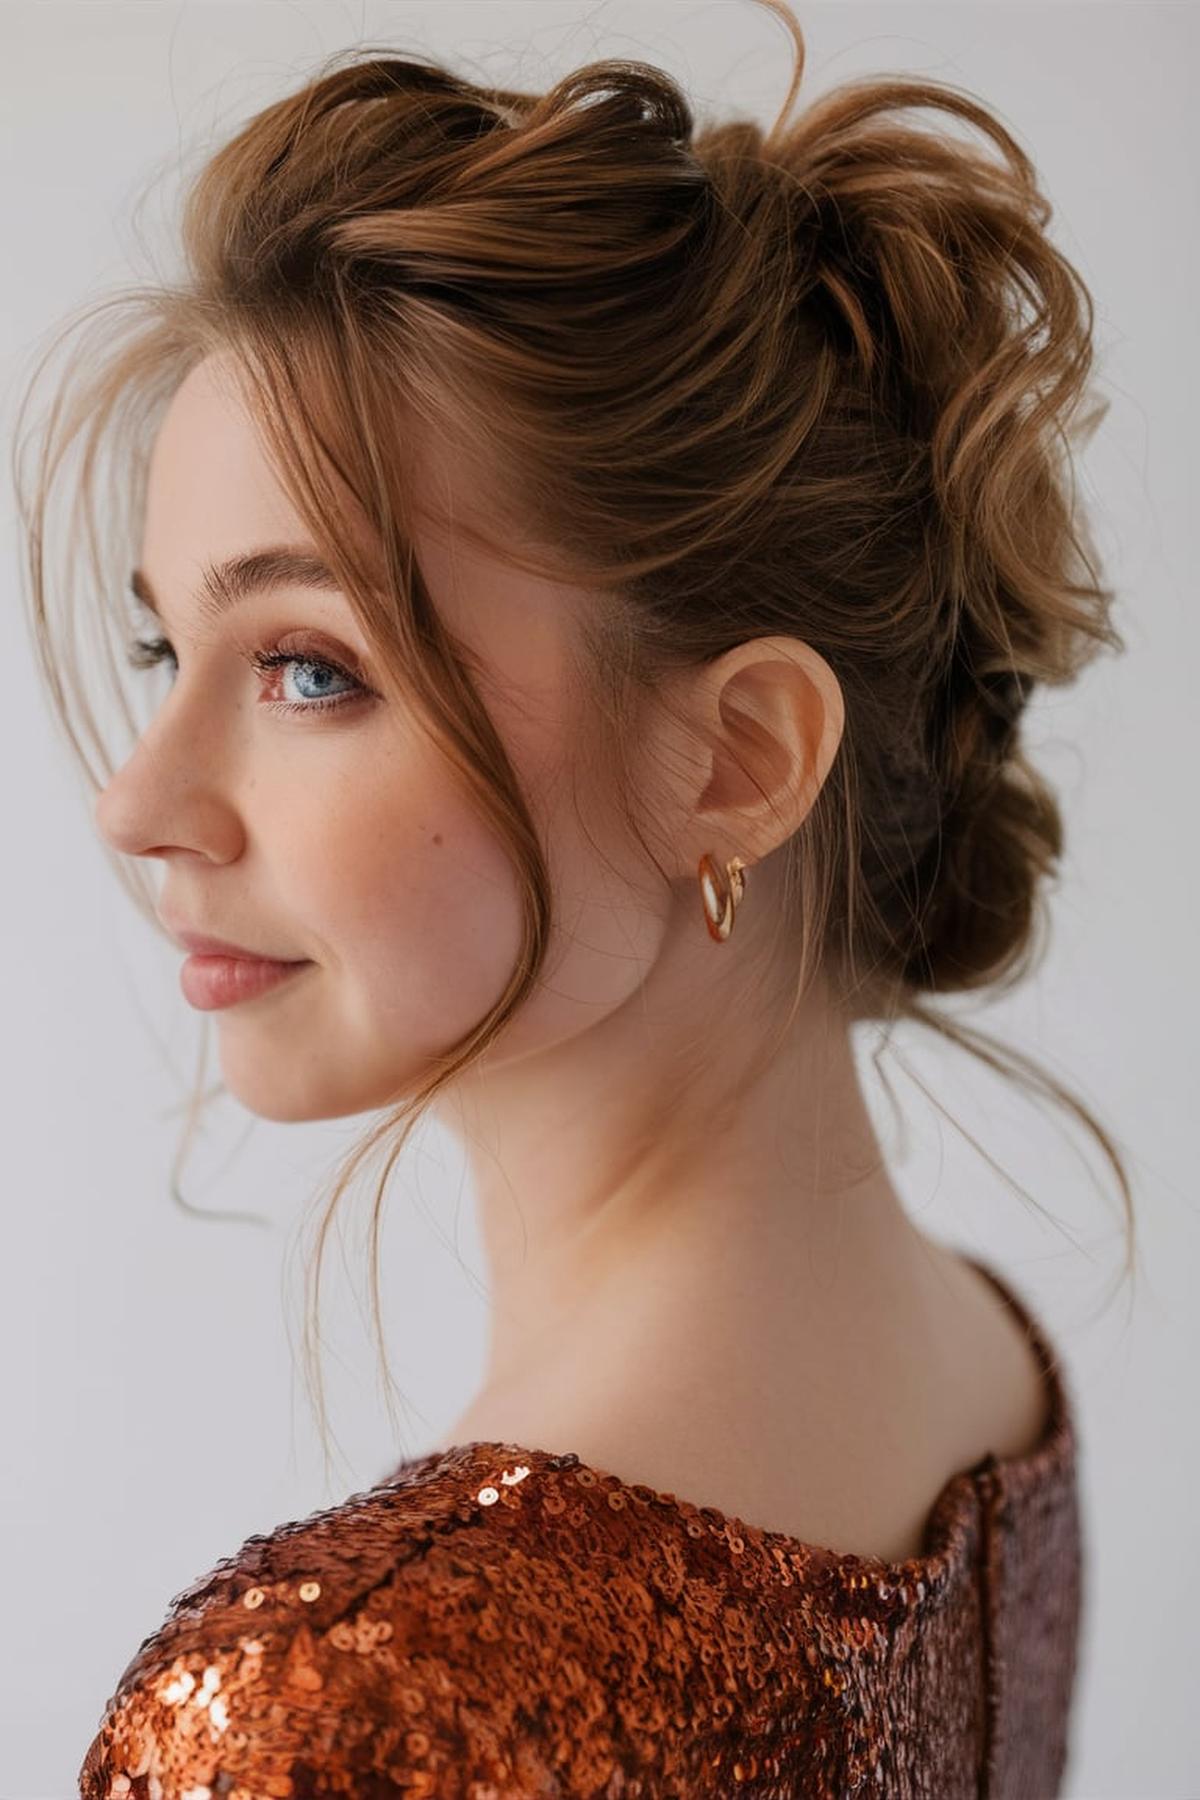
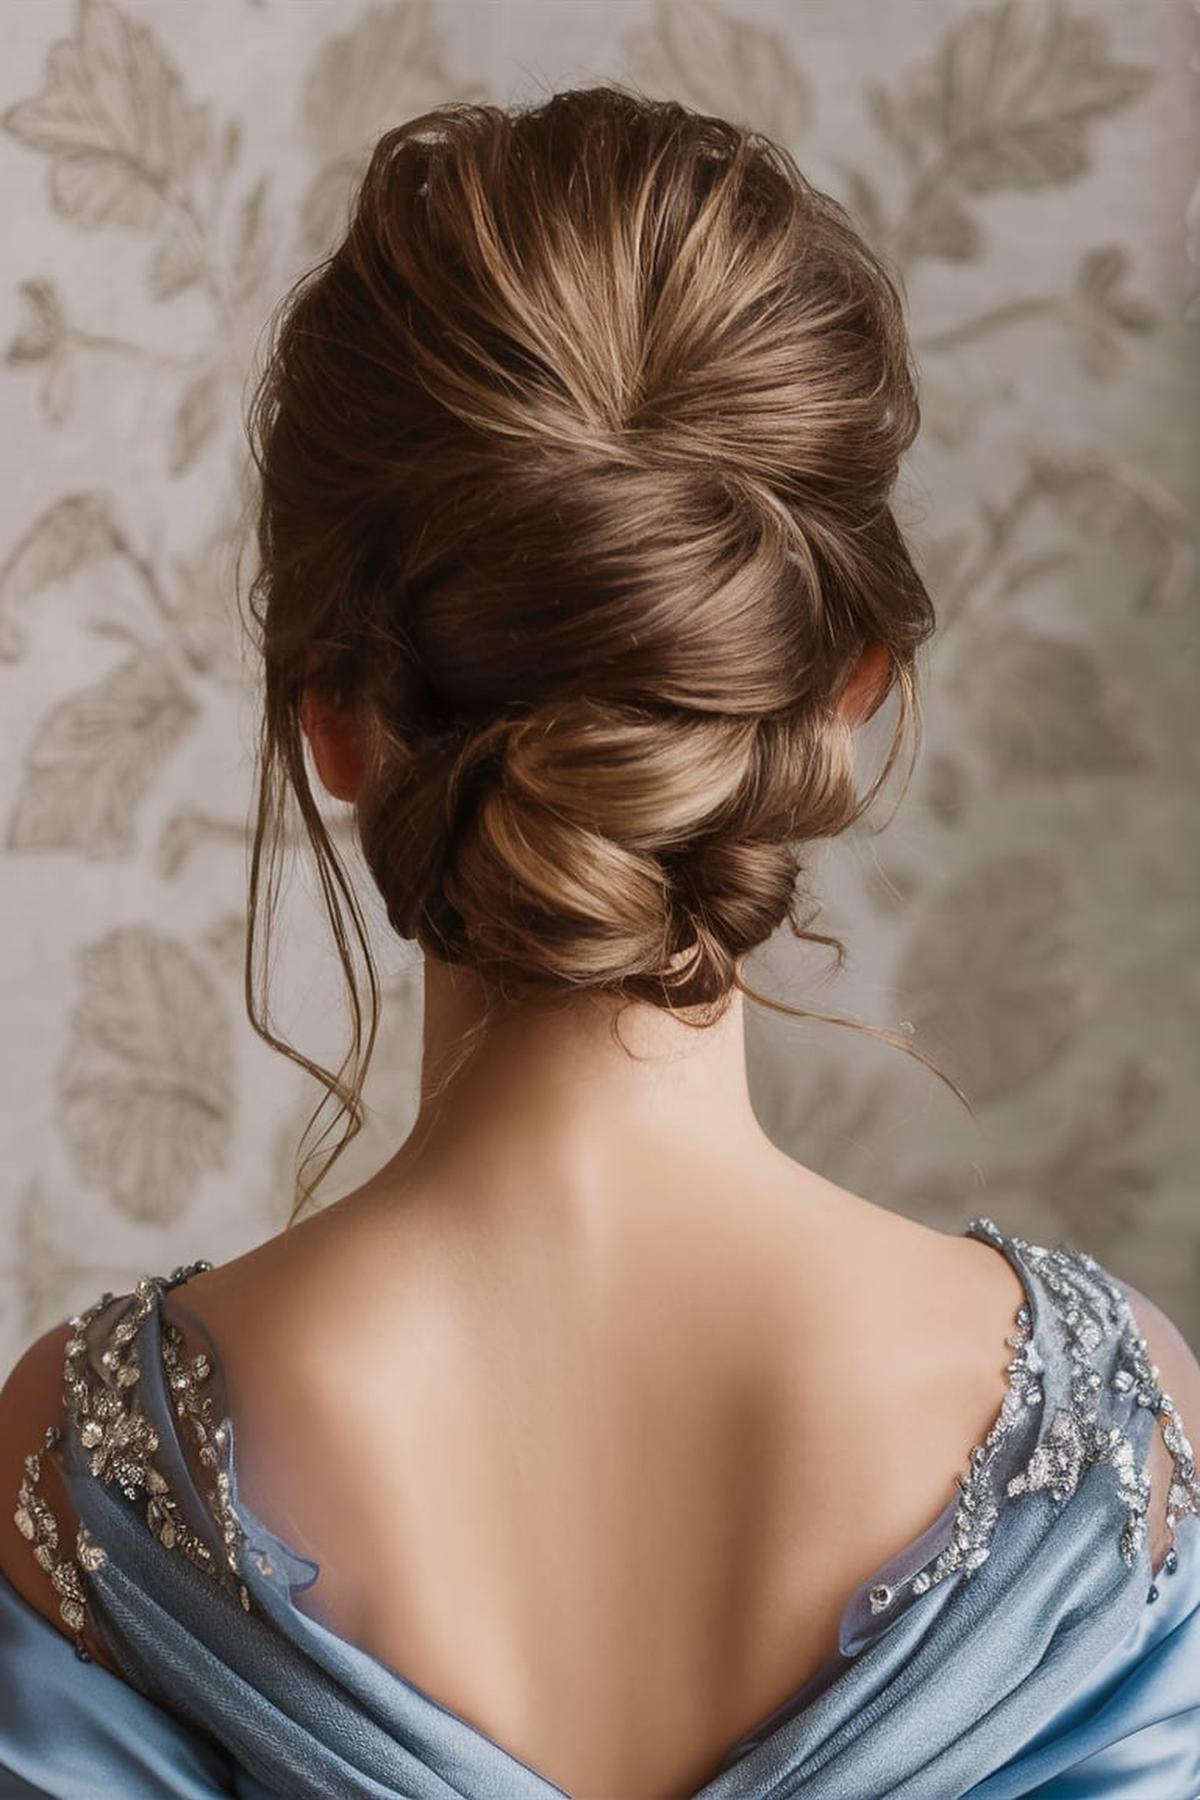
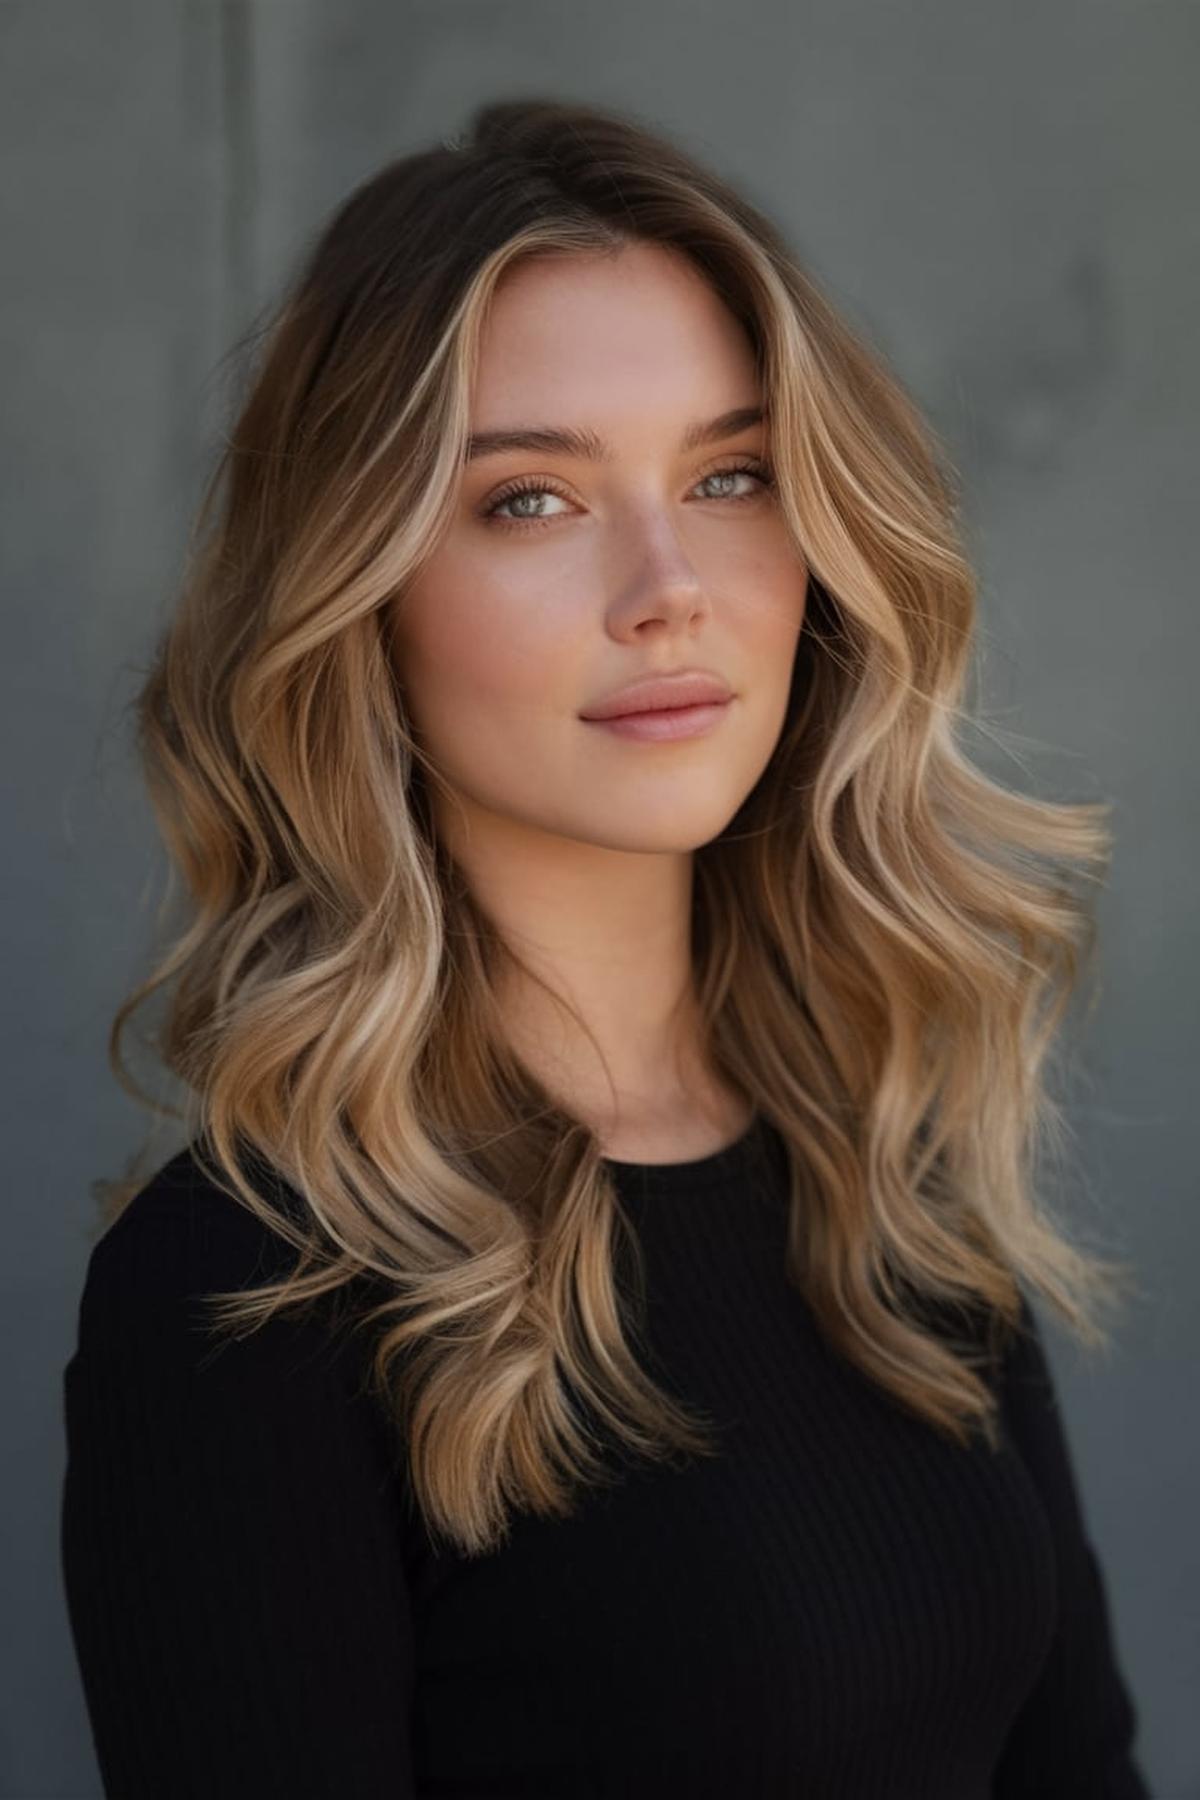
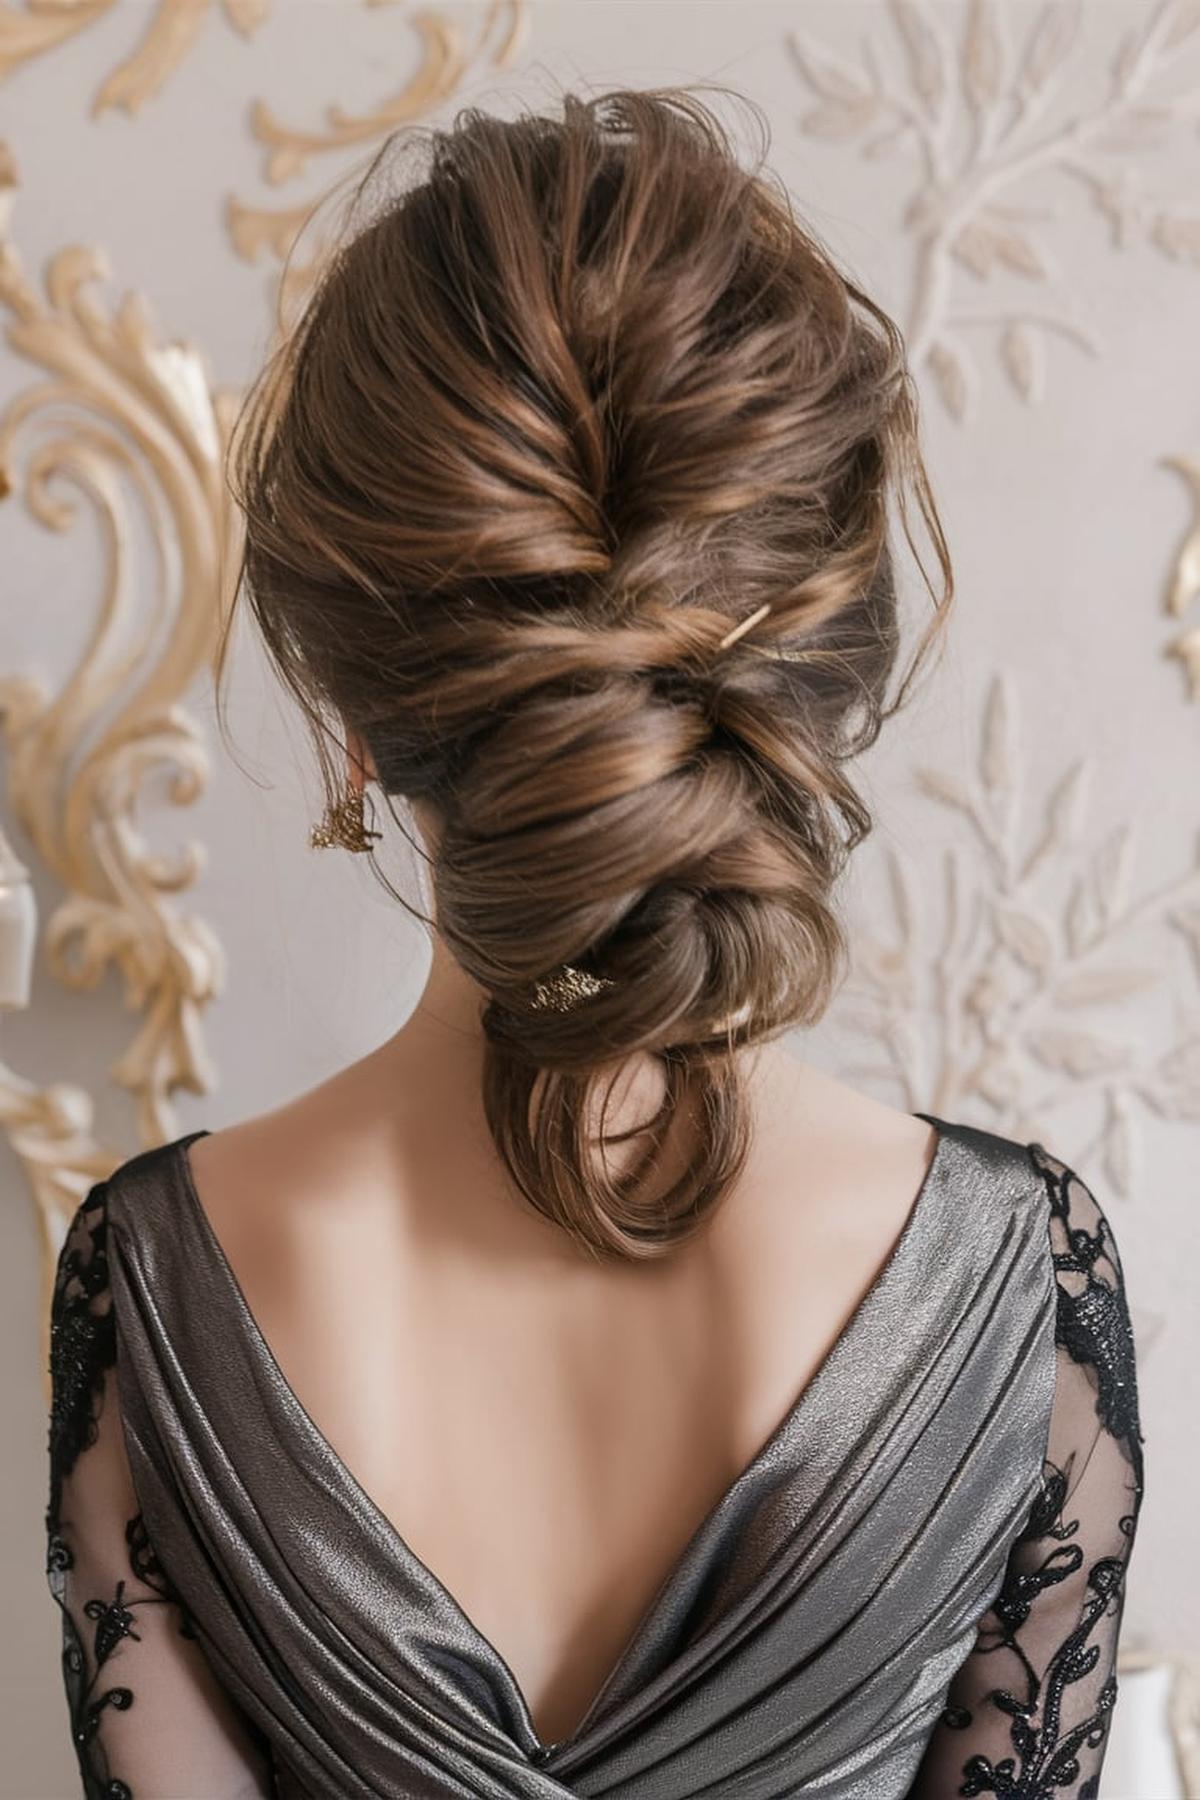
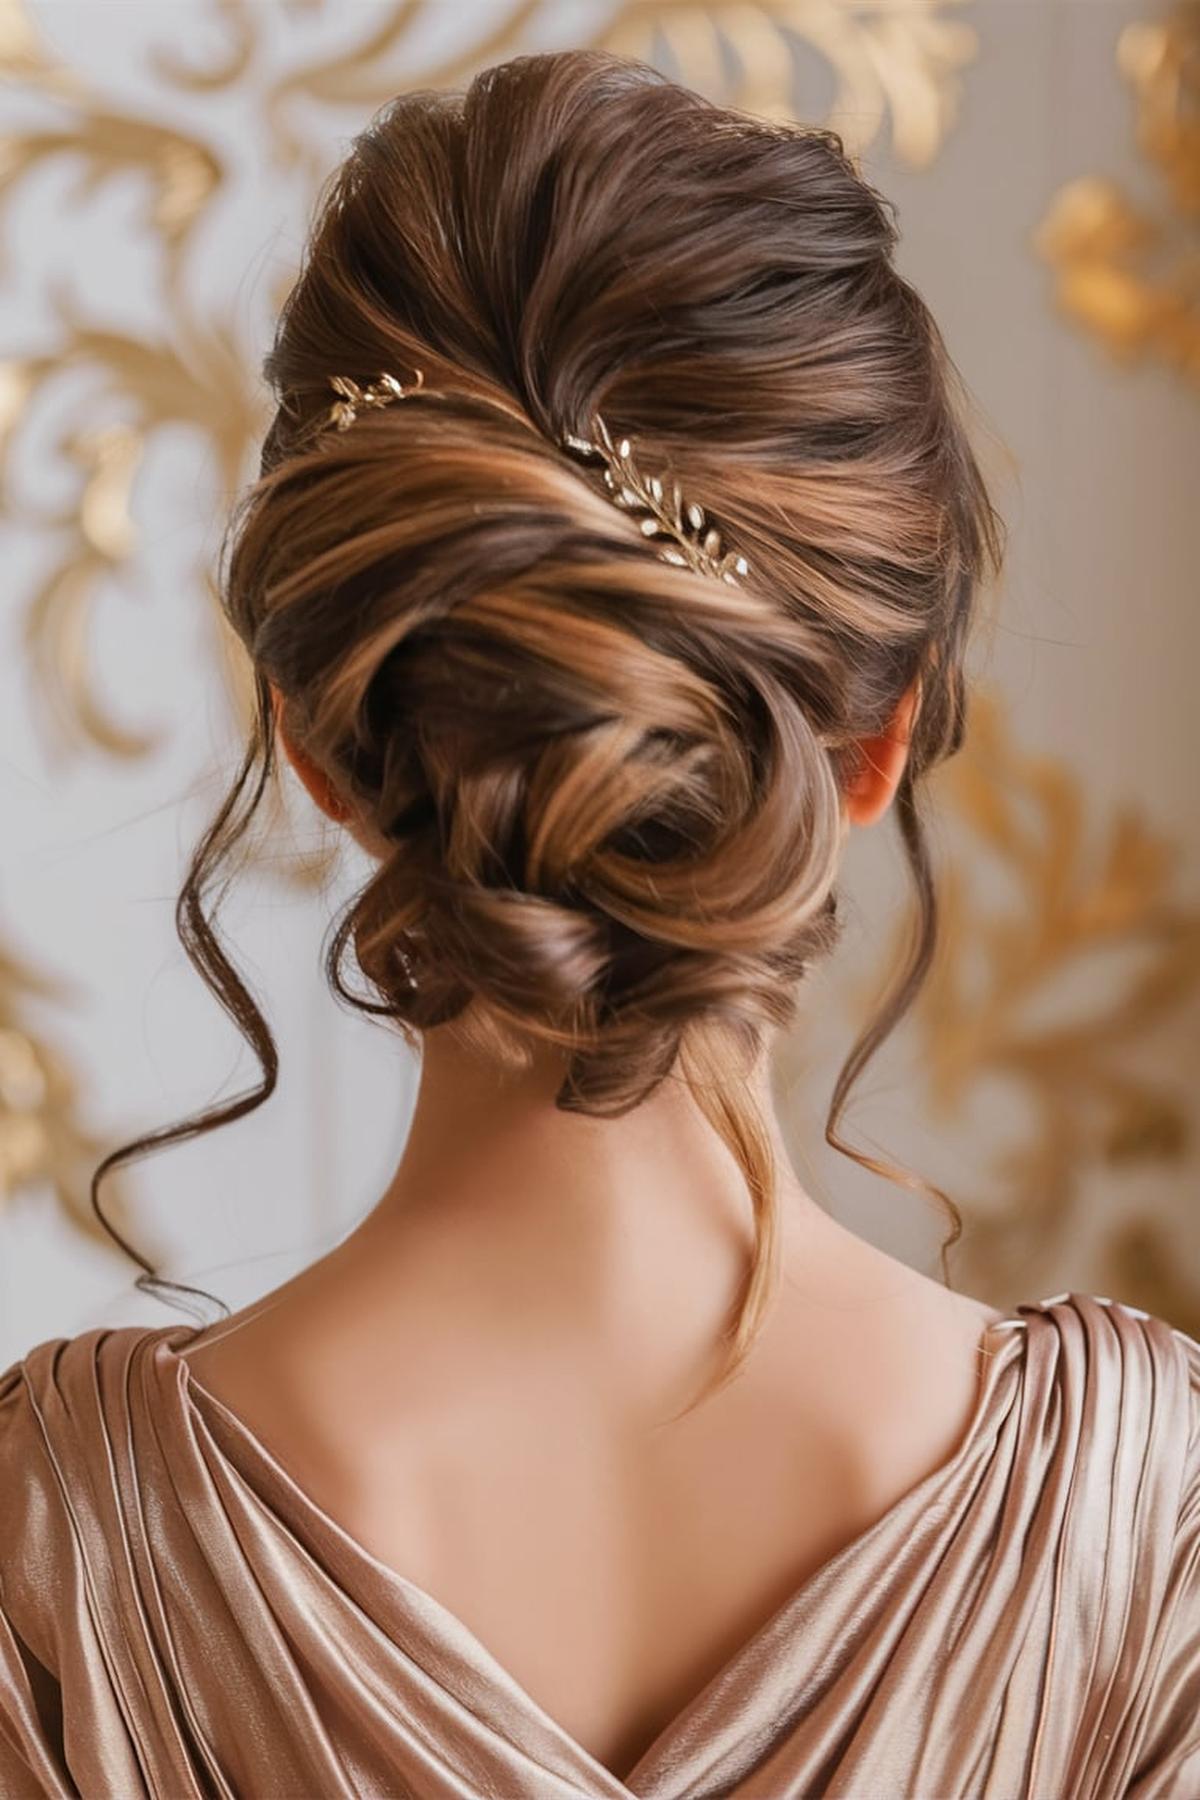
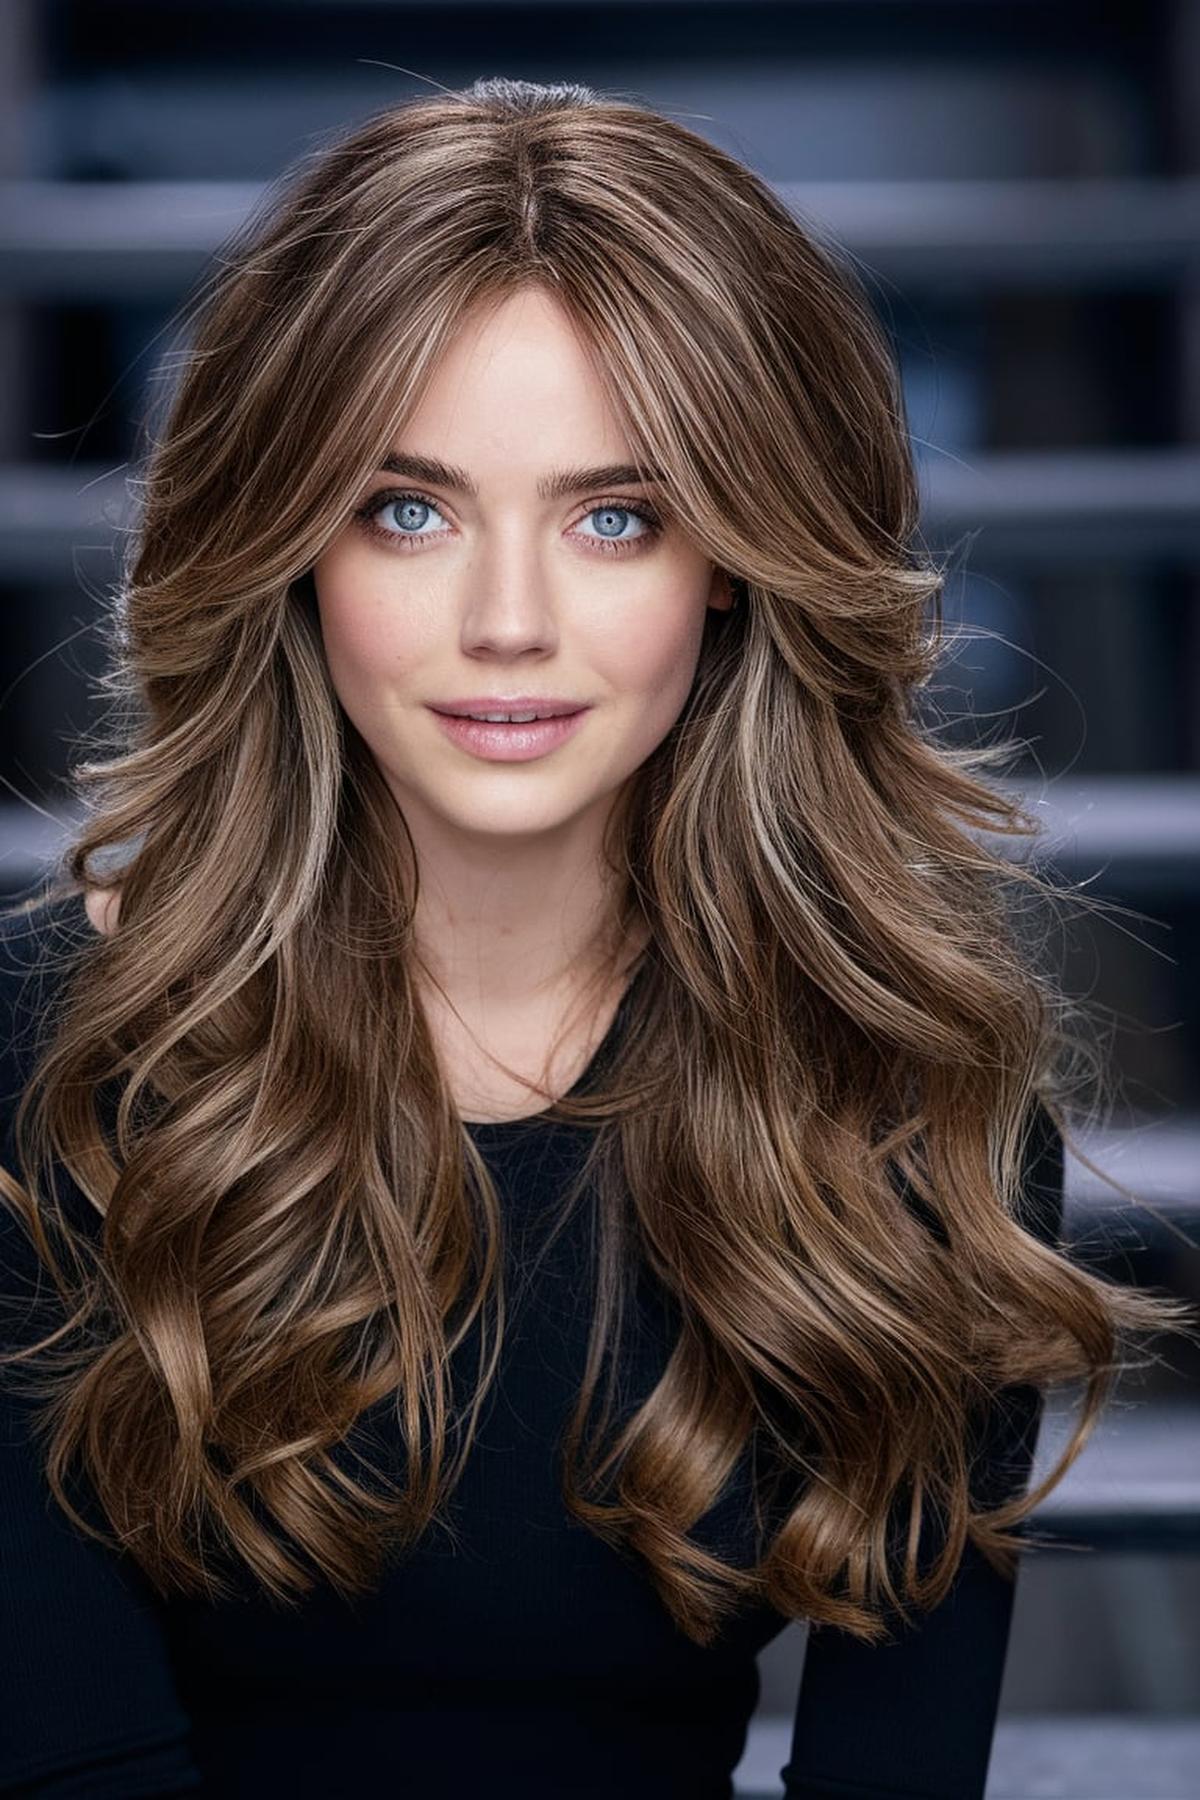
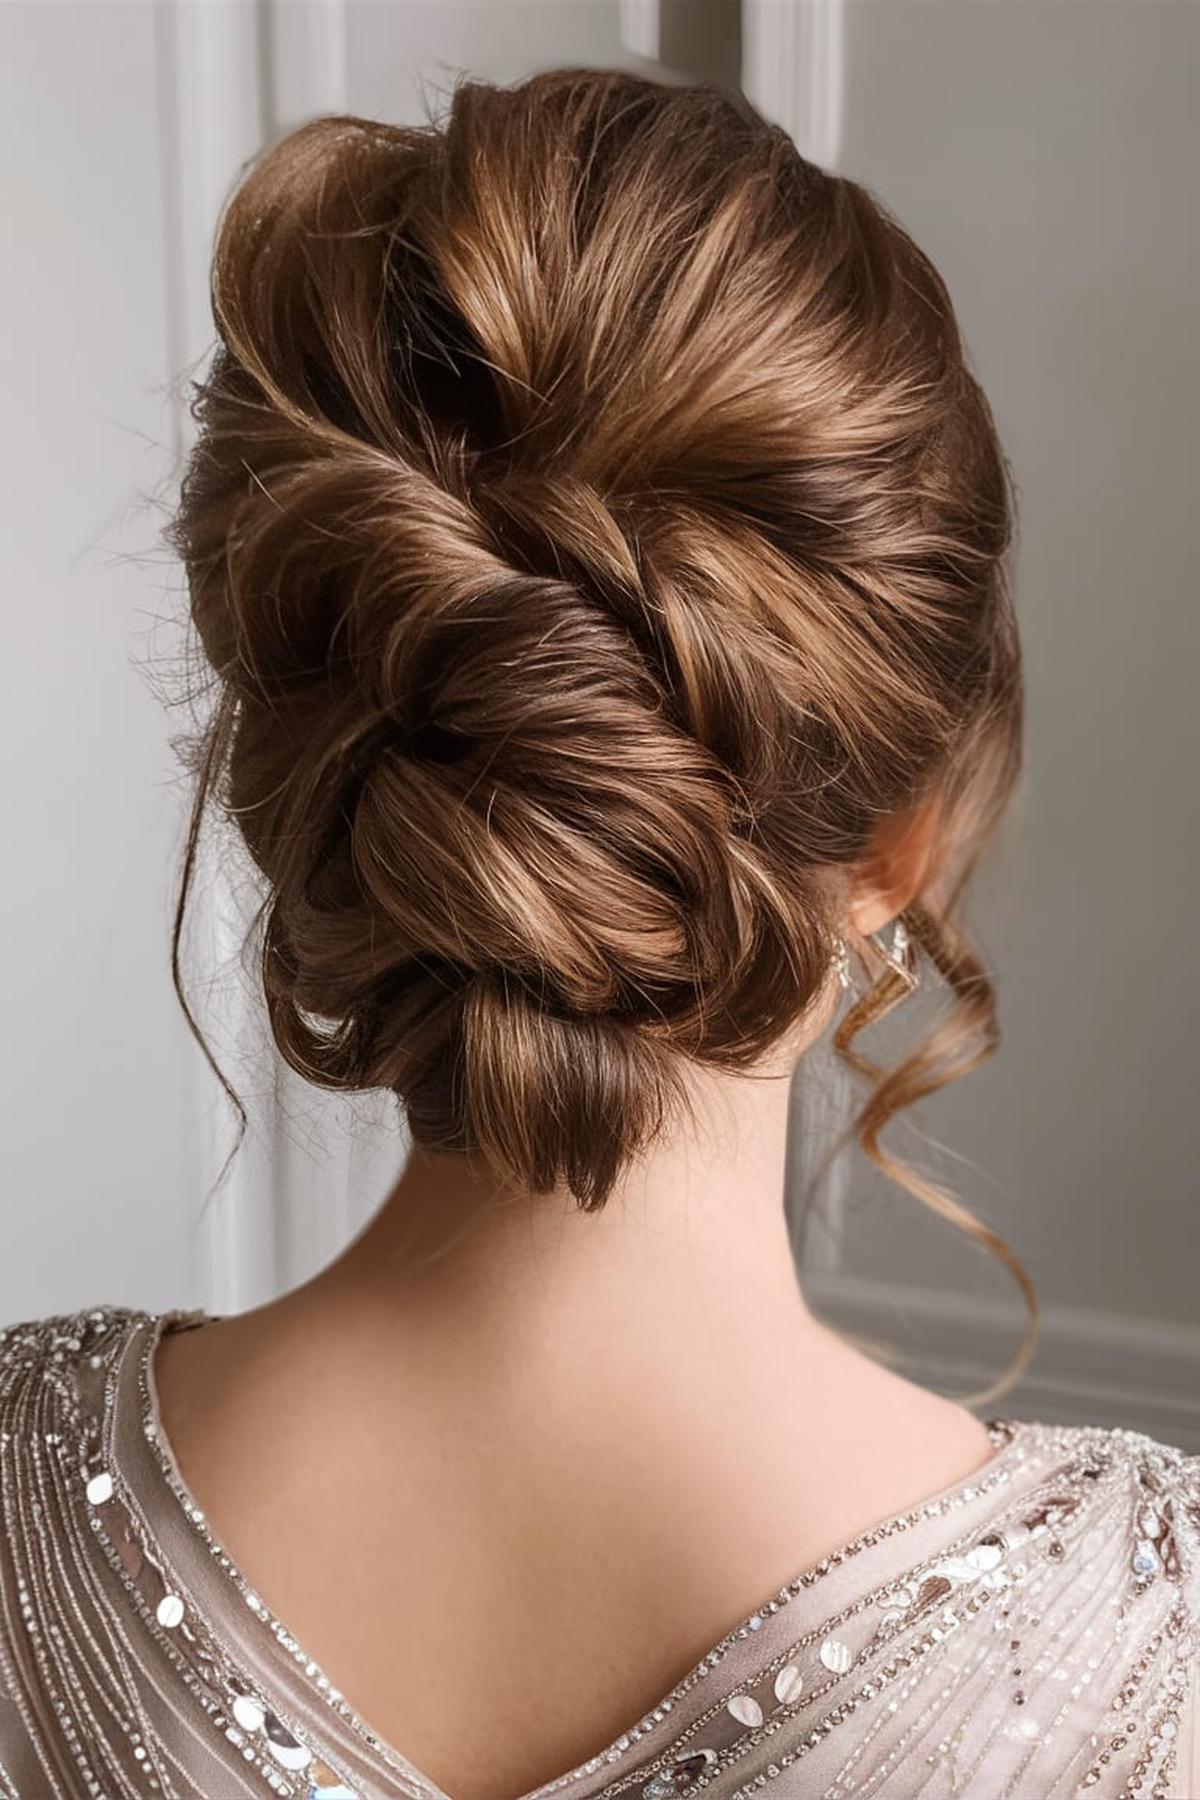
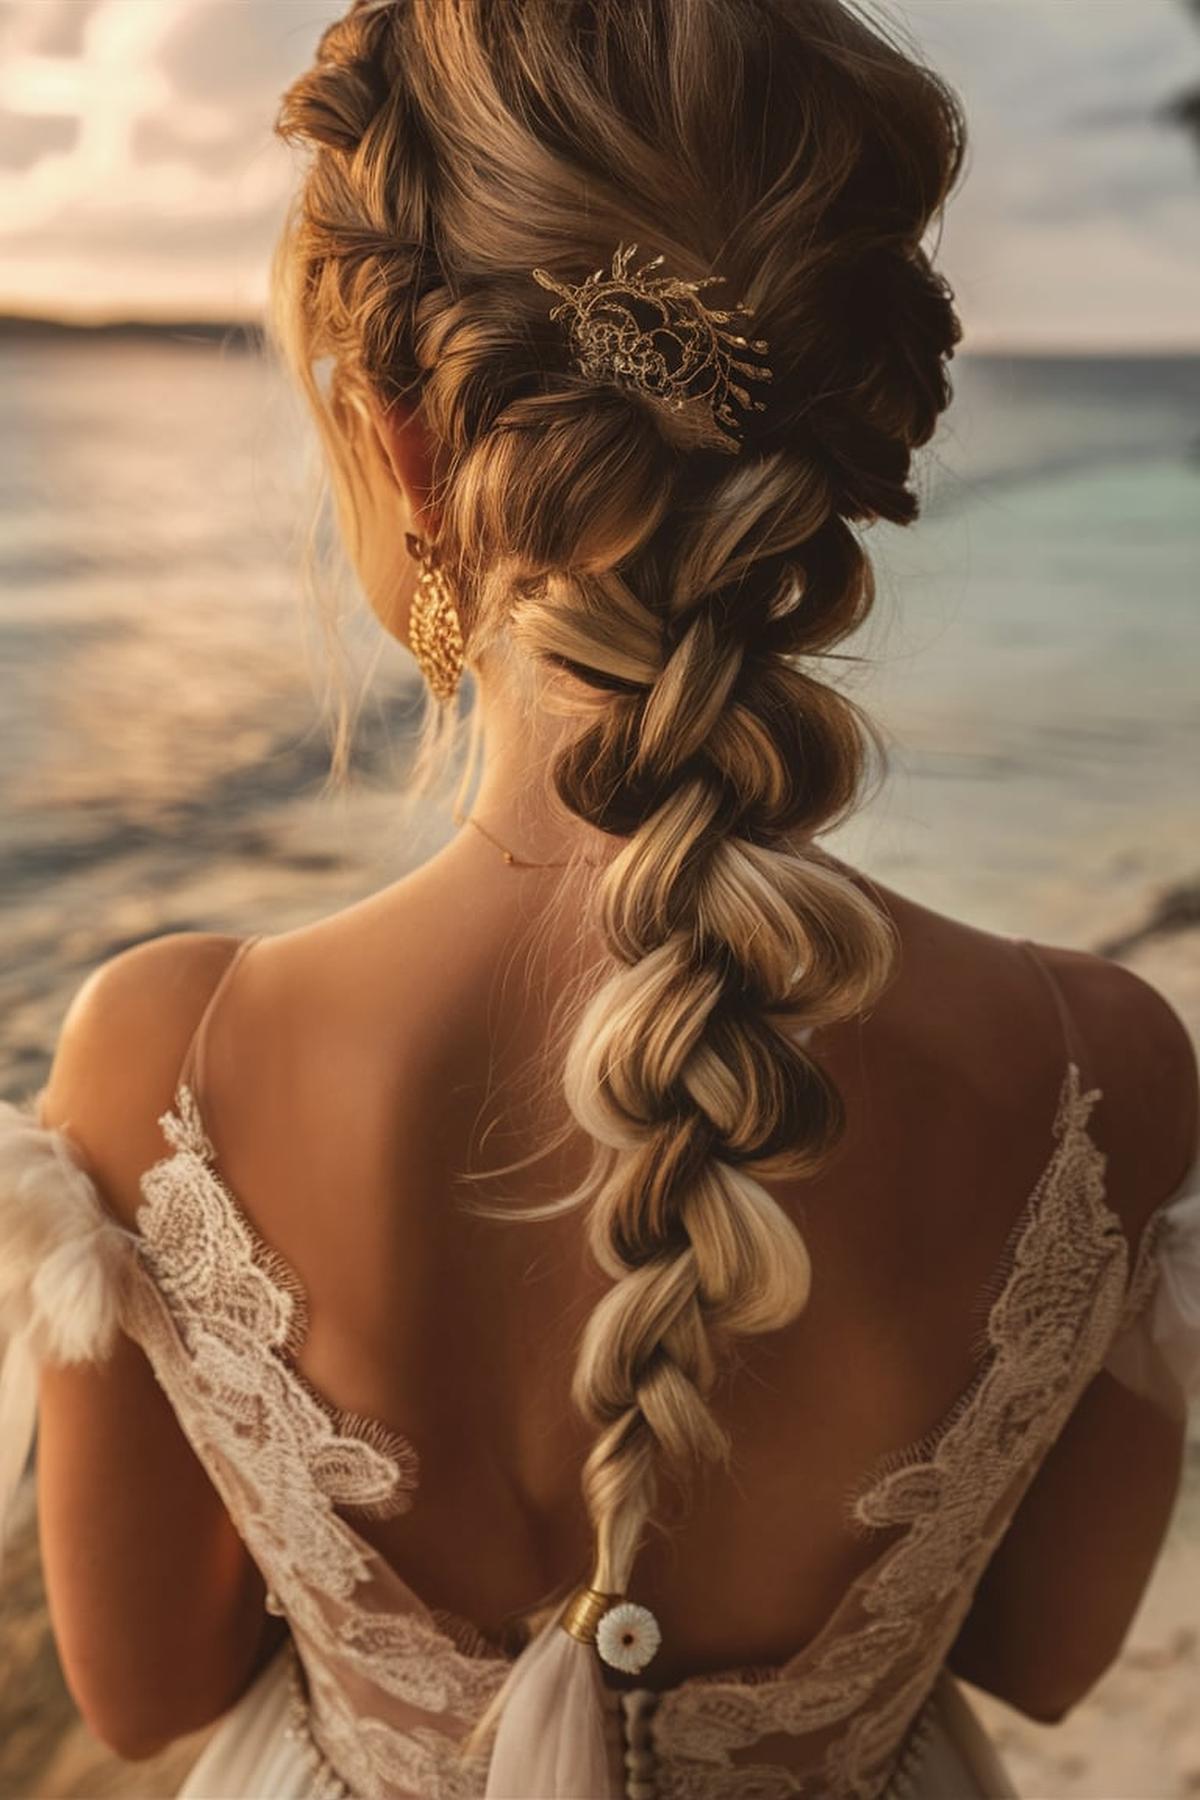
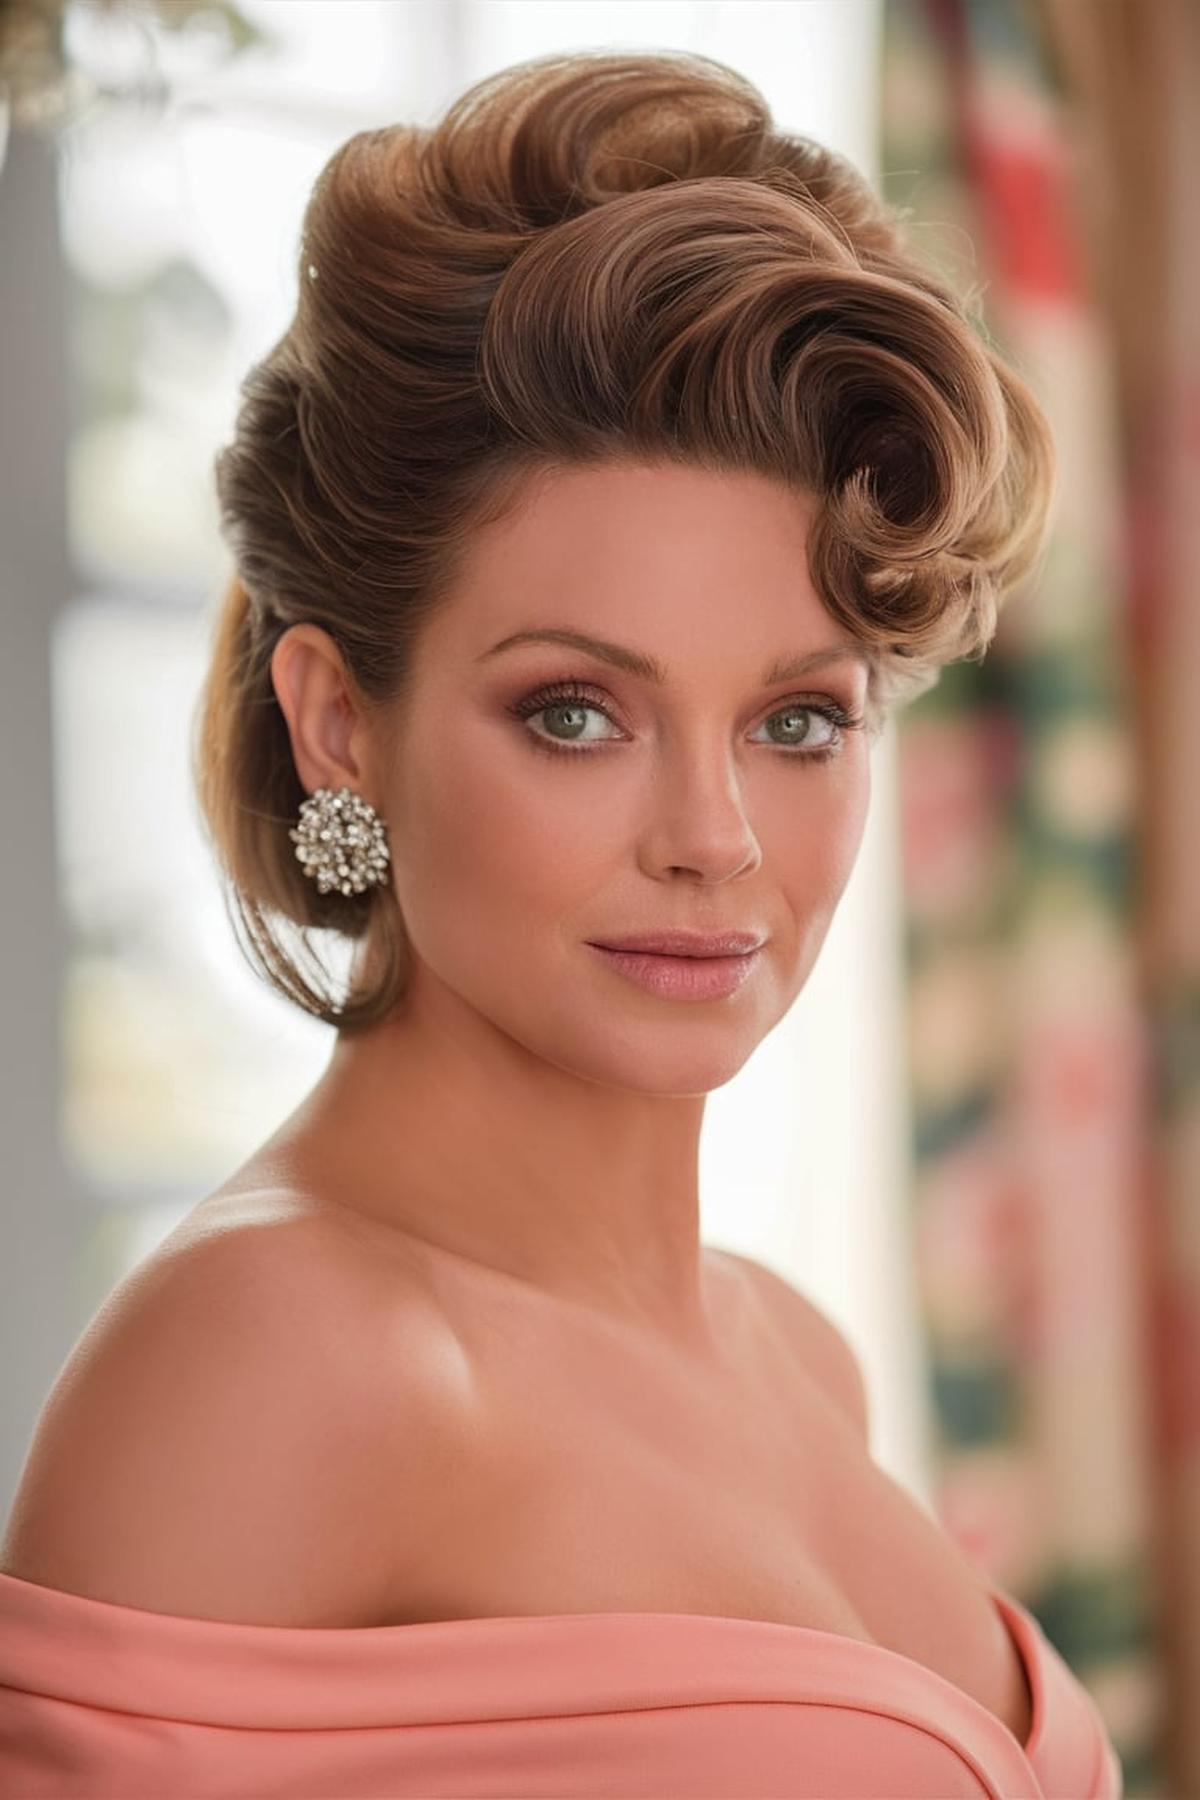
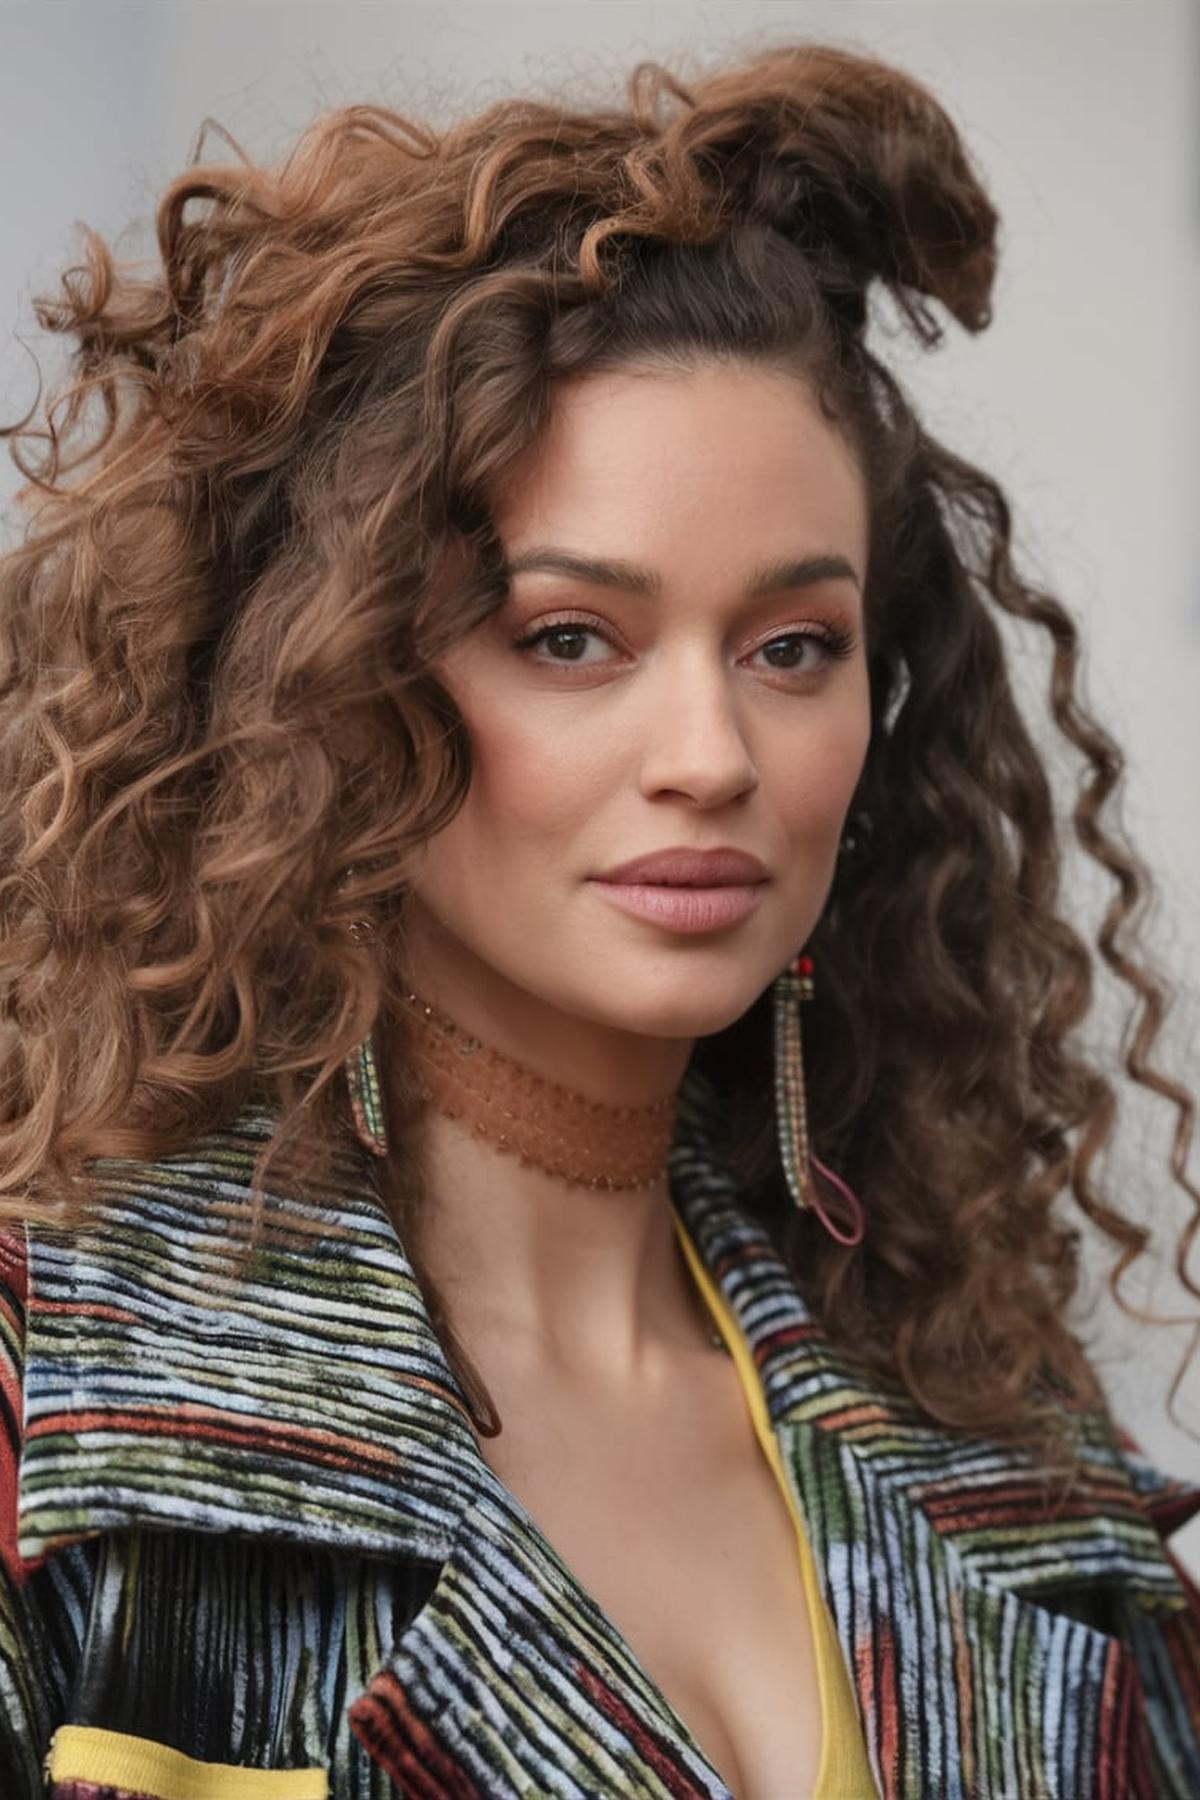
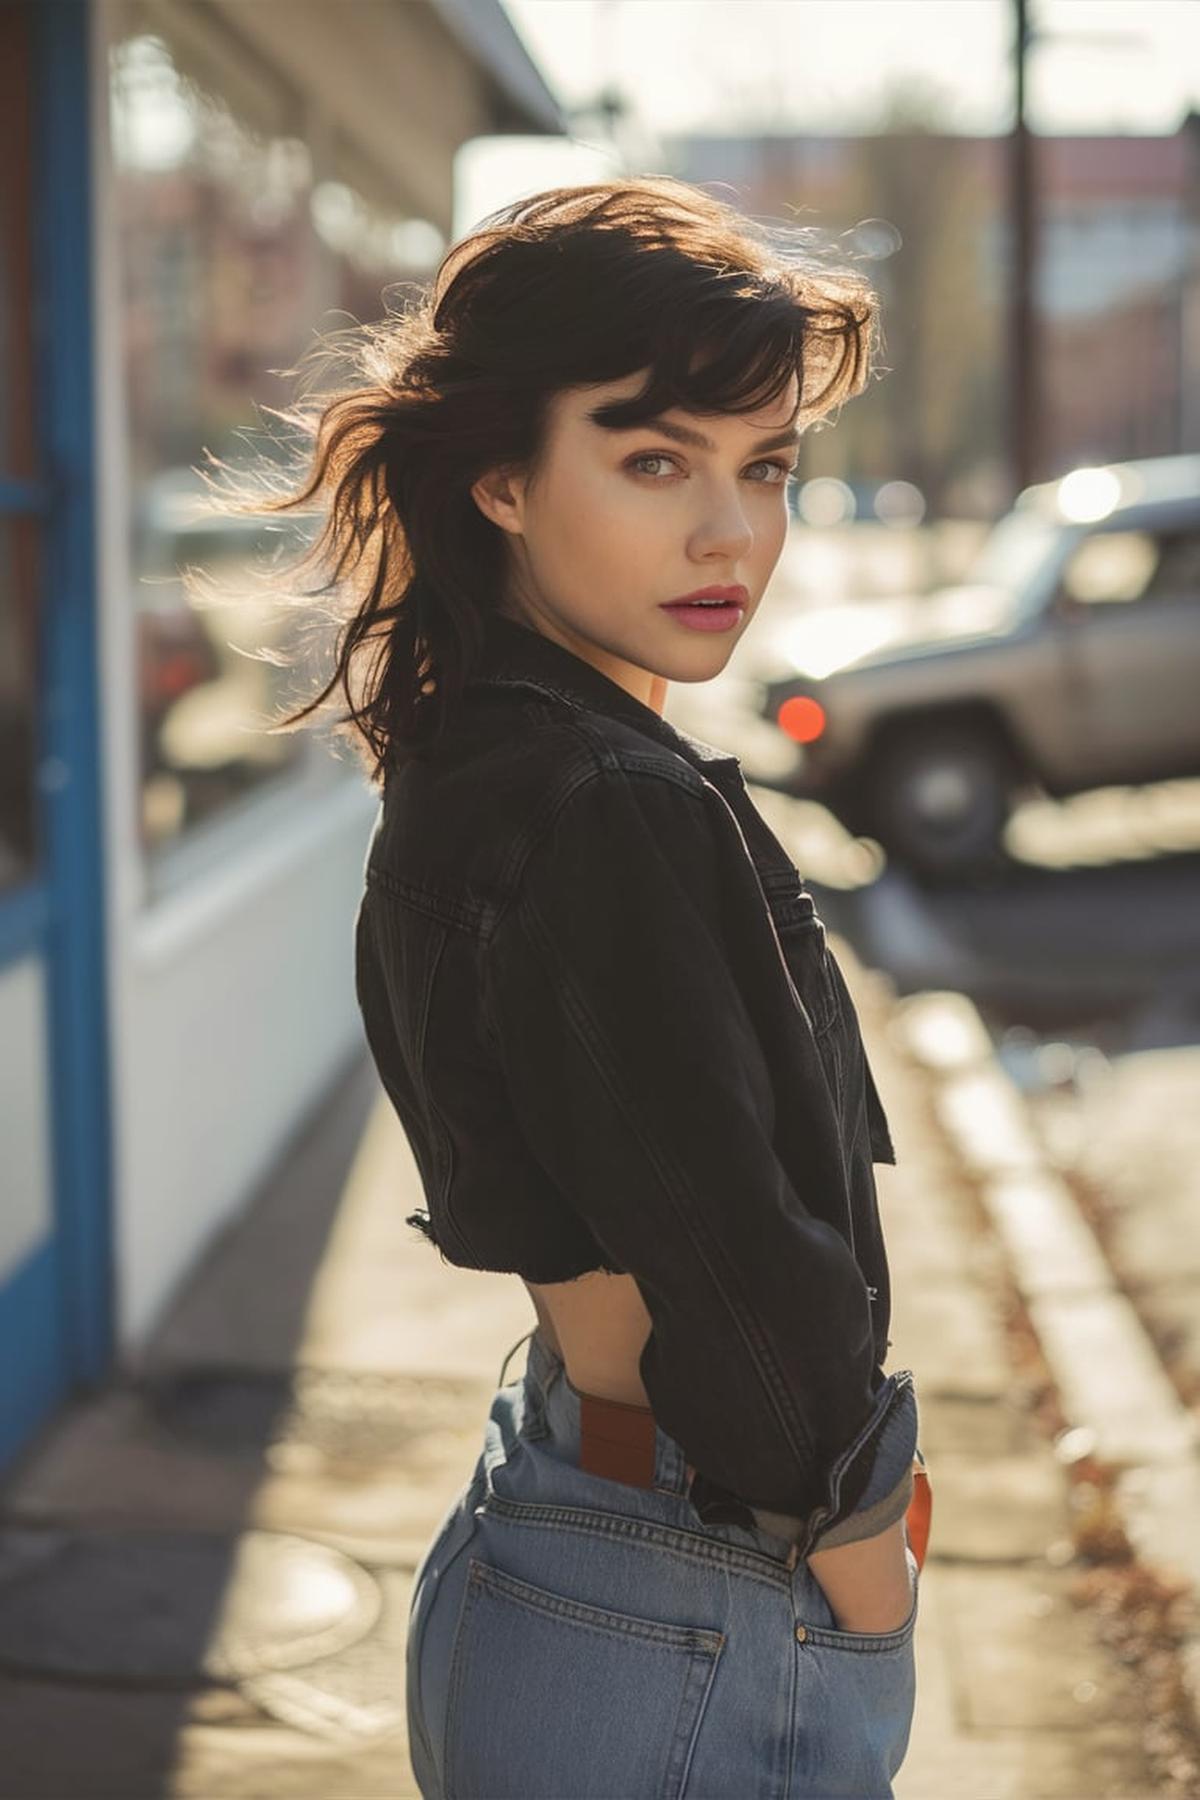
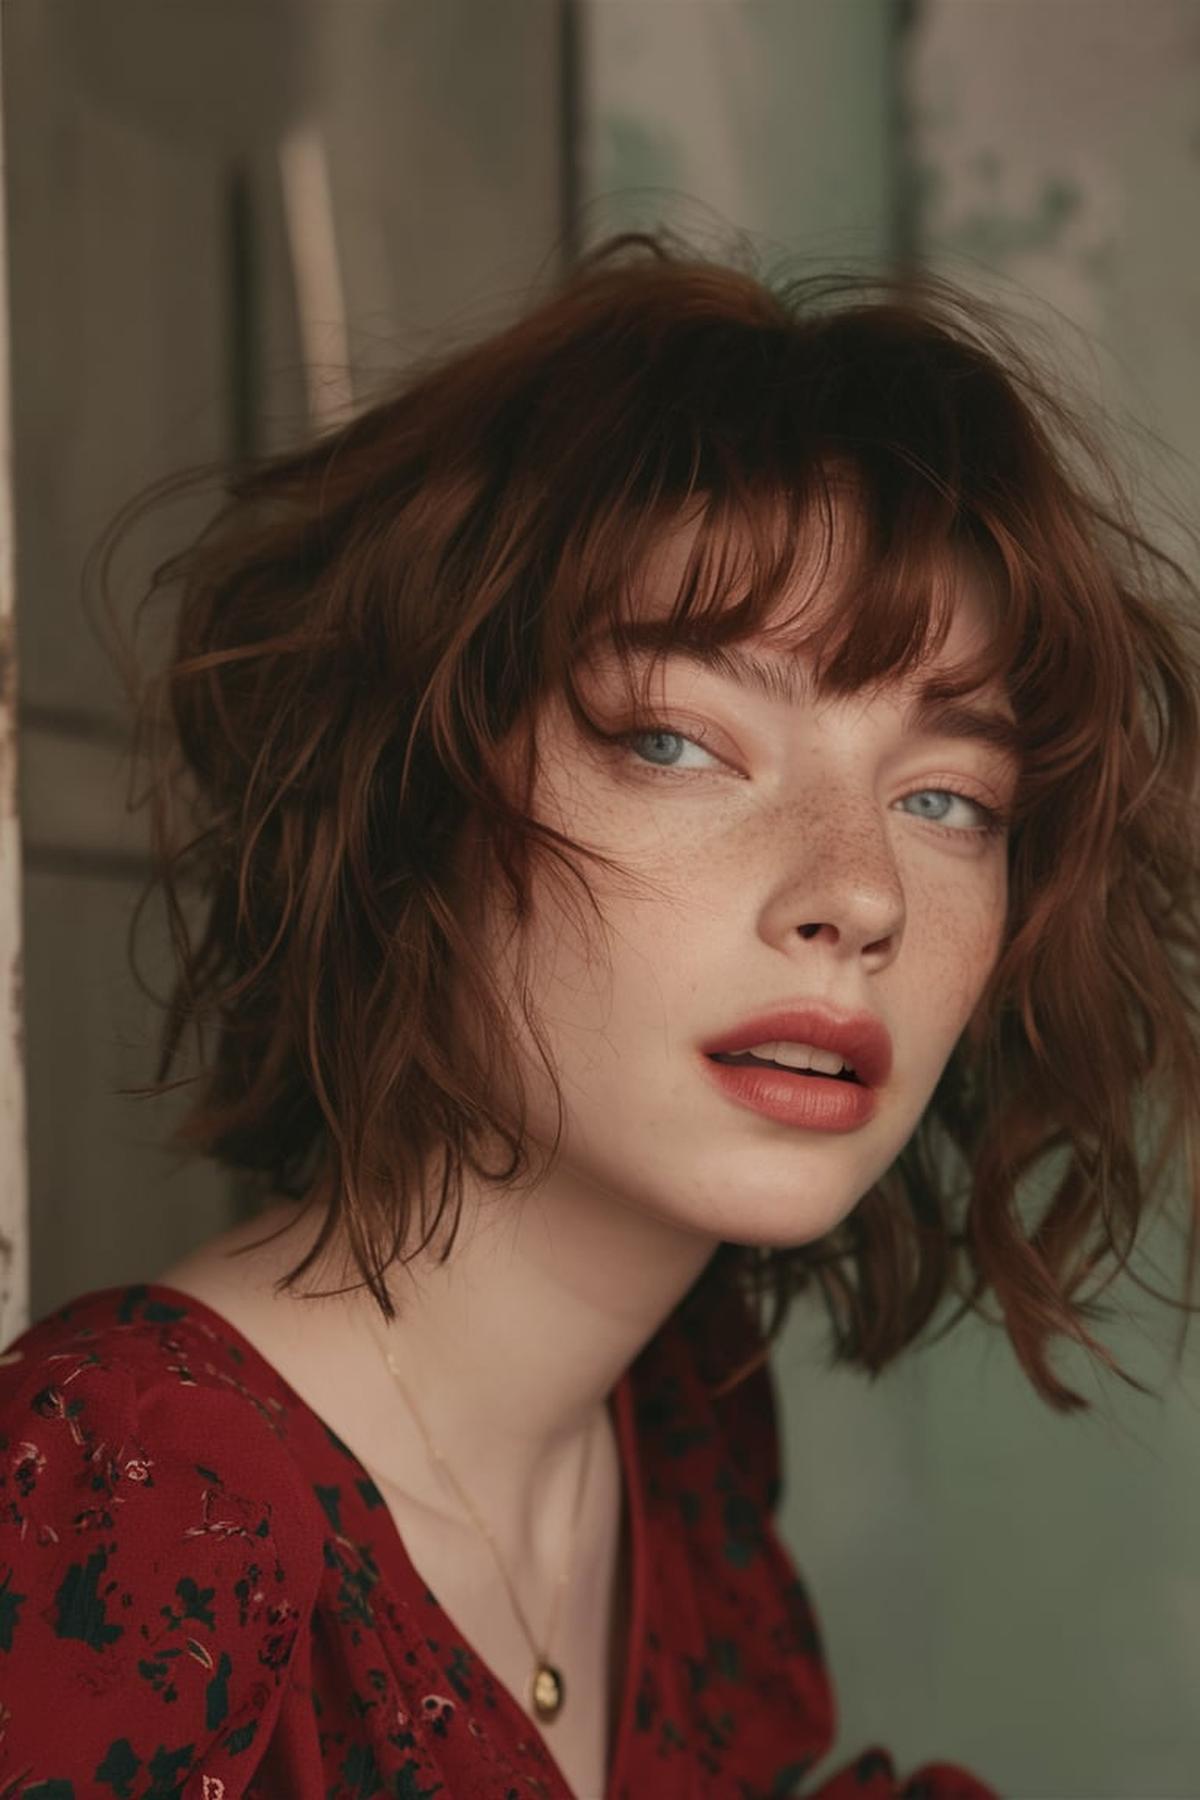
One popular option is the sleek twist with a modern knot, which combines elegance with a contemporary flair. This look is great for showcasing your facial features and can be easily accessorized with hairpins or a headband. Another classic choice is the classic bun with a twist, where you can add some texture or a braid to make it more unique.
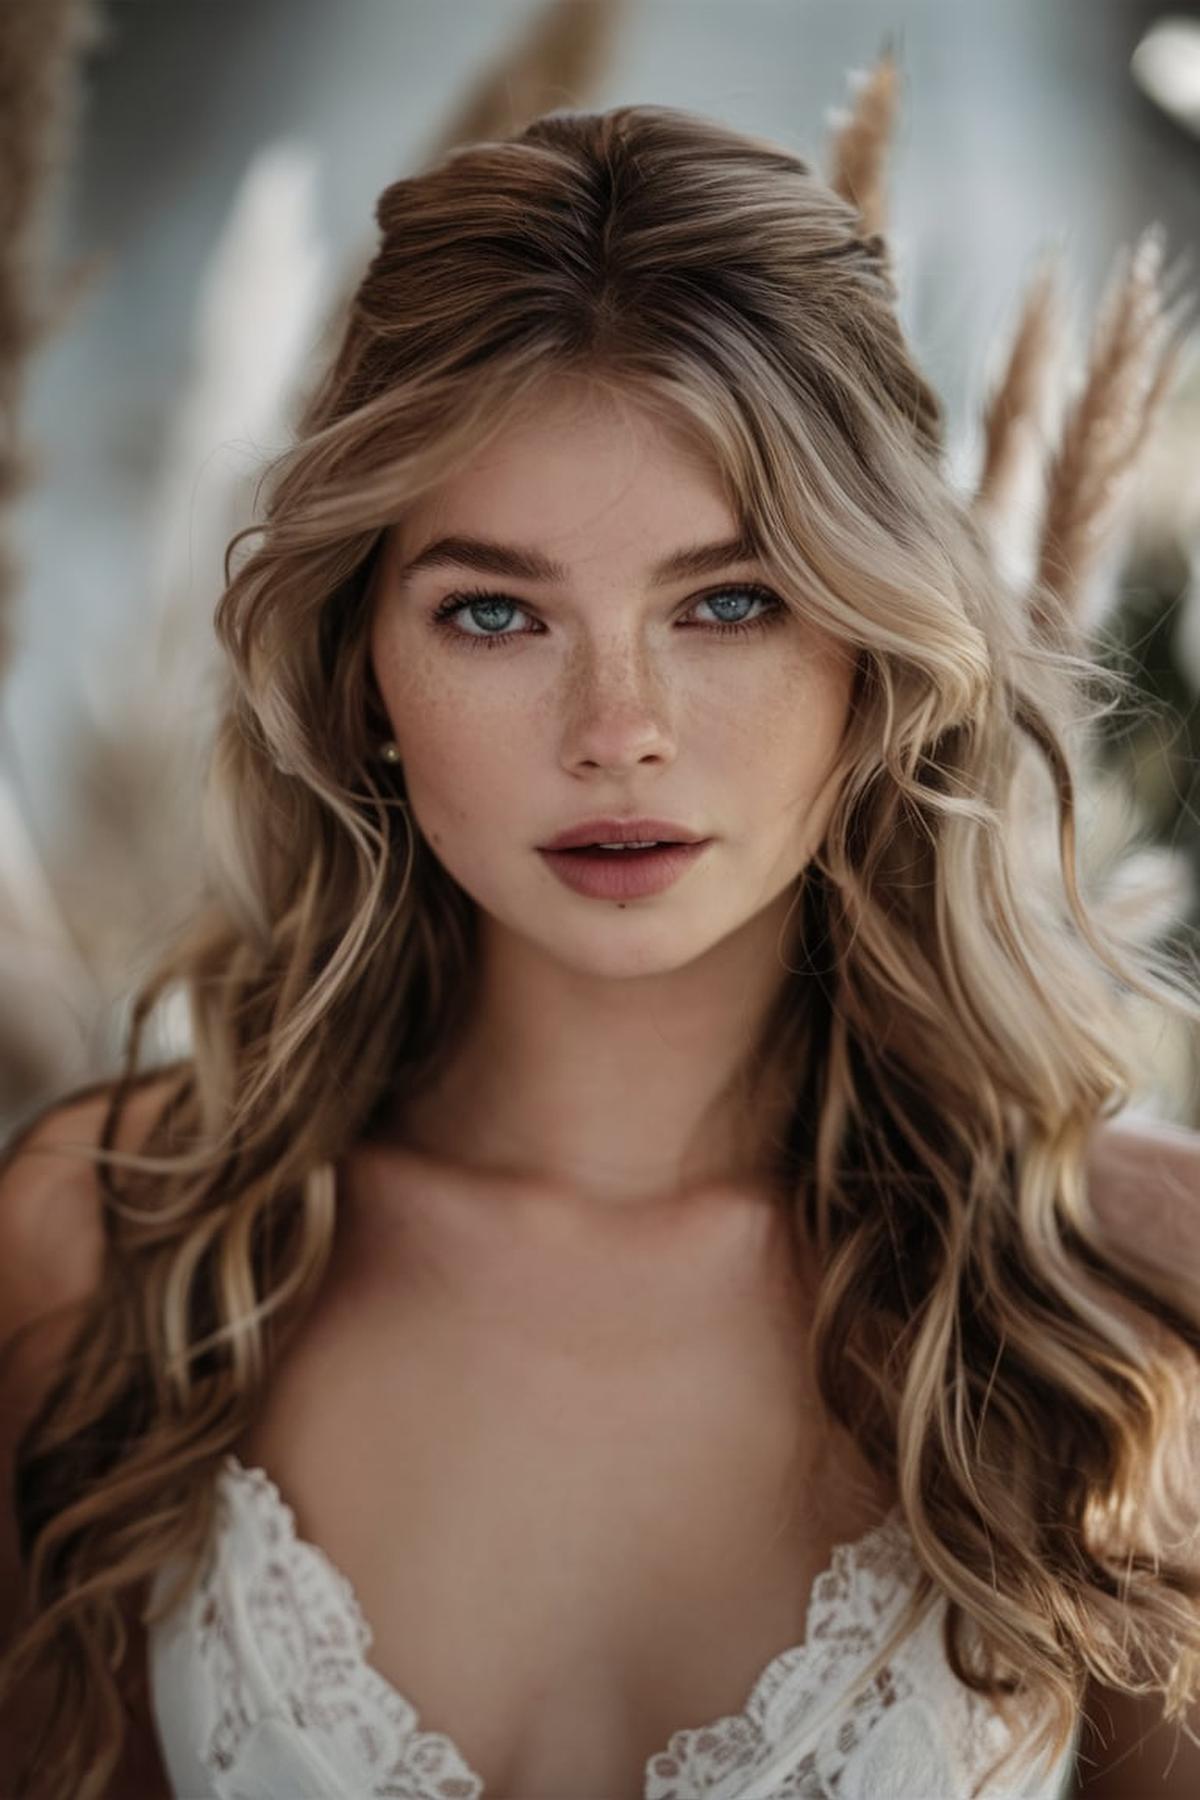
This style gives a romantic feel and is perfect for those who want to show off their hair’s natural texture. Alternatively, the ultra-voluminous formal updo is ideal for making a bold statement. It adds height and drama, making it perfect for a night of dancing.
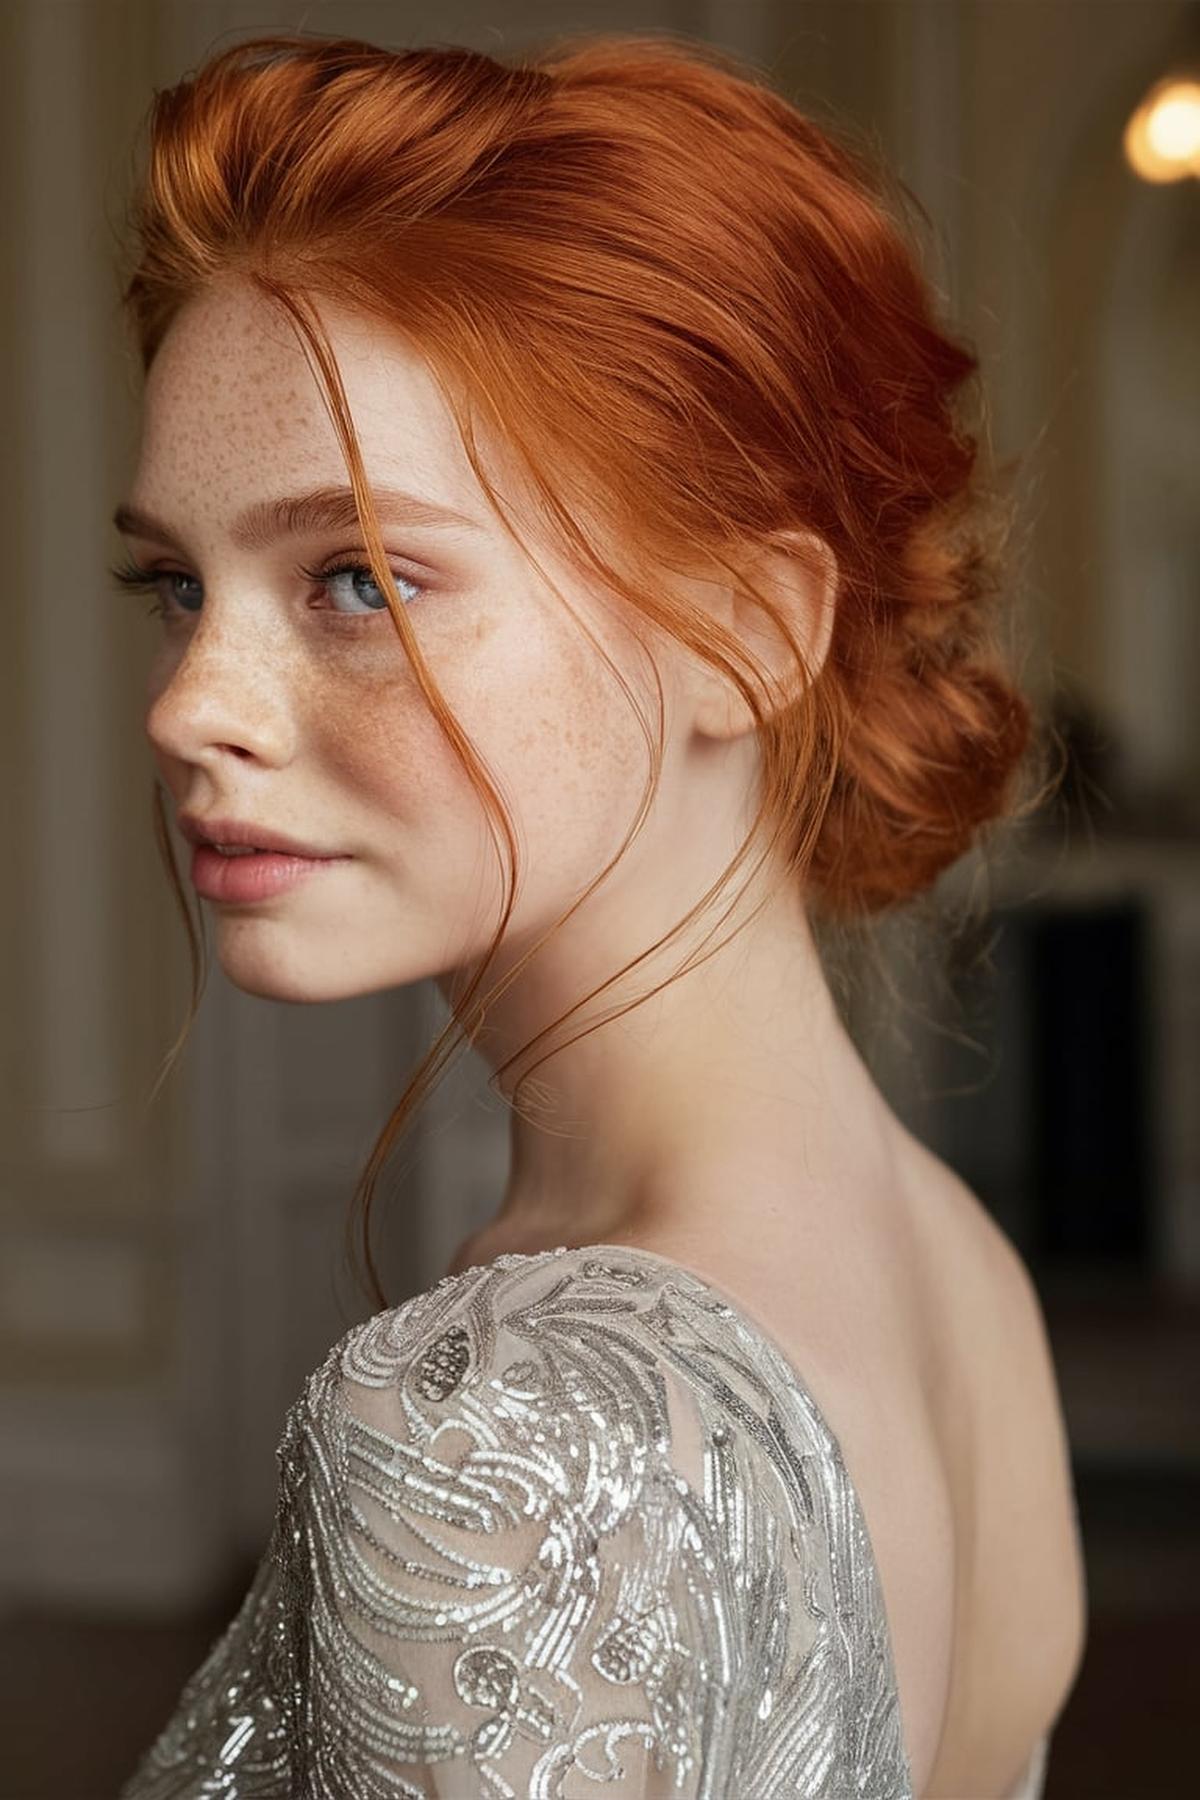
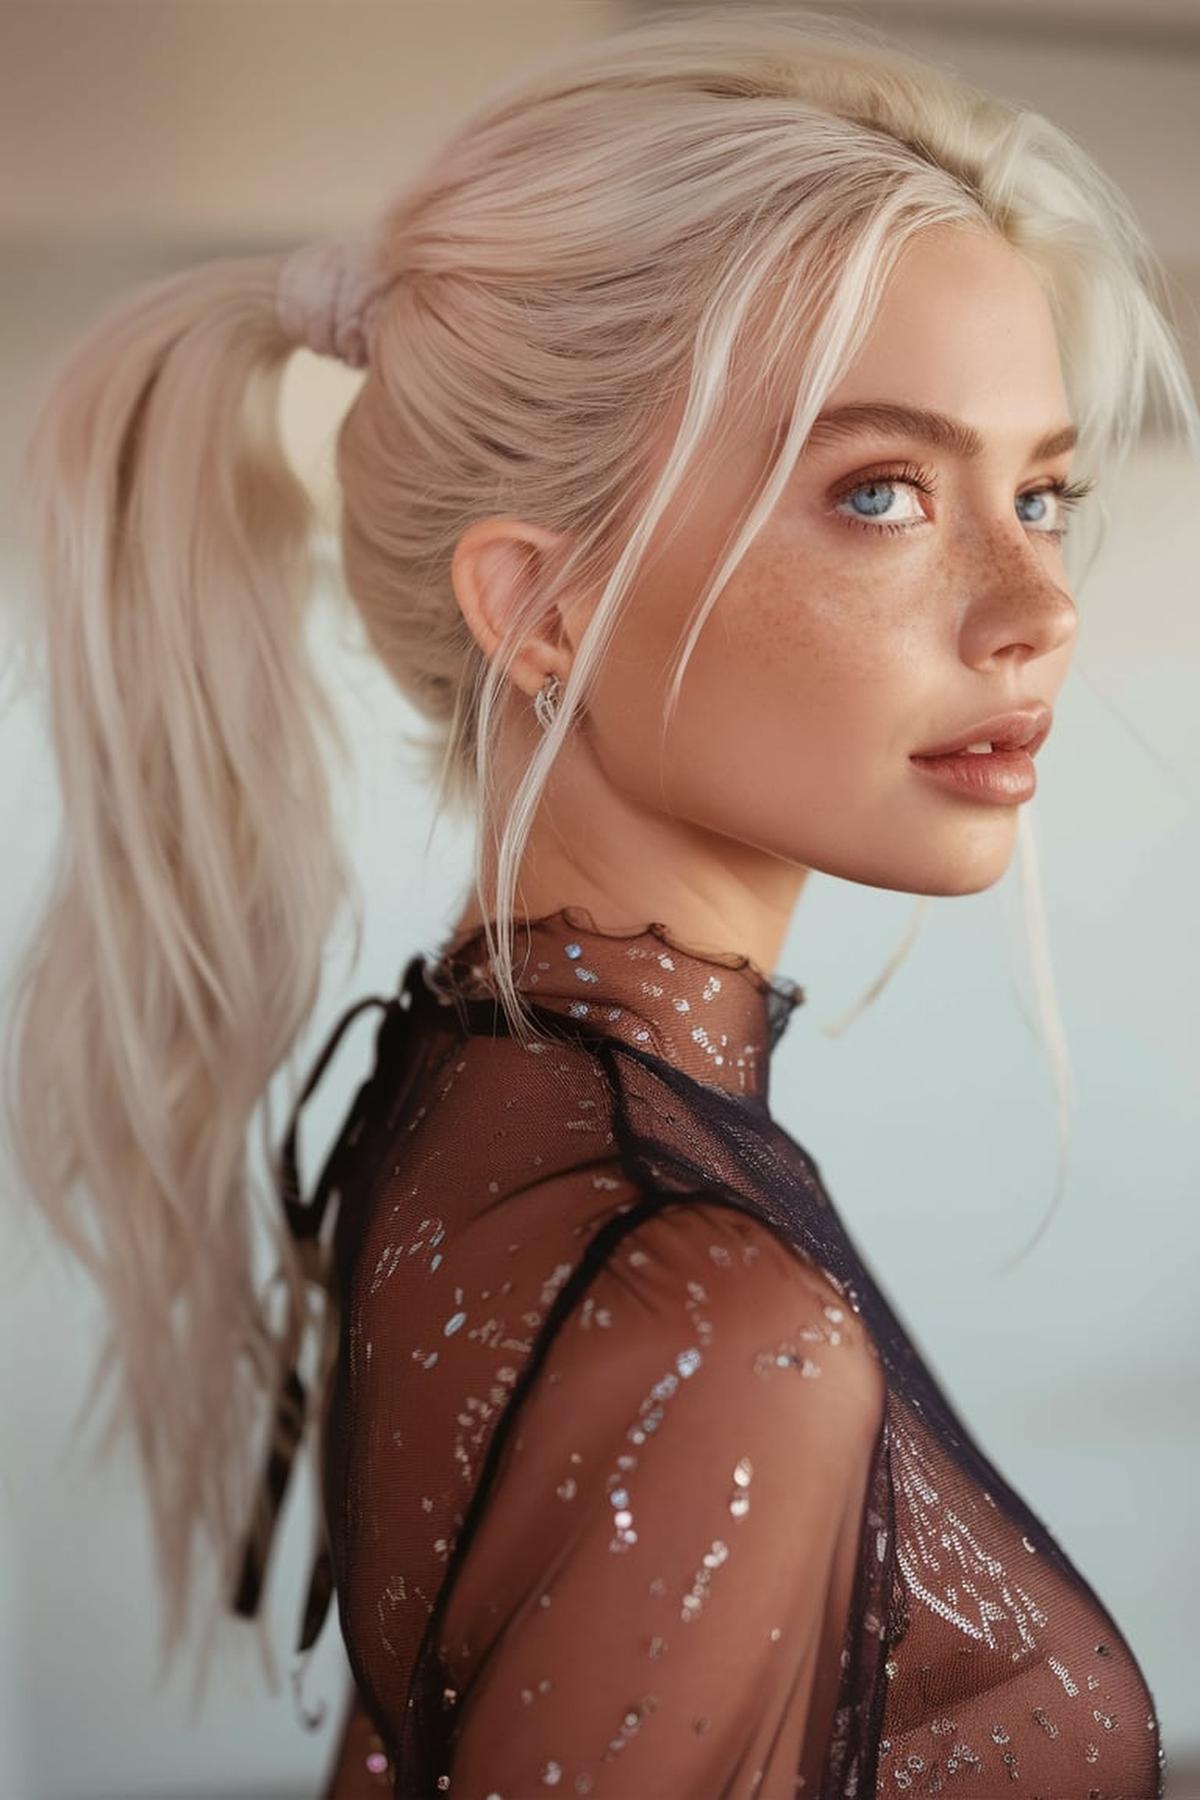
For a chic and sophisticated option, the ponytail updo with elegance is a great choice, especially when paired with face-framing layers.
Now, without further ado, let’s dive into 29 best prom updos for long hair.
Sleek Twist with a Modern Knot
Begin with clean, dry hair, and make an off-center part on the top of your head. Then, create another part from ear to ear. This will help you section your hair for twisting.
Secure this twist temporarily with a small clip to prevent it from unraveling. Repeat the same twisting process on the right side. Once both sides are twisted, carefully remove the clip from the left twist and cross the right twist over the left to begin forming a knot.
Pass the right twist under the left and pull tight, then repeat this step to secure the knot. Once you’re satisfied with the look, use a small rubber band to secure the knot at the base. You can adjust the position of the knot to your liking, and if you want a more intricate style, consider adding more knots down your hair for a beautiful effect.
Classic Bun with a Twist
Use a strong hair tie to secure it, making sure it’s tight enough to hold your hair in place. The key is to make the ponytail smooth, so brush your hair back to eliminate any bumps. For a twist, position the ponytail slightly diagonally from your ear to create a flattering shape.
As you wrap the hair, tuck the ends under the bun to keep everything neat. To secure it, use bobby pins, but make sure to use a special technique: loop the pin around some hair from the bun and then push it into the base of your ponytail. This helps keep the bun secure and prevents it from falling apart.
You can pull out a few strands for a softer look or use hairspray to tame any flyaways. If you want to add some flair, consider braiding sections of your hair before twisting them into the bun. This adds texture and makes the style more interesting. With practice, you’ll be able to create a beautiful classic bun with a twist in no time.
Voluminous Curls Pinned Up with Wisps
Before using any heat styling tools, it’s crucial to apply a heat protection spray. This helps prevent damage to your hair. Section your hair into manageable parts, which makes it easier to curl. You can use a curling iron or hot rollers to create the curls.
Once you have your curls in place, it’s time to style them. Gently remove the bobby pins or rollers and let the curls fall. Use your fingers to separate the curls for a fuller, more voluminous look. If you want to add some wisps, take small sections from the front and lightly curl them away from your face.
Finally, to complete the look, pin up some of the curls at the back of your head. You can create a loose bun or twist the hair and secure it with more bobby pins. Make sure to leave a few wispy curls hanging down to frame your face. This hairstyle is not only stylish but also versatile, perfect for school events or casual outings. With practice, you’ll be able to achieve this look quickly and easily!
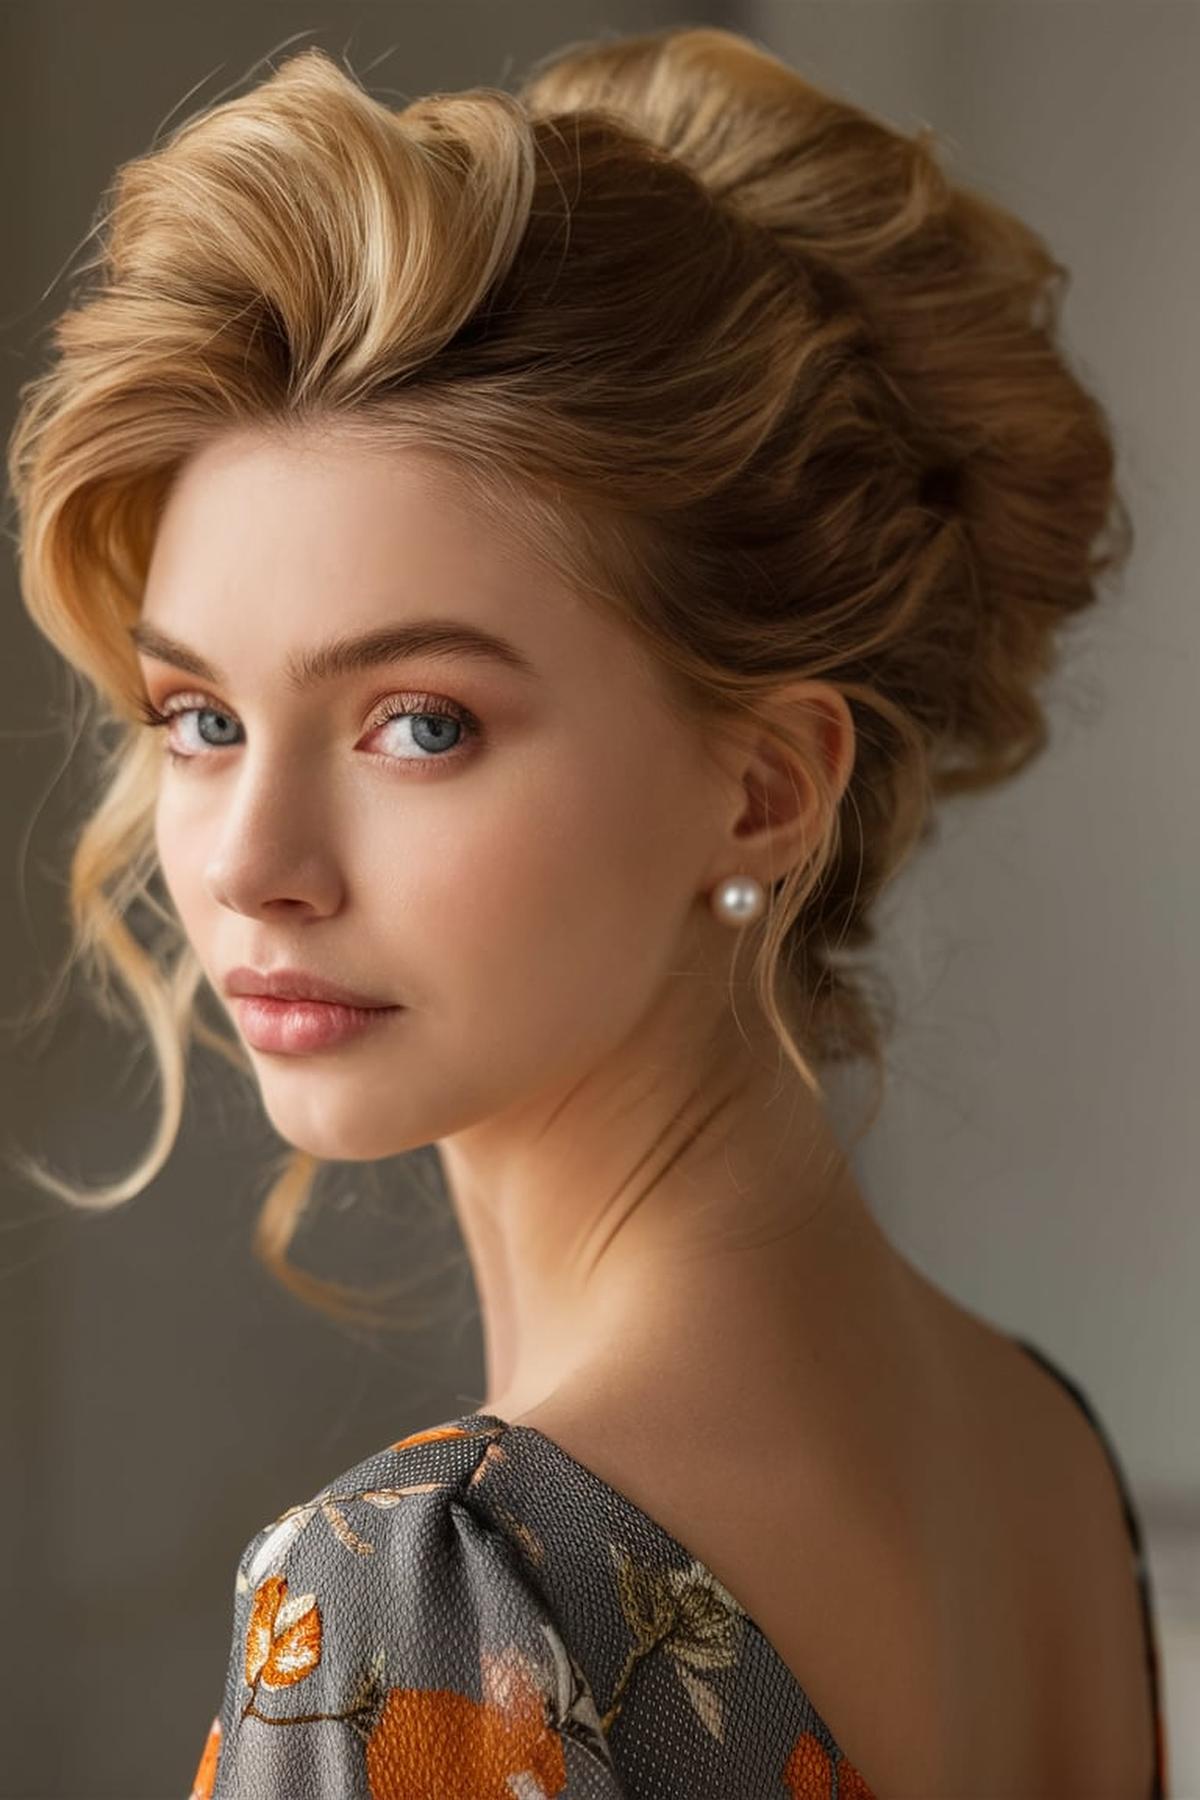
Ultra-Voluminous Formal Updo
Clean hair can be slippery, so using a texture spray or mousse can help create grip. If your hair is clean, apply a thickening product to add volume. This is especially useful if your hair is fine or flat.
Teasing involves gently backcombing small sections to create a fuller look. After teasing, smooth the top layer to hide the teased sections and gather all your hair into a bun. To make the bun look fuller, twist the hair and wrap it around the base, securing it with bobby pins.
Use hairspray to set the style in place. If you want to add more flair, consider incorporating accessories like hairpins or a decorative headband. With practice, you can achieve a stunning ultra-voluminous updo perfect for formal occasions.
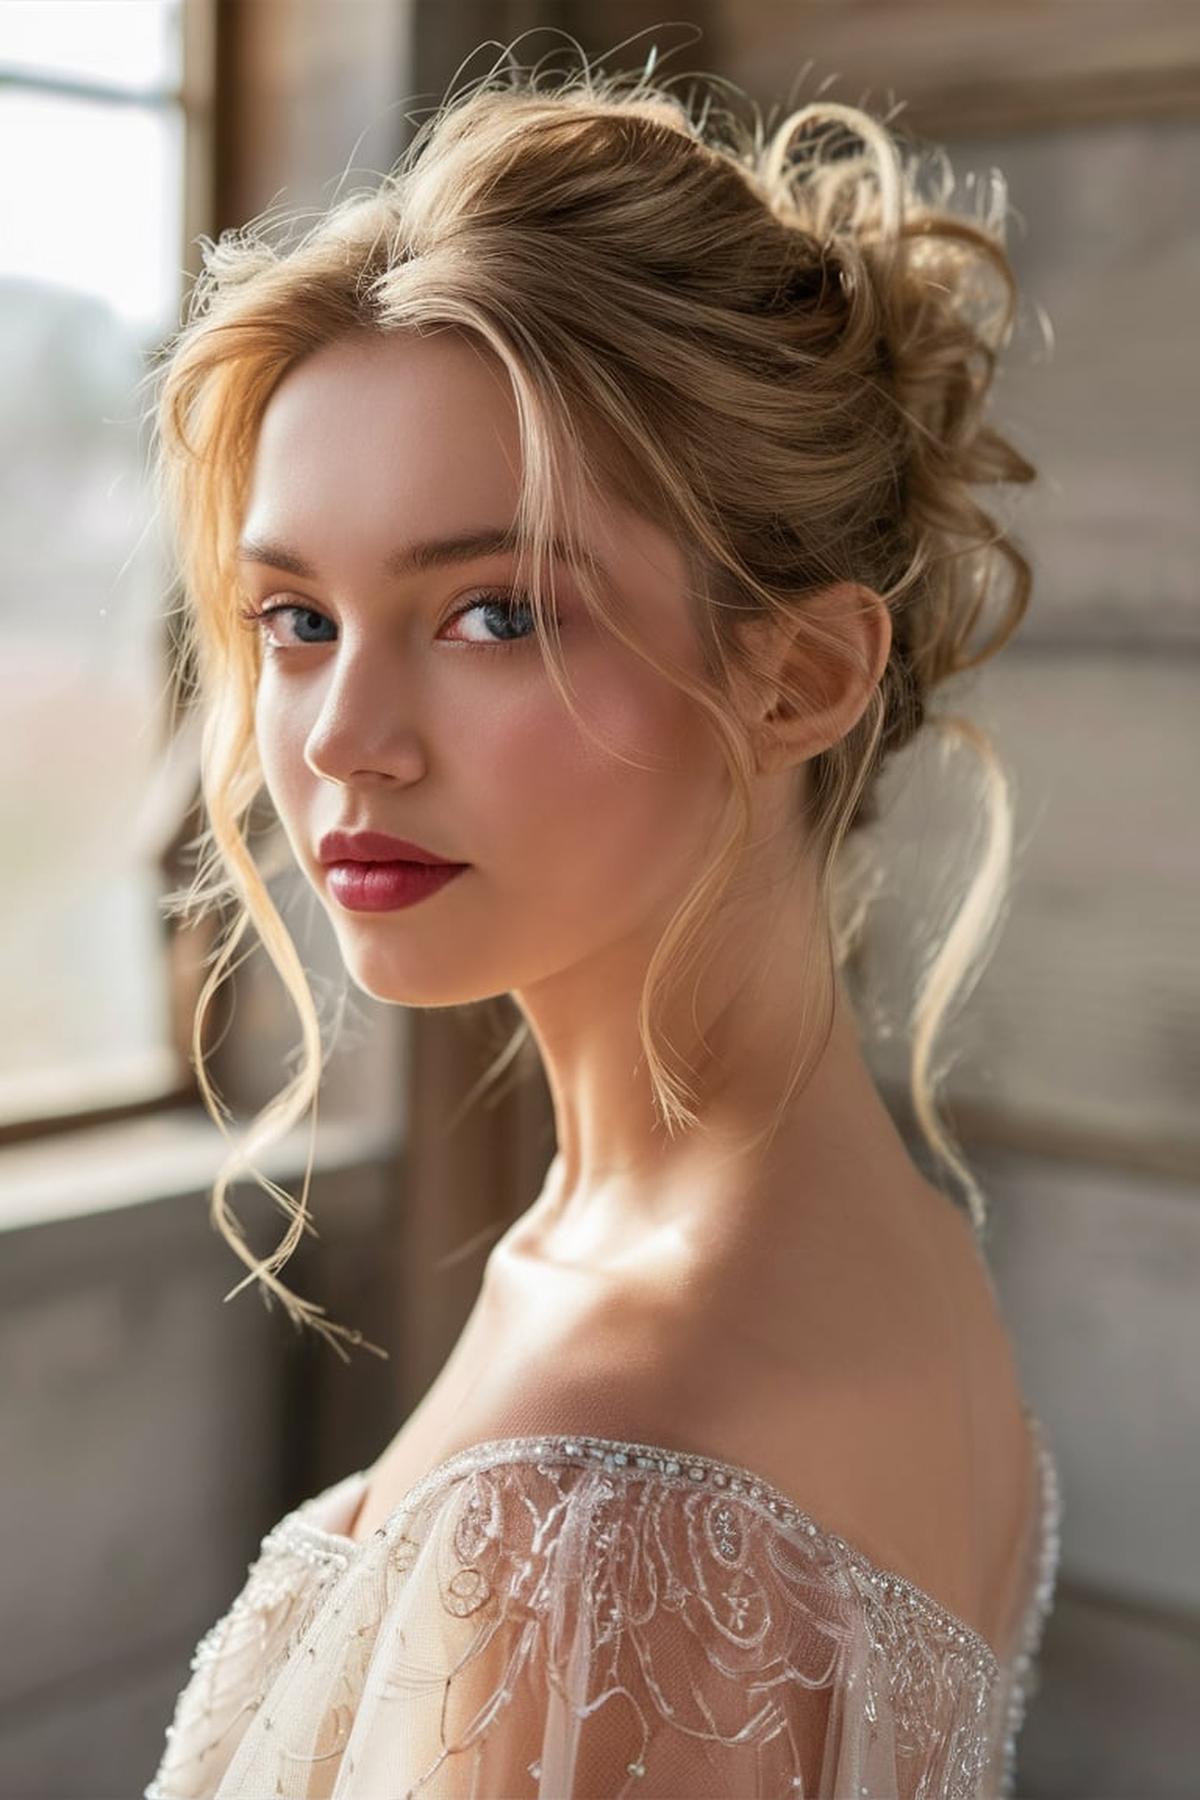
Softly Tousled Wavy Updo
Begin with clean, dry hair and apply a light mousse or texturizing spray to add volume and hold. This will help create that effortless, tousled look. If your hair is naturally straight, consider using a curling iron to add some loose waves. Just curl random sections of your hair, making sure not to overdo it.
Don’t worry about making it perfect; a slightly messy look is what you want. Use your fingers to pull out a few strands around your face for a softer appearance. If you want more volume, gently tug at the crown of your head to create some height.
Finally, finish off your look with some hairspray to keep everything in place without making it stiff. You can also use a little shine serum on the ends to add a polished touch. For an extra playful vibe, consider adding hair accessories like clips or flowers. This updo is perfect for casual outings or special events, giving you a chic yet relaxed style that’s easy to achieve!
Elegant Side-Parted Updo
Clean, dry hair works best, so wash and dry your hair beforehand. You can add some texture spray to help your hair grip better when styling. Gather your tools: you’ll need hair ties, bobby pins, and hairspray. These will help you secure your hairstyle and keep it looking neat throughout the day.
Once you’ve parted your hair, take a section from the front on the side with more hair and twist it back towards the nape of your neck. Secure this twist with a bobby pin. Repeat this step on the other side, making sure both twists are even and secure.
Twist this ponytail into a bun and secure it with more bobby pins. Make sure the bun is neat but not too tight; a slightly loose bun can look more elegant. Finish off by spraying some hairspray to hold everything in place. With practice, you’ll be able to create this elegant side-parted updo quickly and easily, perfect for any occasion!
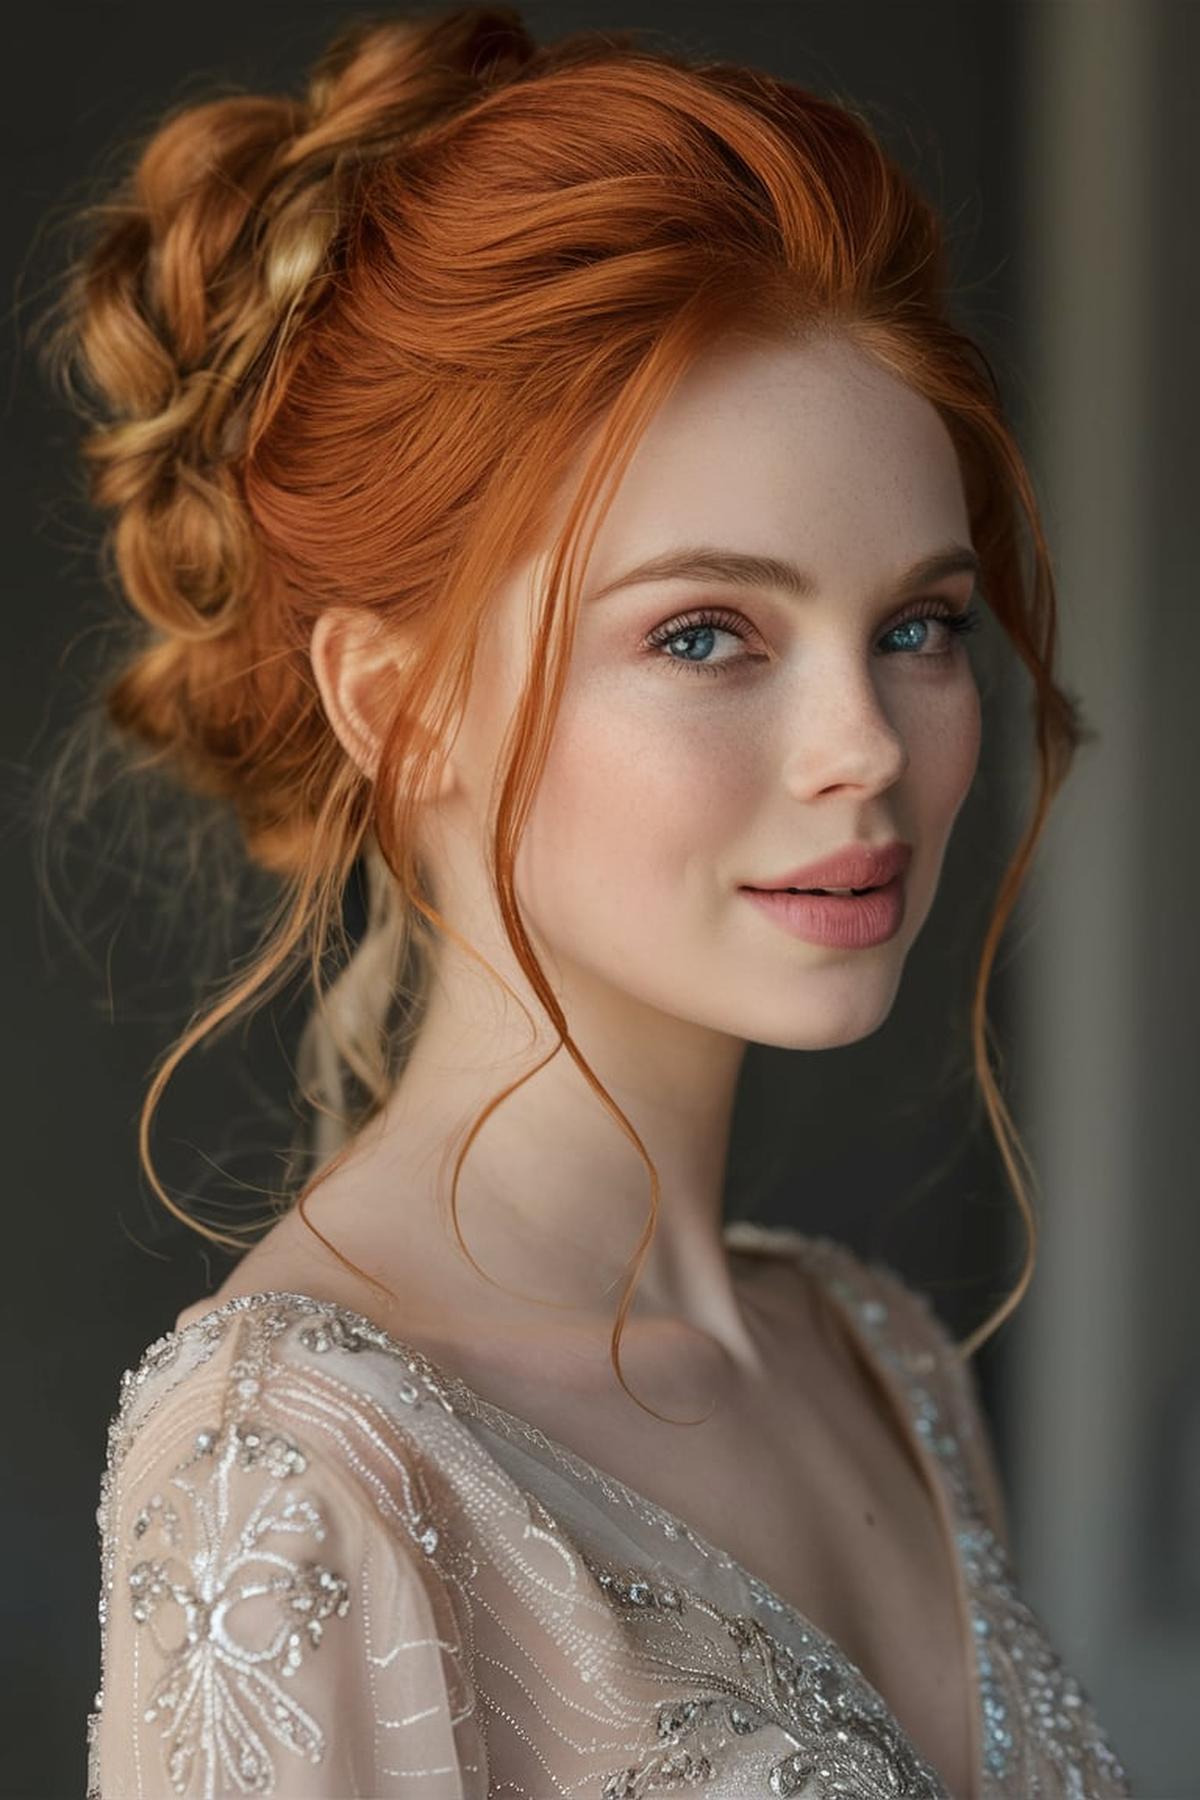
Tender and Feminine Updo with Soft Tendrils
Begin by curling your hair lightly to create soft waves. This adds texture and volume, making your updo look more romantic. After curling, gently brush through your hair to loosen the curls, which will give you that soft, effortless look. Make sure to leave out a few face-framing pieces at the front to enhance the feminine vibe of the hairstyle.
Split the ponytail into two sections. Twist one section and wrap it around the base of the ponytail, securing it with bobby pins. Repeat this with the other section, making sure to tuck the ends neatly under the bun.
This adds a delicate touch to the hairstyle. You can also pin back any loose strands to keep the look neat. Finish off with a light hairspray to hold everything in place without making it stiff. This updo is perfect for special occasions like weddings or proms, combining elegance with a touch of softness.
Bold Updo Highlighting Facial Structure
Different styles work better with specific shapes. For example, if you have a round face, an updo that adds height on top can elongate your appearance. If you have a square face, softening the edges with loose strands can create a more balanced look. Take a moment to look in the mirror and identify your face shape, which will guide your hairstyle choices.
You can add volume by teasing the hair at the crown before securing it. For a more intricate look, consider braiding sections of your hair before pinning them into place. Don’t be afraid to experiment with accessories like clips or flowers to enhance your style.
Use hairspray to secure any flyaways and give your style longevity. If you want to add shine, a light serum can help. Remember, the key to a great updo is practice and confidence. The more you try different styles, the better you’ll become at finding what complements your features and personal style.
Ponytail Updo with Elegance
Use a hair tie to secure it. For a stylish touch, pull out a few small pieces of hair at the front to frame your face. Once your ponytail is secure, create a small hole just above the hair tie with your fingers.
This will create a fuller look that feels elegant and polished. If you want to add more detail, you can repeat the twisting process a few inches lower down the ponytail, securing it with another hair tie.
You can use bobby pins to secure any loose strands and add hairspray for extra hold. This elegant ponytail updo is perfect for any occasion, whether you’re going to school, a party, or just hanging out with friends. With a little practice, you’ll be able to create this stylish look effortlessly!
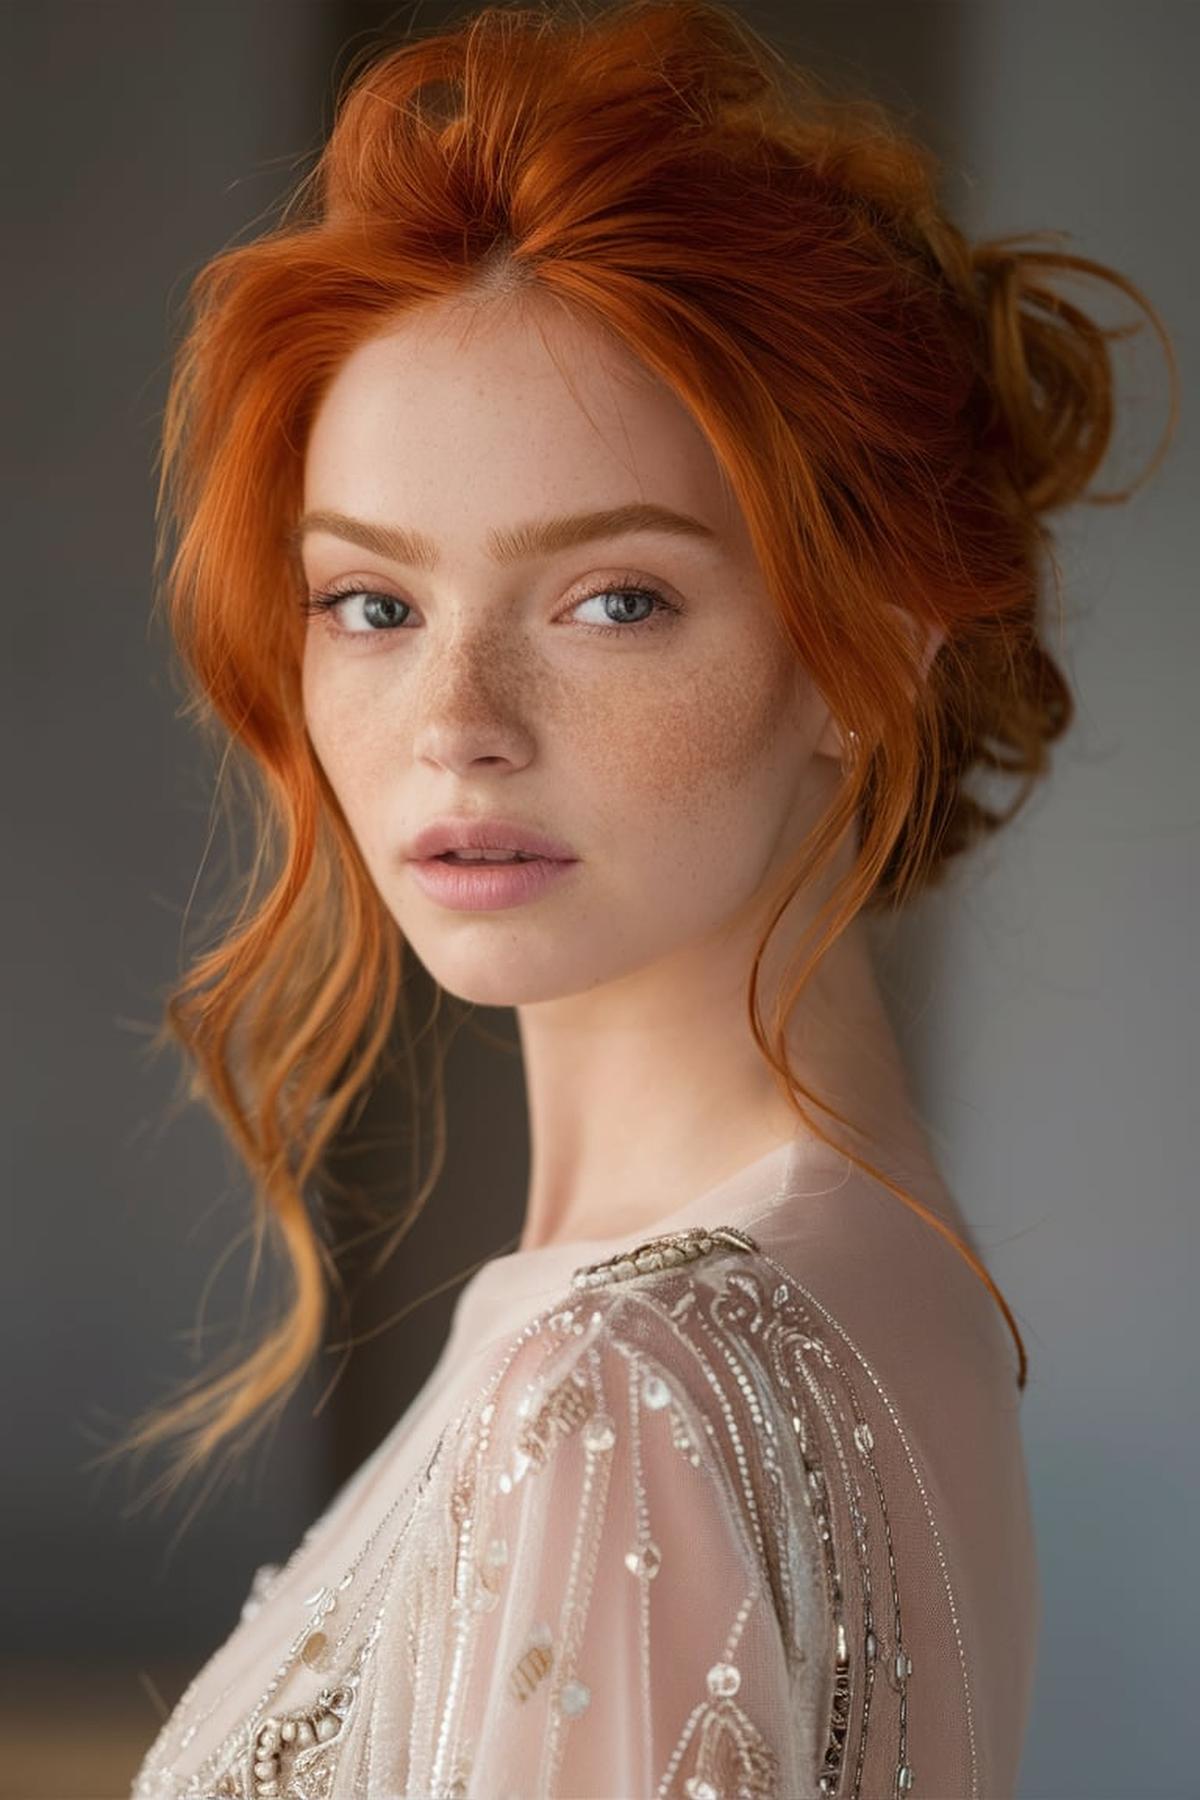
Relaxed Updo with Face-Framing Layers
Begin with clean, dry hair, and consider adding some volume with a bit of mousse or texturizing spray. This will help the updo look fuller and more stylish. Next, part your hair to your preference—either in the middle or to one side. Make sure to leave out some front sections of hair that will frame your face.
You can choose to make this ponytail high or low, depending on your style preference. Secure the ponytail with a hair tie, but don’t pull it all the way through on the last loop. This will create a bun shape.
Finally, adjust the face-framing layers by gently pulling them out to soften the look. You can also use a bit of hairspray to hold everything in place without making it stiff. If you want to add more flair, consider curling the face-framing pieces slightly for a more polished finish. This hairstyle is versatile and can be worn for casual outings or more formal events, making it a great addition to your hair styling skills.
Braided Charm in a Loose Low Bun
First, brush your hair to remove any tangles, then divide it into two sections. Braid each section separately and secure them with small elastic bands. This creates a base for your bun and adds a stylish touch.
Before securing it, tease the hair at the crown to add volume. This step is optional, but it helps create that messy bun effect. Once your ponytail is secure, twist the hair around the base to form a bun.
This adds a charming detail to your hairstyle. Finish off with a light spray of hairspray to keep everything in place. This look is not only easy to achieve but also versatile enough for everyday wear or special occasions. Enjoy your new hairstyle!
Sleek Updo on Jet Black Hair
First, apply a smoothing product like a serum or cream to help control frizz and add shine. This is especially important for black hair, as it can show flyaways more than other colors. Next, use a flat iron to straighten your hair if needed, making it easier to create a sleek look.
After securing your ponytail, you can create the updo. Twist the ponytail around itself to form a bun, and secure it in place with bobby pins. Make sure to tuck in any loose ends to keep the look neat.
For added flair, consider accessorizing your sleek updo with hairpins or decorative clips. These can elevate the style and add a personal touch. Remember, practice makes perfect, so don’t hesitate to try this hairstyle a few times to get comfortable with the steps. With some patience and experimentation, you’ll be able to rock a stunning sleek updo that showcases your beautiful jet black hair!
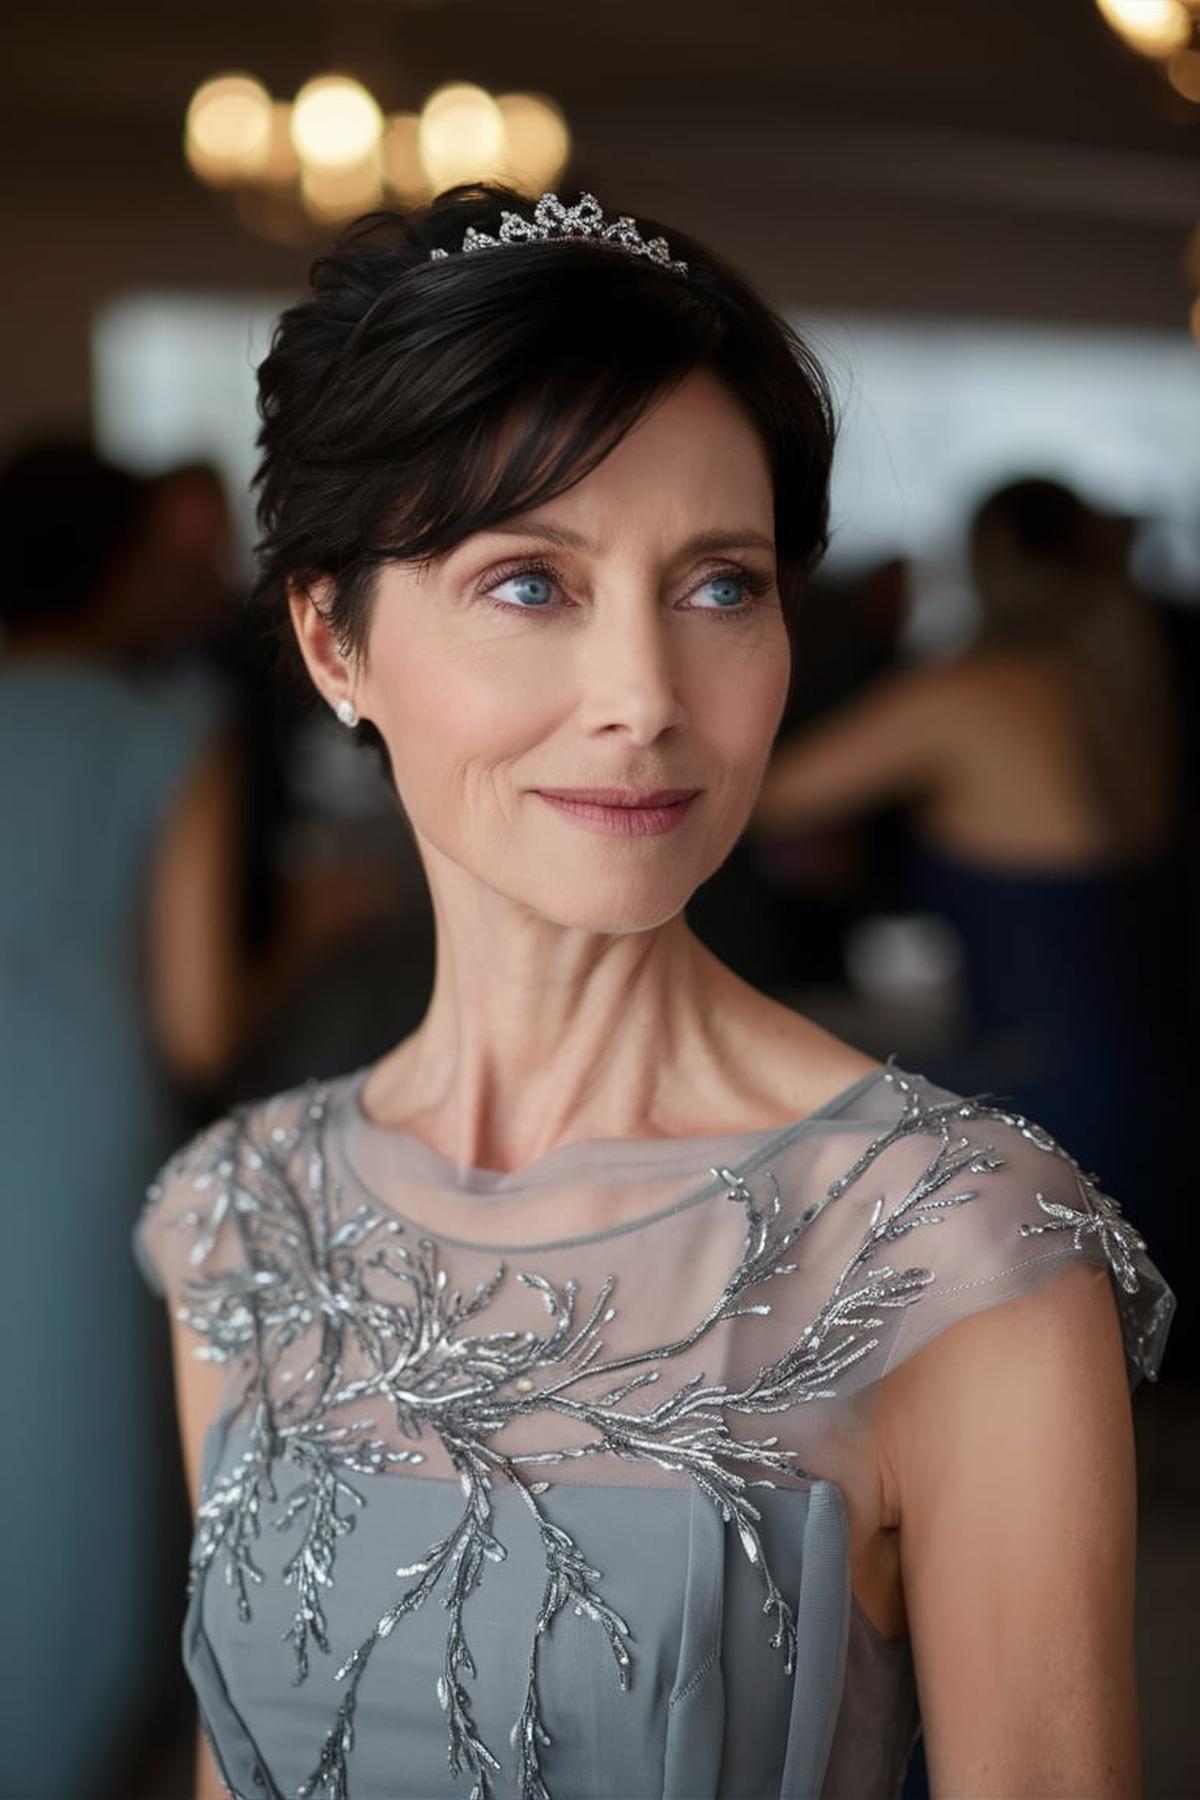
Regal Updo with a Tiara
It’s best to have your hair curled or waved, as this adds volume and texture. If your hair is straight, you can use rollers to create some curls. Once your hair is styled, gather it into a high ponytail. This gives you a solid base to work with for your updo.
Take the ponytail and divide it into smaller sections. Twist each section and wrap them around the base of the ponytail, pinning them in place with bobby pins. Make sure to secure the twists tightly so they don’t unravel. For a more polished finish, you can pull out a few strands around your face to soften the look.
Place the tiara gently on your head, ensuring it sits comfortably and securely. You can adjust the hair around the tiara to make sure it looks balanced and beautiful. Remember, the goal is to feel like a princess, so have fun with it! Practice makes perfect, so don’t hesitate to try this hairstyle a few times before any big event to get it just right.
Updo with Piecy Framing Tendrils
Begin by leaving out some pieces of hair at the front of your face, which will create a soft, wispy look. This is important because these tendrils will frame your face nicely. You can part your hair either to the side or in the middle, depending on your preference.
Use a stretchy hair tie to secure it, but instead of pulling your hair all the way through, leave some of it hanging to create a bun shape. To add texture, split the remaining hair into two sections and twist them around your bun. This will give your updo a more relaxed and stylish appearance.
This will make them appear more defined and playful. You can also use some hair spray to hold everything in place without making it stiff. With a little practice, this hairstyle can be perfect for any occasion, whether it’s a casual day out or a special event.
Braided Side with Low Curled Pony
Secure it with a hair tie. Next, take a small section of hair from the ponytail and braid it. You can choose a simple three-strand braid or a more intricate style like a fishtail braid.
After you have your braid ready, focus on curling the ponytail. Use a curling iron or a curling wand to create soft curls in the ponytail. For a more relaxed look, you can curl the hair in different directions.
Finally, for an extra touch, you can pull a few strands of hair out at the front to frame your face. This softens the overall look and adds a stylish vibe. If you want to personalize your hairstyle further, consider adding hair accessories like cute clips or ribbons. With a bit of practice, mastering this hairstyle will be easy and fun, making it perfect for any occasion.
High Updo with Cascading Curls
Begin with clean, dry hair and apply some styling products like mousse or curl cream to enhance your natural curls. This will help your curls hold their shape and look bouncy. If your hair is naturally curly, you can skip the curling iron and let your curls shine as they are. For those with straight hair, you can create soft curls using a curling iron, focusing on the ends to give a relaxed look.
Once your ponytail is secure, you can start creating the updo. Twist the ponytail into a bun and secure it with bobby pins. For a more relaxed look, let some curls fall out of the bun.
Finally, finish your hairstyle by adding some hairspray to hold everything in place. If you want to add some flair, consider using decorative hairpins or flowers to embellish the updo. This style is perfect for special occasions like prom or weddings, and with a little practice, you’ll be able to create it quickly and easily. Remember, the key is to have fun and experiment until you find a look that you love!
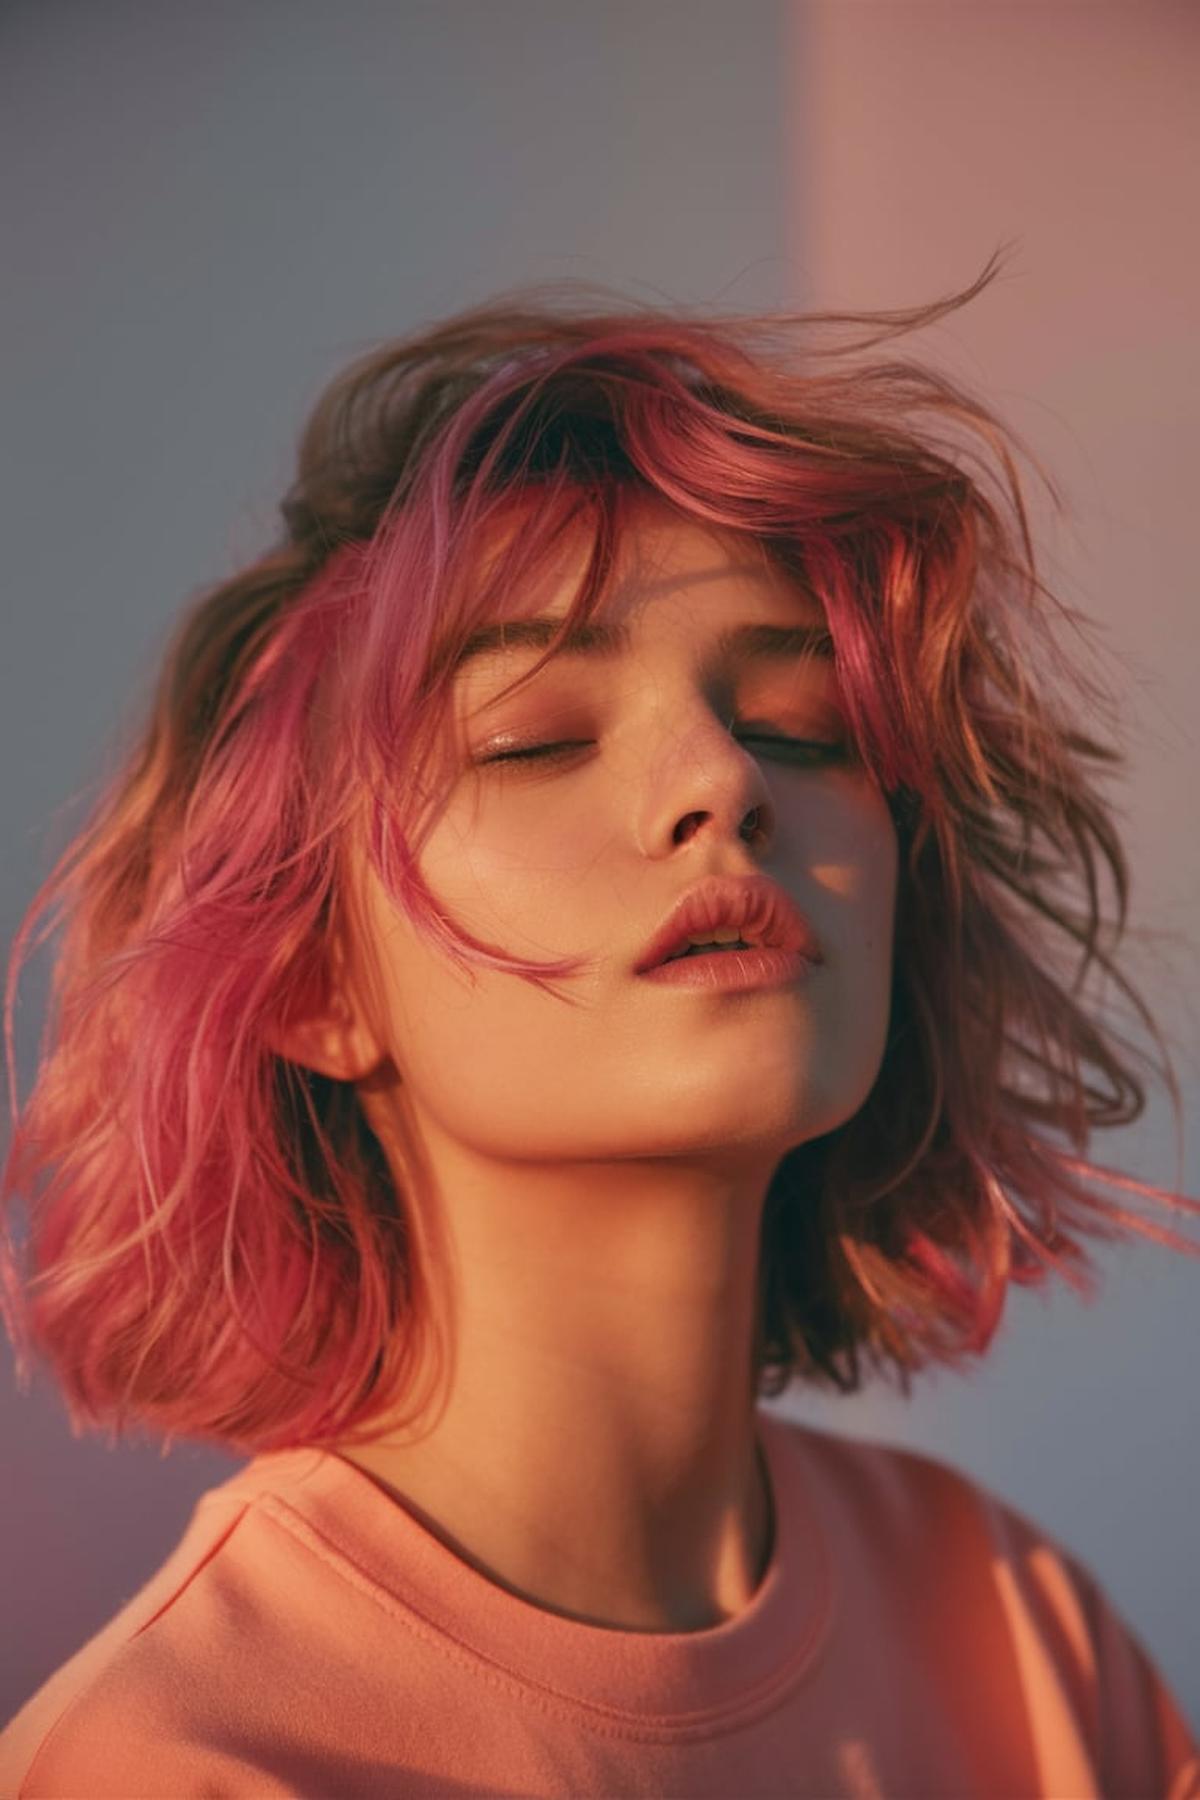
Low Messy Bun with Bangs
Flip your head upside down to make it easier, and don’t worry about making it look perfect—some bumps and stray hairs are totally fine. Use your fingers instead of a brush to keep the look casual and effortless. Once you have your ponytail, twist the hair around the base to form a bun, leaving the ends out. Secure it with a hair tie, and if you want, use bobby pins to hold it in place better.
If your hair feels too smooth or clean, using dry shampoo or a texturizing spray can help create volume and grip, making the bun look messier and more relaxed. Remember, the goal is to look effortlessly chic, so embrace the messiness! You can also play with the height of your bun—lower buns tend to look more relaxed, while higher ones can feel more playful.
You can leave them straight or curl them slightly for a softer effect. If your bangs are long, consider pinning them back with a cute clip or bobby pins to keep the focus on your bun. Experiment with different styles until you find the one that feels best for you. With practice, you’ll be able to create a low messy bun with bangs that looks effortlessly stylish in just a few minutes.
All About the Curls Updo
Start by understanding that curly hair can be styled beautifully without heat. For instance, you can create a low messy bun or a high curly updo that looks great for any occasion, from casual outings to formal events. These styles are not only easy to achieve but also help you showcase your natural texture while keeping your hair neat and stylish.
Once you have your braids, roll them into buns and secure them with bobby pins. This technique is perfect for busy mornings or when you’re short on time but still want to look put together. You can also dress it up with hair accessories for a more polished look.
This not only adds texture but also keeps your hair off your face. Remember to leave some loose strands around your face for a softer look. Experimenting with these styles will help you find what works best for your unique curl pattern and personal style.
Victorian Era Inspired Updo
Victorian hairstyles often looked best with hair that had some waves or curls. You can achieve this by braiding damp hair and leaving it in for a day or two, or by using curling tools. It’s also helpful to use a bit of dry shampoo to add volume and grip to your hair, which makes it easier to style.
One popular technique is back-combing, which involves teasing the hair at the roots to make it look fuller. For the actual updo, you can twist sections of hair and pin them into place. Using multiple bobby pins can help secure your style, especially if you’re planning to wear it all day.
Victorian hairstyles can be adjusted to suit your personal style. You can leave some hair down for a softer look or add braids for a more intricate design. If your hair isn’t long enough for certain styles, consider using hairpieces or extensions, which were commonly used in the Victorian era to create fuller looks. With practice, you can create a stunning updo that captures the elegance of the Victorian period while still feeling modern and comfortable.
Loose and Imperfect Low Bun
Use a hair tie to secure it, but instead of pulling the hair all the way through on the last wrap, only pull it halfway. This creates a small bun at the base of your ponytail.
Twist each section and wrap them around the base of the bun, covering the hair tie completely. Use a bobby pin to secure everything in place.
Finally, finish off your hairstyle with a light hairspray to keep it in place without making it stiff. The loose and imperfect low bun is perfect for any occasion, whether you’re heading to school, hanging out with friends, or going to a more formal event. With a little practice, you’ll be able to create this chic style in just a few minutes!
Messy High Bun with Face Framing
Flip your head upside down for added volume and pull your hair back without using a brush; this helps create that effortless look. Once your ponytail is secure, decide how high you want your bun. A position in line with your cheekbones is often flattering.
Wrap the twisted hair around the base of the ponytail and secure it with another hair tie or bobby pins. The key to a messy bun is to not worry about making it perfect. Once the bun is in place, gently tug at it to loosen it up and create that messy effect.
These can add volume and help the bun hold its shape throughout the day. As you wear the bun, feel free to adjust it; the more it moves, the more natural it looks. Remember, the messy bun is all about looking effortlessly chic, so embrace the imperfections and enjoy styling your hair in a way that feels true to you.
Face Framing Pieces with Twisted Sides
These are shorter strands of hair that are cut to frame your face, enhancing your features like cheekbones and jawline. This style is popular because it adds a youthful look and can make your face appear smaller. To achieve this, you can create a triangle section of hair at the front of your head, which you will cut shorter while leaving the rest of your hair longer, creating a beautiful gradient effect.
To do this, grab a section of hair, twist it, and then pin it at the back of your head. This not only keeps the hair out of your face but also adds an elegant touch to your overall look.
Don’t be afraid to experiment with the size of the sections you twist or how tightly you twist them. You can also play around with different styles, like leaving some pieces loose for a more relaxed look or making the twists tighter for a polished appearance. With a little practice, you’ll be able to master this hairstyle and make it your own!
Elegant Twist and Bun
Begin by gathering all your hair into a high ponytail at the crown of your head. Secure it with a hair tie, but when you pull the hair through on the last loop, only pull it halfway to create a bun shape. This will give you a base for the elegant twist.
For a more polished look, you can add some volume to your bun. Gently pull at the edges of the bun to make it look fuller and a bit messy, which adds to the elegance.
Finally, finish off your look with some hairspray to keep everything in place. You can also accessorize with decorative pins or a cute scrunchie to enhance your style. This elegant twist and bun hairstyle is perfect for school, parties, or any special occasion, and it only takes a few minutes to create!
Perfectly Messy Updo
This makes it easier to manage and helps create more volume, which is key for a stylish look. Instead of trying to gather all your hair at once, take your time and work with one section at a time. This technique not only saves time but also gives your updo a more polished and professional appearance, making it look less rushed and more intentional.
You can leave some strands out for a softer appearance and add volume at the crown by teasing your hair. After that, twist and pin sections of hair into loose buns at the back of your head.
These products can give your hair a bit more grip and help the updo hold its shape throughout the day. If you prefer a more structured look, you can use hairspray to tame any flyaways. Remember, the beauty of a messy updo is that it doesn’t have to be perfect—just have fun with it and let your personality shine through your hairstyle!
Voluminous Twist with Elegance
First, brush your hair to remove any knots, as this helps prevent breakage. Next, you can add some volume by using a volumizing mousse or spray. Apply it evenly throughout your hair, focusing on the roots. This will give your hair a fuller look and make it easier to style.
Divide the ponytail into two sections. Take one section and twist it tightly, then wrap it around the base of the ponytail to form a bun. Use bobby pins to secure it in place.
If you want an even more relaxed look, gently pull on the twists to loosen them up a bit. Finally, finish off your hairstyle by adding some hairspray to hold everything in place. You can also use a curling wand to add some soft waves to the front strands for an extra touch of elegance. This voluminous twist is perfect for both casual outings and special occasions, giving you a stylish yet sophisticated look that’s easy to achieve.
Ultra-Long Low Twist
It’s best to use a heat protectant if you’re styling with heat tools. Begin by dividing your hair into two sections, which will make it easier to manage. You can use a comb to create a clean part down the middle or slightly to the side, depending on your preference.
Make sure to twist tightly enough so that the hair stays in place, but not so tight that it causes discomfort. You can secure the twist with a small hair tie or a clip at the bottom. Repeat this process on the other side.
For a polished finish, use a bit of hairspray to keep everything in place. This hairstyle is not only stylish but also versatile, as it can be worn for casual outings or more formal events. With practice, you’ll be able to do this hairstyle quickly and effortlessly!
A Modern Take on the French Twist
Use your hands to sweep all your hair over to one shoulder, making sure it’s secure. Once you have it in place, use a few bobby pins to hold the hair at the base of your neck. This will give you a good foundation for the twist.
You can do this by twisting the hair and rolling it inward toward your head. As you roll, keep tucking in any loose strands. When you reach the base, secure the twist with more bobby pins.
Finally, finish off your look by adjusting any loose pieces around your face for a softer appearance. You can also add a cute hair accessory, like a decorative clip, to make the style pop. A light spritz of hairspray can help keep everything in place without making it stiff. With a little practice, you’ll be able to achieve this stylish hairstyle in just a few minutes, making it perfect for school, work, or casual outings.
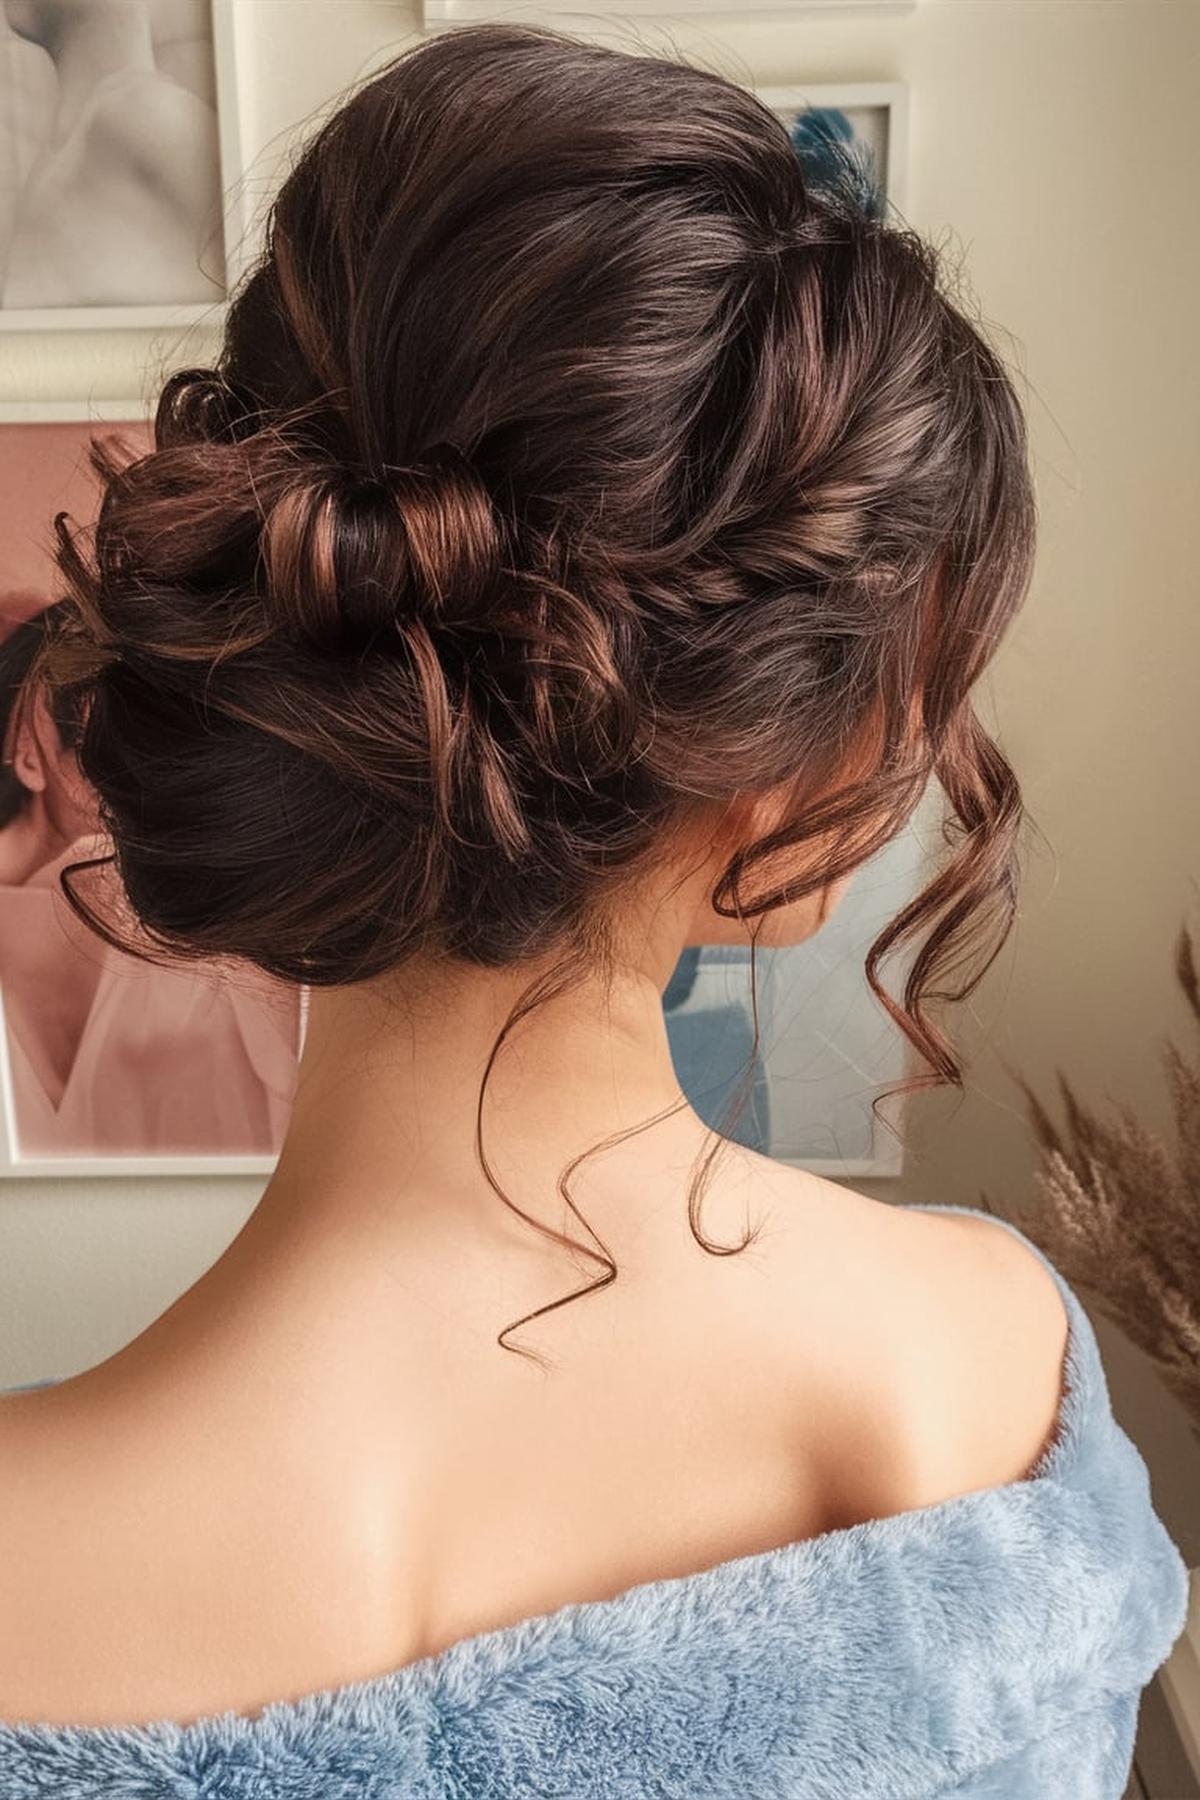
Gorgeous Knot Braid Updo
Begin with clean, dry hair and brush it thoroughly to remove any tangles. This step is crucial because it helps prevent breakage while styling. You can create a center or side part, depending on your preference.
After you have a few braids, gather all your hair into a ponytail at the back. Don’t worry about hiding the braids; instead, let them show for a more textured and edgy appearance. Secure the ponytail with a hair tie.
If you want, pull a few strands out around your face for a softer look. Finally, finish off your gorgeous knot braid updo with some hairspray to keep everything in place. This hairstyle is perfect for parties or special occasions and can be done in just a few steps. With practice, you’ll be able to create this stylish look quickly, impressing your friends with your hair skills!
Princess Braid Updo
This involves dividing the hair into three equal sections at the top of the head. Cross the right section over the middle, then the left section over the new middle. As you continue, add small pieces of hair from the sides to each section before crossing them over the middle. This creates a woven effect that is essential for the princess braid style.
Gather all the hair at the back of your head and secure it with a hair tie. Then, take the braid you created and wrap it around the base of the ponytail, pinning it in place with bobby pins. This gives the updo a beautiful, elegant look.
Finally, finish off your princess braid updo with some styling products. A light hairspray can help keep any flyaways in check, while decorative elements like ribbons or hairpins can add a personal touch. Remember, practice is essential, so don’t get discouraged if it doesn’t look perfect right away. Keep trying, and soon you’ll be able to create stunning hairstyles that will impress your friends.
Q&As for best prom updos for long hair
Q: What are some cool updos for prom that work well with long hair?
A: There are many stylish updos for long hair at prom, like a sleek twist with a modern knot or a classic bun with a twist. You can also try voluminous curls pinned up with wisps for a fun look or a regal updo with a tiara for a princess vibe.
Q: How can I make my updo look elegant?
A: To achieve an elegant look, consider a softly tousled wavy updo or an elegant side-parted updo. These styles are classy and can highlight your facial features beautifully.
Q: What are some trendy updos that show off my face?
A: Bold updos that highlight your facial structure, like a ponytail updo with elegance or a relaxed updo with face-framing layers, are great choices. They keep your hair off your face while still looking stylish.
Q: What if I want a more relaxed or messy look for prom?
A: For a relaxed vibe, you can go for a low messy bun with bangs or a perfectly messy updo. These styles are easygoing and perfect for a fun prom night.
Q: Can I add braids to my prom hairstyle?
A: Yes! A braided charm in a loose low bun or a braided side with a low curled pony can add a unique touch to your hairstyle. Braids can make your look more interesting and playful.
