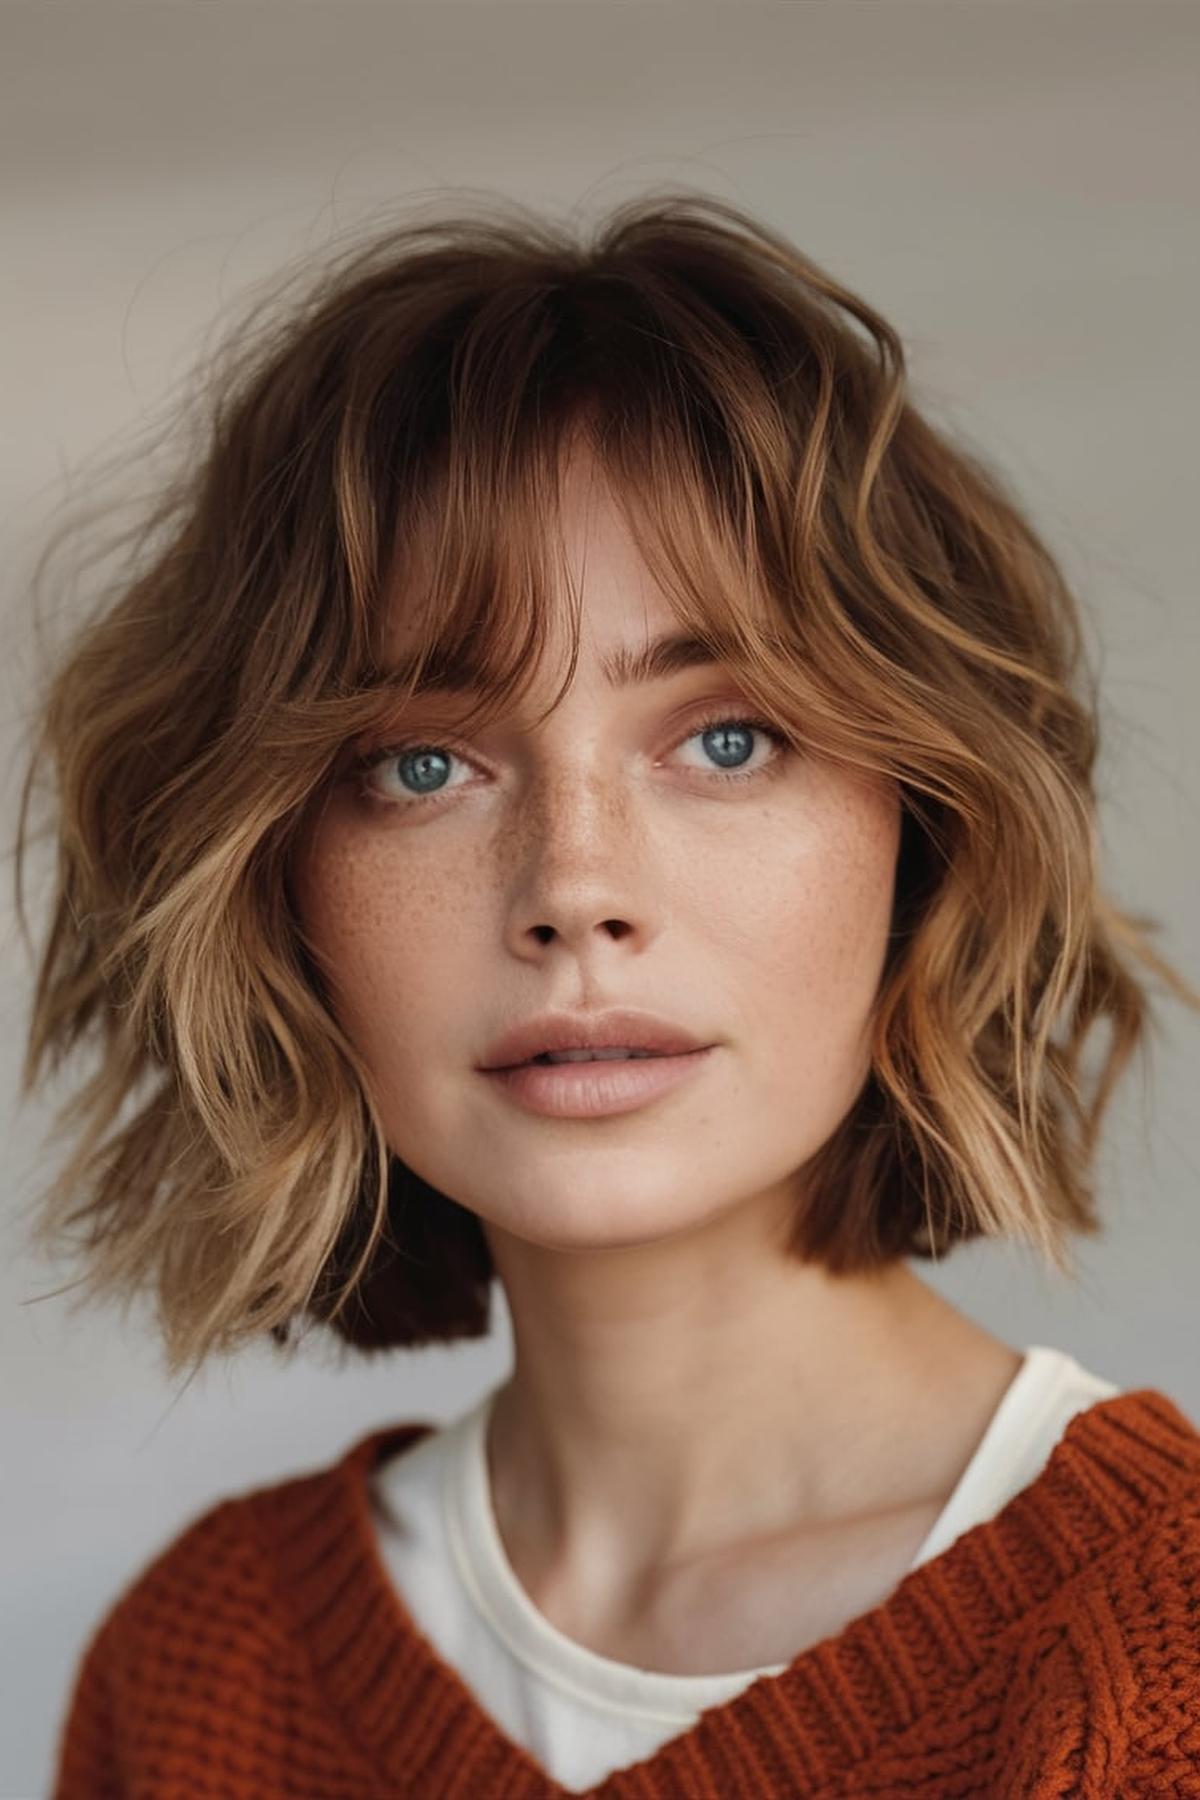
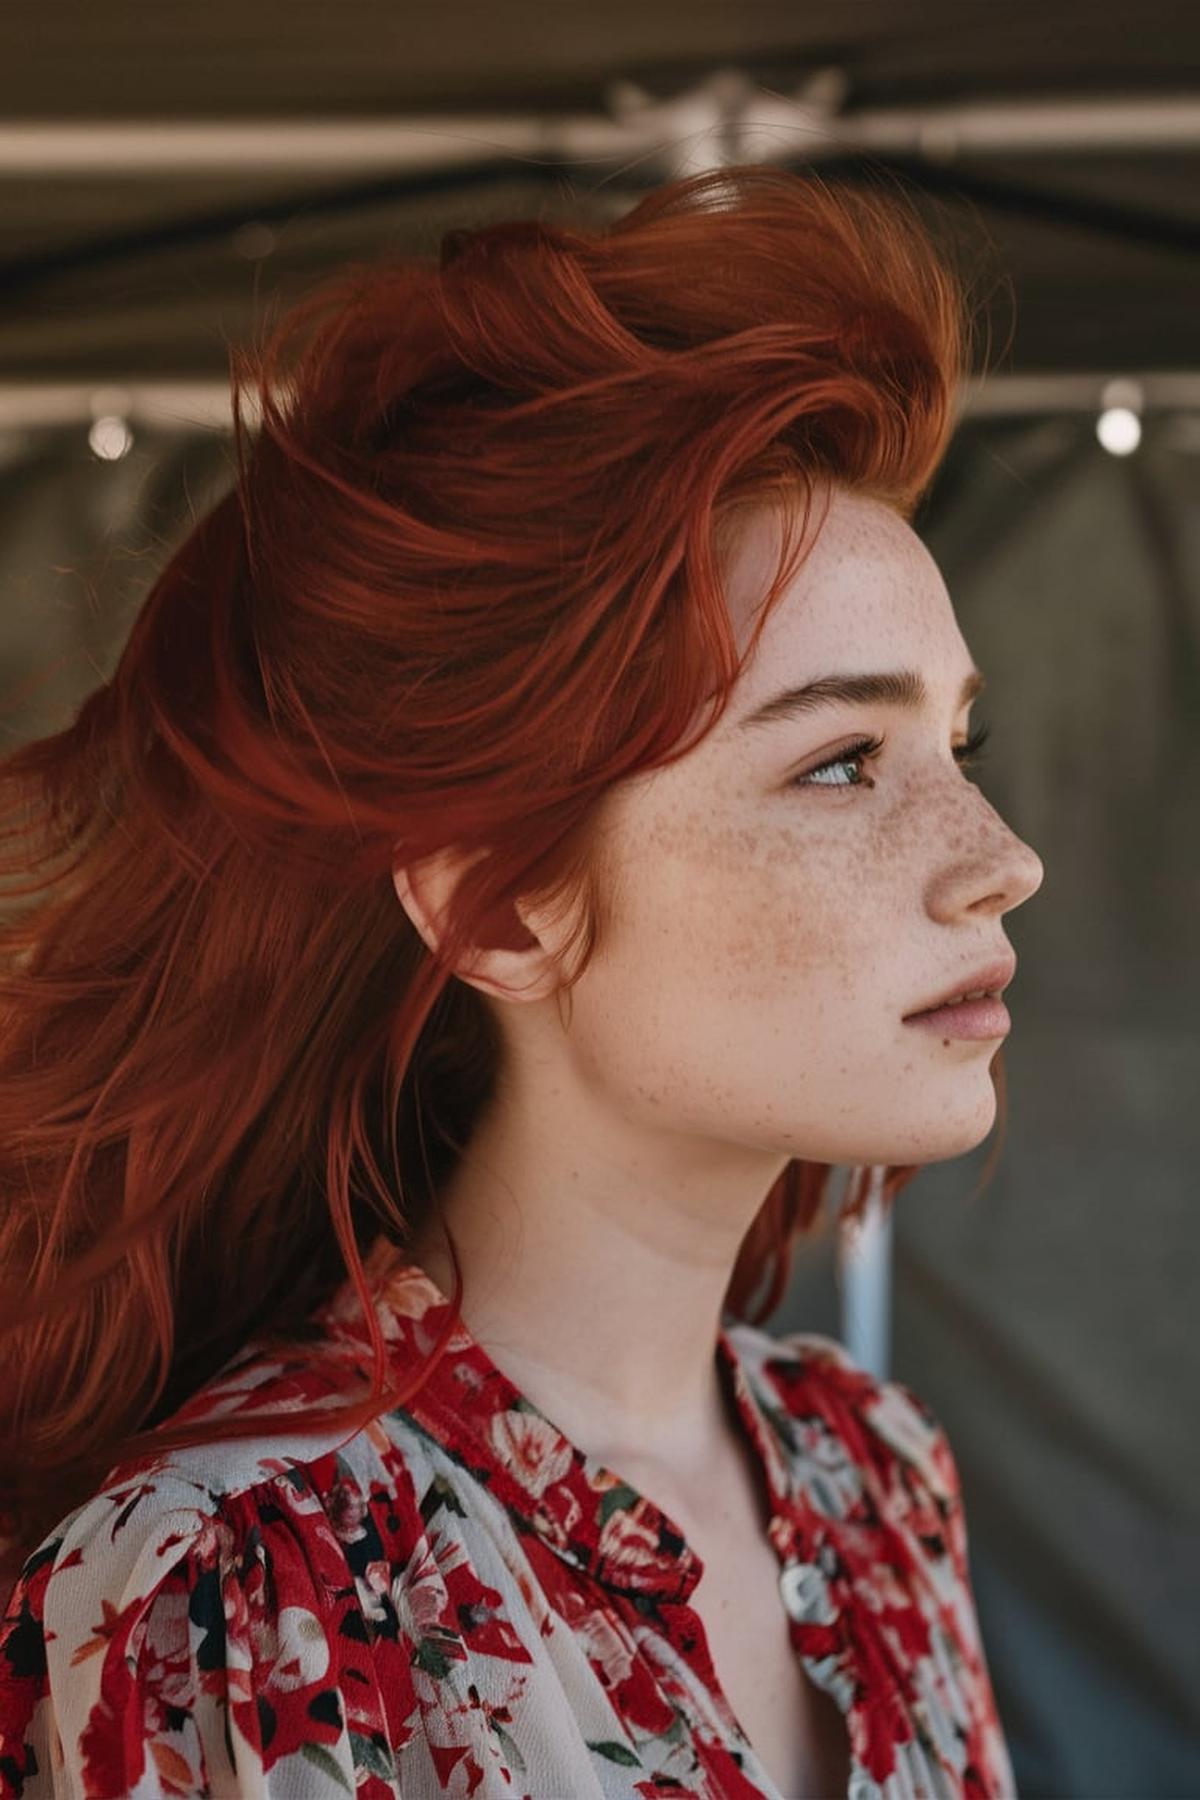
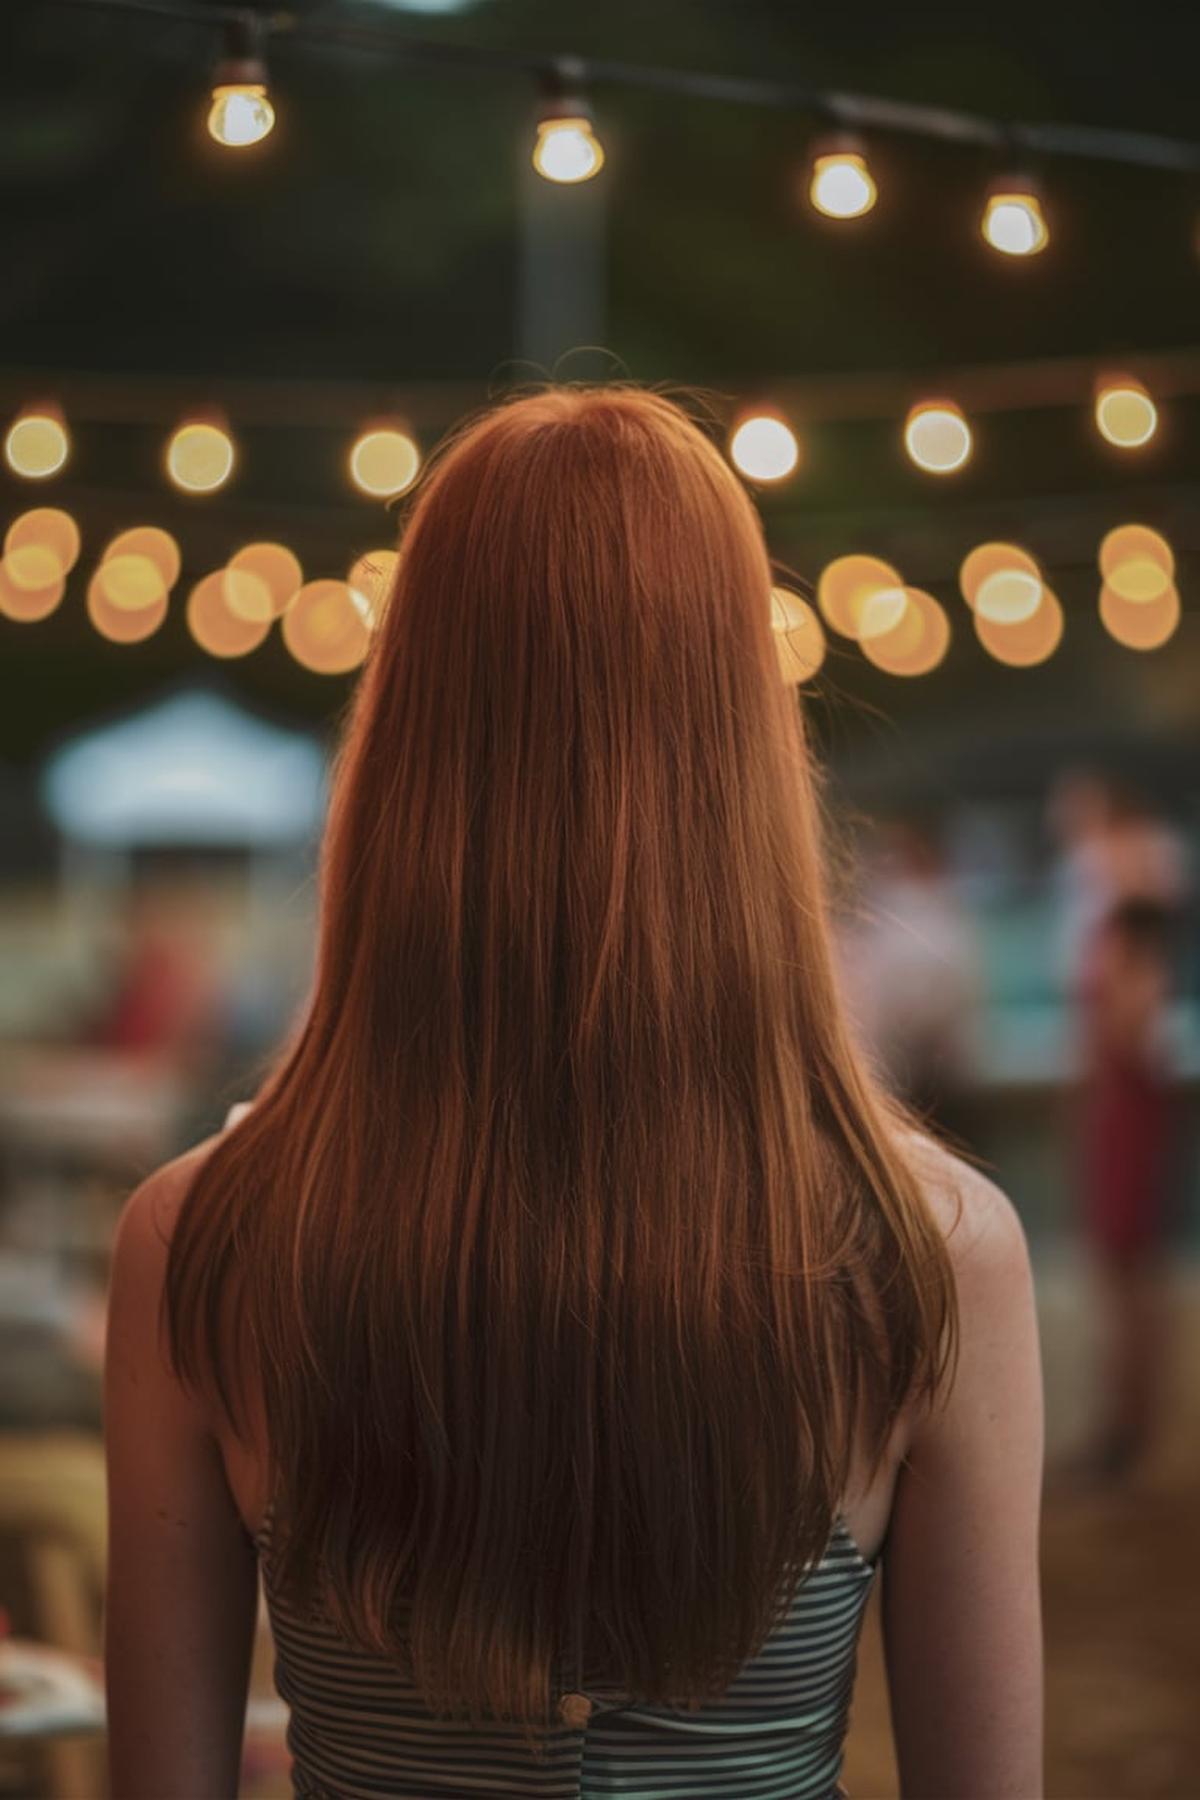
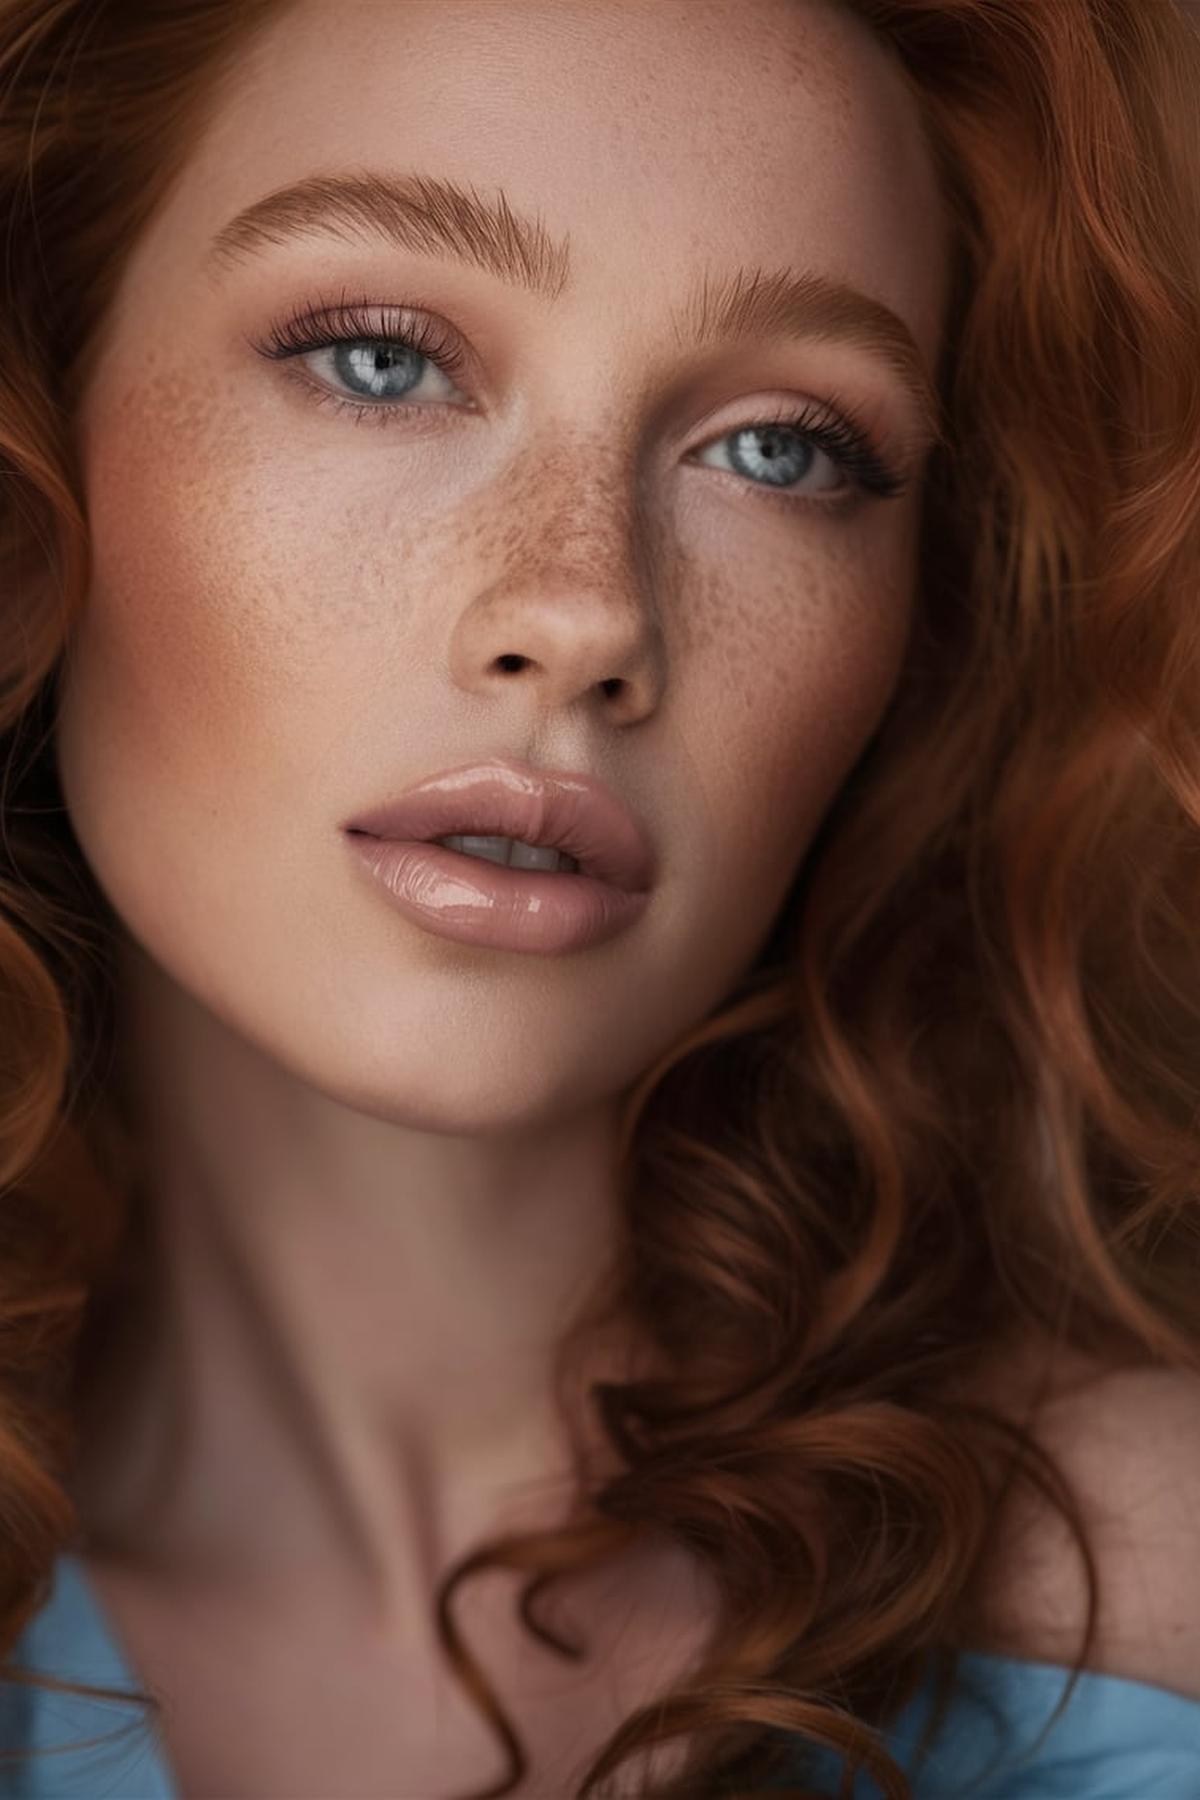
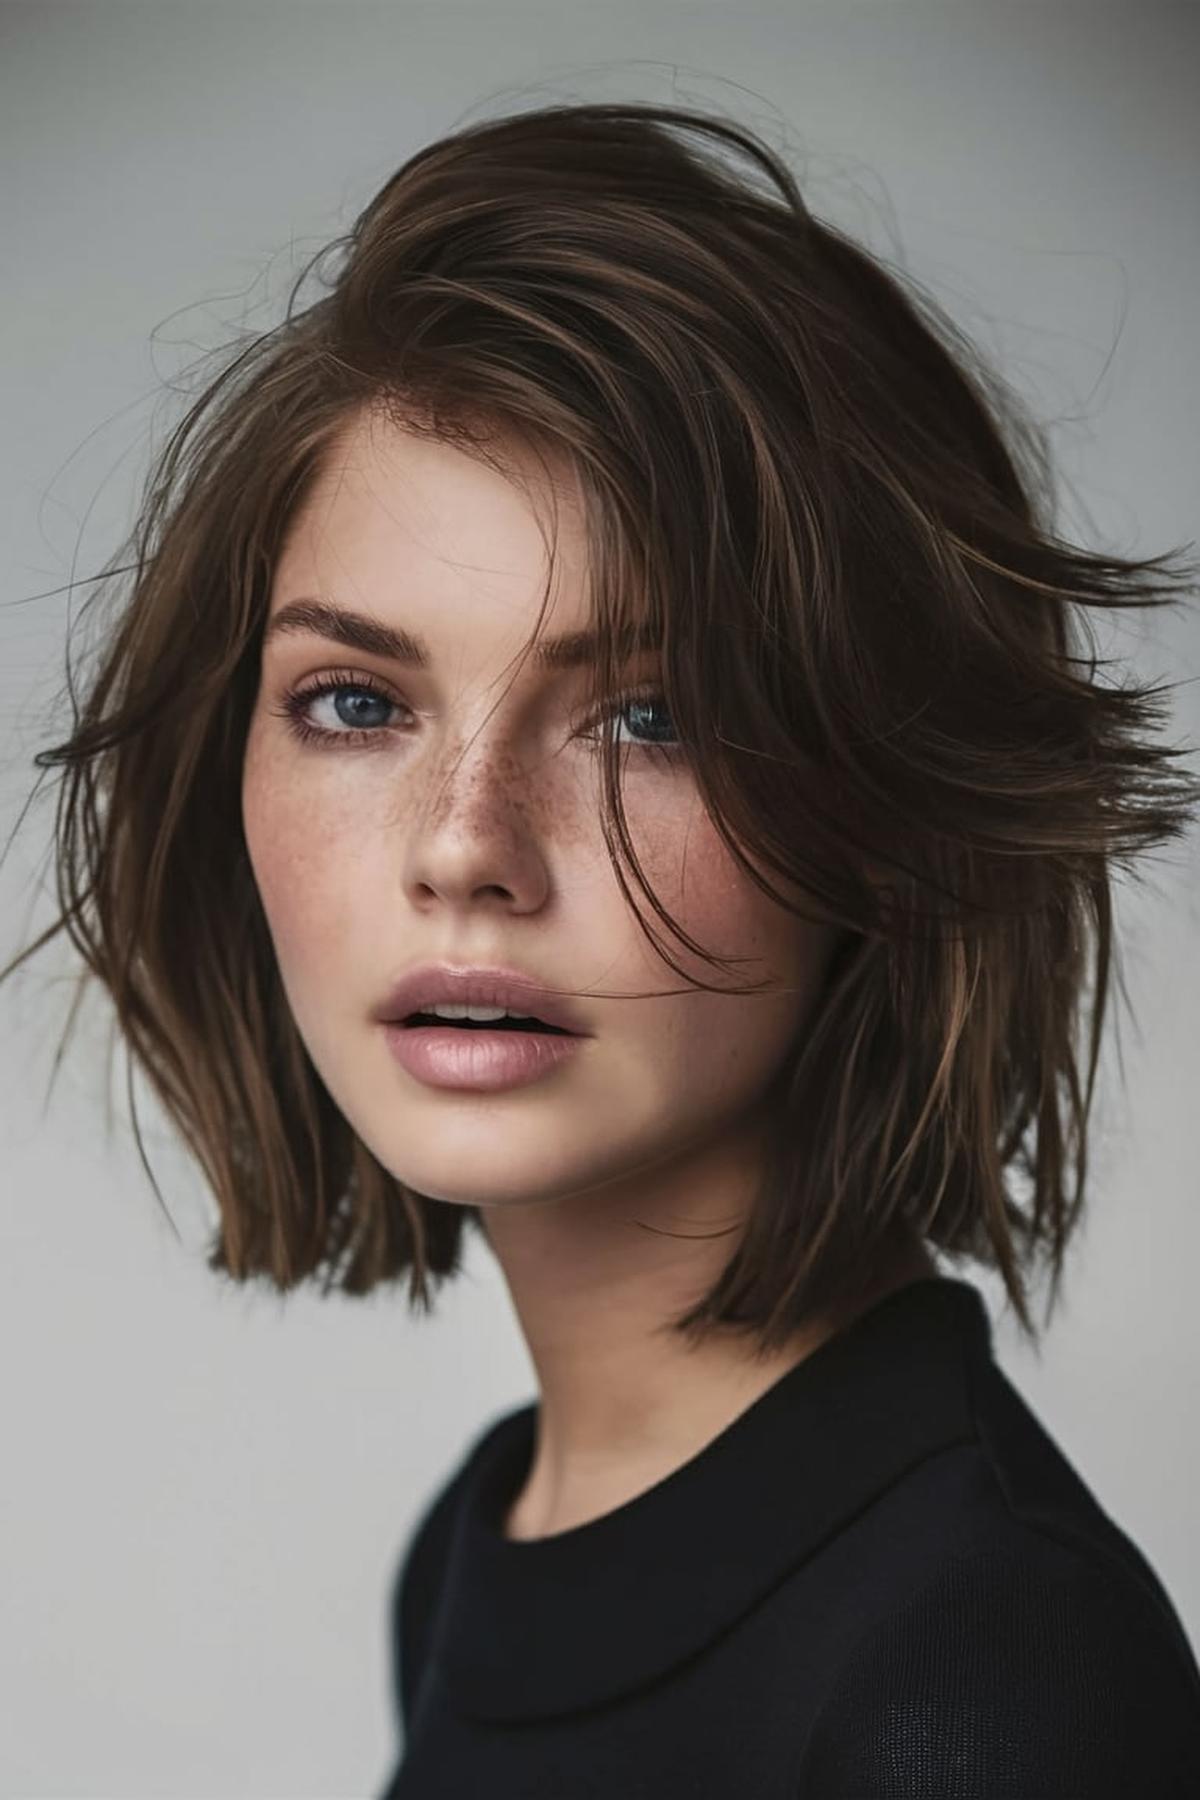
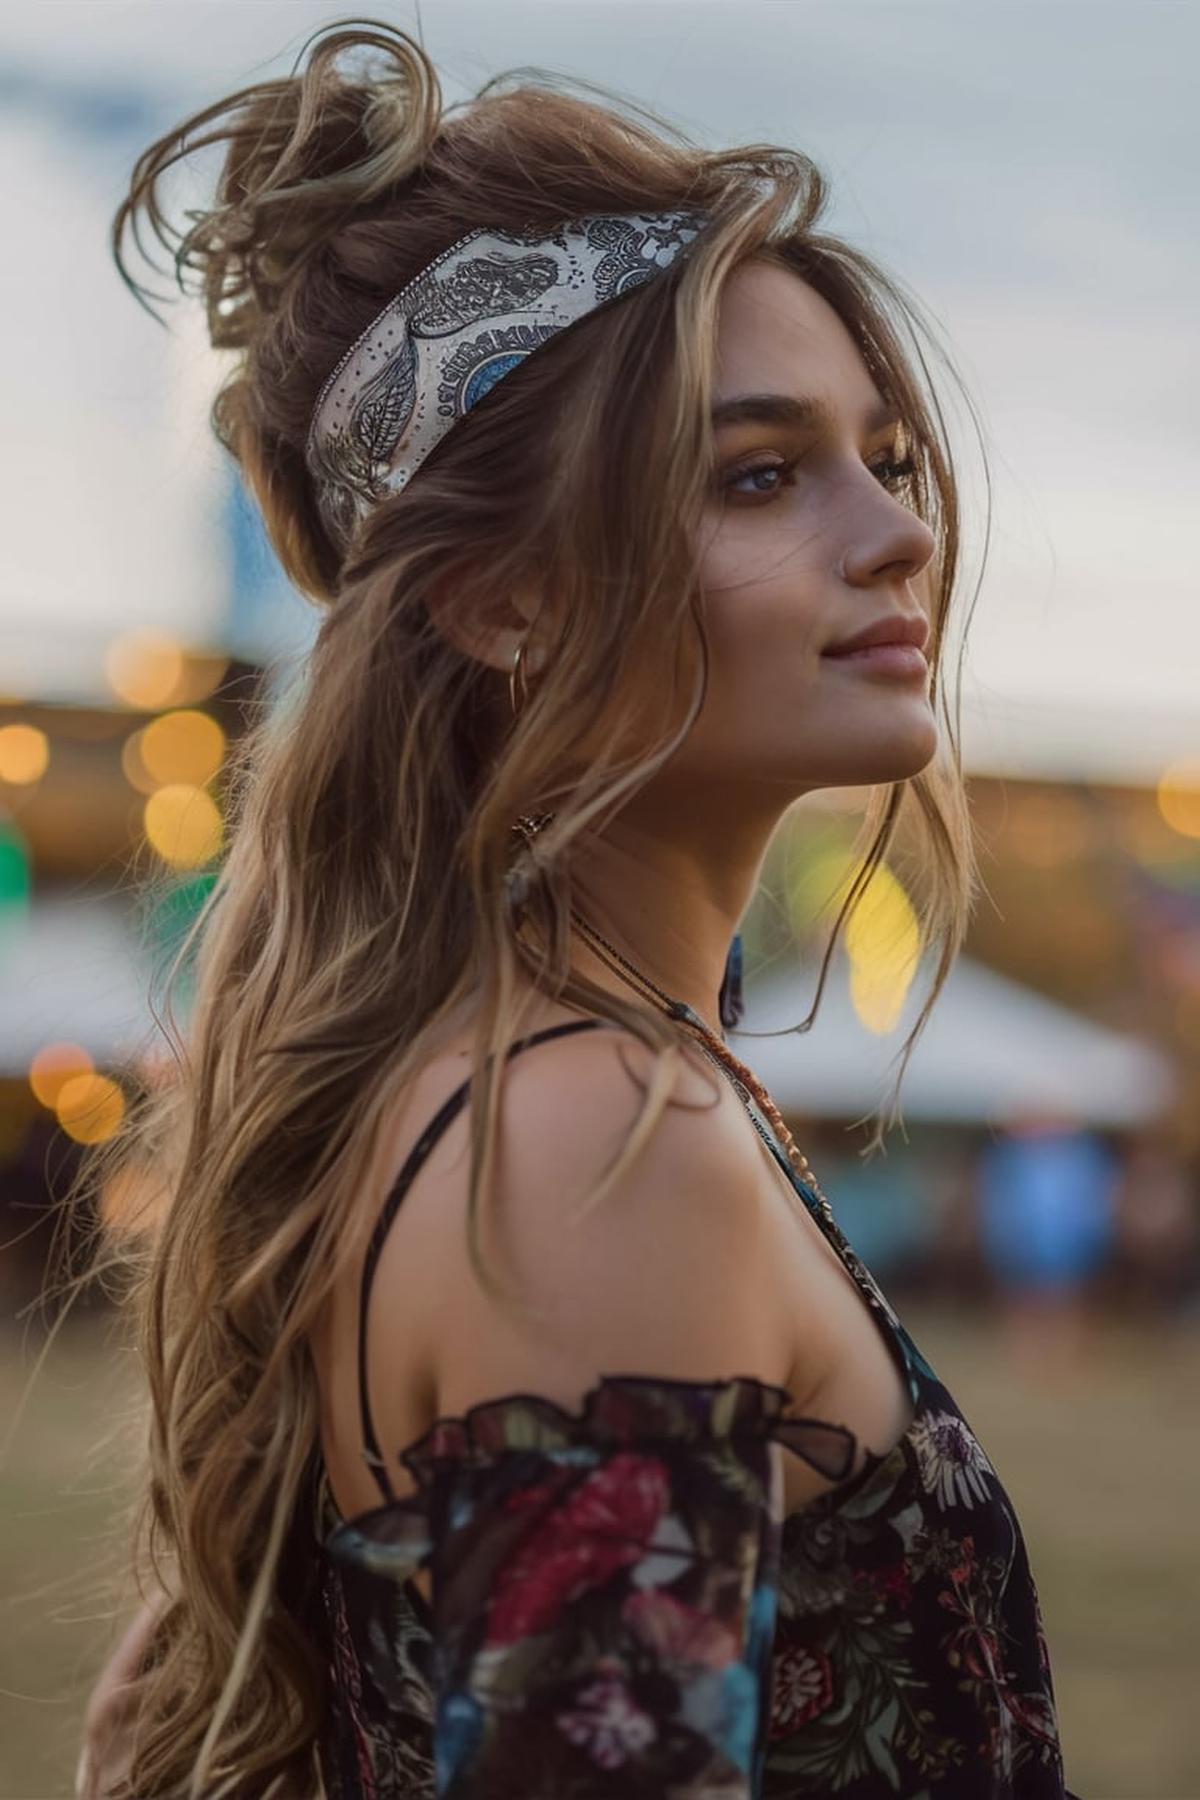
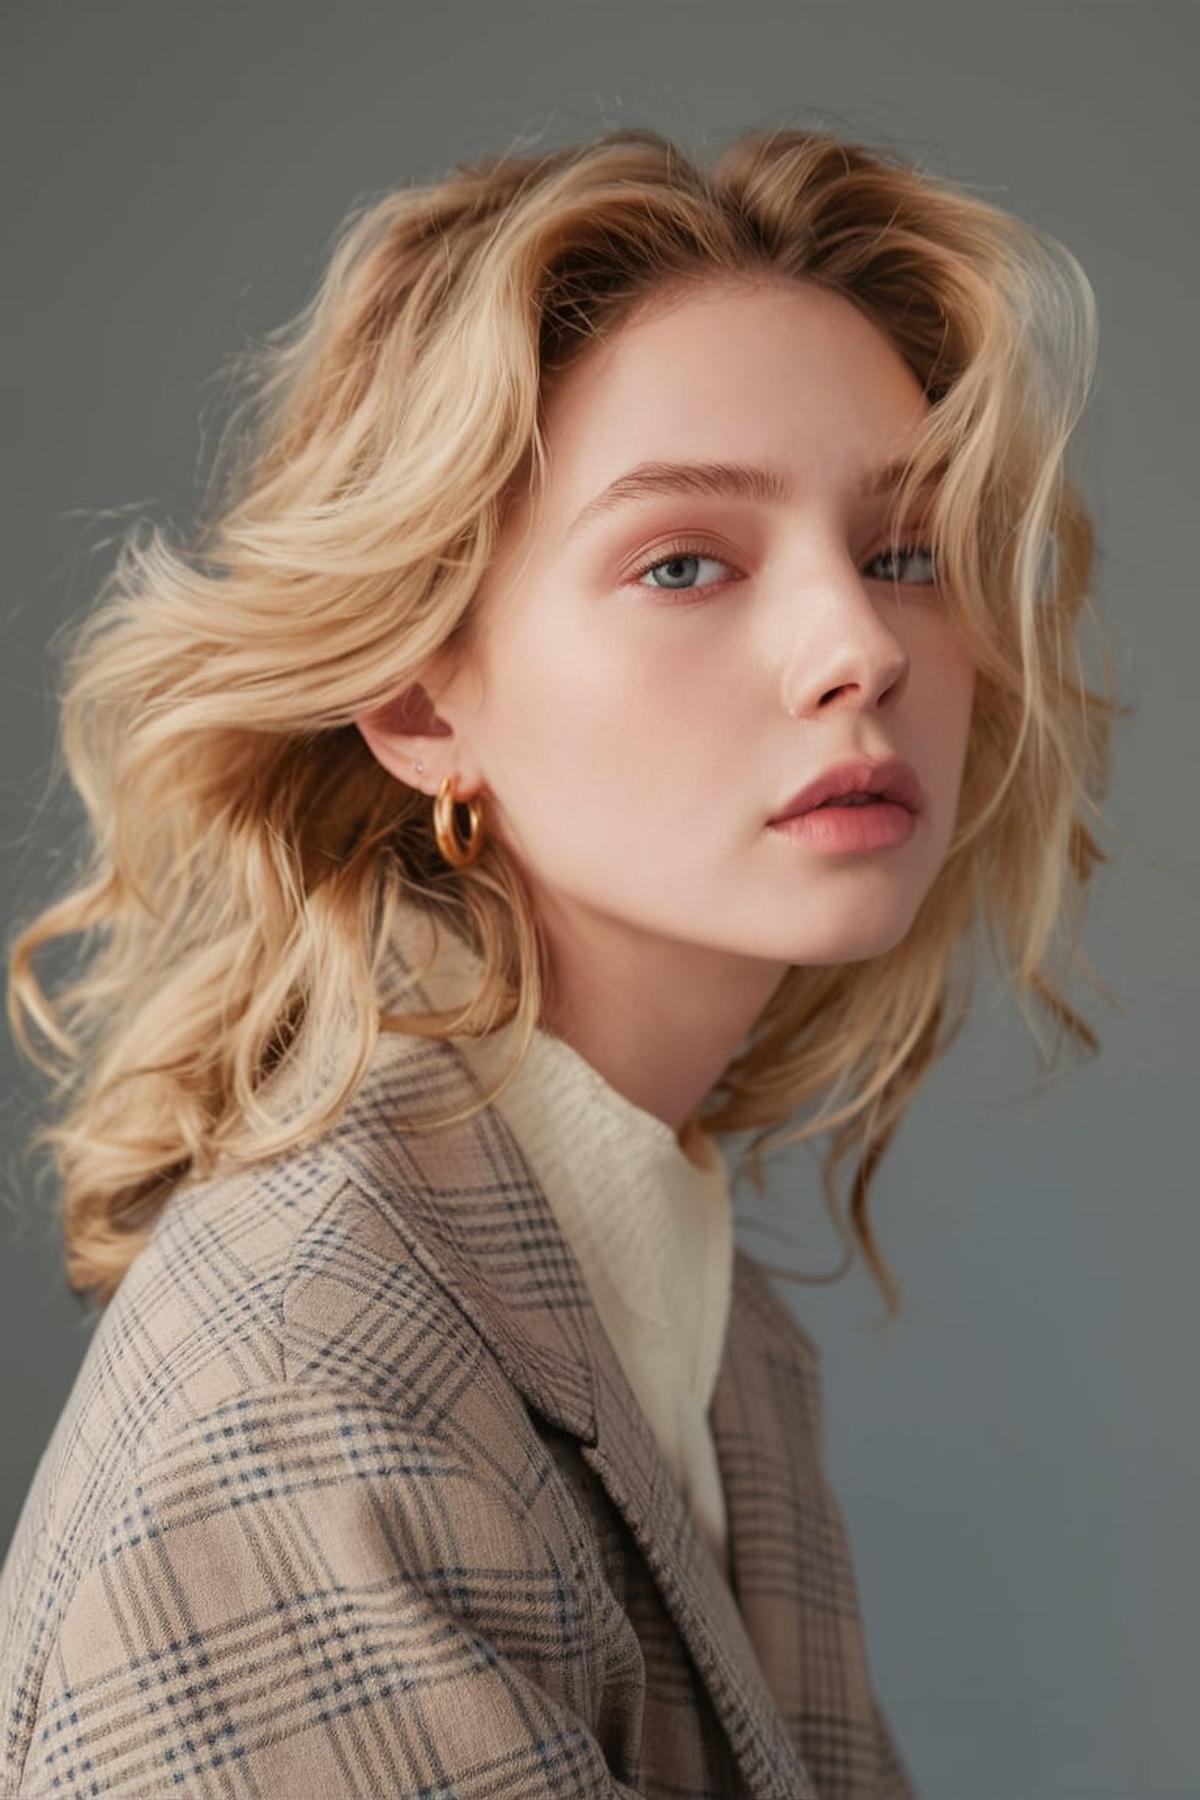
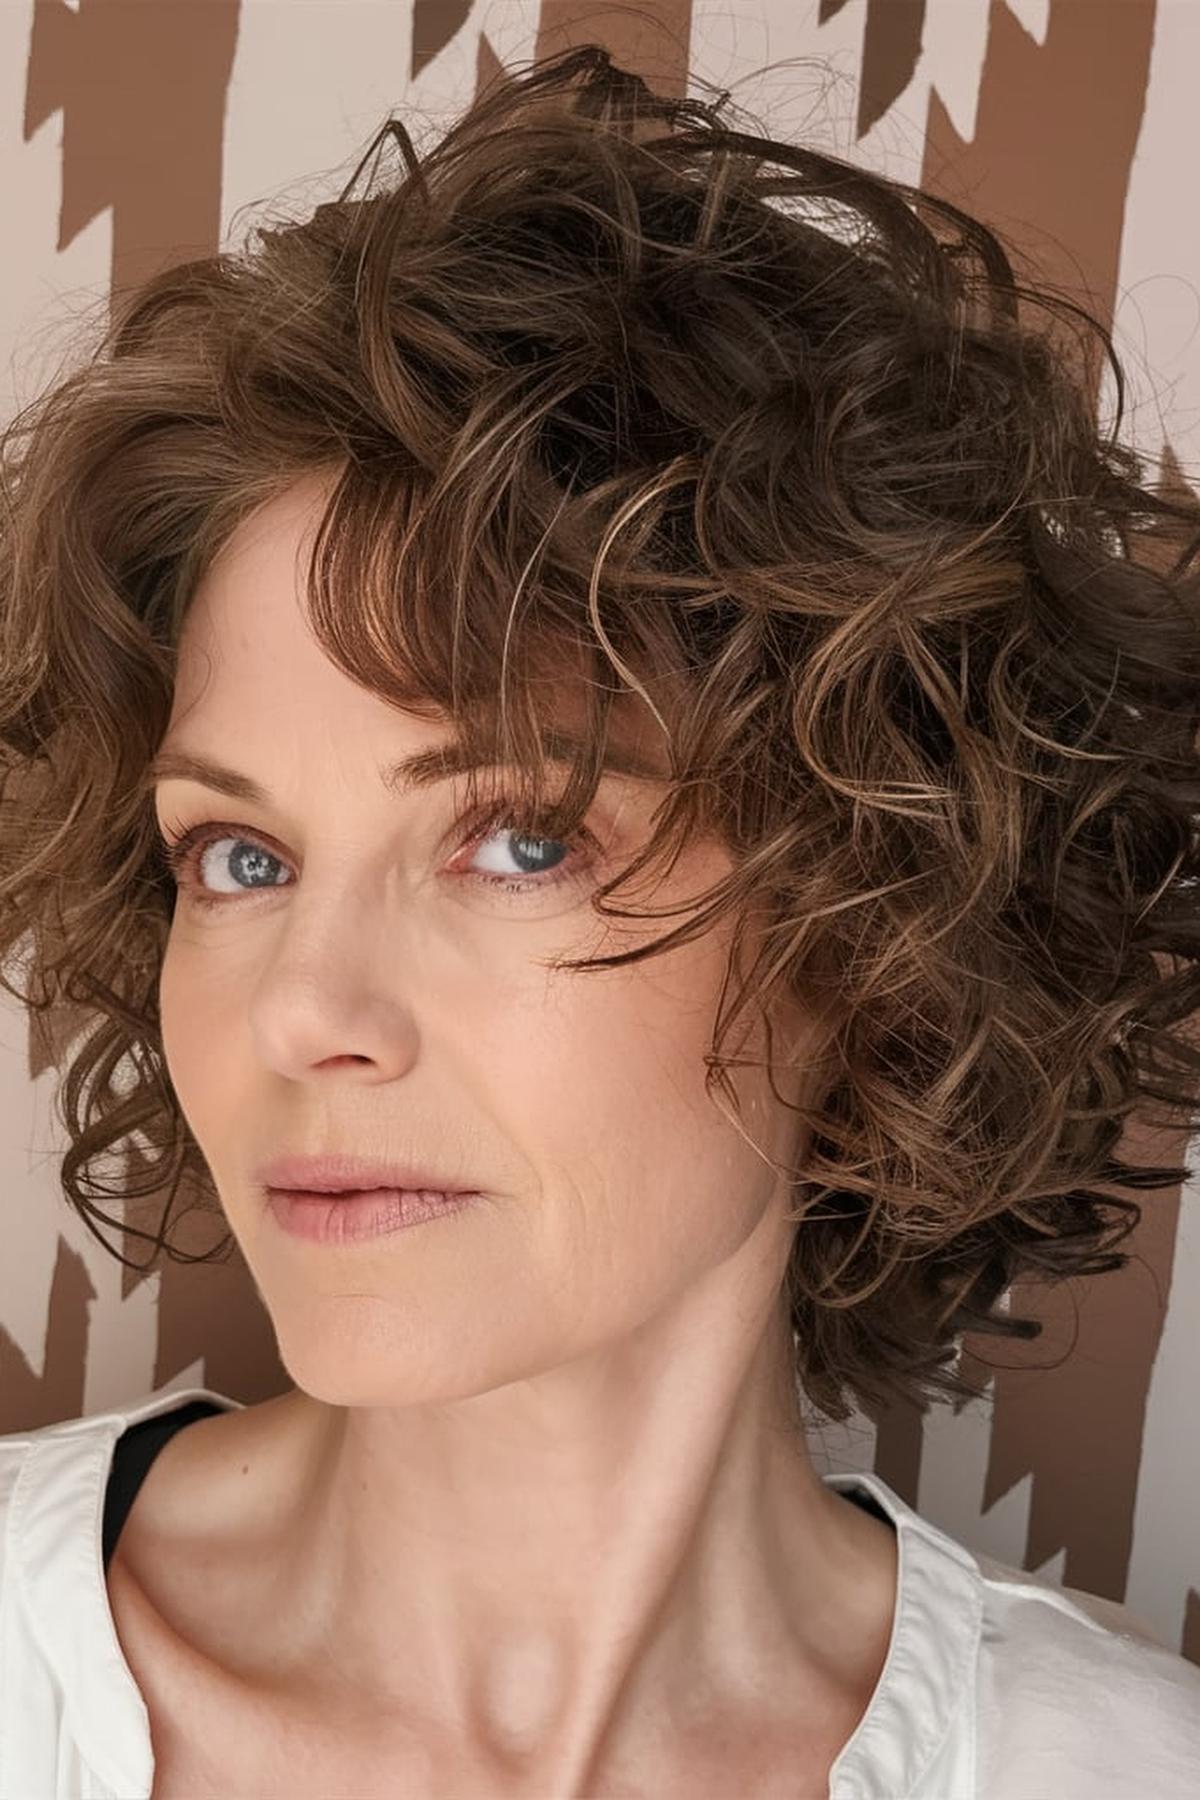
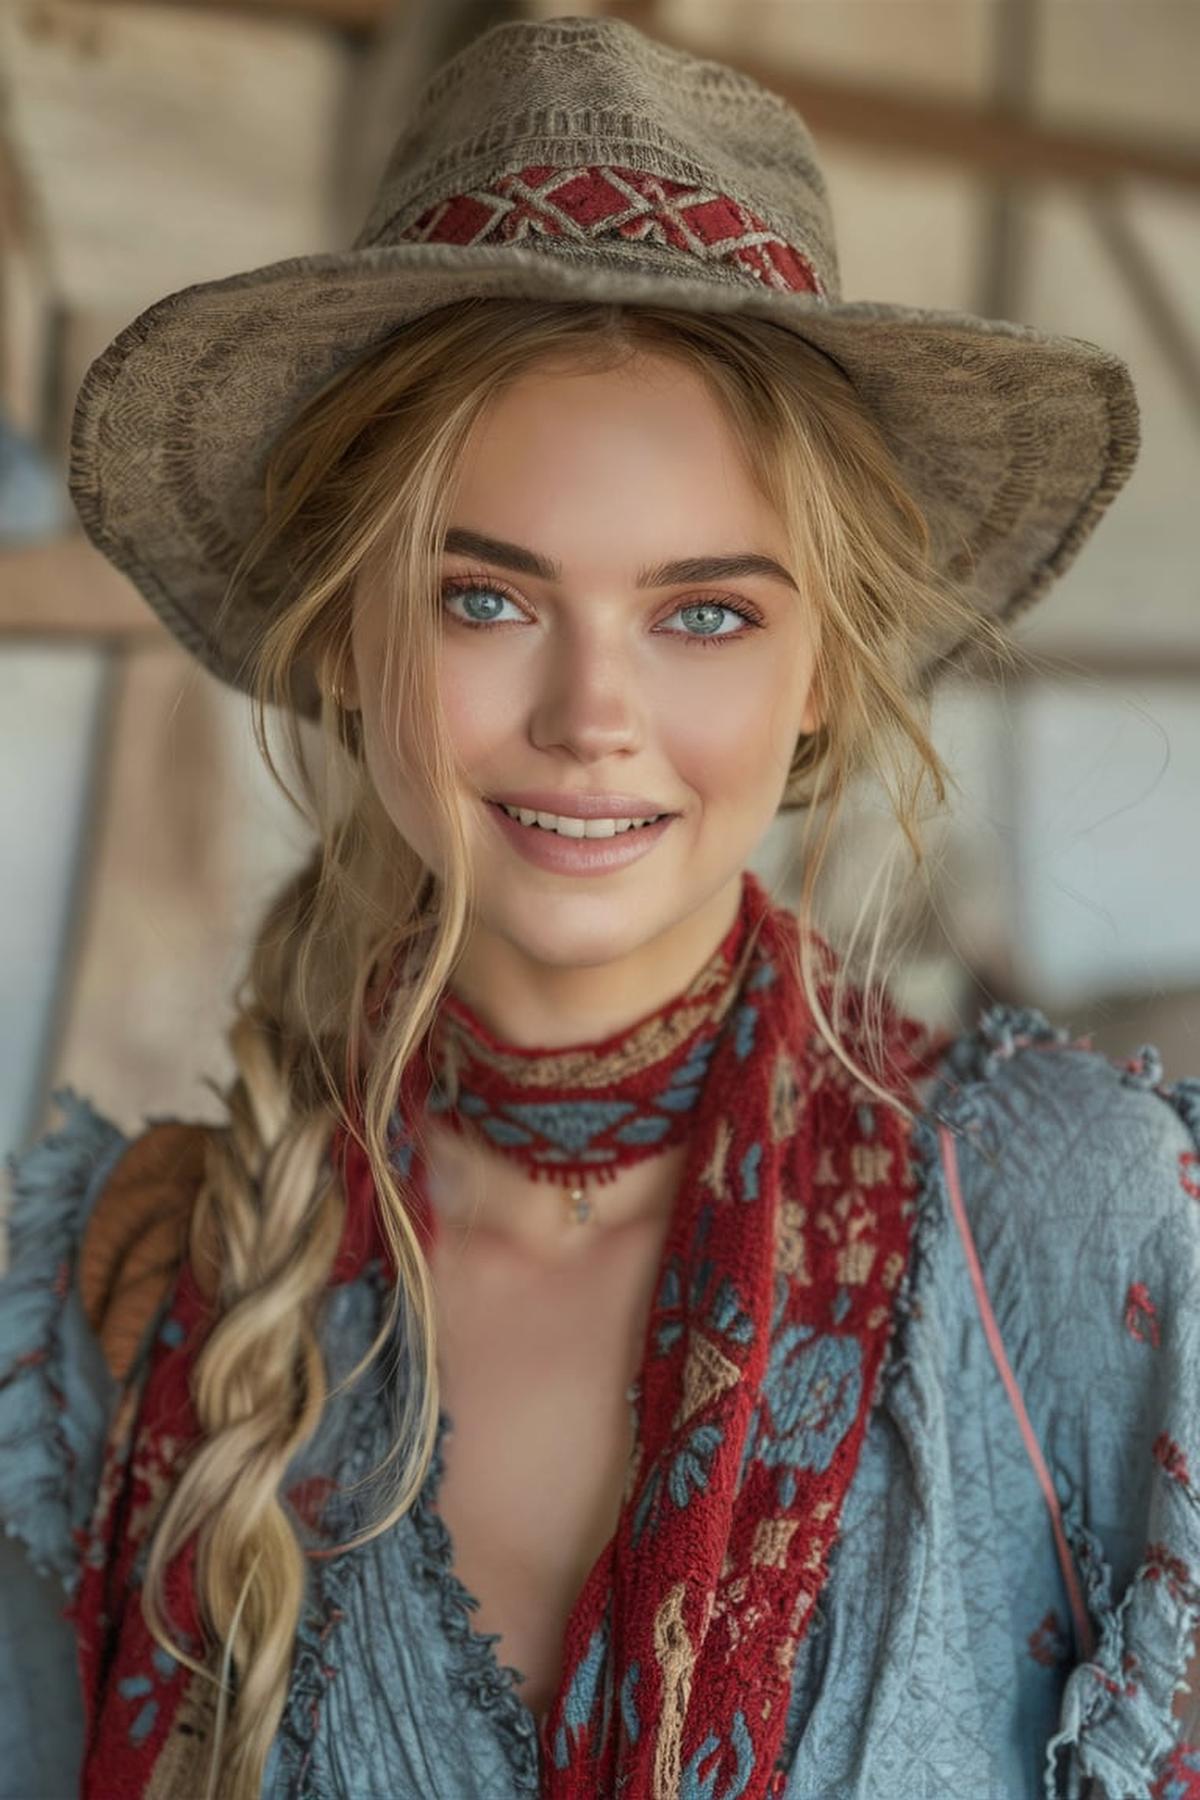
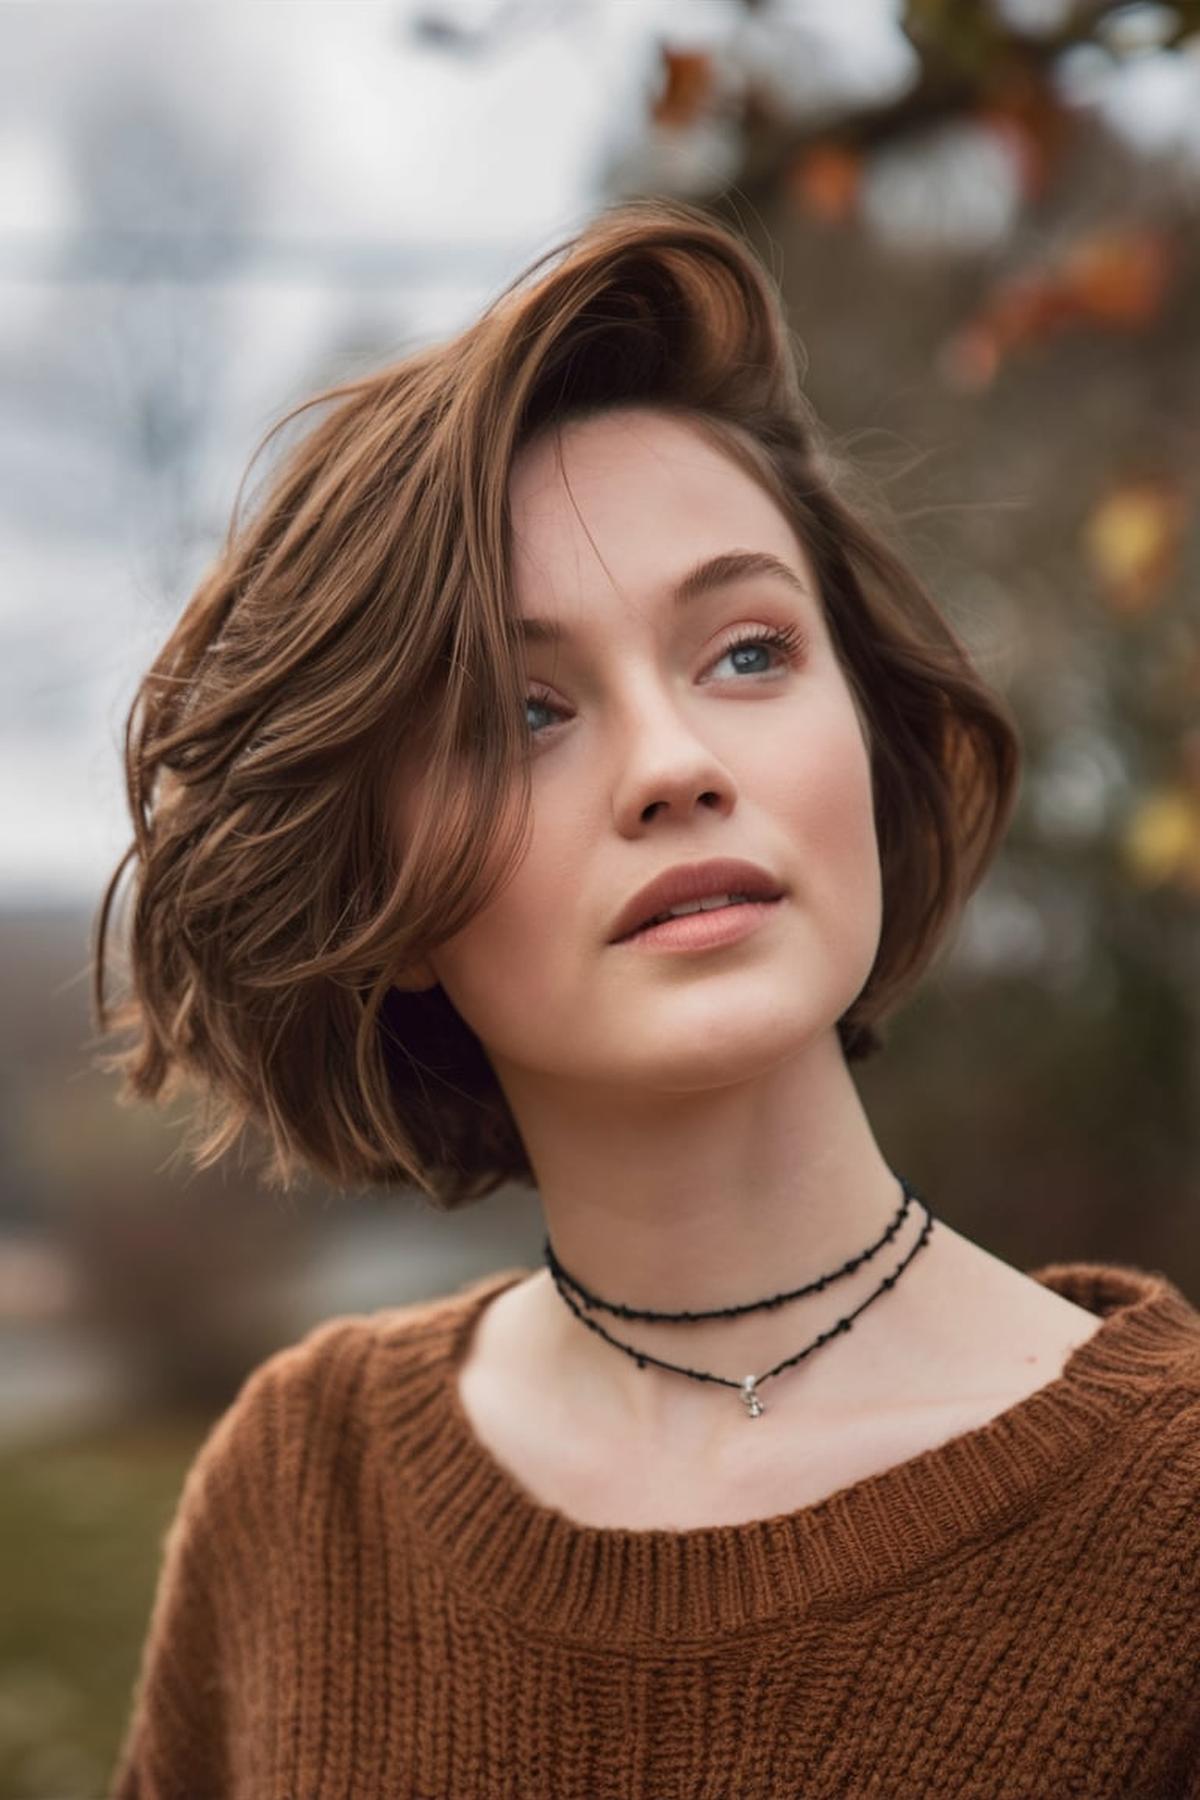
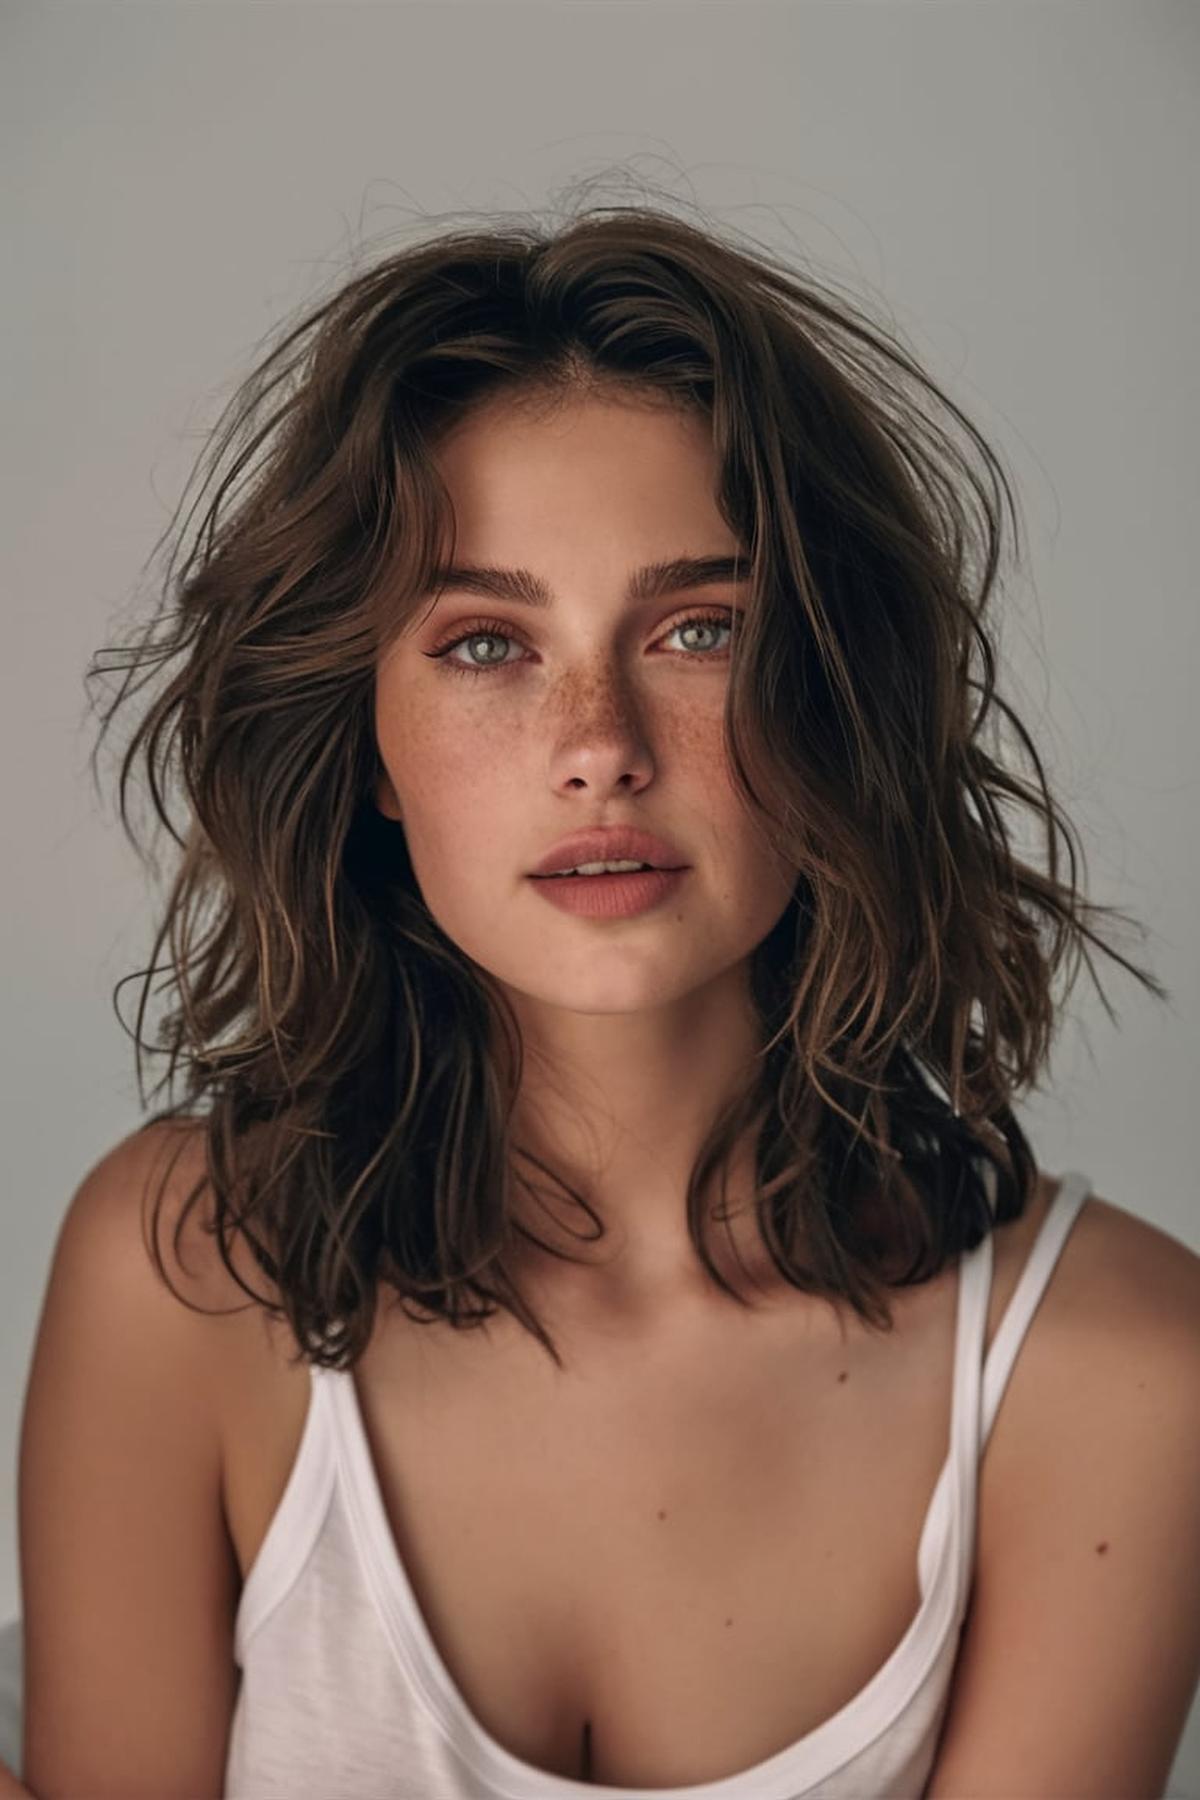
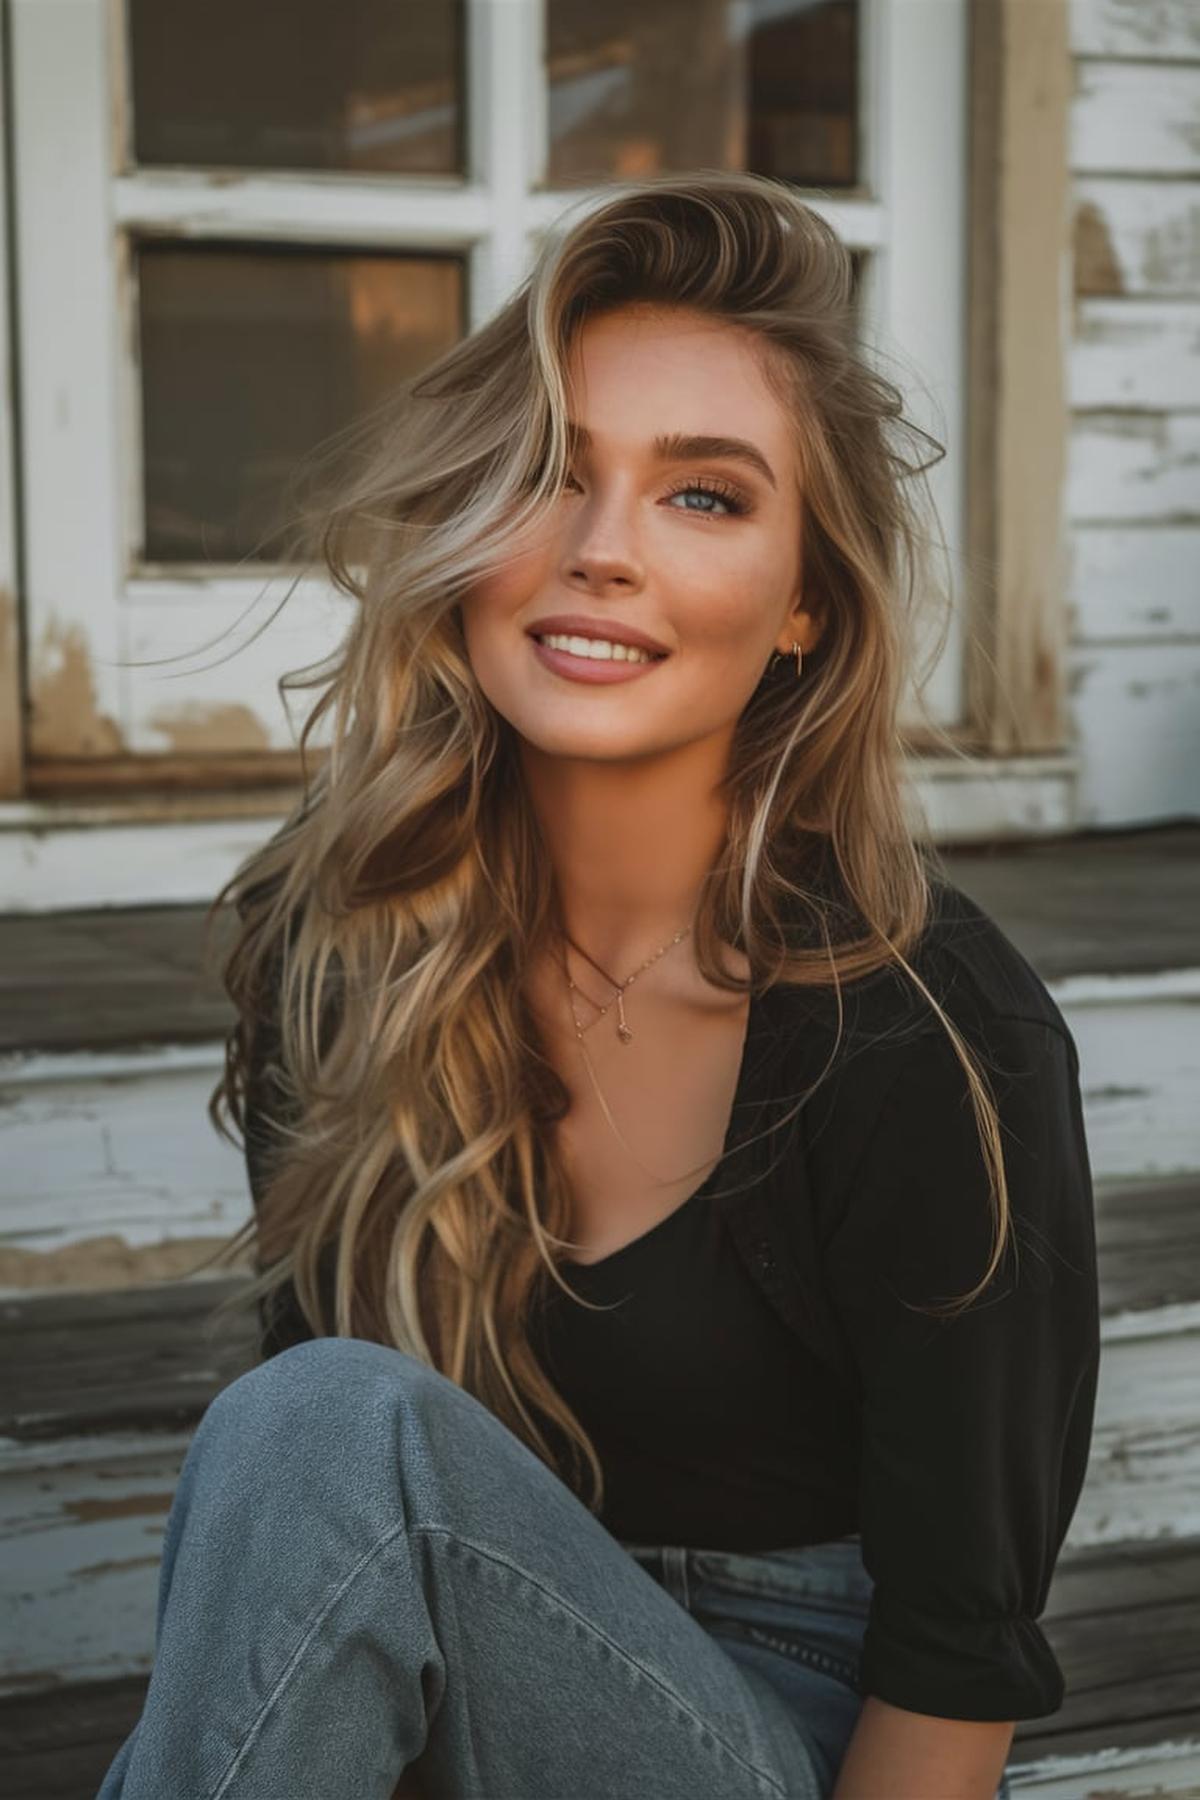
Start with cowgirl curls for a classic look, or try boho waves for a more relaxed vibe.
Ombre hair and balayage blonde can give your locks a sun-kissed look, while crimped hair and sparkly braids add a fun texture.
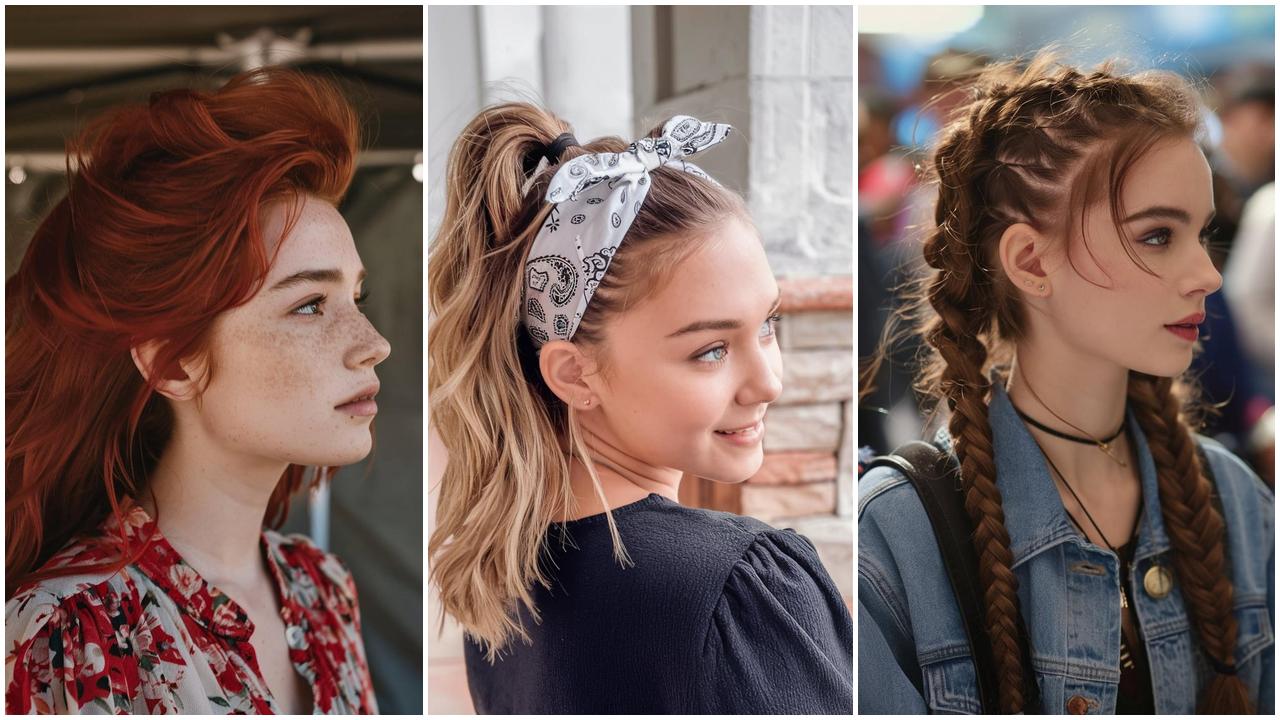
Hat hair can be stylish if you choose the right hat, and braided crowns or double braids can elevate your look. For a more casual concert, try beachy waves with a bandana or fishtail braided pigtails for a cute and carefree style. With these tips, you can create the perfect country concert hair for any occasion!
Now, without further ado, let’s dive into 24 country concert hair ideas that will make you the star of the show.
Cowgirl Curls
Begin with clean, dry hair and use a heat protectant spray to keep your hair safe from damage when using heat tools. Section your hair into manageable parts, which makes it easier to curl each piece evenly. You can use a curling iron or hot rollers, depending on your preference. For a classic cowgirl look, wrap sections of hair around the curling iron and hold for a few seconds before releasing.
This helps them hold their shape better. After cooling, gently run your fingers through the curls to separate them for a more natural look. You can also use a light hairspray to set the curls in place without making them stiff.
Lastly, remember that practice makes perfect! Experiment with different curling techniques and products to find what works best for your hair type. If your curls fall flat by the end of the day, consider using a curl-enhancing cream or a refresher spray to revive them. With some patience and creativity, you’ll be able to rock those cowgirl curls confidently!
Fishtail Braids
This makes it easier to manage. Brush your hair to remove any tangles, then split the ponytail into two equal sections. The key to a fishtail braid is to take small pieces of hair from the outer edges of each section and cross them over to the opposite side. For example, take a small piece from the right section and cross it over to the left, then do the same from the left to the right.
After securing the braid, gently pull on the edges to loosen it up a bit. This will give your fishtail braid a more relaxed, voluminous appearance. Don’t worry if your braid looks a little messy; that’s part of its charm!
It might take a few tries to feel comfortable with the hand movements, so don’t get discouraged if it doesn’t look perfect at first. The more you practice, the easier it will become. You can also explore different styles, like a Dutch fishtail braid, which incorporates more hair and adds extra texture. Enjoy experimenting with your hair and have fun creating beautiful fishtail braids!
Messy Buns
The best messy buns are created with hair that hasn’t been washed for a day or two. This gives your hair the right amount of texture and grip, making it easier to style. If your hair feels too clean, you can use dry shampoo or texturizing spray to add some volume and hold.
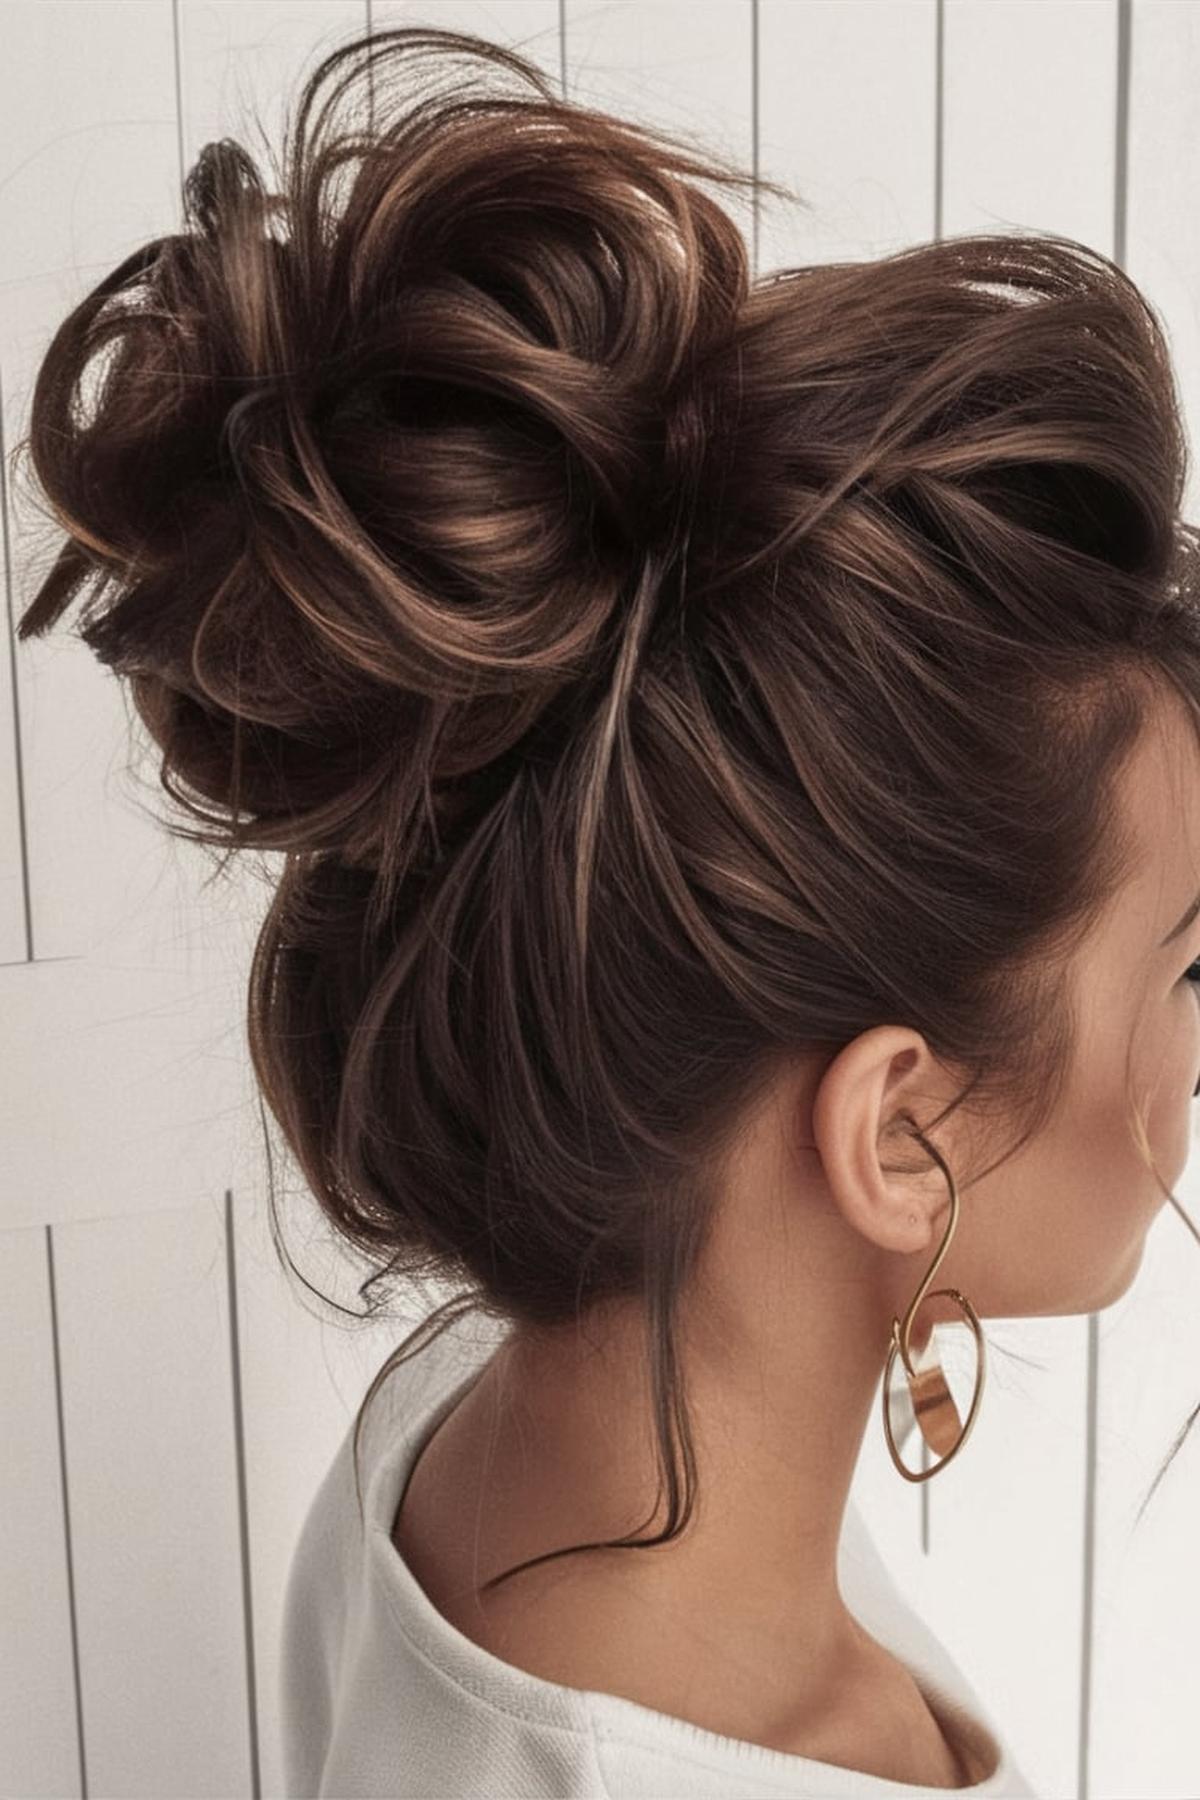
You can flip your head upside down to make this easier, and it’s okay if there are bumps or strands sticking out. Use your fingers instead of a brush to keep it casual. Once you have your ponytail, twist the hair around the base to form the bun.
Gently pull at the bun to loosen it and create a more tousled appearance. If you want to add some flair, you can pull out a few pieces of hair around your face. This adds to the messy vibe and makes the hairstyle look more playful. With a little practice, you’ll be able to create the perfect messy bun in just a few minutes!
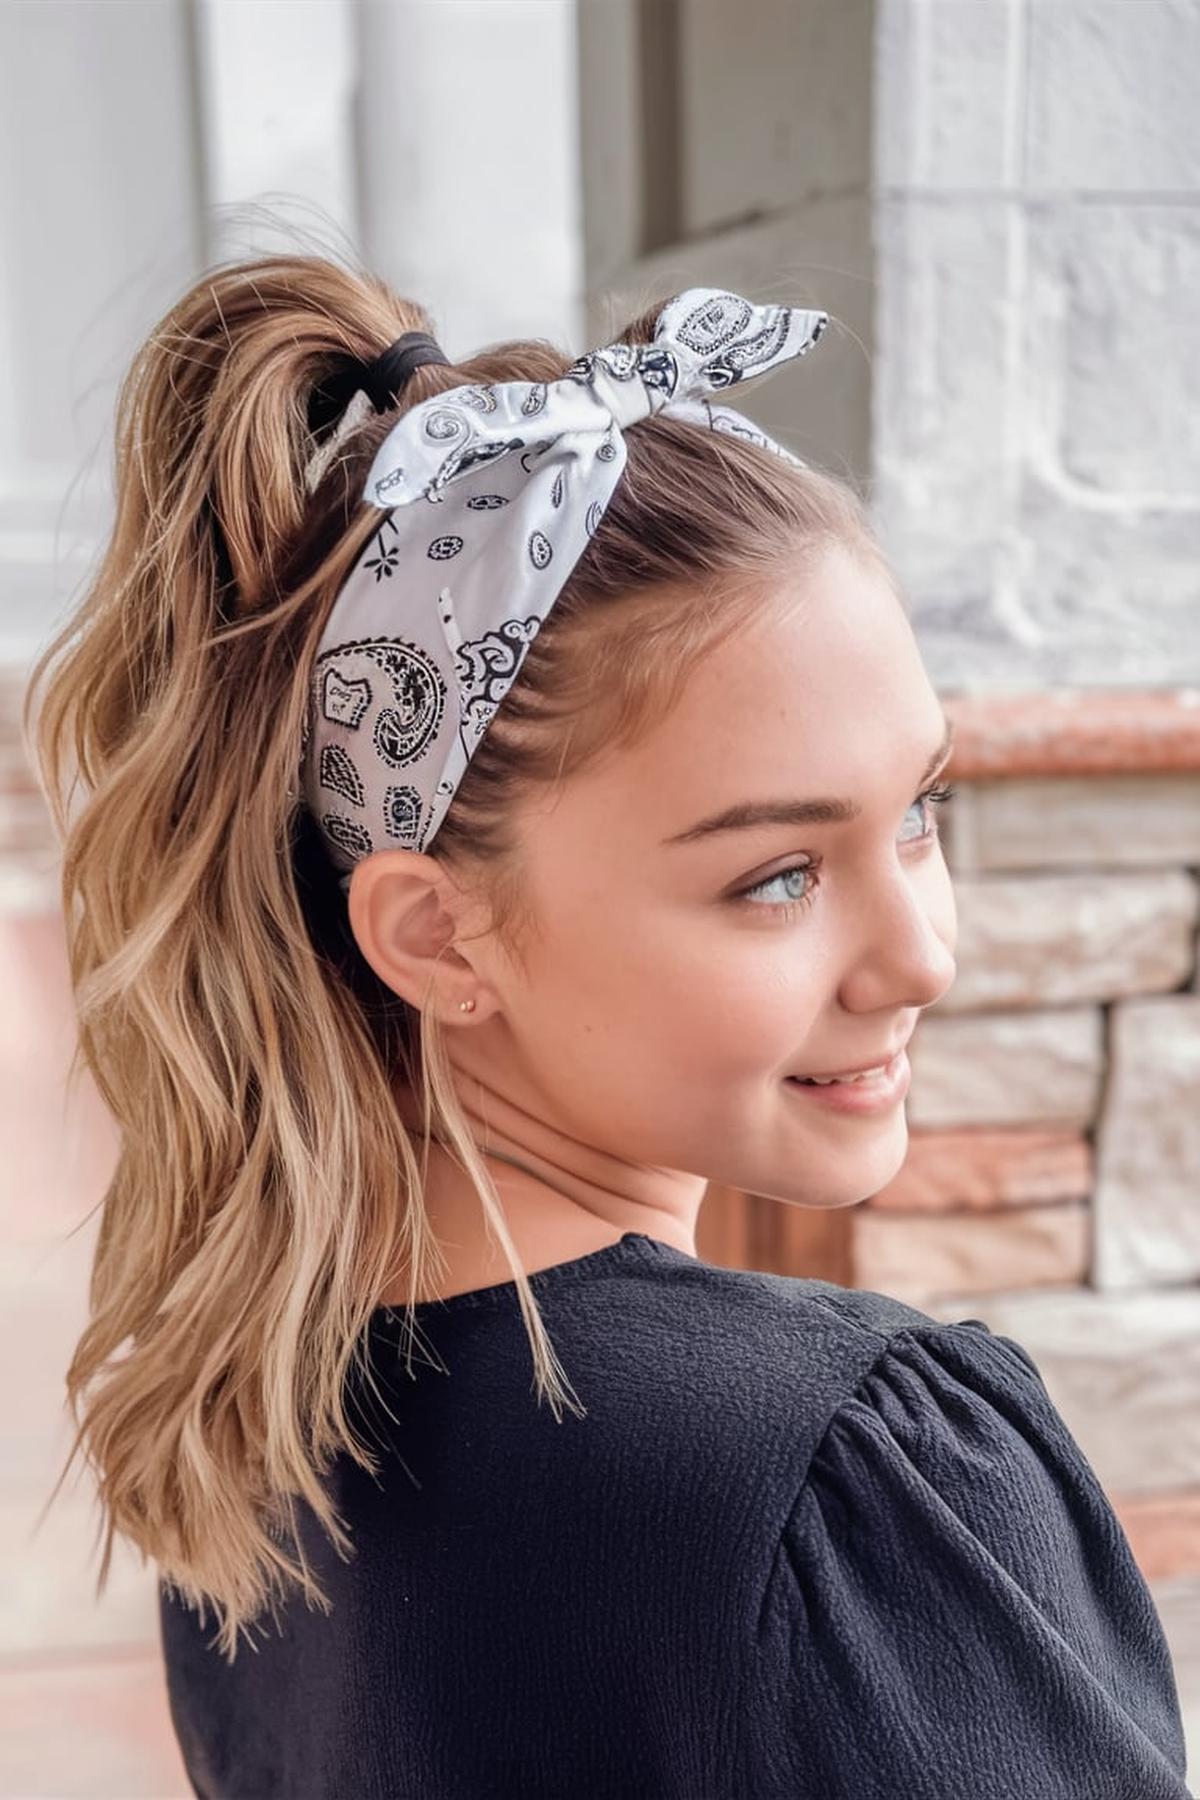
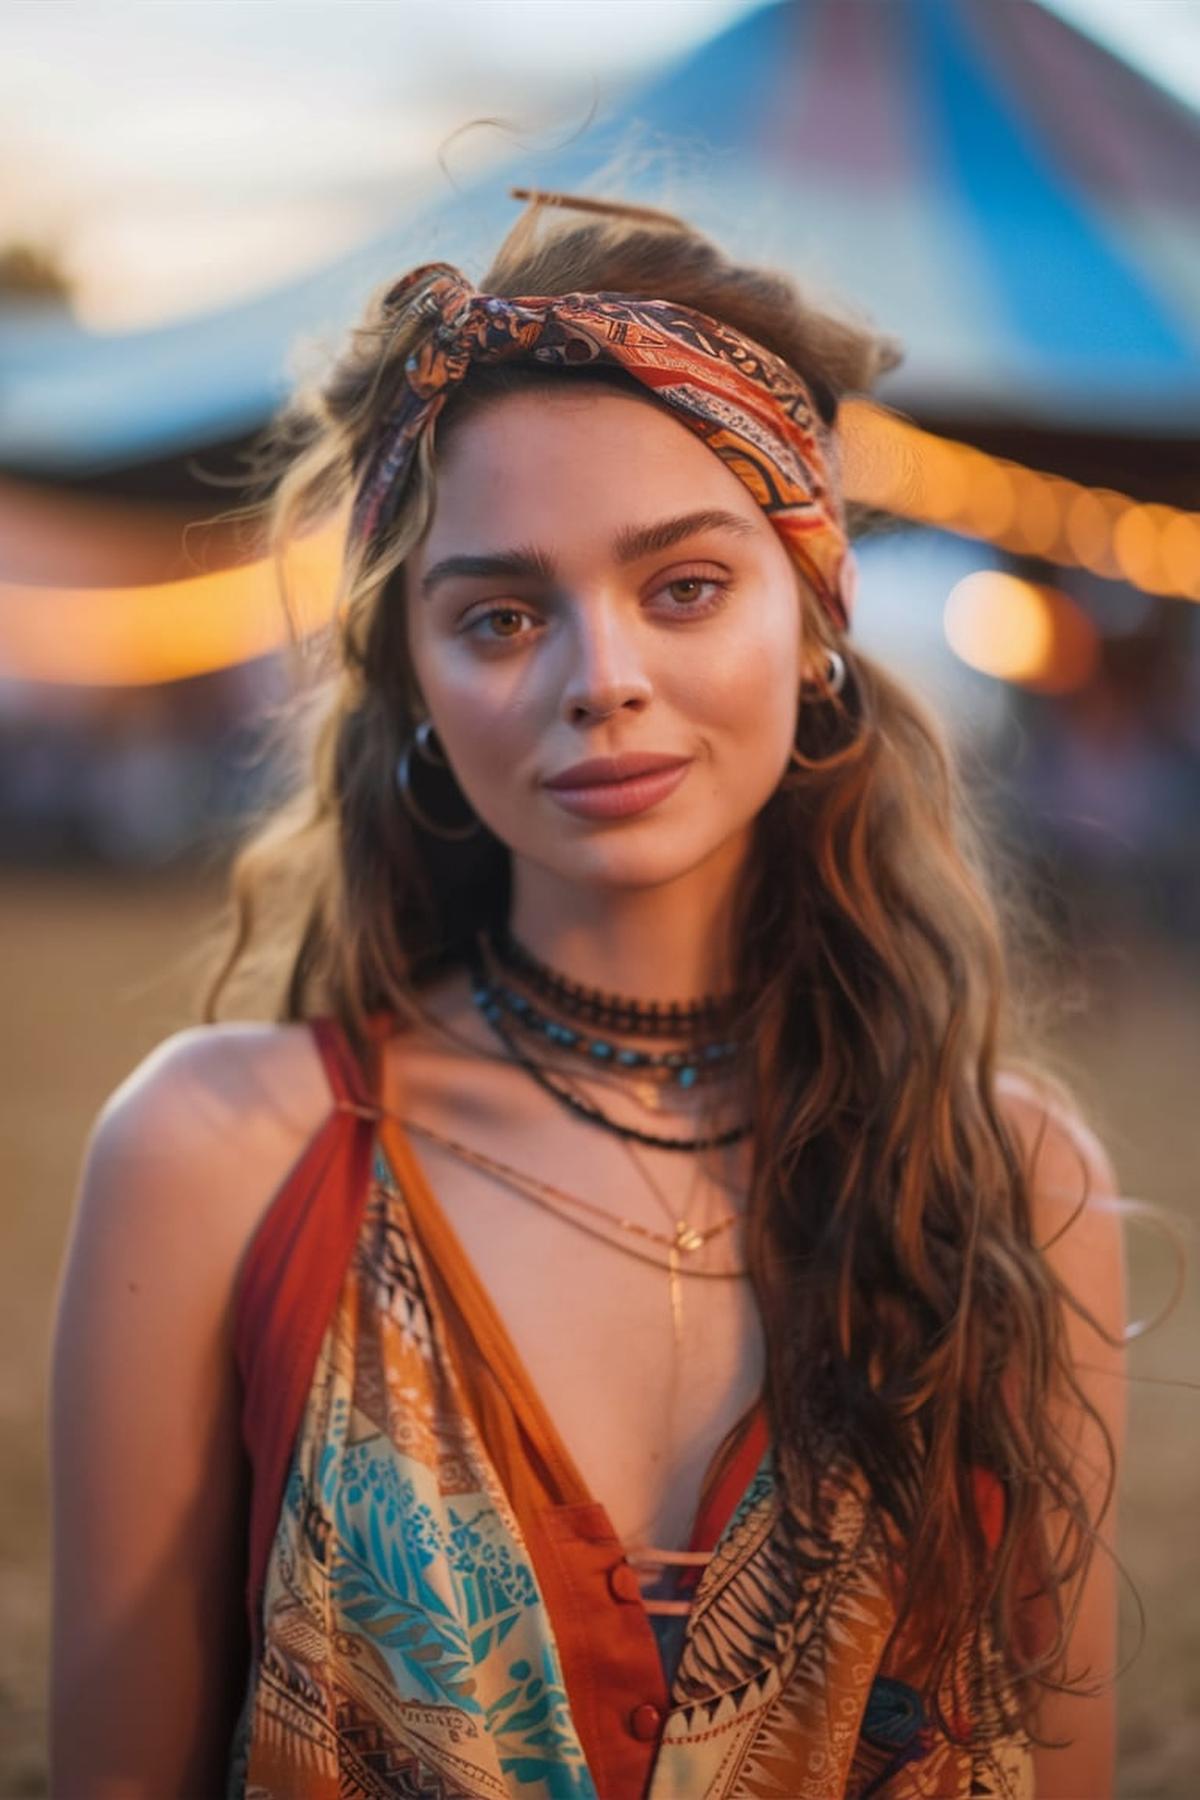
Bandana Headbands
This accessory is super versatile and can add a fun pop of color or pattern to your look. To create a classic bandana headband, first fold the bandana into a triangle, then roll it up from the point to the base to make a long strip. Place the bandana around your head, tying it at the back or side.
For a retro look, position the knot slightly to the side or at the nape of your neck. This gives a relaxed vibe while keeping hair out of your face. If you want to add some flair, you can let some strands fall out around your face for a softer look.
You can wear your bandana headband with various hairstyles, like a messy bun or loose waves. This accessory works well with any hair type and can be a lifesaver on bad hair days. Just remember, the key to mastering the bandana headband is to have fun and express your personal style!
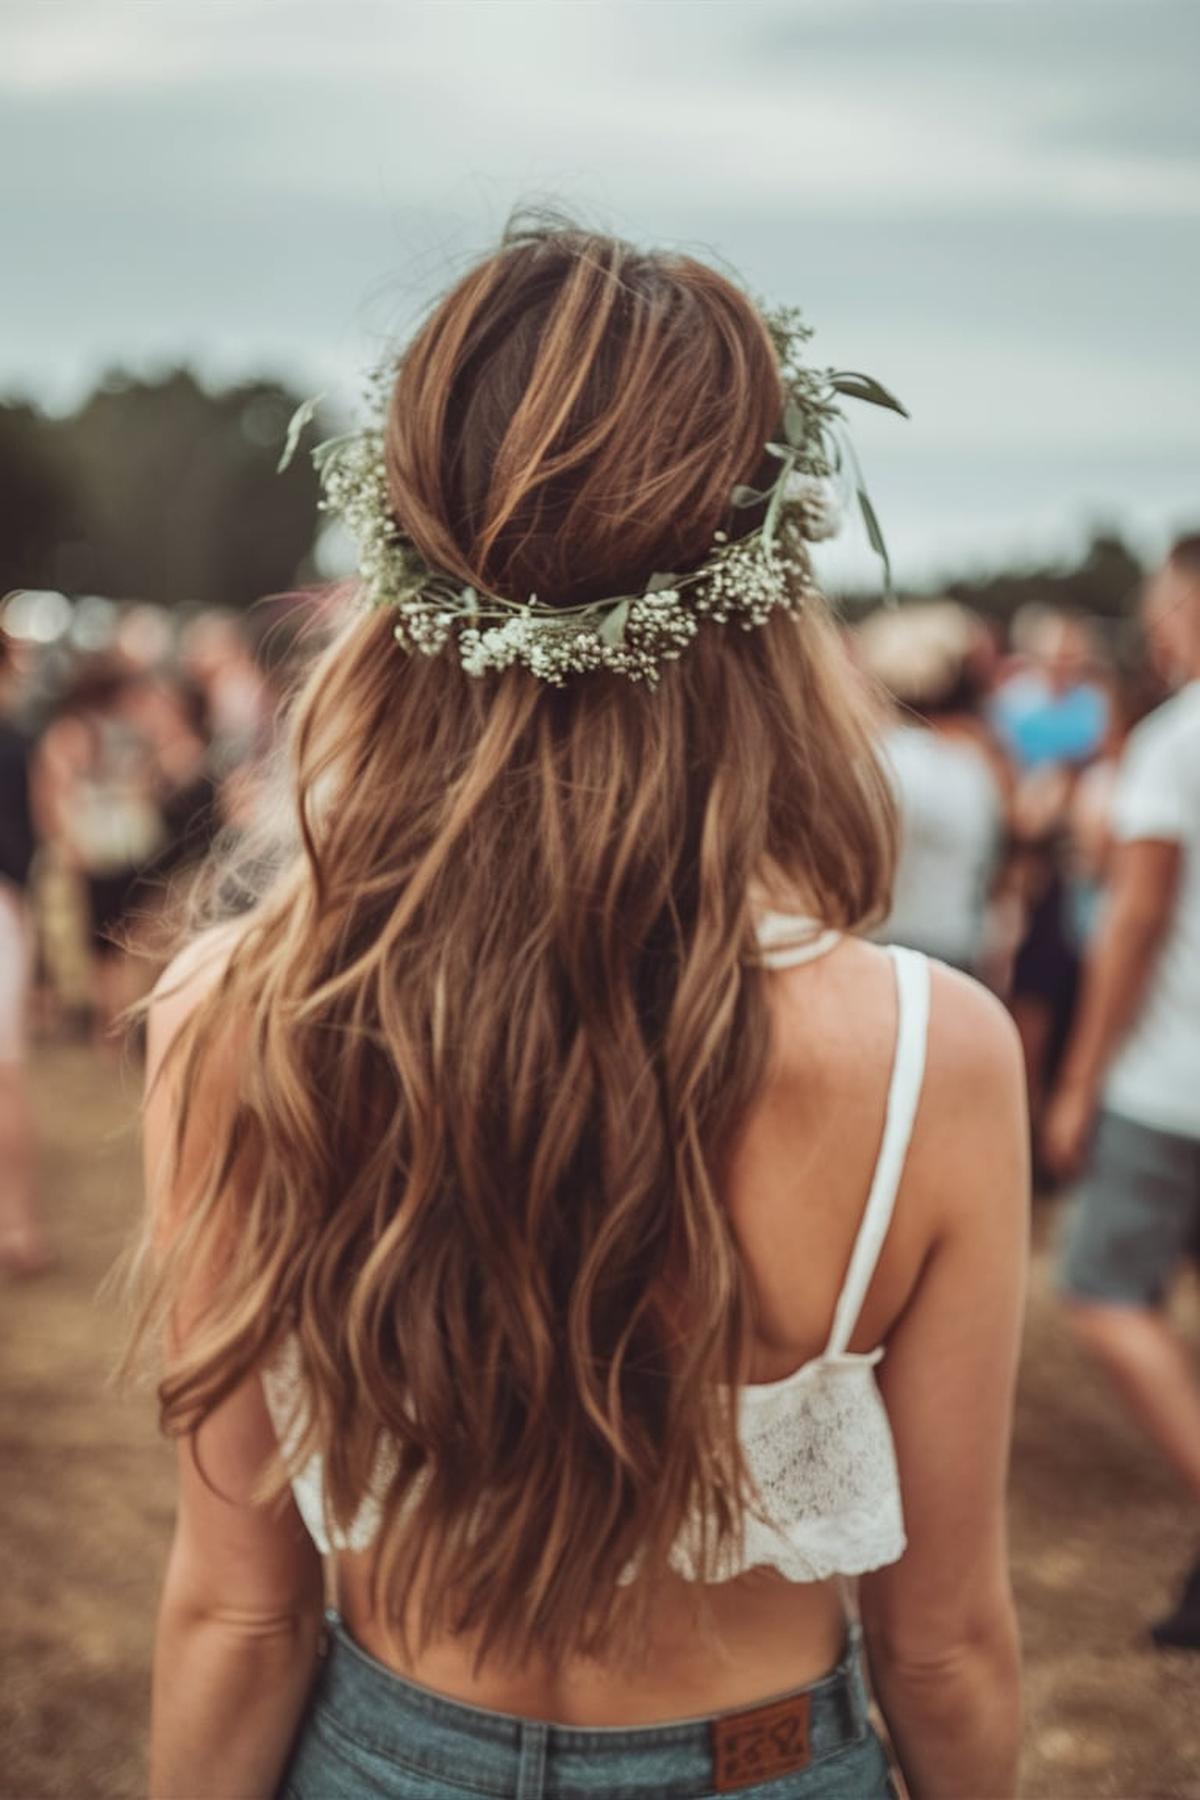
Flower Crowns
You can use fresh flowers, silk flowers, or even a mix of both. For a sturdy crown, you’ll need floral wire, floral tape, and scissors. If you want to get creative, consider adding some greenery or decorative elements like ribbons. Planning your design is key; think about which flowers will look best together and how you want to arrange them on your crown.
Twist the ends together to form a circle. After that, use floral tape to wrap the wire, making it comfortable and secure. This base will hold your flowers, so make sure it’s sturdy enough to support them.
Remember to alternate the sizes and colors of the flowers for a more natural look. Place larger blooms first and fill in with smaller ones, making sure to cover any visible wire or tape. Keep adding flowers until the crown is full and beautiful. Once finished, you can wear it for special occasions or just for fun!
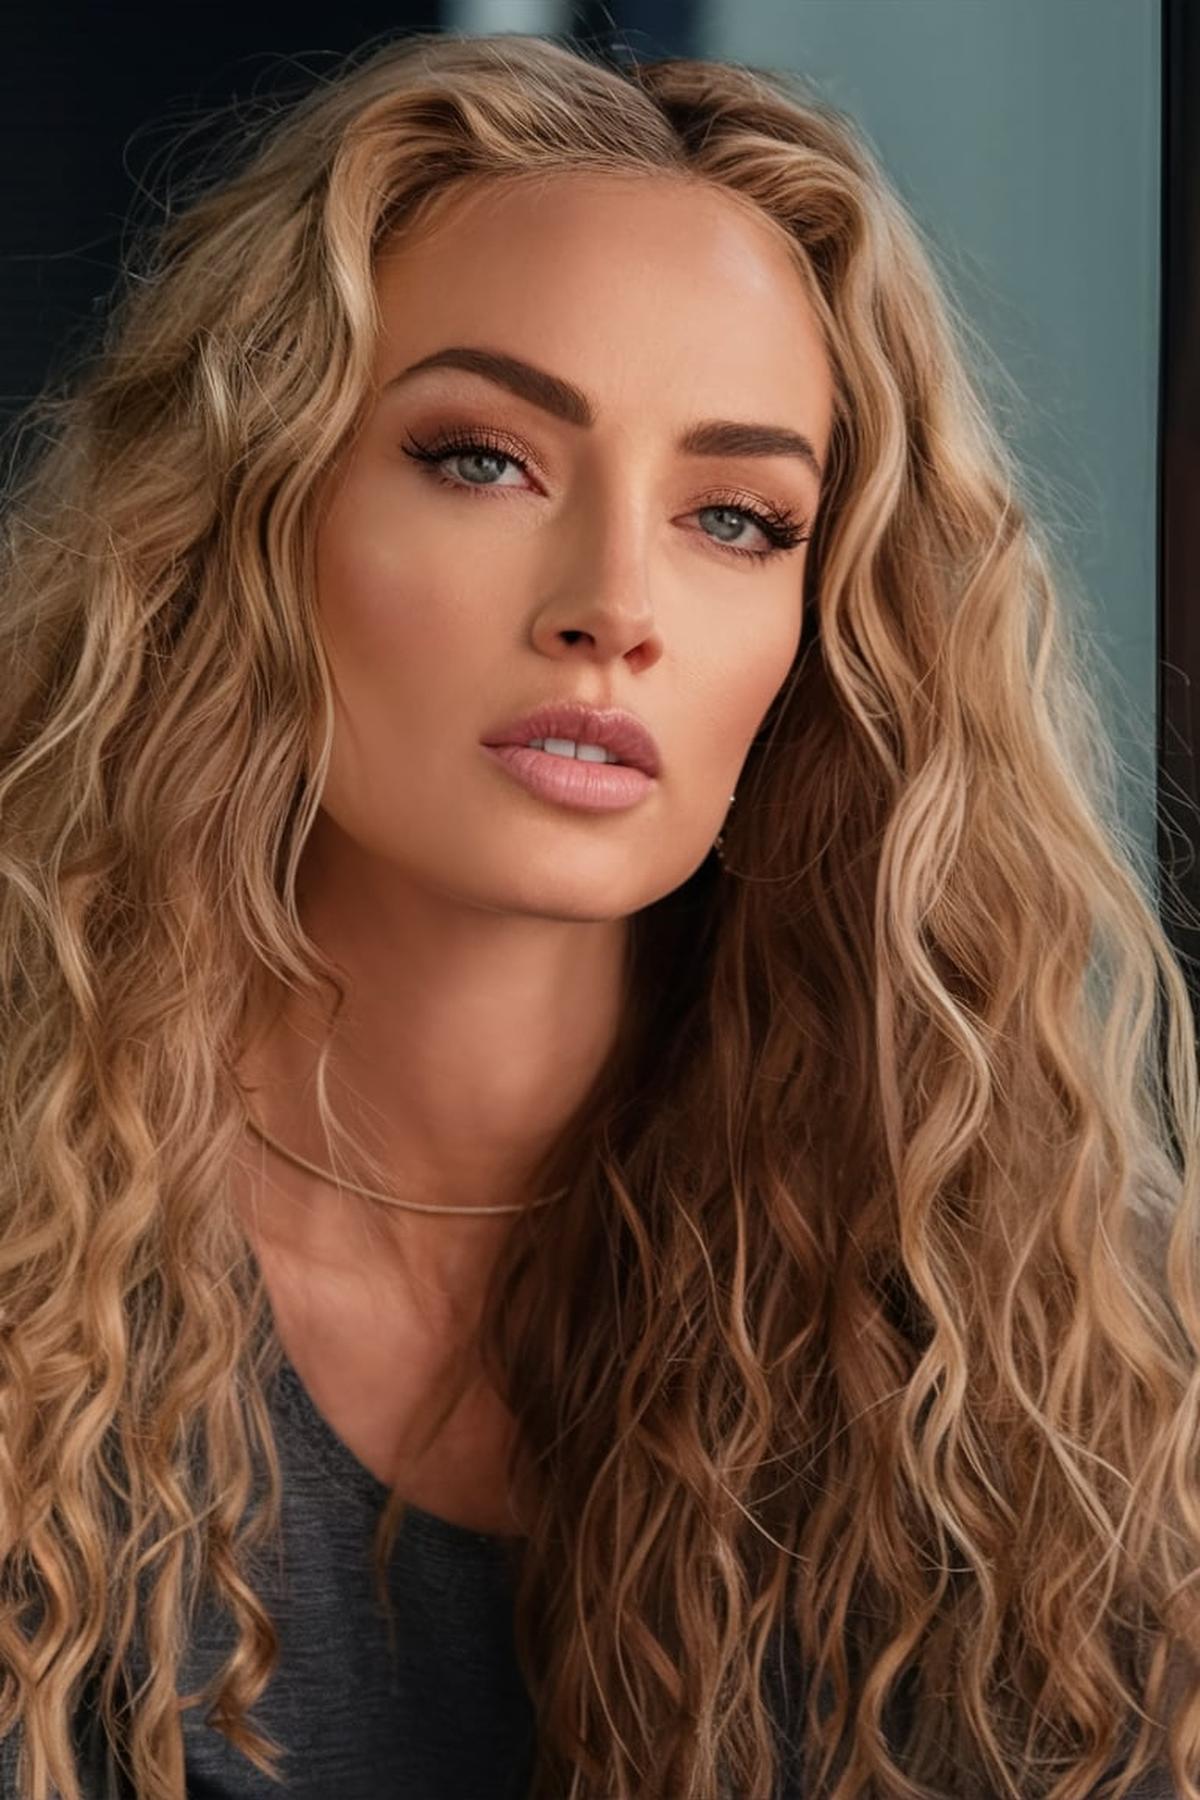
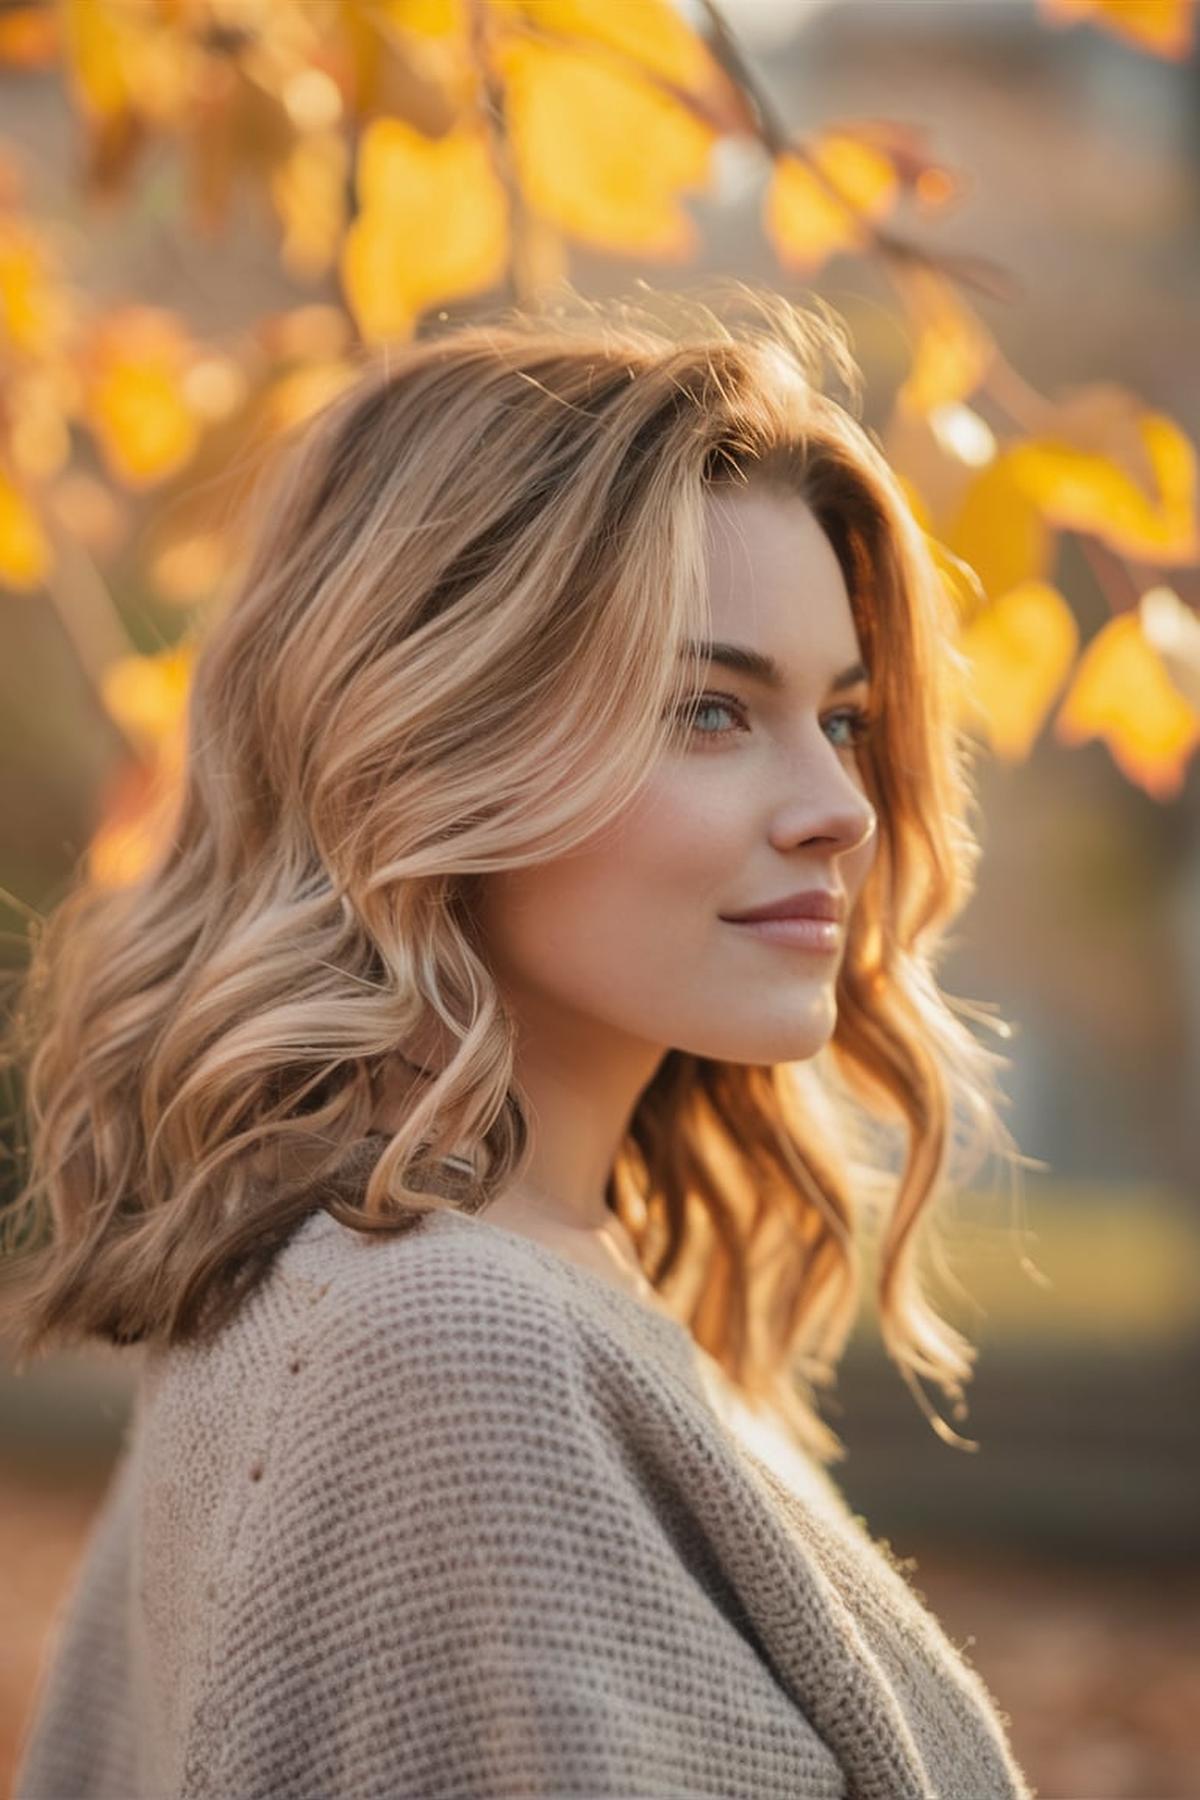
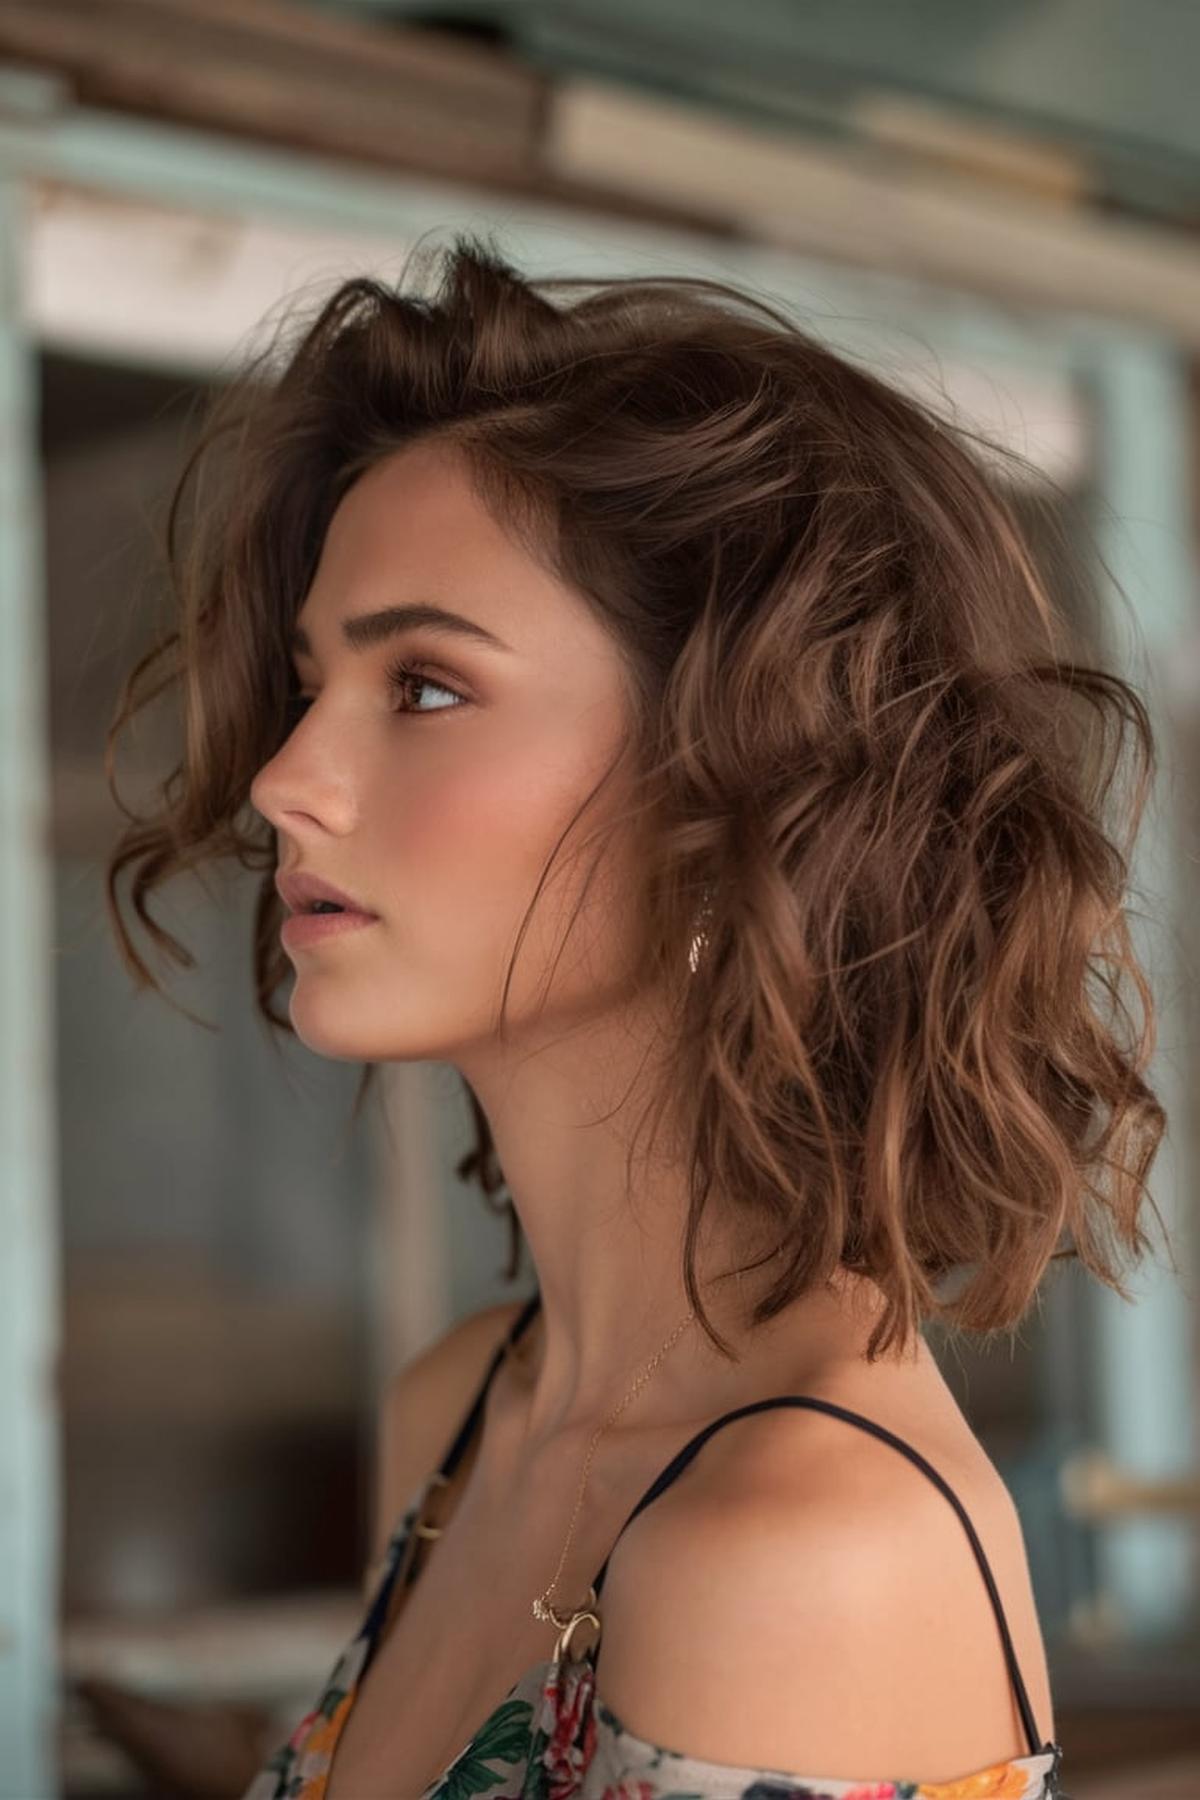
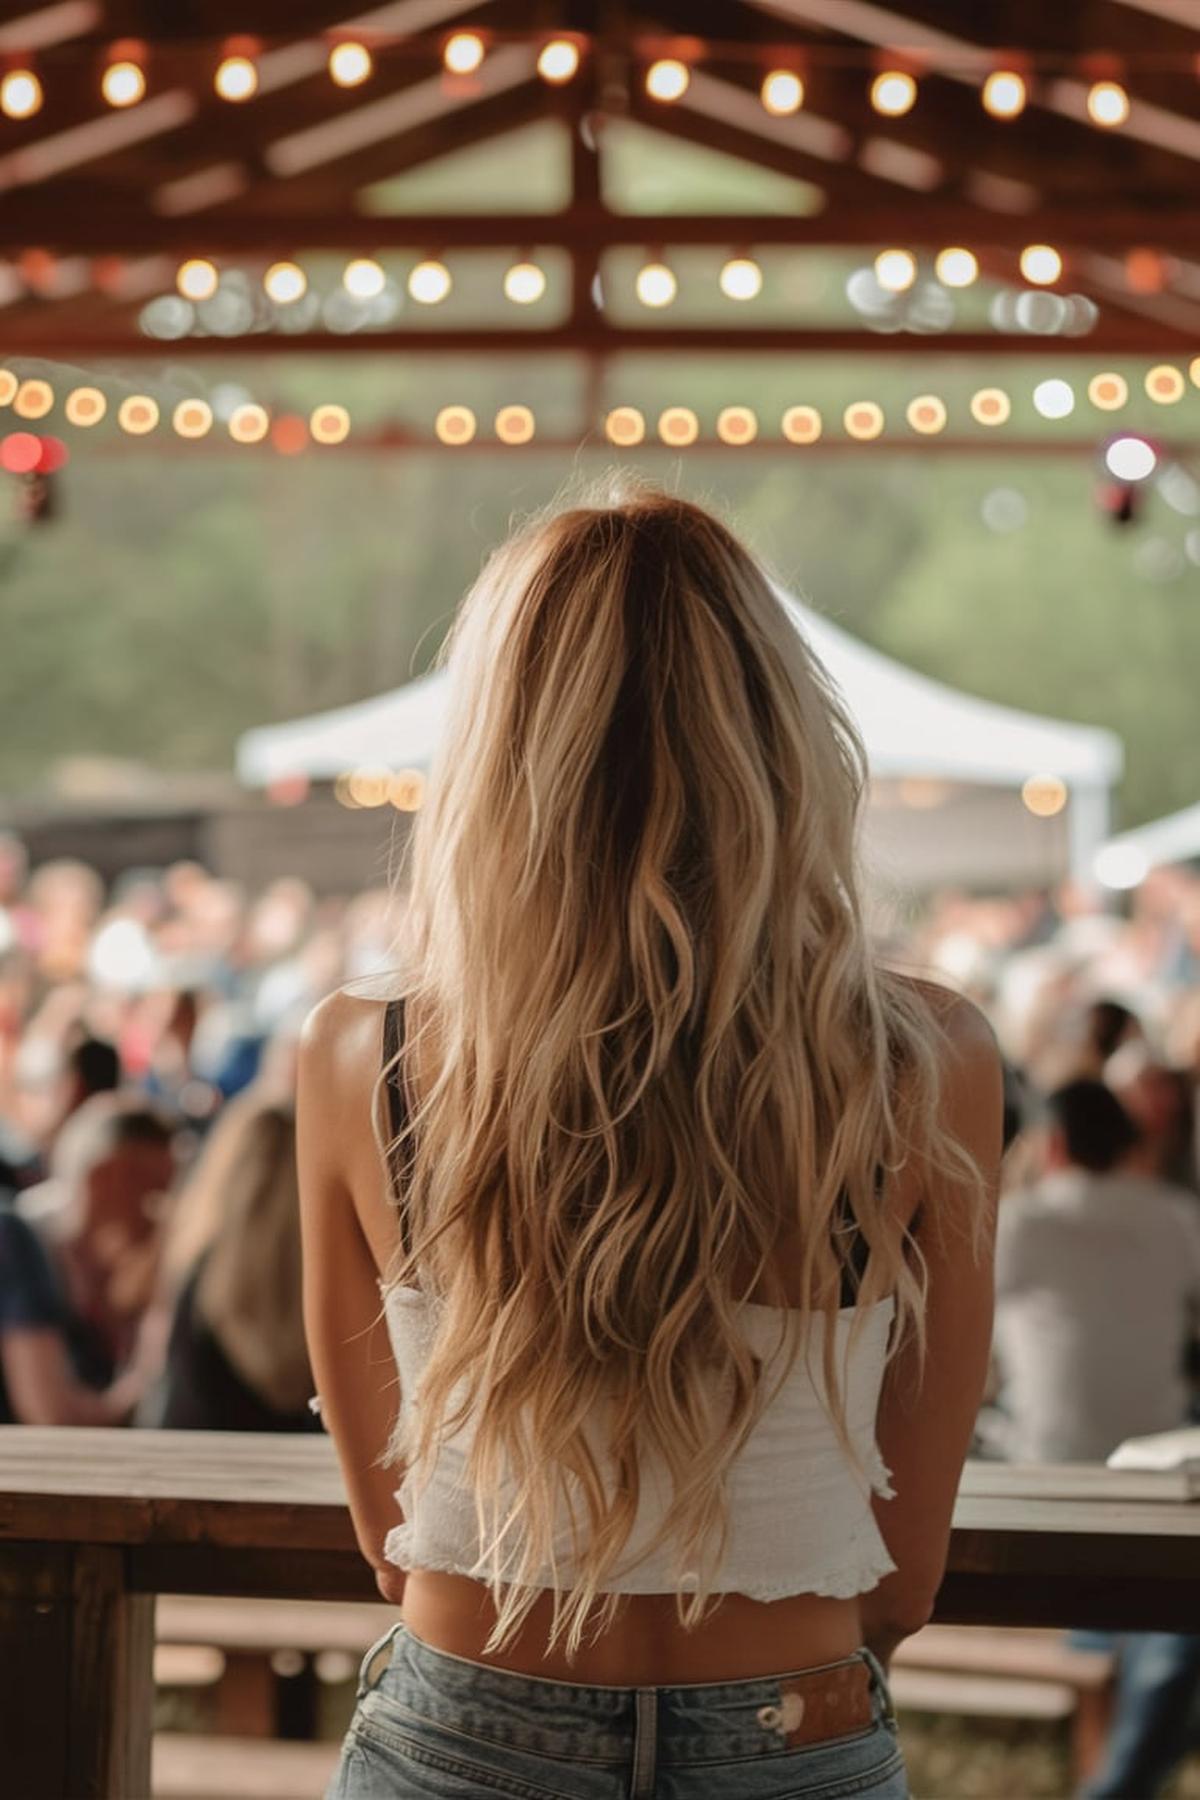
Boho Waves
Use a good shampoo and conditioner to keep your hair healthy and moisturized. After washing, apply a heat protectant spray to shield your hair from damage when styling. If you want more volume, consider using a volumizing mousse or sea salt spray, which can help create that beachy, carefree look that defines boho waves.
Hold each section for about 3-4 seconds before releasing it. To enhance the waves, gently pull on the curls after releasing them; this will make them look looser and more natural. Repeat this process until all your hair is styled.
You can also add some braids for extra flair. Simply take small sections of hair from the front, braid them, and pin them back. This adds a fun touch while keeping hair out of your face. Finish with a light hairspray to hold everything in place without making it stiff.
Feather Extensions
You’ll need some colorful feathers, silicone-lined crimp beads, a piece of string, and flat-nosed pliers. First, prepare your hair by deciding where you want to place the feather. It’s best to pin back the top layer of hair so the extension can be hidden underneath.
Take a small section of hair and pull it through the loop, then slide the crimp bead down close to your scalp. Insert the end of the feather into the crimp bead and use the pliers to flatten the bead, securing the feather in place. This method is simple and allows you to wash and style your hair without damaging the feathers.
Just crimp the bead in the opposite direction, and the feather will come out without harming your hair. You can experiment with different colors and styles, making feather extensions a fun way to express your personality. Whether for a special occasion or just for fun, feather extensions can add a unique touch to your hairstyle.
Crimped Hair
First, wash and dry your hair completely, as crimping works best on clean hair. Apply a heat protectant spray to shield your hair from damage caused by heat styling tools. Section your hair into manageable parts so that you can crimp it evenly.
Take a small section of hair, clamp the crimping iron down, and hold it for about 10-15 seconds. Make sure to alternate the direction of the crimping iron for a more natural look. After crimping each section, gently run your fingers through the hair to soften the waves.
A light hairspray can help hold the crimped look in place without making it crunchy. If you want extra shine, consider using a serum or oil. Remember to avoid touching your hair too much after styling, as this can cause the crimped waves to lose their shape. With practice, you’ll be able to create beautiful crimped hair that stands out!
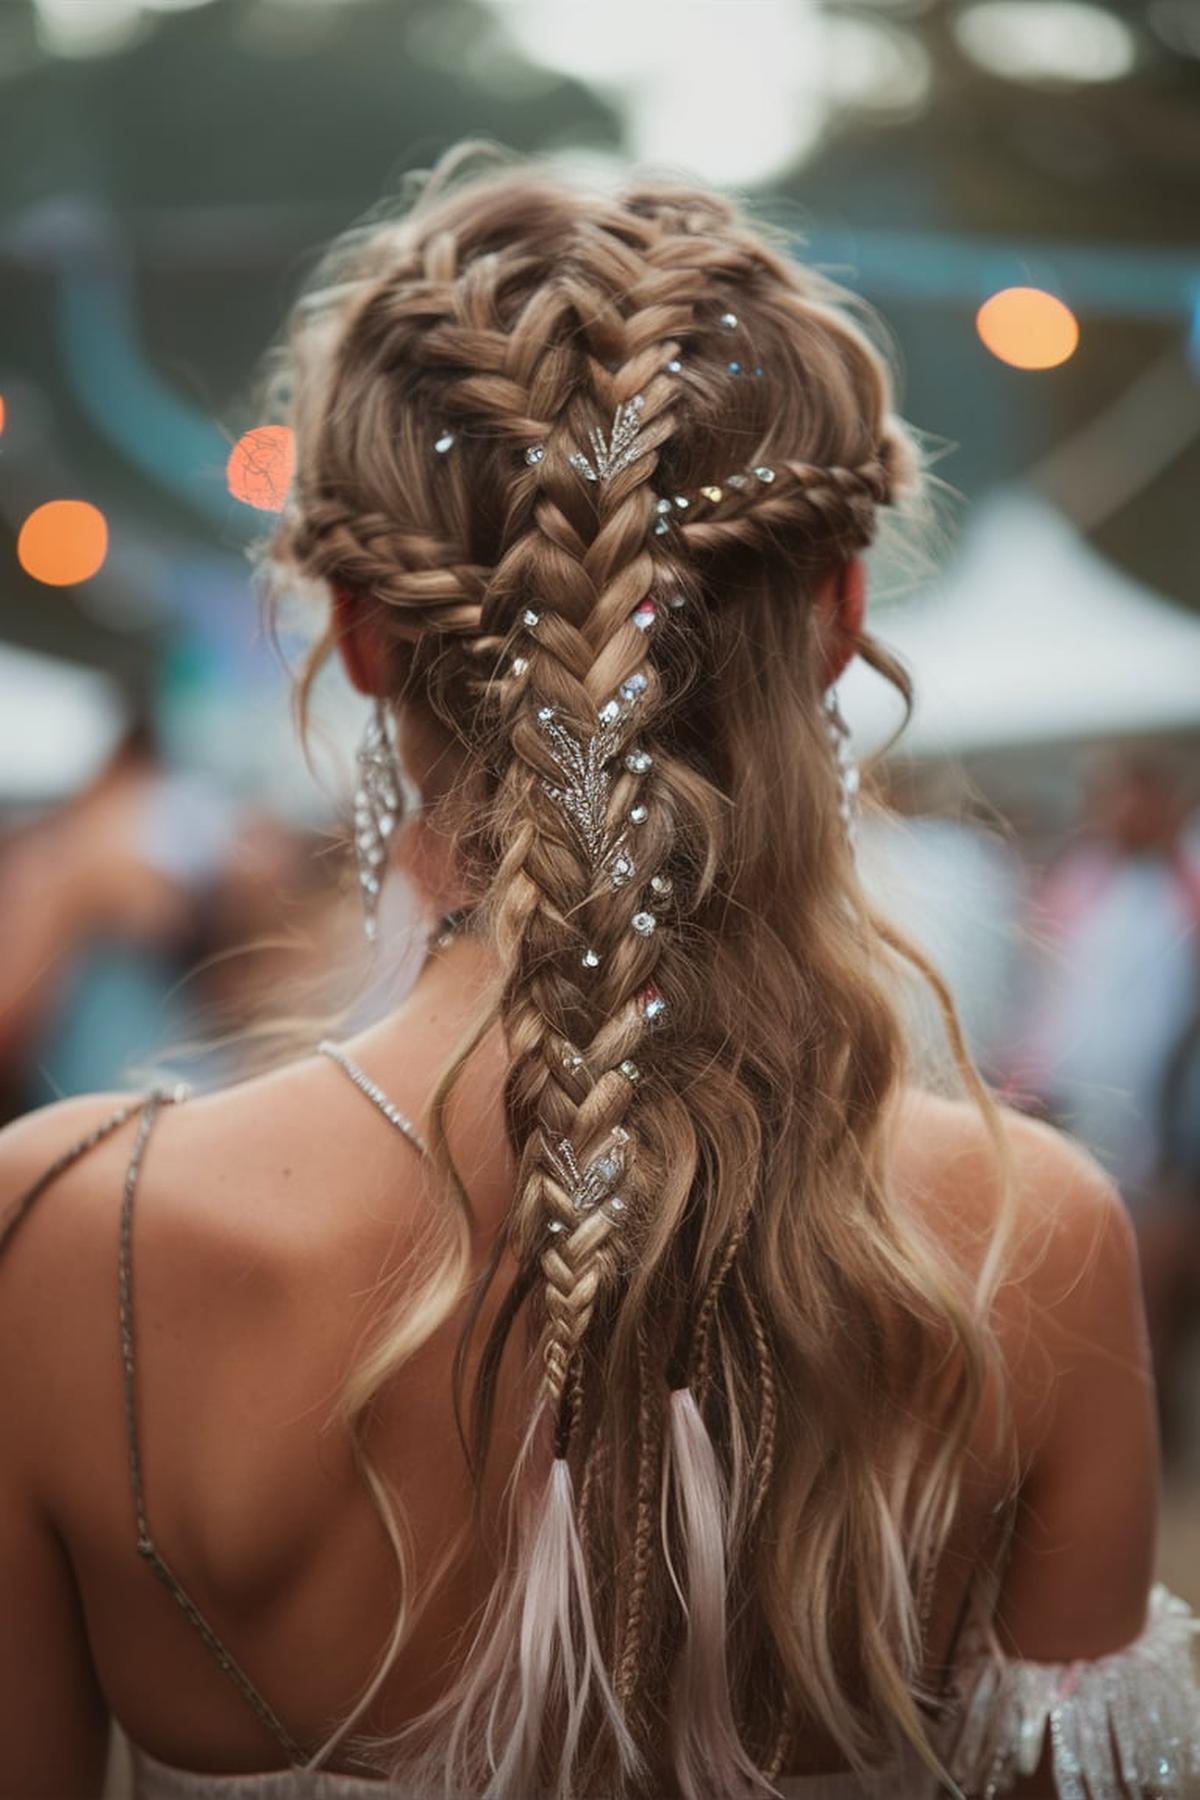
Sparkly Braid
You’ll need some hair ties, a brush, and some sparkly hair accessories like glittery clips or ribbons. Begin by brushing your hair to remove any tangles. This makes it easier to braid and helps the braid look neat.
Divide your hair into three equal sections. Cross the right section over the middle section, then the left section over the new middle section. As you continue braiding, you can add small sections of hair from the sides to make it a more intricate braid, like a French braid.
Finally, secure the end of your braid with a hair tie. To enhance the sparkly look, you can spray a little hair glitter or use a shiny hair gel. Adjust the braid by gently pulling on the sides to make it look fuller. With practice, you’ll become quicker and more confident in creating this fun and stylish hairstyle!
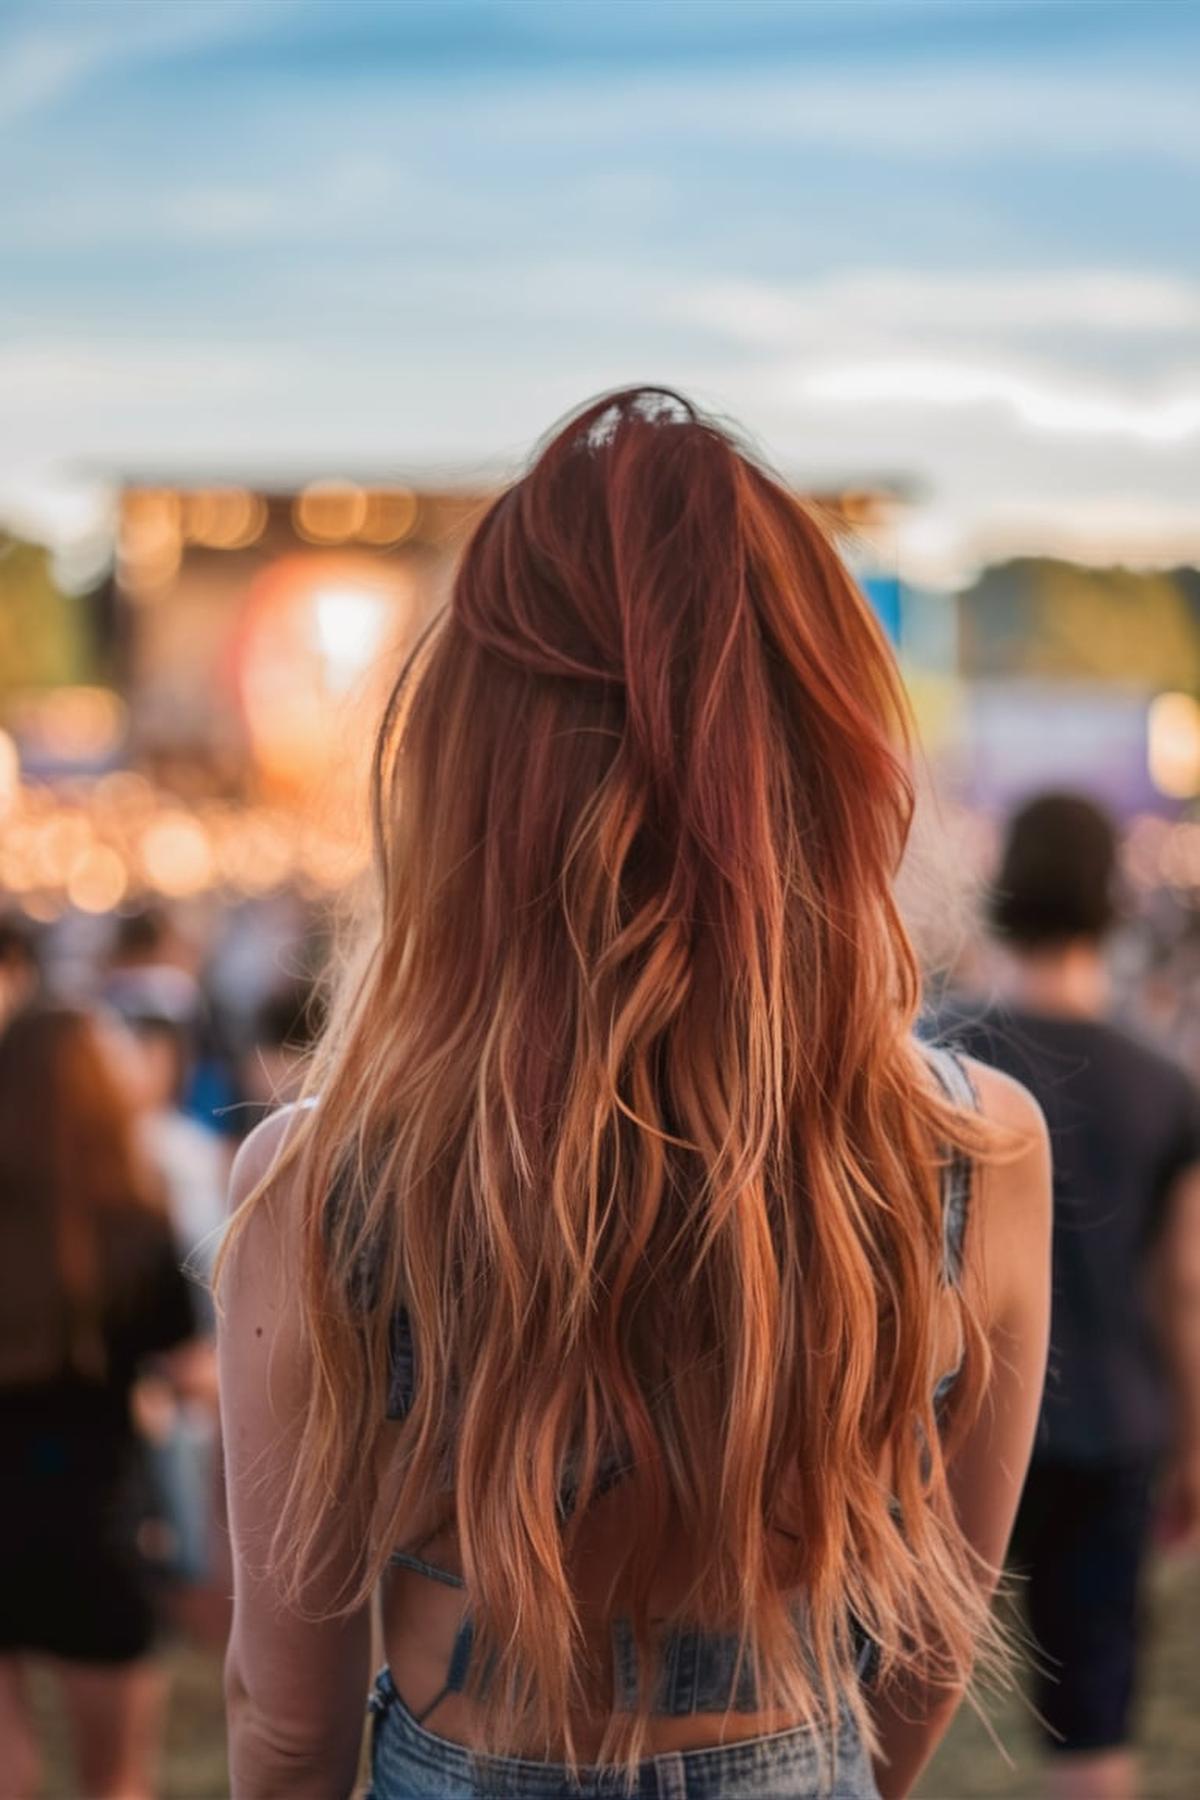
Ombre Hair
This technique creates a beautiful gradient effect, making your hair look stylish and trendy. To achieve the perfect ombre, it’s important to start with a good haircut, as fresh ends help the color transition look smoother.
One common technique is the “teasing method,” where you tease sections of hair to create a soft fade. You apply the lightener starting from the bottom and blend it up into the teased hair.
When considering ombre, remember that it works with all hair colors, so you can choose a look that suits you best. Whether you want a bold contrast or a subtle transition, ombre can be tailored to your style. Just keep in mind that achieving a great ombre look may require some practice, and it’s often best to go to a professional stylist who knows how to blend the colors well.
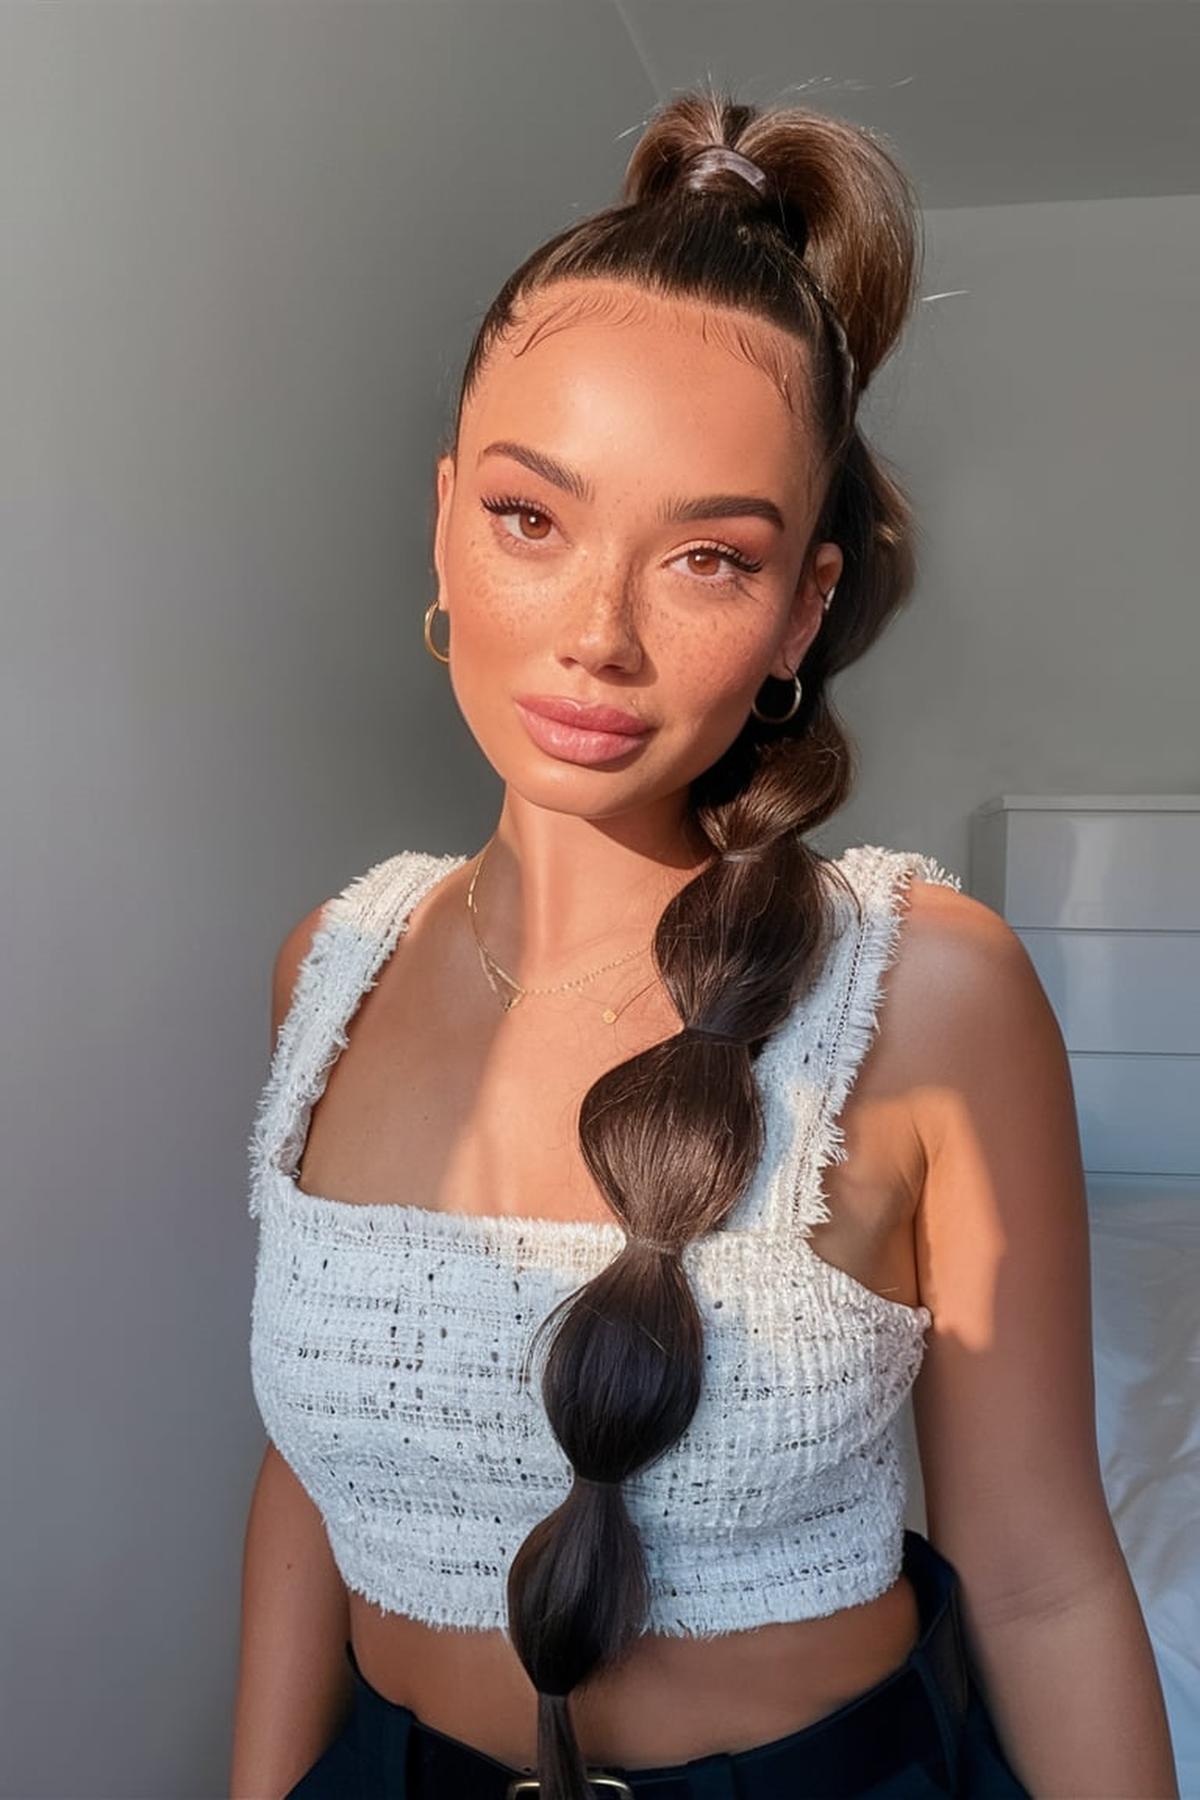
Slicked-Back Ponytails
You can do this on either damp or dry hair, but many people find it easier with dry hair. Begin by parting your hair where you usually do, whether that’s a middle part or a side part. Use a boar bristle brush to smooth out any bumps or tangles, pulling your hair back towards the back of your head.
Make sure to use a hair tie that won’t leave a crease in your hair. To achieve that sleek look, apply a styling product like pomade or gel. This helps to slick back any stray hairs and gives your ponytail a polished finish.
After securing your ponytail, you can use a little more product to tame any flyaways. For a final touch, consider using hairspray to keep everything in place. This hairstyle is not only stylish but also quick to do, making it perfect for any occasion, from school to a night out with friends.
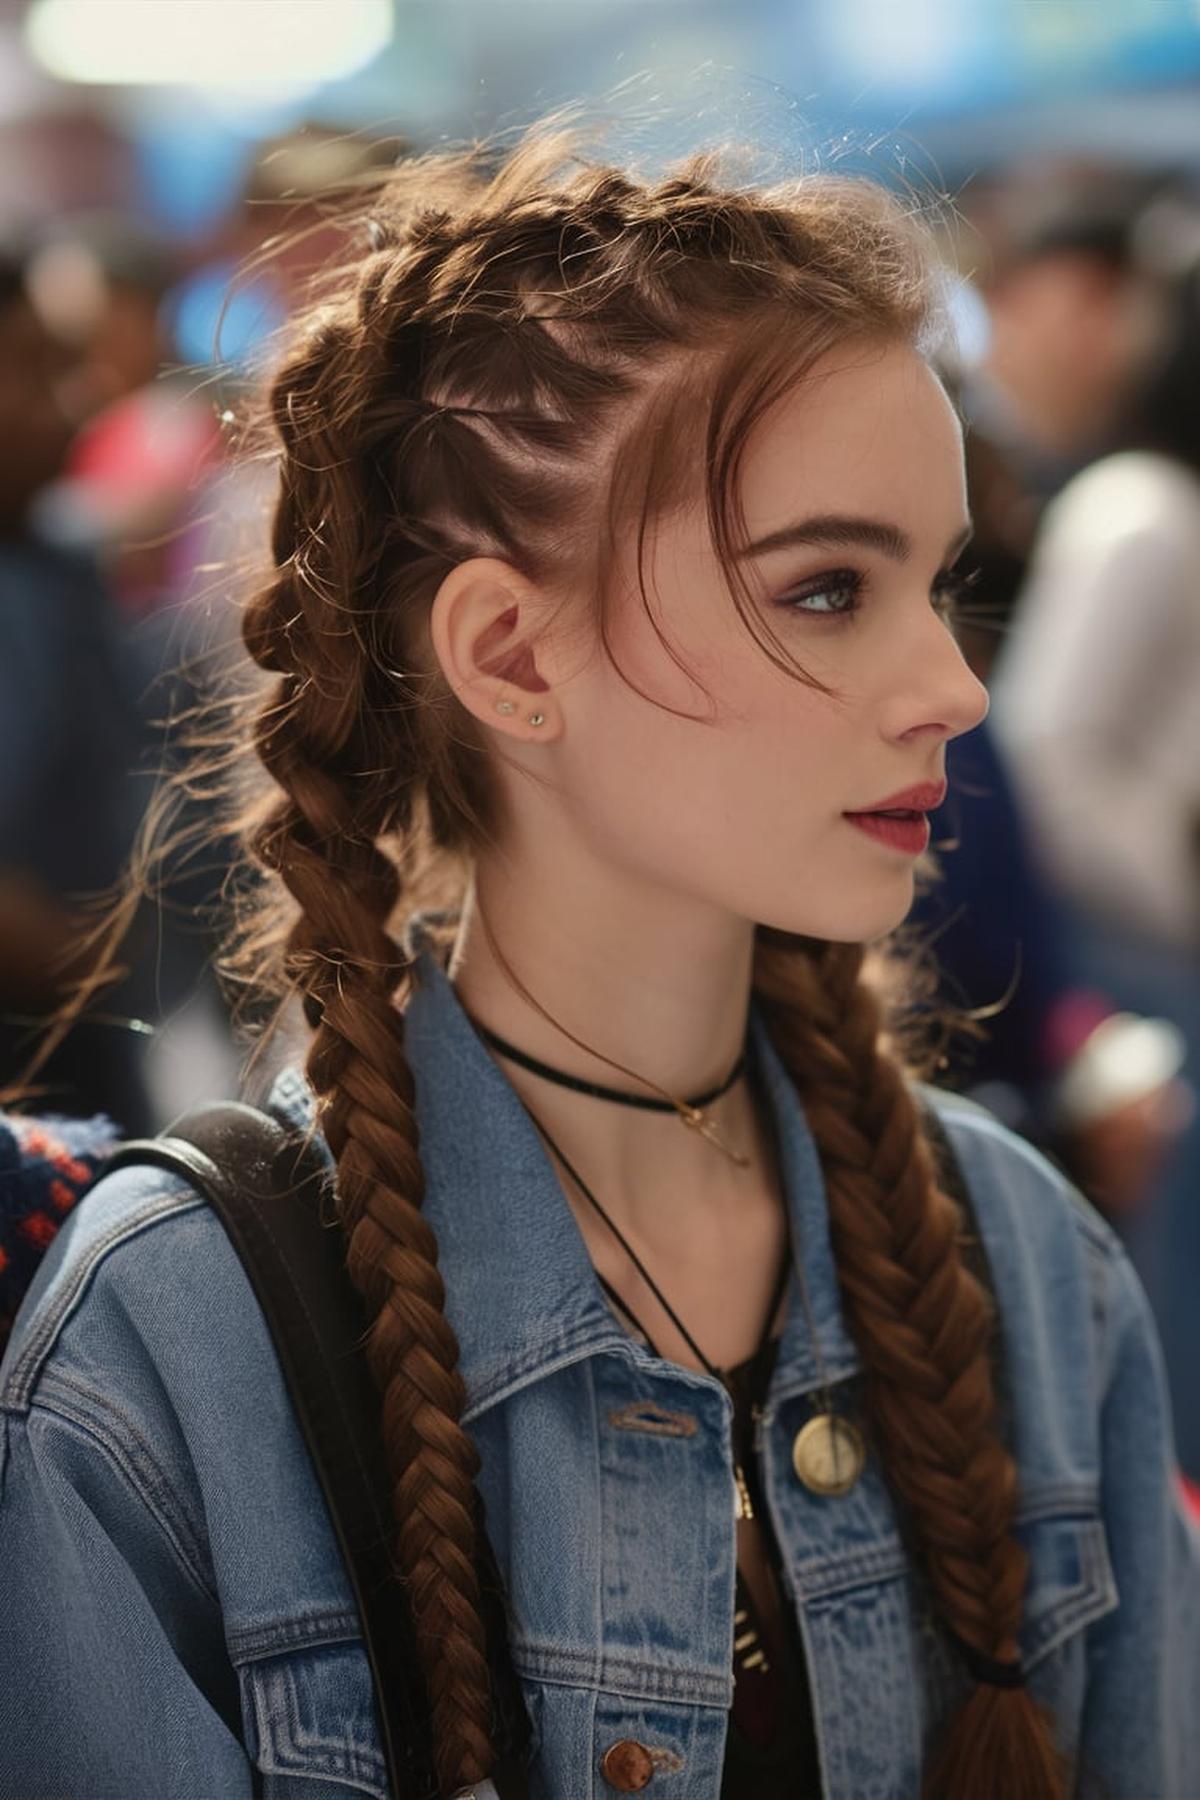
Double Braids
You can part your hair in the middle or to one side, depending on your preference. Once you have your sections, tie one side off with an elastic to keep it separate. Then, take a small section of hair from the front of one side and split it into three smaller pieces.
Start with the right section, crossing it under the middle piece, then do the same with the left section. As you braid, add more hair from the sides into the braid, ensuring you keep everything tight to your head for a neat look. Continue this process down to the base of your neck, and finish off the braid by tying it with a small elastic.
This technique gives your braids a more voluminous appearance. Remember, practice makes perfect! The more you braid, the easier it will become, so don’t get discouraged if it feels tricky at first. Enjoy experimenting with different styles and find what works best for you!
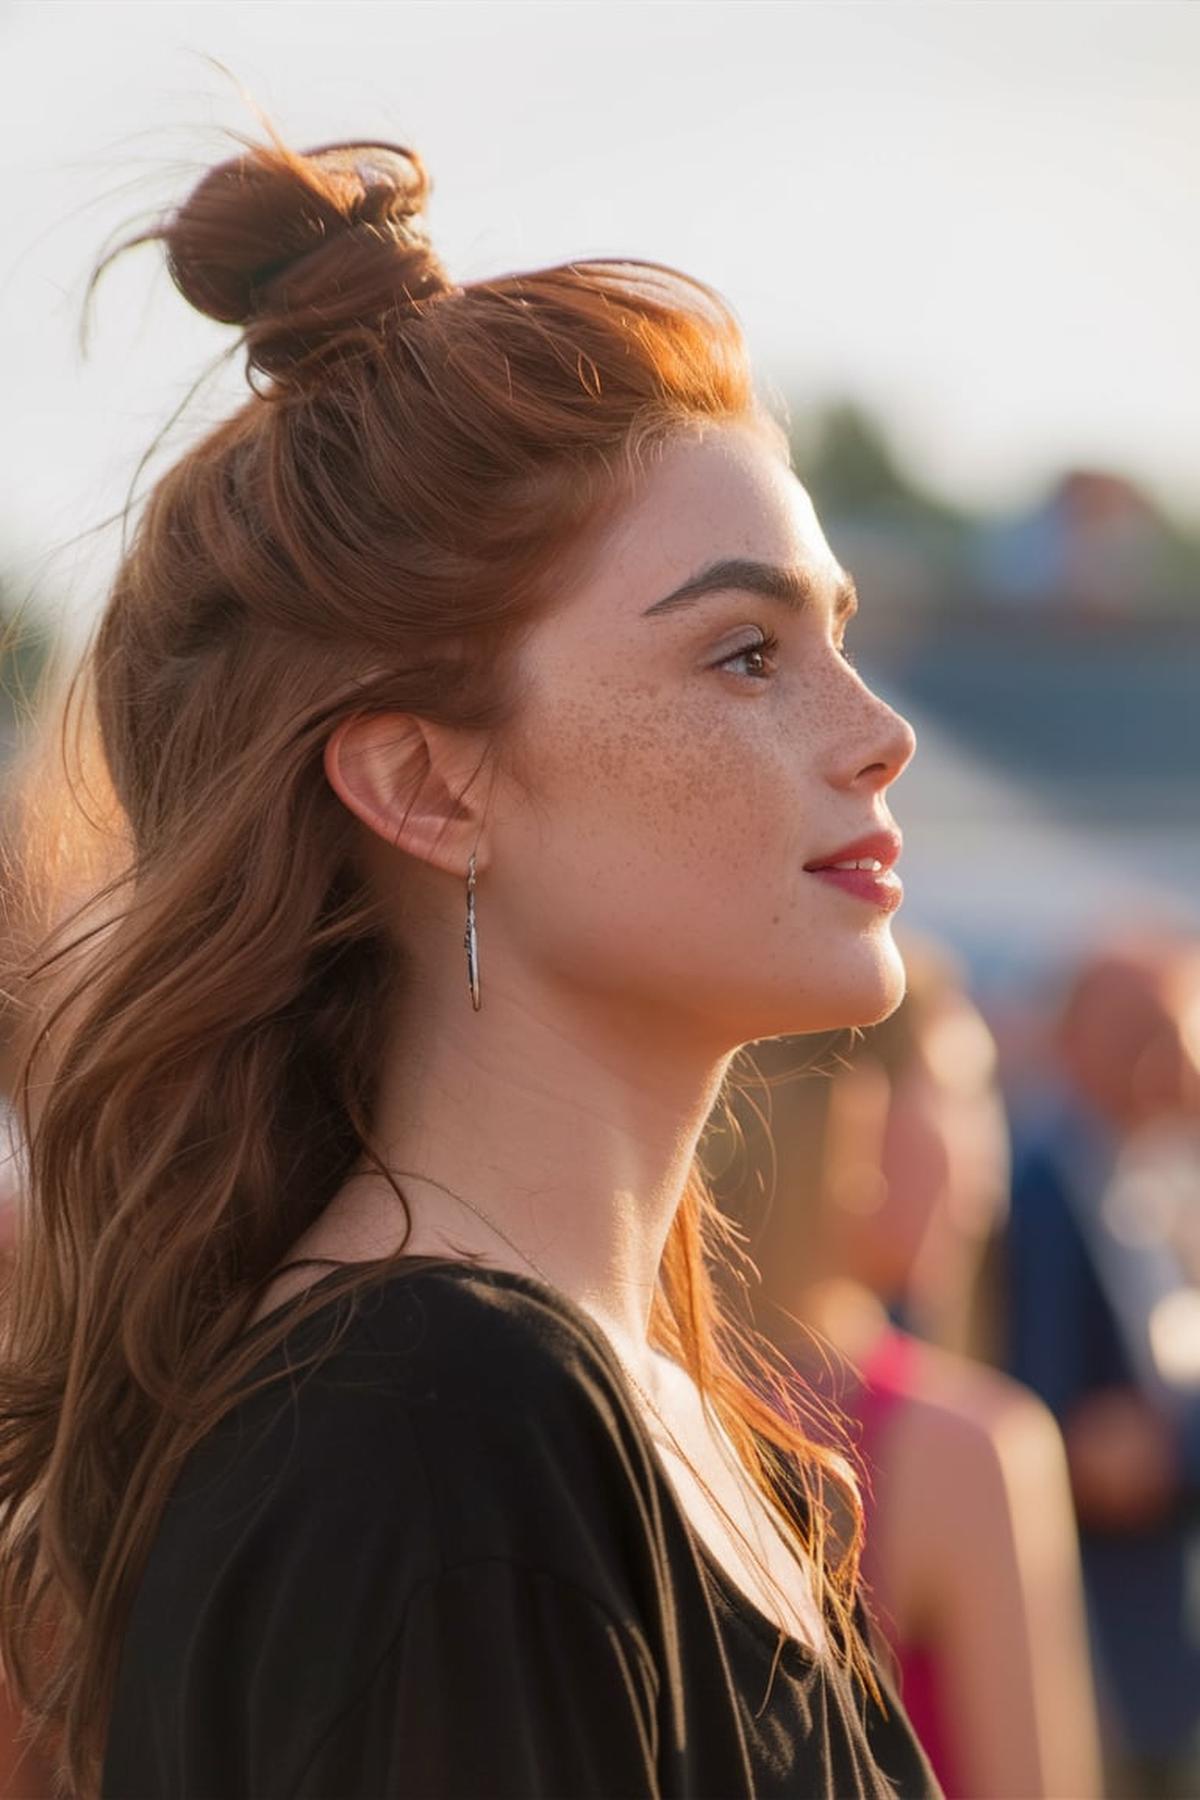
Half-Up, Half-Down
Use a brush to smooth out any tangles and create a neat look. You can part your hair in the middle or to one side, depending on your preference. Once you have your section, secure it with a hair tie or elastic band. This will form the base of your half-up style.
One popular option is to twist the ponytail and wrap it around itself to create a bun. Secure it with bobby pins for a polished look. If you prefer a more relaxed vibe, you can leave the ponytail as is or create loose waves with a curling iron.
Finally, don’t forget to accessorize! Adding a cute hair clip or some decorative pins can elevate your half-up, half-down hairstyle. Make sure to finish with a light hairspray to hold everything in place. With a little practice, you’ll be able to master this versatile hairstyle that works for both casual days and special occasions.
Barrel Curls
A curling wand is essential, and it’s best to choose one with interchangeable barrels. This allows you to create different styles; for example, a 32mm barrel gives you big, loose curls, while a 19mm barrel is perfect for tighter curls on shorter hair. When picking a barrel size, think about your hair length and the type of curls you want.
Take about a 1-inch section, and make sure to wrap the hair around the barrel away from your face. Hold the hair on the wand for about 6-8 seconds, leaving the last inch of hair out for a more relaxed look. This technique helps create soft, flowing curls rather than tight ringlets.
Once you’ve curled all your hair, you can loosen the curls for a more casual vibe. Instead of brushing them out, gently shake them or use your fingers to separate the curls. If you want your curls to last longer, consider tying your hair in a loose ponytail with a scrunchie before sleeping. This way, you can enjoy beautiful curls for more than one day without having to redo your hair.
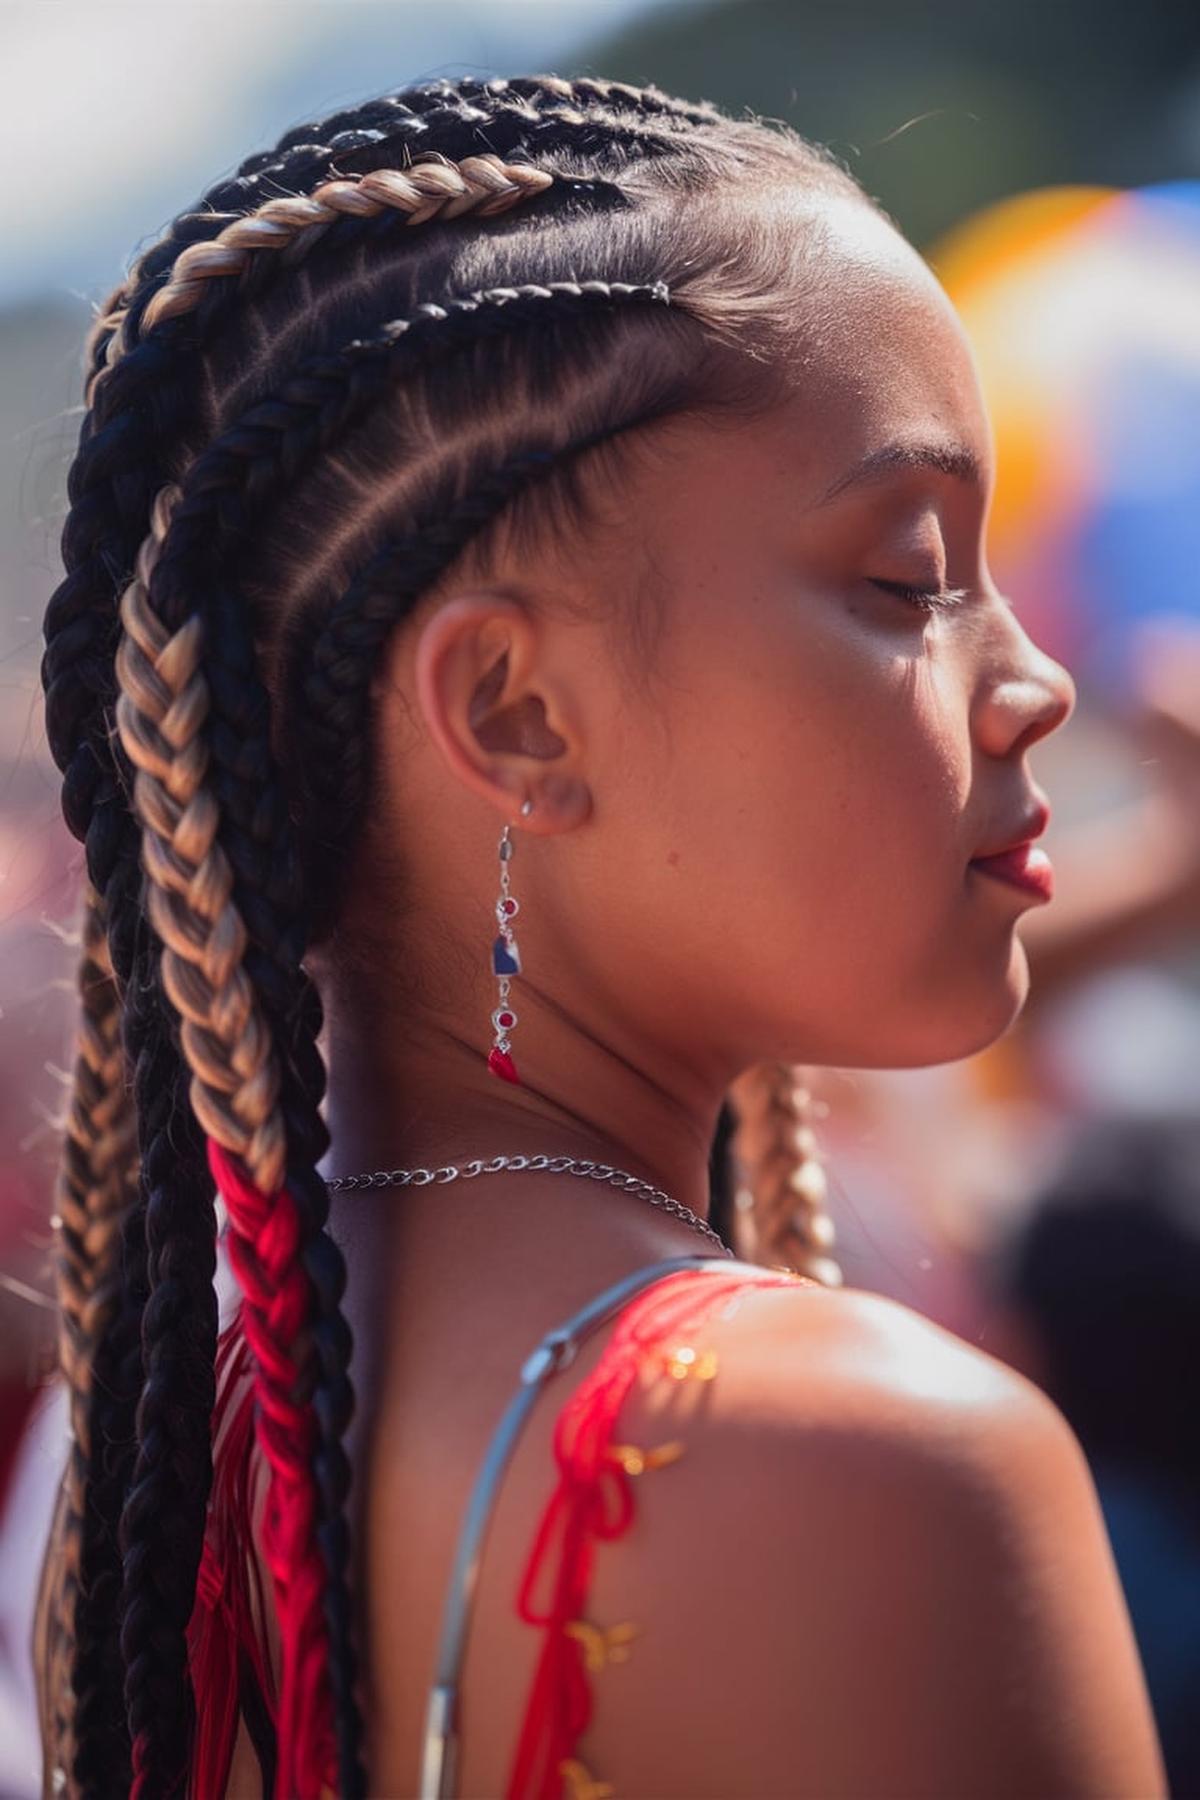
Cornrows
You’ll need a metal rat tail comb for parting, a wide tooth comb for detangling, and some moisturizer to keep your hair healthy. Before you begin, make sure your hair is clean and detangled. It helps to section off the hair into manageable parts, keeping the rest secured with clips or ponytails. This organization makes it easier to focus on each section as you braid.
Cornrows are essentially a type of braid that lies flat against the scalp. Start by taking a small section of hair and dividing it into three smaller strands. Begin by crossing the right strand under the middle one, making it the new center strand, then do the same with the left strand. As you continue, pick up small pieces of hair from the scalp and add them to the braid.
Finally, take care of your cornrows to make them last longer. You can wear cornrows for about three weeks, but it’s important to moisturize your scalp regularly and cover your hair at night with a satin scarf or bonnet to prevent frizz and breakage. When you’re ready to take them out, gently wash your hair and give it a break for about a week before braiding again. This helps keep your hair healthy and allows it to grow. With practice and care, you can create beautiful cornrow styles that you’ll love.
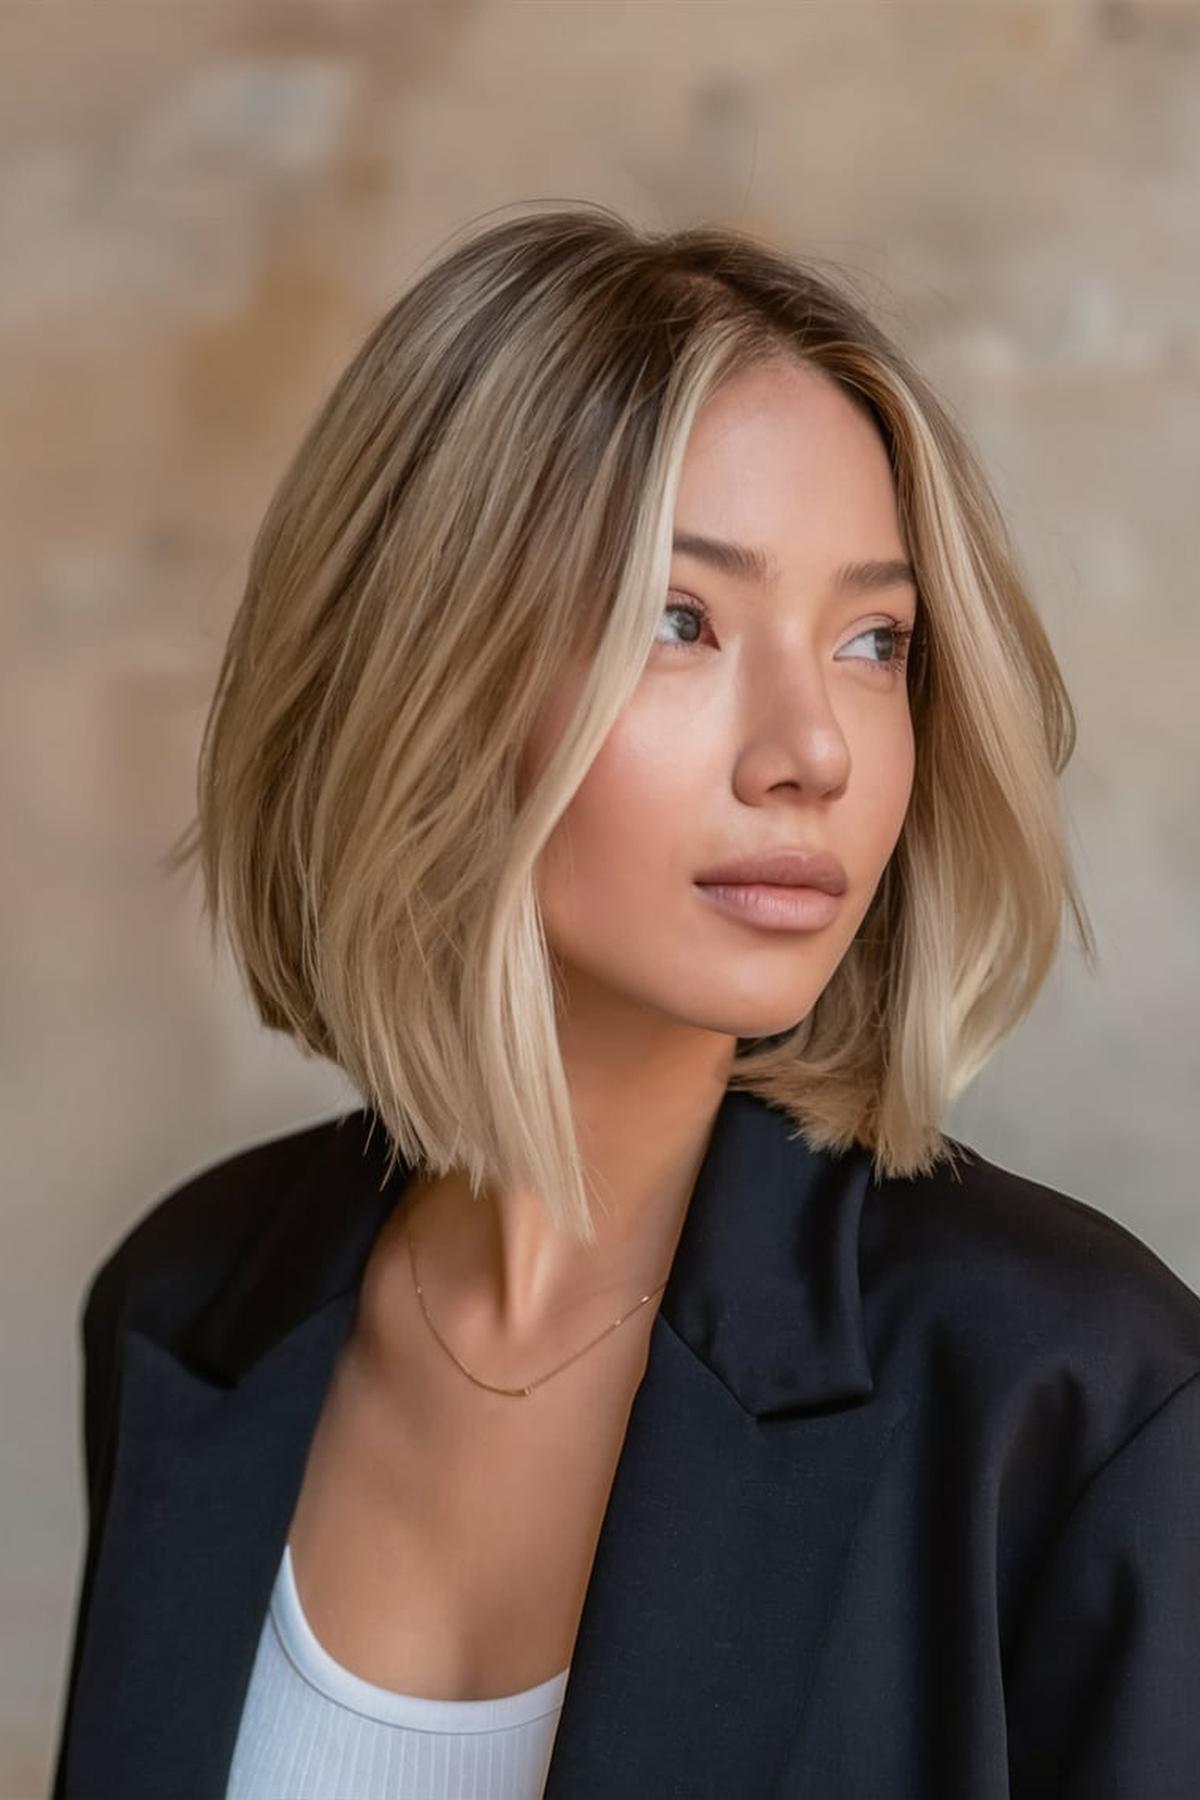
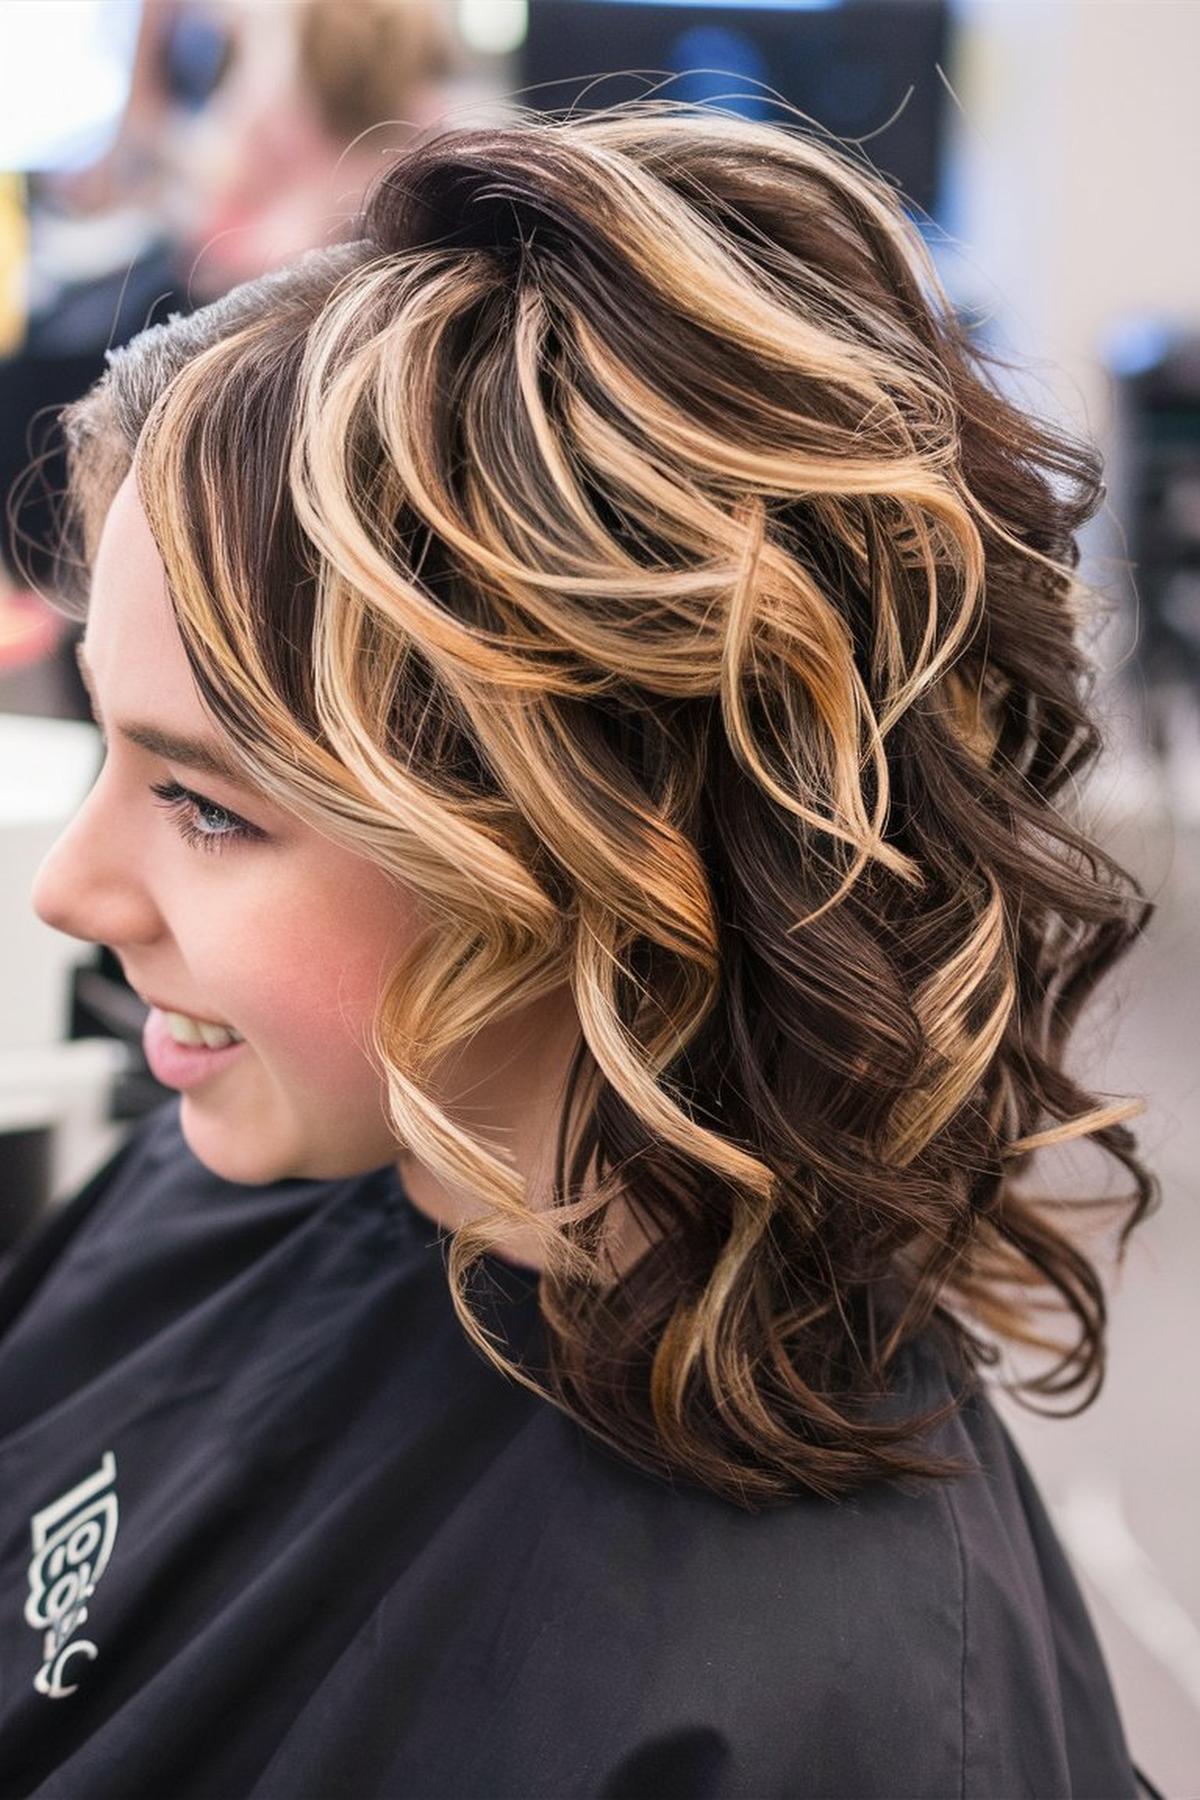
Balayage Blonde
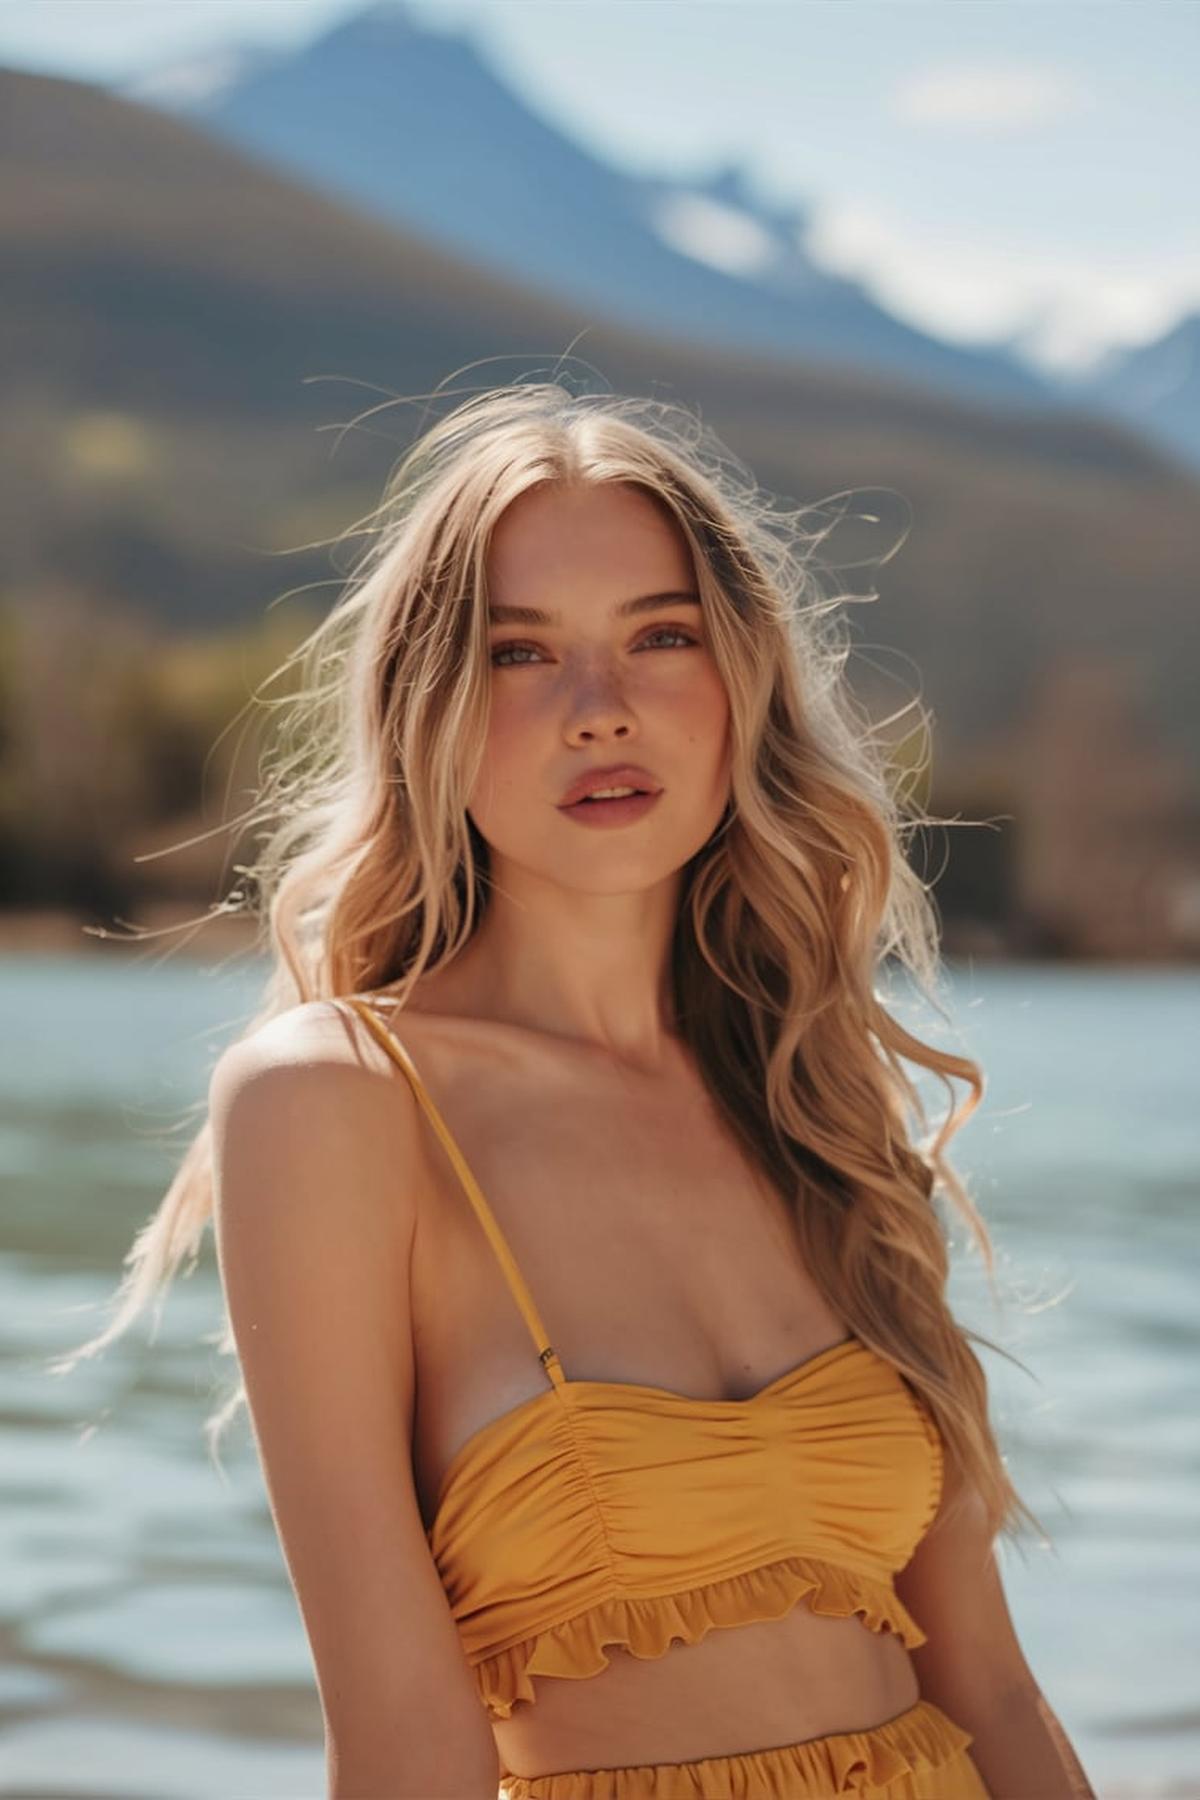
This technique involves hand-painting highlights onto your hair, creating a natural, sun-kissed look. It’s different from traditional highlights, which use foils. With balayage, the color is applied in a sweeping motion, allowing for a more blended effect that grows out beautifully without harsh lines.
Decide on the shade of blonde you want—options include ash blonde for a cooler look or honey blonde for something warmer. Your stylist will help map out where the highlights should go, often starting from your natural root color. The key is to be patient during the process, as it can take time for the color to develop.
Regular touch-ups are needed every few months as your roots grow out. Use color-safe shampoos and conditioners to keep your blonde looking fresh and prevent it from becoming brassy. If you want to enhance your look, consider using a toner to refine the color. With these steps, you’ll be on your way to rocking a stunning balayage blonde hairstyle that looks effortlessly chic.
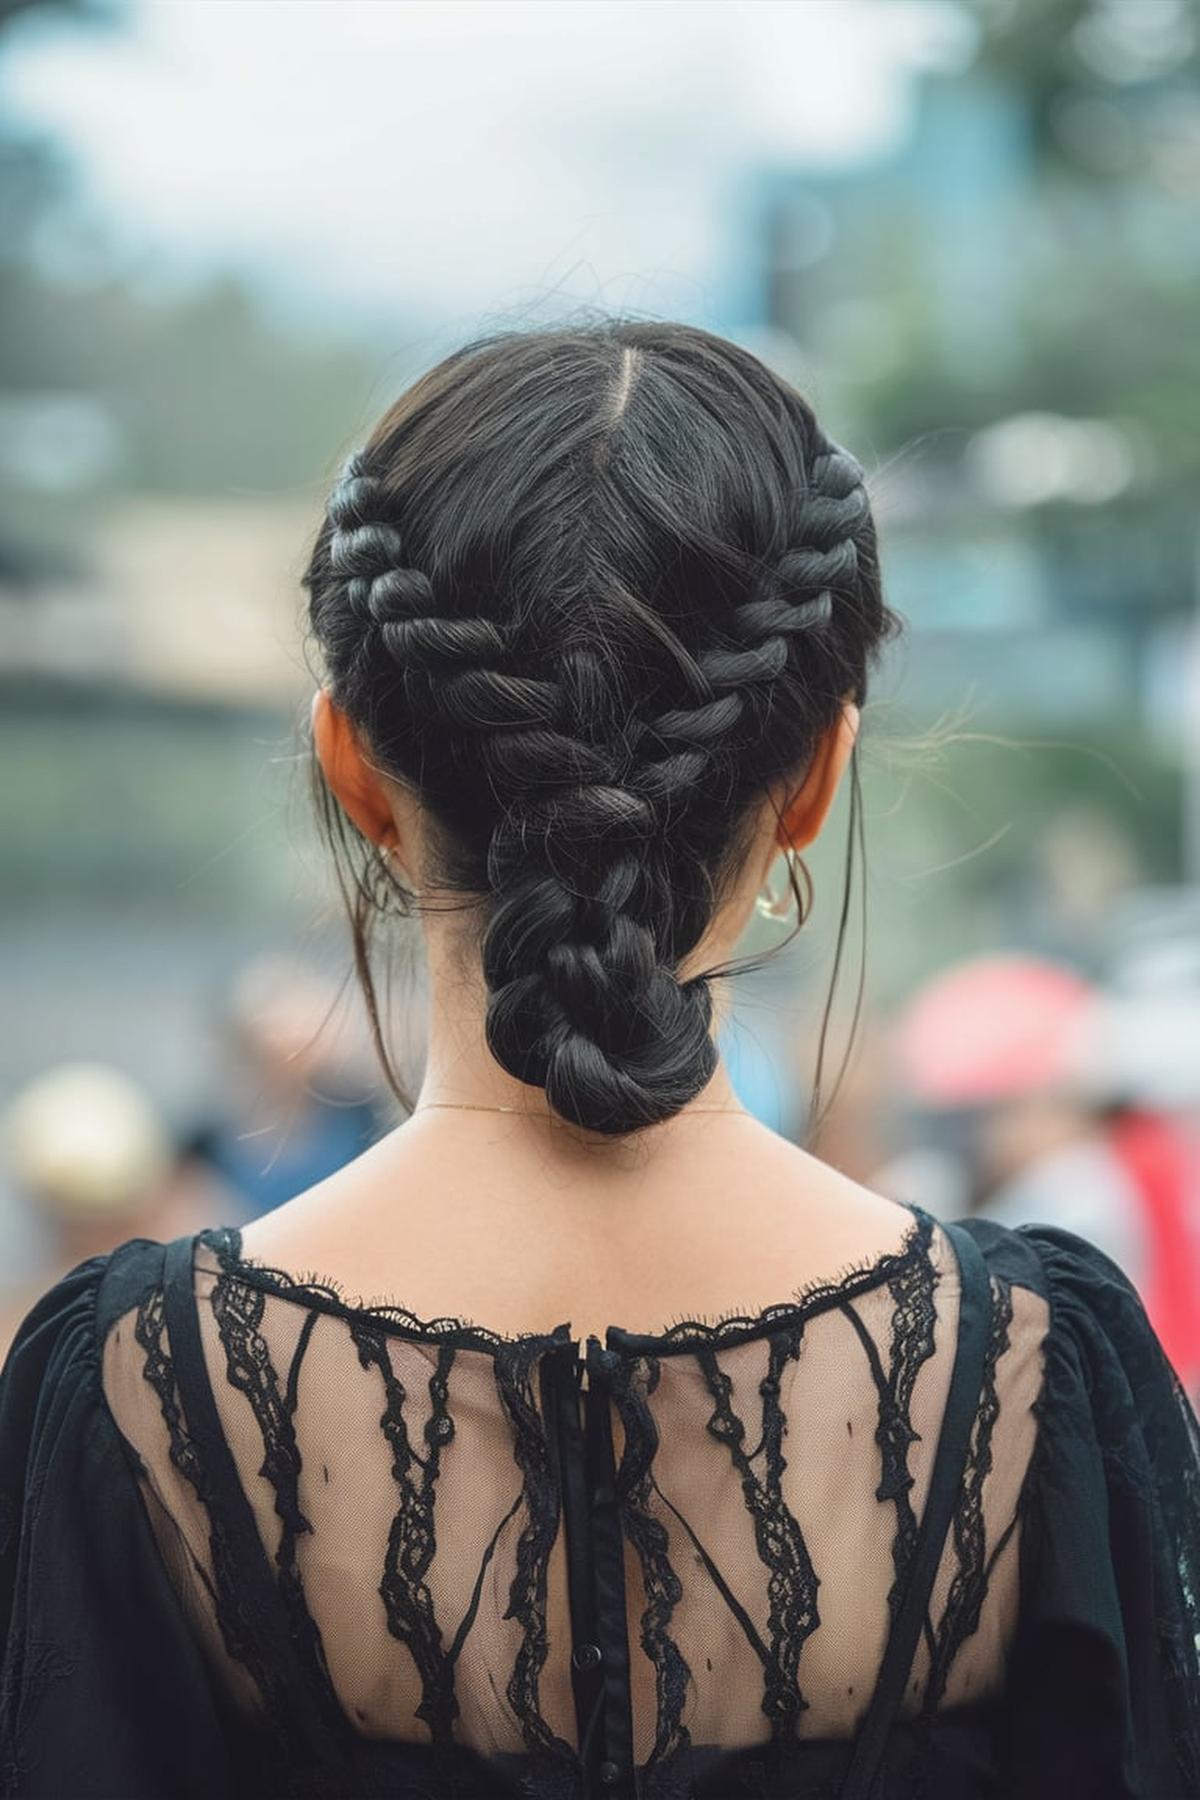
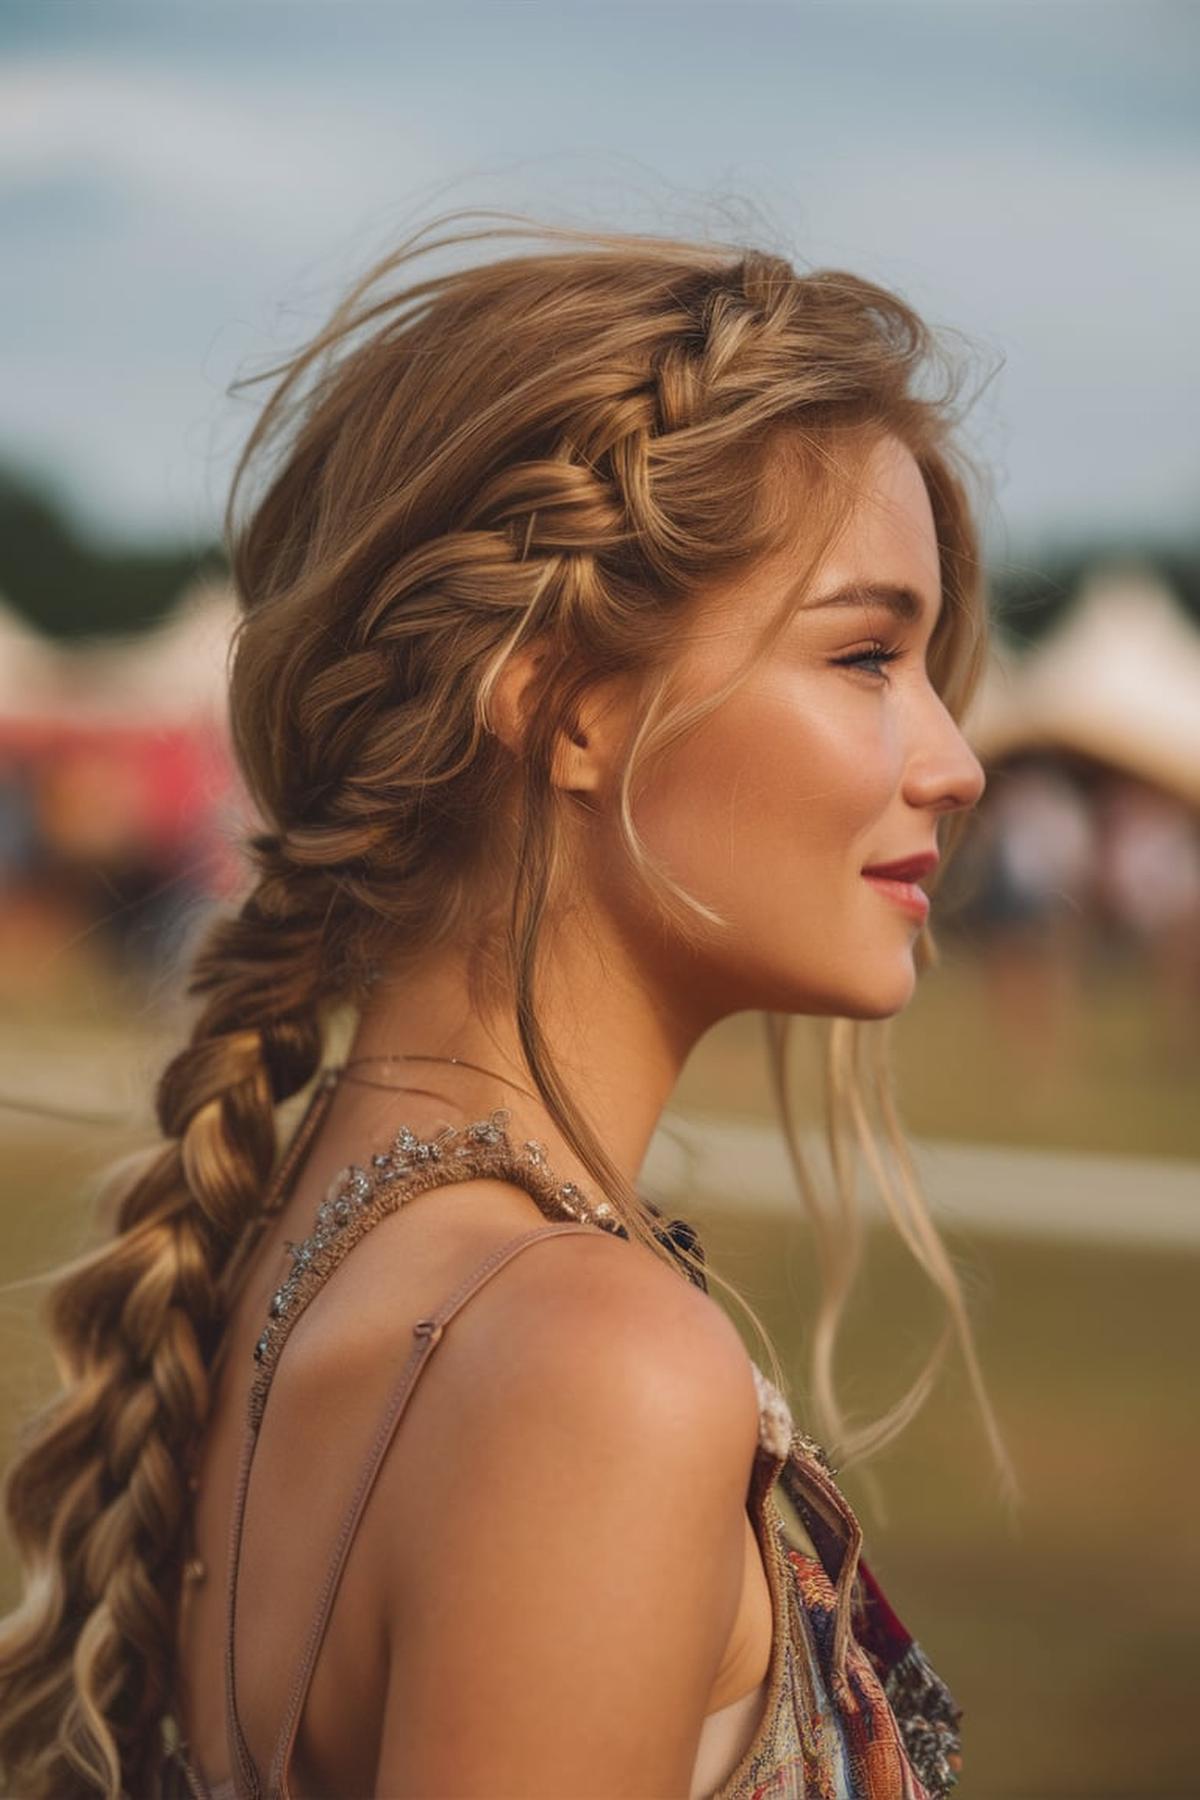
Braided Crowns
It’s helpful to use a brush or comb to remove any tangles. You can also apply a little hair product, like mousse or braid balm, to make your hair easier to work with and to keep the braid looking neat. Once your hair is prepped, part it down the middle and grab a small section of hair at the front on one side to begin your braid.
Cross the right section over the middle, then the left section over the new middle. Continue this pattern, adding more hair from the side as you braid to create a Dutch braid. Stop when you reach the back of your head, then secure the end with a hair elastic.
Use bobby pins to secure them in place, making sure to hide the pins under the hair for a polished look. You can gently pull on the braids to make them look fuller and more relaxed. With practice, you’ll be able to create a beautiful braided crown that can be worn for any occasion!
Teased Volume
Teasing involves gently backcombing sections of your hair to create lift and fullness. Begin with clean, dry hair. Use a fine-tooth comb or a teasing brush to take small sections of hair, starting from the roots. Hold the section up and comb down towards the scalp in short strokes.
Next, once you have teased your hair, it’s important to secure the volume. Use a light hairspray to hold the teased sections in place without making your hair stiff. After teasing, you can smooth the top layer of hair over the teased sections to hide the knots and create a polished look.
Use your fingers to gently tousle your hair for a more natural look. You can also add accessories like clips or headbands to enhance your style. If you want even more volume, consider using volumizing products before you start teasing. With practice, you’ll be able to create a full, beautiful hairstyle that stands out!
Sleek and Straight
Begin with clean, dry hair and apply a heat protectant spray to shield it from damage caused by styling tools. This step is crucial because it helps keep your hair healthy while you work on achieving that shiny look. If your hair is naturally wavy or curly, you might want to use a straightening iron to smooth it out.
Take a small section of hair and clamp the flat iron at the roots, then slowly glide it down to the ends. It’s important to move at a steady pace to avoid creating waves. If you want extra shine, you can finish with a small amount of serum or oil, applying it to the ends of your hair.
Avoid touching your hair too much, as this can cause it to lose its smoothness. If you notice any flyaways, a little more serum can help tame them. With these steps, you can master the sleek and straight hairstyle and keep it looking great all day long.
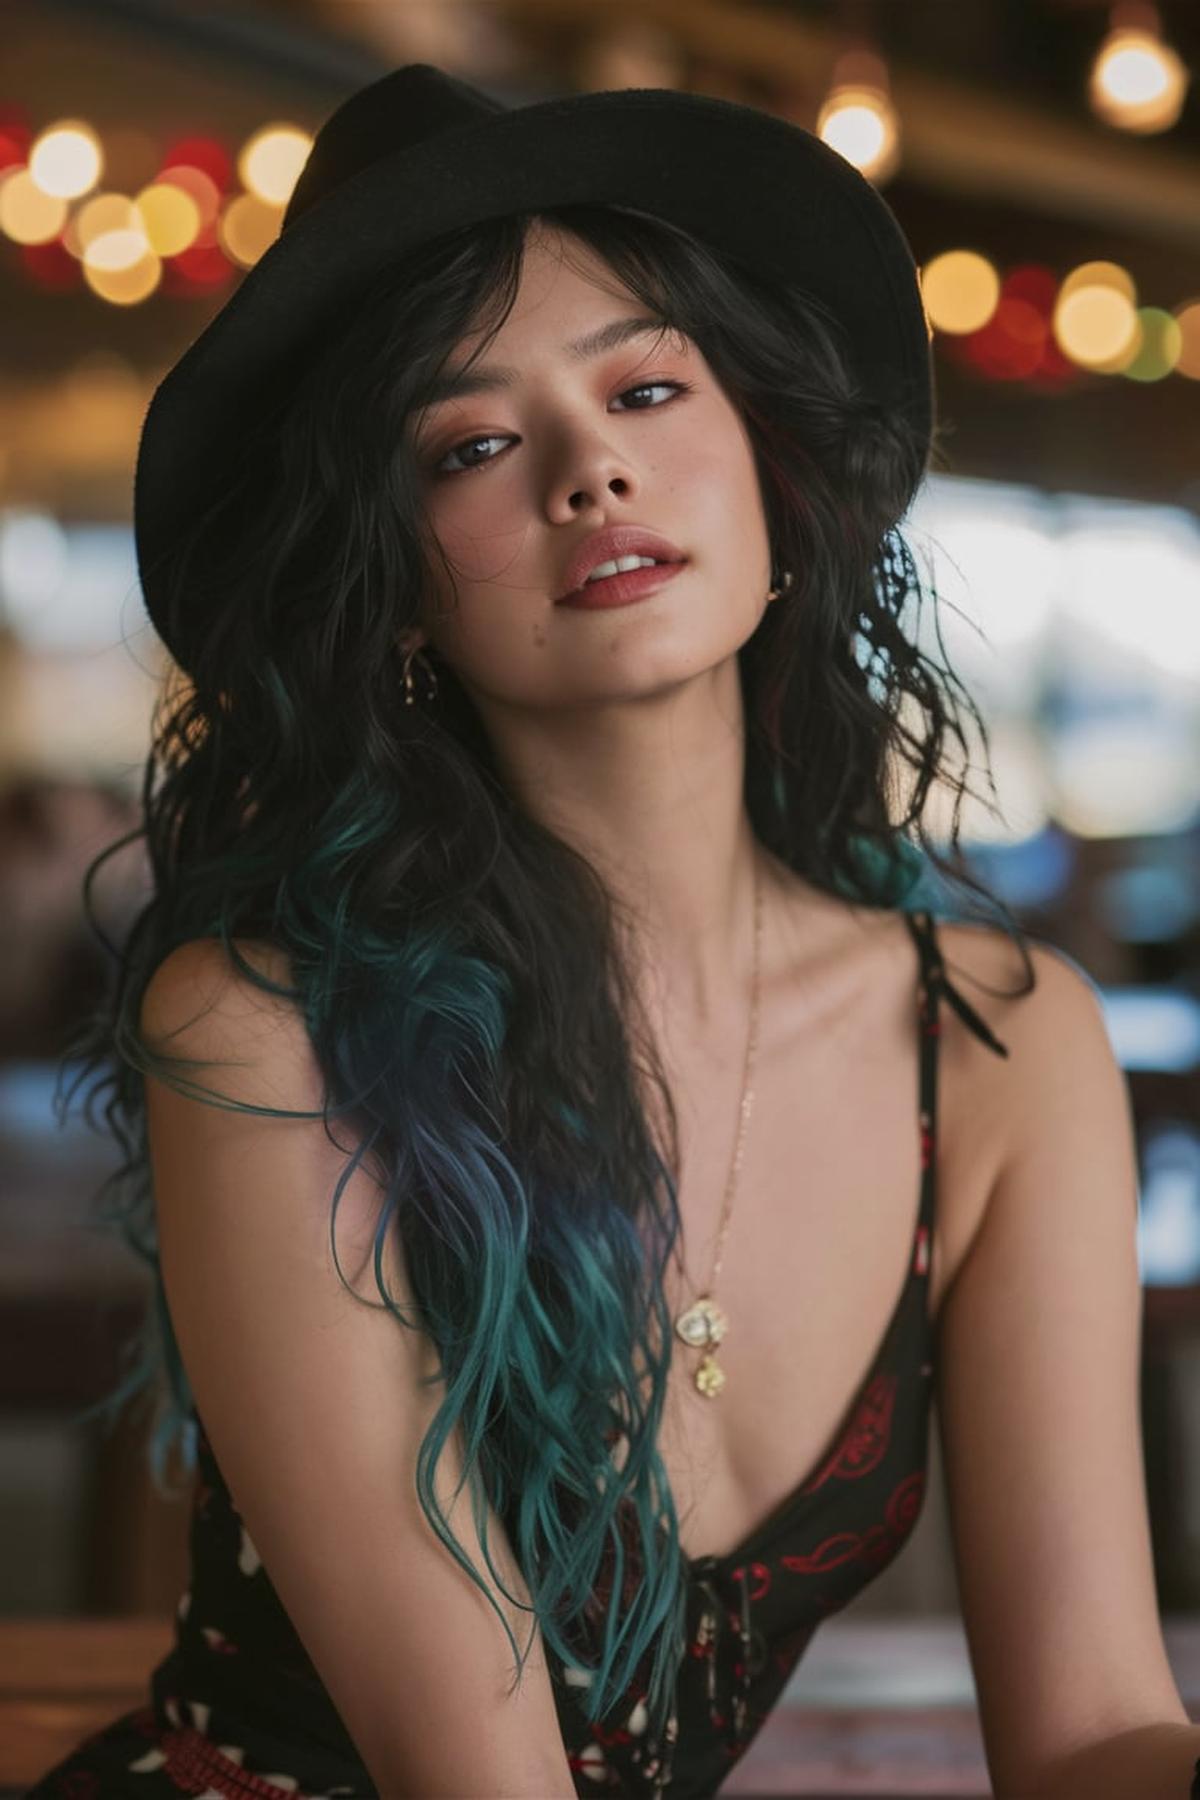
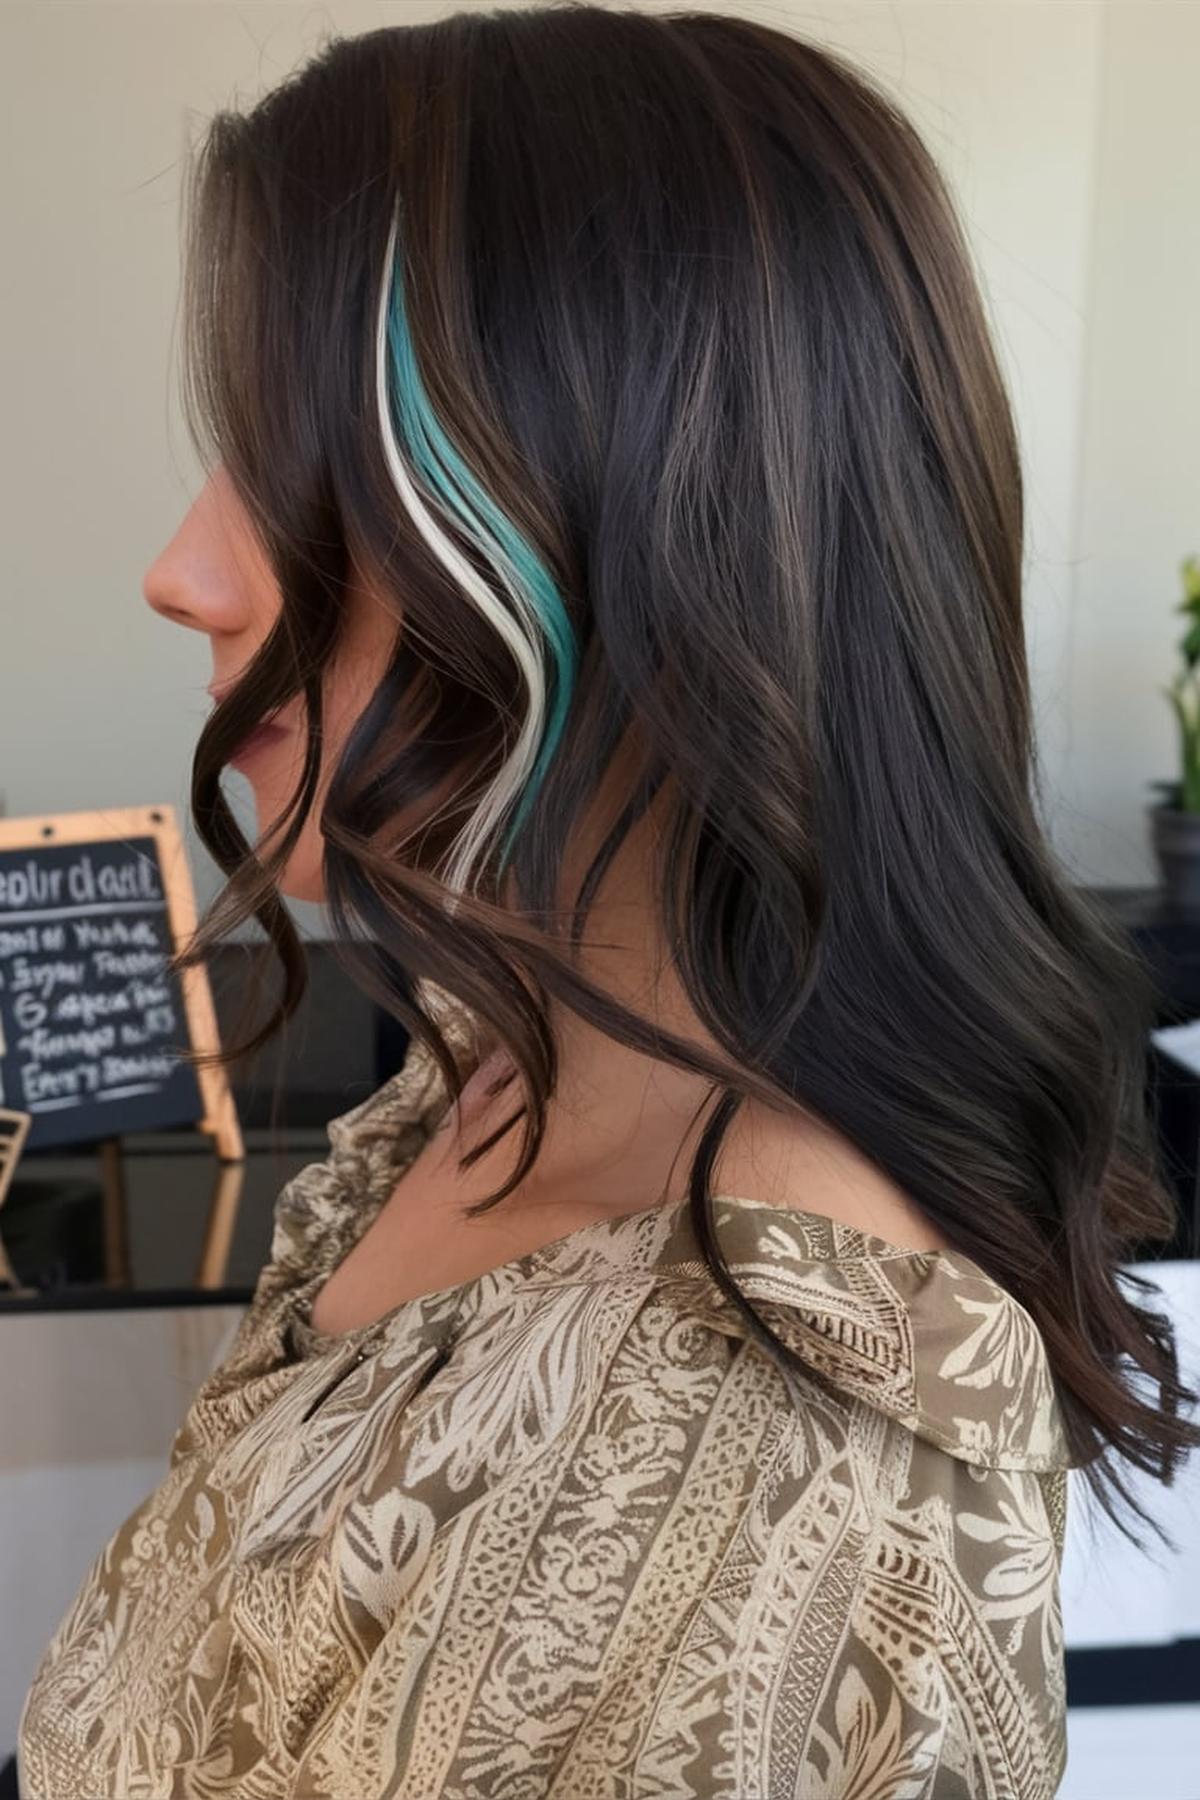
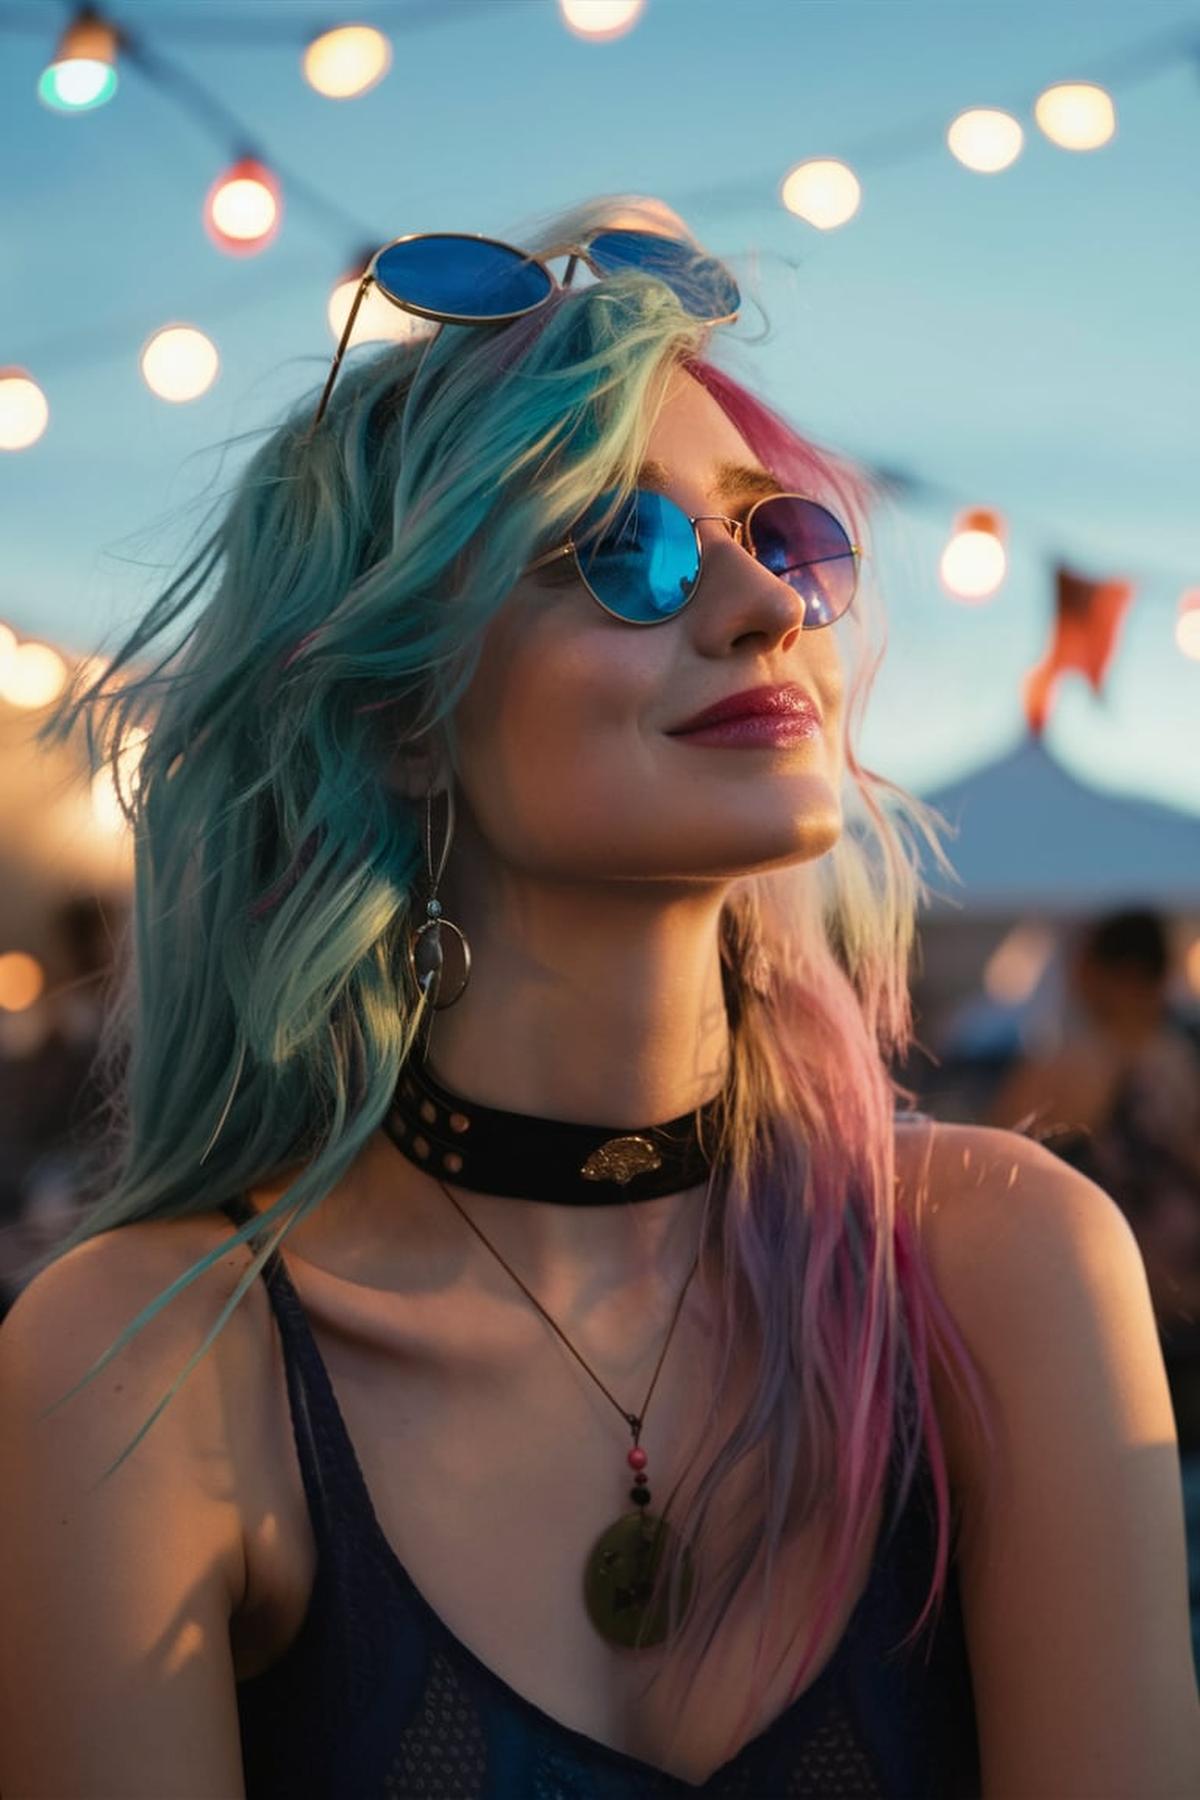
Bright Hair Colors
First, choose a color that reflects your personality and style. Bright colors like blue, pink, or green can be fun and eye-catching, but they also require special care to maintain their vibrancy. Using color-safe shampoos and conditioners can help keep your hair healthy and the color fresh.
For example, braids, buns, or loose waves can enhance the overall appearance of your colored hair. Experimenting with various hairstyles can help you find what works best for you and makes you feel confident. Watching tutorials online can also be beneficial, as you can learn new styles and tips from experienced hairstylists.
Bright hair colors can sometimes attract attention, and it’s important to be confident in your choices. Surround yourself with supportive friends who appreciate your style, and remember that self-expression is a valuable part of growing up. Whether you decide to go bold with your hair color or keep it subtle, the most important thing is that you feel good about yourself and your hairstyle.
Headband Hairstyles
The most popular way is to place the headband on your head about an inch behind your hairline. This allows some hair to fall naturally in front of the headband, framing your face nicely. You can also tuck some hair behind your ears for a more casual look.
For a quick and stylish look, try pairing a headband with a messy bun or a low ponytail. If you want something a bit fancier, consider adding braids. A simple braid can elevate your hairstyle and give it a vintage feel.
Whether you prefer a sleek look with a low bun or a casual style with your hair down, a headband can enhance your overall appearance. Try out different materials and designs, like padded or embellished headbands, to find what suits your style best. Remember, practice makes perfect, so keep experimenting until you find the looks you love!
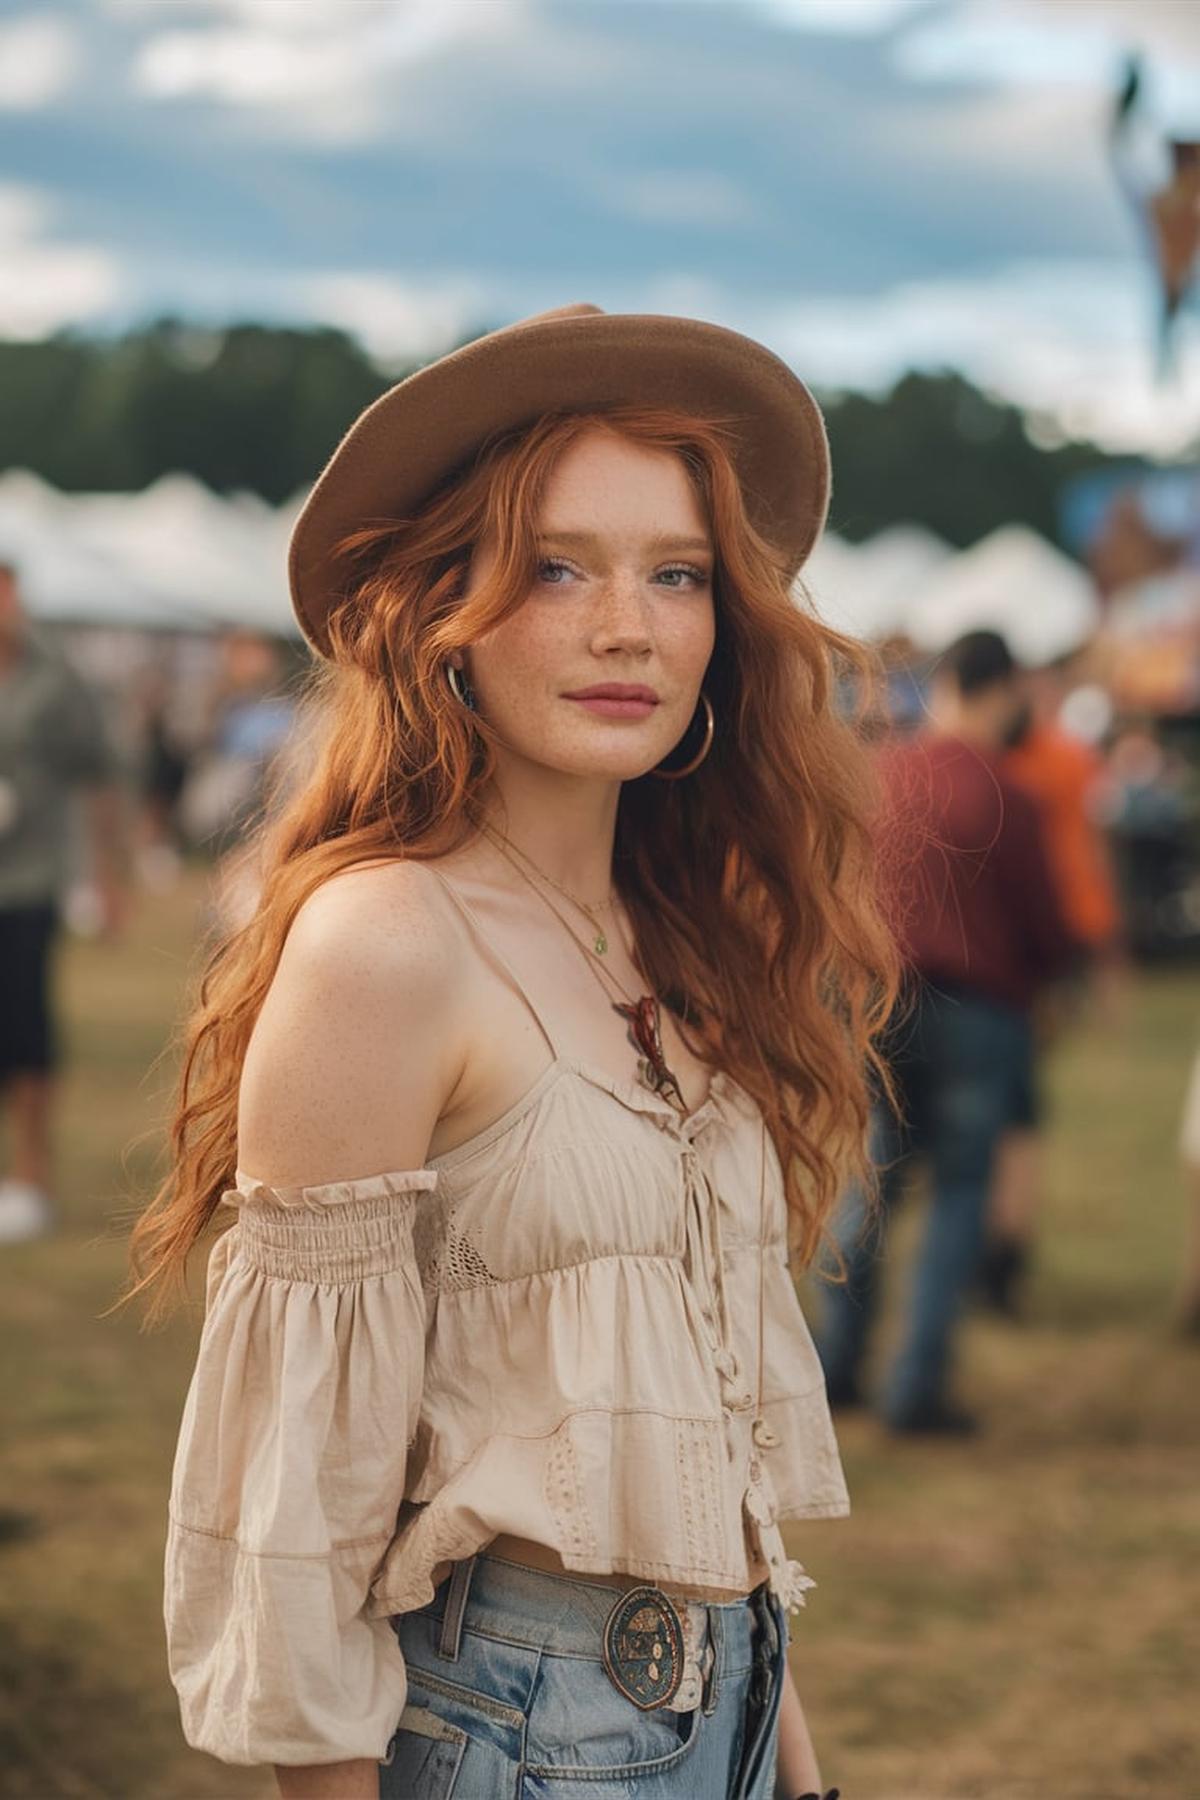
Hat Hair
Before putting on a hat, make sure your hair is clean and styled. Use a bit of mousse or styling cream to give your hair some texture and hold. This will help your hair maintain its shape even after wearing a hat.
To fix this, use your fingers to tousle your hair and bring back some volume. If your hair feels greasy or flat, a quick spray of dry shampoo can help absorb excess oil and add some lift.
For example, braids or loose waves can look great under a hat and will give you a stylish look when you take it off. Don’t be afraid to try different styles to see what suits you best. The key is to have fun and find what makes you feel confident!
Fishtail Braided Pigtails
First, create a side ponytail at the base of your neck, brushing it to remove tangles. Divide this ponytail into two equal parts. From the outer edge of one section, take a small piece of hair (about the size of a pencil) and cross it over to the opposite section. Then, do the same from the other side.
Once you get comfortable with the basic fishtail braid, you can try doing it without a ponytail. Start by parting your hair down the middle into two sections. From the front of one section, take a small piece of hair and cross it over to the back section. Then, take a piece from the back and cross it over to the front.
For a fun twist, you can also create a messy fishtail look. This involves using the same technique but pulling on the edges of the braid to loosen it up, giving it a fuller and more casual appearance. This style is great for a laid-back vibe and works well with various hair types. Remember, practice makes perfect, so don’t worry if it doesn’t look perfect the first time. Keep practicing, and soon you’ll be able to create beautiful fishtail braided pigtails effortlessly.
Beachy Waves with Bandana
Begin with straight hair, which helps the waves hold better. Blow-dry your hair and, if needed, use a flat iron on the ends to ensure they are sleek. This step is crucial because it creates a smooth base for your waves. Next, section your hair into manageable parts, about one inch wide, and leave the last inch of each section straight.
Use a curling iron or a wand, wrapping each section around the barrel but leaving the ends out. Alternate the direction of your curls—some away from your face and some towards it. This technique helps create a more natural, messy look instead of perfect ringlets.
Finally, to incorporate a bandana, fold it into a triangle and tie it around your head, just above your hairline. This not only adds a stylish touch but also helps keep your waves in place. You can wear the bandana tied at the back or in a bow for a cute look. With these steps, you’ll have beautiful beachy waves complemented by a trendy bandana, perfect for any casual outing or summer event.
Q&As for country concert hair
Q: How can I create cowgirl curls for a country concert?
A: To get cowgirl curls, start by curling your hair with a curling iron or wand. Use a medium-sized barrel for loose curls and finish with hairspray to keep them in place. You can also add a bandana headband for a more country look.
Q: What’s an easy way to do fishtail braids for a concert?
A: Fishtail braids are simple and stylish. Split your hair into two sections, take a small piece from the outside of one section, and cross it over to the other section. Repeat this until you reach the end and secure it with an elastic. This style will last all night.
Q: How do I make a messy bun for a country concert?
A: For a messy bun, gather your hair into a high ponytail and twist it around the base. Secure it with bobby pins, leaving some strands loose for a relaxed vibe. You can add a flower crown or bandana for extra style.
Q: What are some tips for styling boho waves for a concert?
A: To achieve boho waves, use a curling wand to create loose waves. Run your fingers through the curls to loosen them up. Finish with a light hairspray to keep the waves in place. Adding feather extensions can give it an extra bohemian touch.
Q: How can I incorporate a bandana into my beachy waves hairstyle?
A: After creating beachy waves with a curling wand, fold a bandana into a long strip and tie it around your head like a headband. This adds a fun and stylish element to your look, perfect for a country concert.
