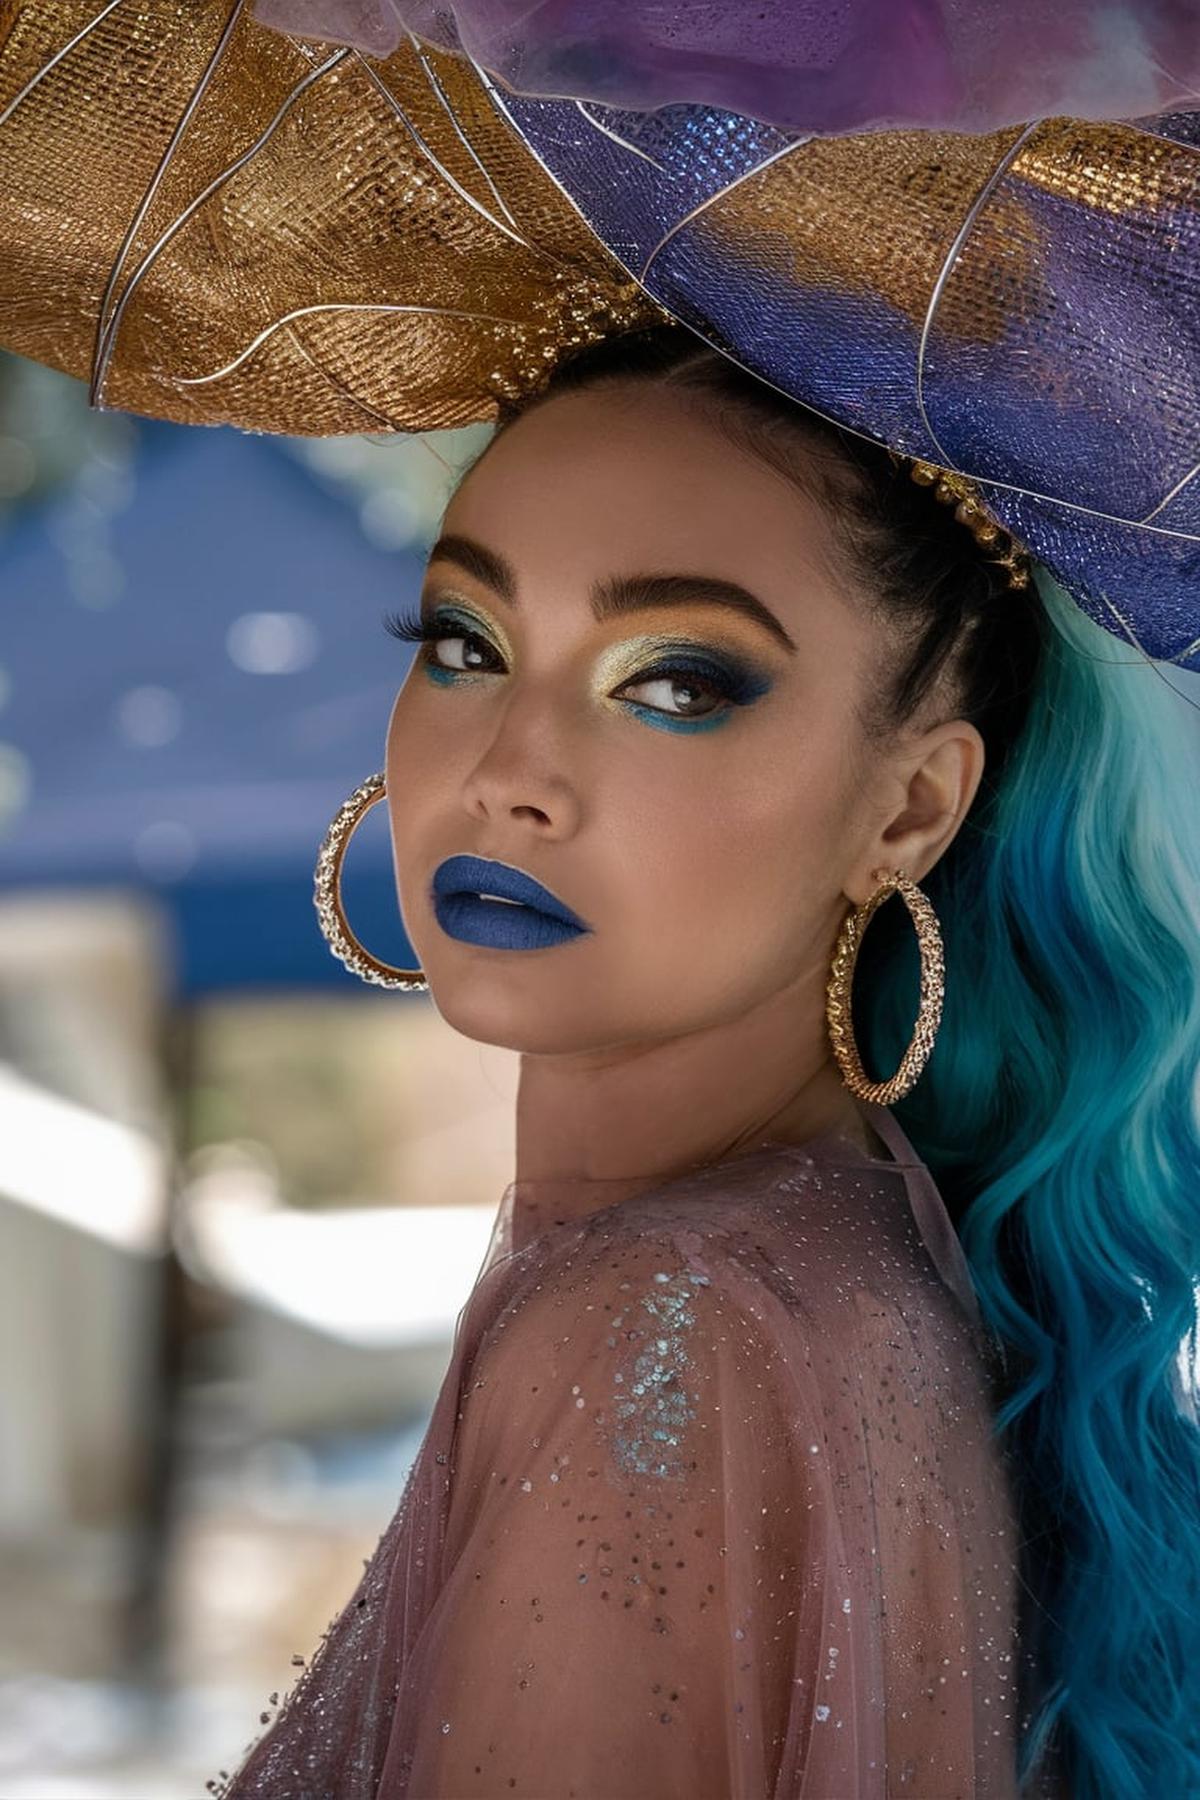
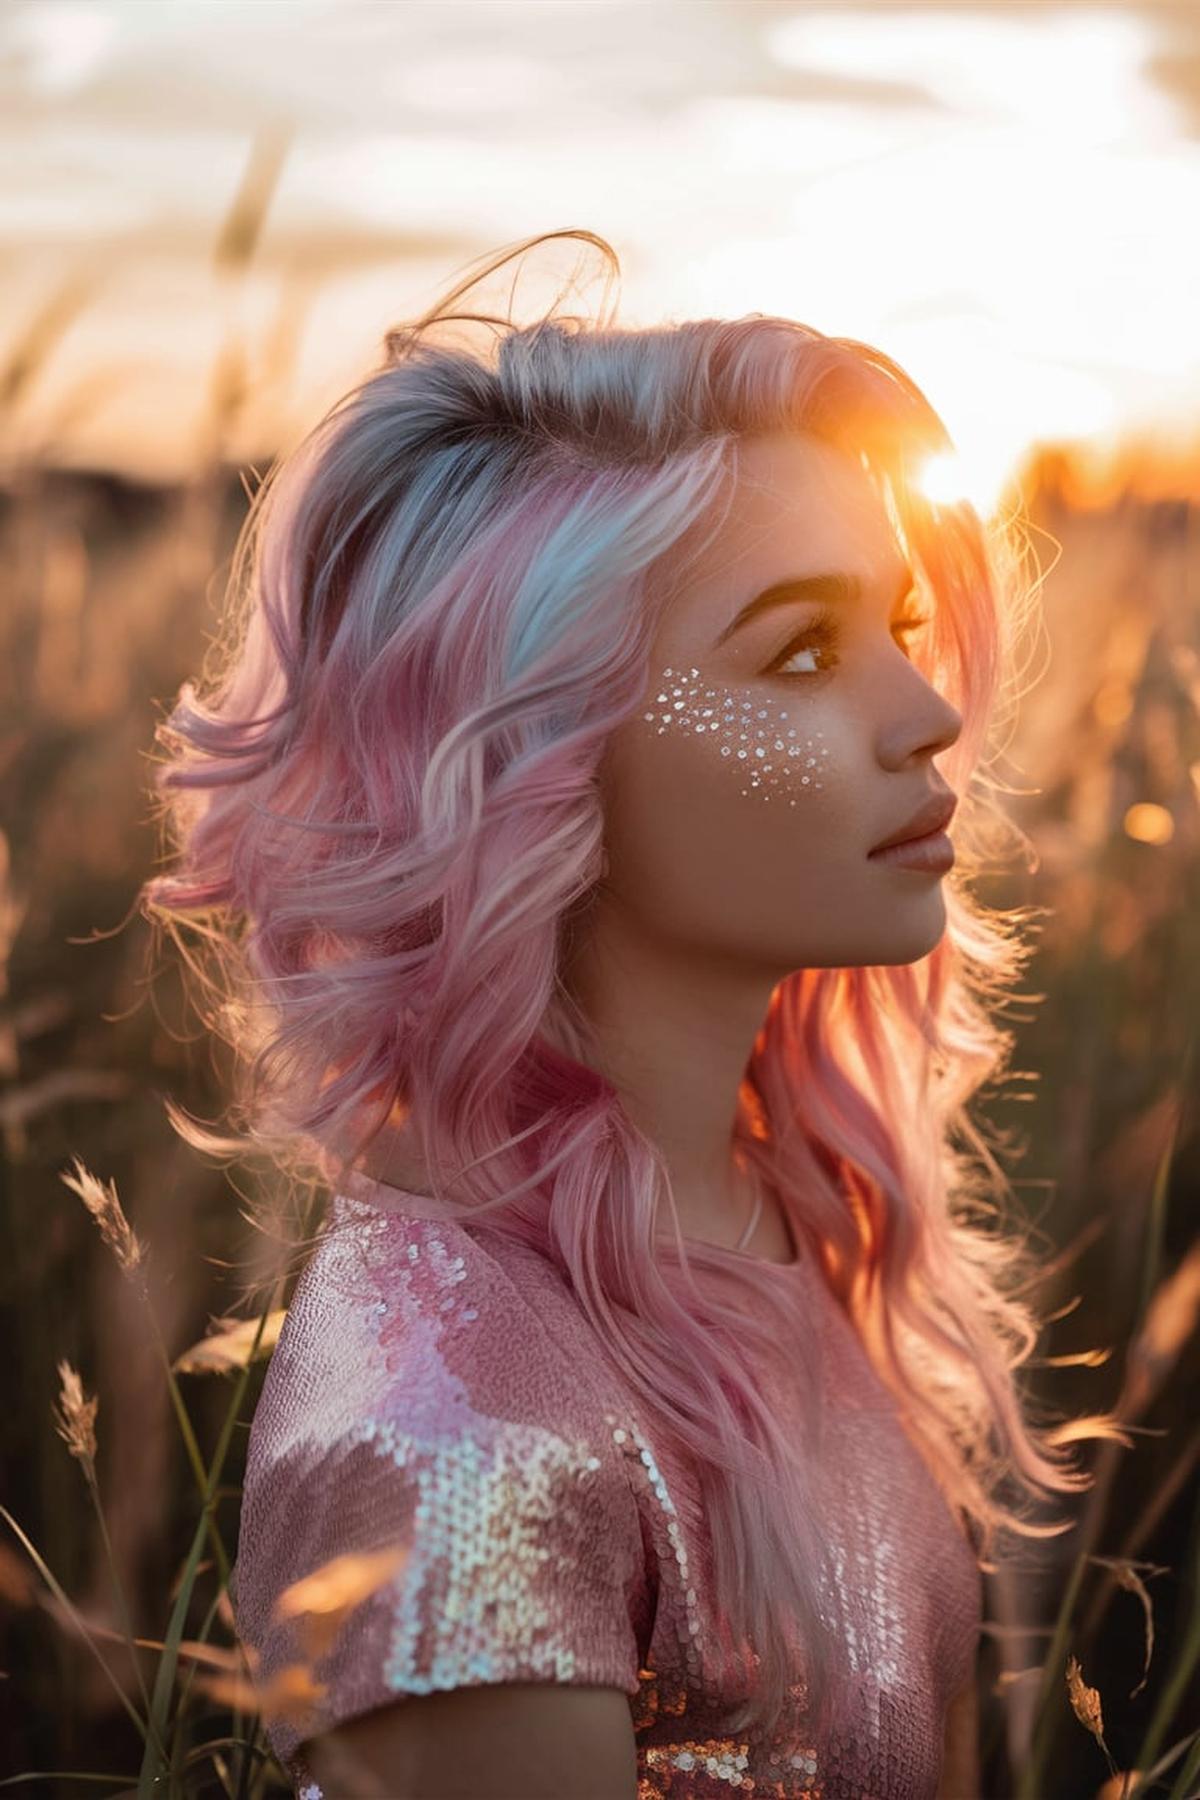
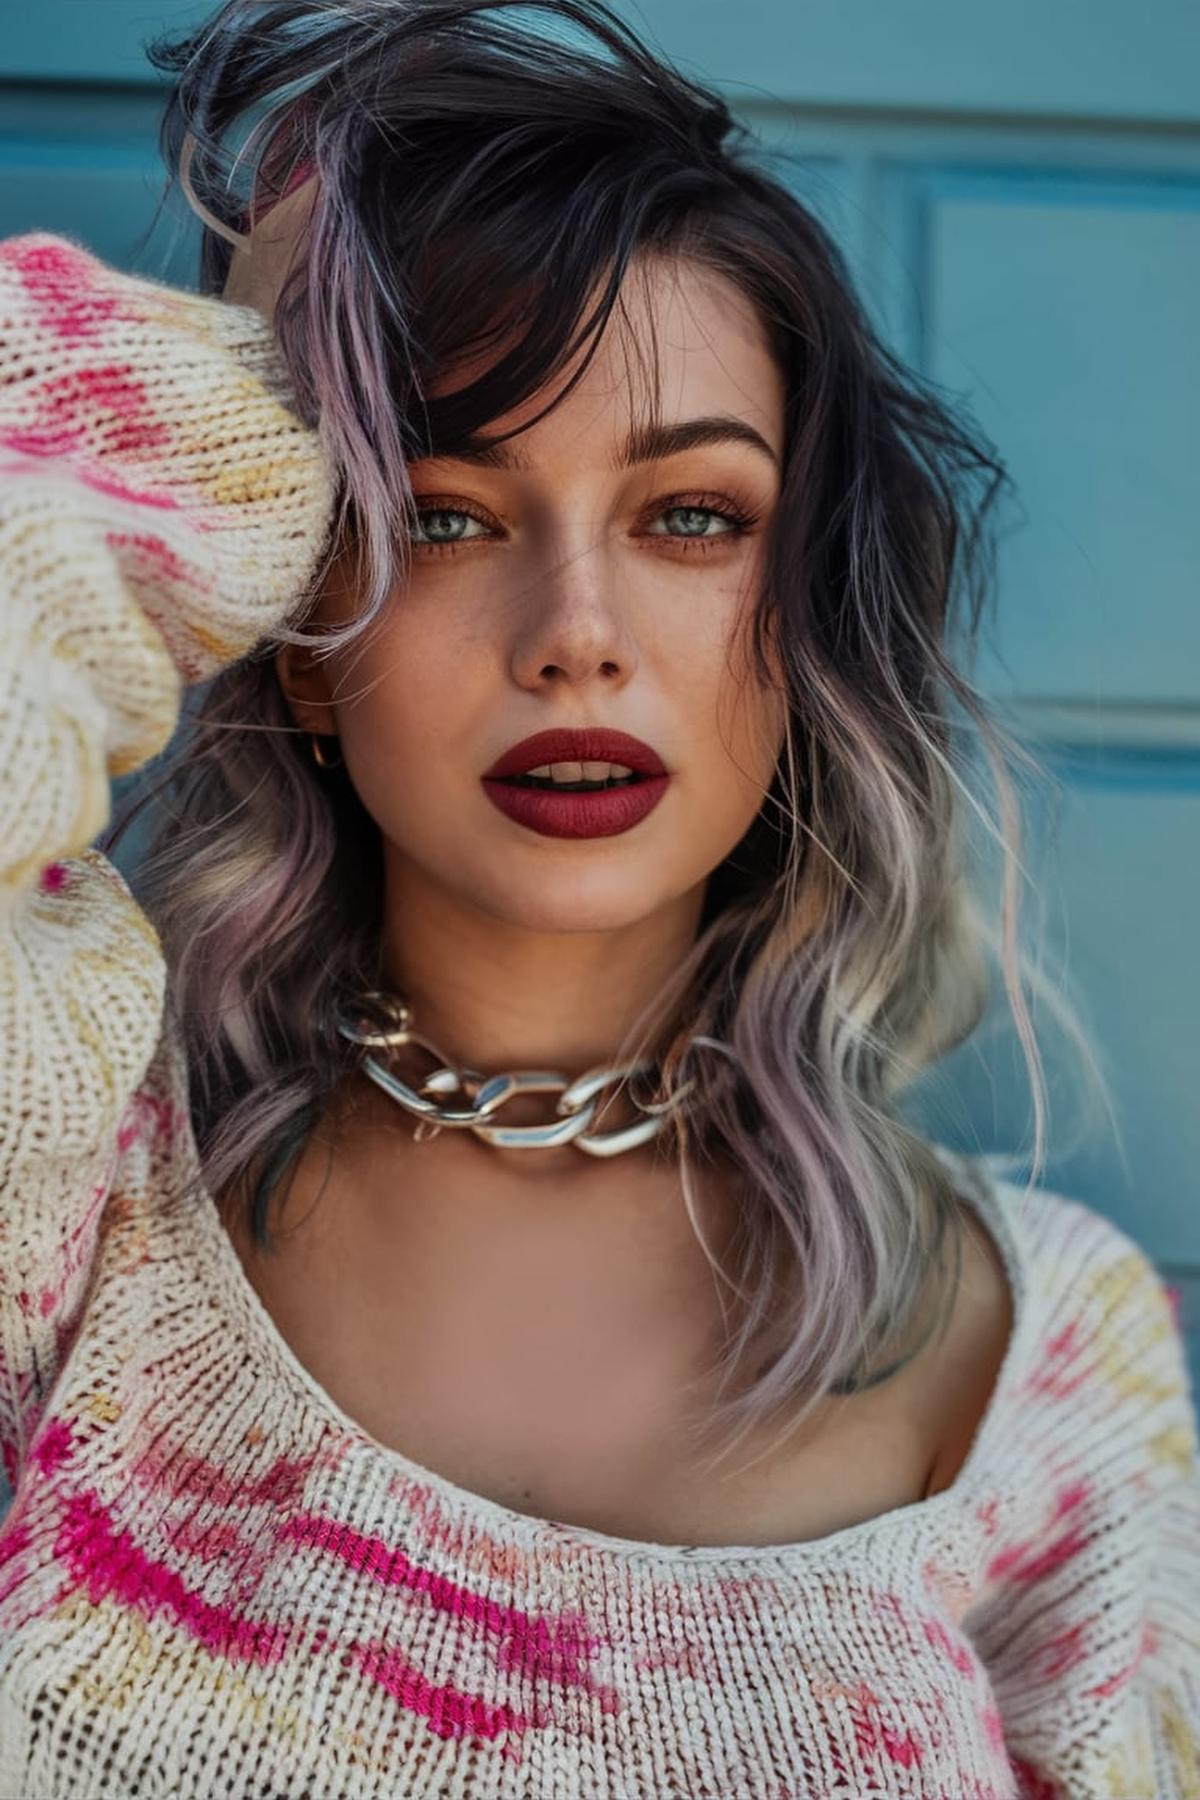
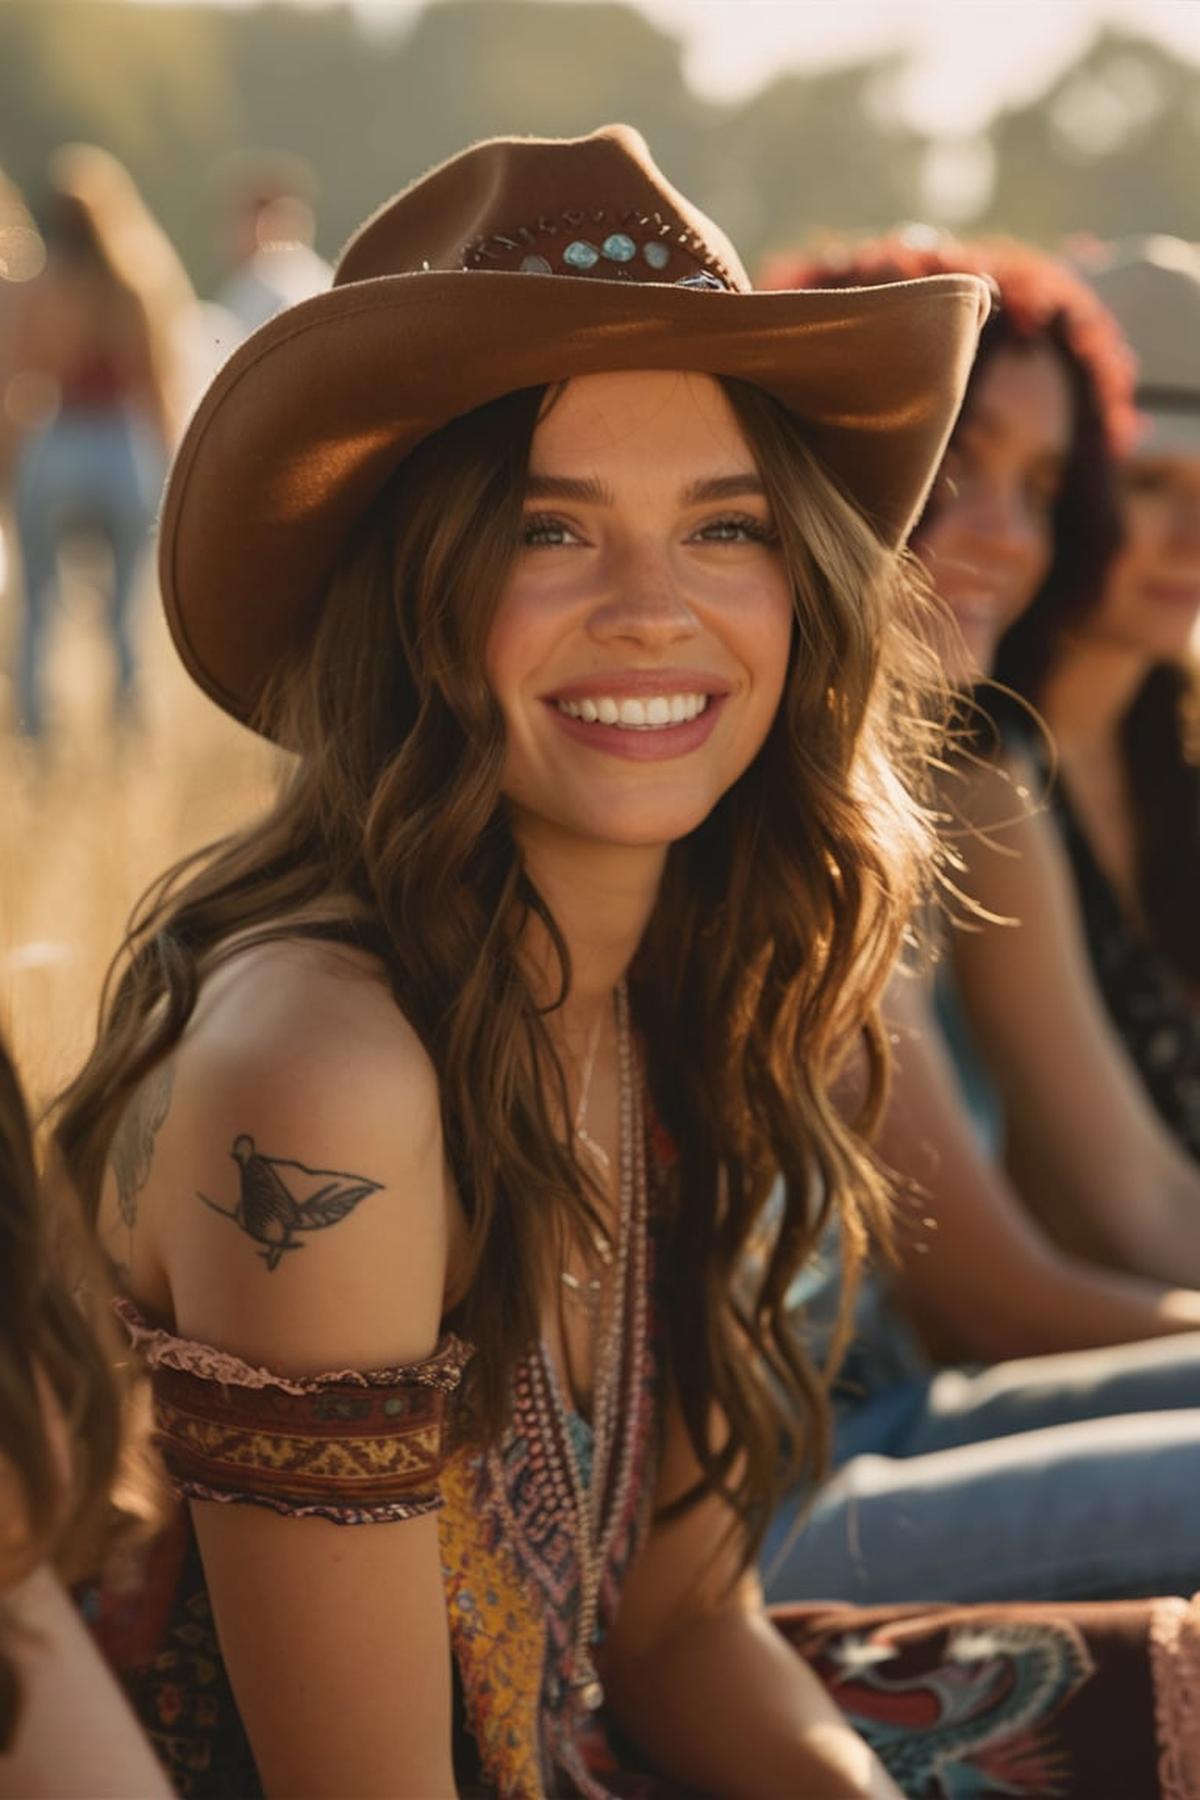
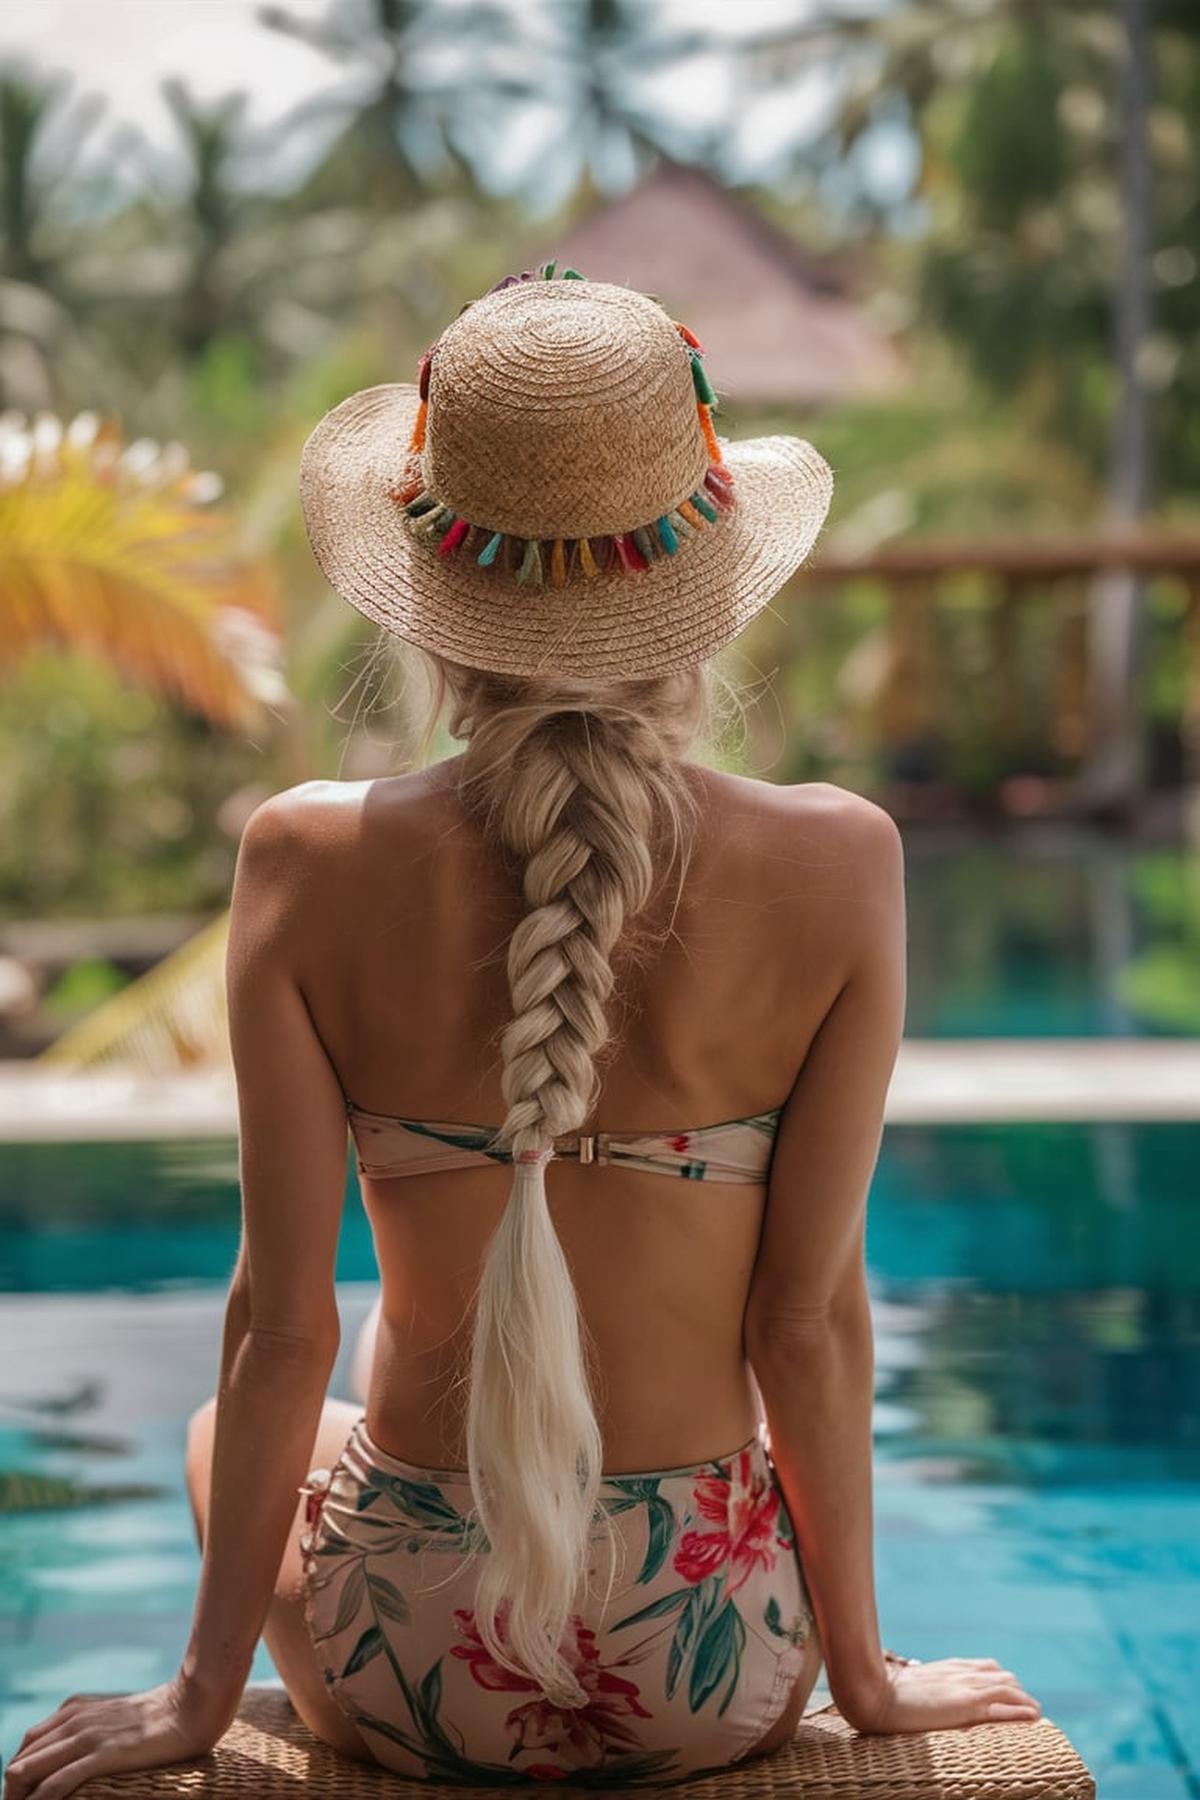
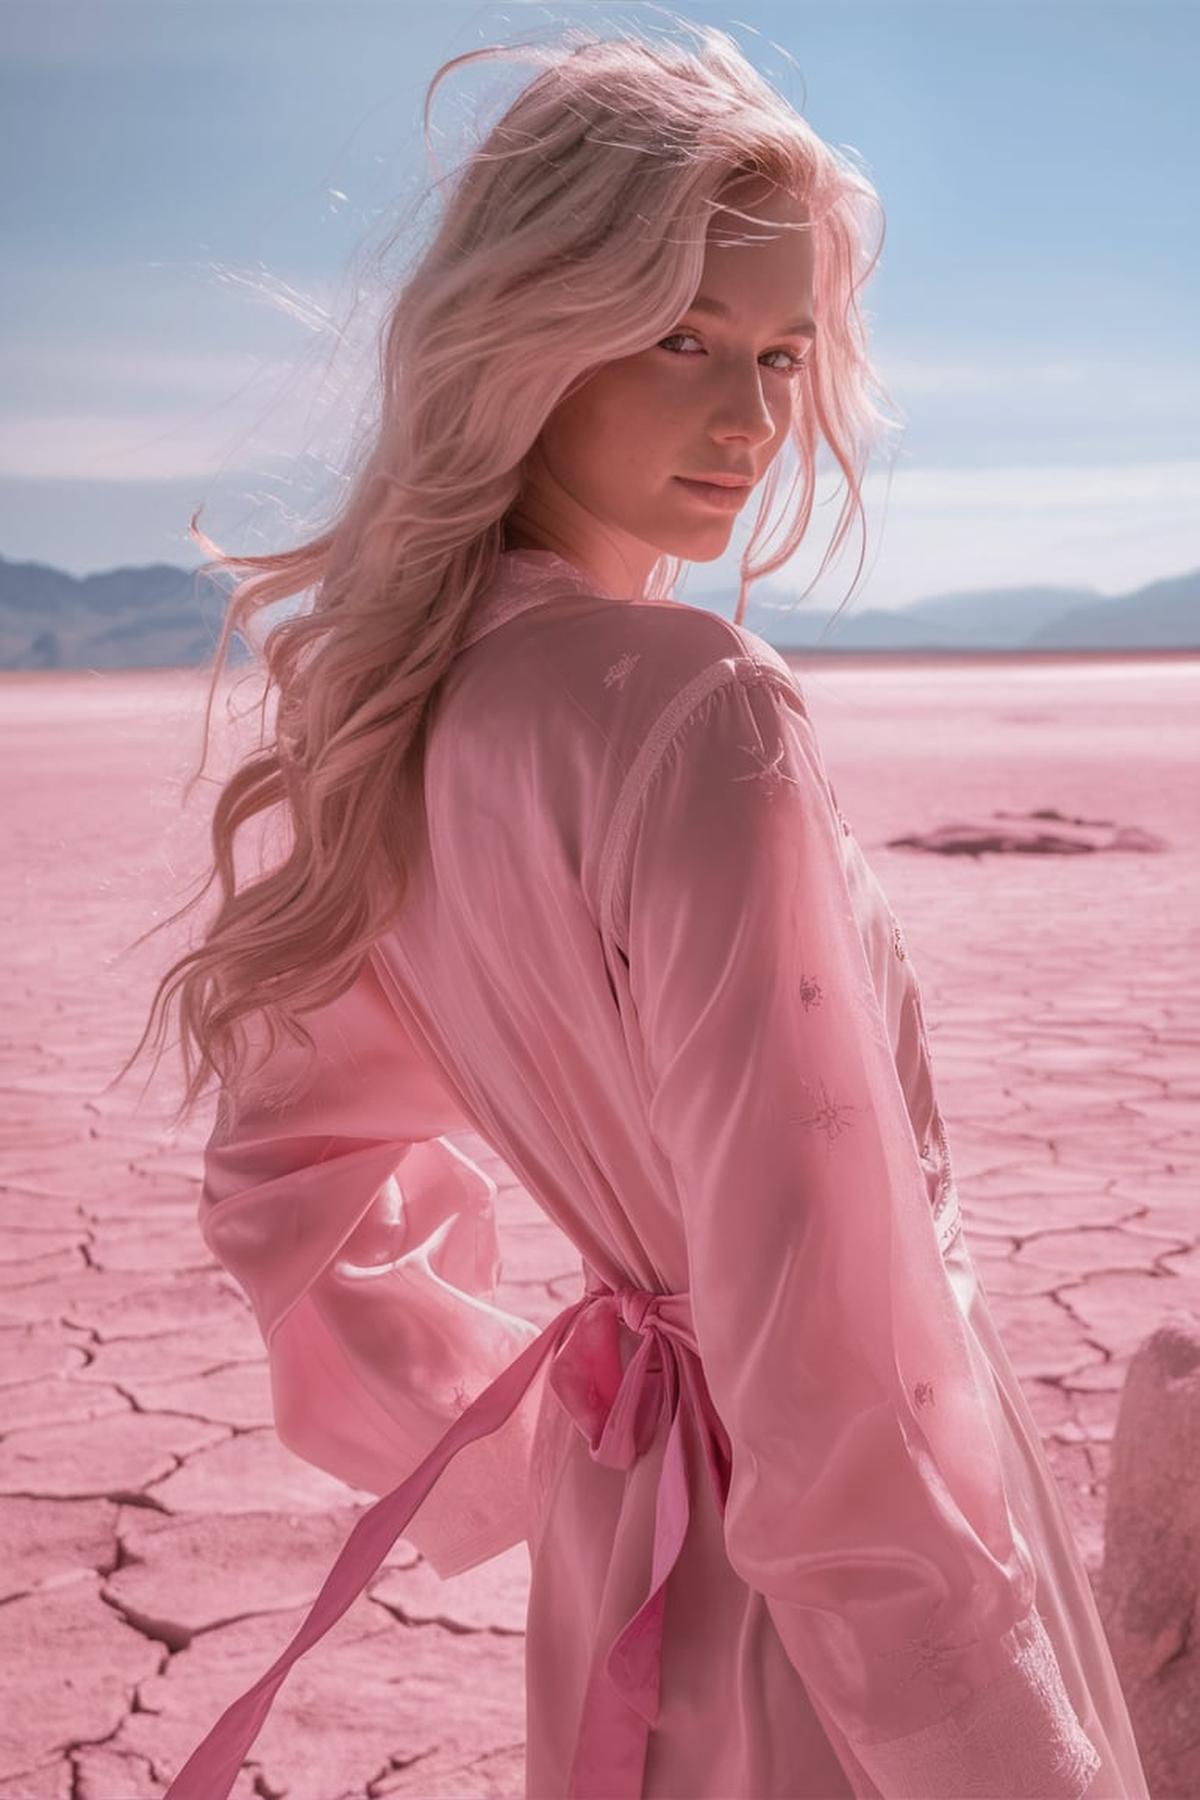
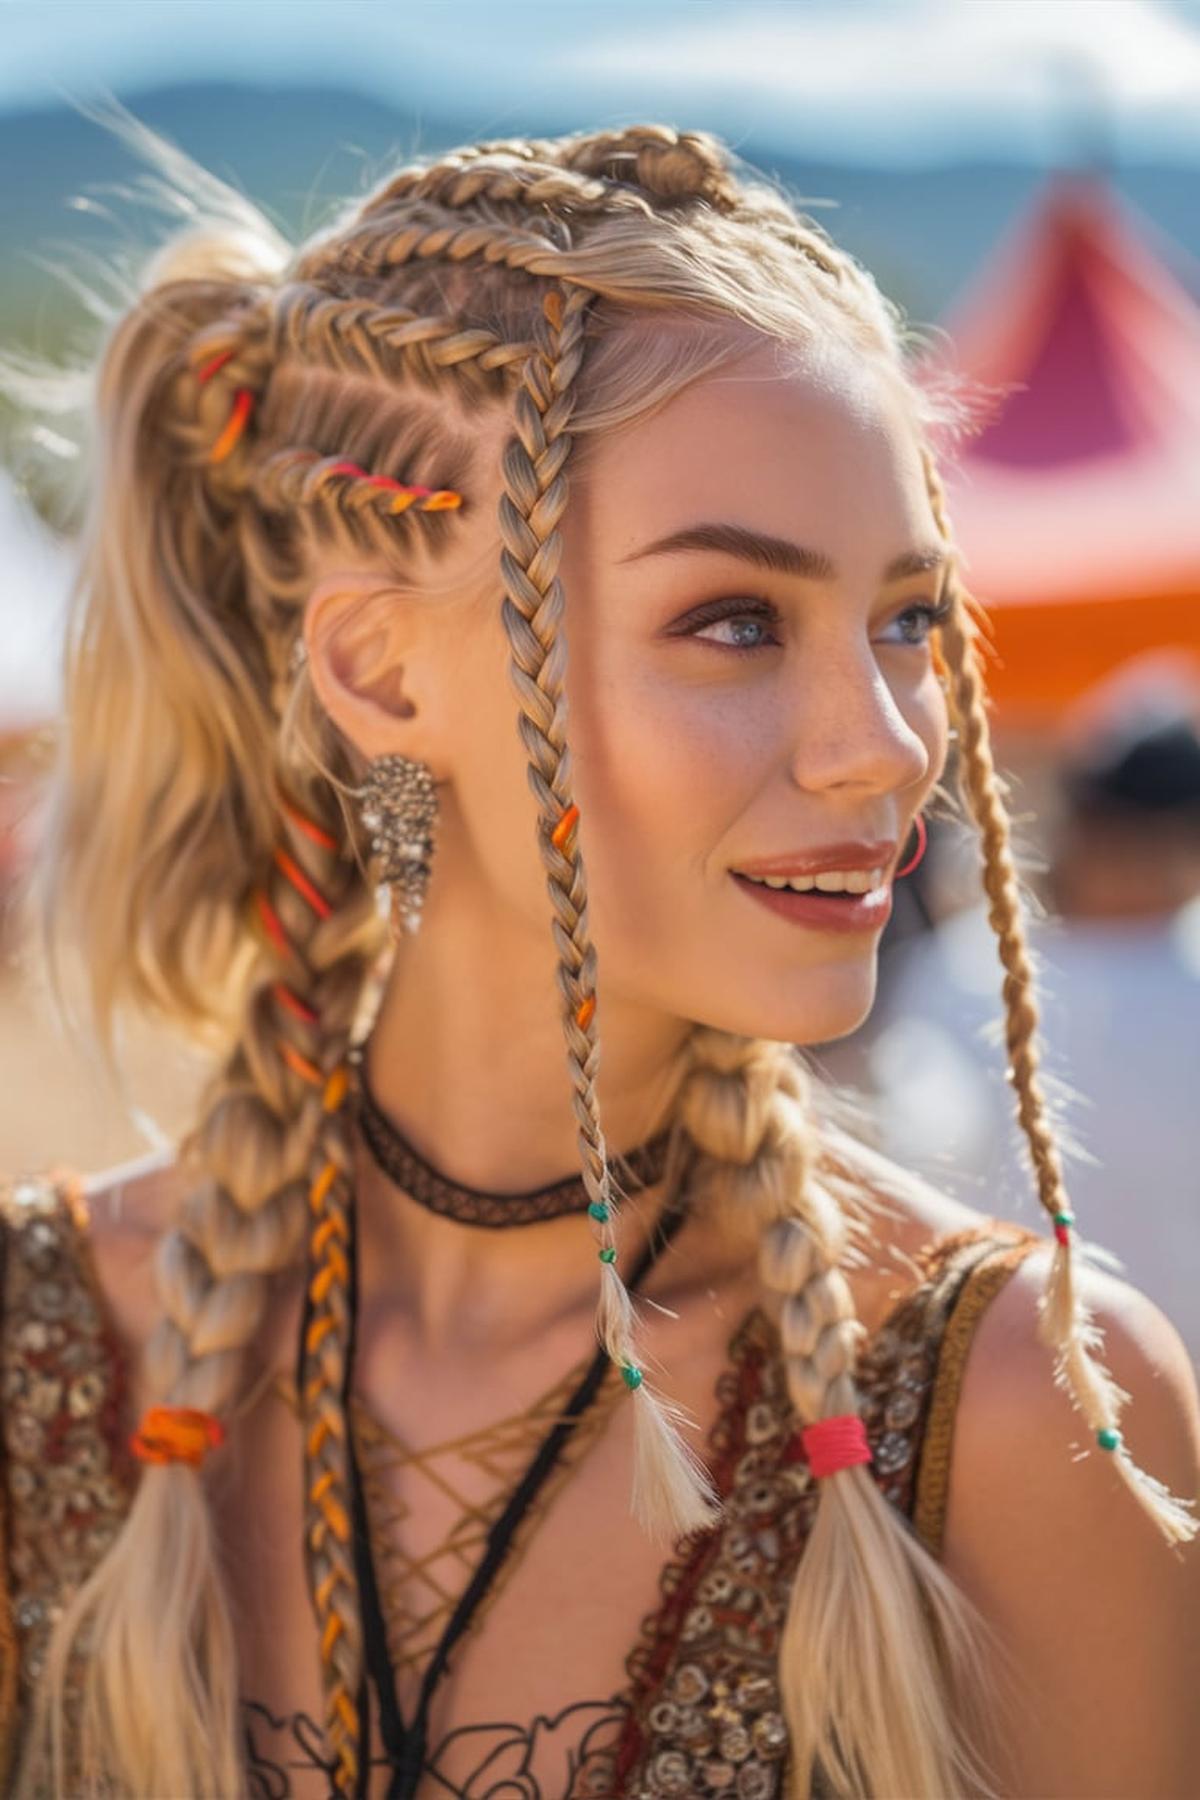
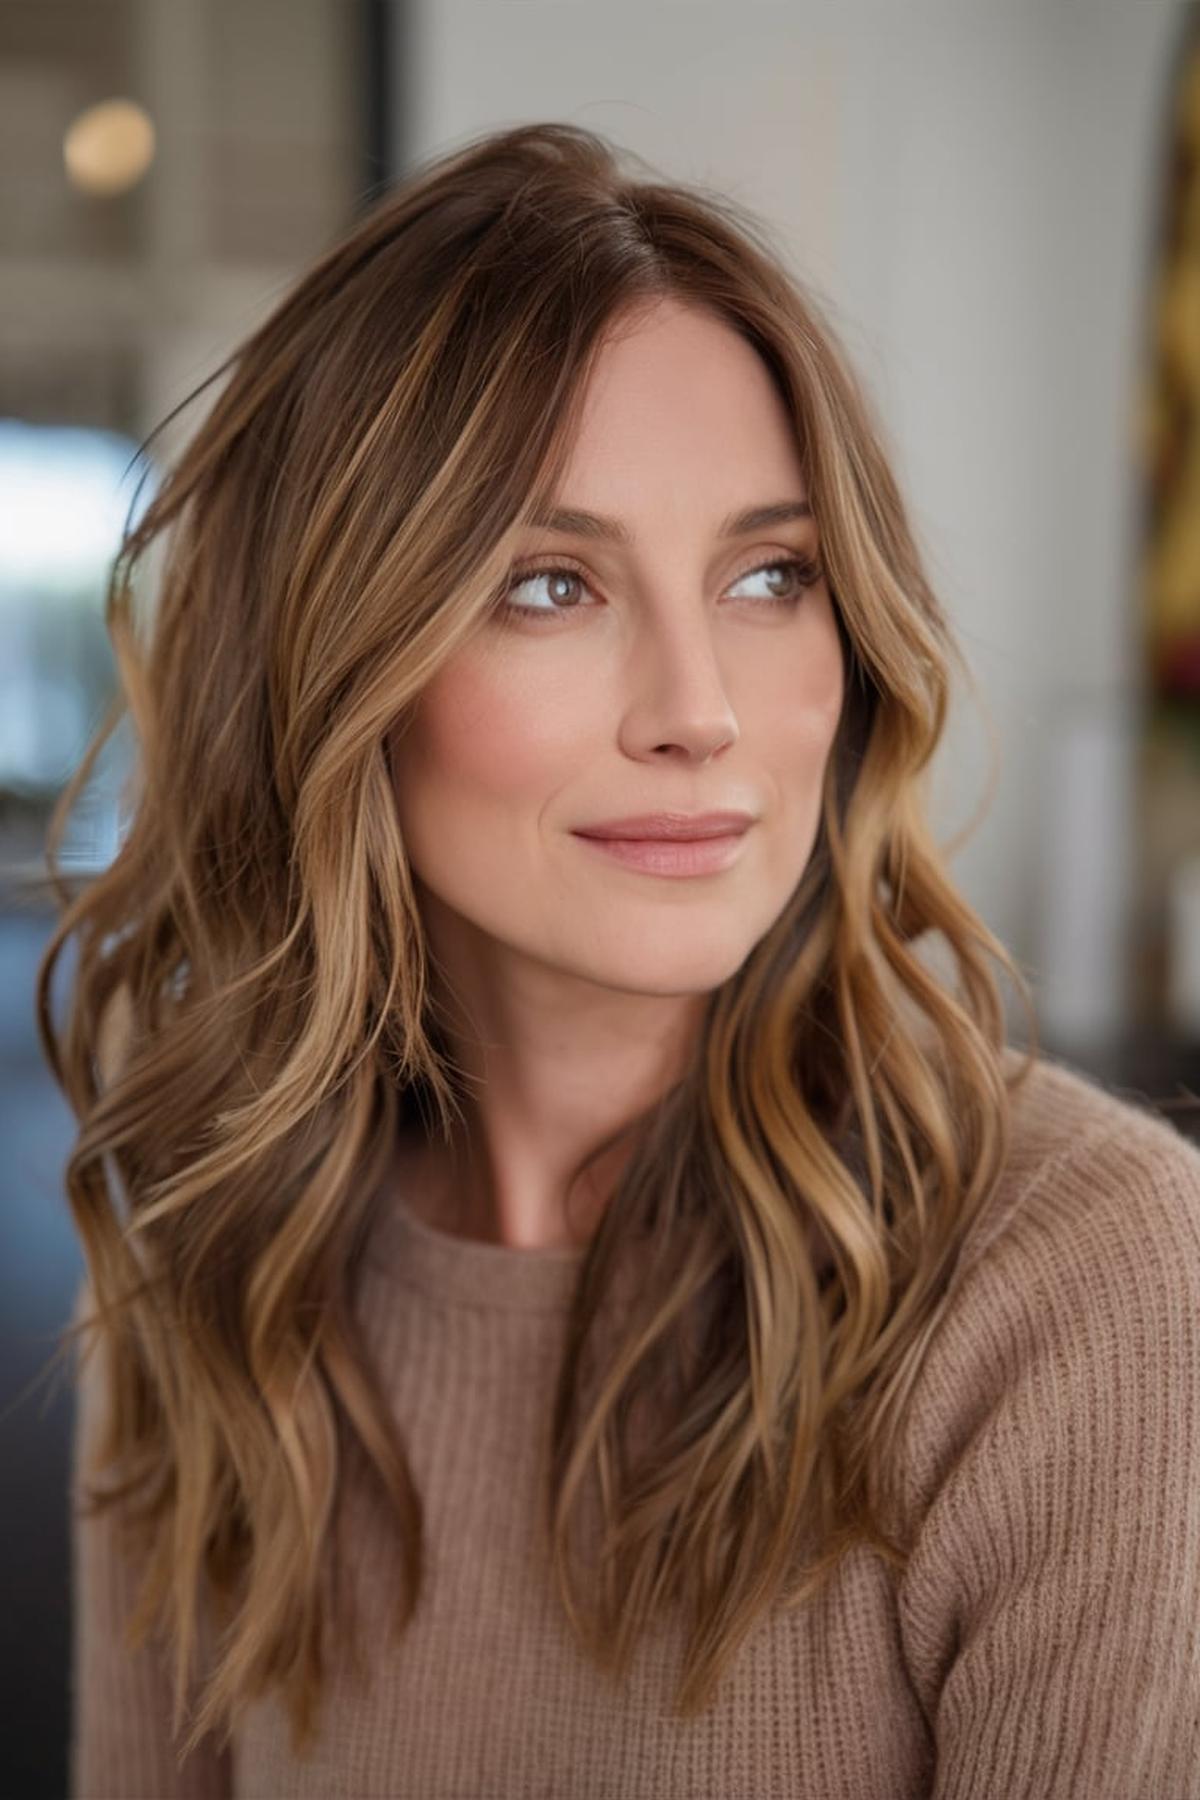
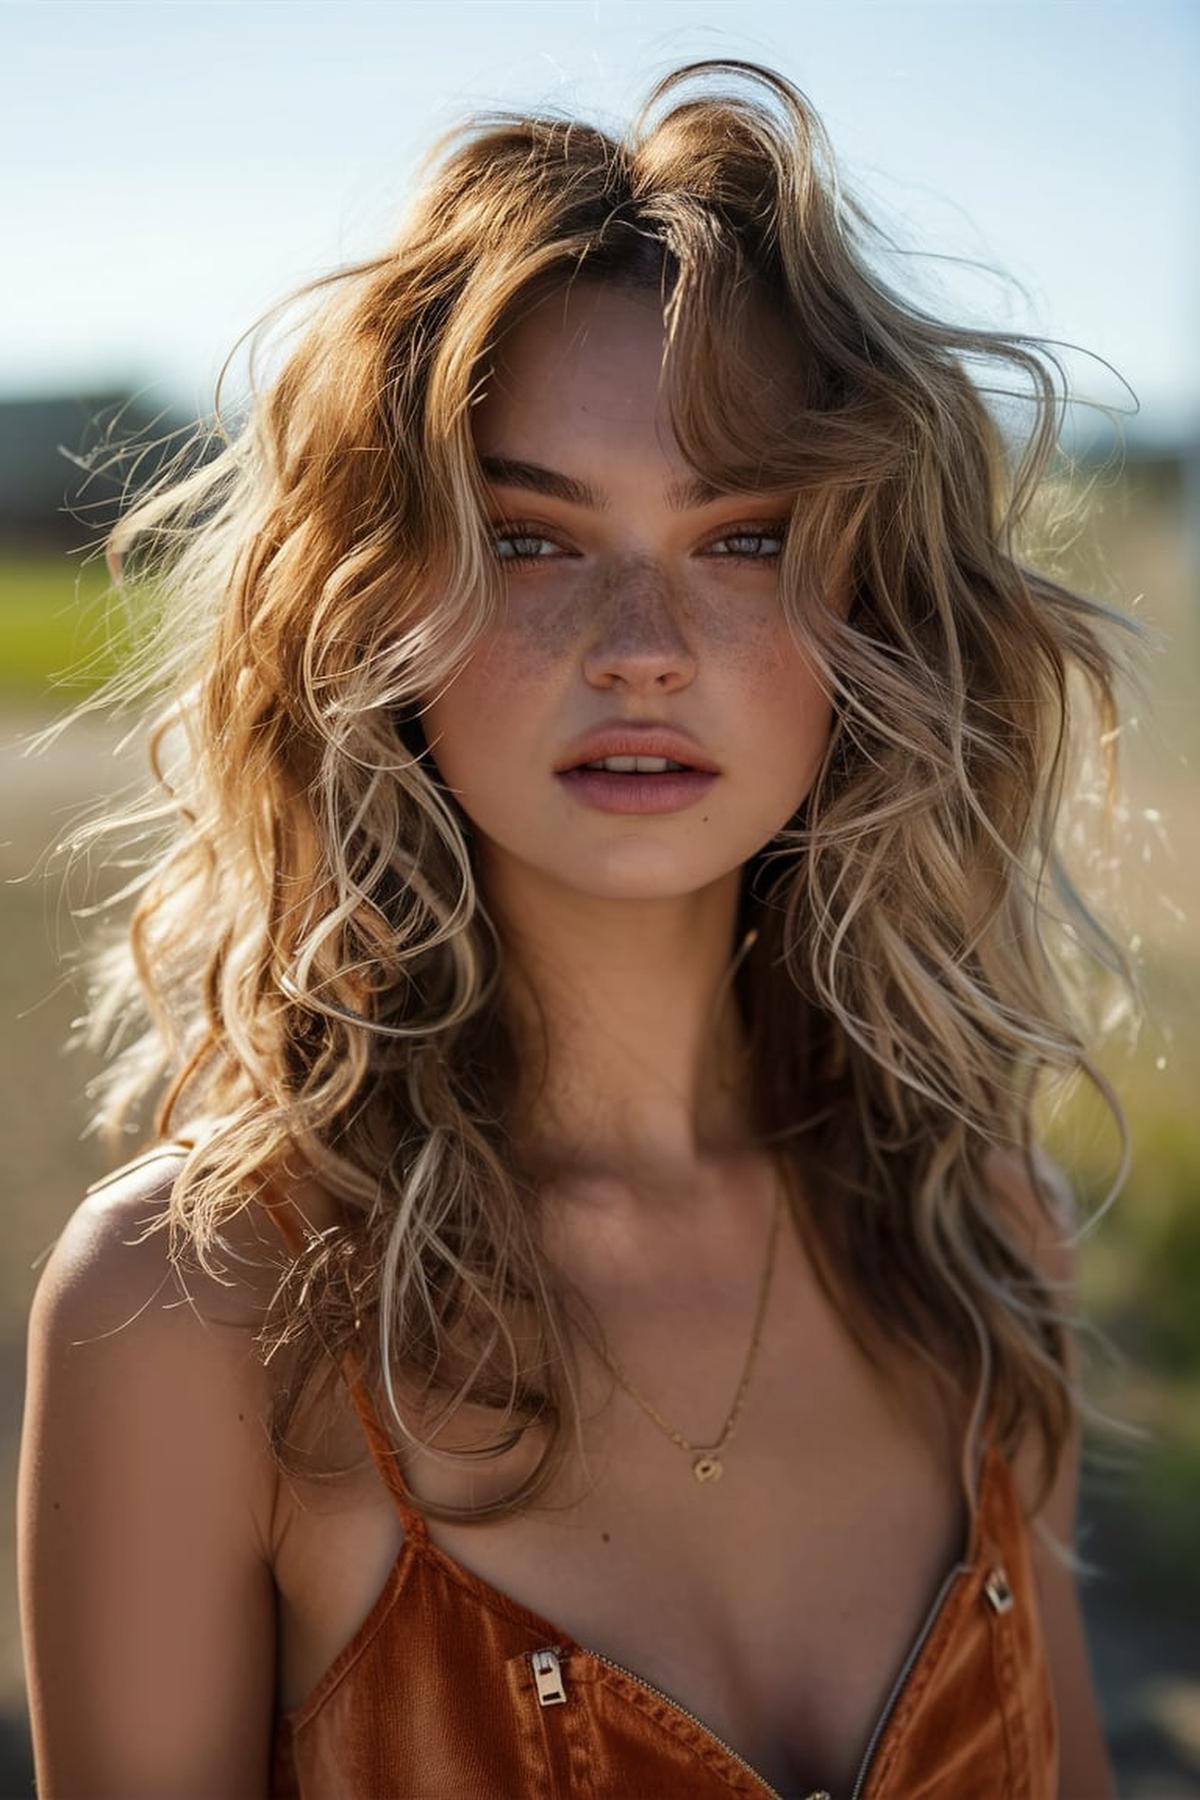
For a whimsical look, try the enchanting blue tint half-up hairstyle, which combines a playful color with an elegant half-up style.
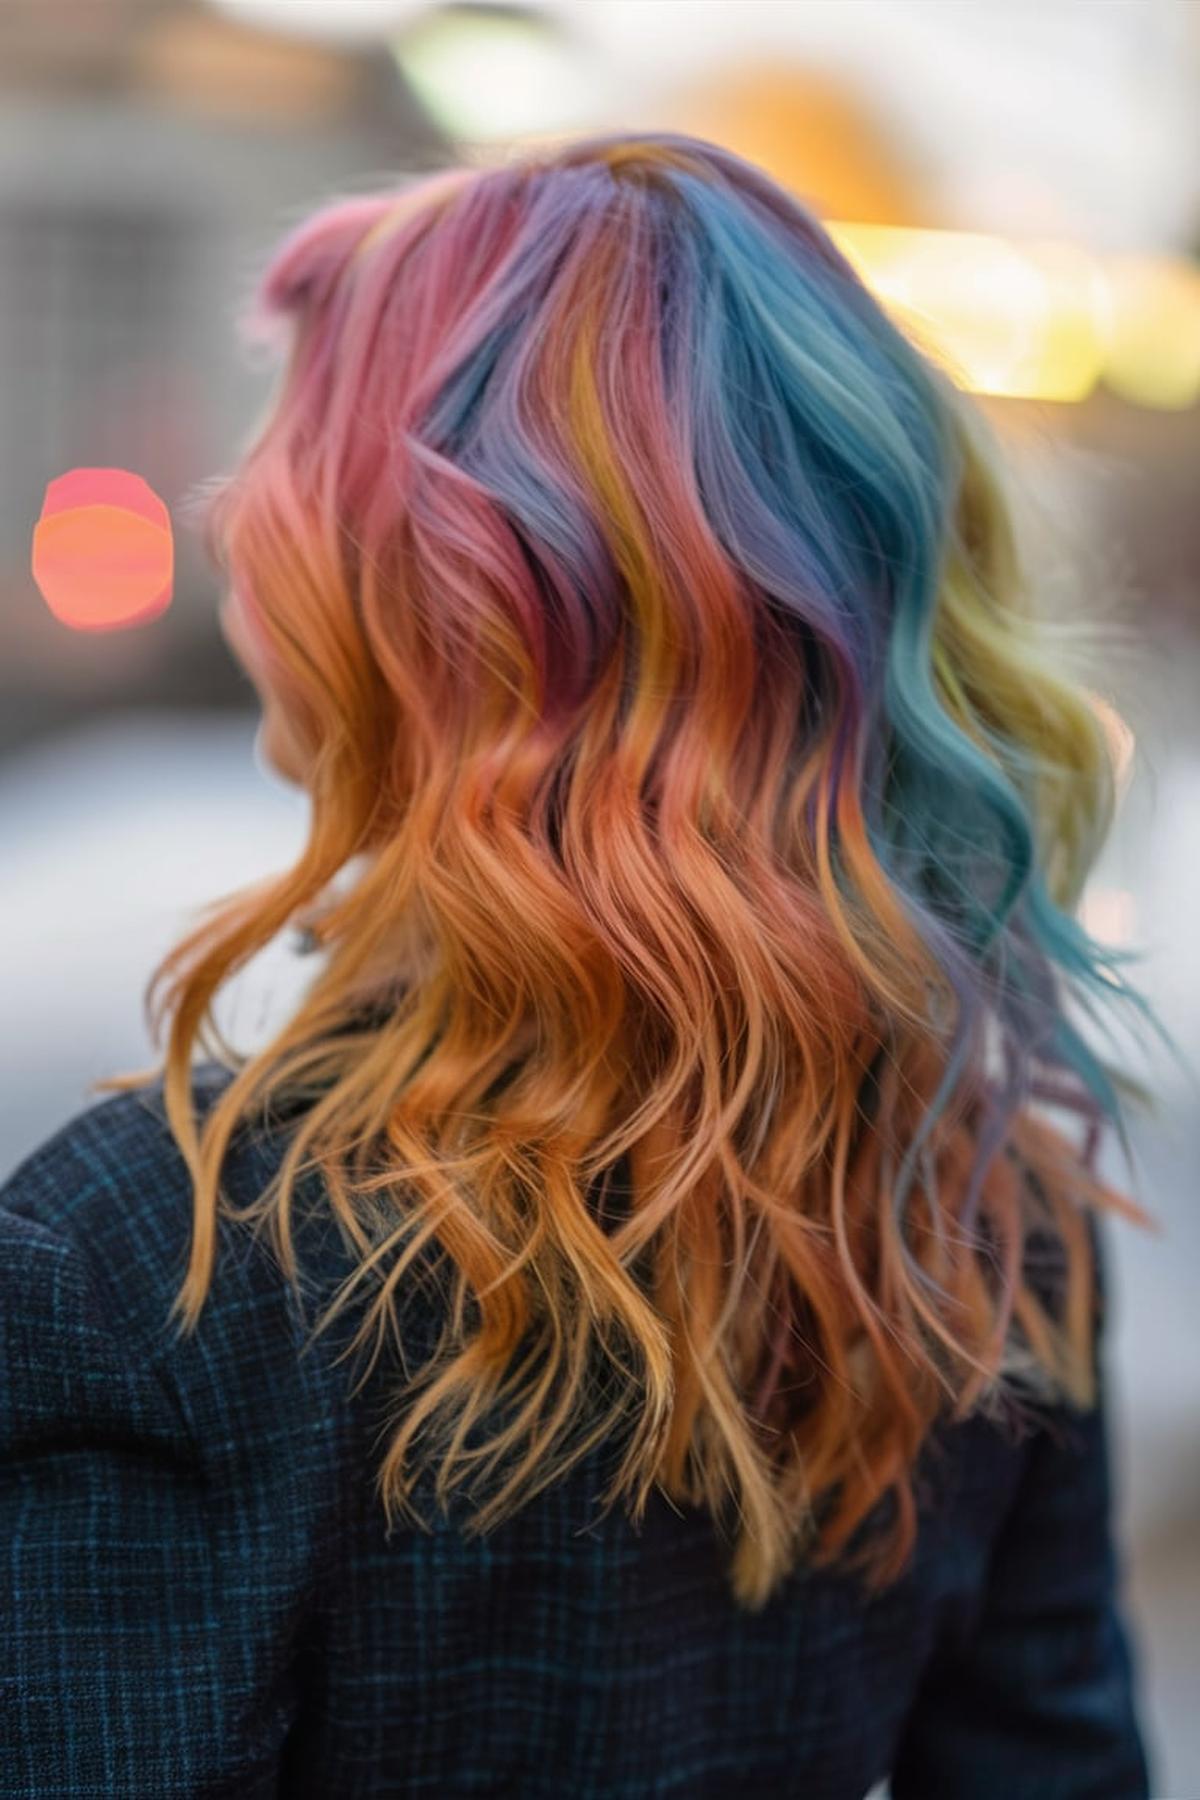
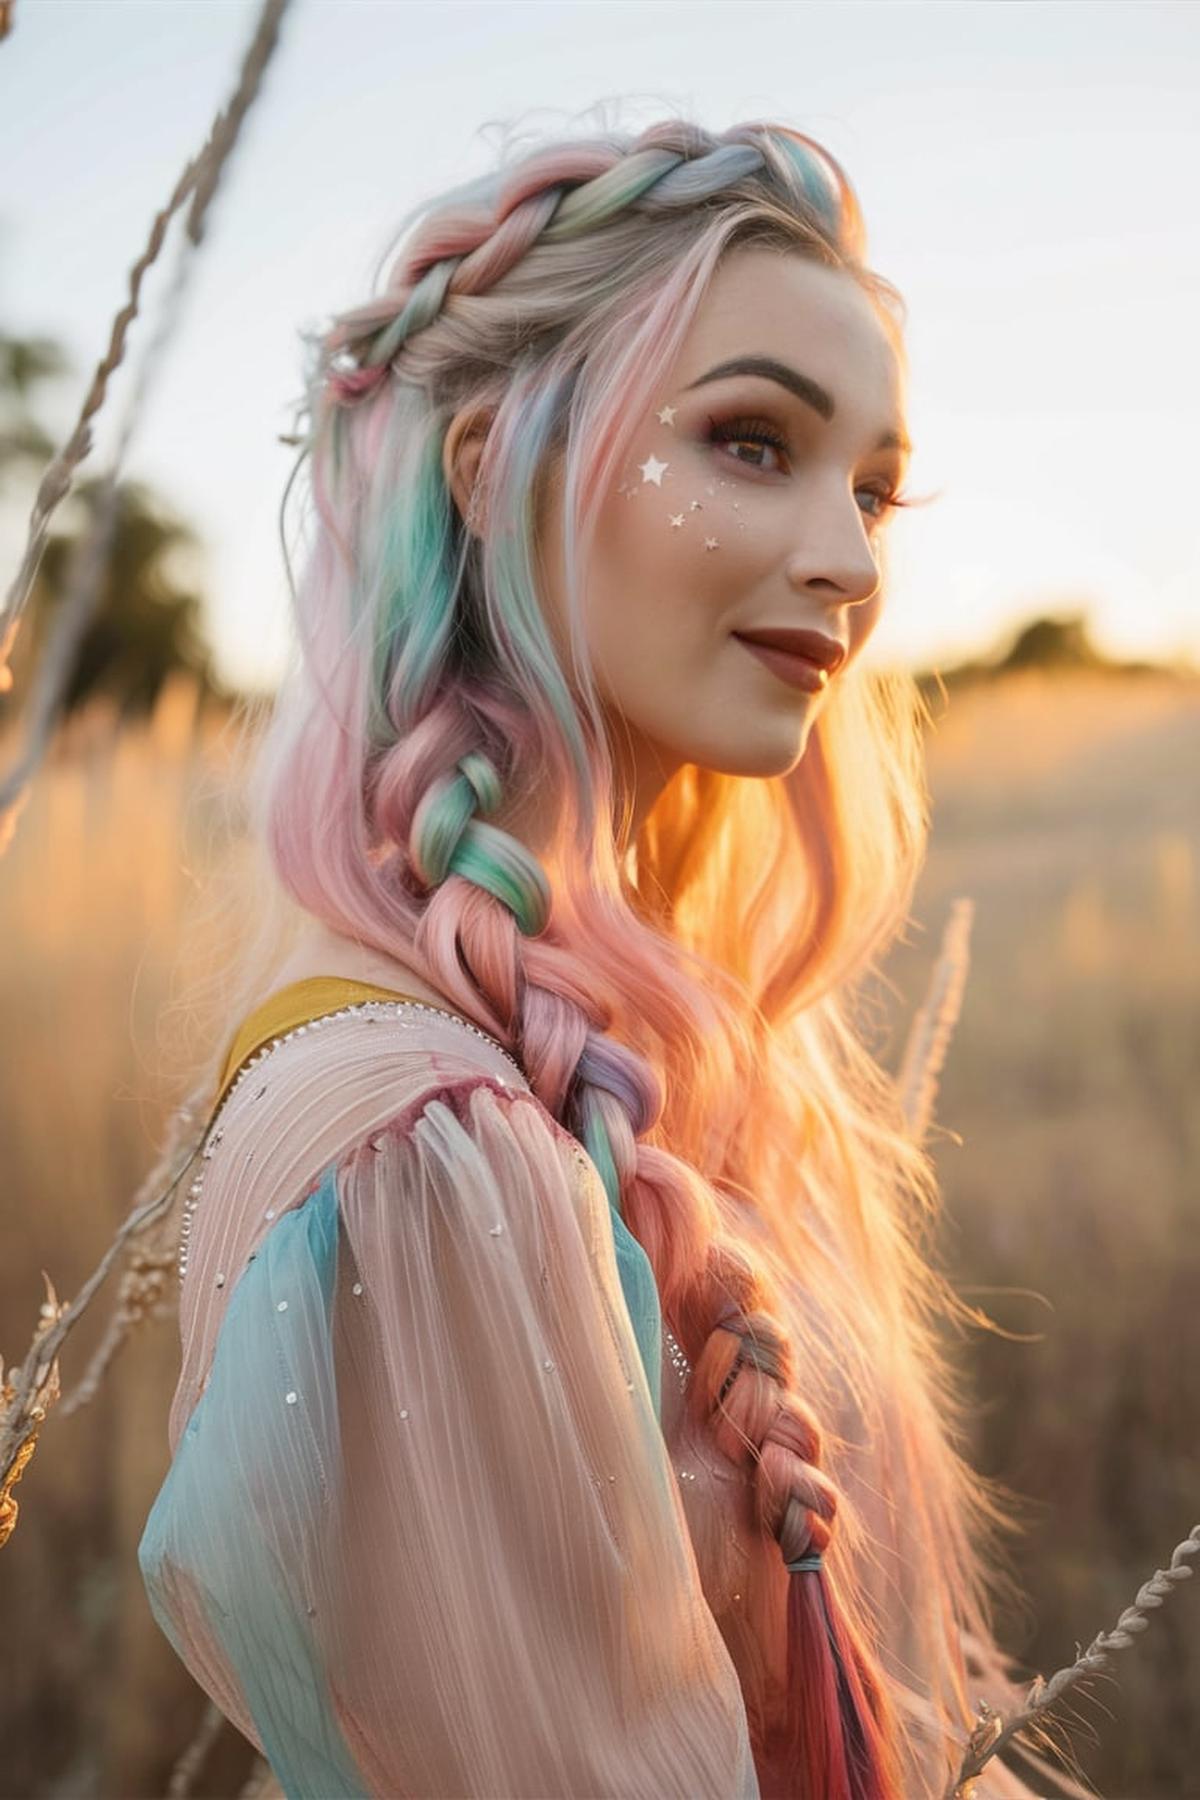
For those who love color, the pastel blue dream or rainbow hair wonderland can make a bold statement.
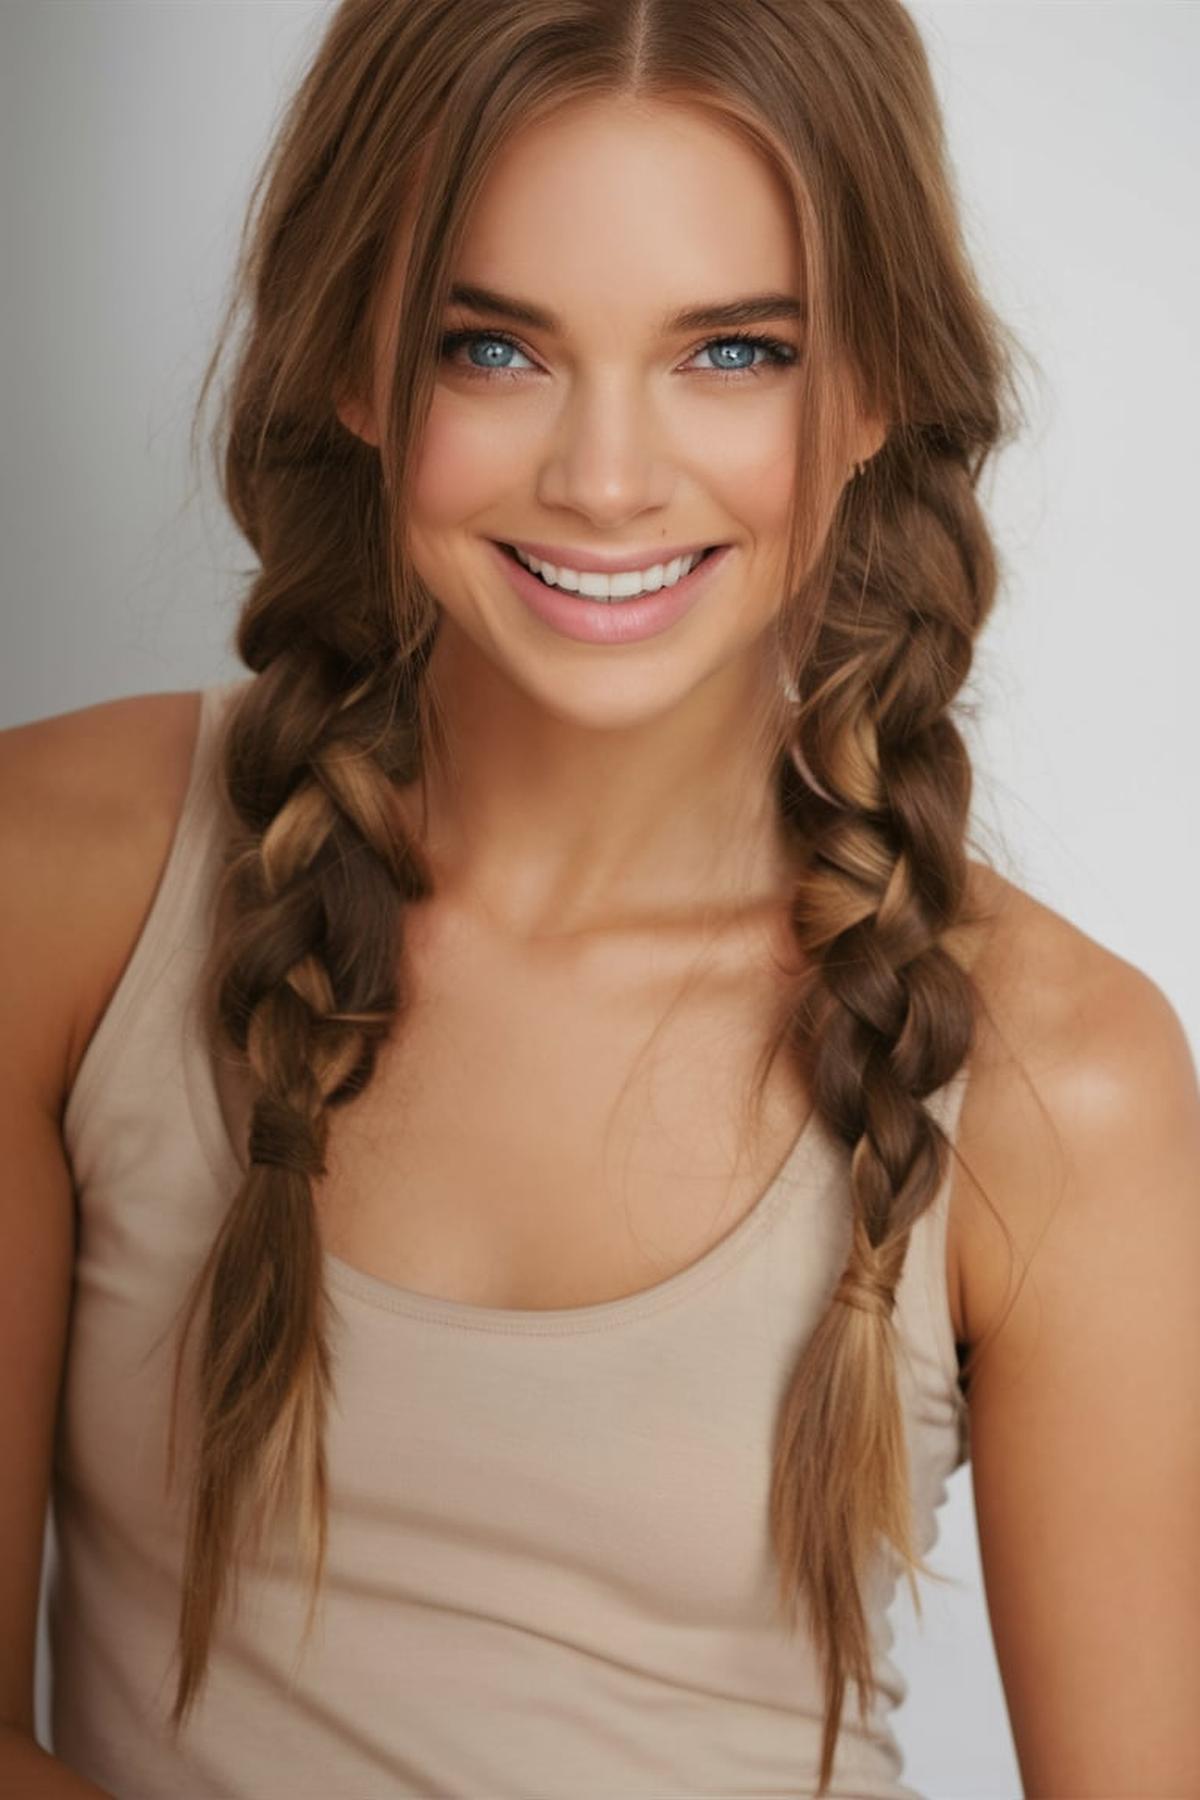
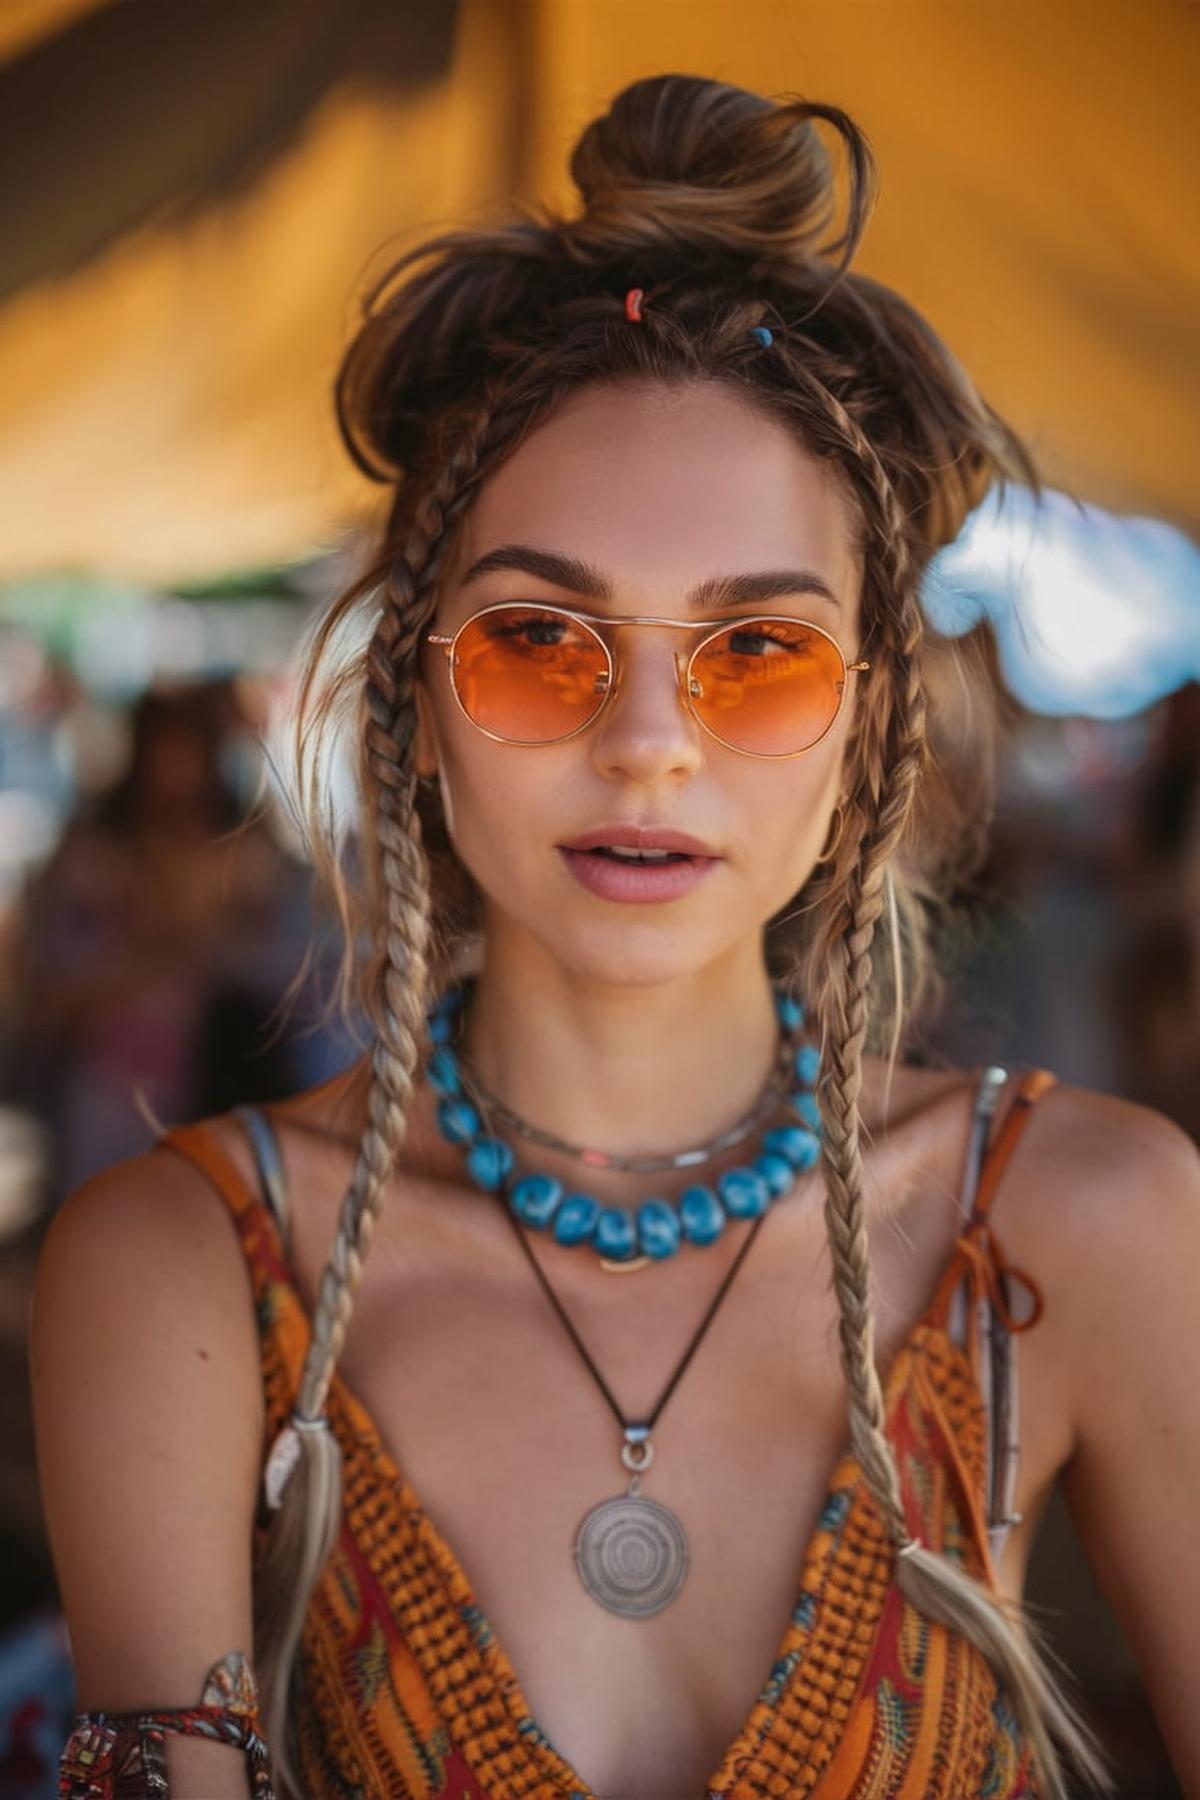
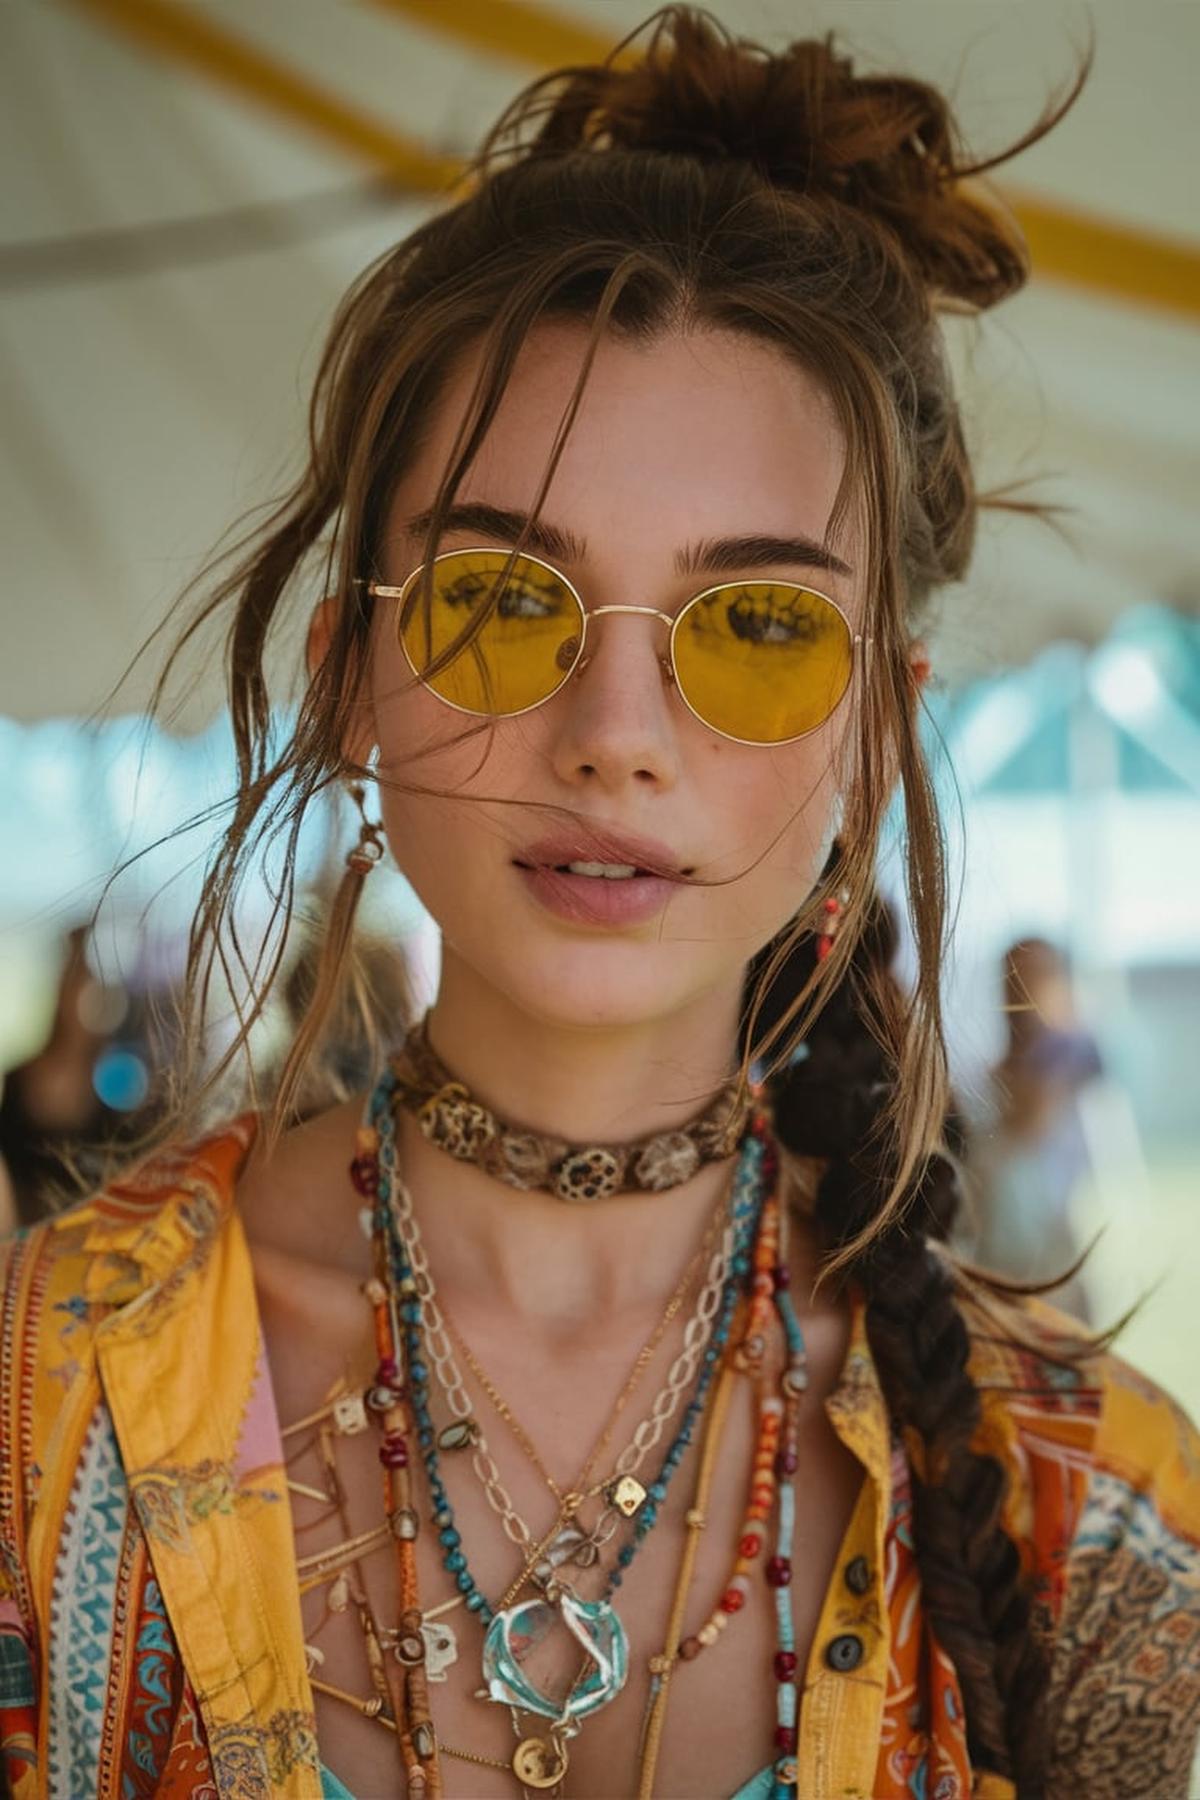
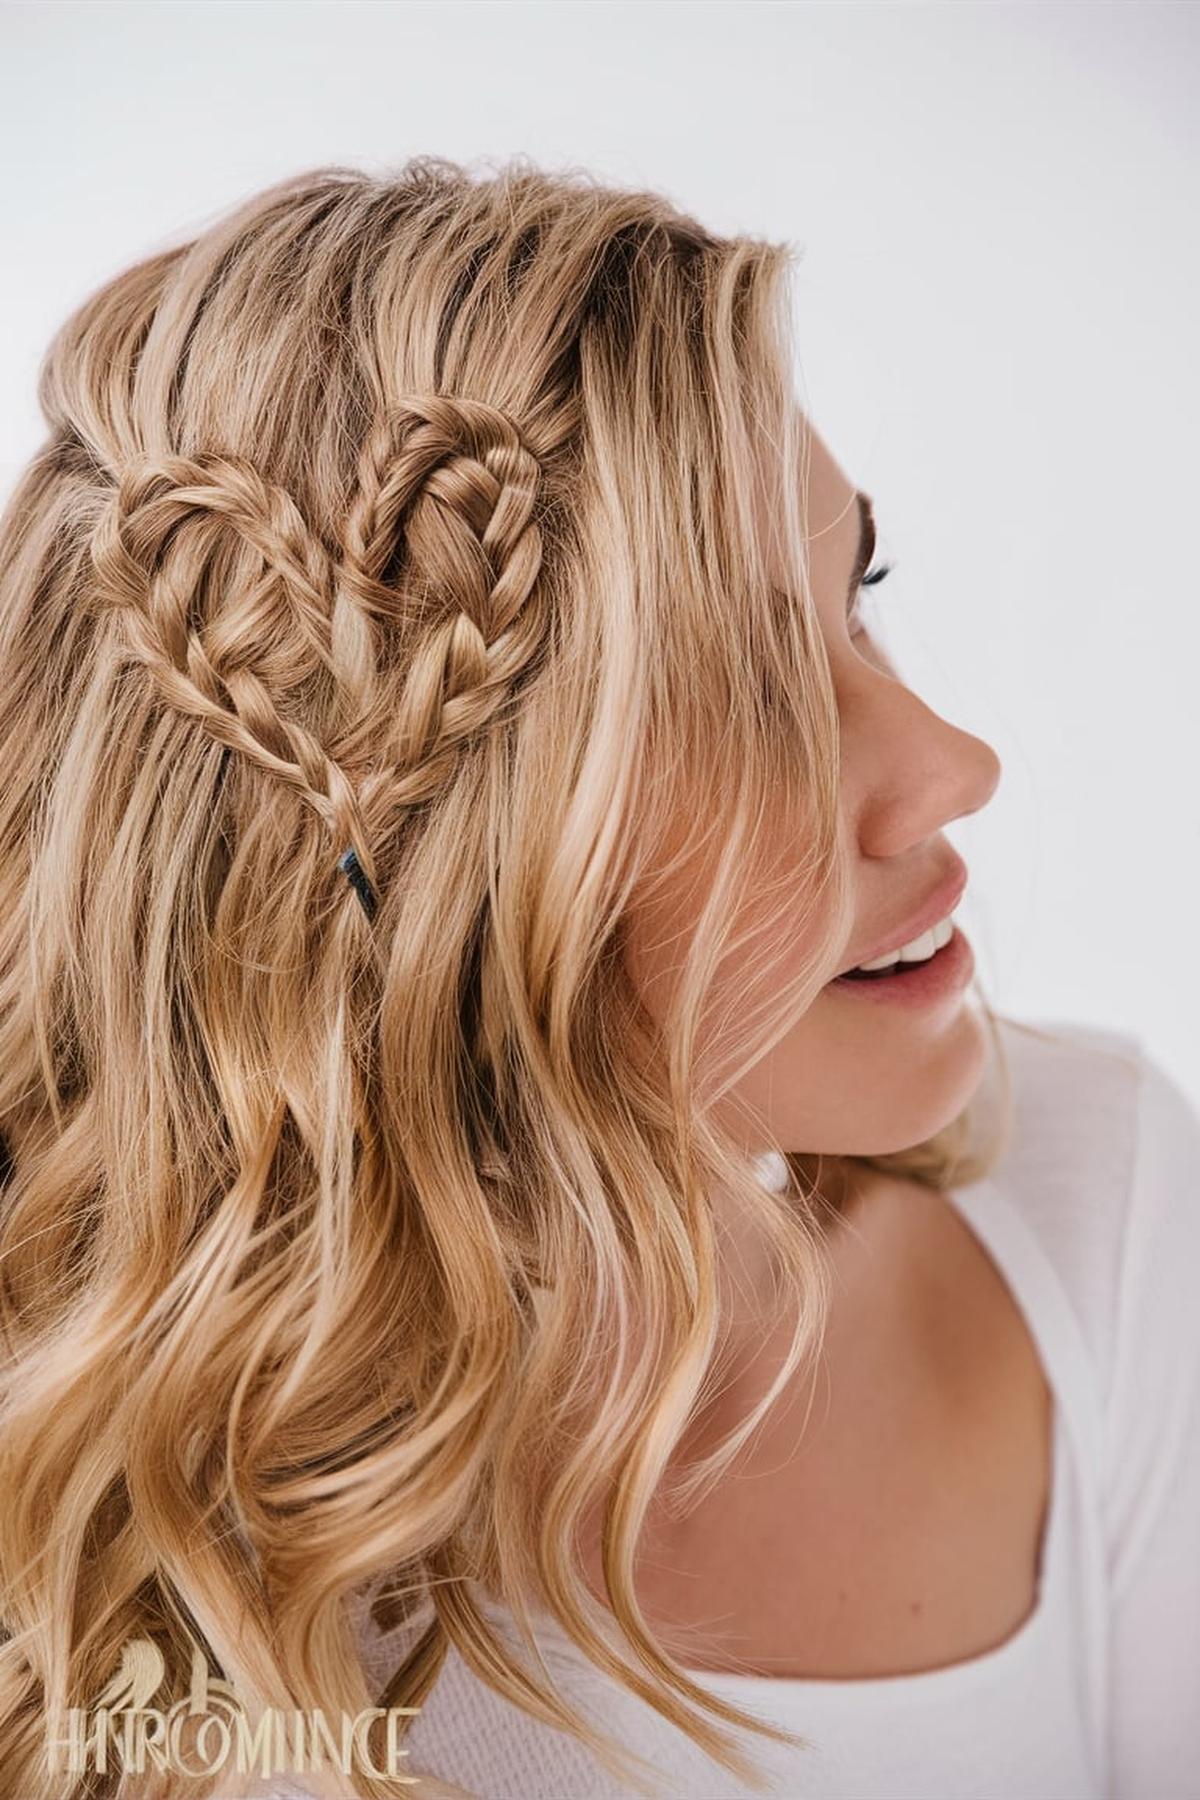
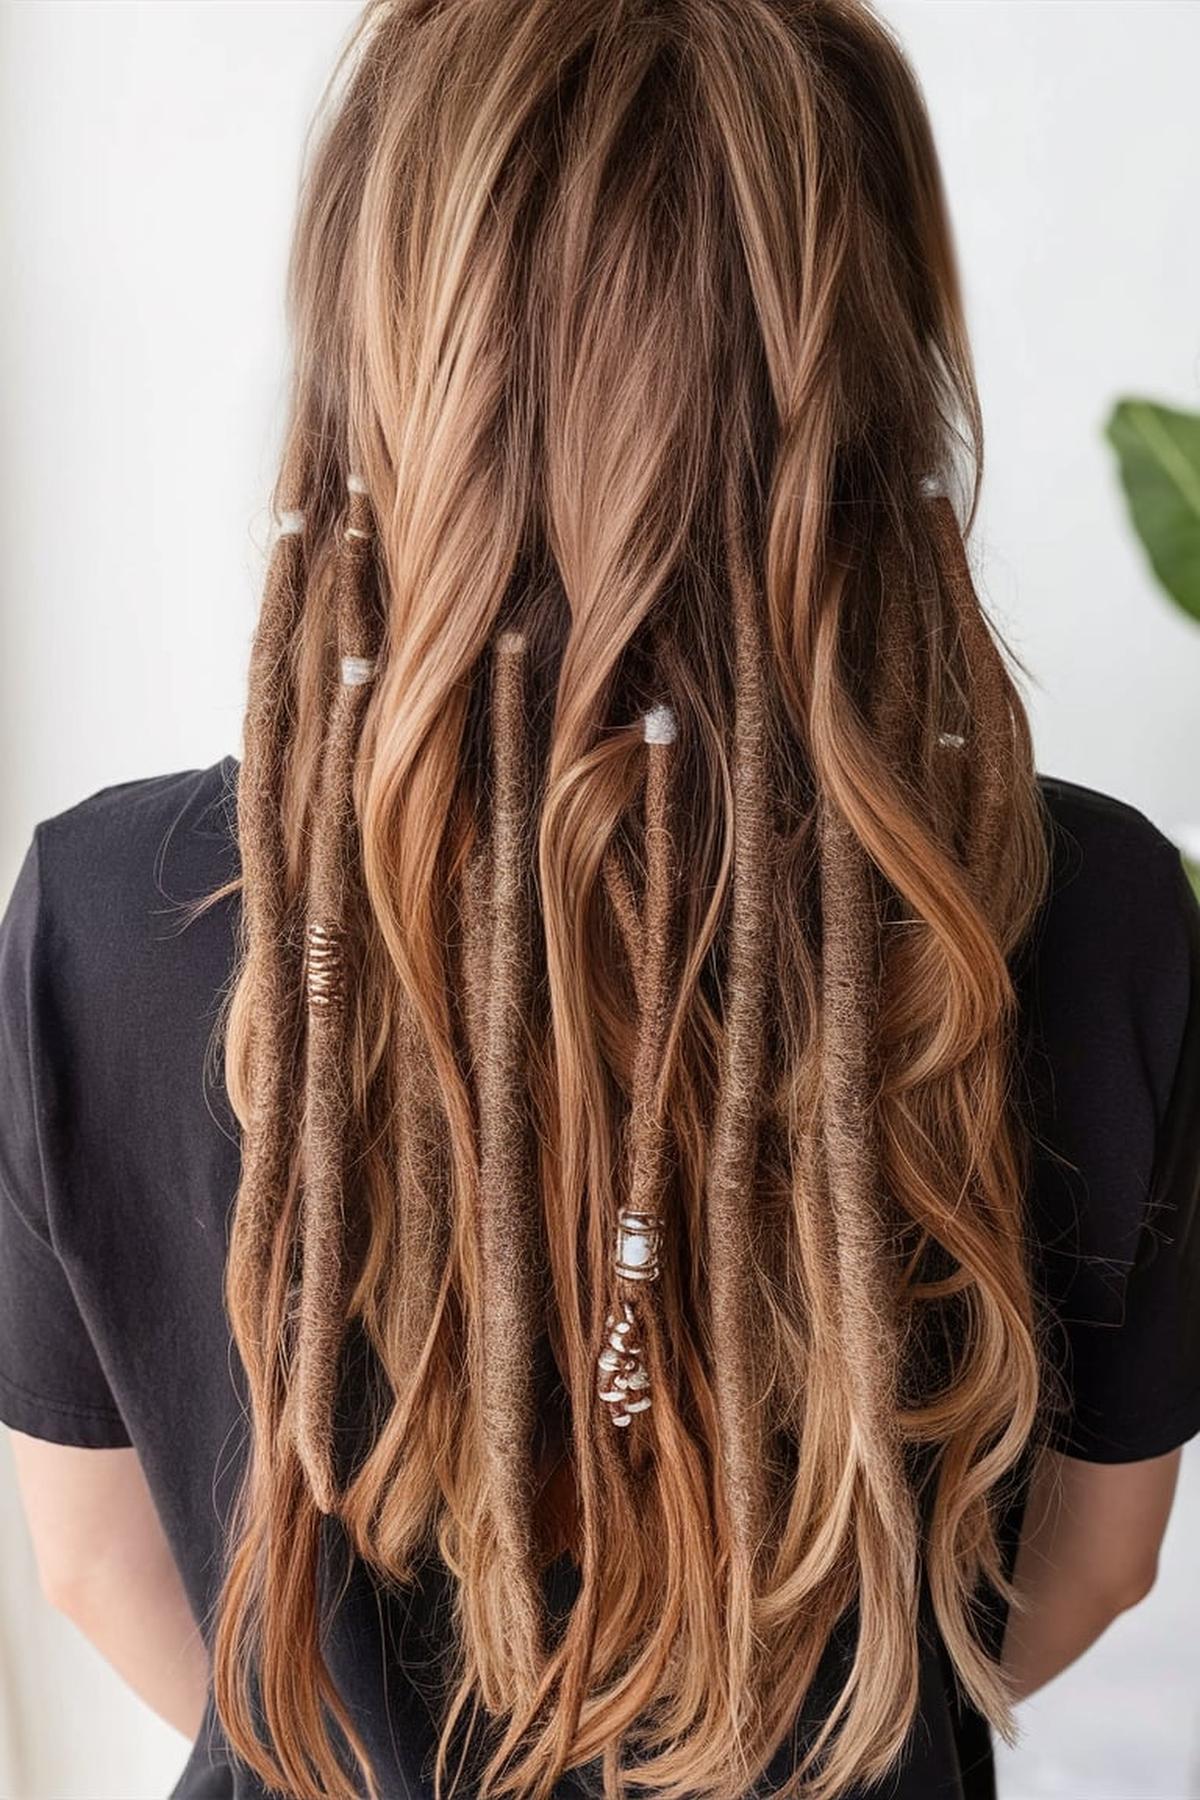
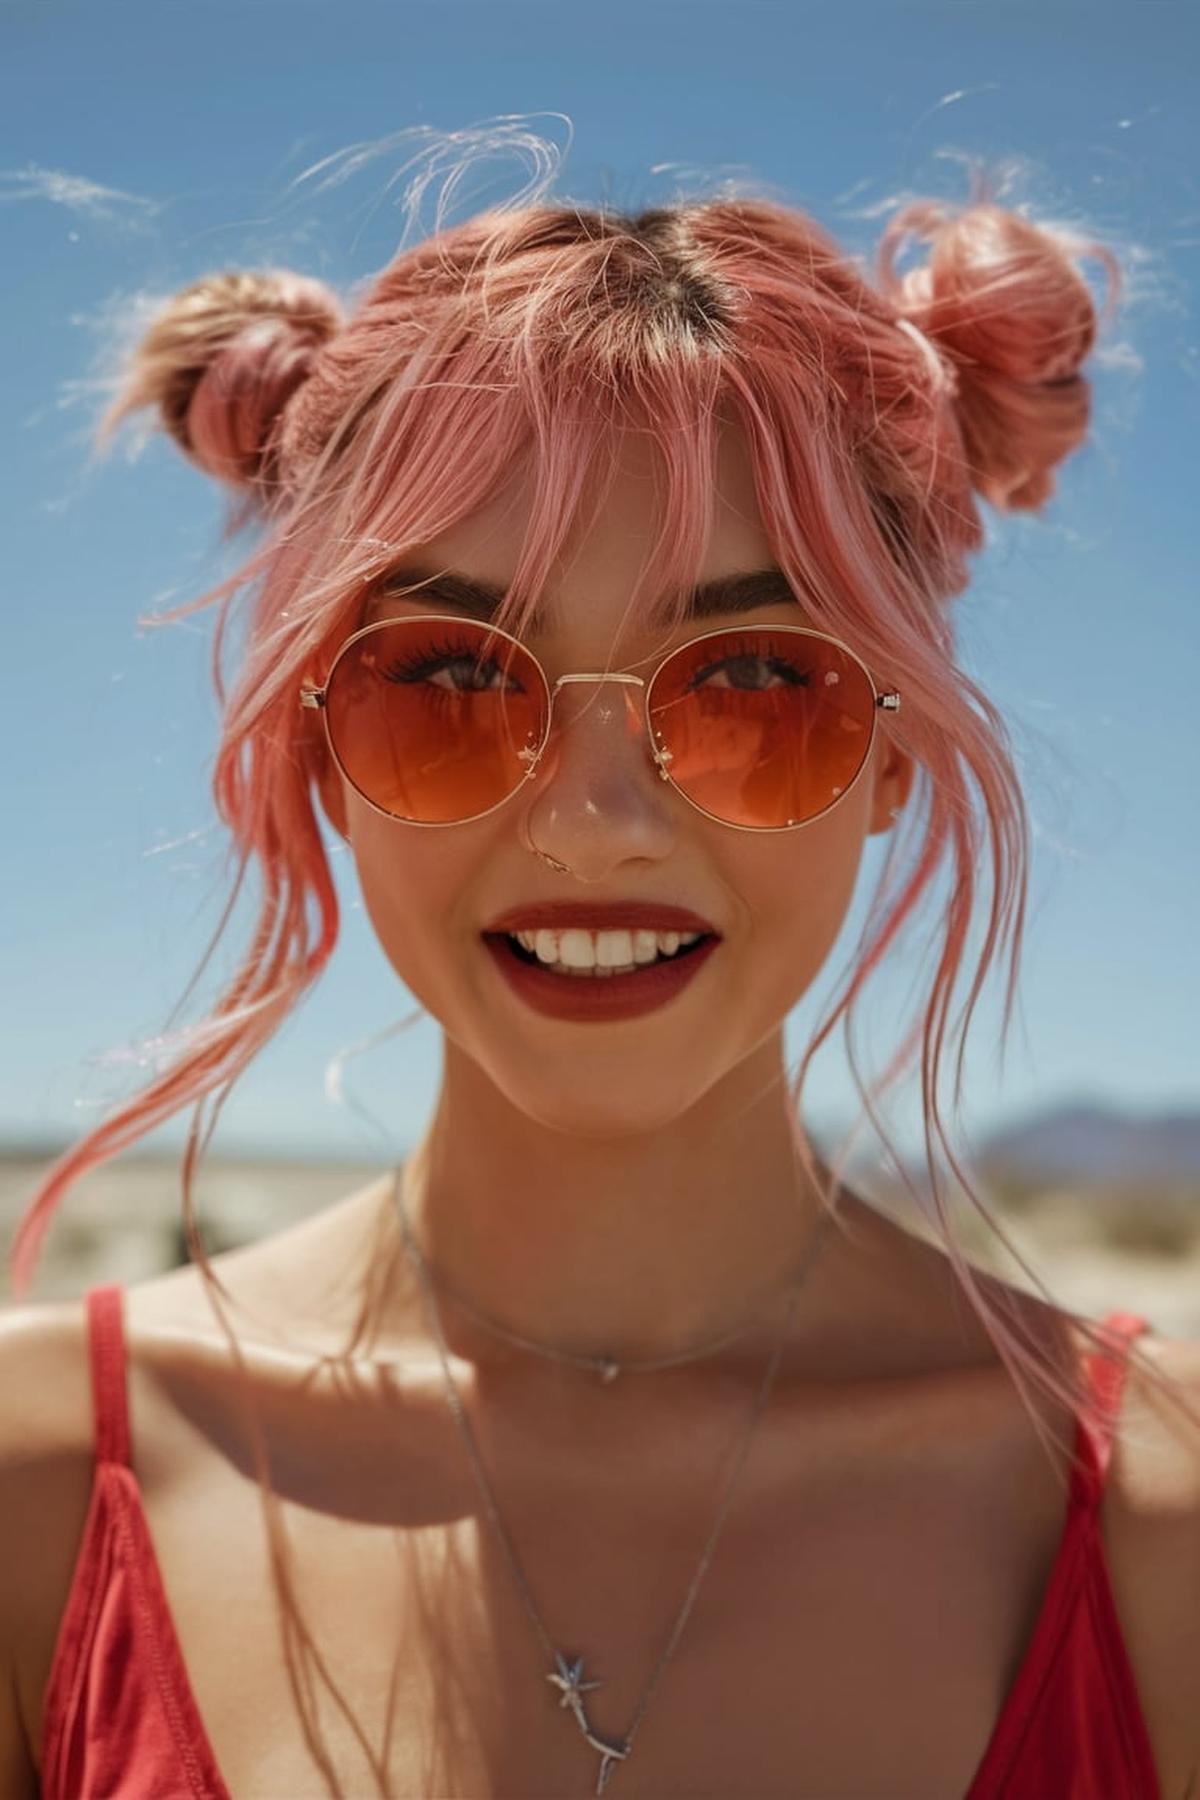
Bun and braids combo and braided bun with side braids are excellent for keeping hair off your face, allowing you to enjoy the music without worry.
Now, without further ado, let’s dive into 31 cute coachella hairstyles to rock this year.
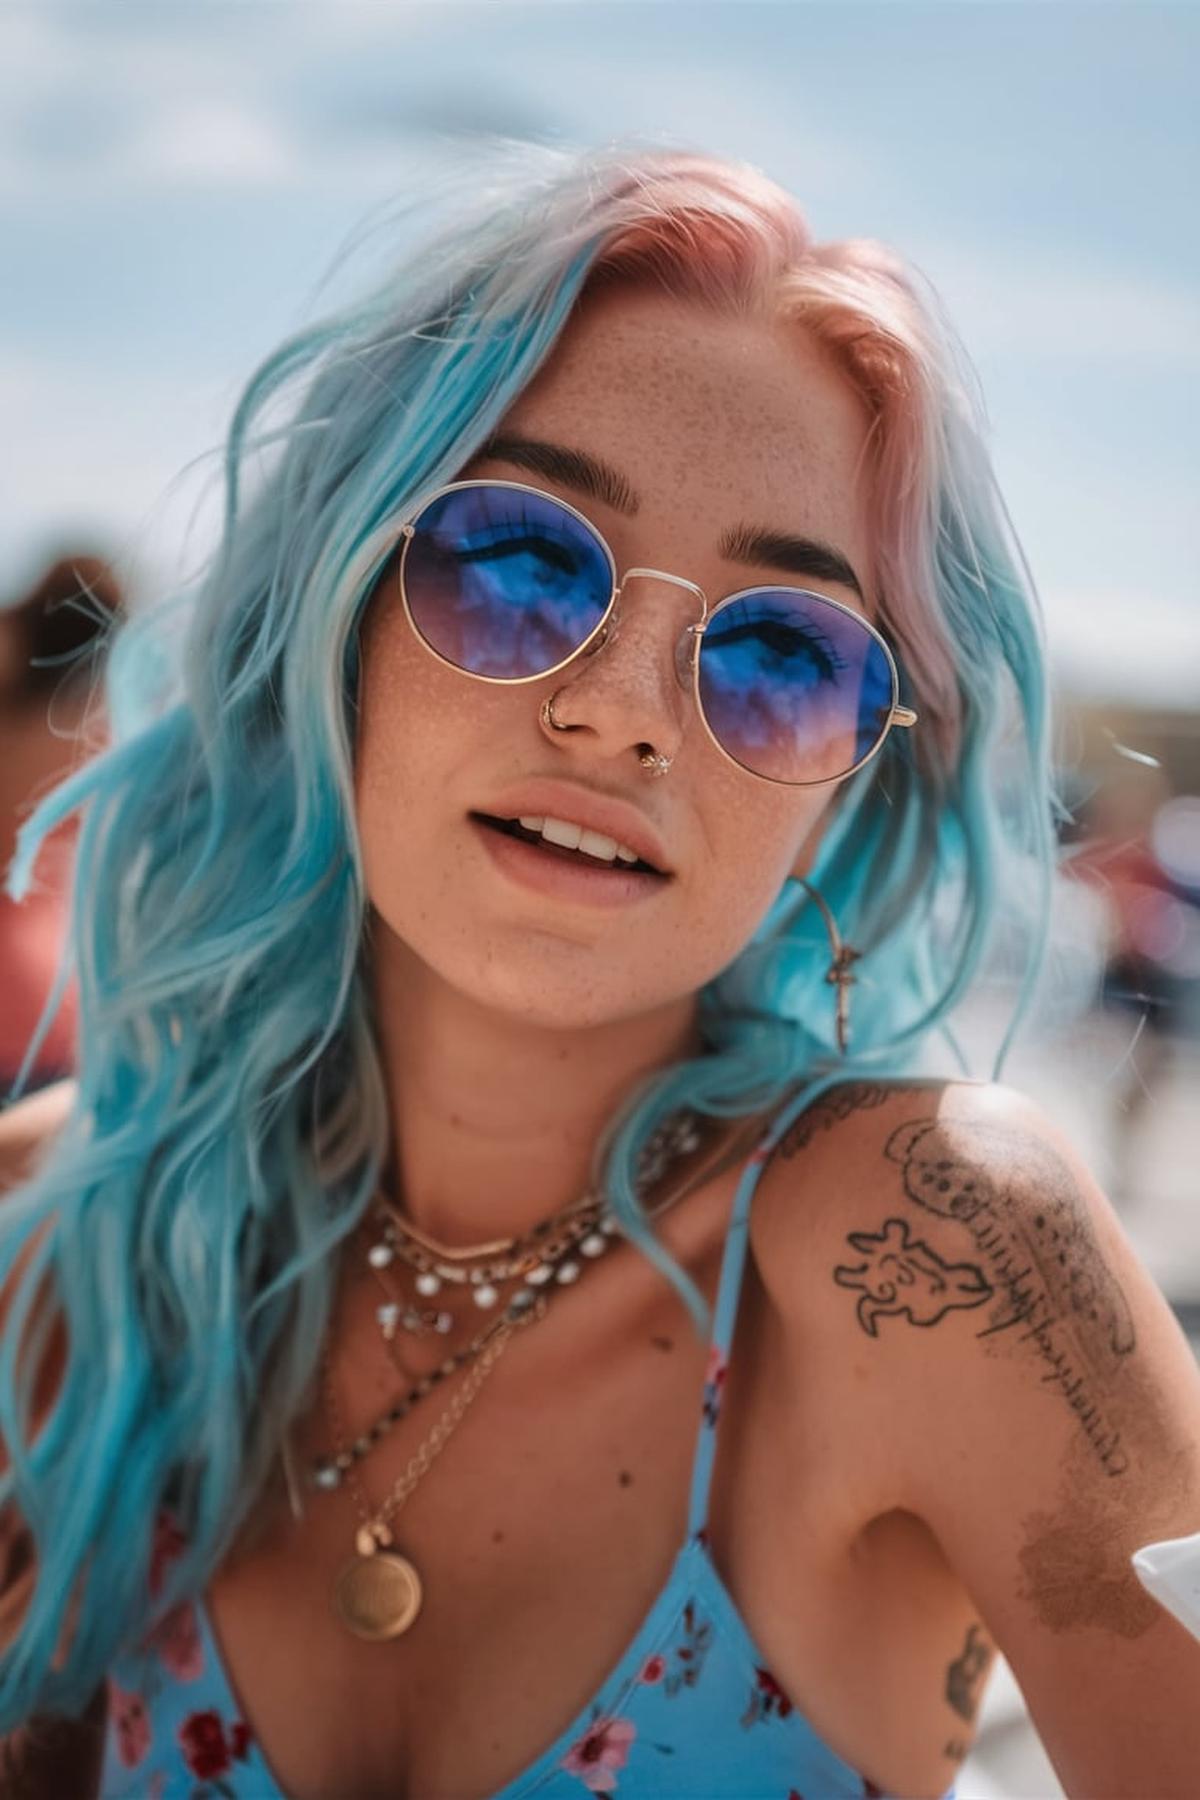
Enchanting Blue Tint Half-Up
Make sure your hair is clean and dry. If you want to add color, use a temporary blue hair dye or hair chalk. Apply it to the sections of hair you want to show off. This can be a fun way to express your style without a long-term commitment.
Gather the top half of your hair and secure it with a hair tie or clip. You can choose to leave some strands out at the front for a softer look. To add some flair, consider curling the ends of the hair that you left down. This will give your hairstyle a more enchanting and playful vibe.
If you want, you can also add a shine serum to make your hair look glossy and healthy. Remember, practice makes perfect! The more you try this hairstyle, the better you’ll get at it. Don’t be afraid to experiment with different shades of blue or styles to find what works best for you.
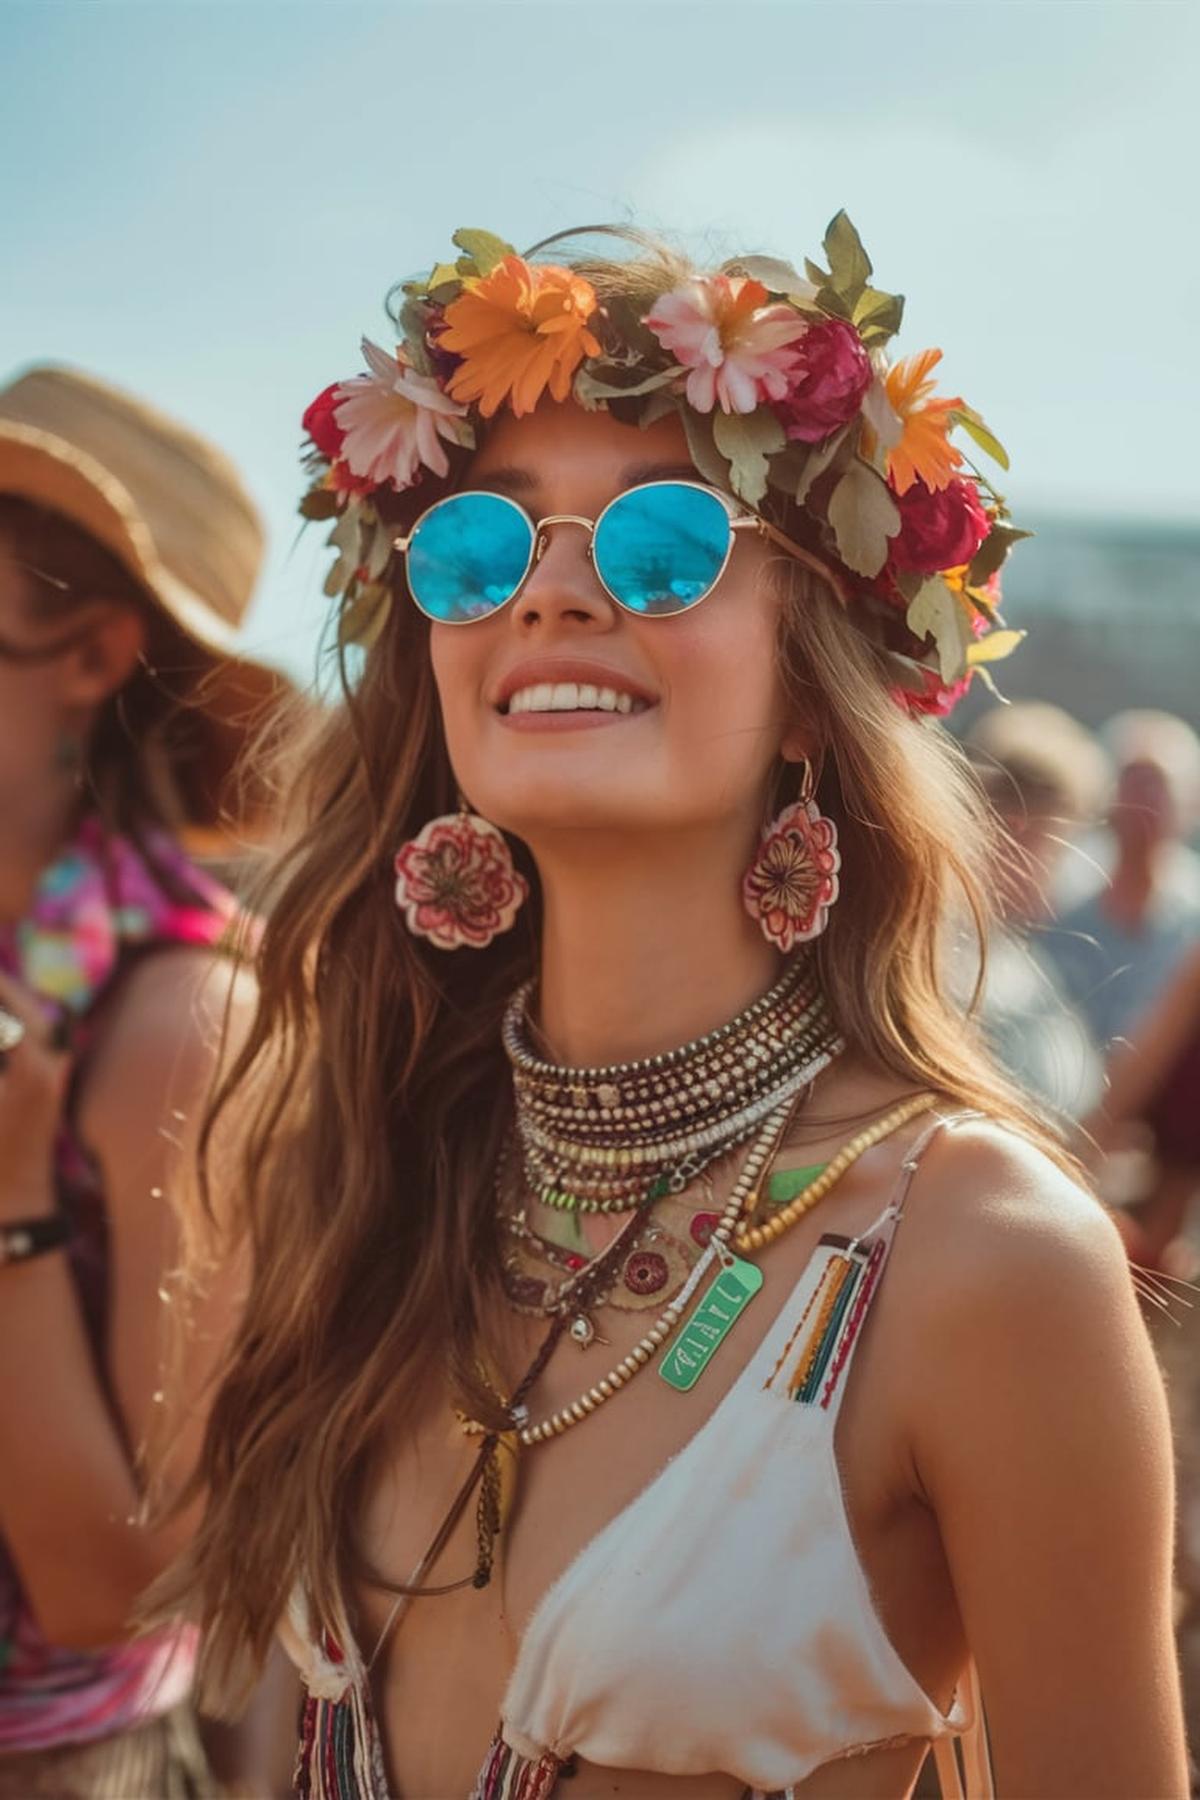
Floral Crown Elegance
You’ll need floral tape, scissors, craft wire, and a selection of fresh flowers and greenery. Choose a mix of statement flowers like peonies or spray roses for a bold look, and filler flowers like baby’s breath for a softer touch. Don’t forget to include some greenery to give your crown a natural feel. Make sure to cut the flower stems to about 2-3 inches to make them easier to work with.
Start by wrapping greenery around the wire base, using the floral tape to attach it securely. This step can be skipped if you want a crown that focuses more on the flowers. After that, prepare mini flower bunches by grouping 2-3 blooms together and wrapping their stems with floral tape.
Attach the bunches in a way that the blooms face outward, layering them to create a seamless floral design. You can place larger flowers at the front for a focal point and fill in the gaps with smaller blooms. Once you’re happy with your crown, store it in the fridge to keep it fresh until you’re ready to wear it. With a little practice, you’ll be able to create beautiful and elegant floral crowns for any occasion.
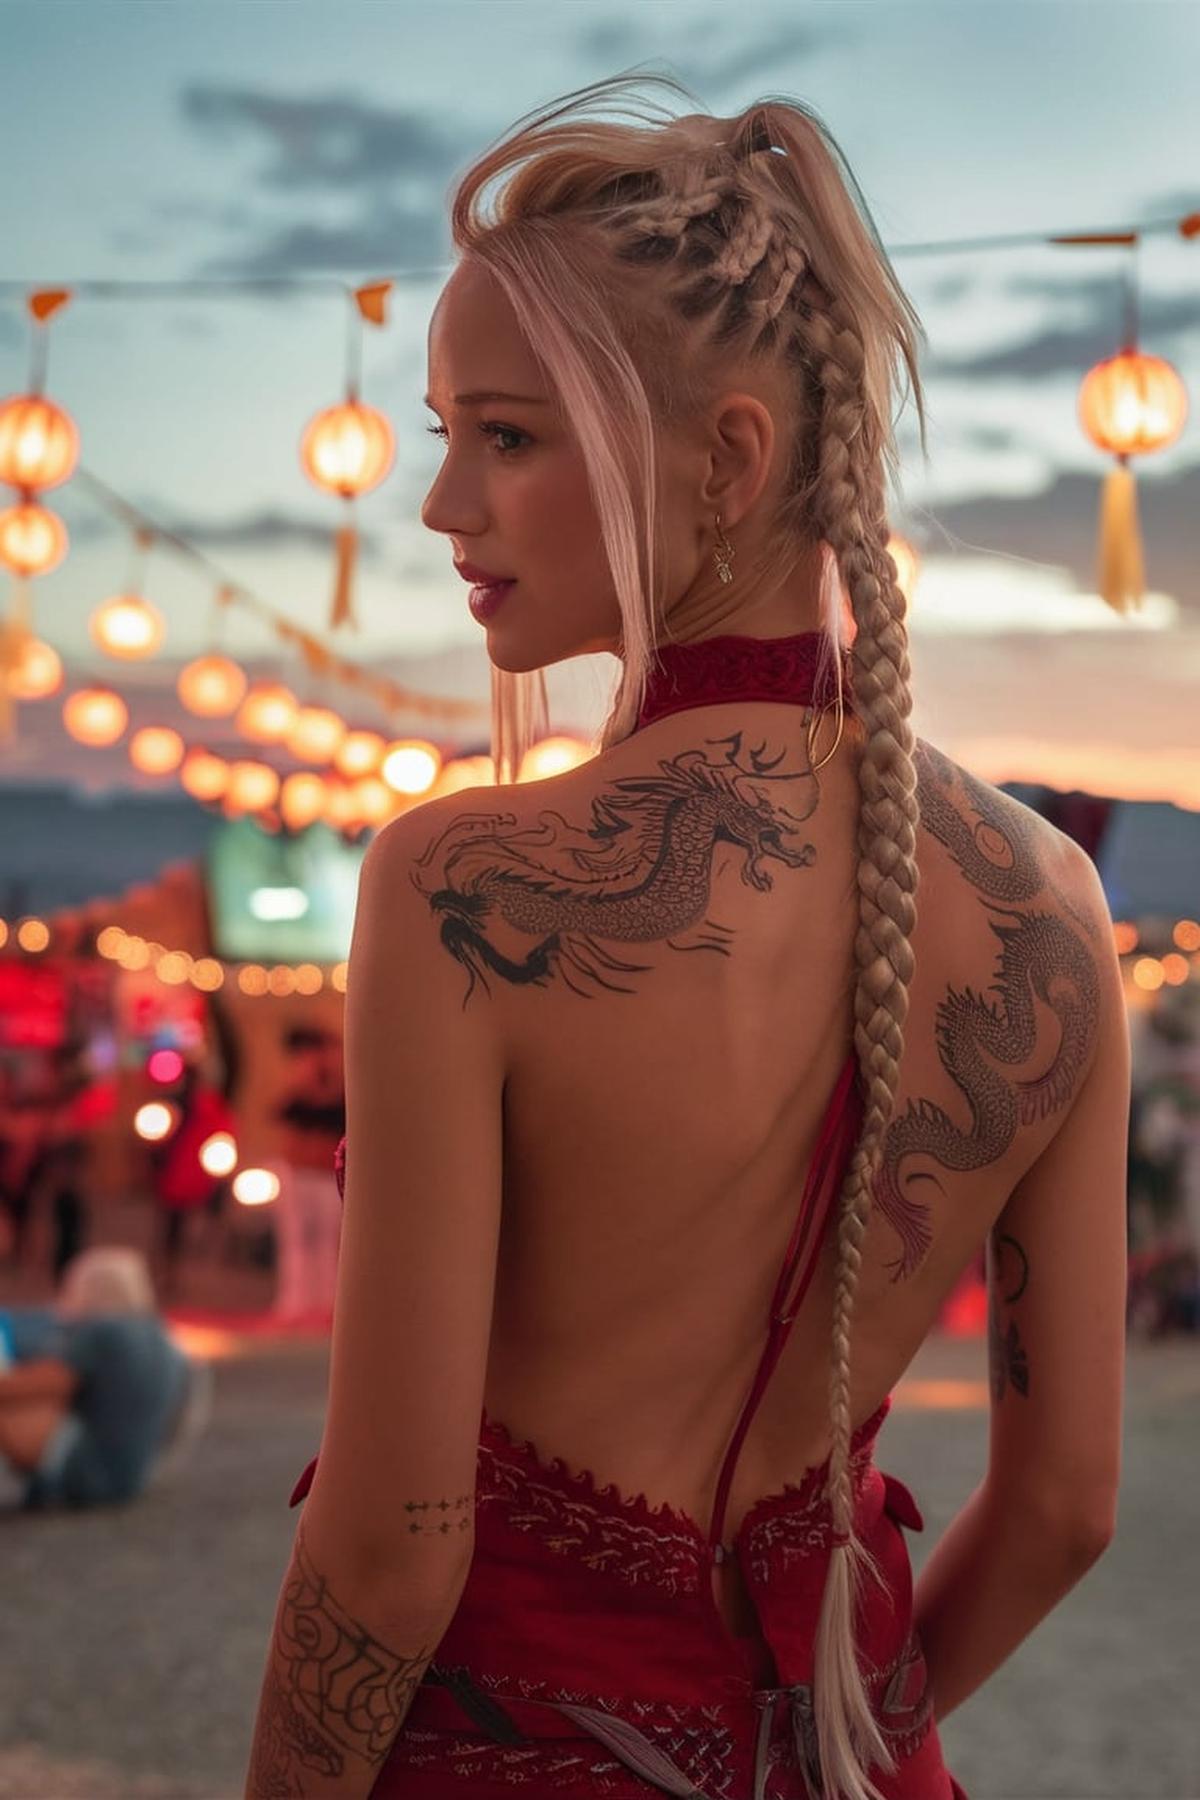
Twists and Braids Ponytail
First, gather your hair into a low ponytail at the base of your neck and secure it with a hair tie. Next, create a small hole above the hair tie and twist your ponytail upward through this hole. Pull it tight and use bobby pins to secure any loose ends. This style is quick and works great on messy or slightly dirty hair, making it perfect for busy days.
To start, divide your hair into three sections at the top of your head. Cross the right section over the middle, then the left section over the new middle. Continue adding hair from the sides as you braid downwards.
Finally, don’t hesitate to explore different resources for tutorials. Websites like Pinterest and YouTube offer a wealth of step-by-step guides that can help you learn new styles at your own pace. Watching these tutorials can make it easier to follow along, especially if you prefer visual learning. With practice and experimentation, you’ll find the twists and braids that suit your style best and become a pro at creating beautiful ponytails.
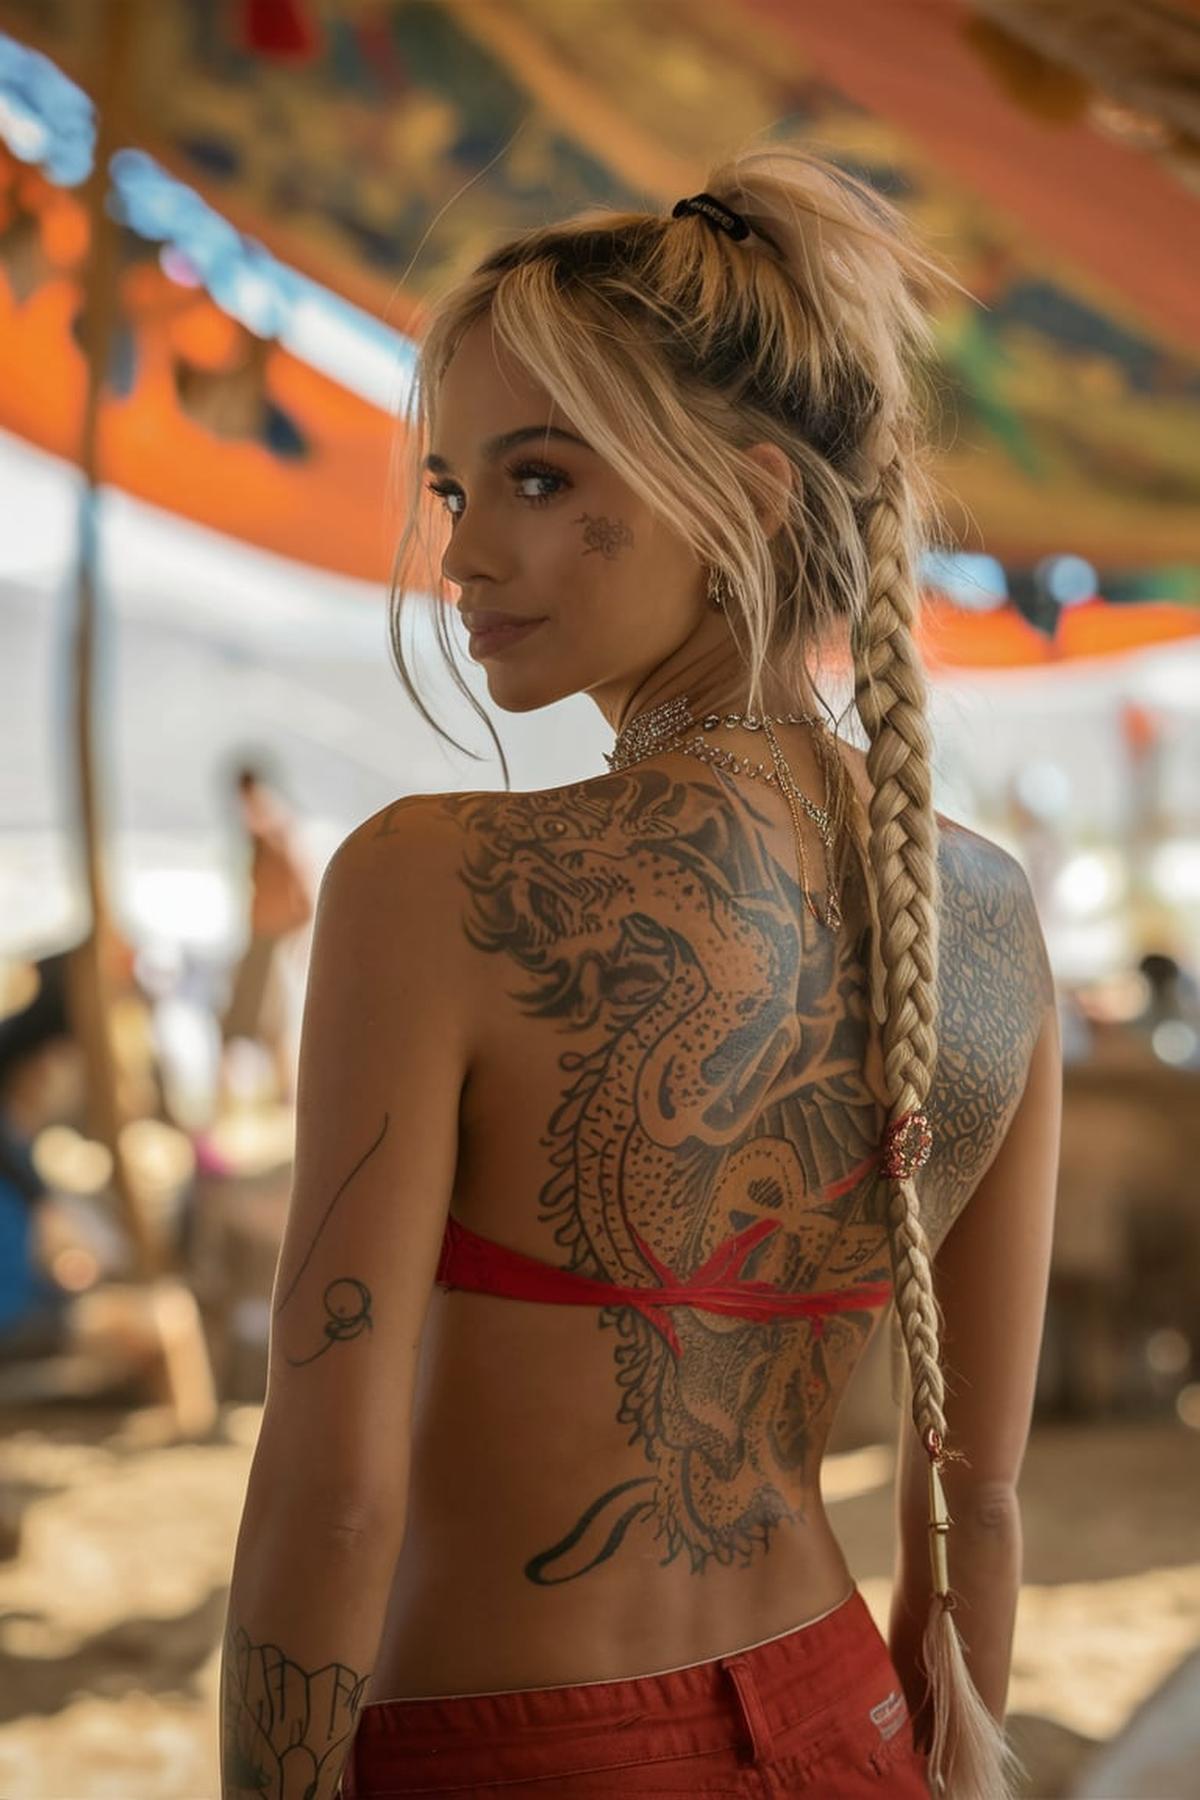
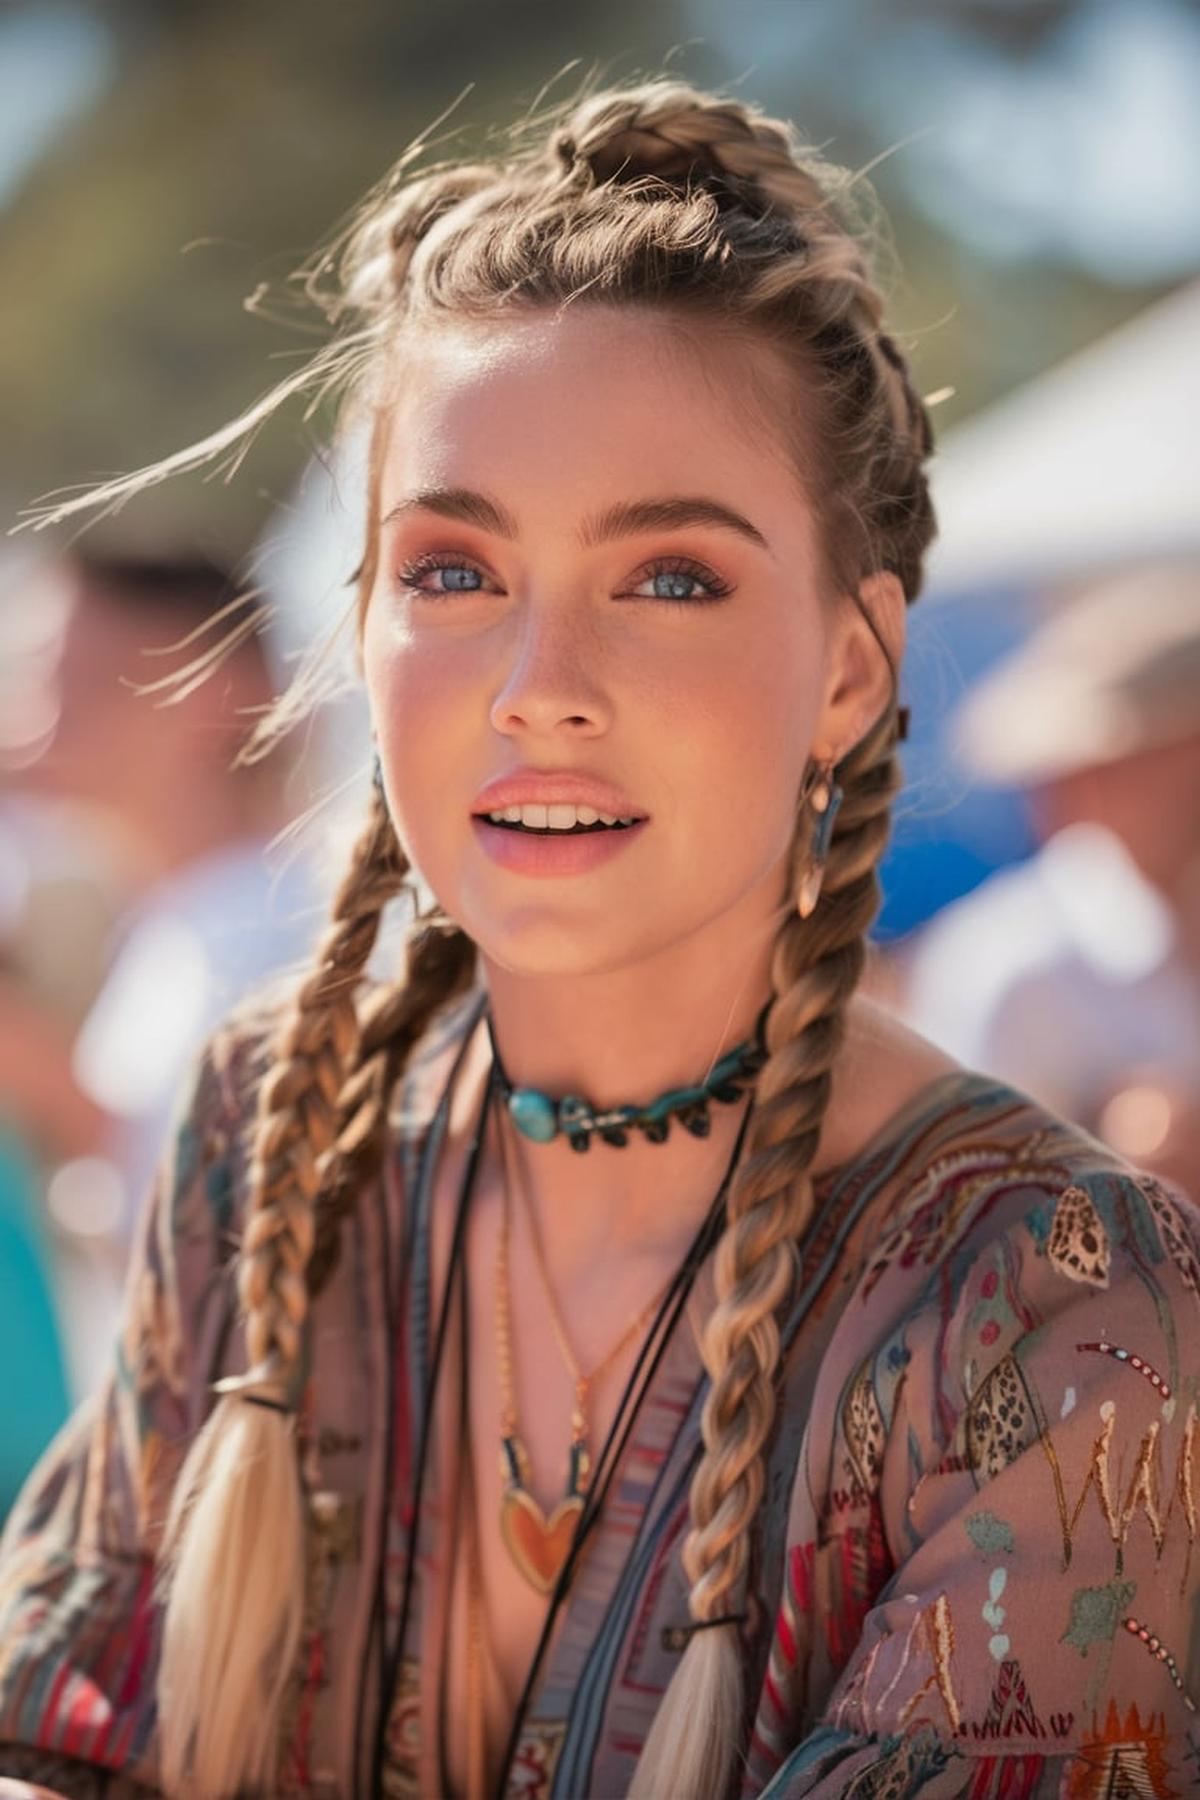
Boho High Ponytail Braid
Brush your hair back into a high ponytail and secure it with a hair tie. This style works best with some texture, so if your hair is too smooth, consider using a texturizing spray or dry shampoo to give it grip. You can also add some hair gel to tame any flyaways and keep your hair looking sleek.
Split the ponytail into three equal sections. Cross the right section over the middle, then the left section over the new middle. Keep repeating this until you reach the end of your hair, then secure it with a small hair tie.
Consider adding small flowers, beads, or colorful ribbons to your braid for a fun, personalized touch. Once you’re satisfied with your style, use a flexible hairspray to hold everything in place without making it stiff. With practice, you’ll be able to create this stylish look quickly and easily!
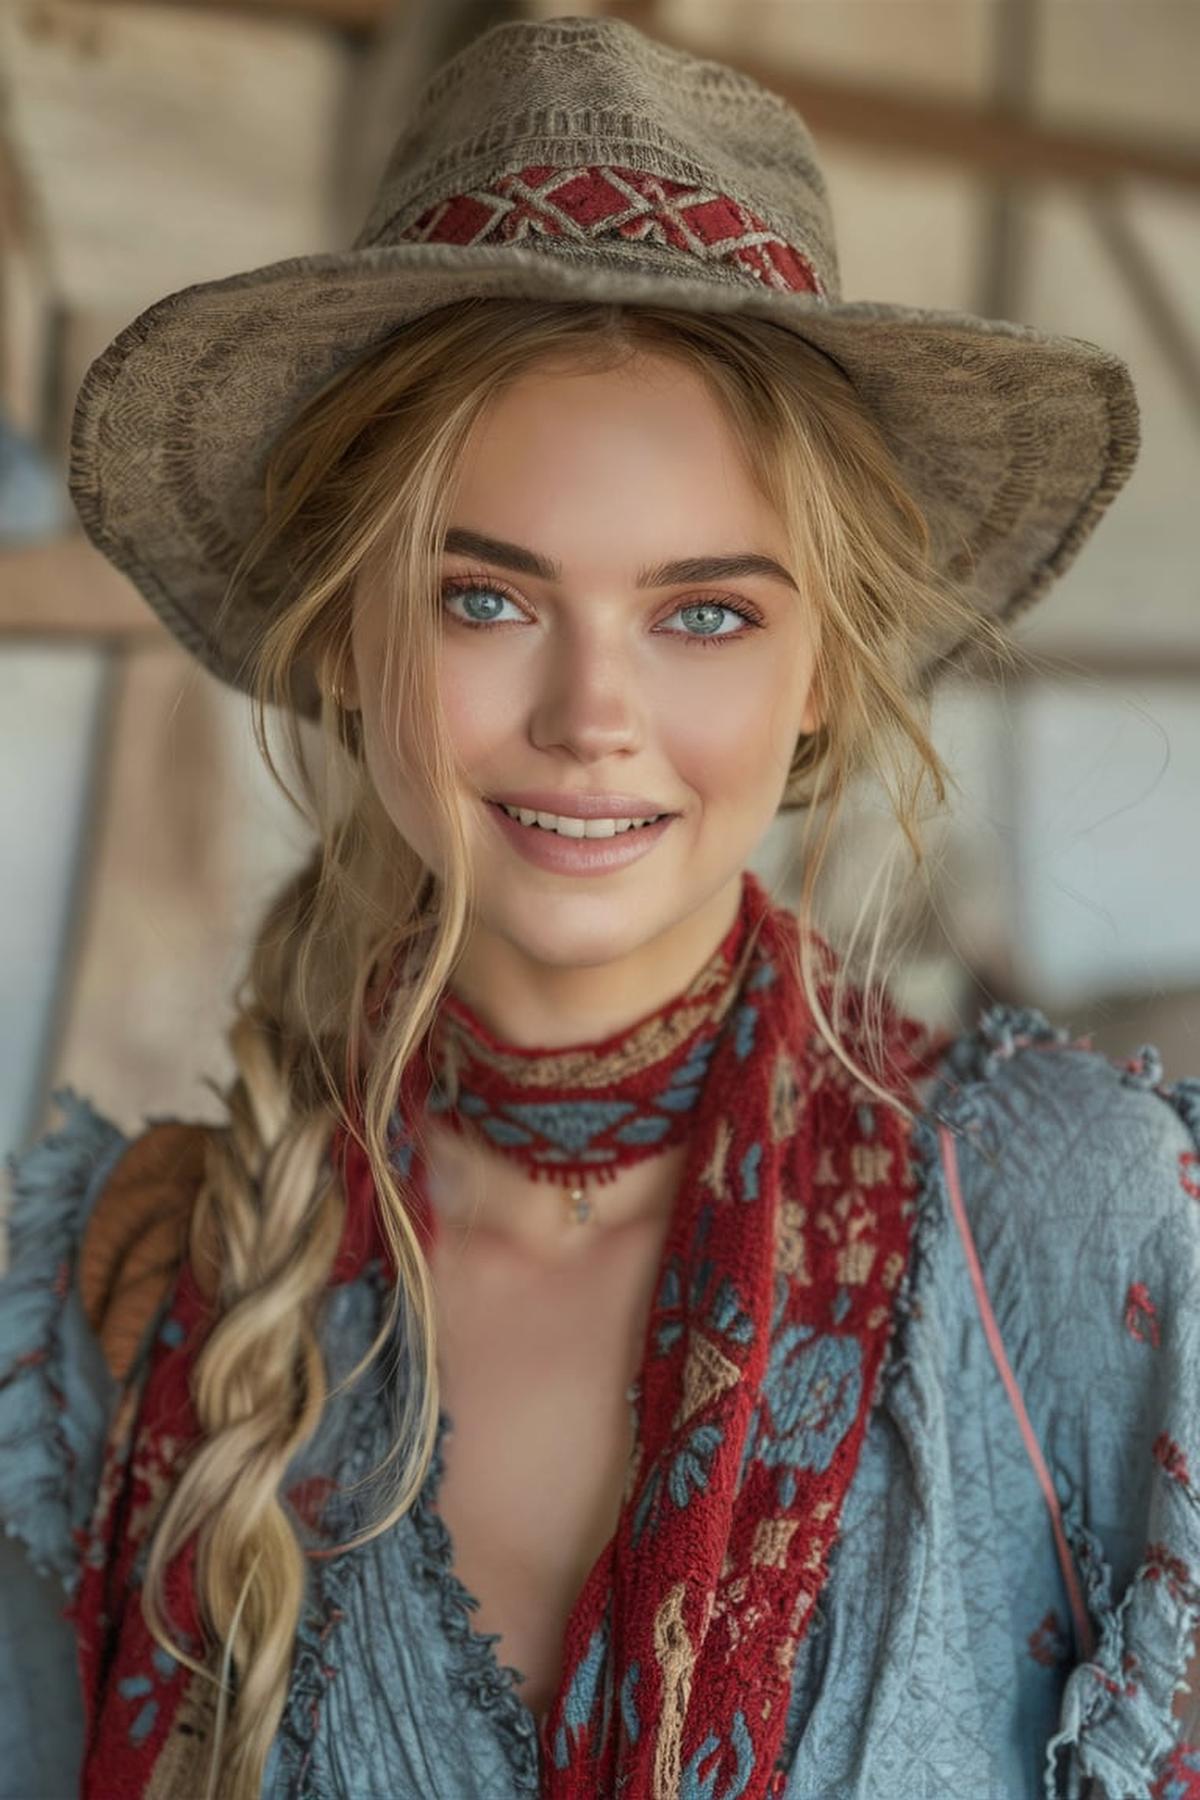
Boho Hair with Hat and Braids
Begin with clean, dry hair and add some texture using products like dry shampoo or texturizing spray. This will help your hair hold the style better. For a simple boho braid, take a small section of hair from the front, divide it into three parts, and start a French braid.
Next, you can add a fun twist by incorporating a hat. Choose a wide-brimmed hat or a cute beanie that matches your outfit. Once your braids are done, position the hat on your head, letting some loose strands fall out for a carefree vibe.
Finally, feel free to customize your boho hairstyle. You can add more braids, use colorful hair ties, or even accessorize with beads and flowers. If you want to go further, consider styling the remaining hair in a loose ponytail or a fishtail braid. The boho style is all about being creative and expressing your personality, so have fun with it and make it your own.
Pastel Blue Dream
This means washing it with a gentle shampoo and applying a good conditioner to keep it healthy and hydrated. If your hair is dark, you might need to bleach it first to achieve that light pastel blue color. Make sure to use a toner afterward to get the right shade. It’s essential to protect your hair from damage, so consider using a deep conditioning treatment regularly.
Apply the dye evenly, starting from the roots and working your way down to the tips. You can use a brush for precision or your hands for a more relaxed look. After applying the dye, let it sit for the recommended time on the product instructions, usually around 30 to 45 minutes.
You can use a flat iron or curling wand to create waves or curls, which add dimension to the color. Finish with a light hairspray to hold the style in place without making it stiff. Remember to use hair products that are sulfate-free to maintain the vibrancy of your pastel blue hair. Regular touch-ups may be needed to keep the color fresh, so plan for that in your hair care routine.
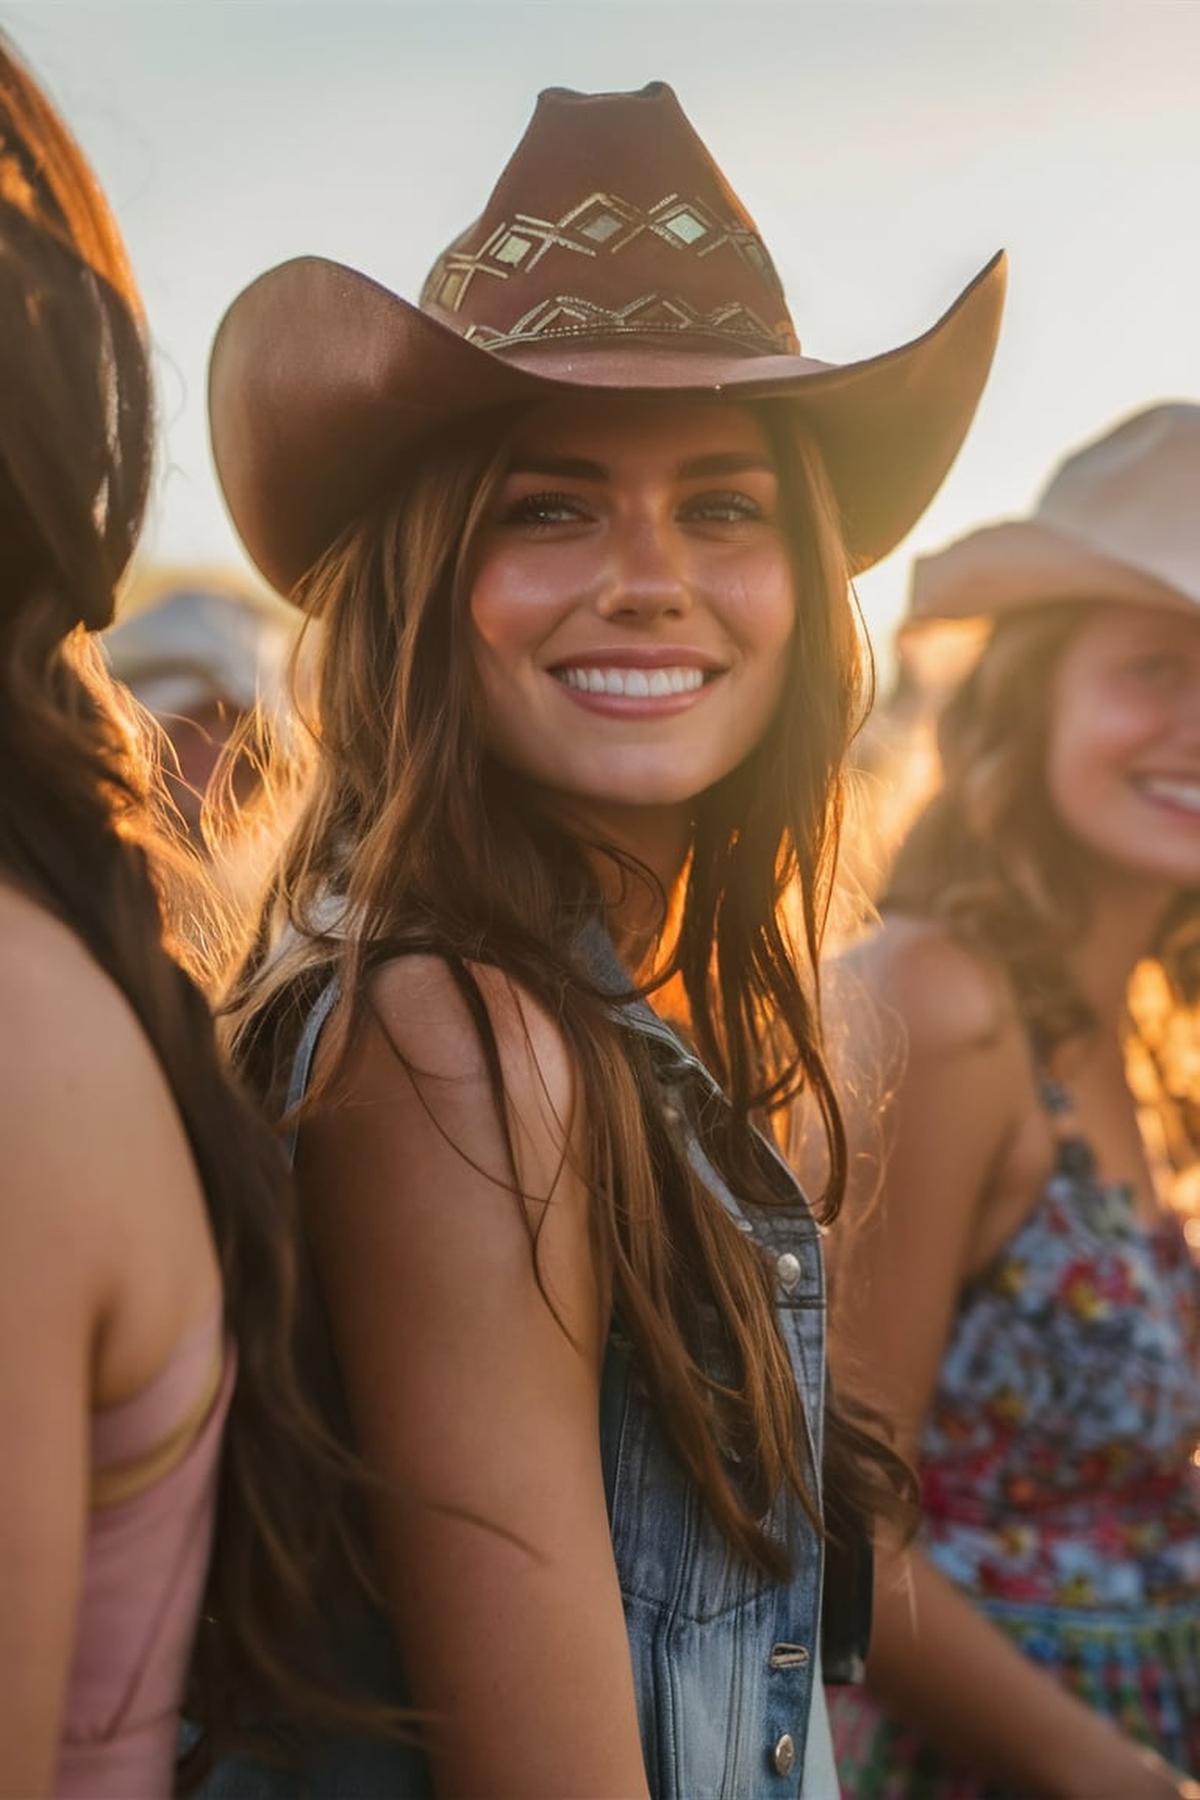
Cowboy Chic with Long Hair
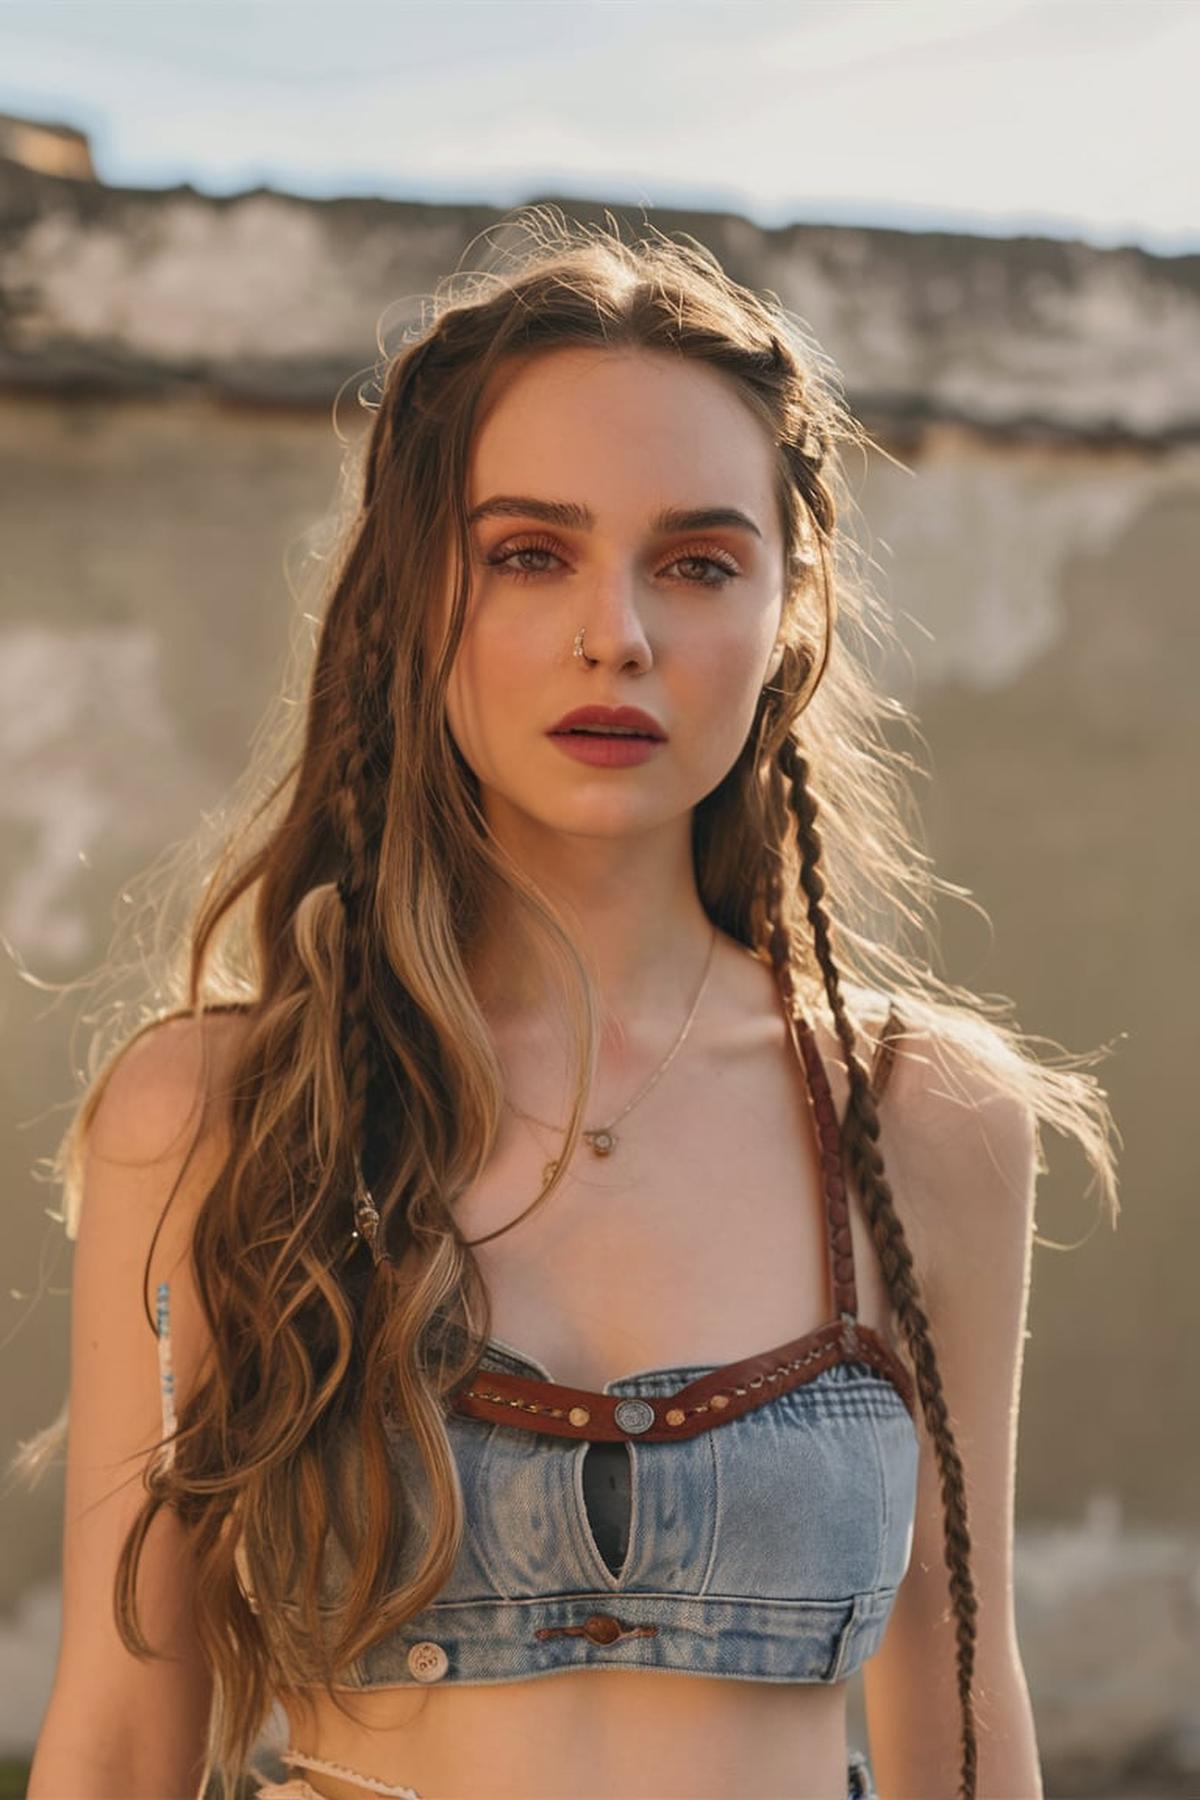
This style is all about a relaxed and rugged look, so avoid overly polished or stiff hairstyles. Begin by letting your hair air dry or using a blow dryer with a diffuser to enhance your natural waves. If your hair is straight, you can create loose waves using a curling iron or by braiding your hair when it’s damp and letting it dry. The key is to achieve a carefree, tousled appearance that reflects the adventurous spirit of cowboy culture.
You can also use hair ties or bands that have a rustic feel, like leather or woven materials. For added flair, try braiding sections of your hair or adding small hair clips with western motifs. These details can help personalize your style and make it more unique while keeping it casual and fun.
Regular trims will help maintain the shape and remove any damaged tips. If you want to add some shine, consider using a light hair oil or serum. This will not only make your hair look healthy but also add a bit of polish to your cowboy chic style without making it look too formal. Remember, the goal is to look effortlessly cool, so keep it simple and let your personality shine through!
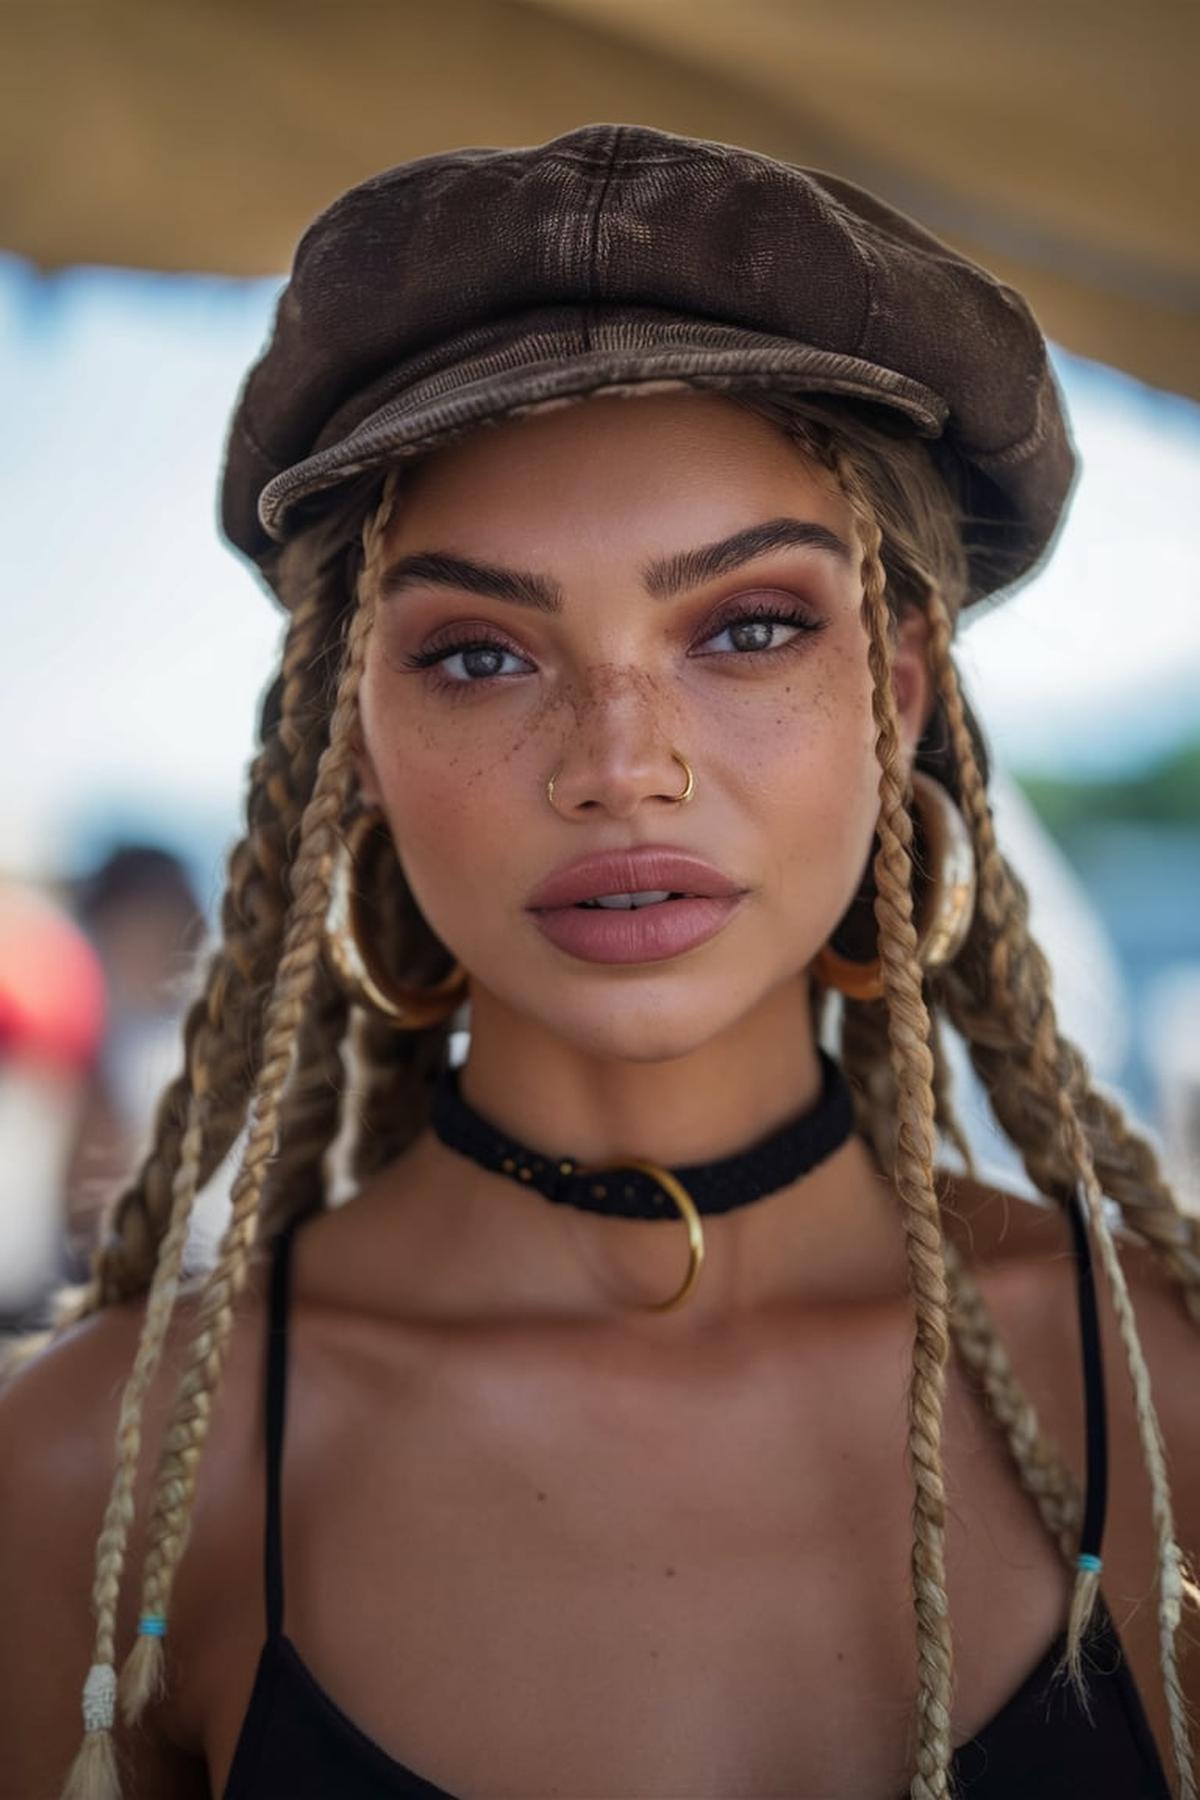
All-Over Braids With Cap Hat
Begin with simple three-strand braids, which involve dividing your hair into three equal sections and crossing them over each other. As you get comfortable, you can try different styles like French braids or fishtail braids. Watching tutorial videos can be really helpful since they show you step-by-step how to do each braid.
A good tip is to choose hats that are a bit larger or those that have a soft lining. This way, they won’t pull on your hair or flatten your braids. If you’re wearing a beanie, try putting on a thin satin bonnet underneath to protect your hair and keep your braids intact.
Avoid tugging or pushing too hard, as this can loosen your braids. Instead, slide the hat on carefully, ensuring it sits comfortably without squishing your hairstyle. With practice and the right techniques, you can rock all-over braids with any cap or hat while keeping your look stylish and neat.
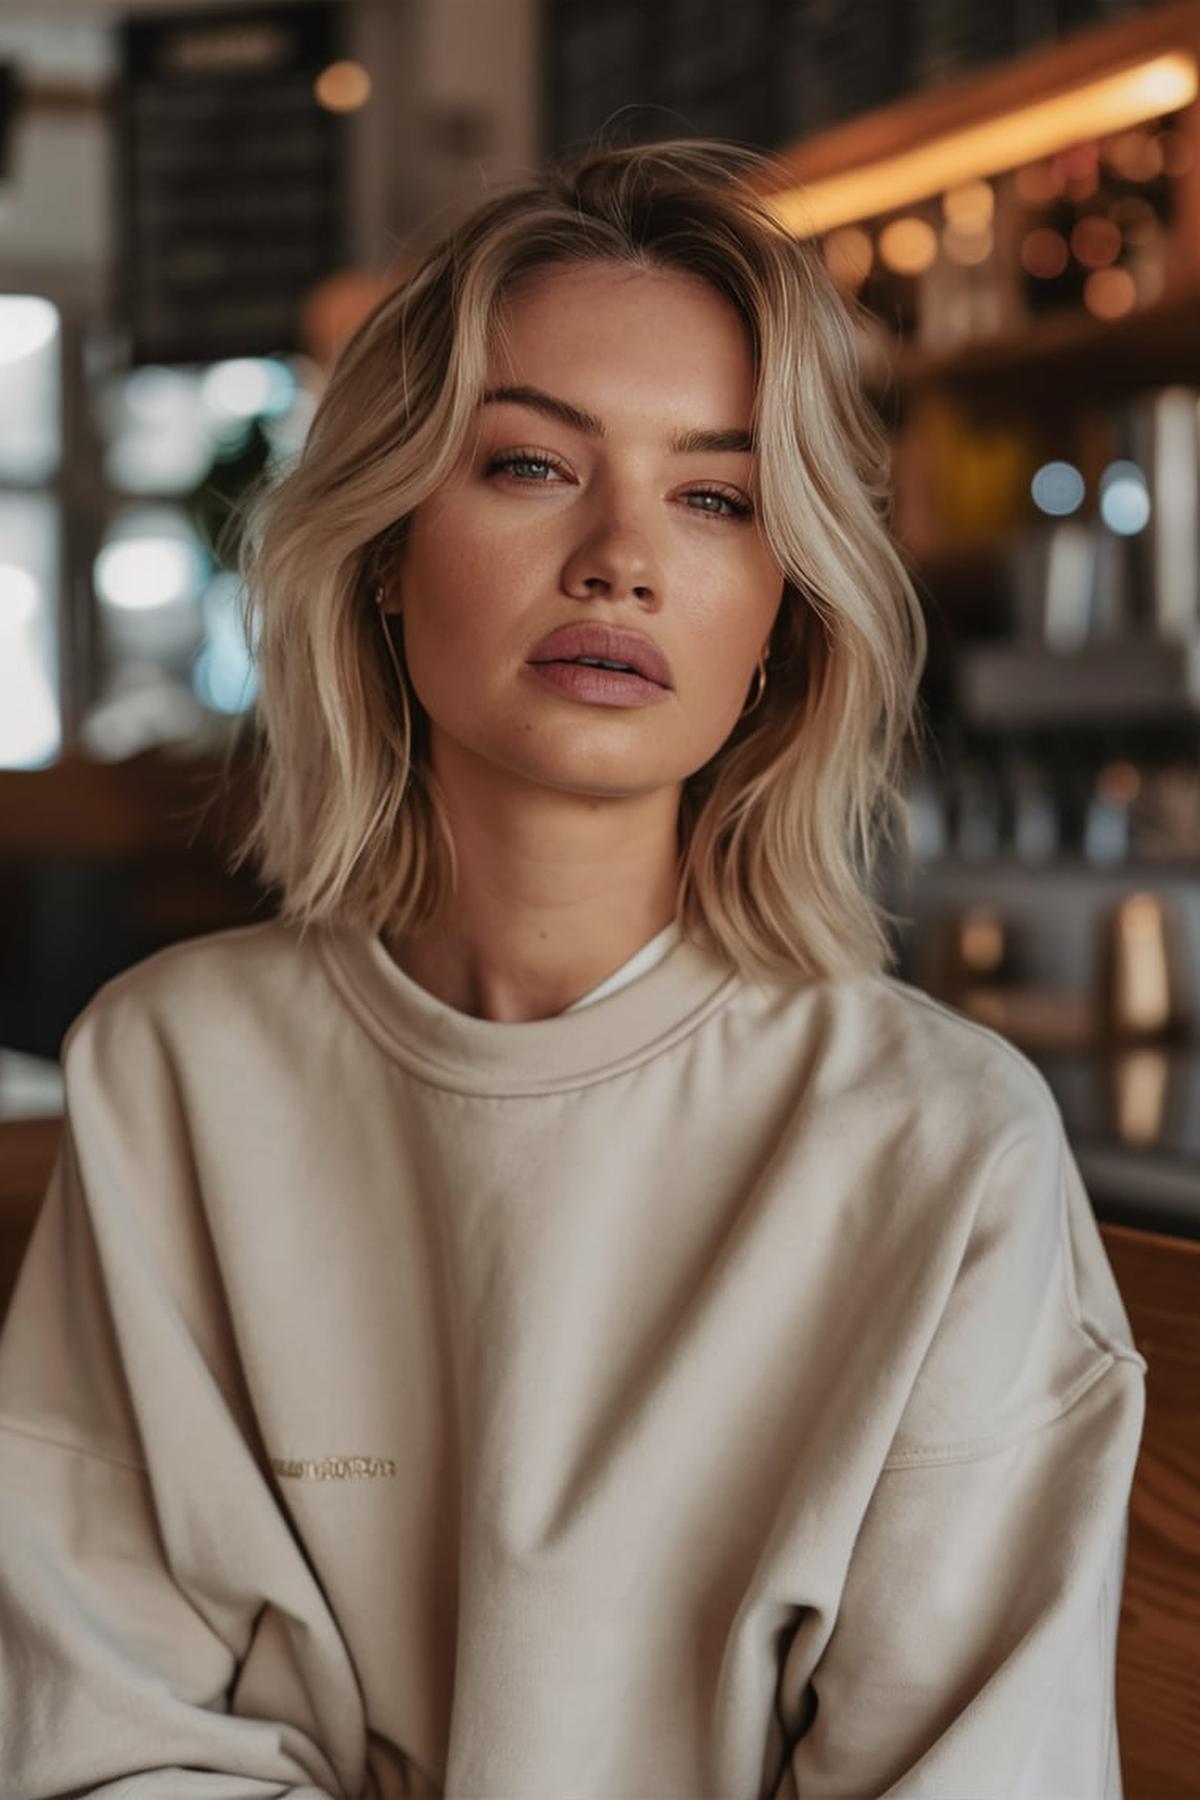
Cool Blonde Natural Waves
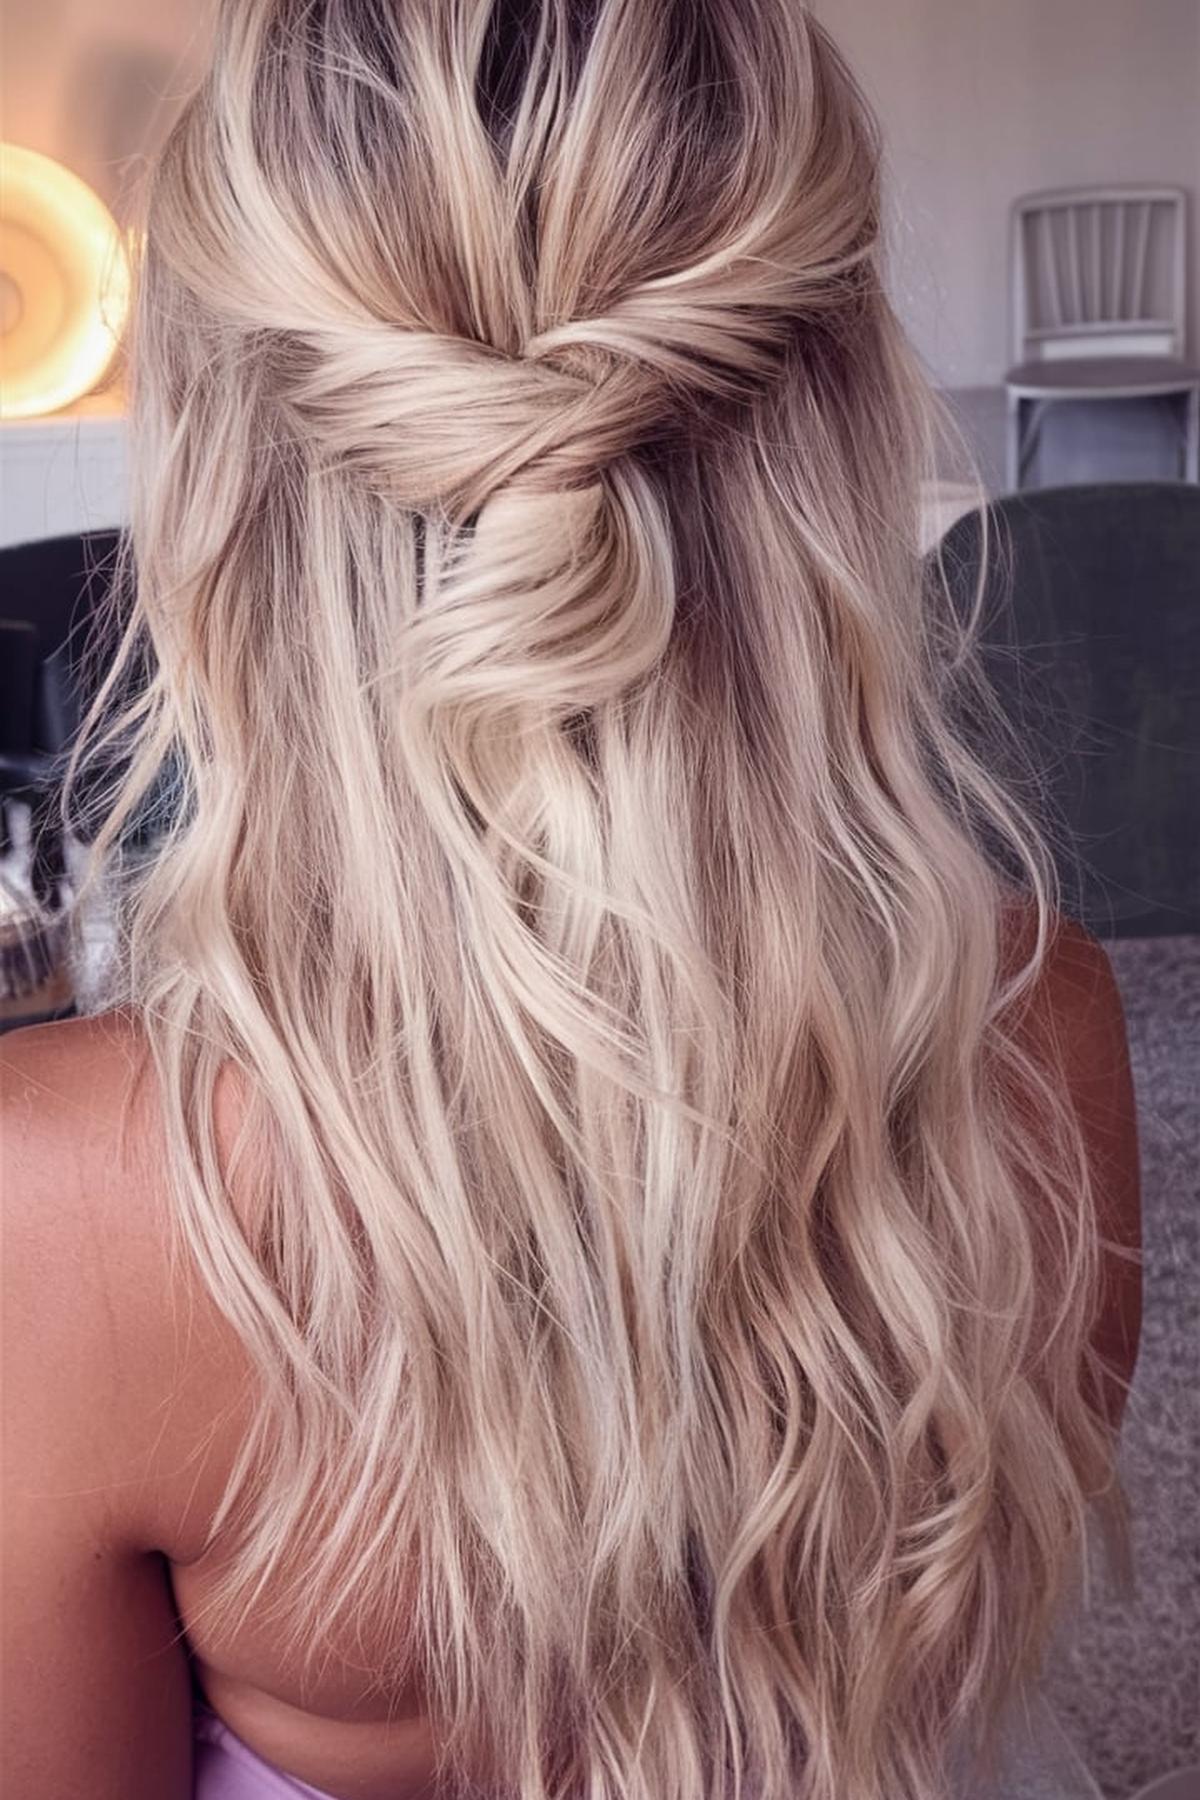
Use a good shampoo and conditioner designed for your hair type, preferably sulfate-free to avoid stripping natural oils. After washing, gently pat your hair dry with a cotton towel instead of rubbing it, which can cause frizz. For added texture and hold, apply a lightweight mousse or sea salt spray while your hair is still damp.
Take small sections of hair, wrap them around the barrel, and hold for a few seconds before releasing. For a more natural look, alternate the direction of the curls. Once you’ve curled all your hair, let it cool for a few minutes.
Lastly, maintain your blonde color by using a purple shampoo once a week to prevent brassiness. Regular trims will also keep your ends healthy and your waves looking fresh. If you want to add some shine, a few drops of hair oil can help. This simple routine will give you beautiful, cool blonde waves that look effortlessly stylish!
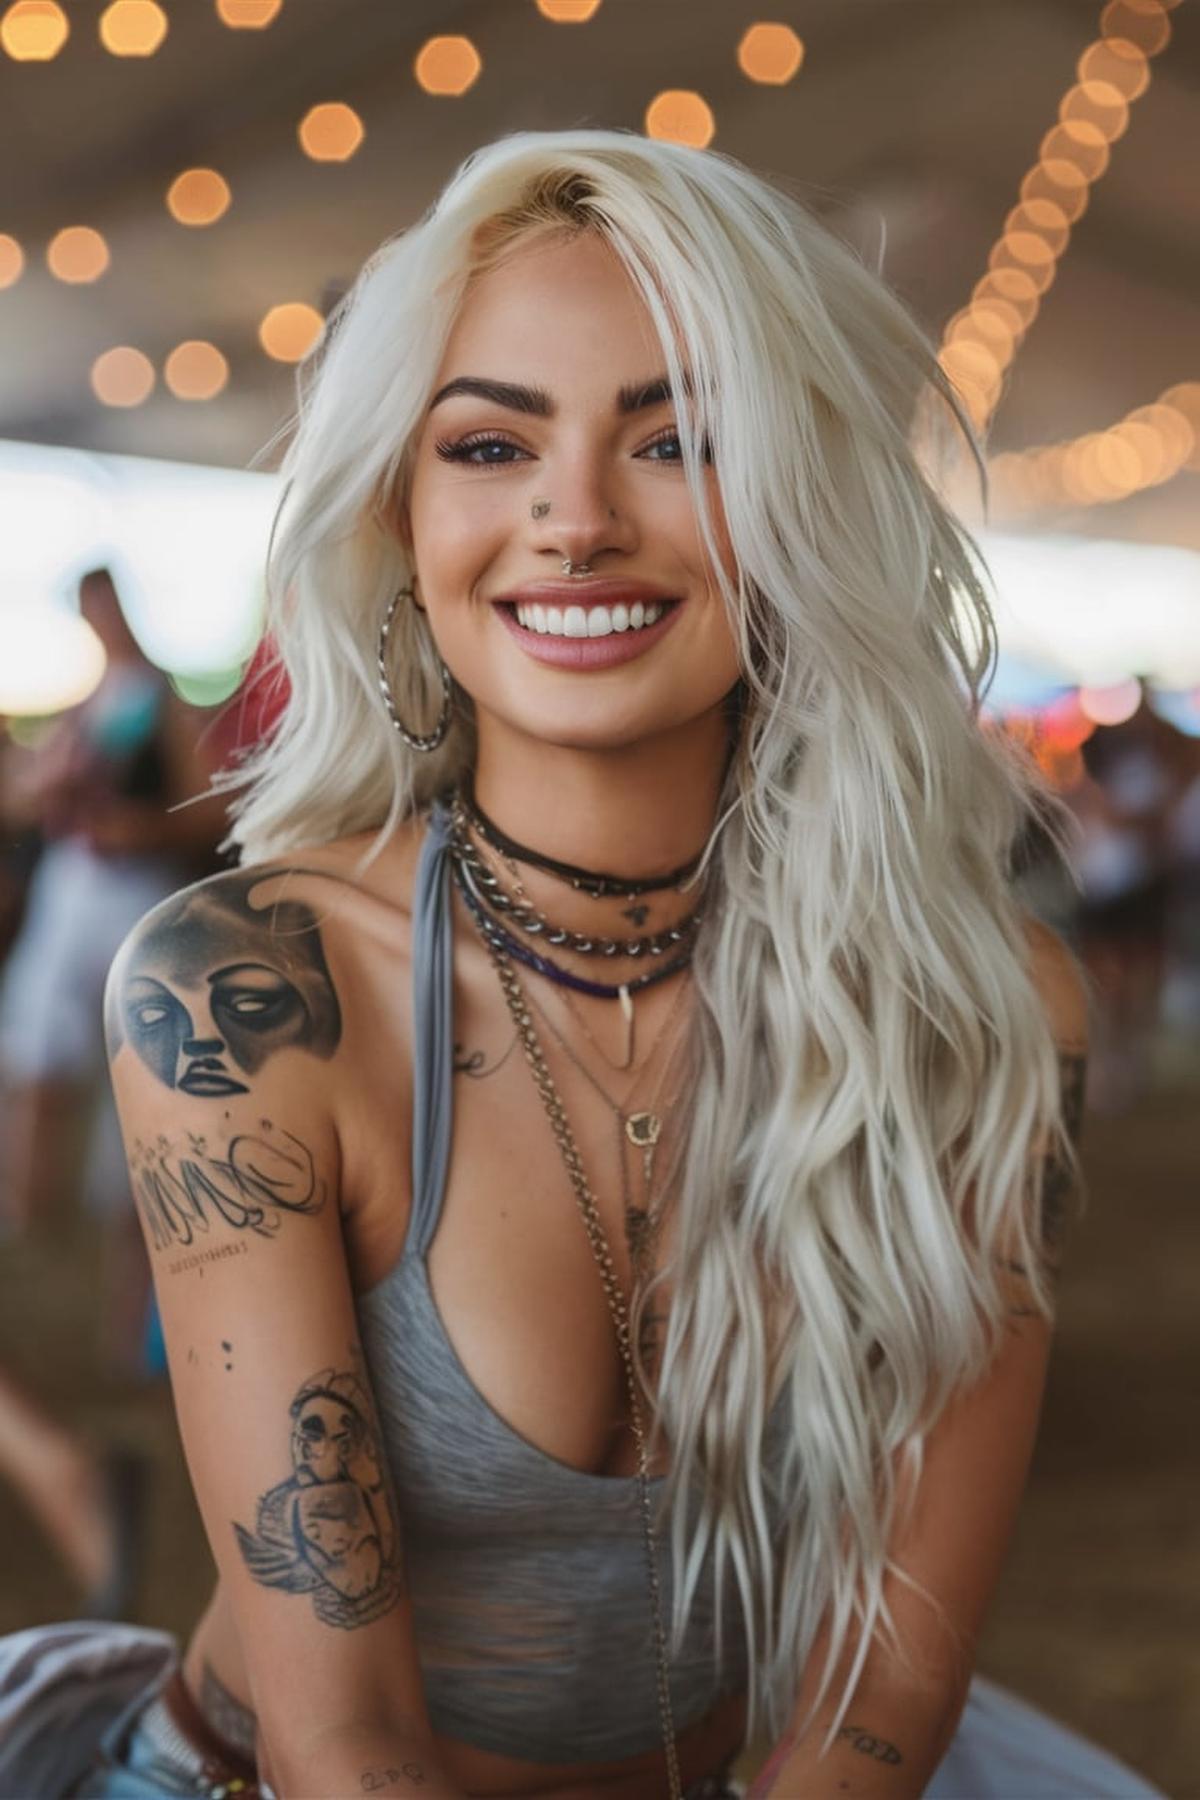
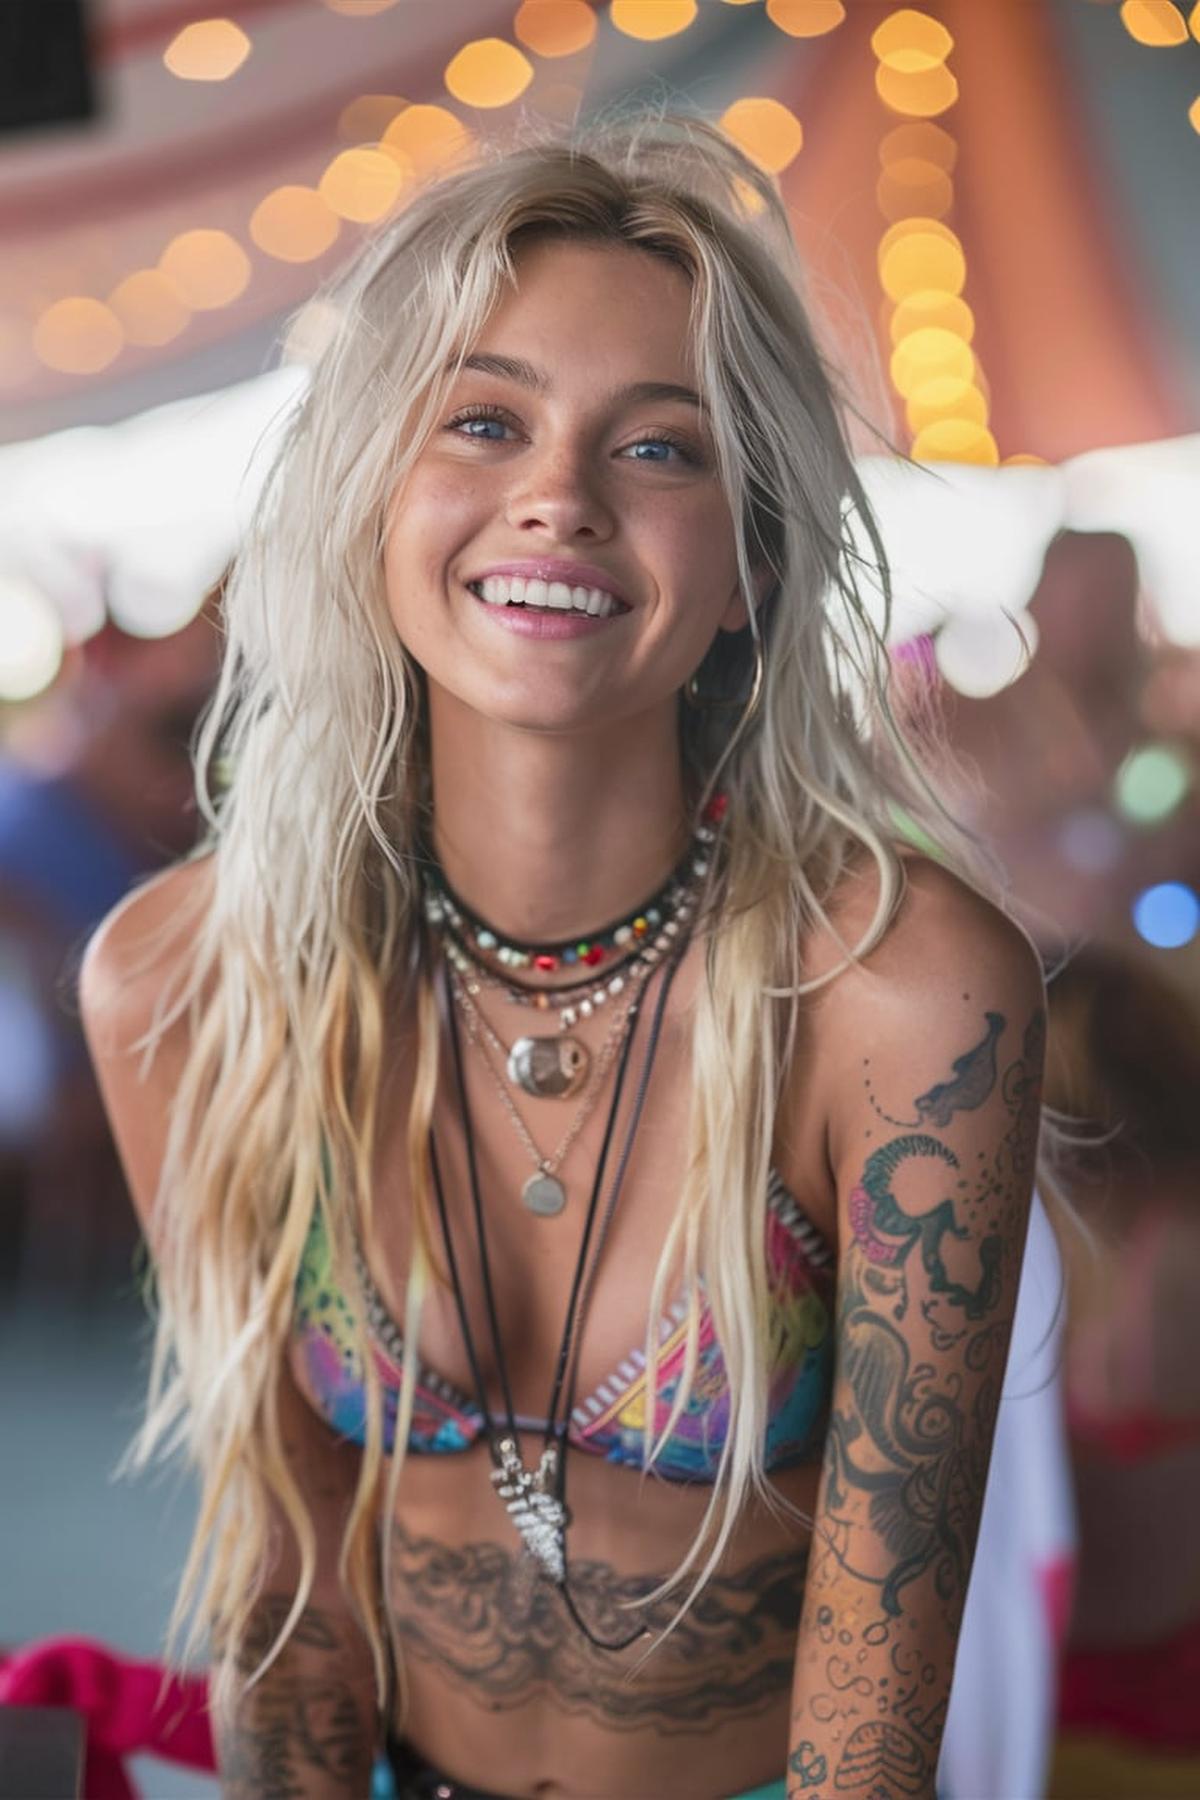
Ultra-Long Icy Blonde Elegance
Icy blonde is a cool tone, often with hints of gray or silver. When visiting a salon, ask your stylist for this specific shade and mention that you prefer a color with ashy undertones. If your natural hair is darker, it may take several sessions to lighten it properly, so be patient.
Long hair can be prone to damage, so regular trims are essential to prevent split ends. Use a good quality conditioner and hair masks to keep your locks hydrated. When styling, avoid excessive heat; instead, try air-drying or using a heat protectant if you must use tools like straighteners or curling irons.
Loose waves or soft curls can add volume and movement, making your hair look even more elegant. You can also try braiding sections for a chic touch or simply let it flow naturally. Accessories like hair clips or headbands can enhance your style while keeping hair out of your face. Remember, confidence is the best accessory, so wear your hair with pride!
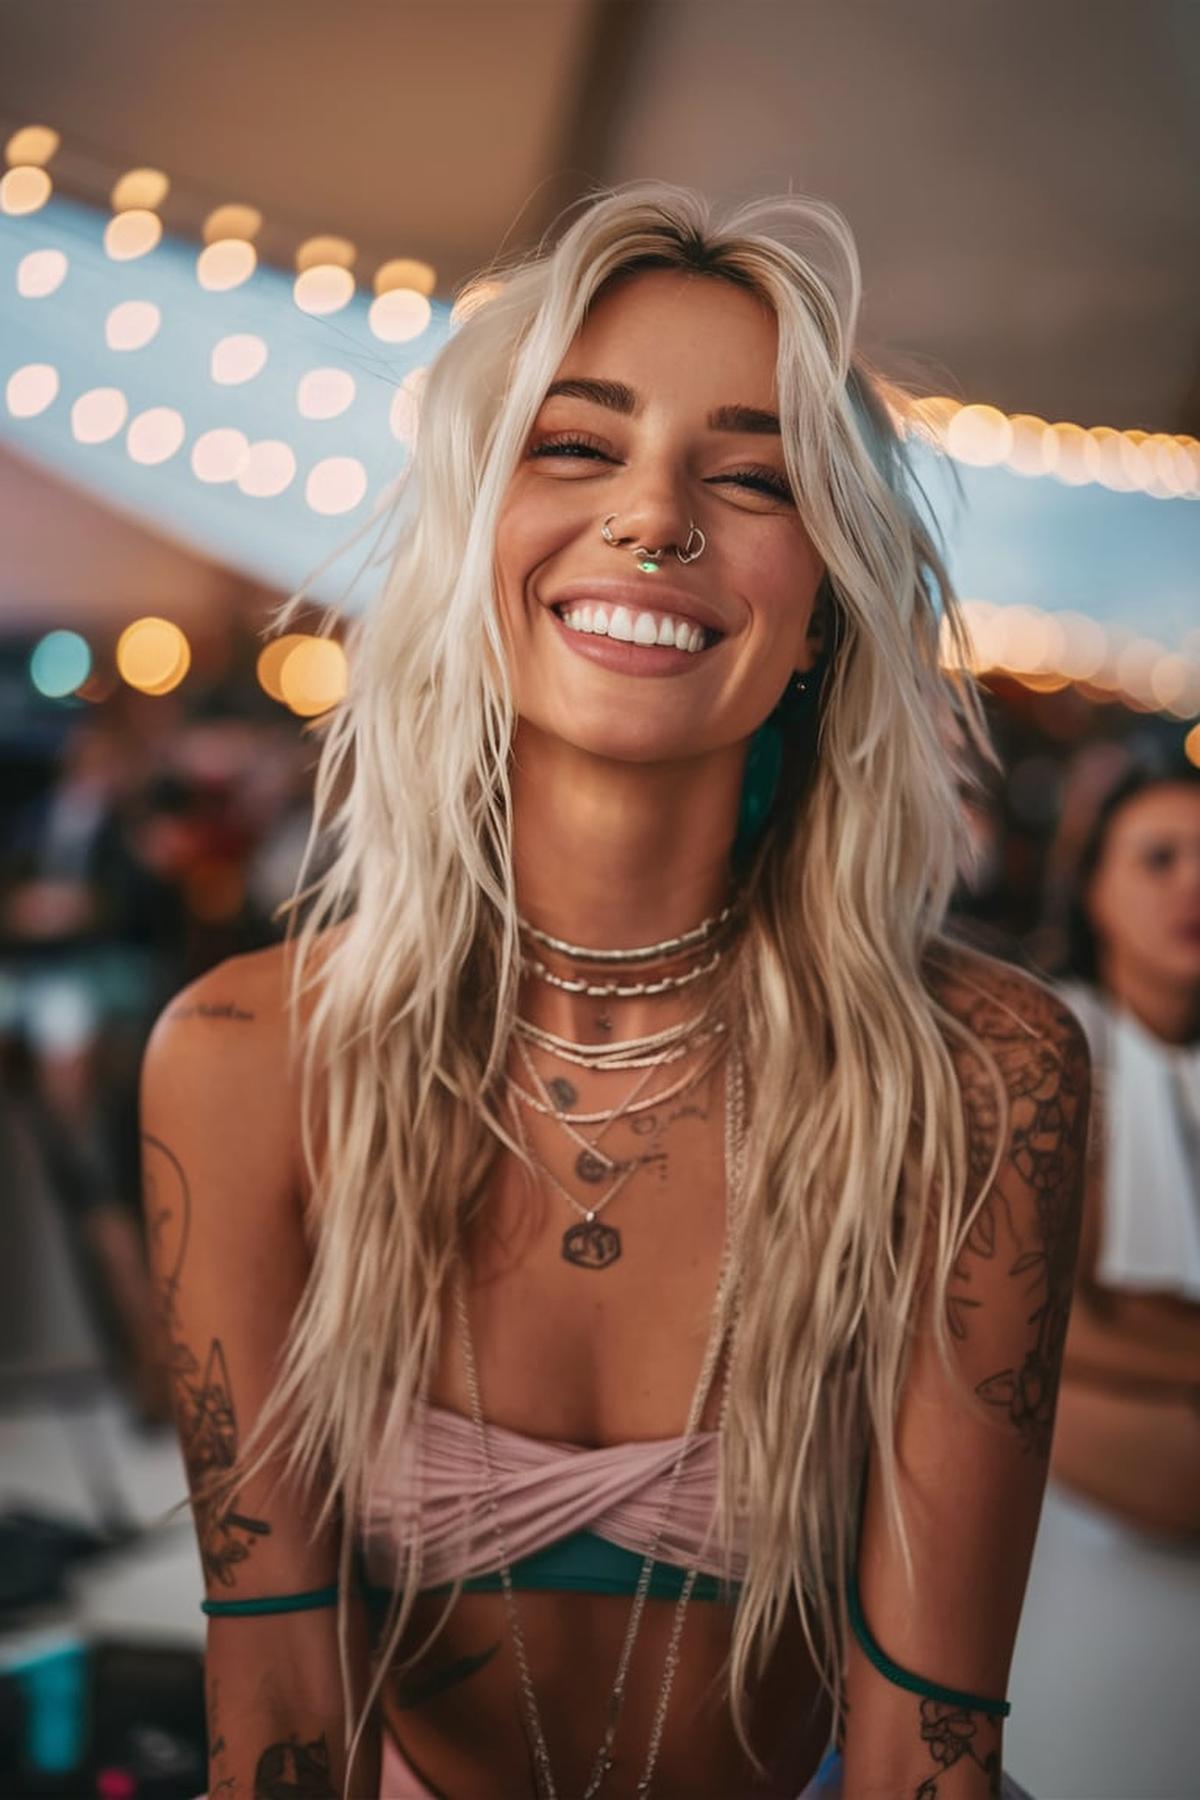
Platinum Blonde Moussed Look
First, wash your hair with a volumizing shampoo and conditioner to ensure it’s clean and ready for styling. After washing, gently squeeze out excess water using a soft T-shirt or microfiber towel, which helps reduce frizz. Applying mousse works best on damp hair, so make sure it’s not dripping wet.
You can either let your hair air dry for a more natural texture or use a blow dryer with a round brush for a voluminous blowout. If you prefer more defined curls or waves, consider using a diffuser attachment on your blow dryer. This will help enhance your hair’s natural texture while keeping it bouncy and full of life.
Use a purple shampoo once a week to keep brassiness at bay and keep your color looking vibrant. Regular touch-ups at the salon are also essential to keep your roots looking fresh, as platinum blonde can show regrowth quickly. With the right products and techniques, you can master the platinum blonde moussed look and enjoy a stylish, eye-catching hairstyle.
Four Braids for a Twist
First, divide your hair into four equal sections. This means you should have two sections on each side of your head. It’s helpful to use your fingers to separate the hair neatly, ensuring that each section is even.
This pattern of crossing over and under is what creates the braid. Repeat this process, continuing to cross the right strand over, under, and over again until you reach the end of your hair. Once you’ve braided down to the end, secure it with a hair tie to keep it in place.
The more you braid, the better you’ll get at it. You can try braiding while watching TV or during downtime to build your skills. Don’t worry if your first attempts aren’t perfect; just keep practicing, and soon you’ll be able to create beautiful four-strand braids with ease!
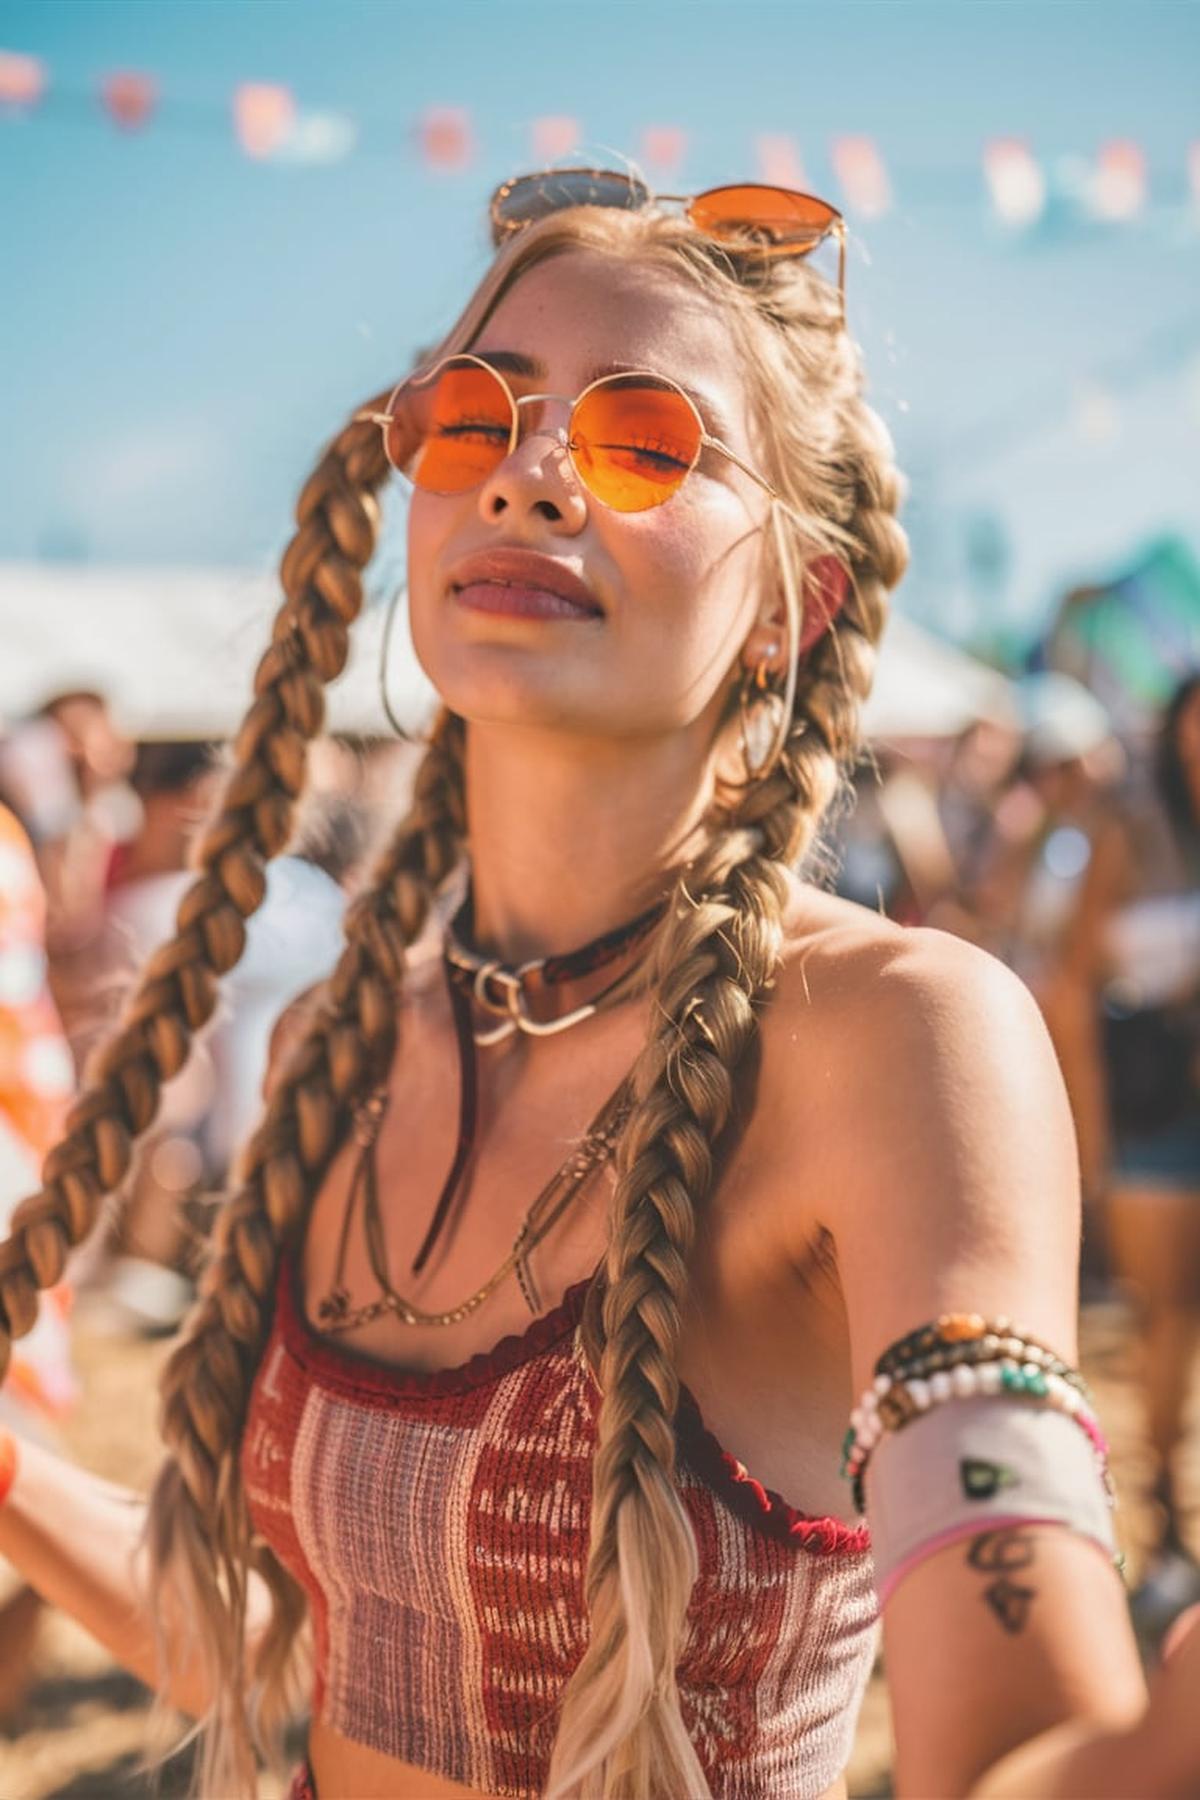
Playful Pigtail Braids
Use a brush to remove any knots and make your hair easier to work with. A leave-in conditioner can help with tangles and add shine. Once your hair is smooth, create a straight part down the middle of your head, separating your hair into two equal sections. You can use hair clips to keep each side out of the way while you work on one braid at a time.
Begin by crossing the right section over the middle, then the left section over the new middle. Keep repeating this pattern—right over middle, left over middle—until you reach the end of the hair. Secure the braid with a small elastic band. Repeat the same steps on the other side.
If your first attempts don’t look great, don’t worry; it takes time to get the hang of it. You can experiment with different styles, like bubble braids or adding smaller braids into your pigtails for a fun twist. Remember to keep your hair moisturized and use products like hairspray or braid balm to tame frizz and hold your style in place. The more you practice, the easier and faster it will become.
Braided Bun with Side Braids
First, section off the hair on both sides of your head, leaving some strands in front to frame your face. Gather the rest of your hair into a low ponytail at the back of your neck. To create a messy look, gently tease the hair at the top of your head. Then, secure the ponytail with an elastic band and add another elastic a few inches down, pulling the hair through to create a fuller bun.
Take the sections of hair you set aside earlier and create a Dutch braid, which means you will cross the strands under each other instead of over. Start the braid from the top of your head, adding more hair as you go along, and stop once you reach your ear. Finish the braid with a regular three-strand braid and secure it with an elastic. To give the braid a fuller appearance, gently pull at the edges to loosen it up.
Take one braid and lay it across the top of the bun, securing it underneath with bobby pins. Do the same with the other braid, wrapping it in the opposite direction. Once everything is in place, lightly spray your hair with hairspray to hold the style. This braided bun with side braids is not only stylish but also practical for school or casual outings, and it can be done in about 10 minutes.
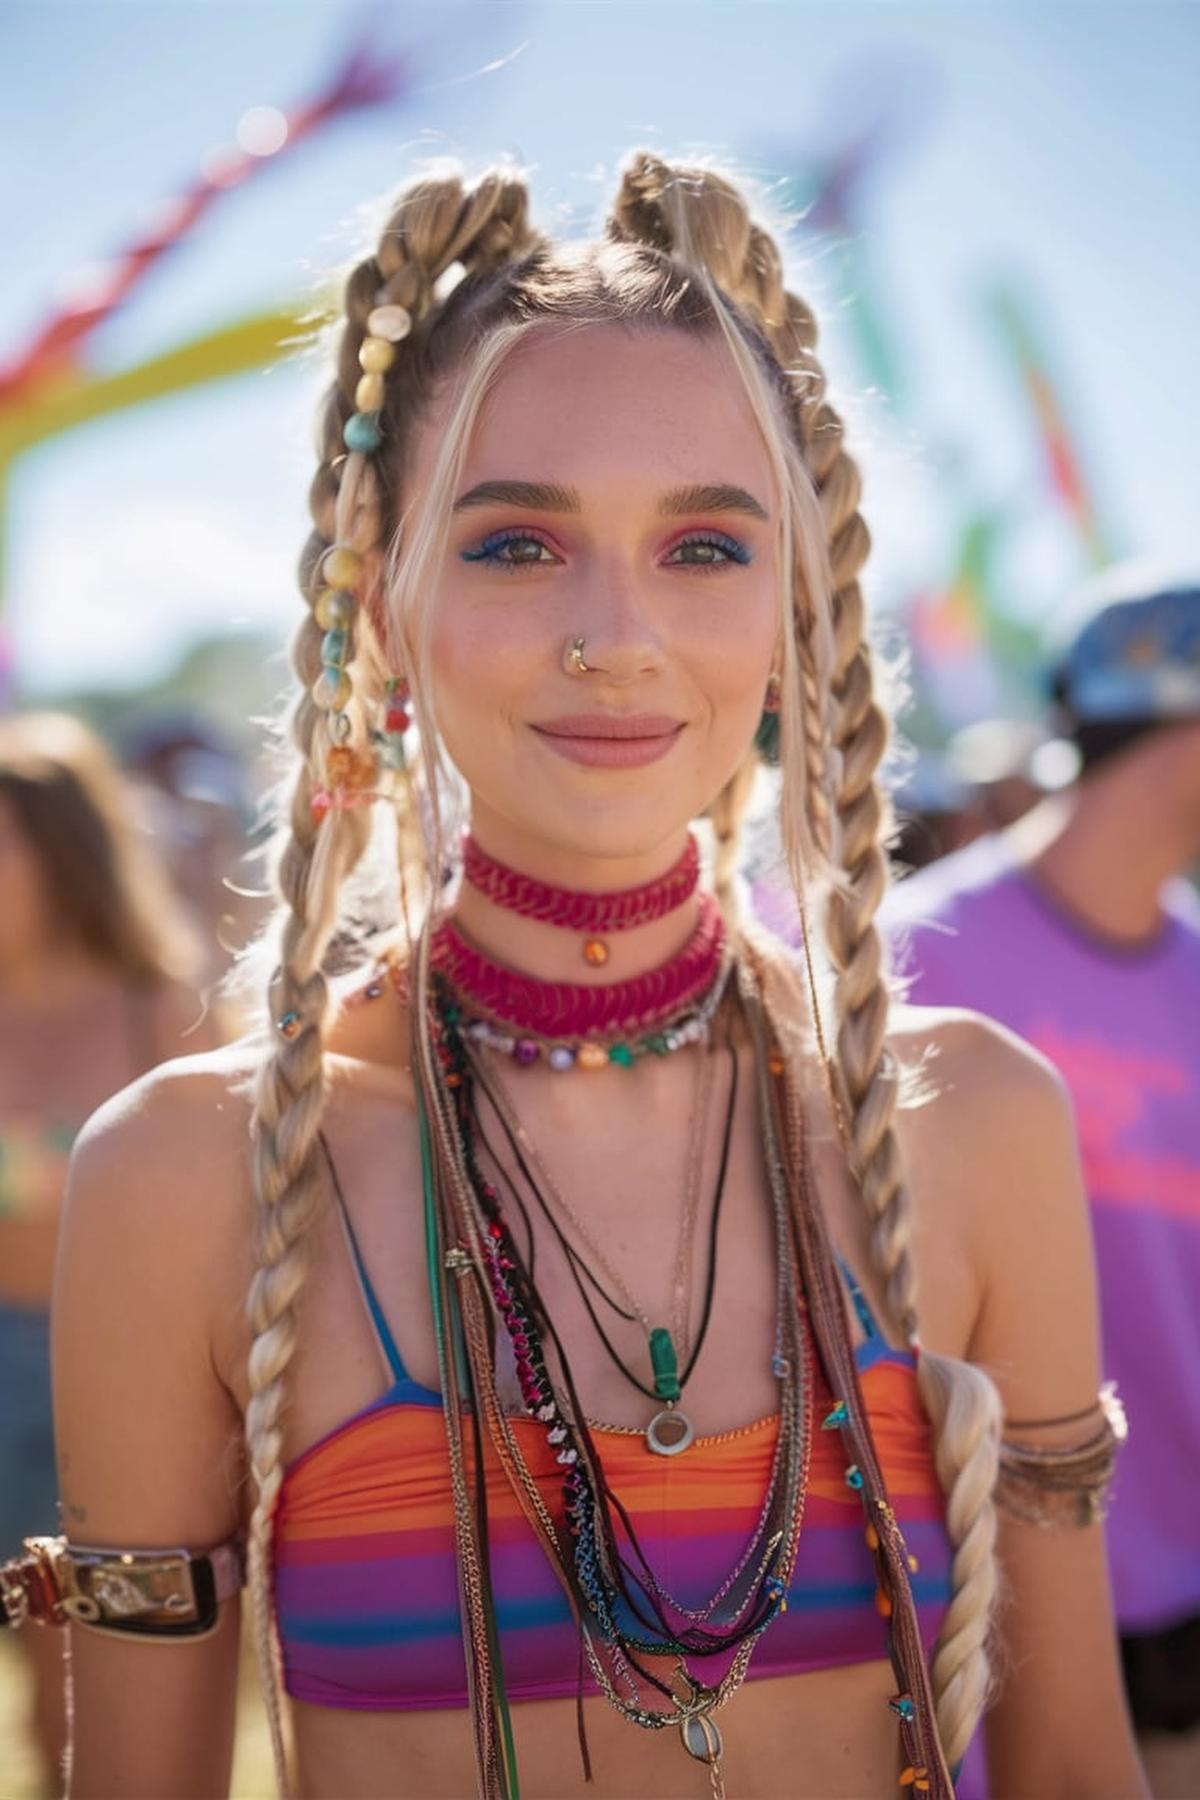
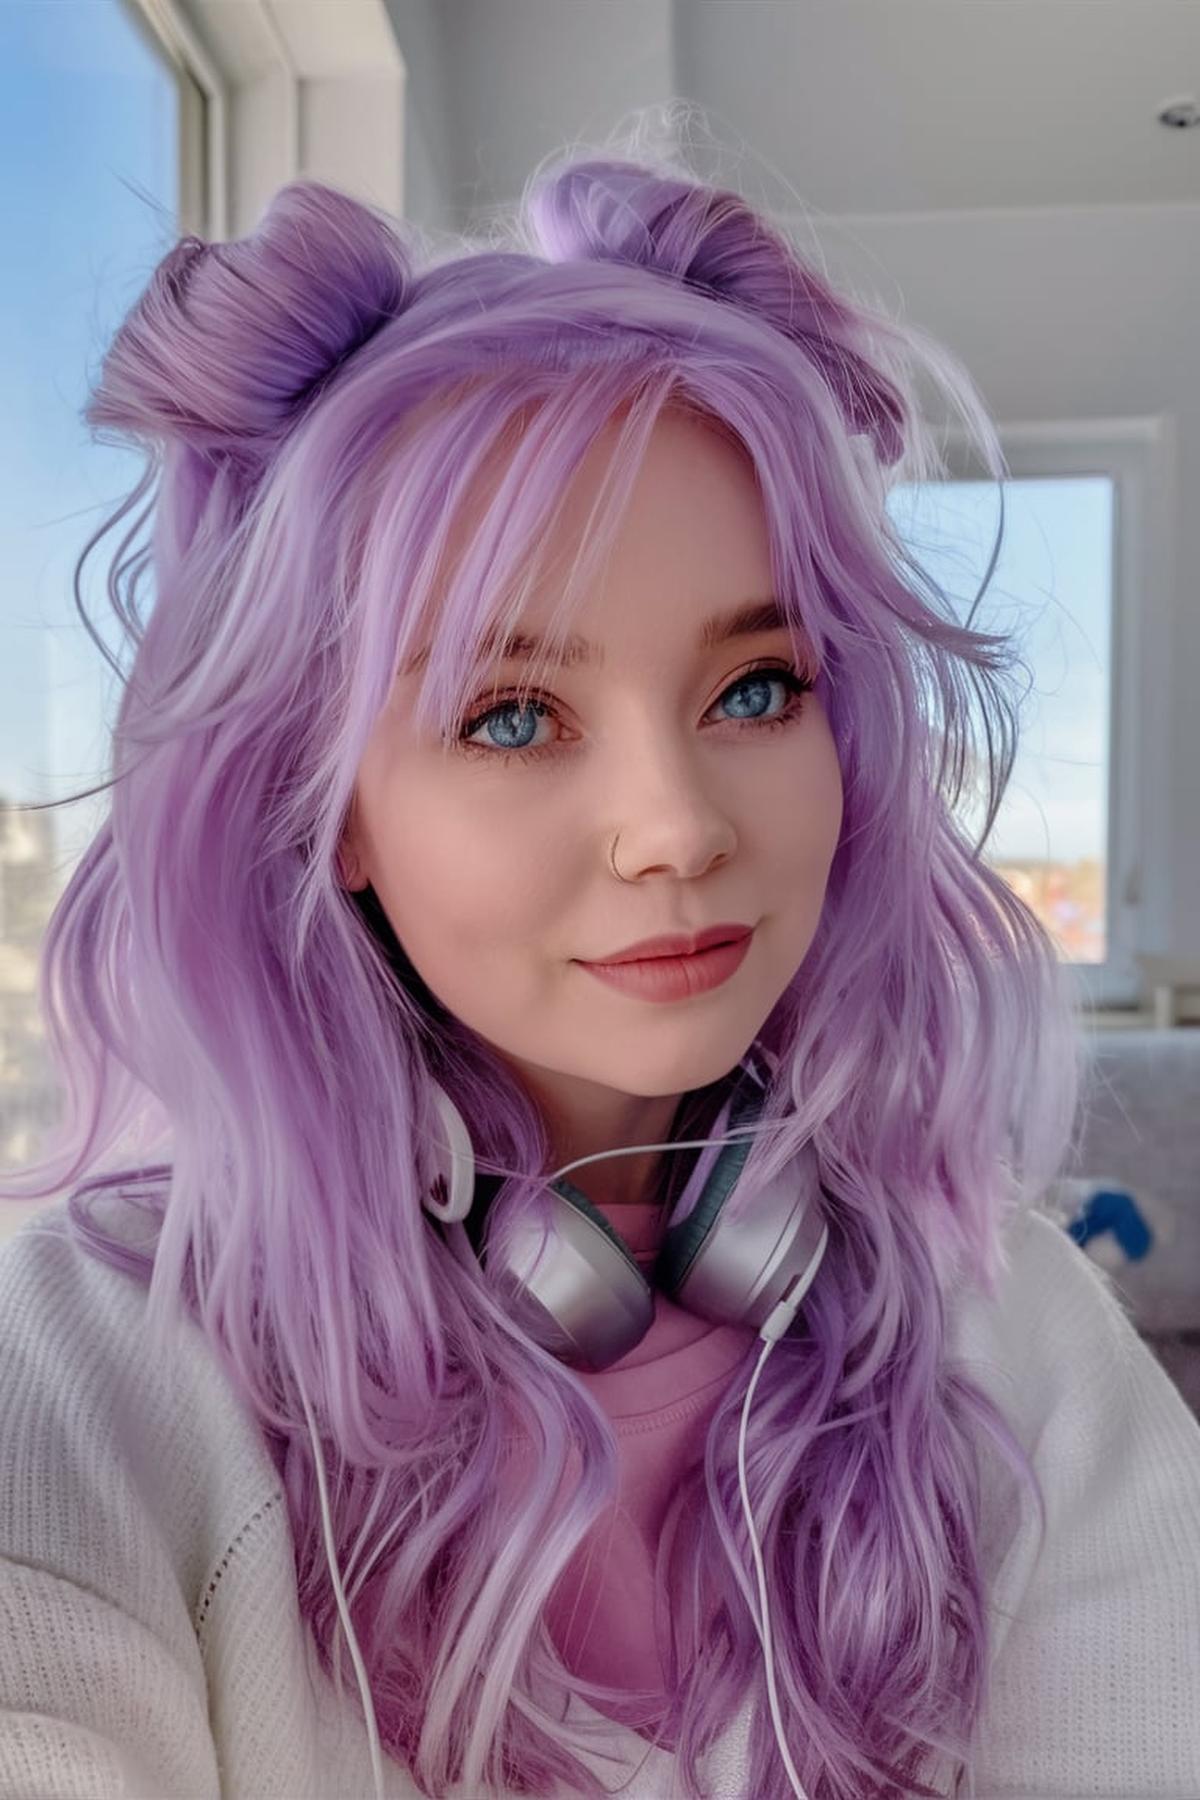
Lavender Half-Up with Space Buns
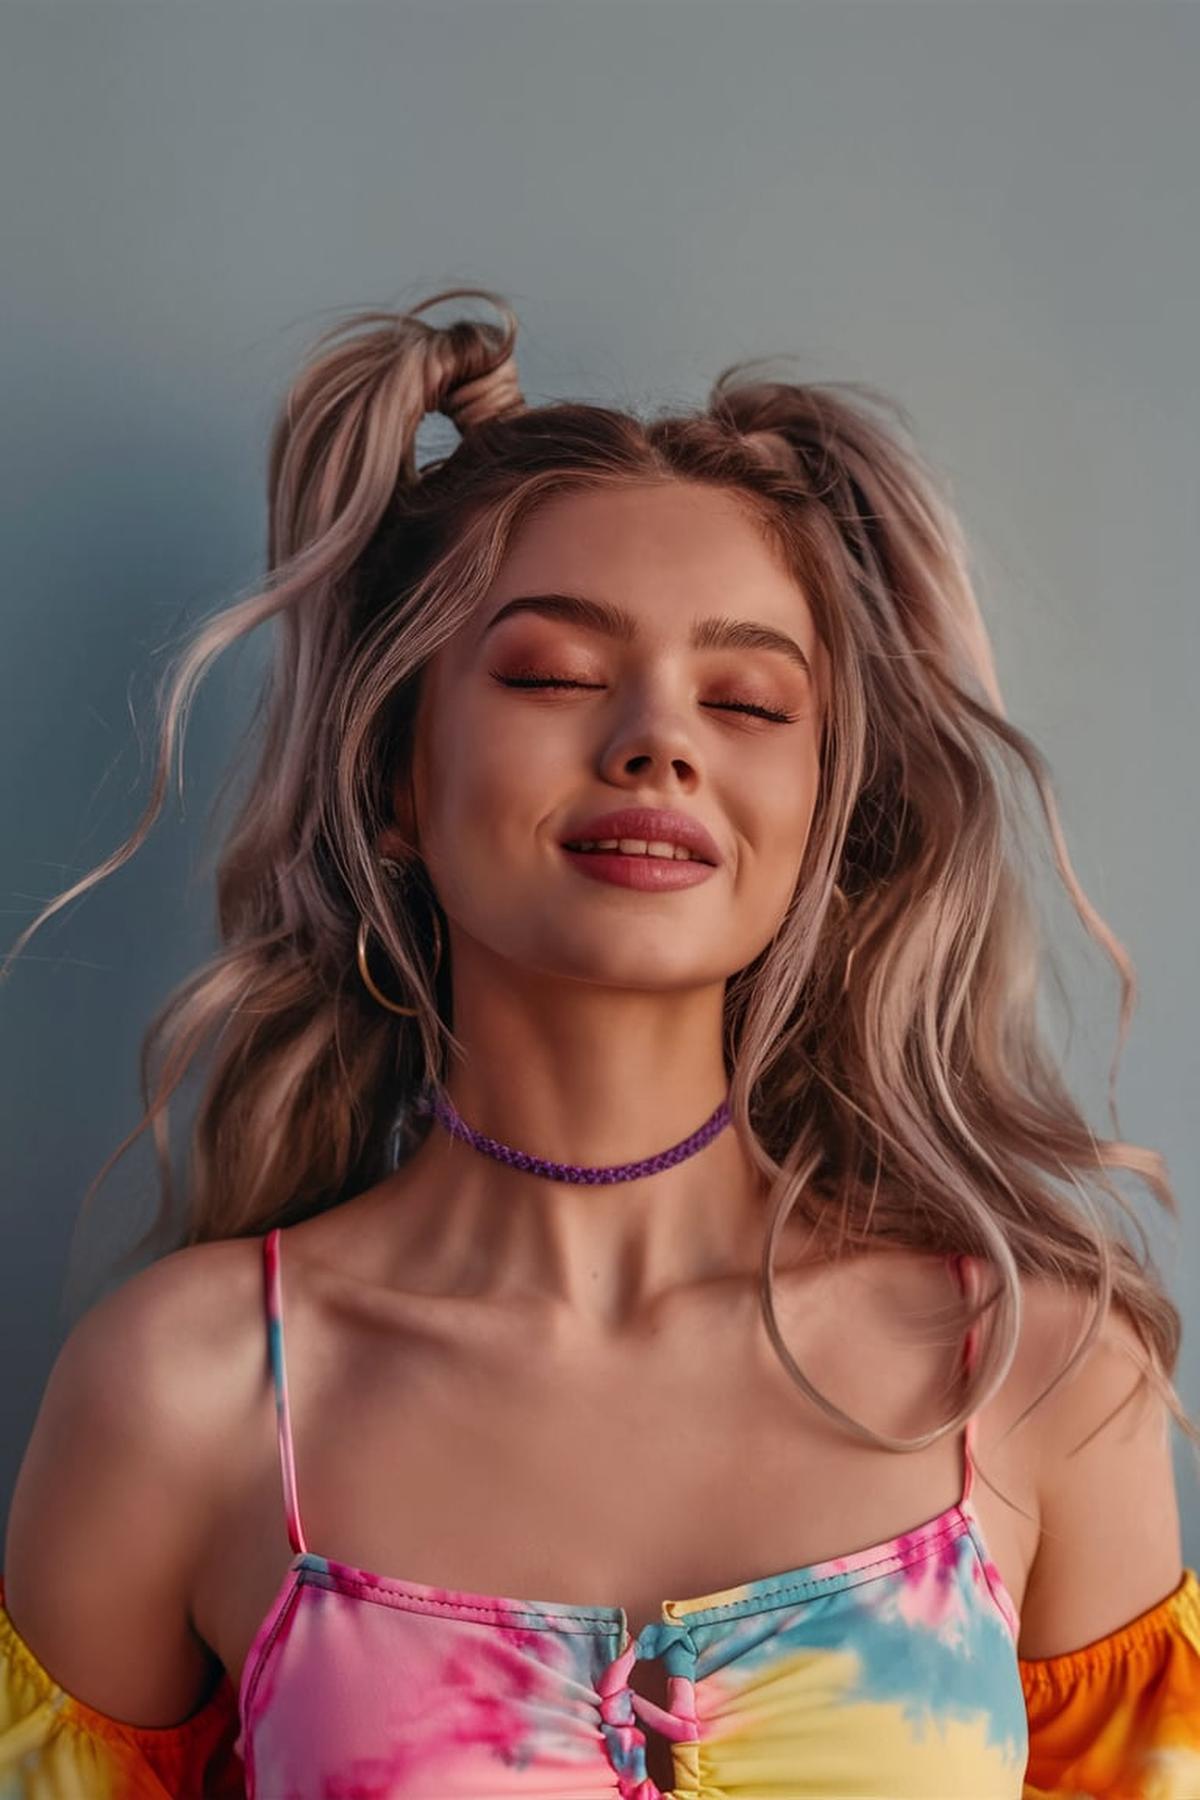
First, it’s best to work with hair that’s not freshly washed, as day-old hair holds styles better. Brush out any tangles and create a middle part down your head. This will help you section your hair for the space buns.
Make sure they are even on both sides to create symmetrical space buns. For a fuller look, tease the hair in each ponytail gently. This means you should backcomb the hair a little to give it volume.
Finally, finish off your hairstyle with some hairspray to keep everything in place. You can also pull out a few strands around your face for a softer look. This hairstyle is playful and perfect for any casual outing or festival. With practice, you’ll be able to create this cute lavender half-up with space buns in no time!
Retro 60s Vibe Hair
The hairstyles from this era, like the beehive and bouffant, are all about big, bouncy hair. You can achieve this by teasing your hair at the roots to create lift. When curling your hair, remember to curl in the direction you want the final style to go. For example, if you want the curls to frame your face, curl them towards your face.
A good hairspray is essential for keeping your style intact throughout the day. You might also want to use a volumizing mousse or spray before styling to add extra body. After curling, gently brush through your curls to soften them, but be careful not to lose all the volume.
Don’t be discouraged if it doesn’t turn out perfectly the first time. Experiment with different techniques, like varying the size of the curls or the amount of teasing, to see what works best for you. Watching tutorials can also help you learn new styles and tricks. With time and patience, you’ll be able to rock that fabulous 60s hairstyle with confidence.
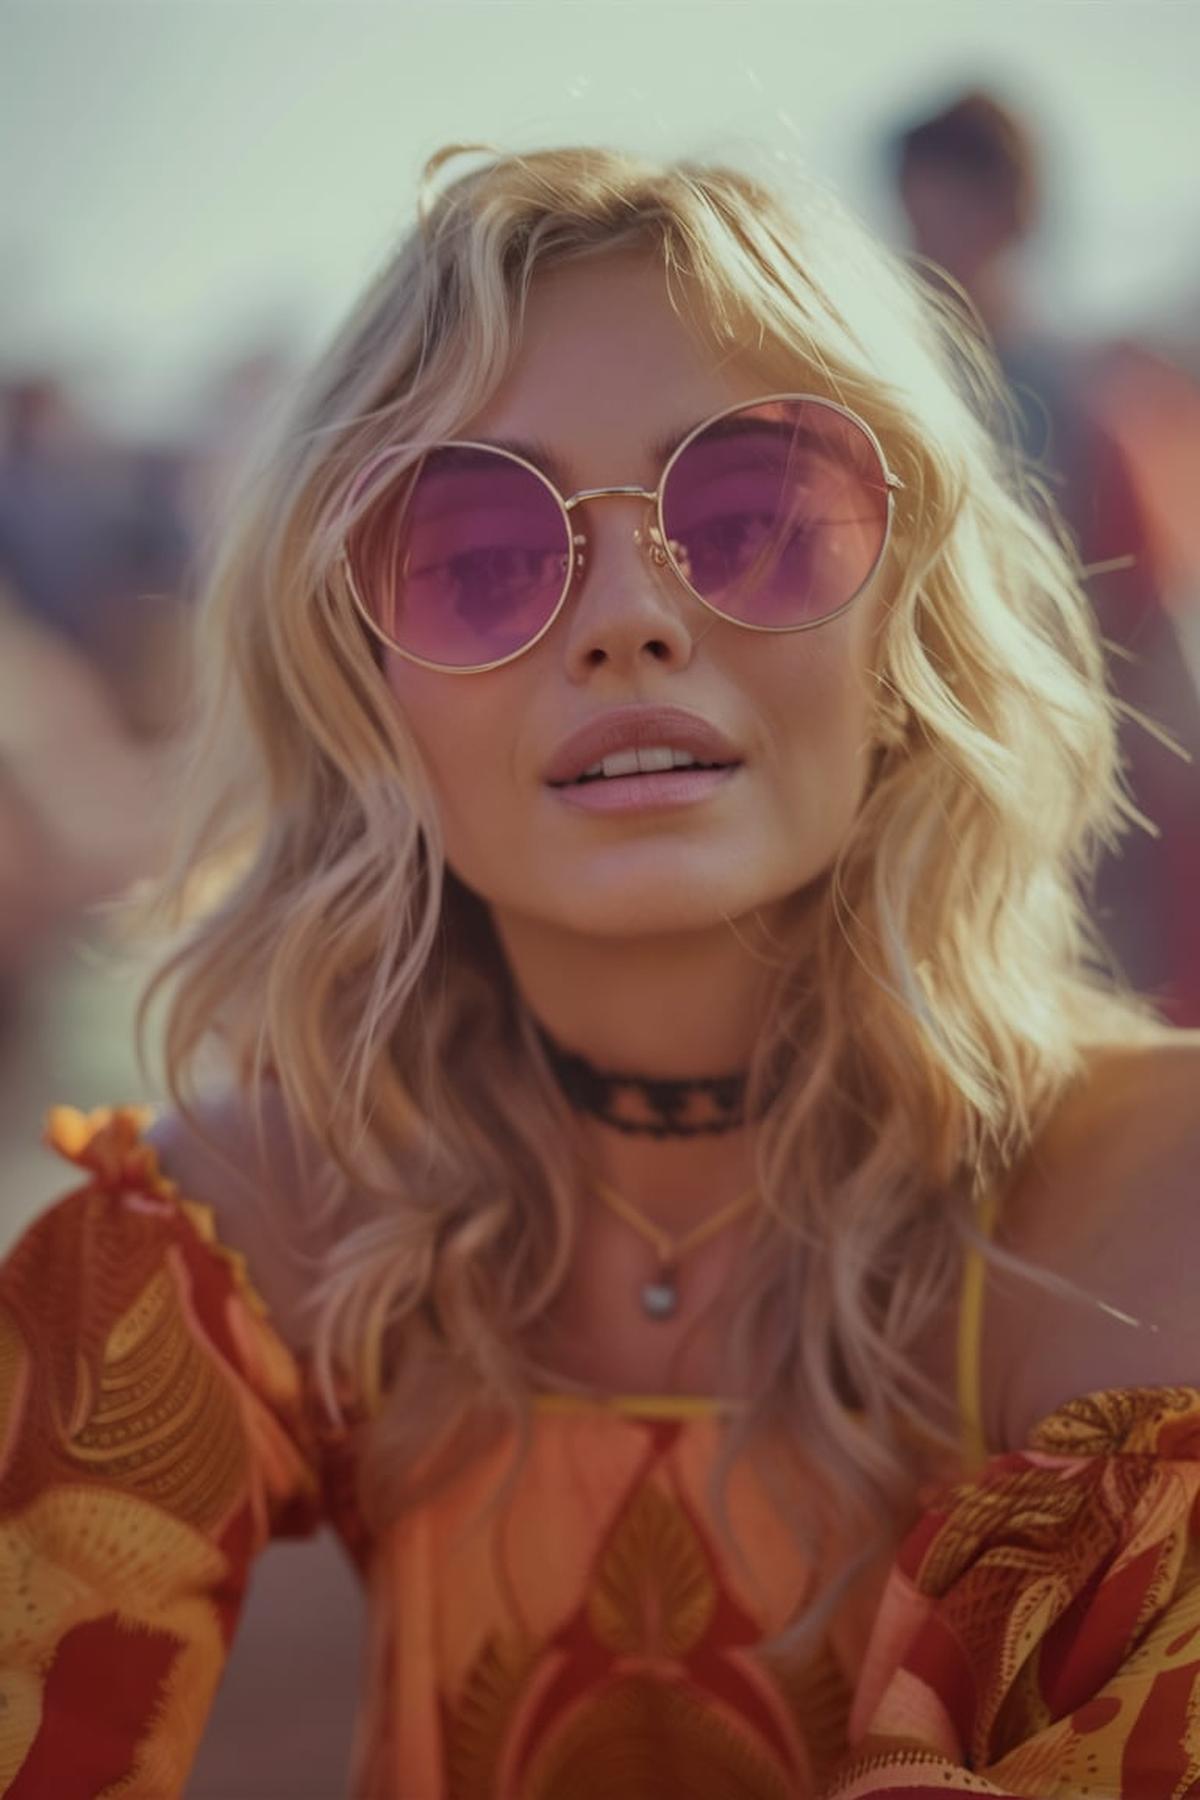
Hippie Hair Parted in the Middle
It’s best to use hair that has some texture, like second-day hair, which is easier to style. Begin by parting your hair down the middle. This parting is key to achieving that relaxed, bohemian vibe.
A simple way to do this is by taking a small section of hair from one side, braiding it, and then pinning it across your forehead. This adds a unique touch while keeping the hair out of your face. You can also use hair ties or bobby pins to secure the braid, making sure it feels comfortable and not too tight.
You can leave your hair down for a flowing look or gather it into a messy bun for a different style. Adding accessories like flowers or headbands can also enhance the hippie vibe. Remember, the key to this hairstyle is to keep it effortless and fun, so don’t stress too much about perfection.
Rainbow Hair Wonderland
Look for vibrant, high-quality dyes like Pulpriot, which are known for their bright colors and ease of use. Before applying the dye, it’s essential to lighten your hair to a suitable level, usually around level 8 or 9, so the colors will pop. This means bleaching your hair first if it’s dark.
This involves sectioning your hair into triangle shapes and applying different colors to each section. For example, you might use blue, pink, and purple in a pattern that allows them to blend seamlessly together.
Once done, rinse your hair with cool water to keep the colors bright. To maintain your rainbow hair, use sulfate-free shampoos and conditioners designed for color-treated hair, and avoid washing it too often to keep the colors looking fresh for longer. With practice and the right techniques, you can rock a stunning rainbow hairstyle that stands out!
Pastel Hair with Long Side Crown Braid
First, make sure your hair is clean and dry. If you want to add some texture, use a curling wand to create soft waves. This will help the braid look fuller and more stylish. Once your hair is ready, part it down the middle or to one side, depending on your preference.
Take a section of hair from one side of your head and start a Dutch braid, which means you will cross the strands under instead of over. As you braid, gradually add more hair from the top of your scalp, moving towards the back of your head. Keep the braid loose for a more relaxed look, and don’t worry if it isn’t perfect right away; practice makes it easier!
Make sure to tuck the ends under the braid to hide them. To finish the look, gently pull on the sides of the braid to make it appear thicker and fluffier. You can also spray some hairspray to keep everything in place. With pastel hair, this style will look vibrant and eye-catching, perfect for any occasion!
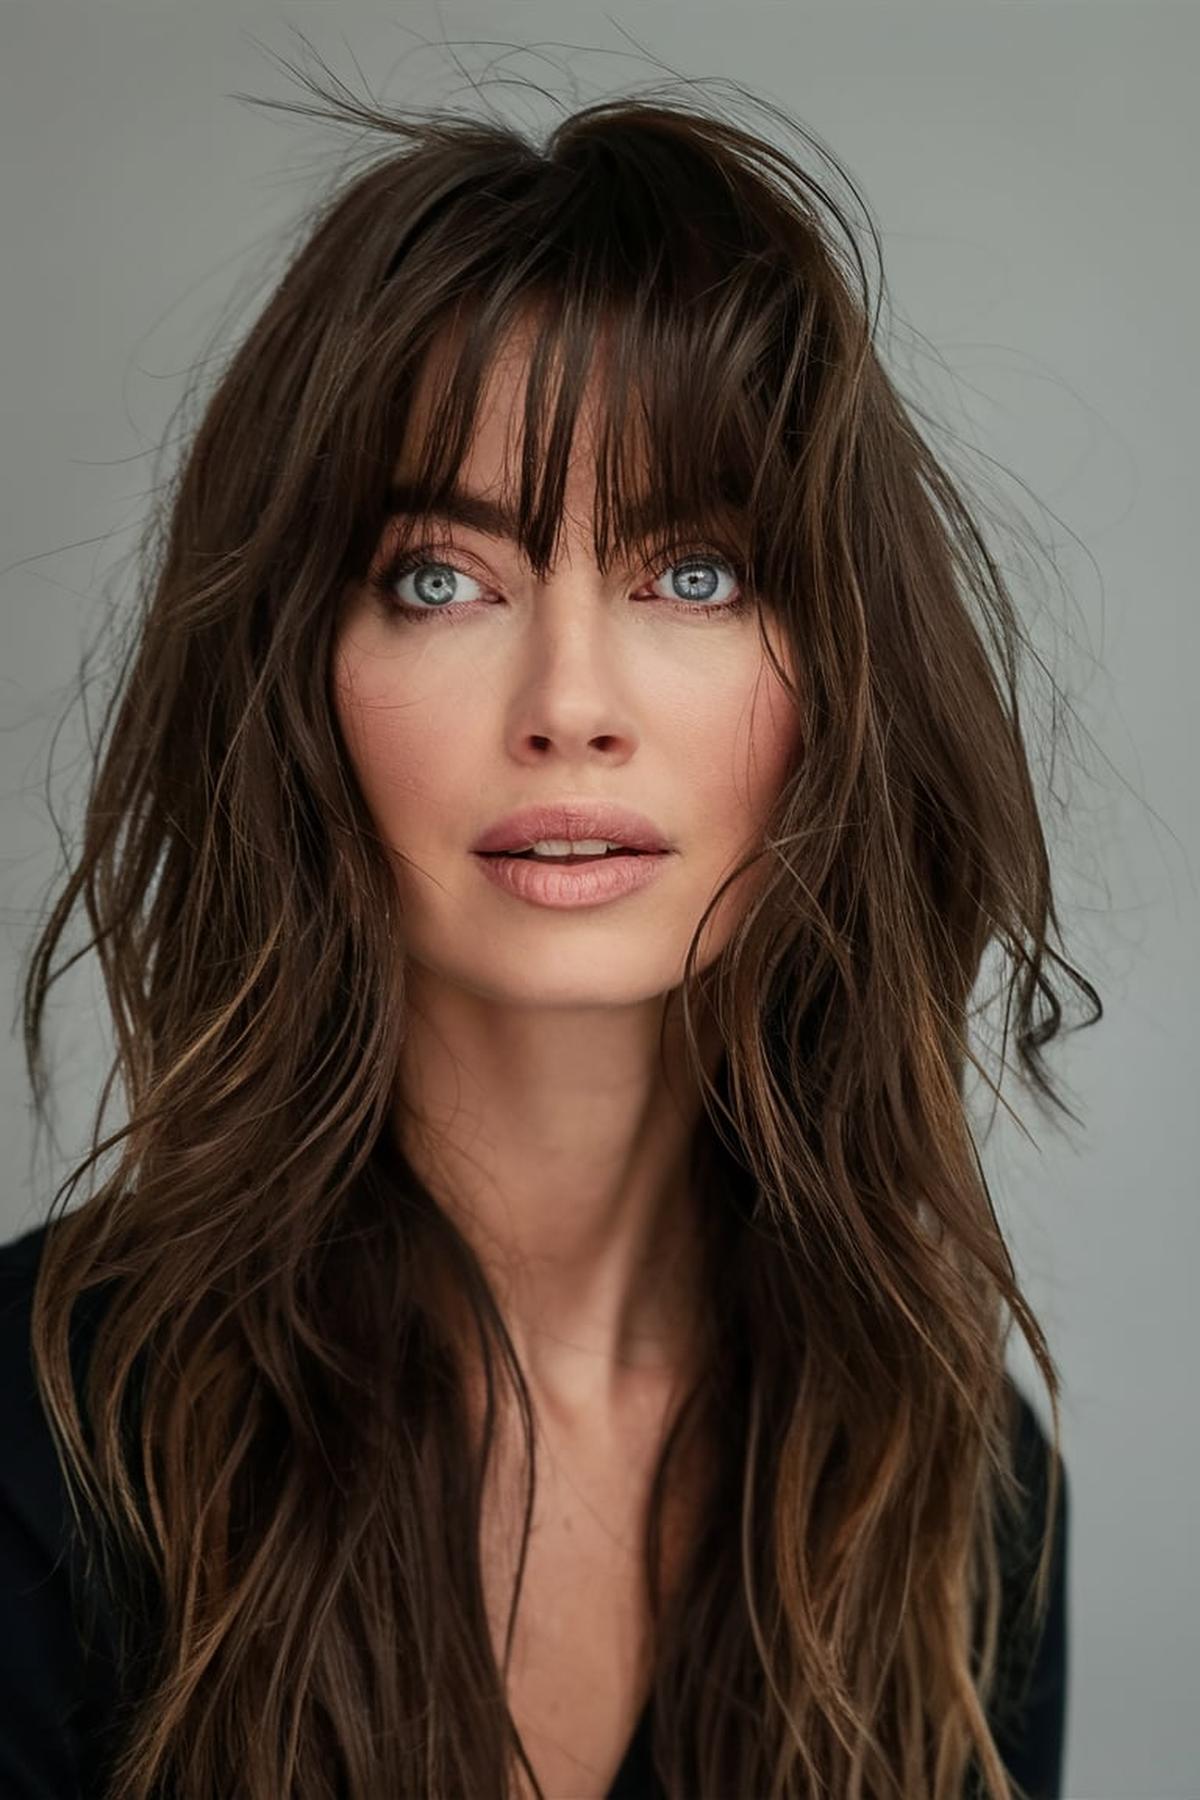
Bold Bangs
One popular method is the Top Knot, which adds a fun twist to your look. Start by pulling your hair into a high ponytail. Then, tease the ponytail to create volume before twisting it into a bun and securing it with bobby pins.
For this, take a section of hair from the top of your head and backcomb it for volume. Smooth the top layer and loosely tie the hair back into a ponytail. To achieve that effortless, messy look, gently pull out some strands and tousle the style with your fingers.
Begin by splitting your hair into two sections and braiding each one. After securing the braids, gently tug at them to create a fuller appearance. Cross the braids at the back of your head and bring them forward, pinning them behind your bangs. This style works particularly well with bangs and adds a unique touch to your overall look, making it perfect for casual outings or special events.
Cute Coachella Pastel Hair
Pastel shades like pink, lavender, or mint green are popular for festivals. If you’re not ready to commit to dyeing your hair, consider using temporary hair chalks or sprays that wash out easily. This way, you can experiment with different colors without the long-term commitment.
Braids are a great option because they keep your hair neat while adding a stylish touch. You can try simple styles like a fishtail braid or mini braids scattered throughout your hair. For a more playful look, consider adding accessories like colorful hair clips or flowers.
Use a good leave-in conditioner to keep your hair moisturized, and consider applying a heat protectant if you’re curling or straightening your hair. Also, remember to pack some dry shampoo for quick touch-ups during the festival. This way, you can enjoy the fun while looking cute and stylish all day long!
Multi Face-Framing Braids and Space Bun
First, brush your hair to remove any knots and create a center part from your forehead to the back of your neck. This will help you separate your hair into two equal sections. Once you have your sections, you can begin with the braids. For a Dutch braid, take a small section of hair from the nape of your neck, split it into three parts, and cross the right strand under the middle, then the left under the right.
Next, it’s time to create the space buns. Gather each braided ponytail at the top of your head and twist the hair around itself to form a bun. Secure the bun with bobby pins, making sure to tuck in any loose ends. If you want a fuller look, you can tease the hair before twisting it, or use a donut padding to create a larger bun.
Finally, to add some flair, consider leaving a few face-framing strands loose around your face. This softens the look and adds a stylish touch. Make sure both buns are even and symmetrical for the best effect. If you’re struggling to get them perfect, ask a friend for help or practice a few times to get the hang of it. With a little patience and practice, you’ll be able to rock these fun hairstyles with confidence.
Bun and Braids Combo
First, section your hair from the ear forward, leaving some strands in the front for face-framing braids. Pull the rest of your hair into a low ponytail at the back of your neck. For a more relaxed look, tease the top of your ponytail a bit.
Next, focus on the braids. Take the front sections of hair you left out and braid them using a classic three-strand Dutch braid, where you weave the strands under each other. Once you finish braiding, gently pull on the braid to make it look fuller and more relaxed.
Finally, finish off your hairstyle with a light spray of hairspray to hold everything in place. This braided bun combo is not only easy to create but also perfect for any occasion, whether you’re heading to school or hanging out with friends. With a little practice, you’ll be able to do this hairstyle in just about 10 minutes!
Long Hair with Partial Dreads
Partial dreads involve having dreadlocks in only some sections of your hair, while the rest remains loose and free. This style allows for creativity and variety, as you can choose how many dreads to have and where to place them. It’s a great way to express your individuality while still maintaining some versatility in your hairstyle.
This makes it easier to work on one section at a time. When creating the dreads, you can use methods like twisting or backcombing. It’s important to keep the dreads tight but not so tight that it causes discomfort.
Use a gentle shampoo and avoid heavy products that can build up on your hair. Moisturizing your dreads and the loose hair will keep everything healthy and looking good. Regularly check for any loose hairs around the dreads and tidy them up to maintain a clean look. With practice and patience, you can master this unique hairstyle and make it your own!
Space Buns with Temporary Color
First, brush your hair to remove any tangles and then part it down the middle. This will give you two equal sections to work with. Gather each section into high ponytails on either side of your head.
Next, create the buns by wrapping the hair from each ponytail around its base. Secure the wrapped hair with bobby pins or hair ties to keep them in place. For a more playful look, you can twist or braid the hair before wrapping it around.
Finally, finish off your space buns with a light mist of hairspray to hold everything in place. You can also pull out a few strands around your face for a more relaxed, messy look. If you want a sleeker appearance, use some hair gel to smooth down any flyaways. With practice, you’ll be able to create this cute and trendy hairstyle in no time, perfect for festivals or just a fun day out!
Simply Down with Waves
First, start with a good haircut. A low-tapered cut is ideal as it sets the foundation for your waves. Make sure to visit a barber who understands how to shape your hair for this style. This initial cut will help your waves form better, so don’t skip this step!
After washing, use a soft brush to style your hair. Start brushing from the crown of your head and move outward towards your forehead and sides. This brushing technique is crucial for creating those beautiful waves. Make it a habit to brush your hair often—while watching TV, in the shower, or even at school.
Wearing a durag or a wave cap after brushing locks in moisture and helps maintain your style. It’s best to wear it for at least an hour after styling, or even while you sleep. This will ensure your waves stay neat and defined throughout the day. With dedication and the right techniques, you’ll master the simply down with waves look in no time!
Playful Half-Up Pigtails
Use a brush to smooth out any tangles, then take a small amount of hair from the front and pull it back. Secure this section with a hair elastic to create your first pigtail. It doesn’t have to be perfect; you can adjust it later.
After securing the first pigtail, take another clear elastic and wrap it around the ponytail a couple of inches down from the first elastic. Continue adding more elastics down the length of the ponytail, spacing them out evenly. Once you have several sections, gently pull at each bubble to make them puff out, giving your hairstyle a playful and voluminous look.
You can leave the rest of your hair down or curl it for added texture. If you want a more relaxed vibe, let a few strands fall around your face. This hairstyle is not only cute but also quick to do, making it perfect for school or casual outings. Remember, the key is to have fun with it and express your personality through your hair.
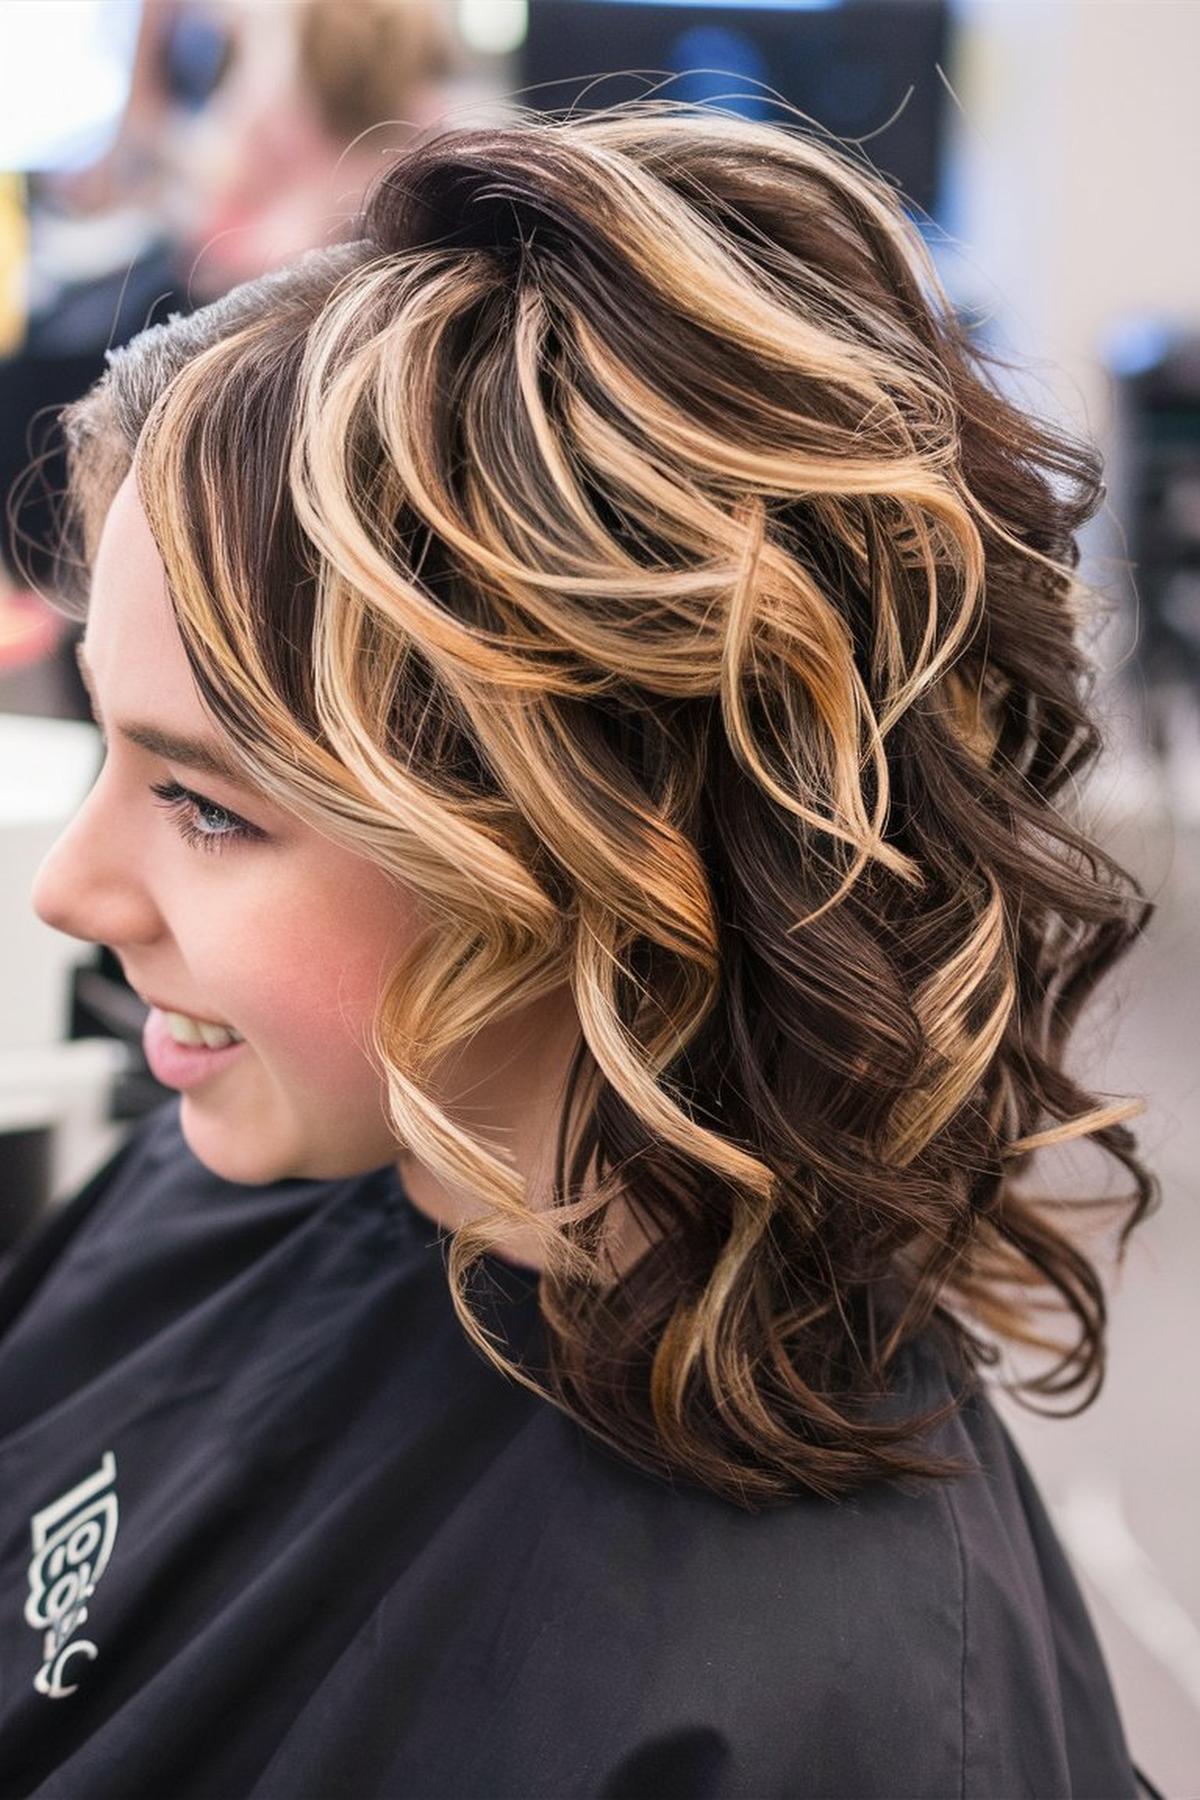
Bold Ombre Waves
Before using any heat styling tools, apply a heat protection spray to shield your hair from damage. This is crucial, especially for teenagers whose hair can be more delicate. After applying the spray, dry your hair completely with a hairdryer to ensure it’s ready for styling.
Using a curling iron or a flat iron, take small sections of hair and wrap them around the barrel or clamp. Hold each section for a few seconds before releasing it.
You can also use a texturizing spray to add volume and hold. Remember, practice makes perfect, so don’t get discouraged if it doesn’t turn out exactly how you want it the first time. With time, you’ll get better at creating those stunning ombre waves!
Cute Long Hair with Velvet Hat
Begin with clean, dry hair, and consider using a heat protectant if you plan to style it with heat tools. You can add some waves or curls for volume, which will look great under the hat. A simple way to create waves is to use a curling iron or a straightener, wrapping sections of hair around the barrel for a few seconds before releasing them.
A wide-brimmed or floppy velvet hat can be a perfect accessory for long hair. You can let your hair flow freely underneath the hat or pull some strands out to frame your face. If you want a more polished look, consider a loose braid or a low ponytail that sits at the nape of your neck.
You can enhance your look by adding cute hairpins or clips to your hairstyle, which can peek out from under the hat. If you’re wearing a simple outfit, a bold hat can really stand out, so keep your hair accessories minimal. Remember, practice makes perfect, so try out different styles to see what you like best with your velvet hat!
Whimsical Blonde Waves
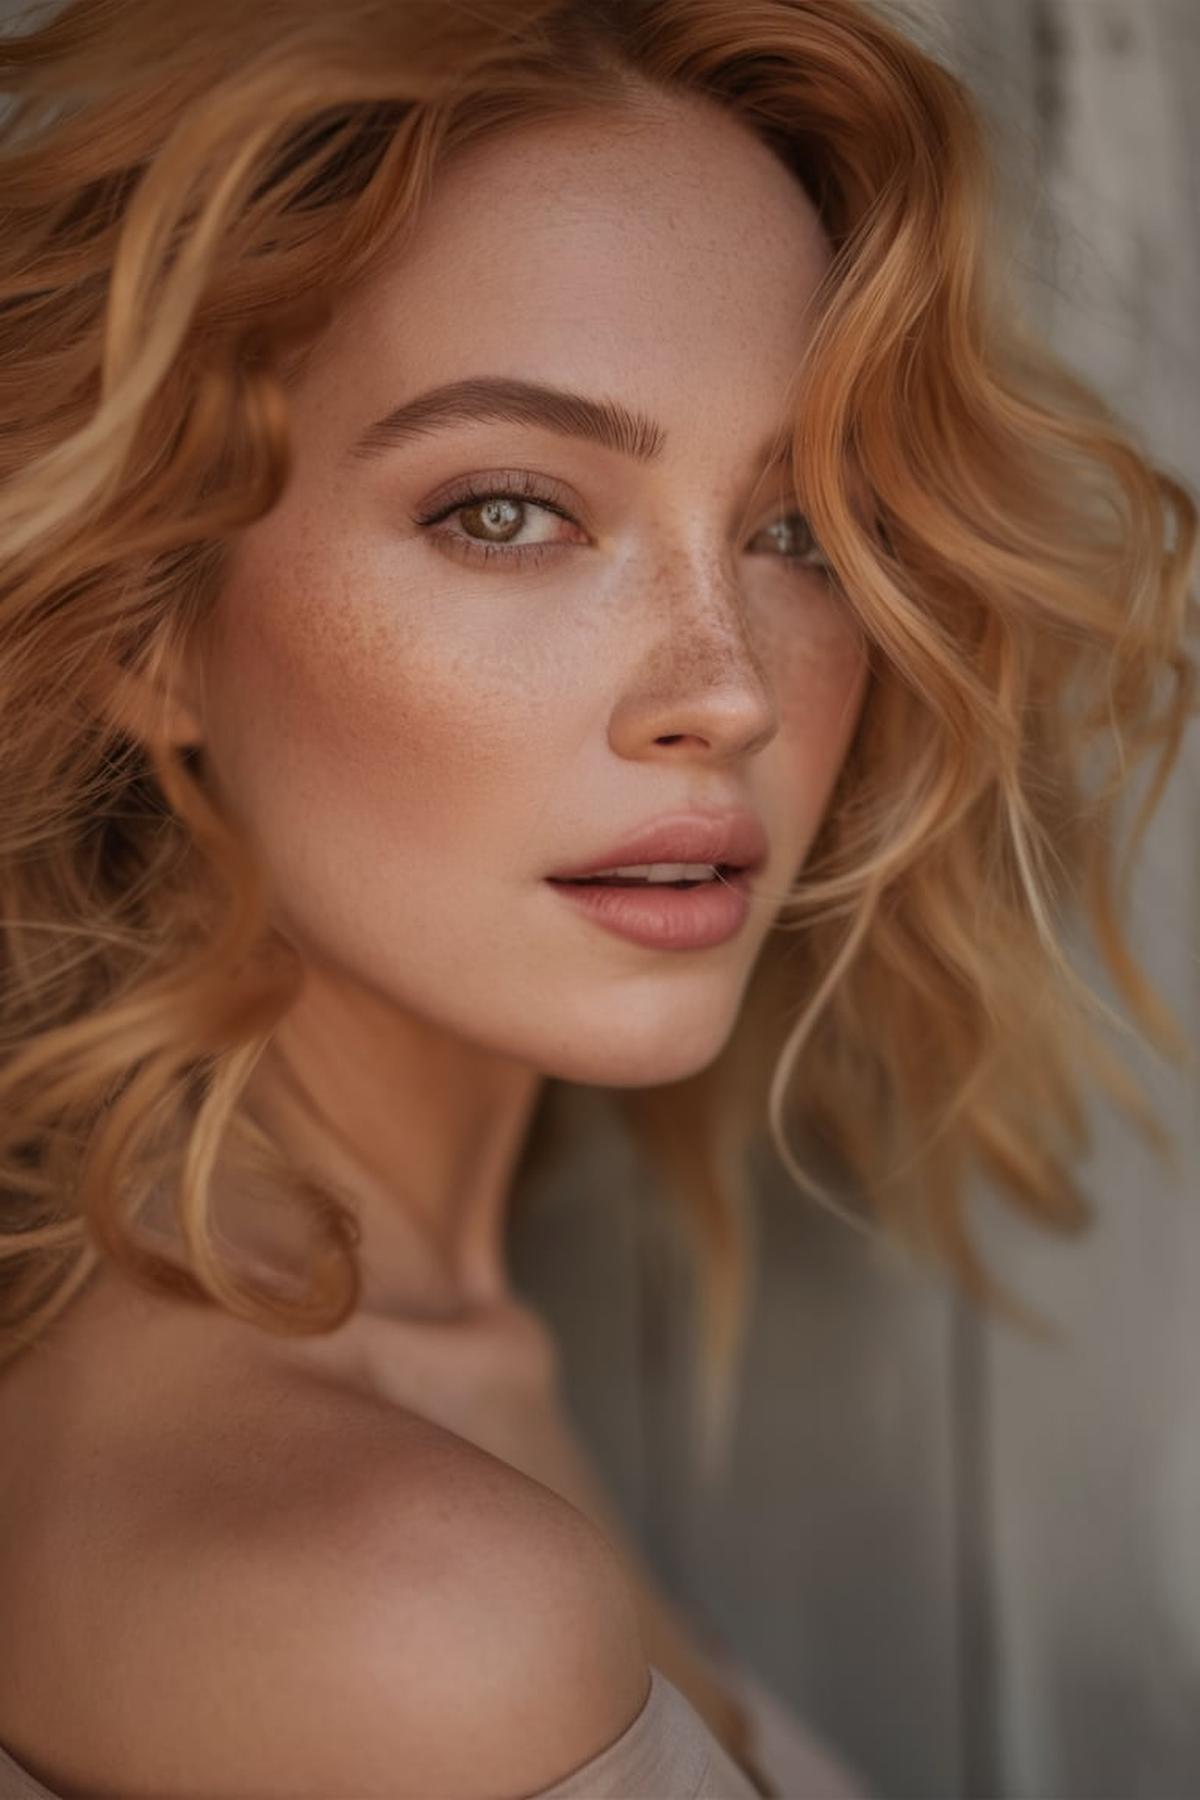
Use a good shampoo and conditioner designed for your hair type, especially if you have color-treated hair. After washing, gently towel-dry your hair to remove excess water without causing frizz. Apply a heat protectant spray to shield your hair from heat damage, which is crucial when you style it with tools like curling wands or blow dryers.
Take sections of your hair, wrap them around the wand, and hold for a few seconds before releasing. Alternate the direction of the curls for a more natural look. After curling, let the waves cool completely.
A light-hold hairspray can help keep your waves in place without making them stiff. If you want extra volume, you can use a texturizing spray or a sea salt spray to give your hair that beachy, carefree vibe. Remember, practice makes perfect, so keep experimenting until you find the technique that works best for you!
Ribbon-Weaved Multi Braids
You will need some hair ties, a comb or brush to detangle your hair, and colorful ribbons. Begin by creating a ponytail and securing it with a hair tie. The ribbons should be longer than the ponytail so you can easily weave them into your braids.
This is where the fun begins! Take one section of hair, cross it over the next, and then weave the ribbon into the braid. For example, if you start with the left section, cross it over the middle, then take the right section and cross it over the middle as well.
Finally, once you reach the end of your hair, secure the braid with another hair tie. If you have extra ribbon, you can tie it around the base of the braid for a decorative touch. Practice makes perfect, so don’t worry if it doesn’t look perfect at first. With time, you’ll get the hang of it, and soon you’ll be able to create beautiful ribbon-weaved multi braids that stand out!
Q&As for cute coachella hairstyles
Q: What are some cute hairstyles for Coachella?
A: There are many cute hairstyles for Coachella! You can try styles like space buns, colorful braids, or a boho high ponytail braid. These looks are fun and perfect for a festival vibe.
Q: How can I make an enchanting blue tint half-up hairstyle?
A: To create an enchanting blue tint half-up hairstyle, dye the top half of your hair a pastel blue. Then, pull the top section back and secure it with a cute clip or hair tie. This look is playful and great for standing out!
Q: What is a floral crown elegance hairstyle?
A: A floral crown elegance hairstyle involves wearing a crown made of flowers on your head. You can style your hair in loose waves or braids underneath the crown for a beautiful, bohemian look that’s perfect for festivals.
Q: How do I do twists and braids in a ponytail?
A: To create twists and braids in a ponytail, first, pull your hair into a ponytail. Then, take small sections of hair from the ponytail, twist them, and braid them together. This adds texture and style to your ponytail!
Q: What is a boho hair with a hat and braids look?
A: A boho hair with a hat and braids look combines loose, wavy hair with braids and a stylish hat. You can wear your hair down with a few braids on the side and add a floppy hat to complete the relaxed, festival-ready vibe.

