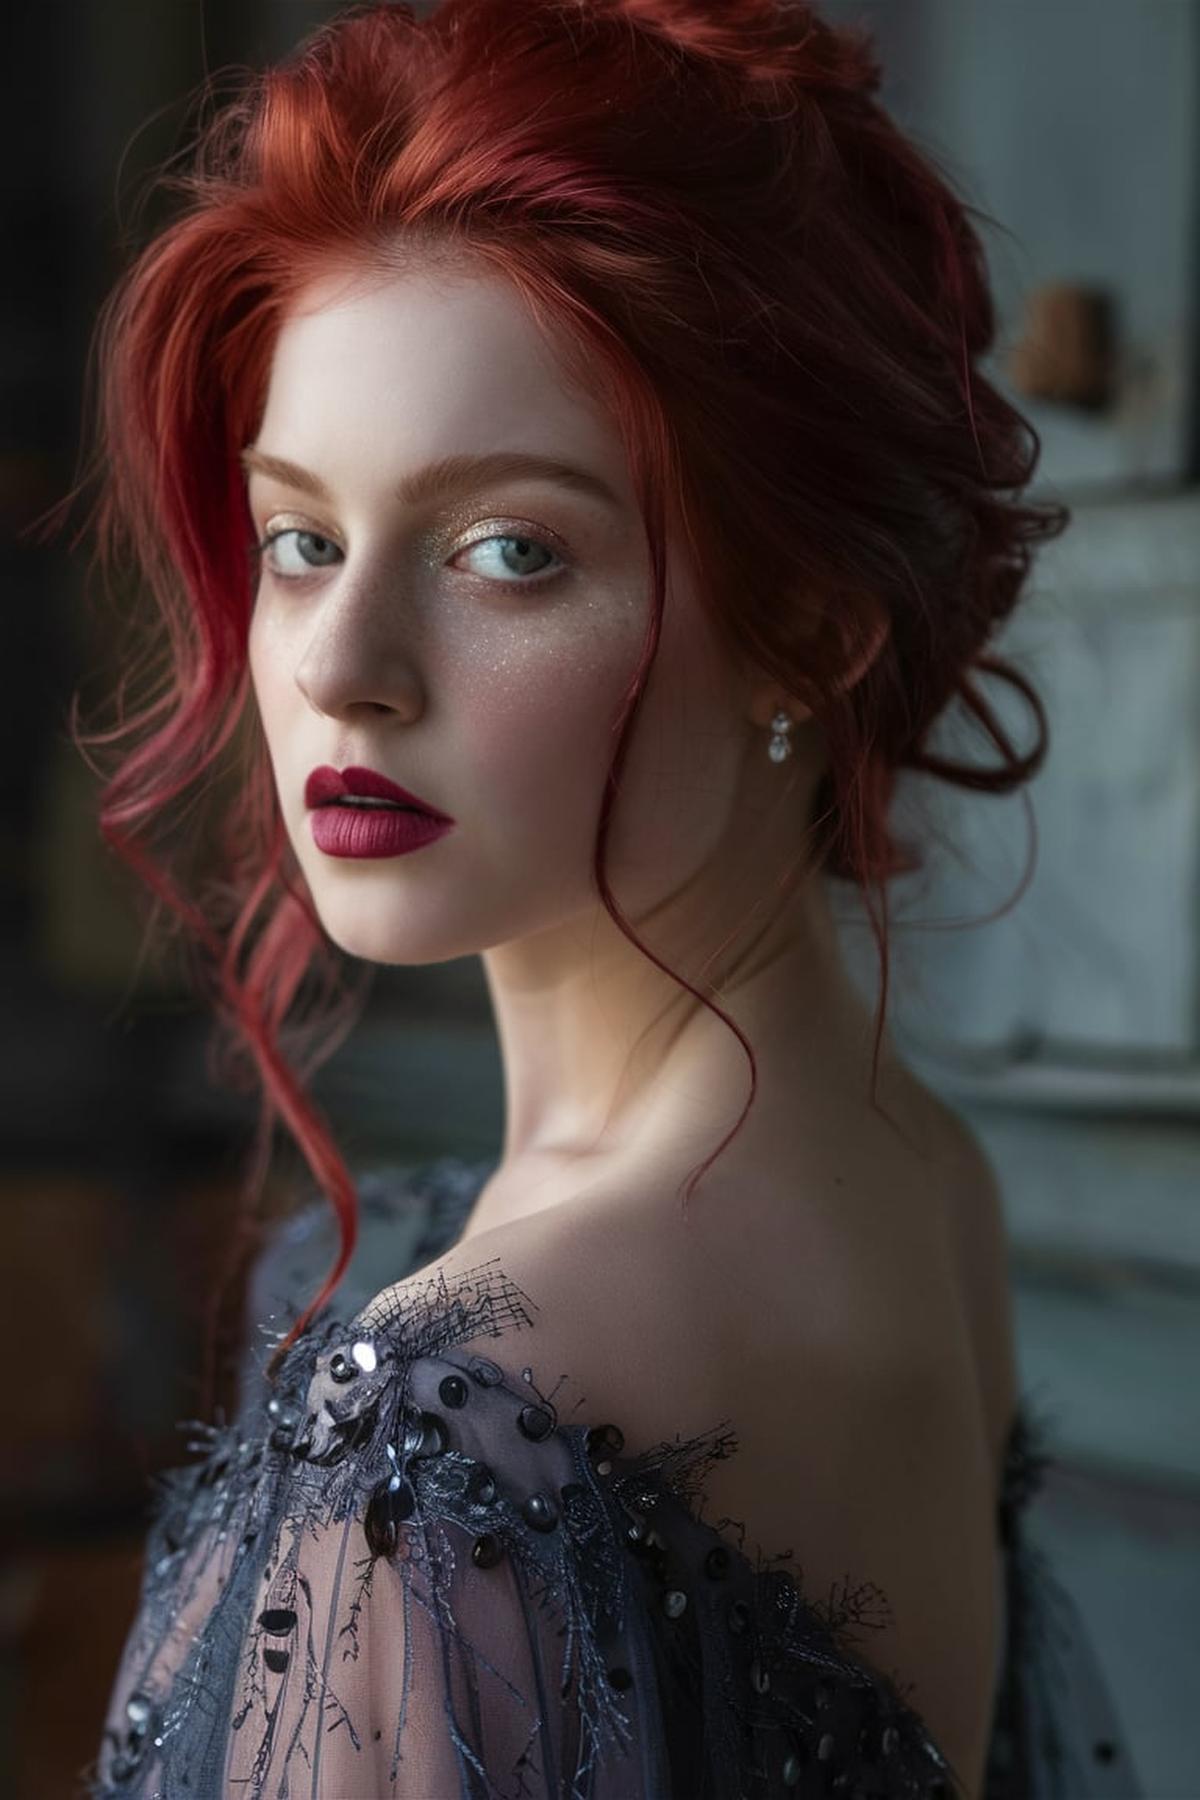
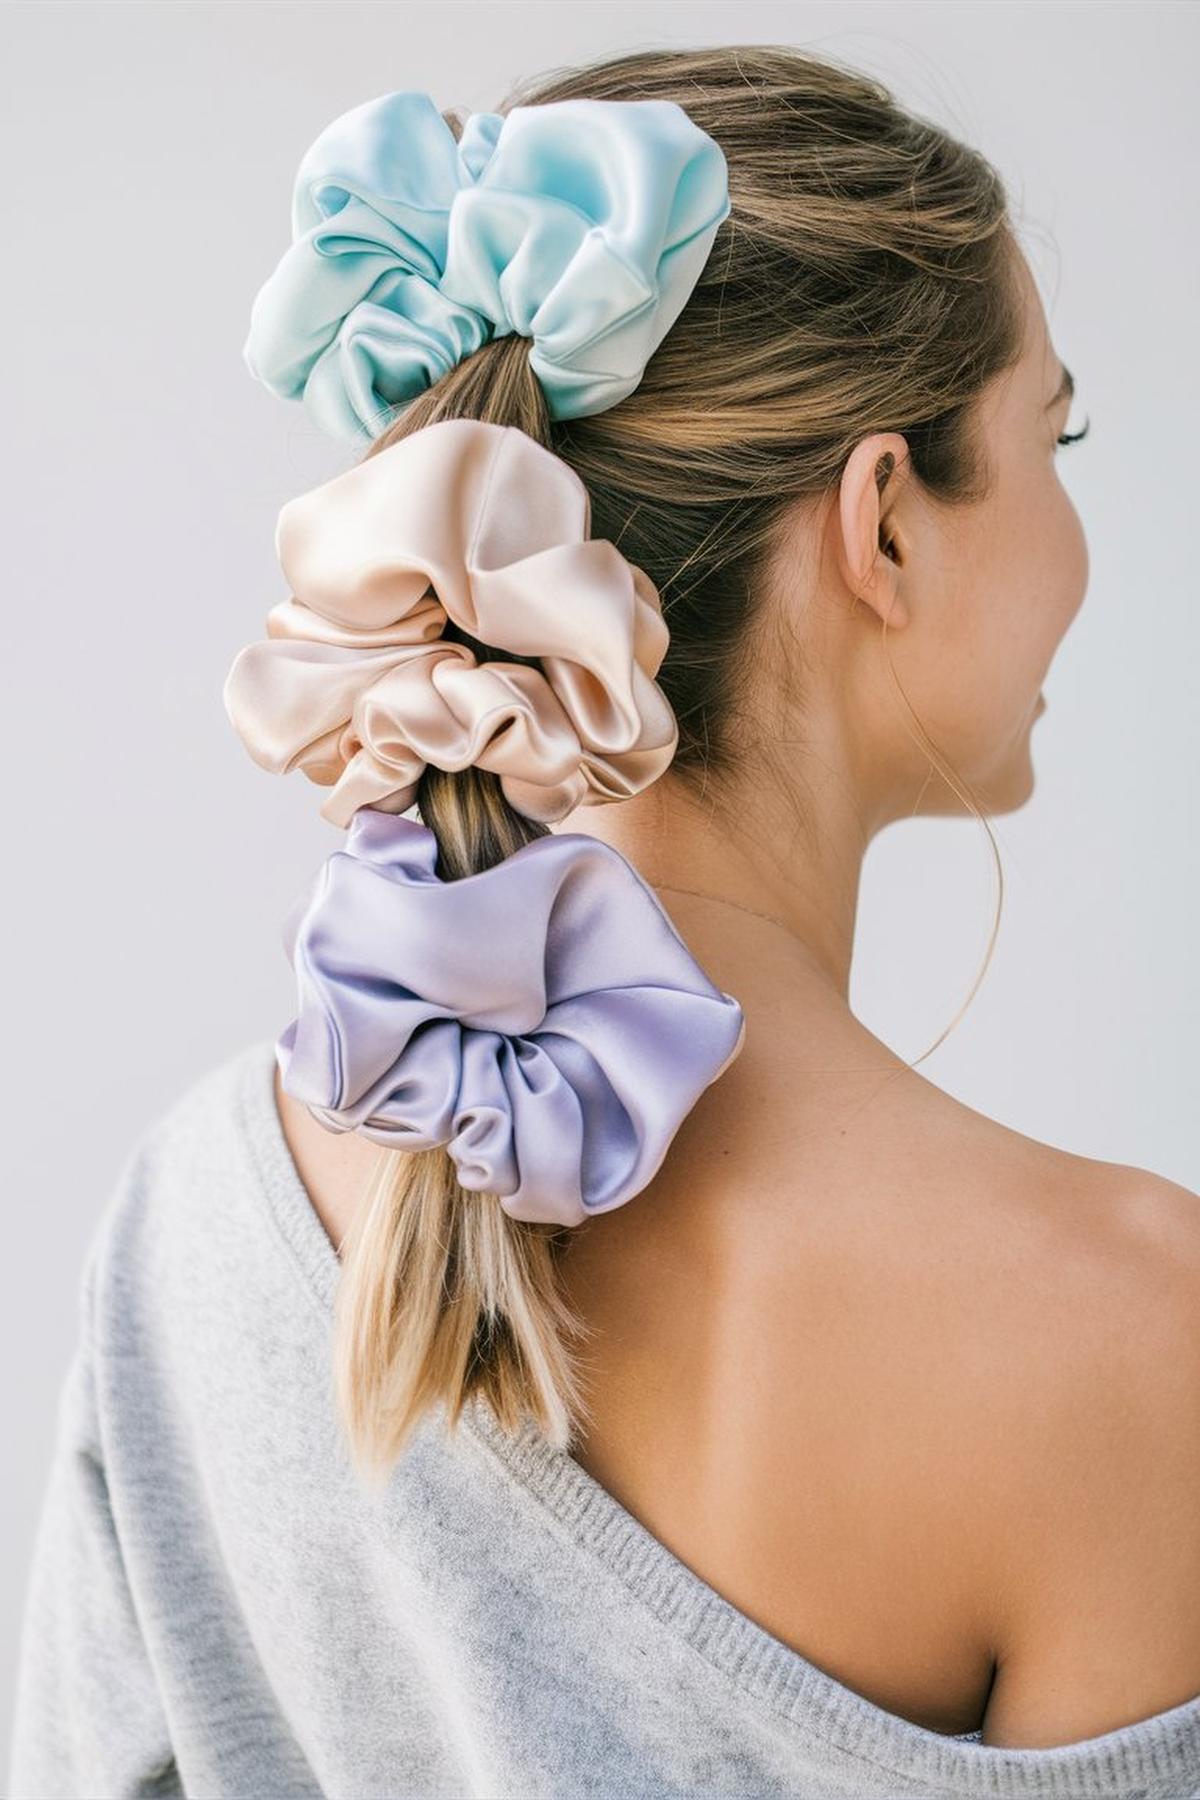
For a relaxed look, try the messy bun with a twist. This style is perfect for lazy days or when you’re in a hurry. Just gather your hair into a bun, leaving some strands loose for a casual vibe. If you want something a bit more polished, the half-up, half-down bun is a great choice.

These styles are easy to achieve with a flat iron and some hair serum for shine. If you prefer a more playful style, beachy waves or the textured pony with bangs can add a fun twist to your look.
These hairstyles can elevate your look and are surprisingly easy to do. Don’t forget about accessories! Adding a headband or some decorative pins can transform even the simplest styles into something special.
Now, without further ado, let’s dive into 22 easy hairstyles for medium length hair.
The Messy Bun with a Twist

The best messy buns often work well with hair that isn’t freshly washed, so if your hair is clean, use some dry shampoo to add texture and volume. This will help your bun hold its shape better. Gather your hair into a loose ponytail at your desired height—either high on your head or lower at the nape of your neck.
Wrap it around the base of the ponytail and secure it with a hair tie or scrunchie. If your bun looks too neat, gently pull at the edges to loosen it up and create that relaxed vibe.
This will help your messy bun last throughout the day. Remember, the key to a great messy bun is to embrace the imperfections and let your hair have its own personality. With a little practice, you’ll be able to create a stylish messy bun that looks effortless and chic!
You may also be interested in:
Half-Up, Half-Down Bun

Begin by taking hair from both sides of your head, about an inch thick, and pull it back to the center. Hold this section with one hand while using the other hand to secure it with a hair elastic.
You don’t need to pull the hair all the way through on the second wrap; just loop it until it feels snug. This will give you a nice, messy bun effect.
You can also pull out a few strands of hair around your face to soften the look. This hairstyle is versatile; it can be dressed up for special occasions or kept casual for everyday wear, making it perfect for any situation!
The Sleek and Straight Look

Use a good quality shampoo and conditioner to keep your hair healthy and shiny. After washing, apply a heat protectant spray to prevent damage from styling tools. This step is crucial because it helps maintain the health of your hair while you style it.
Take a small section of hair, clamp the flat iron at the roots, and slowly glide it down to the ends. Make sure to keep the iron moving to avoid burning your hair. If your hair is thick or curly, you might need to go over each section more than once.
The more you style your hair straight, the better you’ll get at it. Experiment with different products and techniques to find what works best for your hair type. Remember to give your hair a break from heat styling occasionally to keep it healthy and strong. With time, you’ll master the sleek and straight look!
You may also be interested in:
Shoulder Length Layers

You want to create a base that looks good and is easy to style. Begin by cutting your hair straight across to your desired length, ensuring both sides are even. This will serve as the foundation for your layers. Once you have the base, you can start layering. To do this, take small sections of hair and cut them at an angle, which will create movement and texture.
Hold the hair up at a 90-degree angle from your head and cut across to create soft layers. This method helps avoid harsh lines and gives a more natural appearance. If you’re unsure, start by cutting a little at a time; you can always trim more later. Remember to check both sides frequently to maintain symmetry.
Use products like mousse or styling cream to add volume and definition. When blow-drying, direct the airflow upwards to enhance the layers. You can also use a straightener or curling iron for added texture. Experiment with different styles, like waves or straight looks, to see what you like best. Regular trims every few months will keep your layers looking fresh and healthy.
The Side Braid

This hairstyle works with any hair type and length, making it a versatile choice for both casual and formal occasions. Begin by parting your hair slightly off-center, which gives the braid a more relaxed look. Once you have your hair ready, take a small section from the front and divide it into three equal parts.
As you continue, add more hair from the front to the braid. This technique is similar to a French braid but focuses on pulling hair only from the front. Keep braiding until you reach the nape of your neck, then switch to a regular braid with the remaining hair.
You can also leave some strands loose around your face for a softer look. This hairstyle is perfect for days when you want to keep your hair out of your face while still looking cute and put-together. With a little practice, you’ll be able to create a beautiful side braid in no time!
You may also be interested in:
Beachy Waves

It’s essential to blow-dry your hair first, making sure it’s completely dry before you begin styling. If your hair has some natural wave, you might want to use a flat iron on the ends to make them straight. This step helps create that effortless look.
Take one-inch sections of hair and wrap them around the iron, but remember to leave the last inch of hair out. This technique gives your waves a relaxed, tousled appearance rather than tight curls. As you curl, alternate the direction of the curls—some away from your face and some towards it.
Finally, finish your look with some hair products. A working texture spray can add volume and hold, while a light hairspray will keep everything in place without making your hair feel stiff. If you want extra shine, consider using a shine spray as a finishing touch. With practice, you’ll be able to achieve those perfect beachy waves in no time, making it a fun and easy hairstyle for any occasion.
The Top Knot

This is easiest if you flip your head upside down and brush your hair up. Use a strong elastic to secure the ponytail, ensuring it’s tight enough to hold your hair in place. If your hair is a bit dirty, it can actually help the top knot stay better, so don’t worry if you haven’t washed it recently.
This is like a little cushion that helps your bun look bigger. Simply place the donut around your ponytail and wrap your hair around it, securing the ends with bobby pins.
You can also pull out a few strands of hair around your face for a softer look. This hairstyle is super versatile and can be dressed up or down, making it perfect for school, workouts, or hanging out with friends. With a little practice, you’ll be able to create a stylish top knot in just a few minutes!
You may also be interested in:
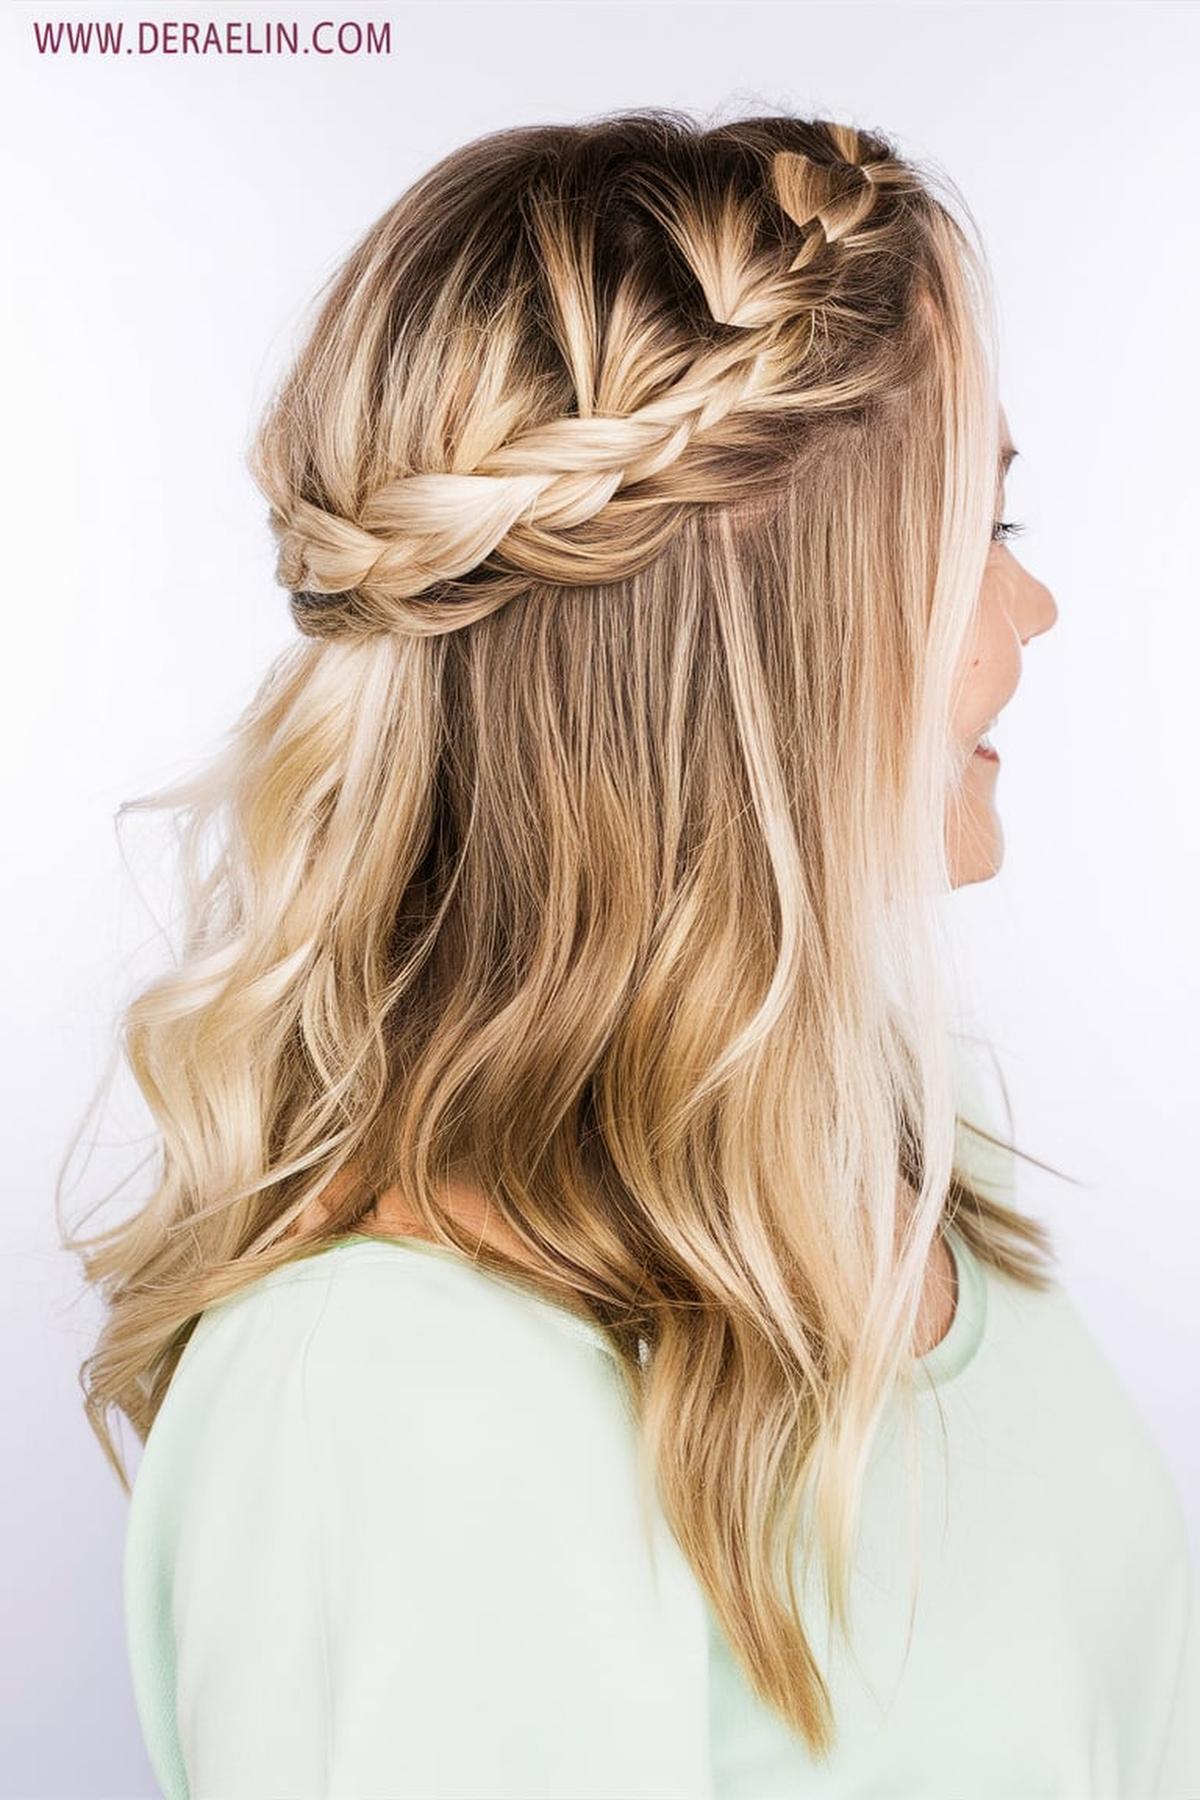
The Braided Crown

It’s helpful to have a mirror and some basic supplies like hair elastics and bobby pins. Begin by parting your hair down the middle and picking a small section from one side at the back of your head. This will be the start of your braid.
As you braid, remember to incorporate more hair from the sides as you go along. This means pulling in hair from the front and sides into your braid to keep it looking full and continuous. When you reach the front of your head, continue braiding until you run out of hair, then secure the end with a small elastic.
Make sure to tuck the end of the braid under to hide it. If you want your hairstyle to last longer, use hairspray to keep everything in place. With practice, this elegant look can be achieved, making it perfect for special occasions or just to feel fabulous!
The Textured Pony With Bangs

Begin with clean, dry hair and apply some texture spray or powder to give your hair volume and grip. This will help your ponytail look fuller and more stylish. If your hair is straight and flat, you might want to curl it slightly or create waves to add texture.
It’s best to position the ponytail at or slightly above your cheekbone for a flattering look. Use a soft brush to smooth out any bumps but remember, a few lumps are okay since this is a textured style. Secure the ponytail with a hair tie, and for added volume, you can use a second hair tie to create a more stable base.
You can leave them straight or add a slight wave for a softer look. If you want to hide the hair tie, take a small section of hair from the ponytail, wrap it around the base, and secure it with a bobby pin. Finish with a flexible hold hairspray to keep everything in place without making it stiff. This hairstyle is not only trendy but also easy to achieve with a bit of practice!
You may also be interested in:
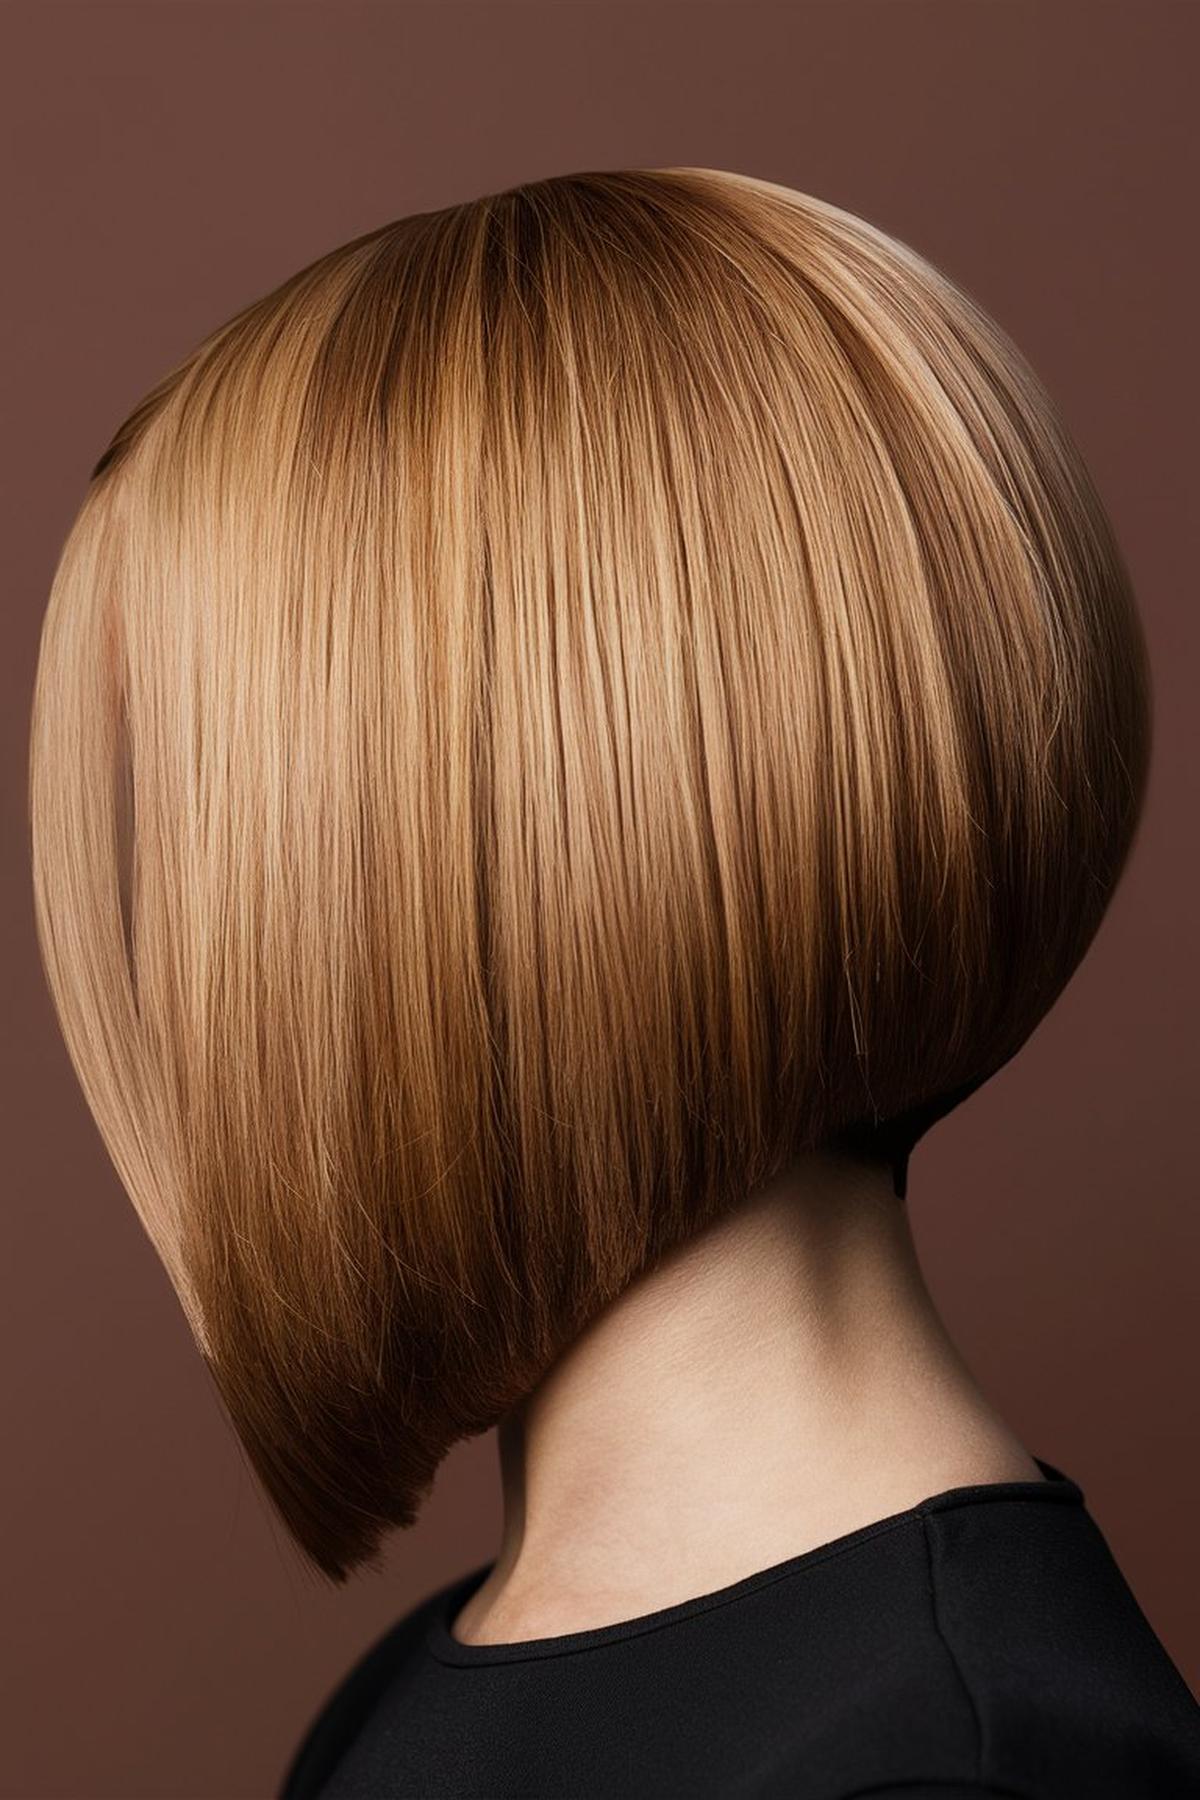
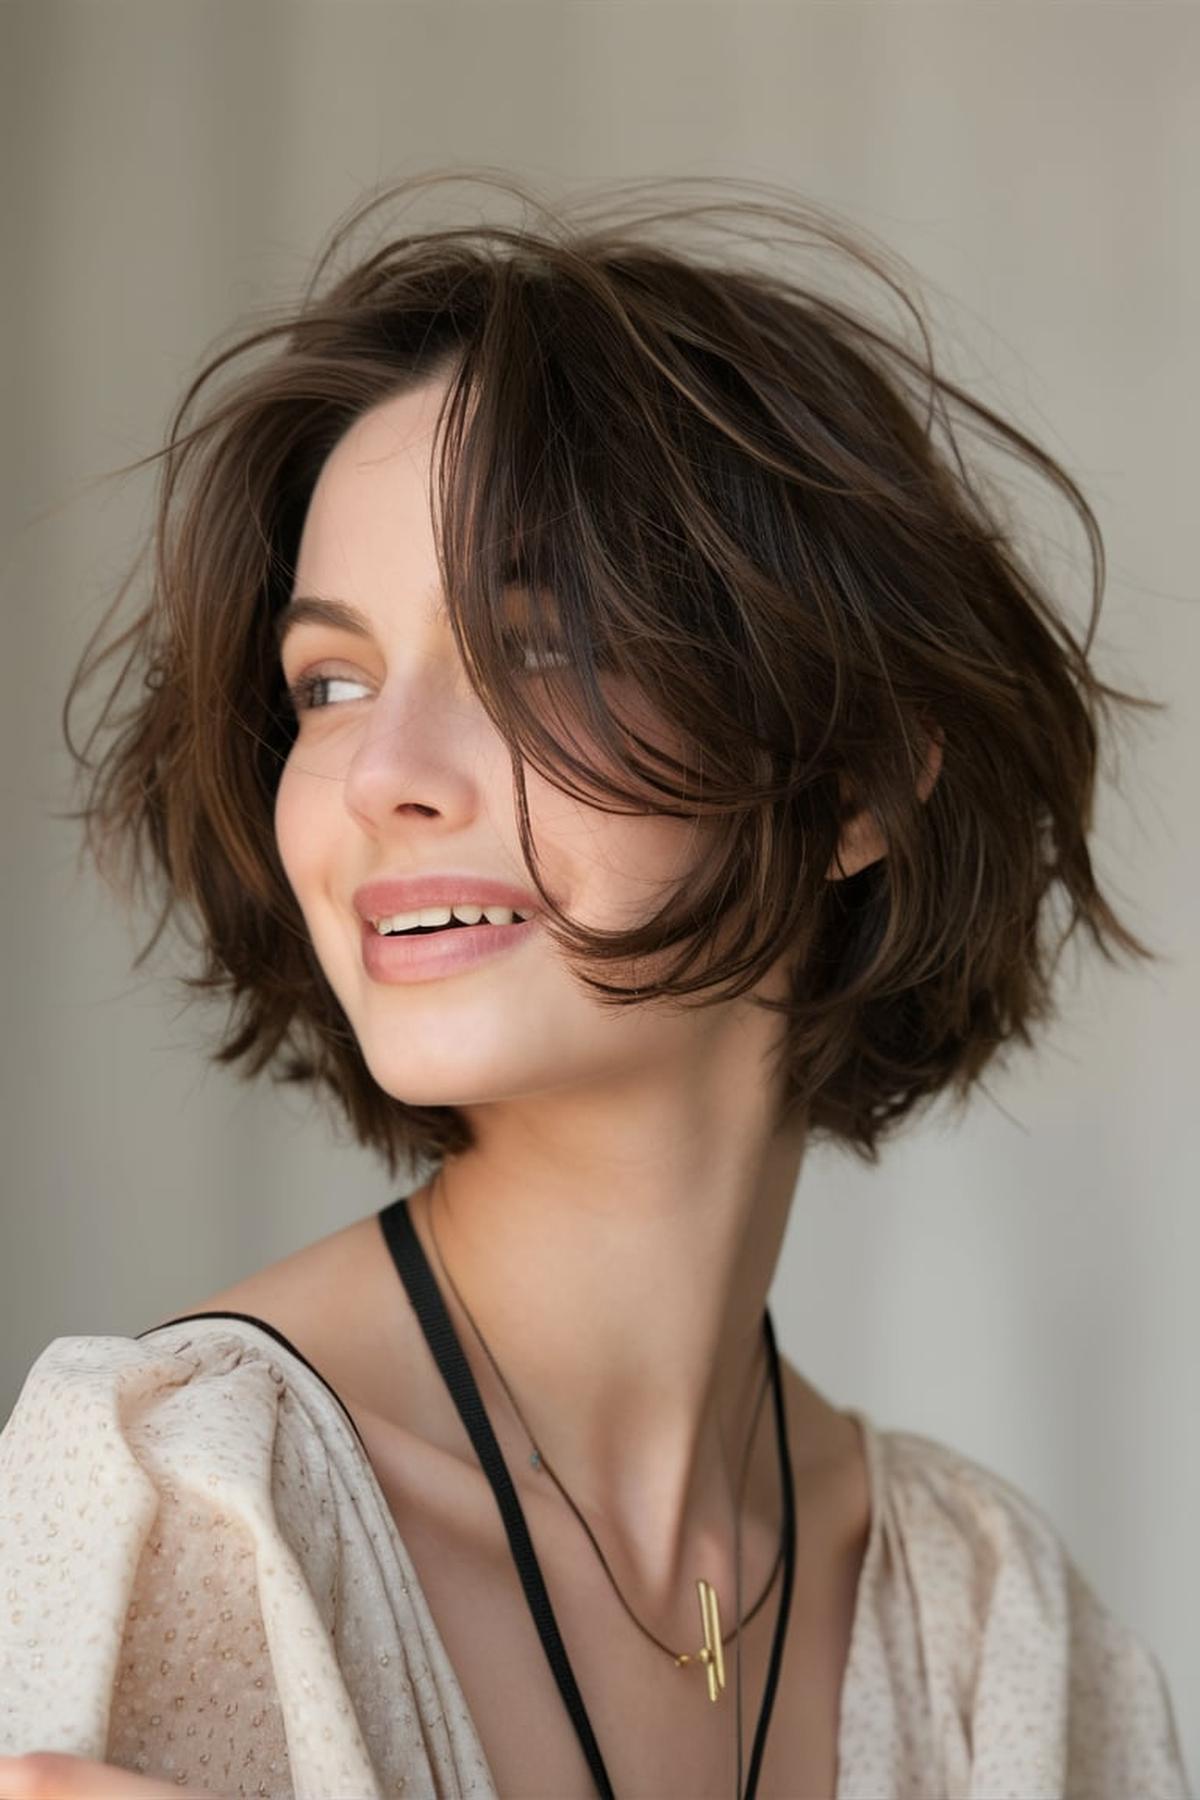
The Simple Lob

A lob, or long bob, is a trendy haircut that falls between your chin and shoulders. It’s versatile and can be styled in many ways, making it perfect for different occasions. To get this look, you can either visit a salon or, if you’re feeling adventurous, try cutting it yourself.
Start by washing your hair and using a heat protectant spray if you plan to use heat tools. Blow-dry your hair using a round brush to add volume and shape. You can also create soft waves with a curling iron or flat iron for a more relaxed look.
Regular trims every six to eight weeks will help prevent split ends and keep the shape intact. Experiment with different styling products like mousse or texturizing spray to find what works best for your hair type. With practice and the right techniques, you’ll be able to rock the simple lob effortlessly!
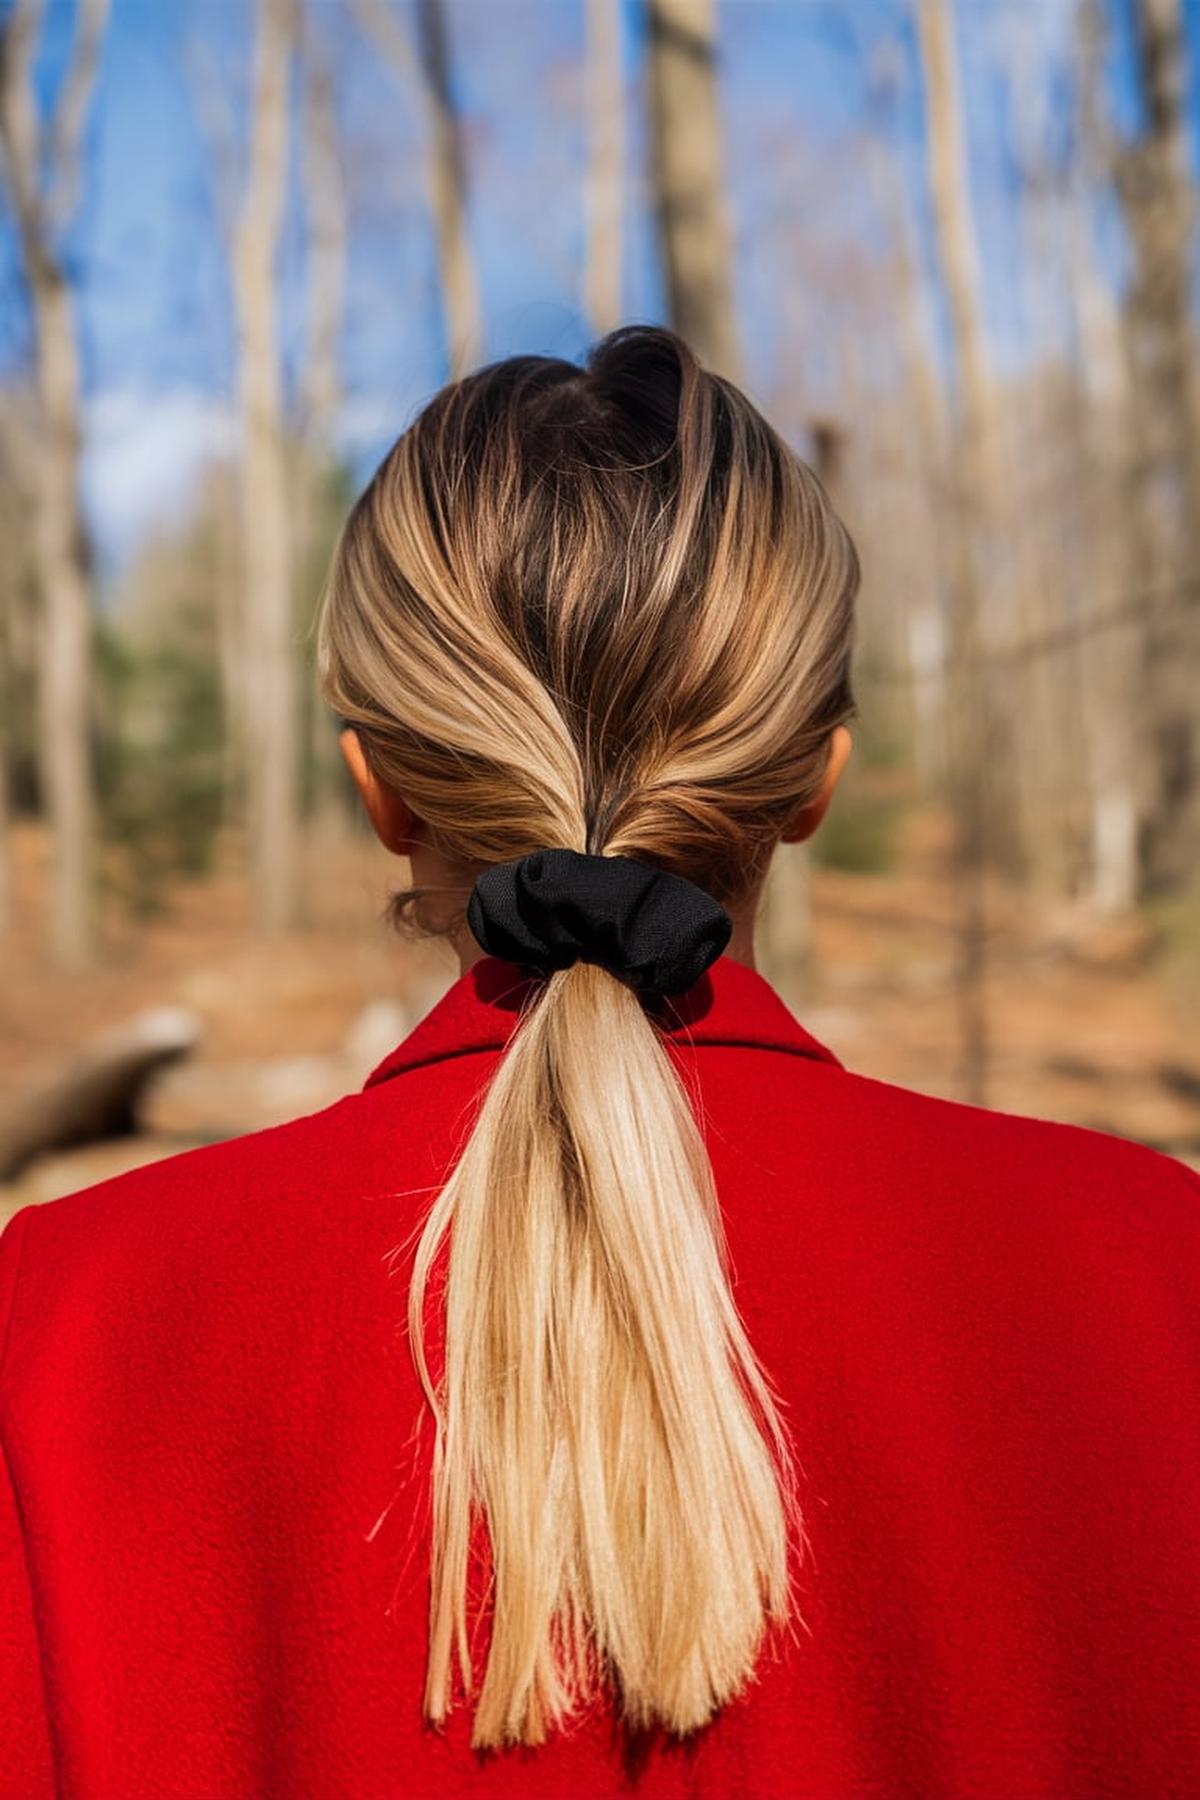
The Sleek Low Ponytail

If your hair is clean, consider adding some texture spray to give it a bit of grip. This helps the ponytail hold better. If you have straight hair, you might want to curl it slightly or create loose waves for more volume. Gather your hair at the nape of your neck and secure it with a hair tie.
Use a brush to eliminate any bumps and ensure everything looks neat. If you want extra hold, apply some hairspray or a shine serum to keep everything in place. To add a polished finish, take a small section of hair from the ponytail and wrap it around the hair tie. This not only hides the tie but also gives the ponytail a more sophisticated look.
You can leave them straight or curl them slightly for a softer appearance. If you want a more relaxed look, let a few strands fall out around your face. Finish off with a light mist of hairspray to keep everything secure throughout the day. With these steps, you’ll have a sleek low ponytail that looks chic and effortless!
You may also be interested in:
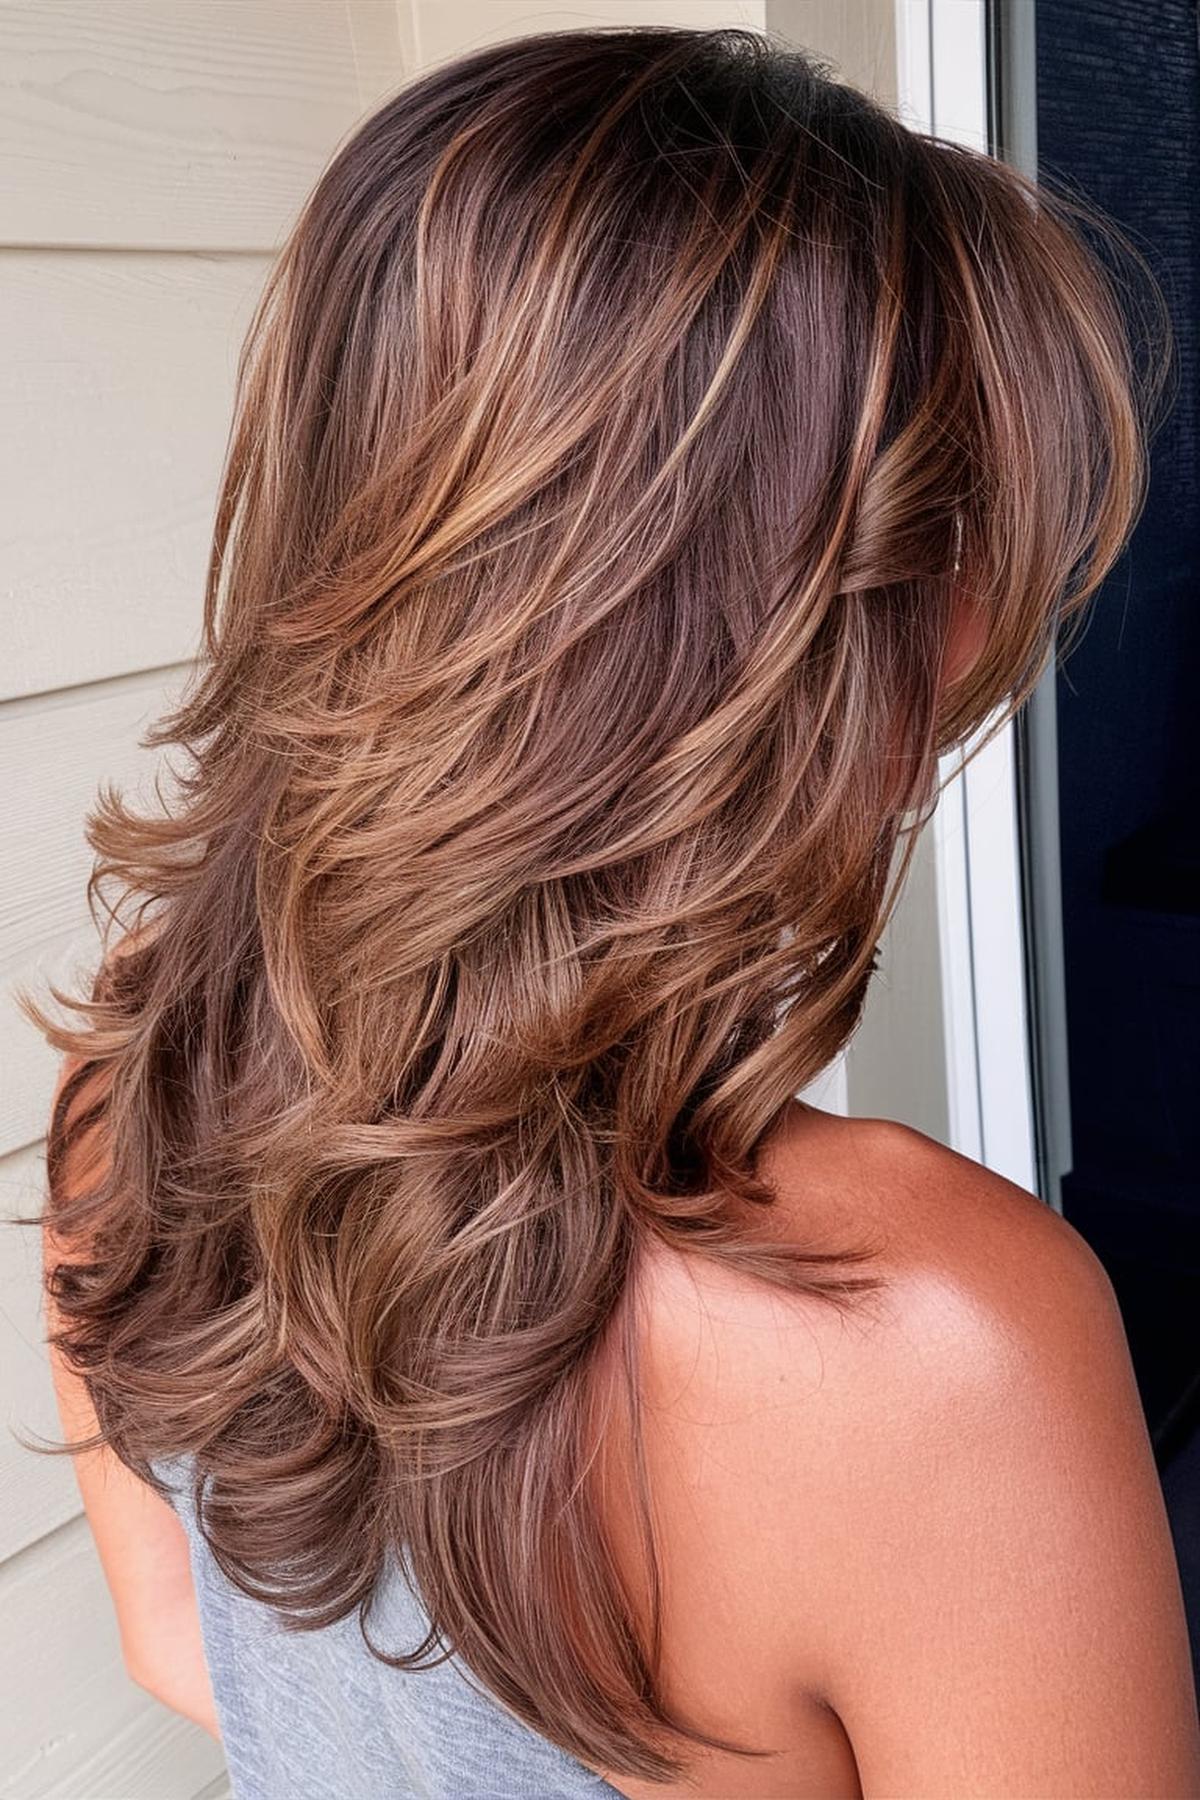
Balayage Waves

Start by ensuring your hair is clean and dry. It’s best to use a curling iron with a one-inch barrel, as this size helps create the perfect wave. Begin by sectioning your hair into manageable parts, and when you curl, leave the ends out for a more relaxed look.
Curl some sections away from your face and others towards it. This variation adds dimension and makes your waves look more natural. If your hair tends to get too frizzy, using a heat protectant spray before styling can help keep it smooth.
A texture spray can add volume and enhance the waves, while a light hairspray will help hold them in place without making your hair feel stiff. Remember, the goal is to look effortlessly chic, so don’t worry about making each wave perfect. With practice, you’ll be able to achieve those gorgeous balayage waves that look like you just stepped off the beach.
Curtain Bangs on Medium Hair

They are longer bangs that frame your face like a curtain, making them versatile and flattering for many face shapes. Unlike blunt bangs, curtain bangs are softer and can blend well with various hairstyles, from messy buns to sleek ponytails. This style has become popular because it’s easy to grow out if you change your mind, making it a great option for those who want to experiment with bangs without a long-term commitment.
Use a round brush while blow-drying to create a natural curve that sweeps to the sides. This technique helps the bangs sit nicely and frame your face. For a more laid-back look, you can also try curling your bangs slightly with a flat iron or leaving them a bit tousled.
They work well with various looks, like a high ponytail or soft waves. For a quick and stylish option, pull your hair into a messy bun, leaving your bangs to frame your face. You can also add accessories like headbands to elevate your style. Remember, practice makes perfect, so don’t hesitate to experiment with different techniques until you find what works best for you.
You may also be interested in:
The Braided Ponytail

You can choose the height of your ponytail—high, mid, or low—depending on your style preference. Use a hair tie to secure the ponytail tightly. Once your hair is in place, you can begin the braiding process.
Next, start braiding by crossing the right section over the middle section, then the left section over the new middle section. Keep repeating this pattern until you reach the end of your hair. Make sure to keep the braid tight as you go along, so it stays in place.
Finally, finish off your braided ponytail by adjusting any loose strands and adding accessories if you like, such as colorful hair ties or clips. This hairstyle is not only cute but also practical for school or sports. With a little practice, you’ll be able to create a beautiful braided ponytail in no time!
The Half-Up Braided Crown

Take a section of hair from one side, about 1-2 inches above your ear, and split it into three parts. Begin braiding by crossing the back piece under the middle one, then the front piece under the middle. As you braid, add small sections of hair from the top and bottom to create a Dutch braid effect.
After both braids are done, bring the first braid across the back of your head and pin it in place using bobby pins. Make sure to tuck the end of the braid underneath to hide it. Then, take the second braid and cross it over the first one, securing it with more bobby pins.
You can also leave some loose strands around your face for a softer appearance. Finish off by smoothing out any flyaways with hairspray, and you’re ready to show off your stylish half-up braided crown! This hairstyle is perfect for casual outings or special occasions.
You may also be interested in:
The Twisted Ponytail

This hairstyle works best on hair that is a day or two old, as it holds better with some texture. Once you have your ponytail, create a small hole above the hair tie and twist your ponytail through this hole. Pull it tight to secure the twist, and use bobby pins to pin any loose ends if necessary.
You can take a small section of hair from the front, divide it into two parts, and twist them together while gradually adding more hair from the sides. Continue this process until you reach the back of your head, then combine it with the rest of your ponytail and secure it all together with a hair tie.
A little bit of dry shampoo or sea salt spray can add texture to your hair, helping the twists hold better. If you’re in a rush, this hairstyle can be done in under five minutes, making it perfect for busy mornings or last-minute plans. With a bit of practice, you’ll be able to create this trendy look effortlessly.
Dutch Braids

A Dutch braid is similar to a French braid, but instead of crossing the hair strands over each other, you cross them under. Begin by brushing your hair to remove any tangles. Then, section your hair into three equal parts at the top of your head.
As you braid, make sure to add hair from the sides into the braid. After crossing one outer section under the middle, grab a small section of hair from the side and add it to that outer section before crossing it under again. Repeat this process on the other side.
To give your Dutch braid a fuller look, you can gently pull on the sides of the braid to create a “bubbly” effect. This adds volume and makes the braid stand out more. Practice is essential, so don’t get discouraged if it doesn’t look perfect at first. With time, you’ll find that Dutch braids are not only stylish but also a practical way to keep your hair neat and out of your face.
You may also be interested in:
The Messy Bun

If your hair is clean, use dry shampoo to add volume and grip. Begin by flipping your head upside down and gathering your hair into a loose ponytail at the desired height. Don’t worry about making it perfect; some bumps and loose strands will add to the messy vibe.
You can wrap it tightly or loosely, depending on your style preference. Use another hair tie or some bobby pins to secure the bun in place. To enhance the messy appearance, gently pull out a few strands around your face and loosen the bun with your fingers.
This will help prevent it from drooping while allowing it to maintain its tousled charm. Remember, the messy bun is all about embracing imperfections, so don’t stress about making it look too polished. With practice, you’ll be able to achieve the perfect messy bun in just a few minutes.
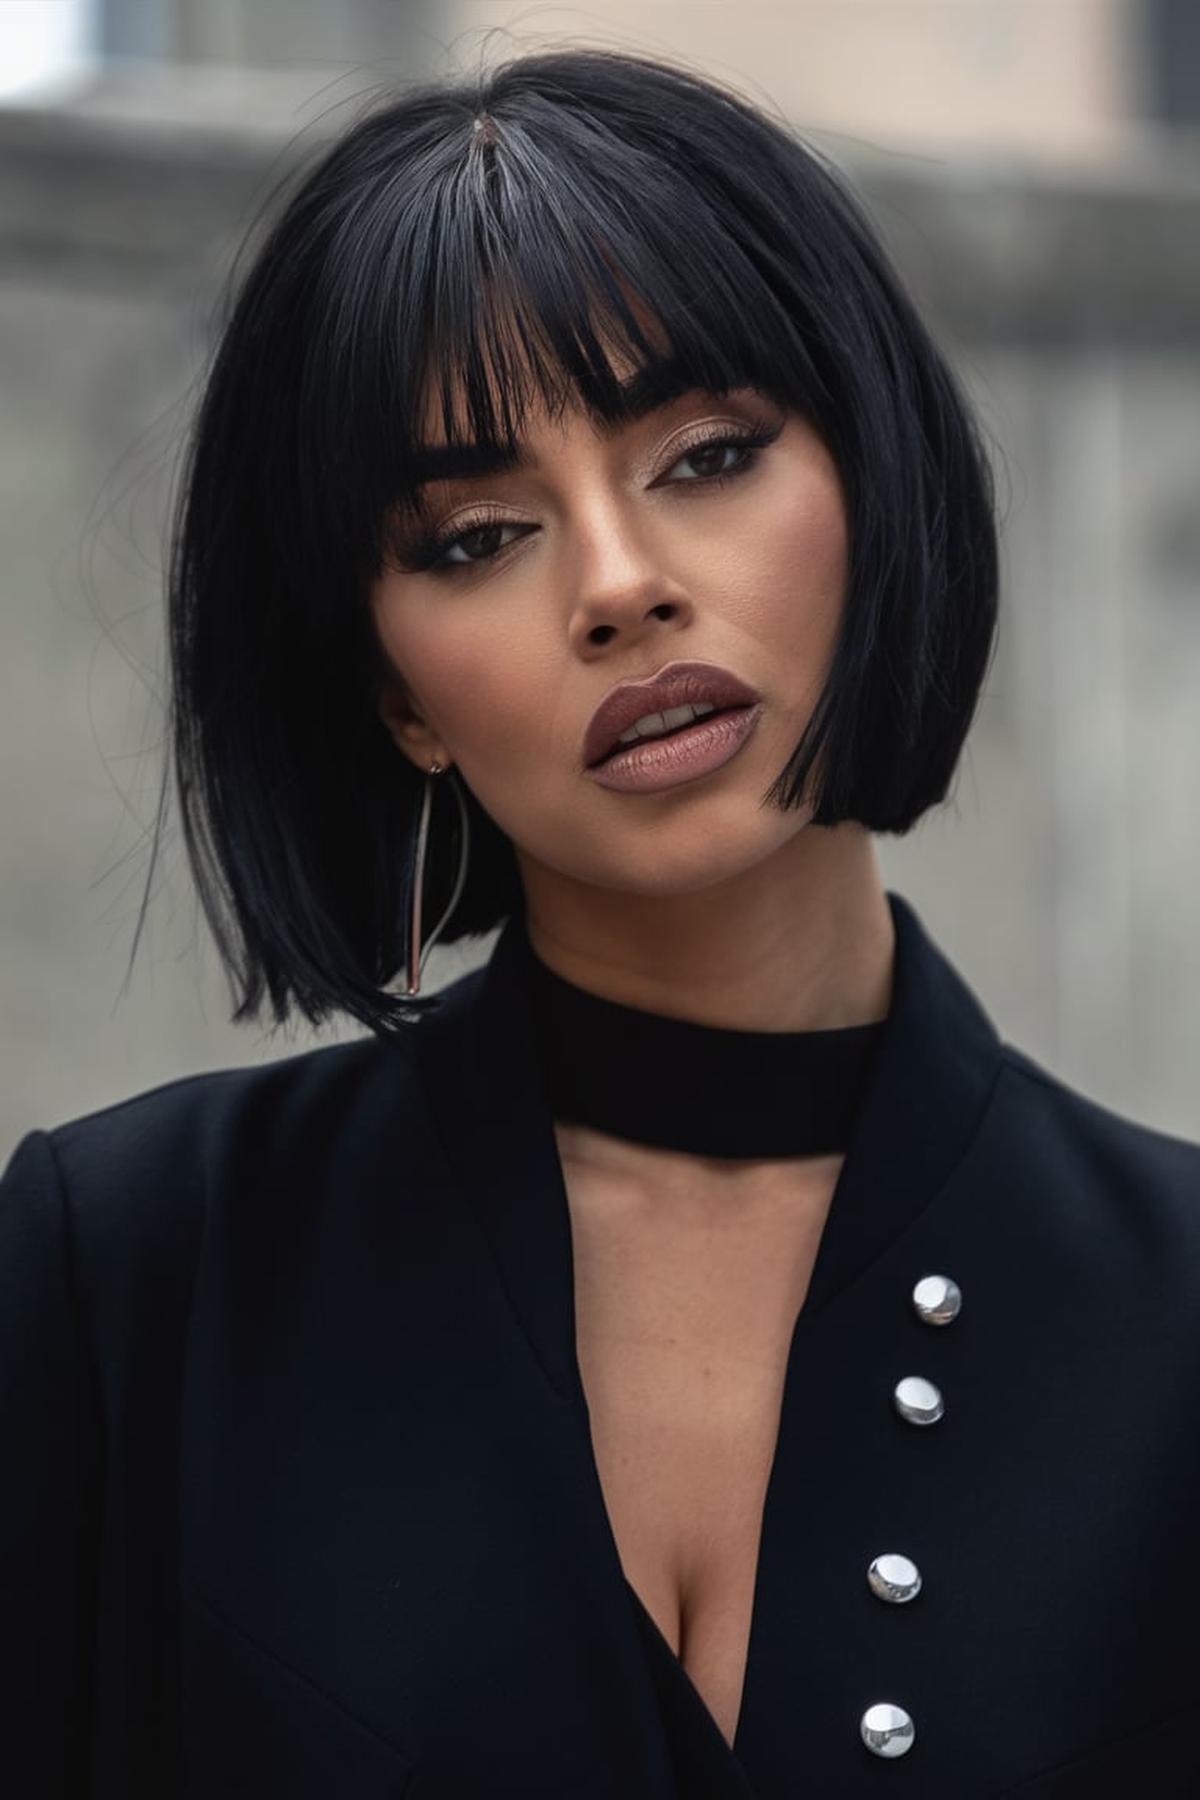
Blunt Bangs Energy

They are straight-cut bangs that fall across the forehead without any wispy or feathered ends. This hairstyle looks best on people with straight or thick hair. If you have an oval face, blunt bangs will suit you perfectly.
A classic way to style them is to go for a sleek and straight finish. Start by applying a heat protectant spray to your bangs, then blow-dry them using a round brush to add volume. Finally, use a mini flat iron to straighten your bangs for that sharp, edgy look.
Regular trims are necessary to keep the bangs looking fresh and prevent them from becoming unruly. Additionally, using the right hair products can help maintain their shape and shine. For example, using a lightweight pomade can give your bangs a textured, messy look, perfect for that effortless vibe. With the right techniques and care, you can confidently rock blunt bangs and make a stylish statement.
You may also be interested in:
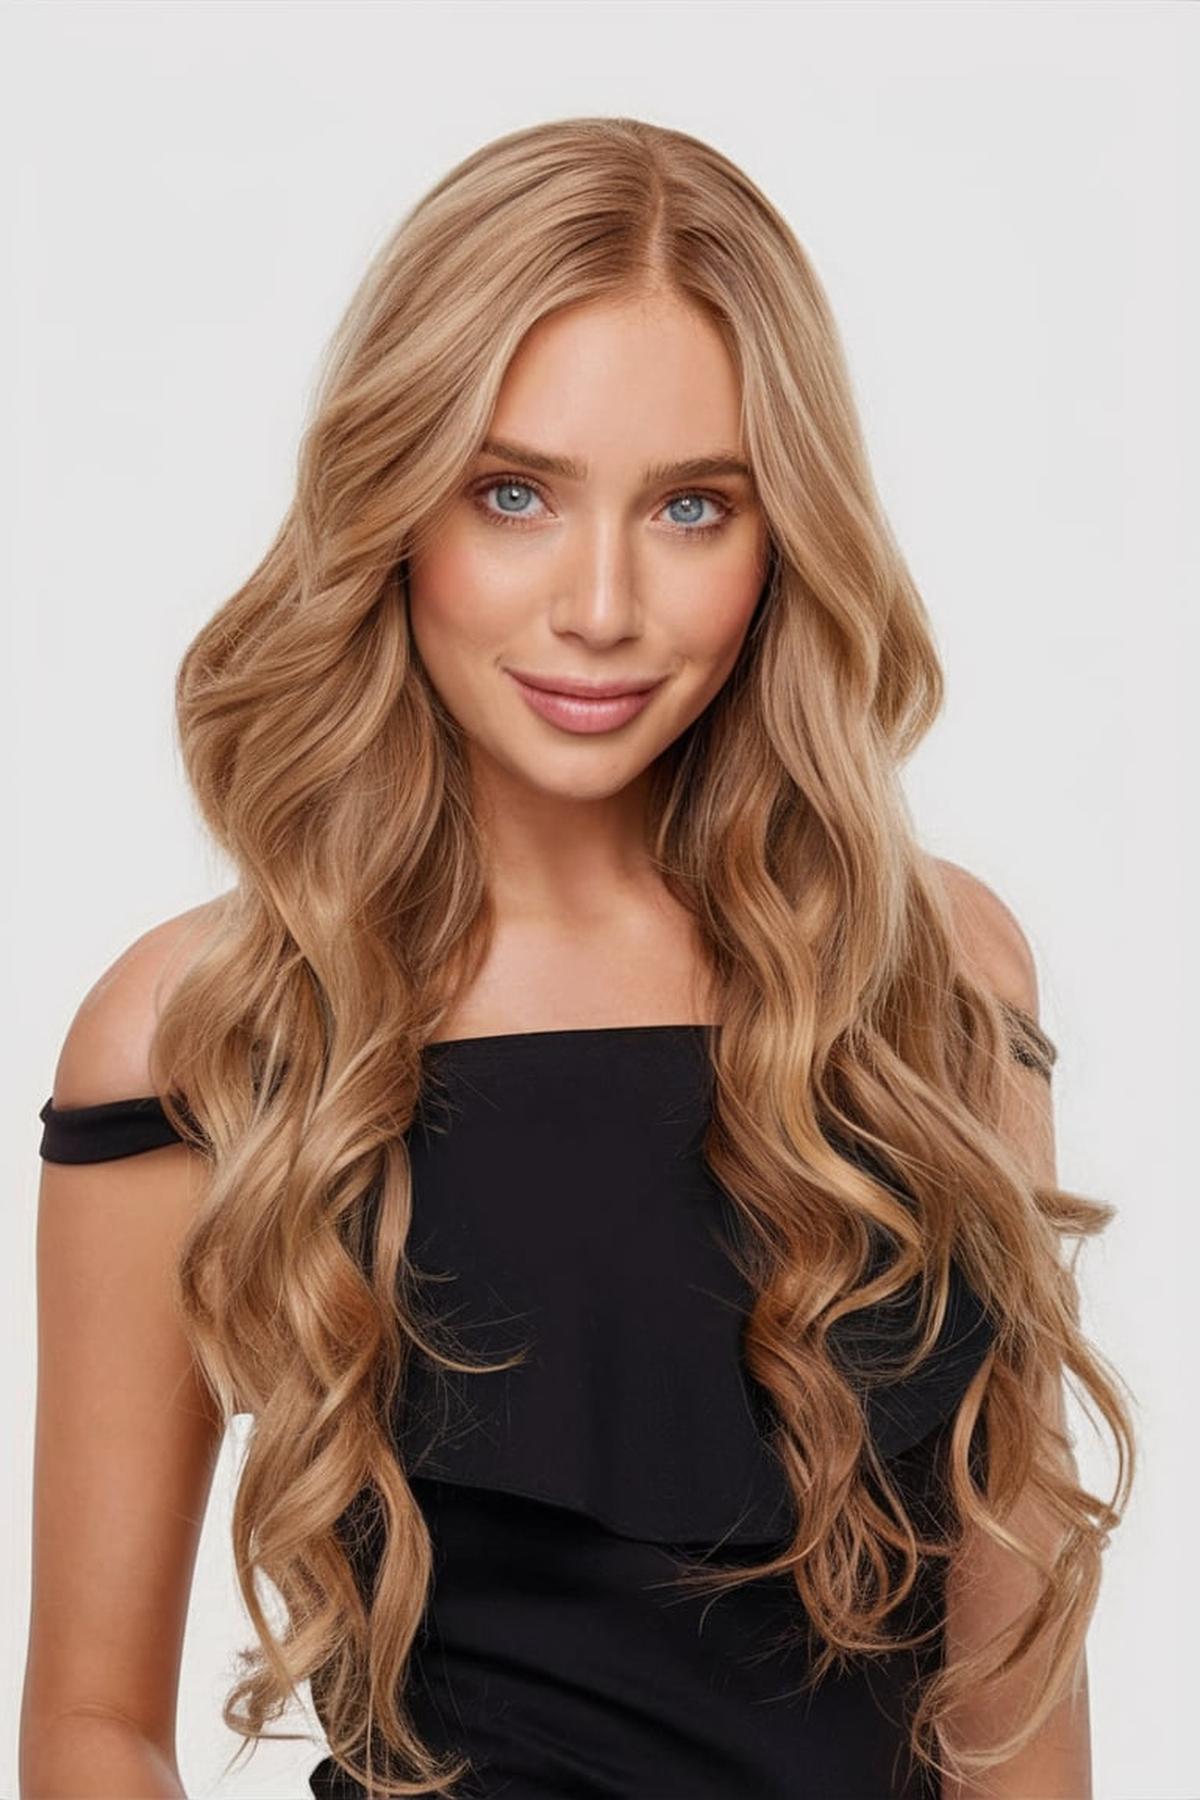
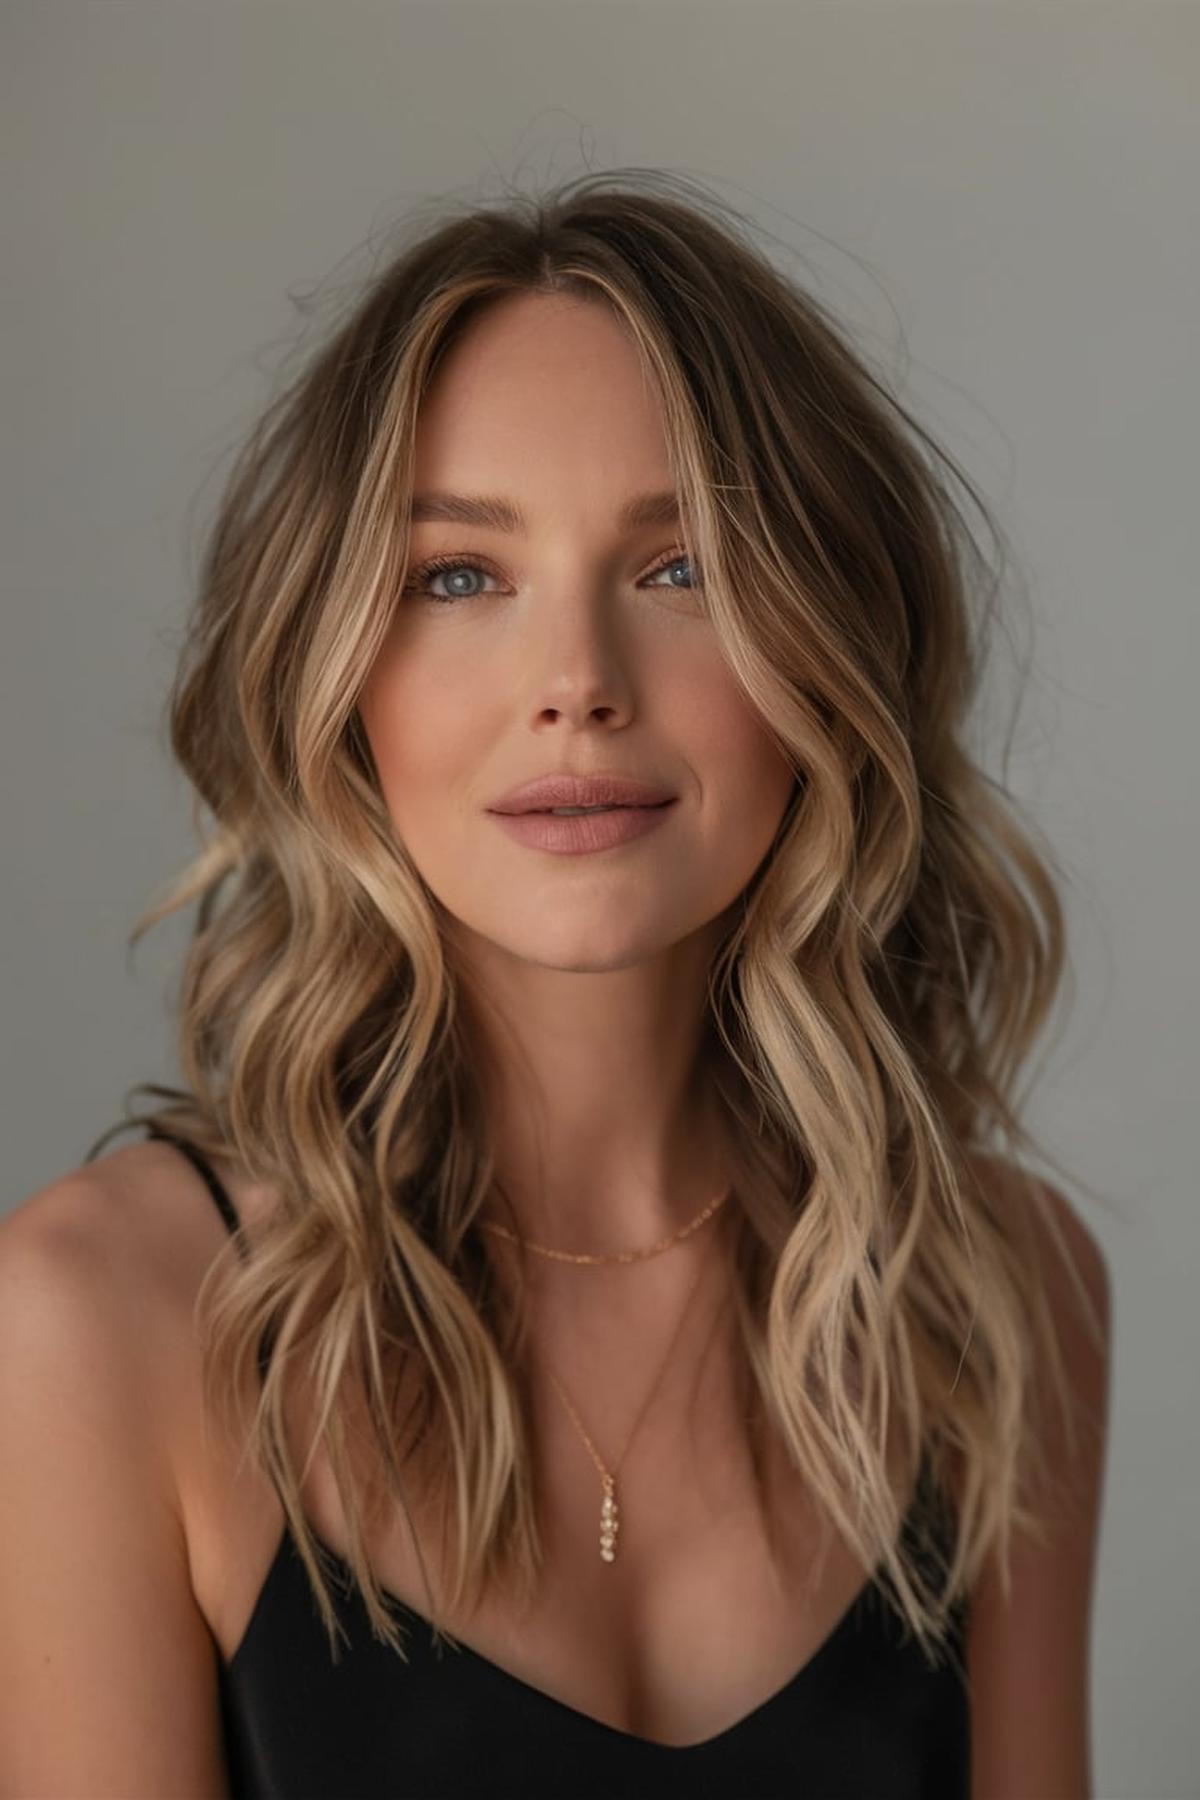
Loose Waves

First, wash and condition your hair to keep it healthy and shiny. After towel-drying, apply a heat protectant spray to prevent damage from styling tools. If you want to add some texture, consider using a sea salt spray or mousse.
For a loose wave effect, take larger sections of hair—about 1 to 2 inches wide—and wrap them around the barrel of the curling iron. Hold for a few seconds, then release. It’s important not to curl all the way to the ends; leaving the tips straight will give a more relaxed vibe.
Finally, once your hair has cooled, gently run your fingers through the waves to break them up and create a more natural look. You can finish off with a light hairspray to hold the style in place without making it stiff. If you want to add some shine, a few drops of hair oil can give your waves a polished finish. Remember, practice makes perfect, so keep experimenting until you find the look that works best for you!
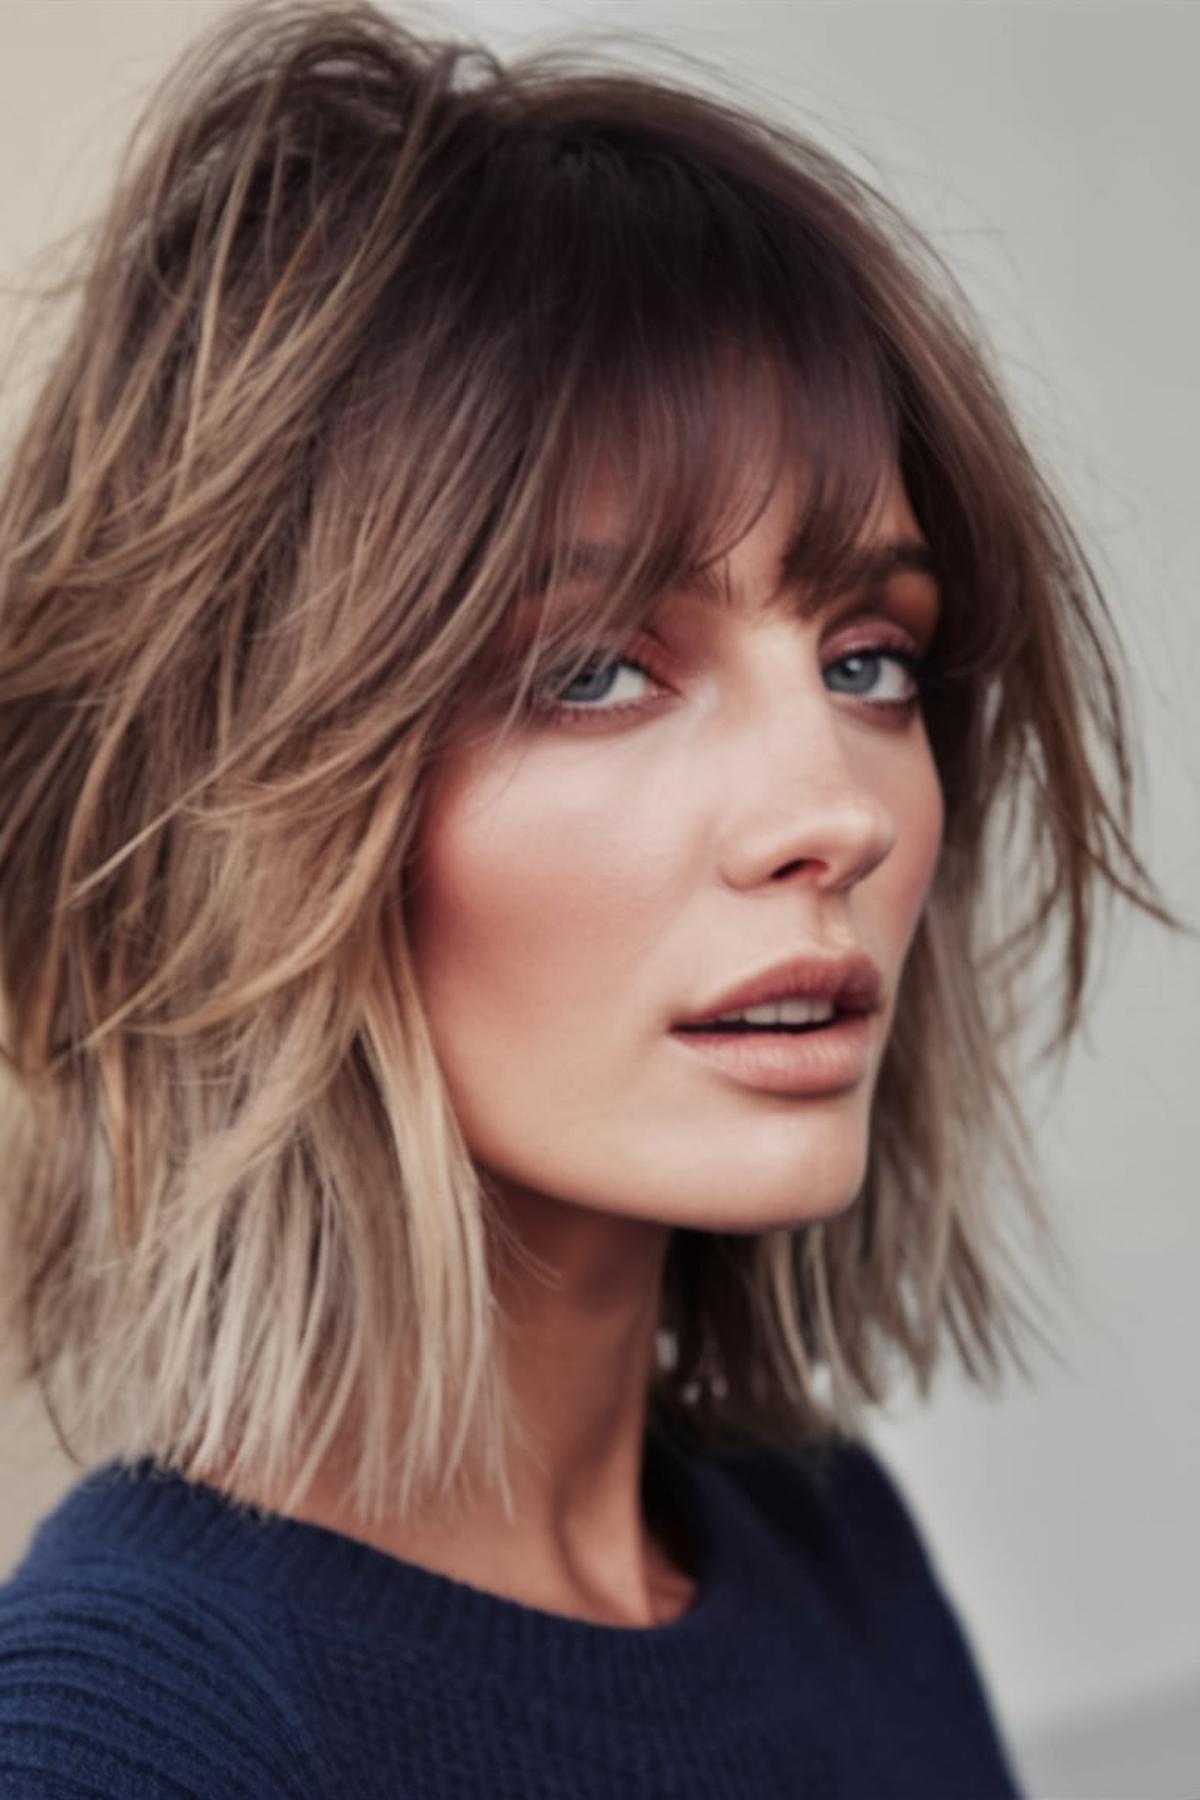
The Modern Shag

The modern shag is characterized by its layered look, which adds volume and texture. This haircut can work for any face shape and hair type. When you visit your stylist, explain what you want clearly. You can choose from various styles, like choppy layers or softer bangs, depending on your preference.
Use a texturizing spray after washing your hair to enhance volume. Blow-drying your bangs can also help them look more defined. For the rest of your hair, you can create loose waves using a curling iron or a flat iron.
Finally, maintaining your shag is simple. Use a volumizing shampoo and conditioner to keep your hair looking full. If you want to add some flair, consider using styling products like mousse or sea salt spray to give your hair that beachy texture. The modern shag is all about embracing a carefree vibe, so have fun with it and don’t stress about perfection!
You may also be interested in:
The Accessorized Look

Accessories like headbands, clips, and scarves can add flair to any hairstyle. For instance, using a colorful headband can keep your hair in place while also making a bold statement. Experiment with various accessories to see which ones complement your hair texture and color best.
For formal events, you might opt for elegant hairpins or a sleek updo. It’s important to match the accessory with the vibe of your outfit and the event, ensuring a cohesive look that showcases your personal style.
Watch tutorials online or ask friends for tips. The more you experiment, the more confident you’ll become in creating unique looks that express your personality. Remember, the goal is to have fun and feel great about how you style your hair!
Q&As for easy hairstyles for medium length hair
Q: What are some easy hairstyles for medium-length hair?
A: Some easy hairstyles for medium-length hair include the messy bun, half-up, half-down bun, sleek low ponytail, and beachy waves. These styles are quick to do and look great for any occasion.
Q: How do you do a messy bun with a twist?
A: To create a messy bun with a twist, gather your hair into a loose ponytail, twist it around itself, and secure it with bobby pins. Let some strands fall out for a relaxed look.
Q: What is a half-up, half-down bun?
A: A half-up, half-down bun involves pulling the top half of your hair back into a bun while leaving the rest down. This style is cute and keeps hair out of your face.
Q: How can I achieve beachy waves?
A: To get beachy waves, use a curling iron or flat iron to create loose curls, then gently tousle them with your fingers. You can also use a texturizing spray for a more effortless look.
Q: What is a braided crown hairstyle?
A: A braided crown is made by braiding sections of your hair and wrapping them around your head like a crown. This style looks elegant and is perfect for special occasions.