A sleek middle part is a classic choice that can be dressed up or down depending on the event. For a more playful look, try space buns or a high ponytail, which can add a fun and youthful vibe to your appearance. If you’re going for something a bit more sophisticated, a low bun or a sleek low ponytail can give you that polished look.

Beach waves are another great option for adding some movement to your straight hair, giving off a relaxed yet stylish vibe. If you want to add some boldness, consider a blunt bob, which is both striking and easy to maintain.
A braided crown can add a touch of bohemian charm, while a twisted half-up style offers a more subtle twist on the classic half-up look. For those who enjoy experimenting with different parts, a side part switch can change up your entire appearance, offering a fresh perspective on your usual style.
Now, without further ado, let’s dive into 17 must-try hairstyles for natural straight hair that will turn heads.
Sleek Middle Part

Make sure your hair is clean and dry. You can use a straightener to smooth out any frizz or waves, which will help achieve that sleek look. After straightening, apply a small amount of hair serum or oil to add shine and control flyaways.
Use a fine-tooth comb to find the center of your head. Start at the front of your hairline and comb straight back to create a clean line. If you want a more defined look, you can use a bit of styling gel or mousse along the part to keep it in place.
You can either leave them straight for a sleek finish or add a slight curl for a more relaxed look. If you choose to curl, use a curling wand and wrap sections of hair away from your face. Finish with a light hairspray to hold the style in place. This sleek middle part can be worn for various occasions, giving you a chic and modern appearance.
You may also be interested in:
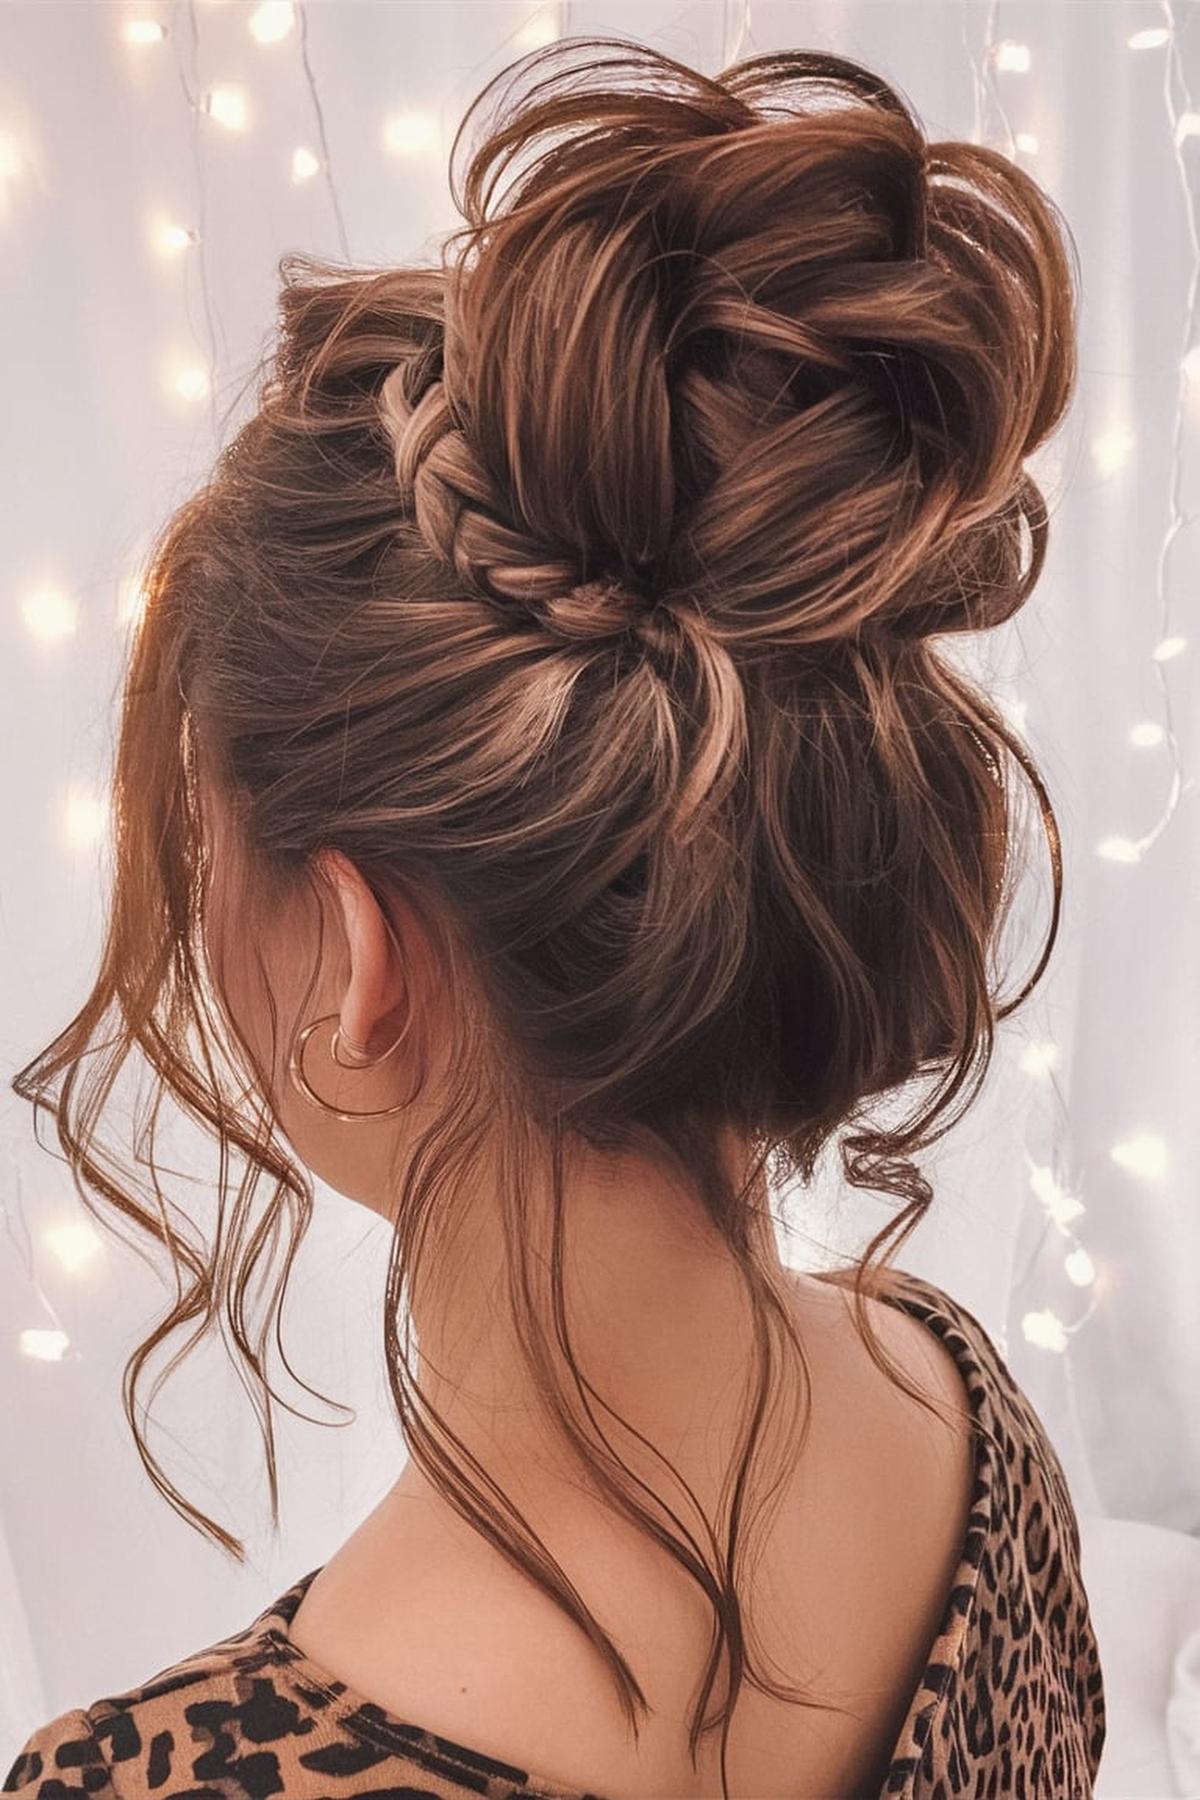
High Ponytail

Make sure your hair is clean and dry, ideally using it a day after washing for better grip. Brush your hair thoroughly to remove any tangles. If you want more volume, you can tease the hair at the crown of your head gently.
Use one hand to hold the hair and the other to smooth it out with a brush. It’s essential to keep the hair tight and free of bumps. You can tilt your head slightly forward while brushing to help gather the hair smoothly.
If you want to make it look extra nice, take a small section of hair from the ponytail and wrap it around the hair tie, securing it with a bobby pin. This hides the elastic and gives a polished look. For a more casual style, you can leave it a bit loose or add some waves. Don’t forget to use hairspray if you want to keep everything in place throughout the day!
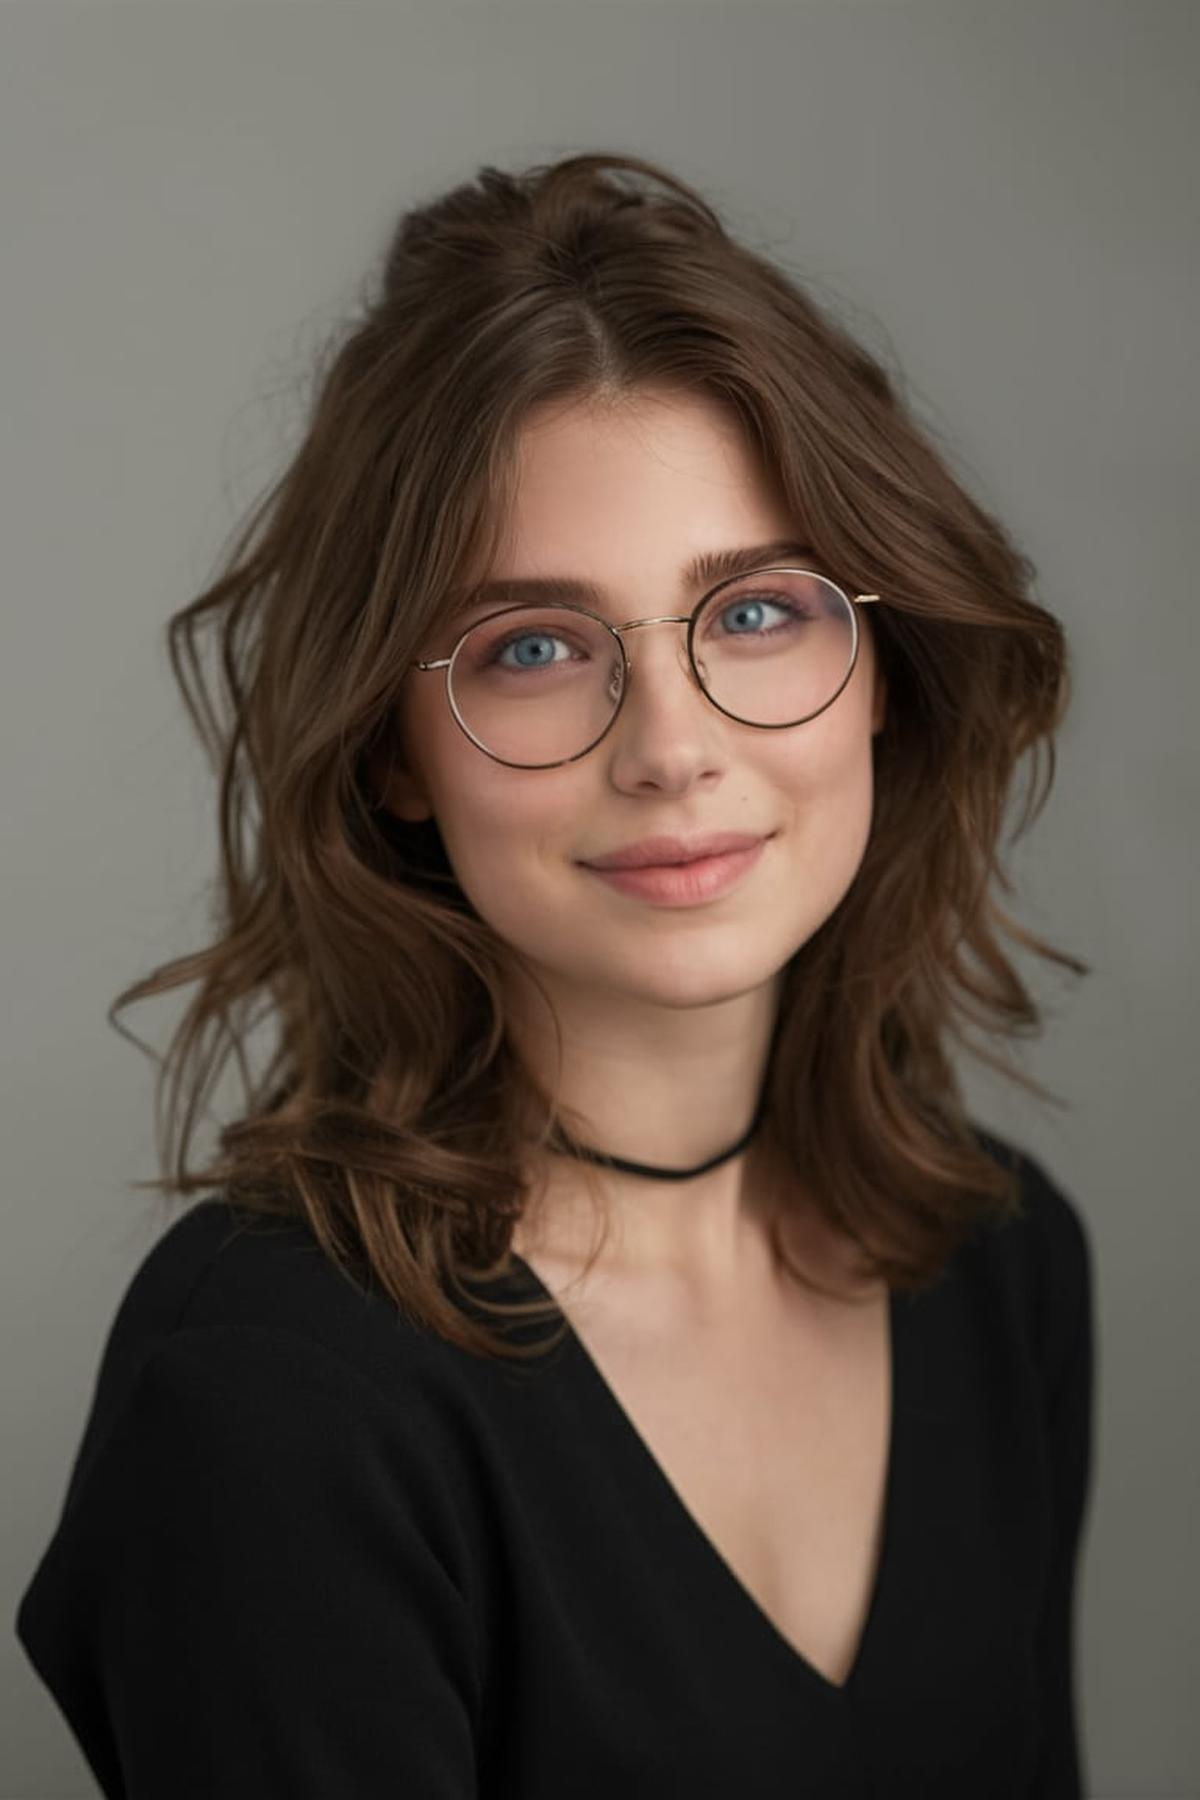
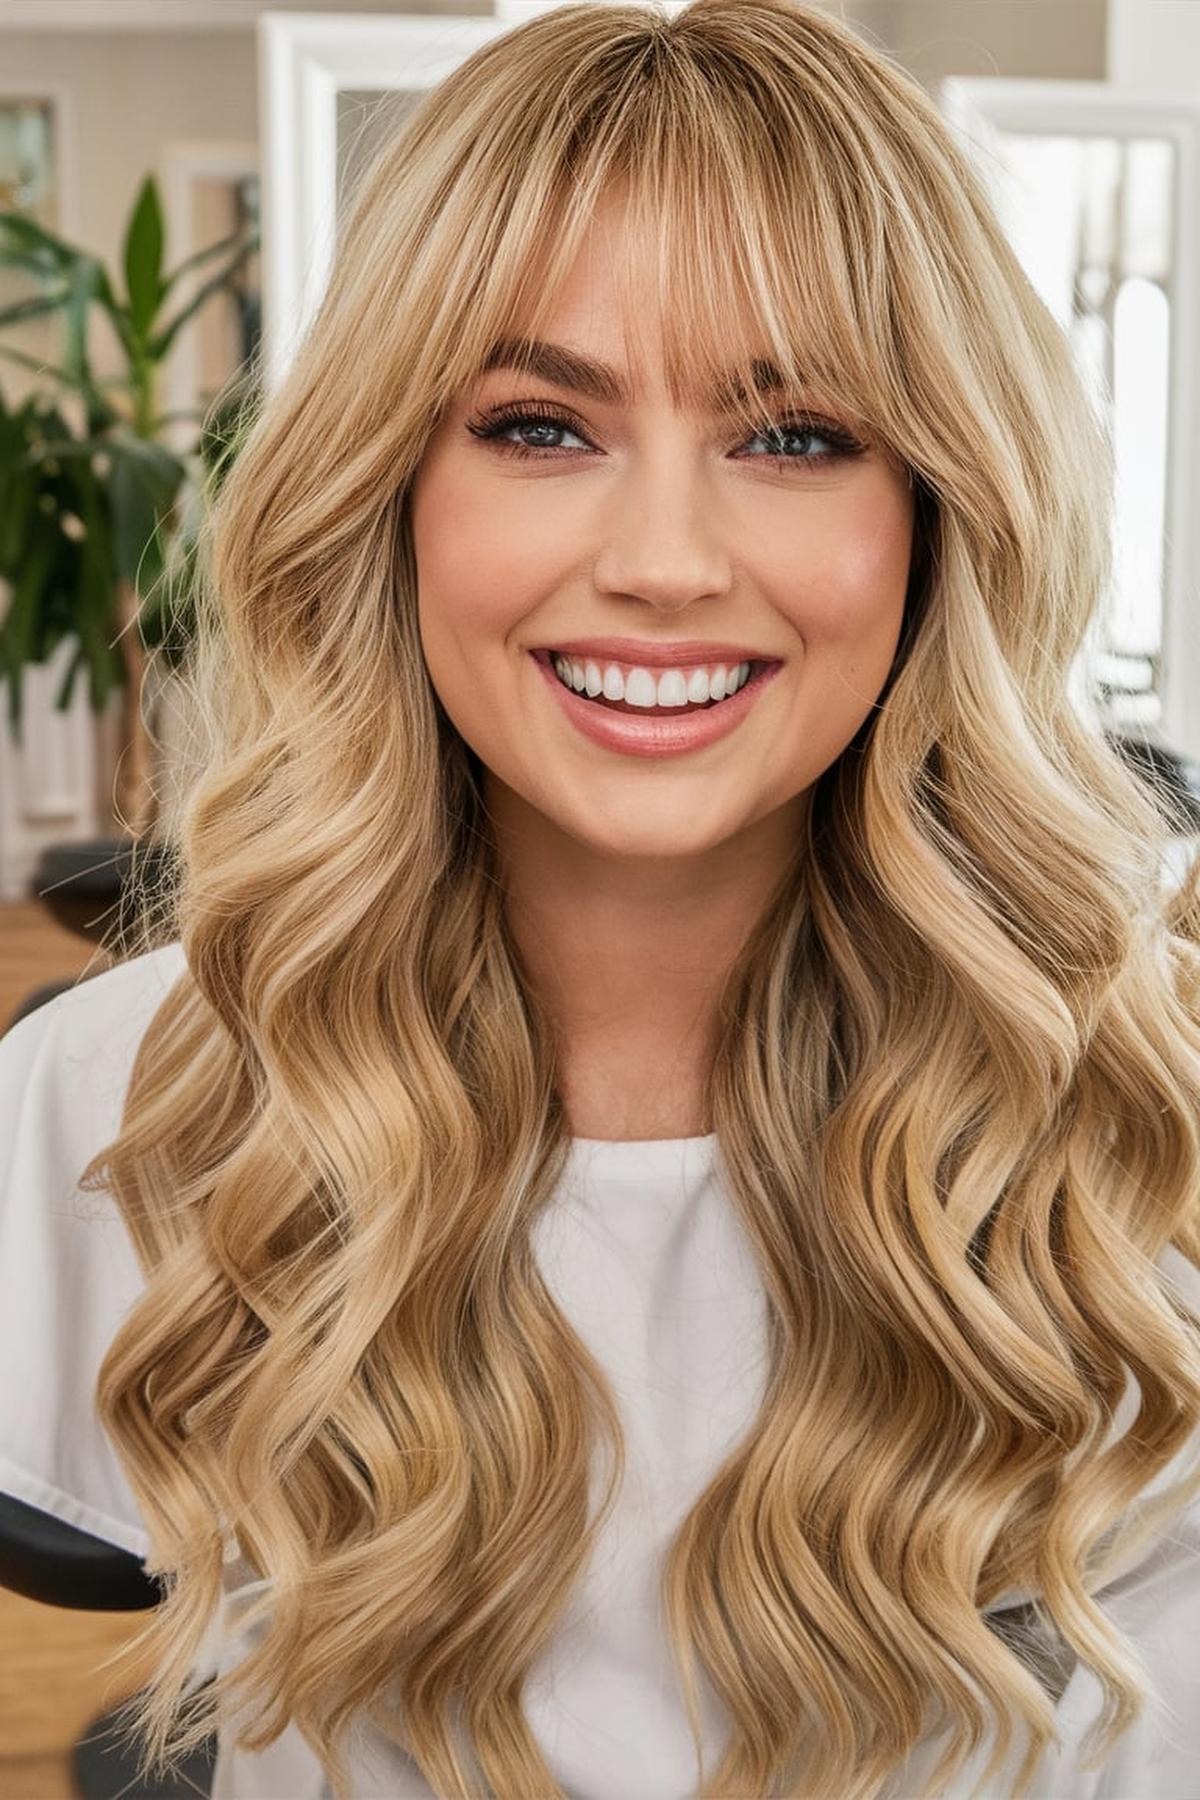
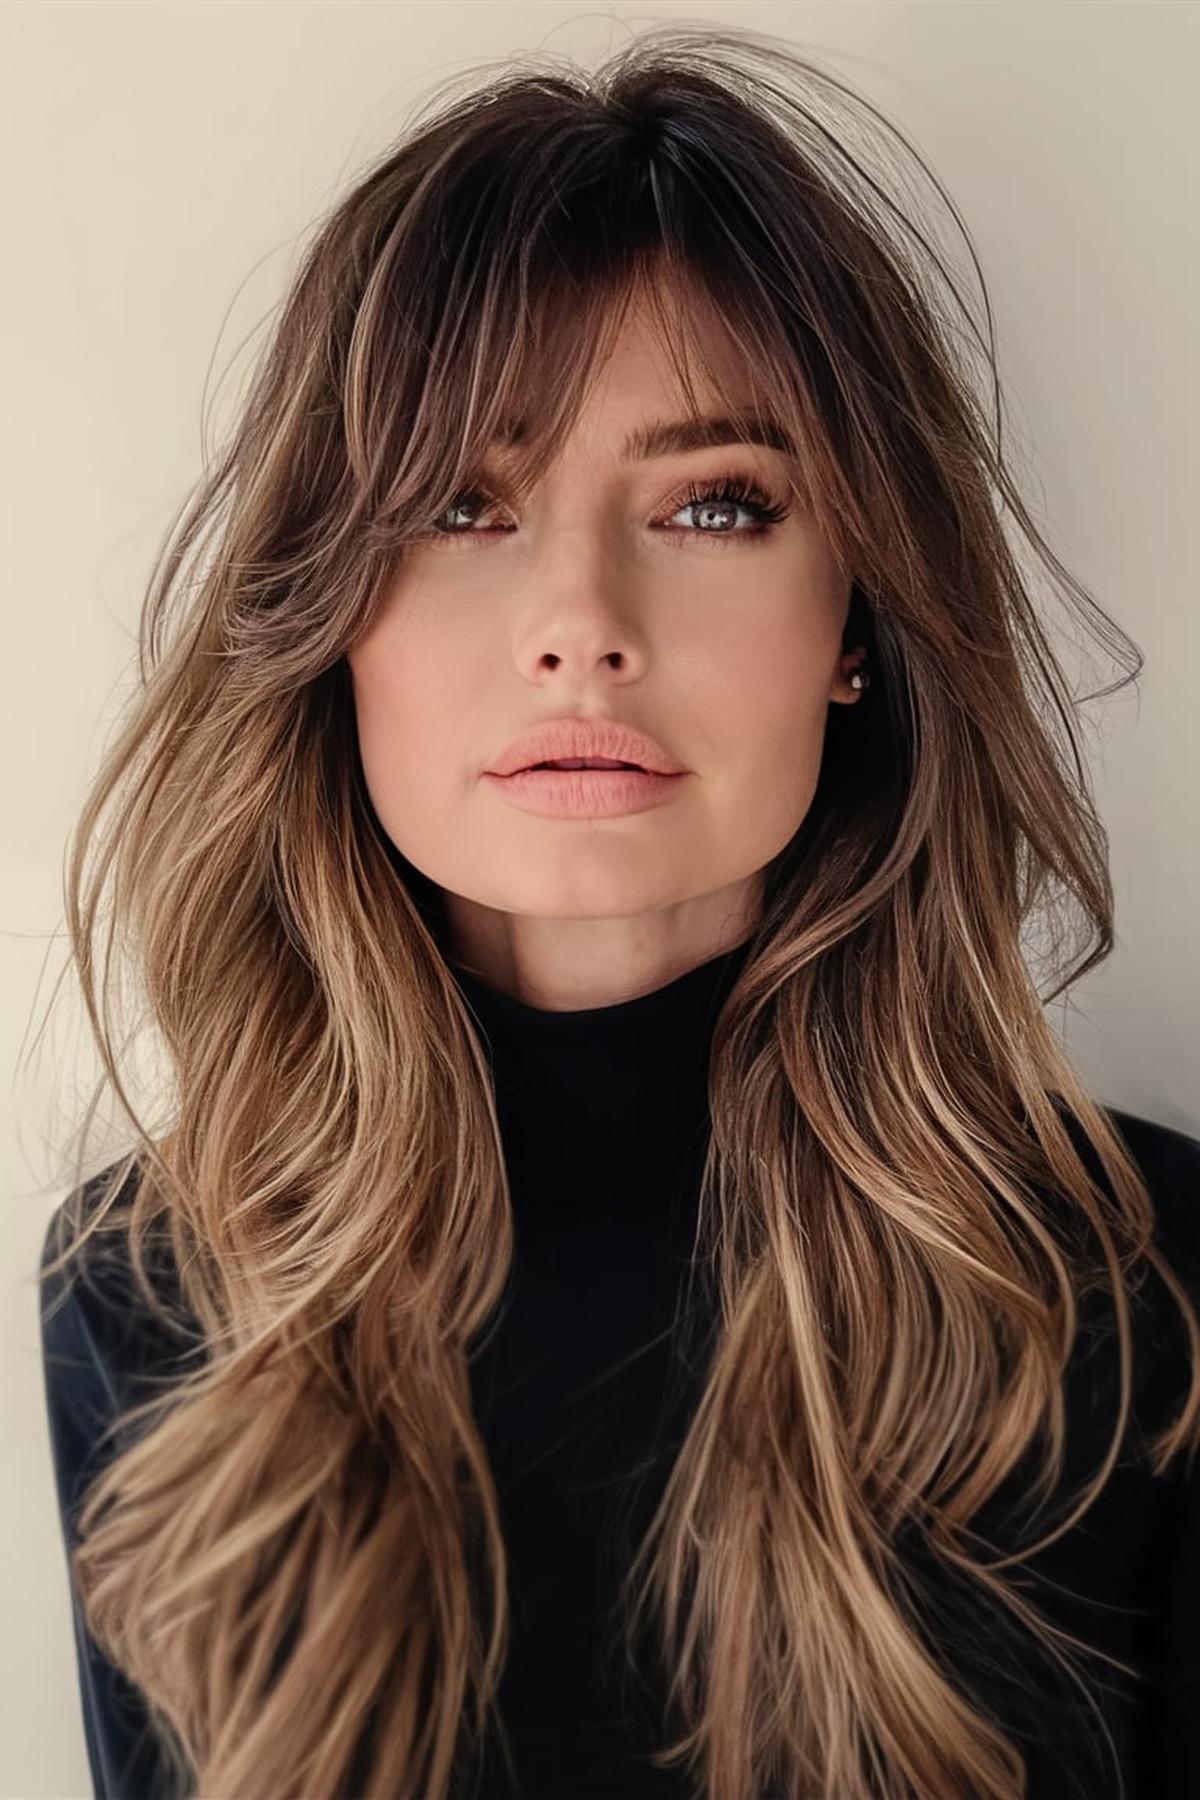
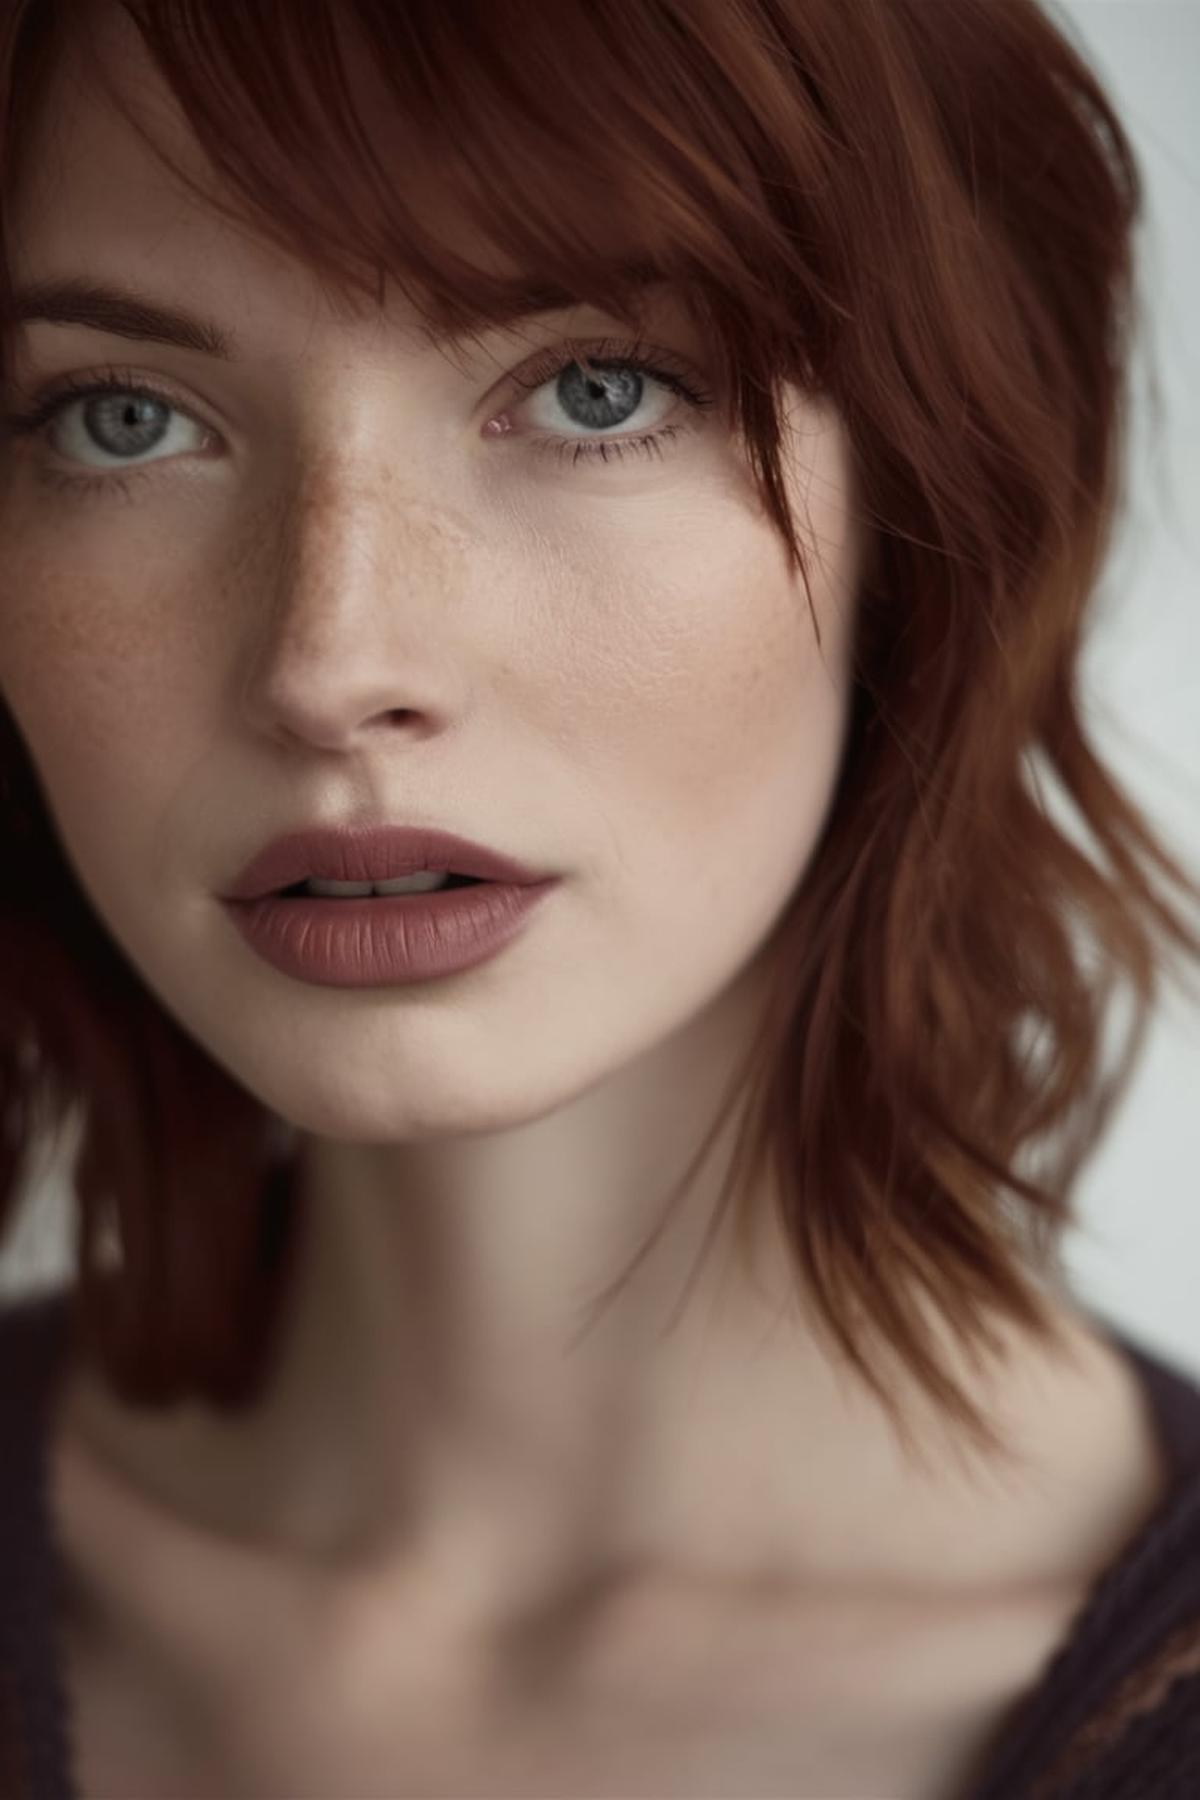
Curtain Bangs Are A Vibe

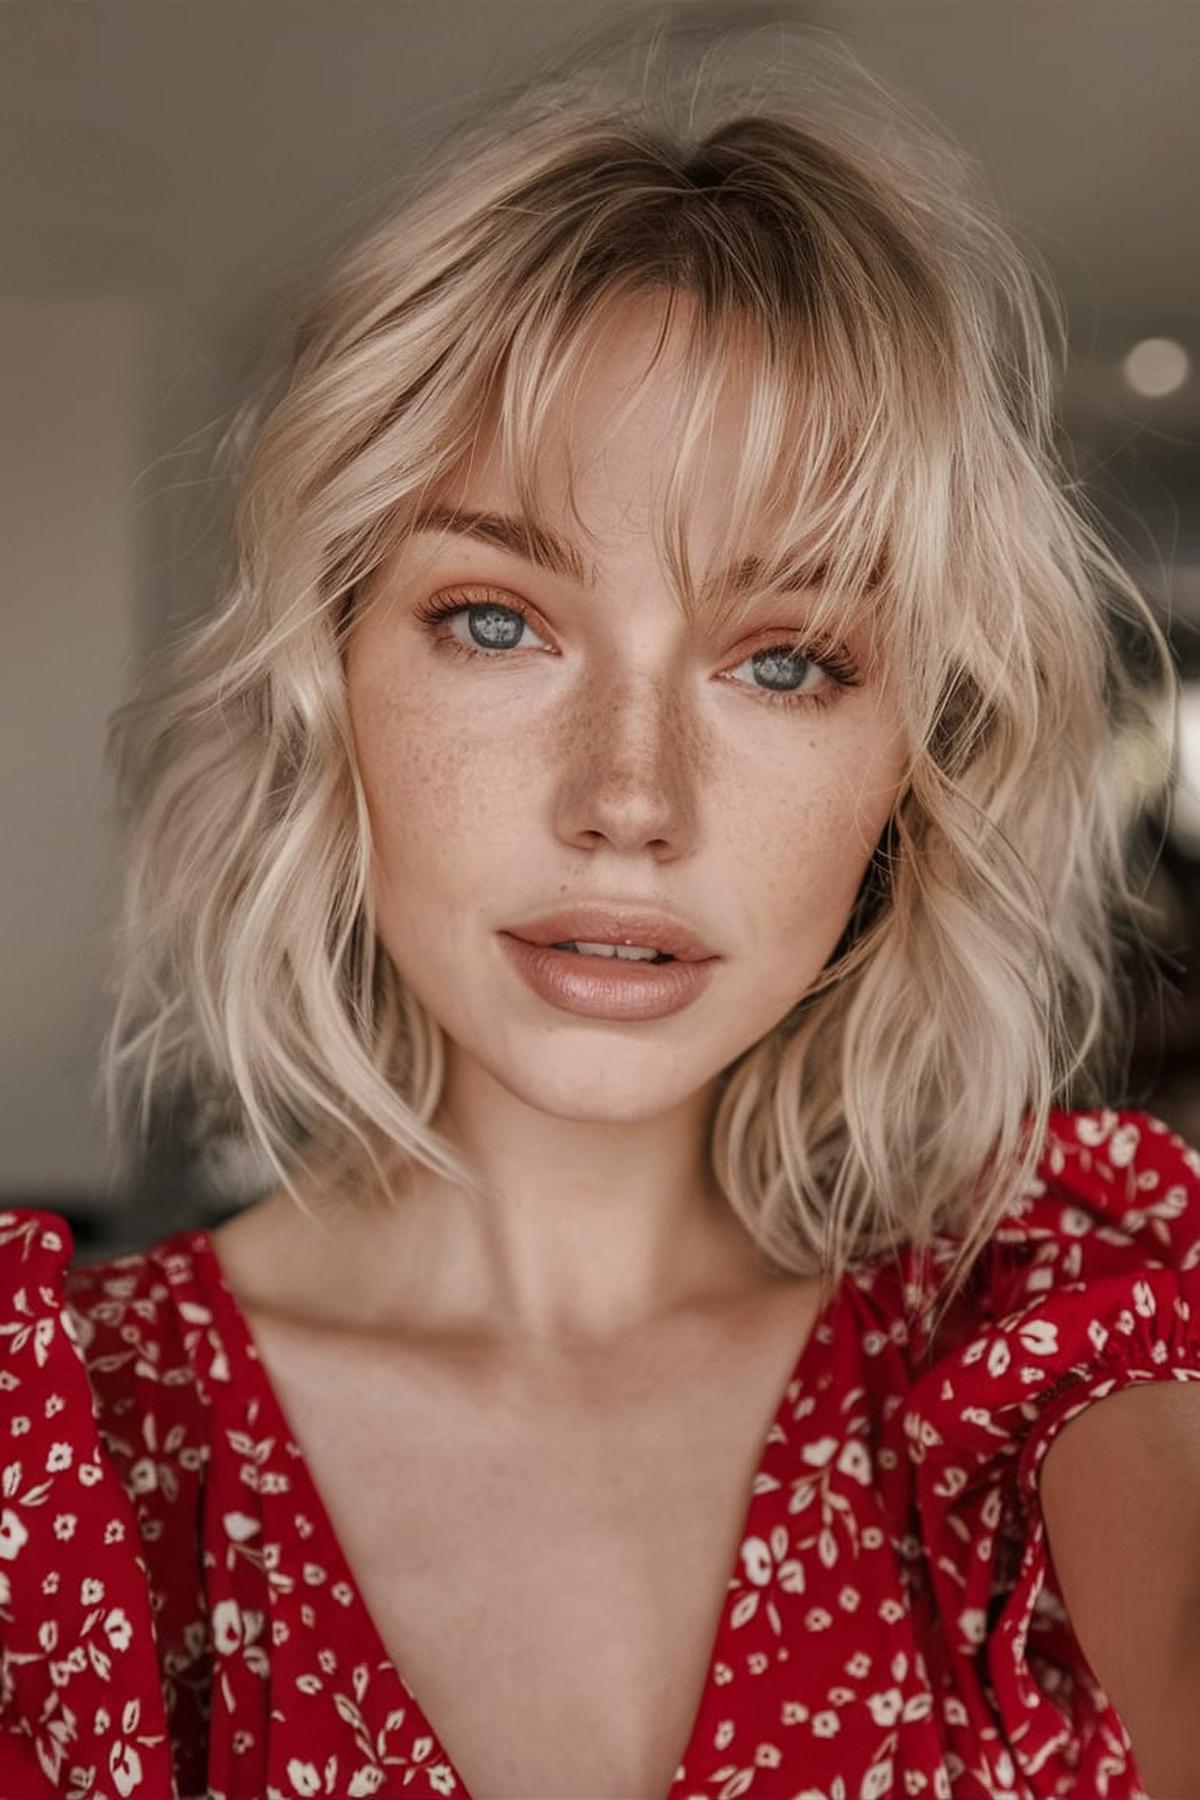
Unlike traditional bangs, curtain bangs are longer and split down the middle, creating a soft, flattering look that frames the face. They were popular in the ’60s and ’70s and have made a comeback, giving off a relaxed, cool vibe. If you’re thinking about trying curtain bangs, it’s best to consult a stylist first, especially if you’re unsure about cutting them yourself.
If you want a more casual style, you can simply let them air dry or use a flat iron to add some waves. Curtain bangs also look great with different hairstyles, like messy buns or high ponytails, making them a versatile choice for any occasion.
You should visit a stylist every four to six weeks for a trim to keep them looking fresh. If you have curly hair, using the right products can help enhance your bangs and reduce frizz. Overall, curtain bangs are a fun way to change up your look without committing to a drastic haircut, and they can easily blend with your natural hair as they grow out.
You may also be interested in:
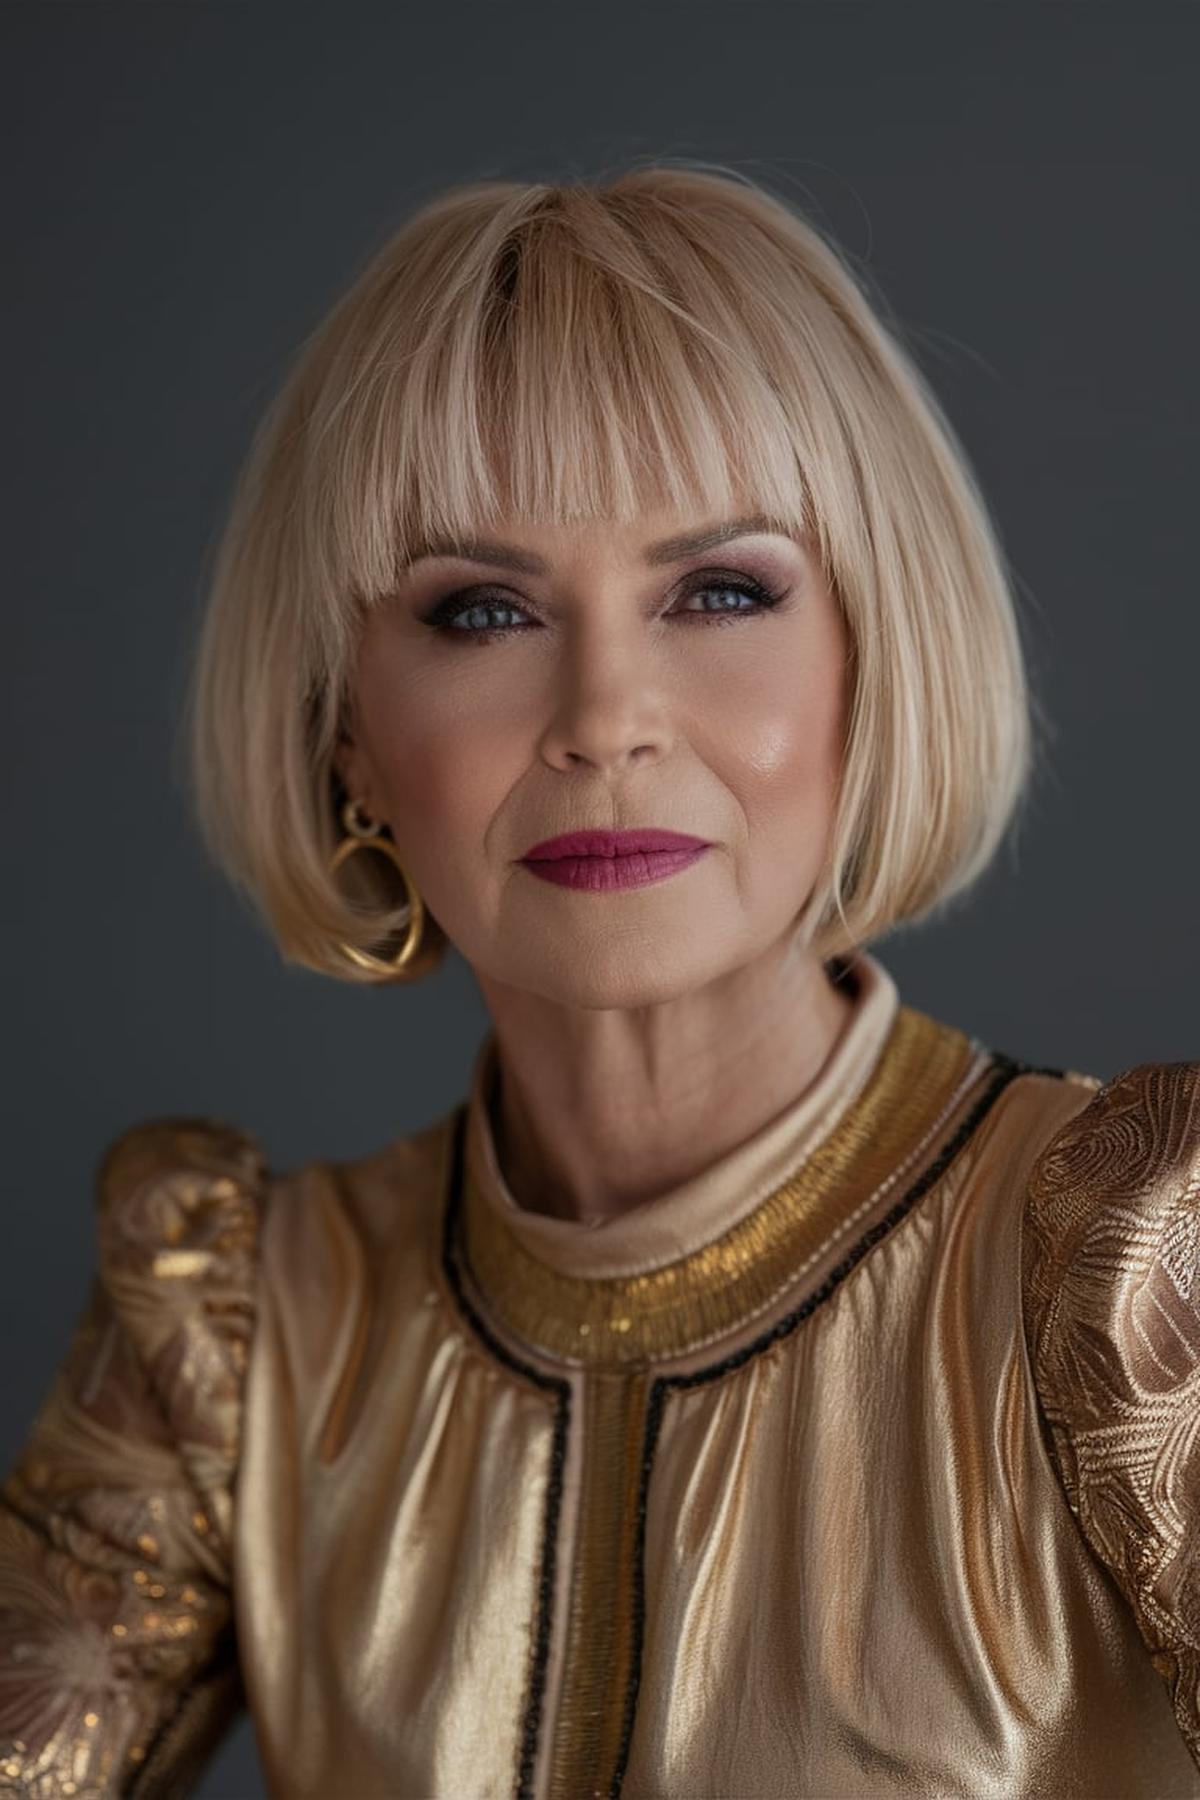
Blunt Bob Boldness

A blunt bob is characterized by its straight, even ends that create a sharp look. To achieve this, it’s essential to have a skilled stylist who can cut your hair straight across without any layers. This technique ensures that your hair looks full and healthy. If you’re trying to cut your own hair, remember to use sharp scissors and cut small sections at a time, checking for evenness as you go.
You can choose to wear it sleek and straight for a polished look or add some waves for a more relaxed vibe. To create waves, use a flat iron to twist sections of your hair away from your face, alternating the direction for a messy, effortless look. Don’t forget to use a texturizing spray to help hold the waves and give your hair that trendy, tousled appearance.
Regular trims every six to eight weeks will help prevent split ends and keep your cut sharp. Additionally, using the right hair products, like smoothing serums or volumizing sprays, can enhance the overall look. Experiment with different styles, such as adding bangs or trying out a middle part, to find what suits you best. A blunt bob can be a bold statement, so have fun with it and make it your own!
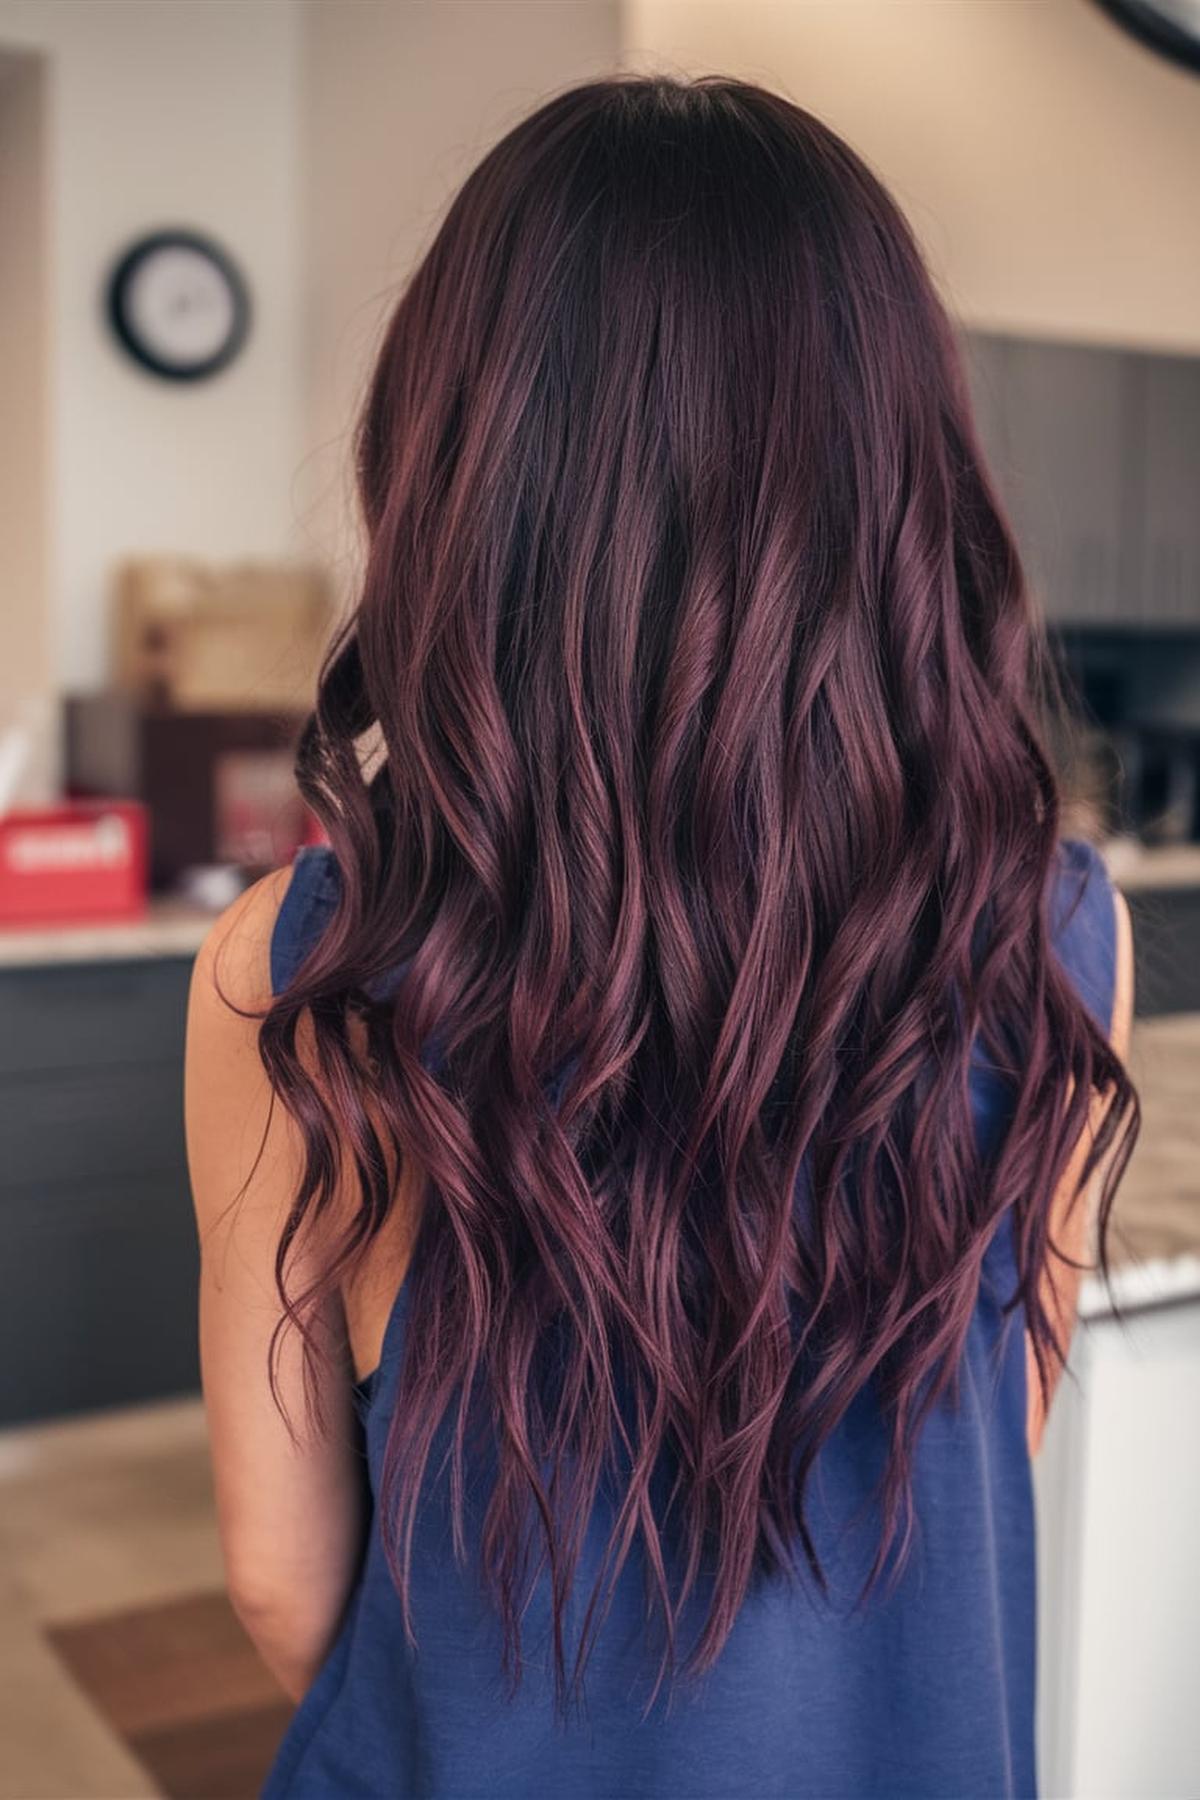
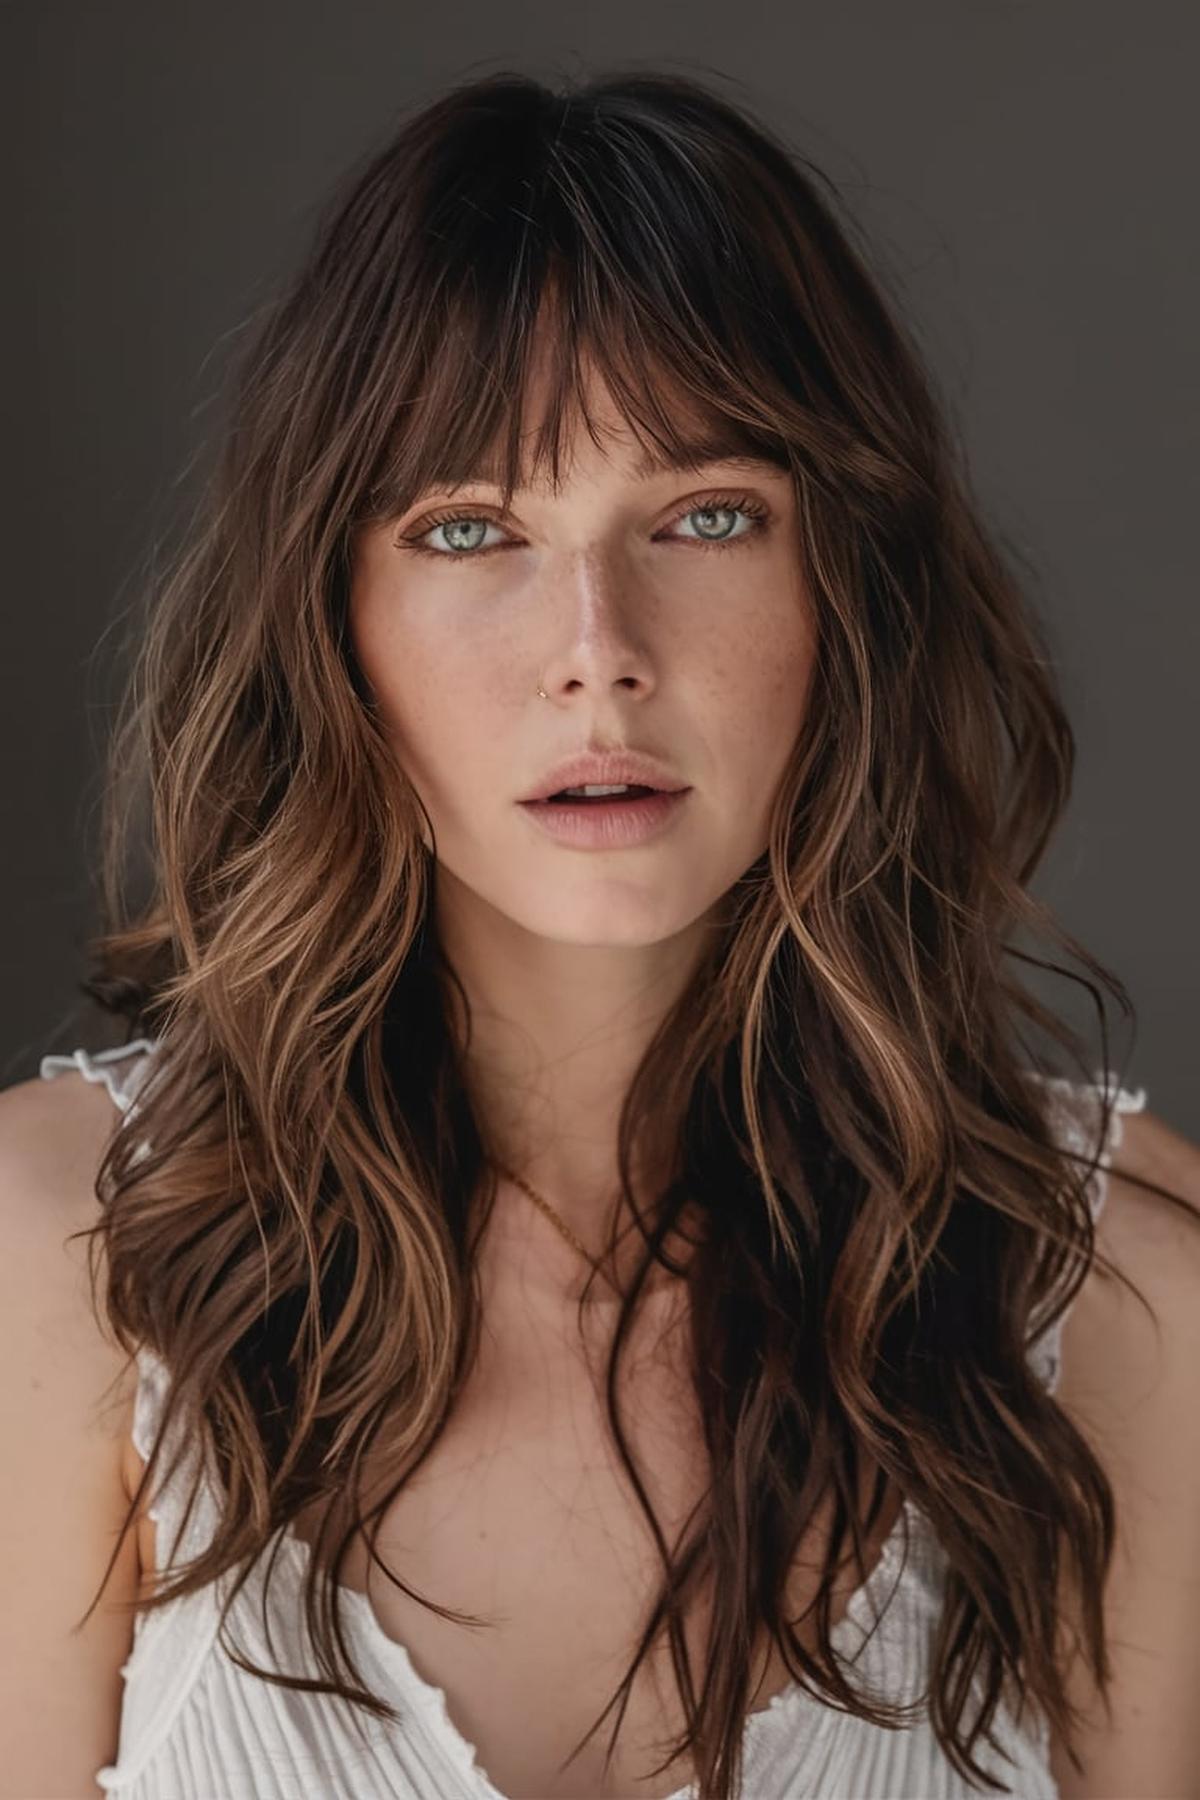
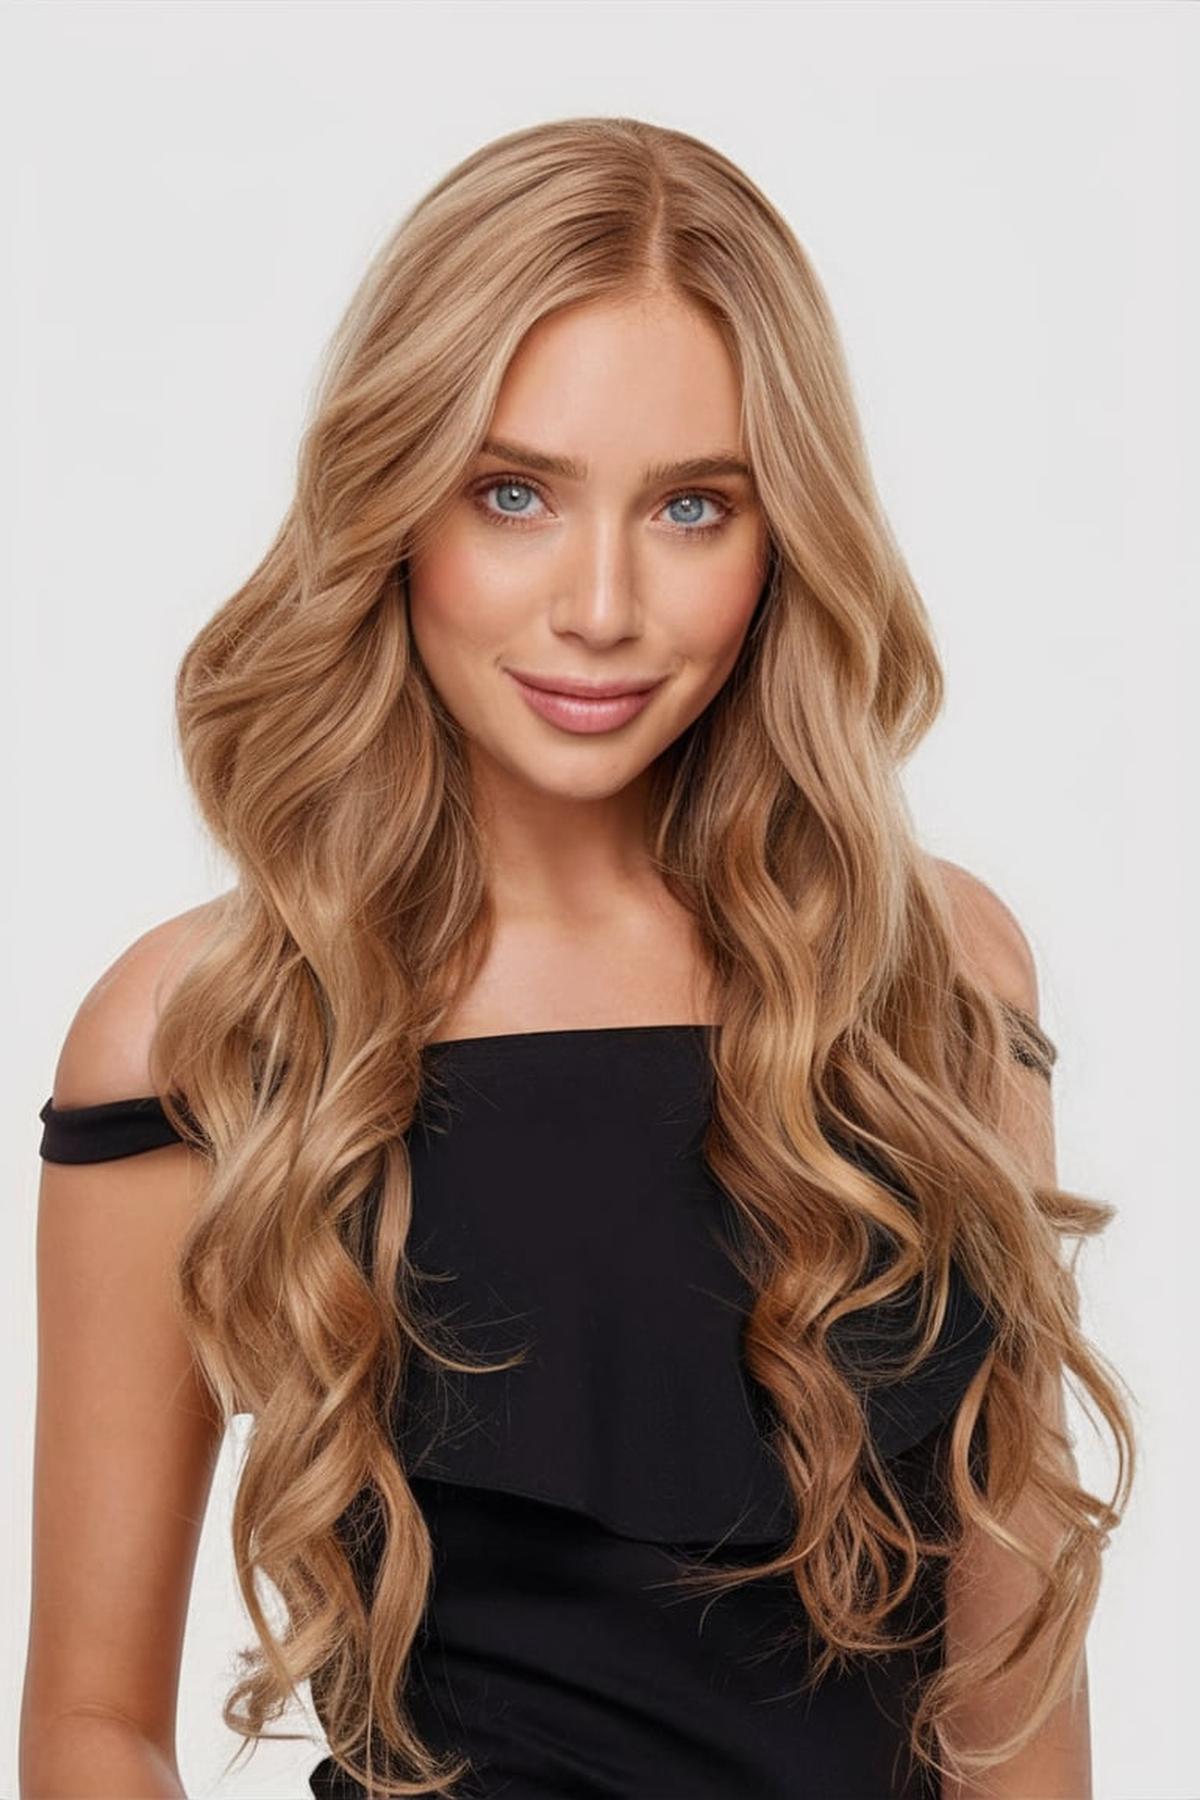
Long Layers

This haircut involves cutting the hair at different lengths to create a layered effect, which adds movement and dimension. Long layers are great for all hair types and can make your hair look fuller and more stylish. The key is to have longer pieces of hair on the bottom and shorter layers on top, which helps to frame your face and enhances your natural texture.
This method is simple and allows you to see how much you’re cutting off. If you want more control over the layers, you can create smaller ponytails and cut them at different lengths. Always remember to cut a little at a time; you can always go back and trim more if needed.
You can also use styling products like mousse or texturizing spray to enhance the layers and give your hair a more defined look. Experiment with different hairstyles, like loose waves or straight styles, to see what you like best. With practice, you’ll be able to achieve the perfect long layered look that suits your style!
You may also be interested in:
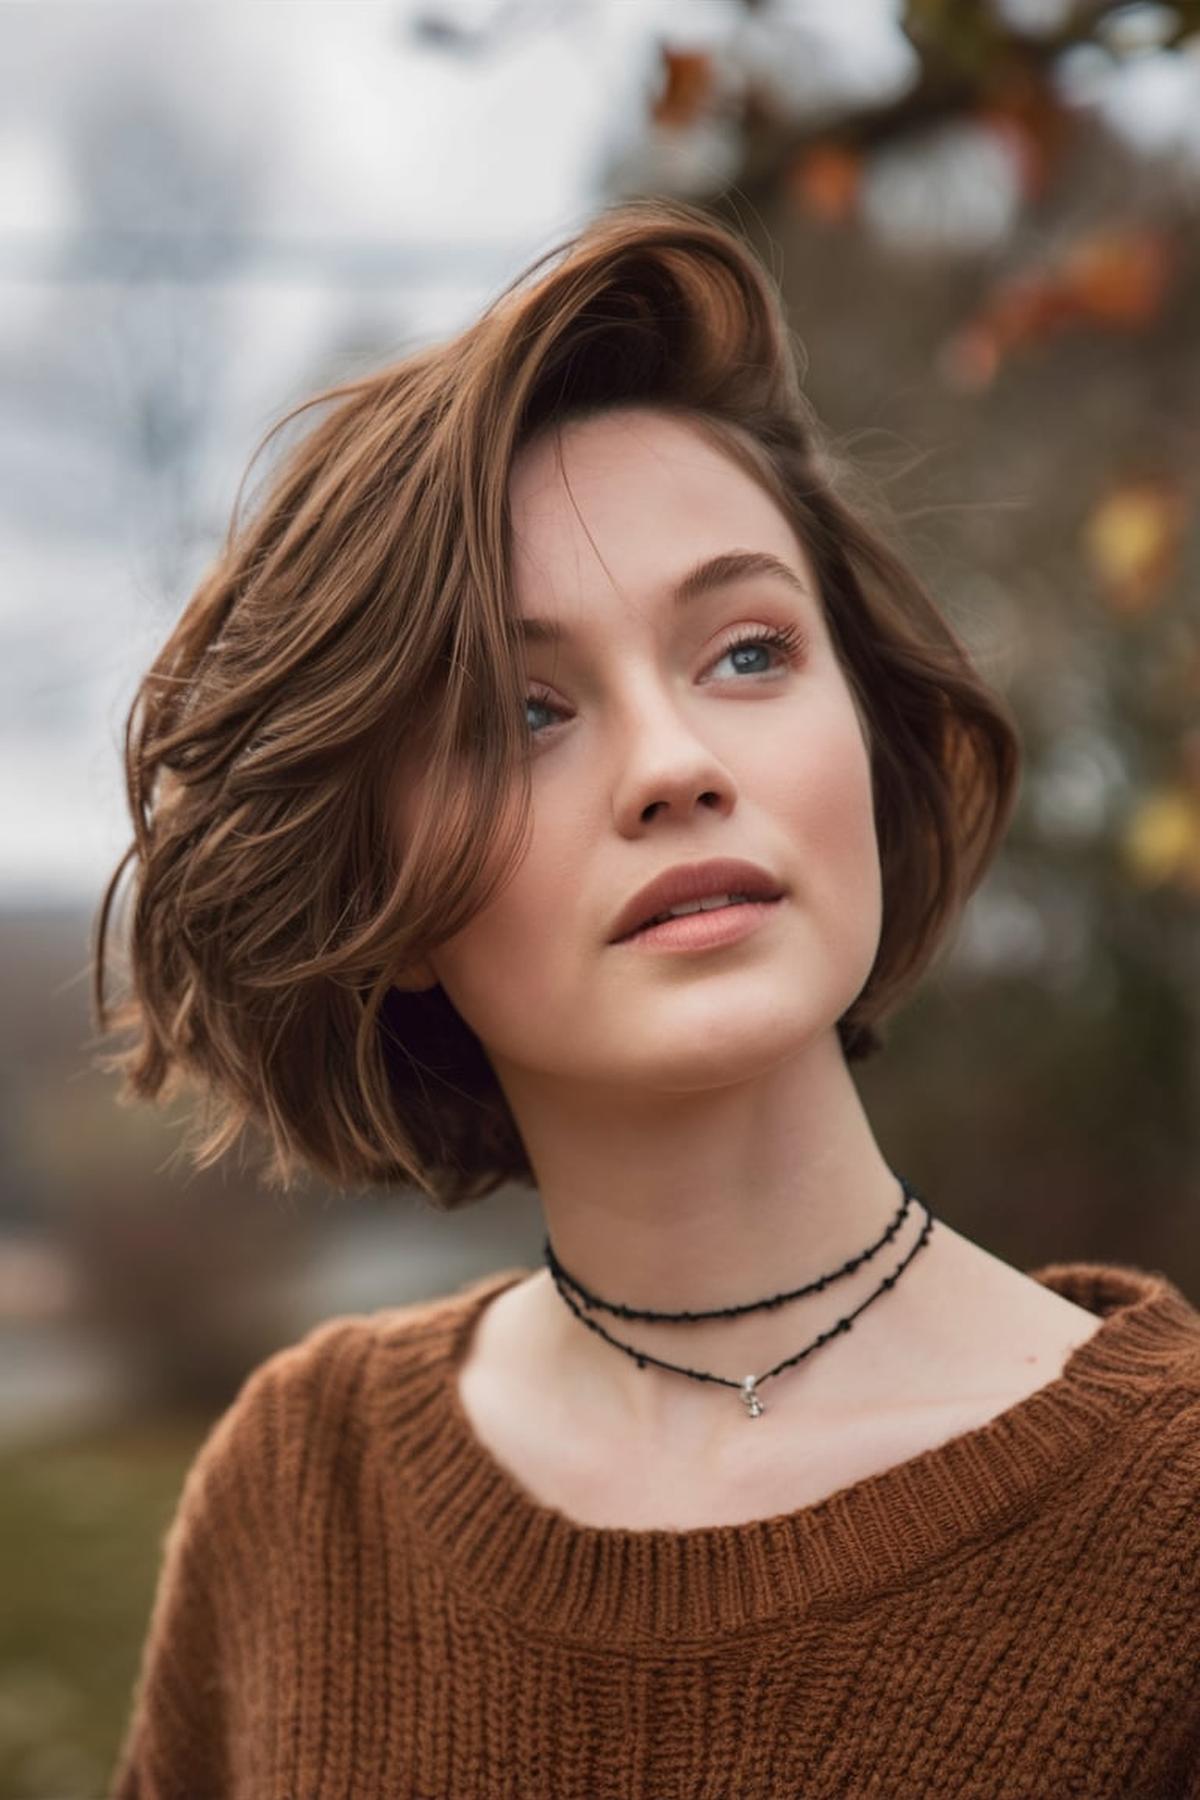
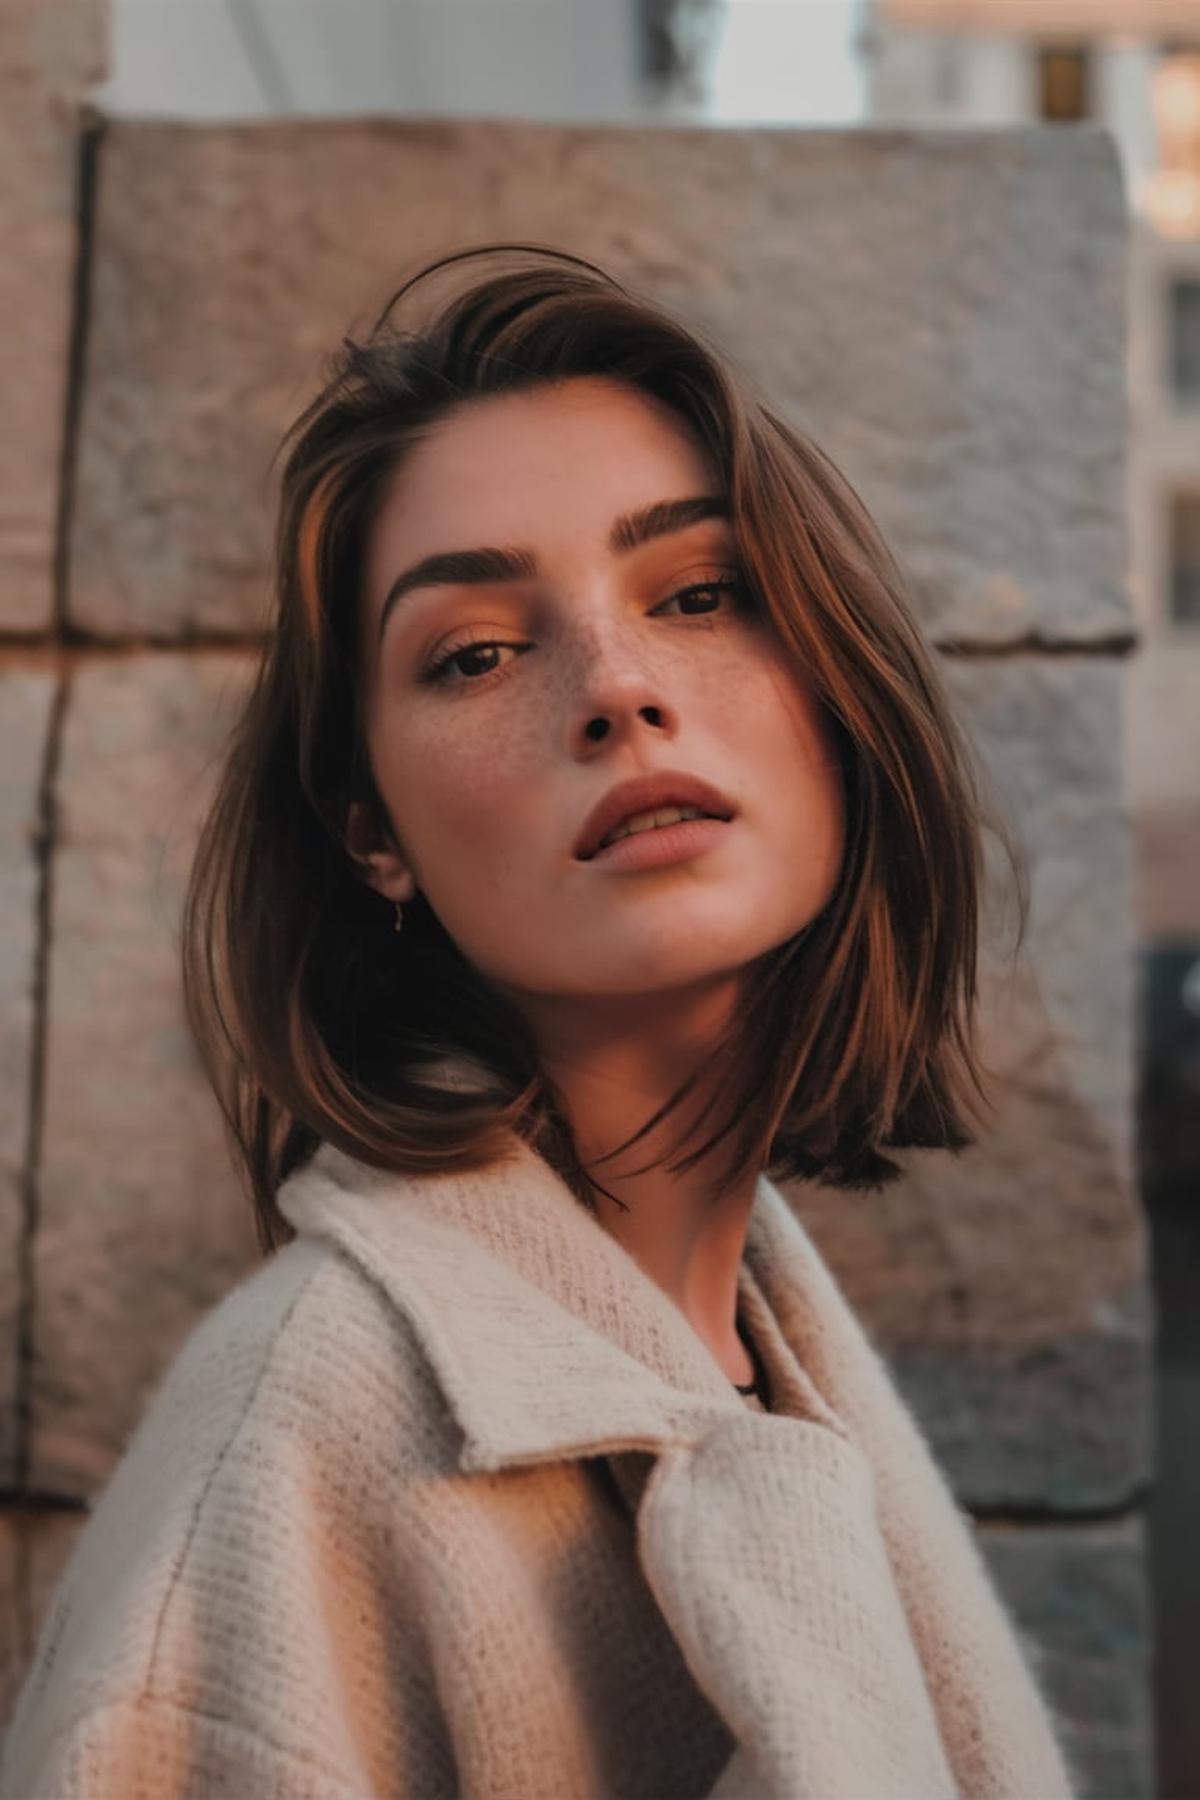
Straight Lob Chic

Wash your hair using a good shampoo and conditioner, preferably sulfate-free, to keep it nourished. After washing, use a heat protectant spray to shield your hair from damage when using styling tools. Blow-dry your hair using a round brush to create a smooth finish.
For a more casual vibe, you can also add some subtle waves. Use a wide-barrel curling iron to wrap sections of your hair, allowing the ends to flick out slightly. This gives your lob a relaxed, effortless feel while still looking stylish.
To keep your lob looking fresh, consider using a volumizing powder at the roots for added lift. You can also experiment with different parts or accessories to change up your style. The key to mastering the straight lob chic look is to find what works best for your hair type and personal style, allowing you to express yourself confidently.
Half-Up Half-Down Darling

Use a comb to create a clean part down the center or to one side, depending on your preference. Once you have your section, smooth it back with a bit of styling cream or gel to keep any flyaways in check. Secure this section into a ponytail or bun at the back of your head using a hair tie or a claw clip.
Consider twisting or braiding the hair you’ve gathered before securing it. For a more relaxed vibe, you can leave some strands loose around your face to frame it nicely. If you want extra volume, gently pull at the hair above the ponytail to create a bit of lift.
If you want to add a personal touch, you can accessorize with cute clips or decorative pins. Remember, practice makes perfect, so don’t be discouraged if it doesn’t turn out perfectly the first time. With a little practice, you’ll be able to rock the half-up half-down hairstyle effortlessly!
You may also be interested in:
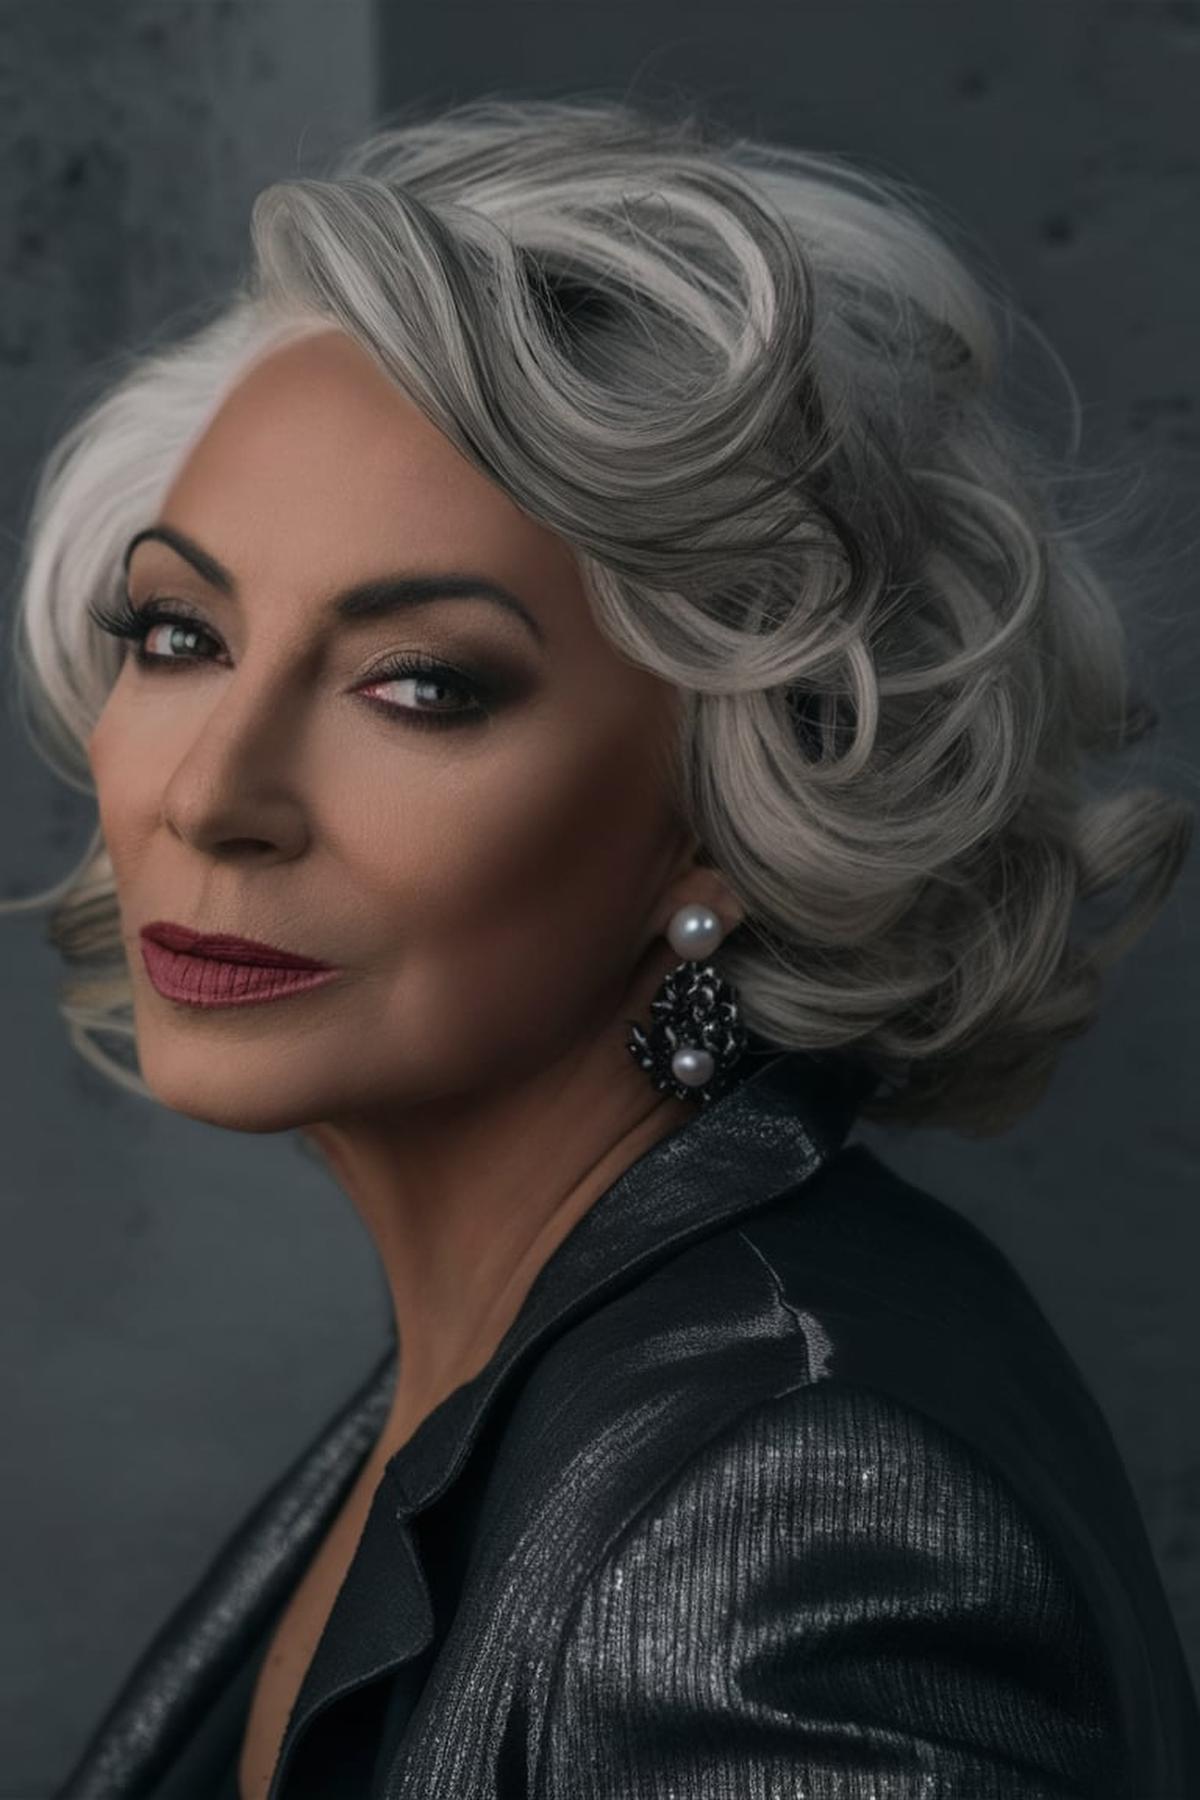
Low Bun Sophistication

Using dry shampoo can help absorb any oil and add texture, making it easier to style. If your hair is fine or flat, consider teasing the roots a bit for extra volume.
Use a hair tie to secure it, but instead of pulling all your hair through on the last wrap, only pull it halfway to create a small bun. This technique helps form the base of your low bun.
Finally, finish off your look by pulling out a few face-framing strands. This adds a soft touch and makes the hairstyle look more effortless and chic. With these steps, you can achieve a low bun that looks polished and sophisticated, perfect for any occasion, whether casual or formal.
Side Part Switch

A side part involves dividing your hair into two sections, with one side being longer than the other. This style can frame your face nicely and add volume. To create a side part, use a comb to draw a line from your forehead to the back of your head, deciding how deep you want the part to be.
Next, practice switching your part from one side to the other. This can give your hair a fresh look and help prevent flatness on one side. To do this, simply comb your hair to the opposite side of your usual part.
Lastly, don’t be afraid to experiment with different styles that complement your side part. For example, you can add waves for a beachy look or pull your hair back into a low ponytail for a more polished appearance. Accessories like clips or headbands can also enhance your hairstyle. Remember, the key to mastering any hairstyle is practice, so keep trying different looks until you find what works best for you!
You may also be interested in:
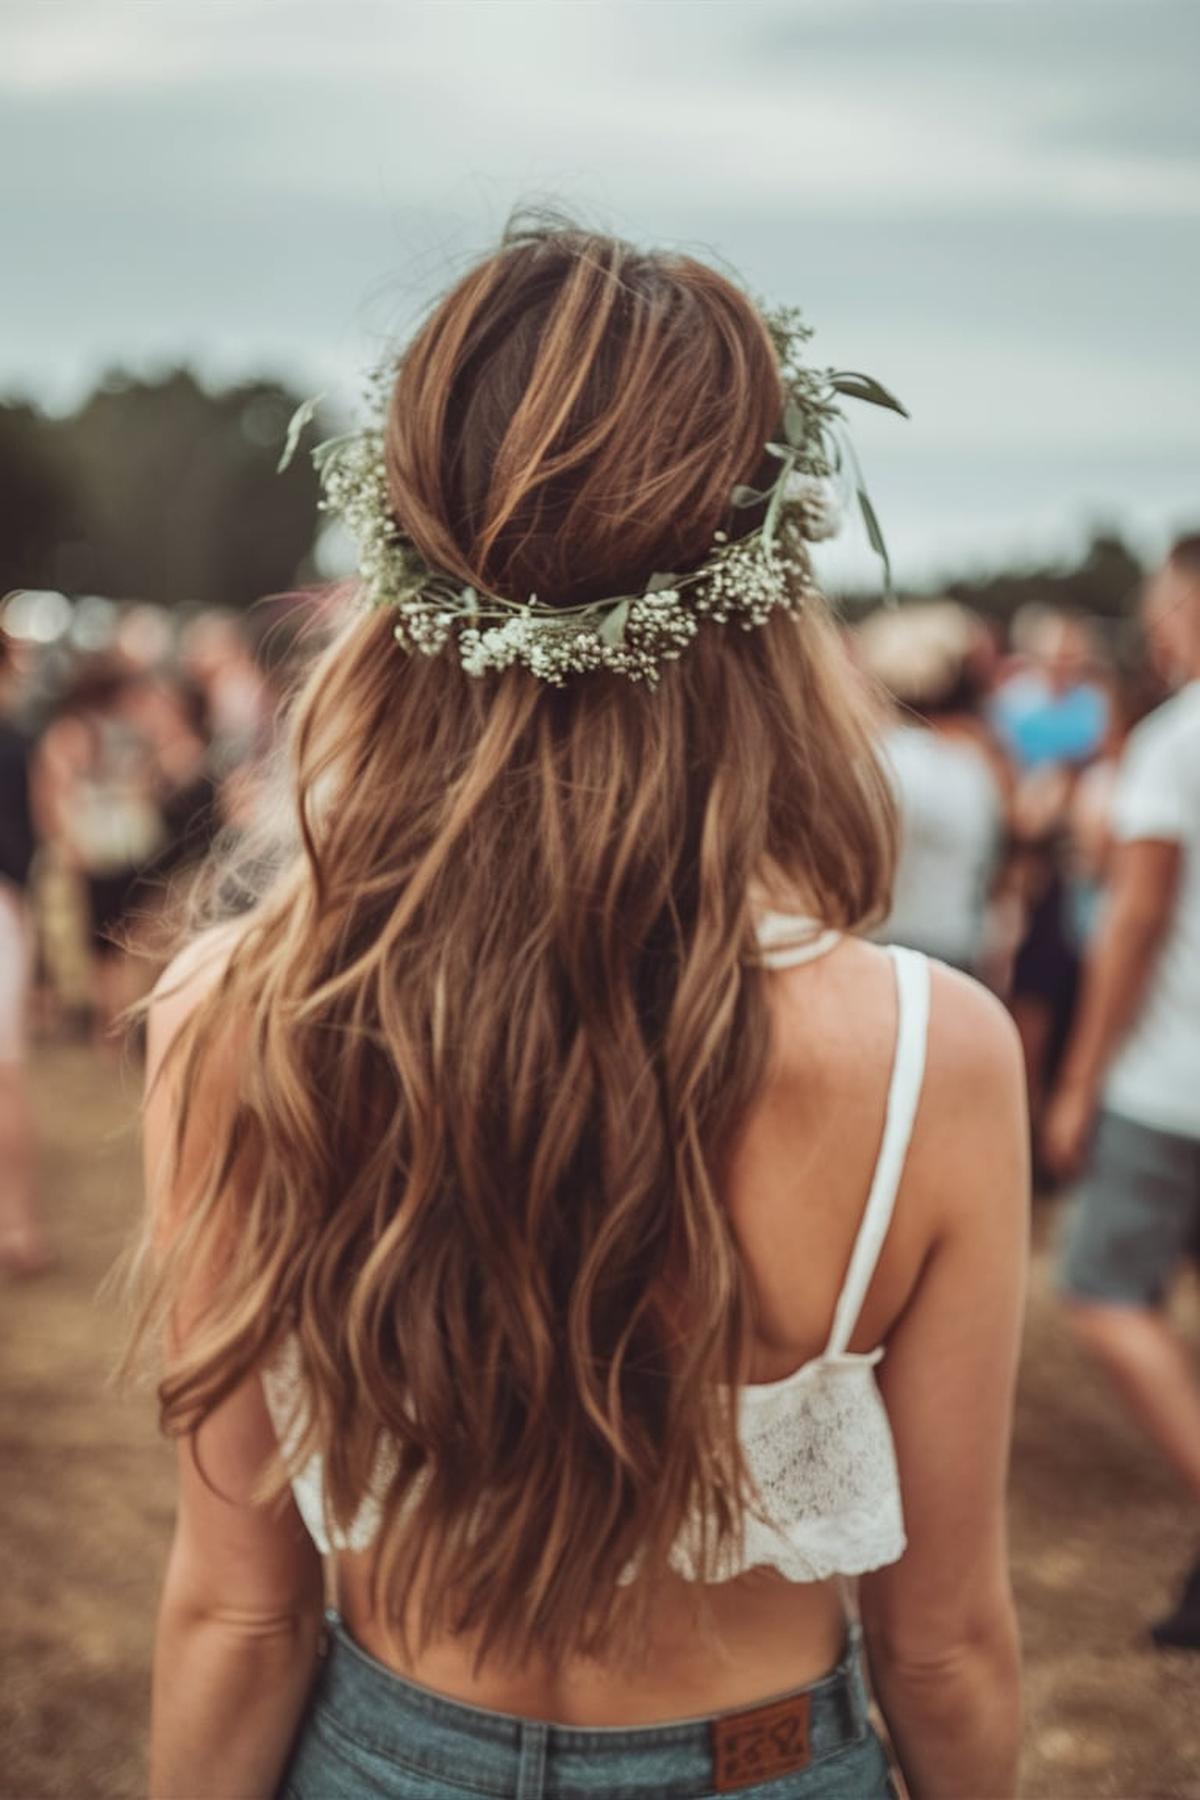
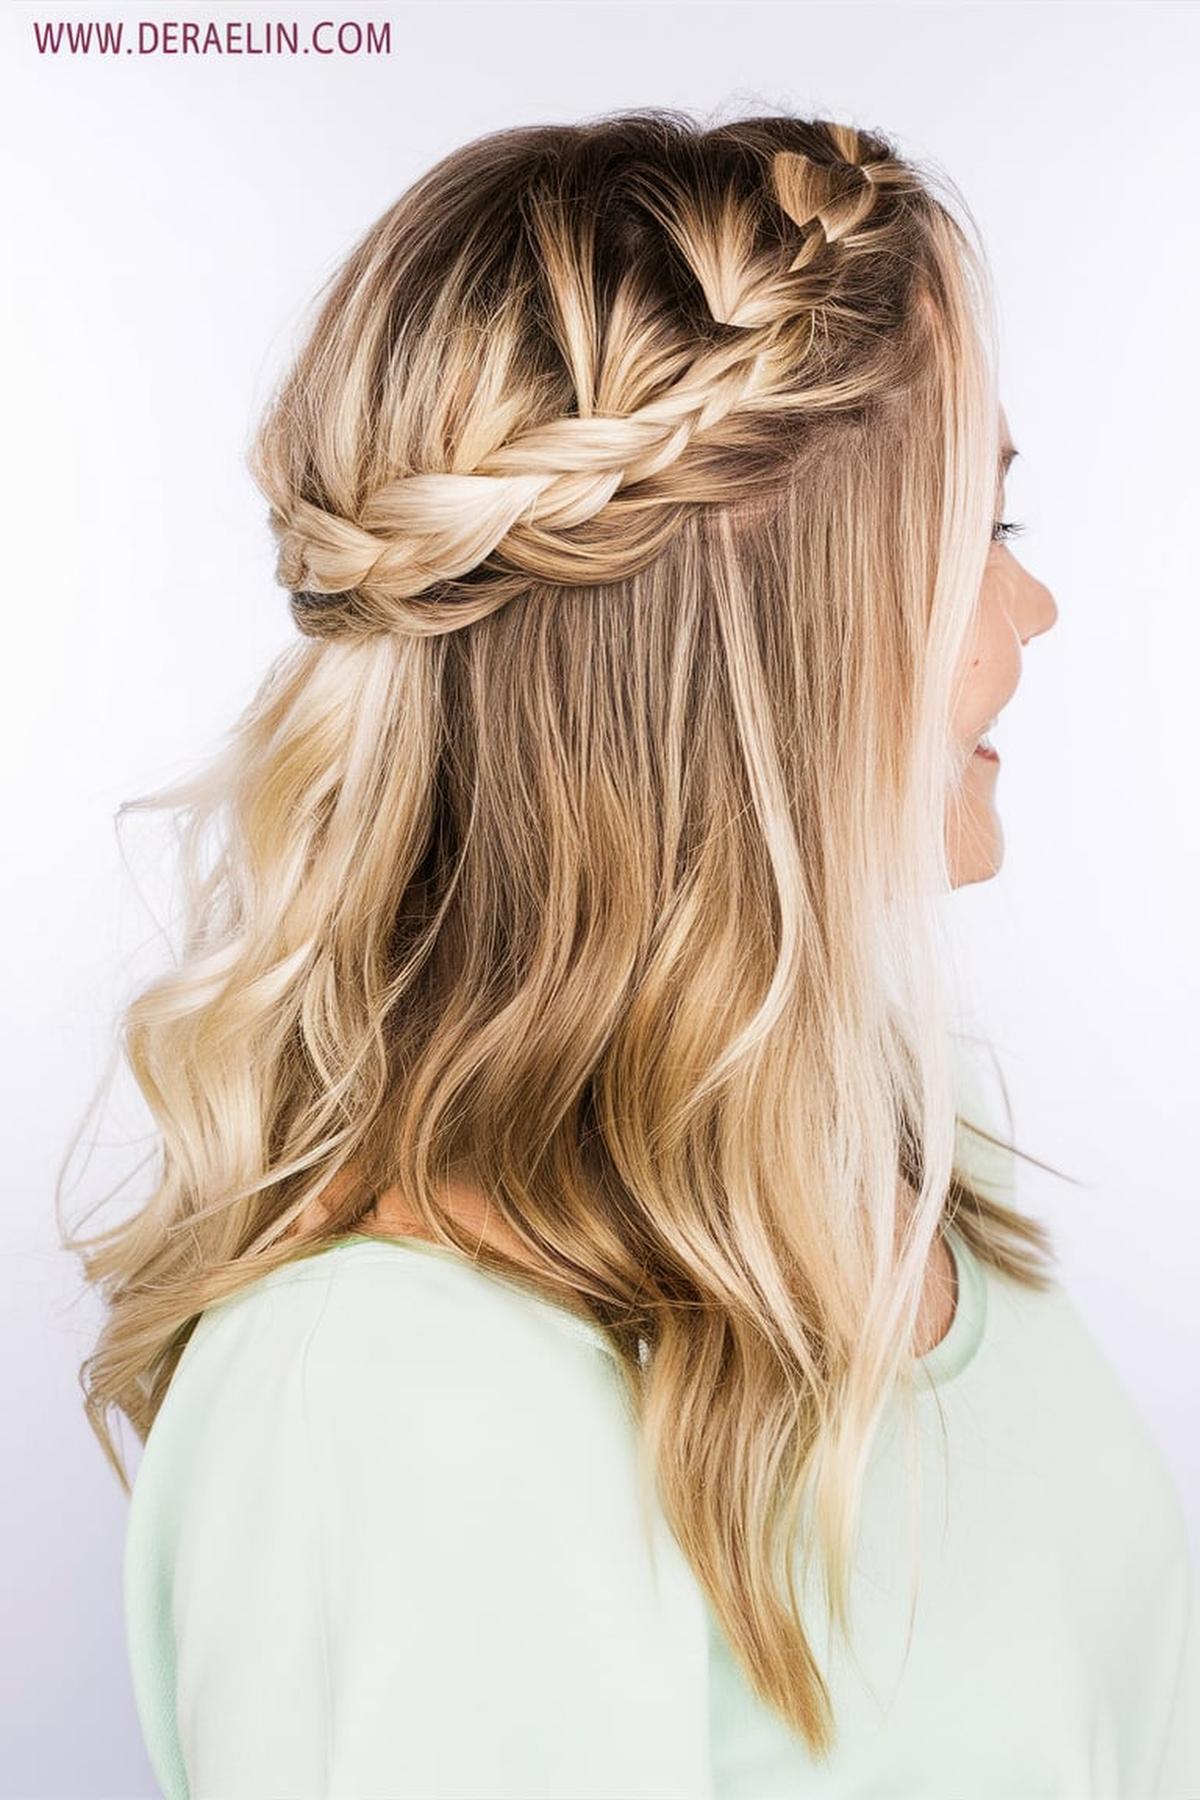
Braided Crown

You will need a brush, hair elastics, bobby pins, and possibly some styling products like hairspray. Begin with clean, dry, or slightly damp hair, as this can make braiding easier. Brush out any tangles to ensure your hair is smooth. It helps to have a mirror to see what you’re doing, and don’t get discouraged if it takes a few tries to get it right—practice makes perfect!
As you braid, gradually add more hair from the sides to keep the braid close to your scalp. Continue this braid around your head, making sure to keep it tight and even. Once you reach the front, finish the braid with a regular three-strand braid and secure it with a small elastic.
For a fuller look, gently pull at the sides of the braid to stretch it out. You can also add some hairspray to keep everything in place. This hairstyle is great for special occasions or just to look stylish any day! Enjoy showing off your beautiful braided crown!
Pin Straight Perfection

Before using any heat tools, it’s essential to apply a heat protection spray. This helps prevent damage from the heat of styling tools, keeping your hair healthy and shiny. After spraying the heat protectant, dry your hair completely using a hair dryer.
Take a small section of hair and clamp the flat iron at the roots, then slowly glide it down to the ends. It’s important to move the flat iron at a steady pace to avoid burning your hair. If your hair is thick or curly, you might need to go over each section more than once.
This will also help control any frizz and maintain that perfect straight look. Remember to avoid touching your hair too much after styling, as this can cause it to lose its straightness. With practice, you’ll master the technique of achieving pin straight hair that looks salon-fresh!
You may also be interested in:
Beach Waves

After washing your hair, let it air dry until it’s about 75% dry. This helps reduce damage when you use heat styling tools later. While your hair is still damp, apply a heat protectant spray to keep your hair safe from hot tools.
Once your hair is dry, use a curling iron or wand to create the waves. Take sections of hair about 1-2 inches wide and wrap them around the iron, but be sure to leave the last 1-2 inches straight. This gives the waves that relaxed, beachy vibe.
After curling, finish your look with a salt spray or texture spray to enhance the waves and add volume. Scrunch your hair gently with your hands to break up the curls and create a tousled effect. Finally, use a light-hold hairspray to keep everything in place without making your hair feel stiff or crunchy. This process should take about 10 minutes, and you can refresh your waves each morning with a little more salt spray to keep them looking great for days.
Twisted Half-Up

Loose waves add texture and make the hairstyle look more stylish. If you don’t have waves, that’s okay; you can still create this look with straight hair. The key is to have some grip in your hair, so it holds the twists better.
Secure this twist with a few bobby pins. Repeat this step on the other side, twisting the hair in the same way and pinning it down. To create the signature twisted look, tuck the ends of the second twist under the first one and pin it in place.
You can curl these pieces for added flair. Once you’re happy with how it looks, finish with some hairspray to ensure everything stays in place. With practice, you’ll find that this hairstyle becomes easier to do and can be a fun way to change up your look for different occasions.
You may also be interested in:
Space Buns Fun

First, brush your hair to remove any tangles and part it down the middle. This helps ensure that both buns are even and symmetrical. If your hair is a bit dirty, it can actually work to your advantage because it holds styles better.
Make sure they are at the same height to avoid lopsided buns. To form the buns, take each ponytail and twist it around its base. You can make the buns as tight or loose as you like, depending on the look you want.
Finally, finish off your space buns with a light mist of hairspray to hold everything in place. If you want a more polished look, you can use gel to smooth down any flyaways around your face. Space buns are versatile and can be dressed up or down, making them perfect for any occasion, from casual outings to fun events. Enjoy experimenting with different styles and enjoy your new look!
Sleek Low Ponytail

It’s best to begin with clean or slightly dirty hair, as this style looks great even on days when you haven’t washed your hair. Use a leave-in conditioner or hair oil to add moisture and help slick down any flyaways. After that, brush your hair back to remove any tangles and create a smooth surface.
It’s helpful to use two ponytail holders instead of one; this gives your ponytail extra support and keeps it looking neat. When you pull your hair back, make sure to smooth out any bumps with a boar bristle brush, which helps create that shiny, sleek finish.
This step is optional but can help create a more polished look. Finish off by applying a little more hairspray or a finishing serum to keep your ponytail looking sleek throughout the day. With practice, you’ll be able to achieve this elegant hairstyle quickly and easily, making it a go-to for any occasion.
You may also be interested in:
Braided Ponytail

You can choose a high, mid, or low ponytail based on your preference. Once you’ve secured your ponytail with a hair tie, you can begin the braiding process. For a basic braided ponytail, separate your ponytail into three equal sections.
This technique creates a classic braid that looks neat and stylish. To add some flair to your braided ponytail, consider incorporating different styles of braids. For example, you can try a fishtail braid, which involves taking small sections from the outer edges of the ponytail and crossing them over to the opposite side.
Remember to gently pull on the braid to give it a fuller appearance, which can add volume and texture. Practice is key to mastering the braided ponytail. If you’re struggling, don’t hesitate to watch tutorial videos online, as they can provide visual guidance to help you learn the steps. With time and repetition, you’ll become more comfortable with the technique, allowing you to create beautiful braided ponytails for any occasion, whether it’s for school, sports, or a fun day out with friends.
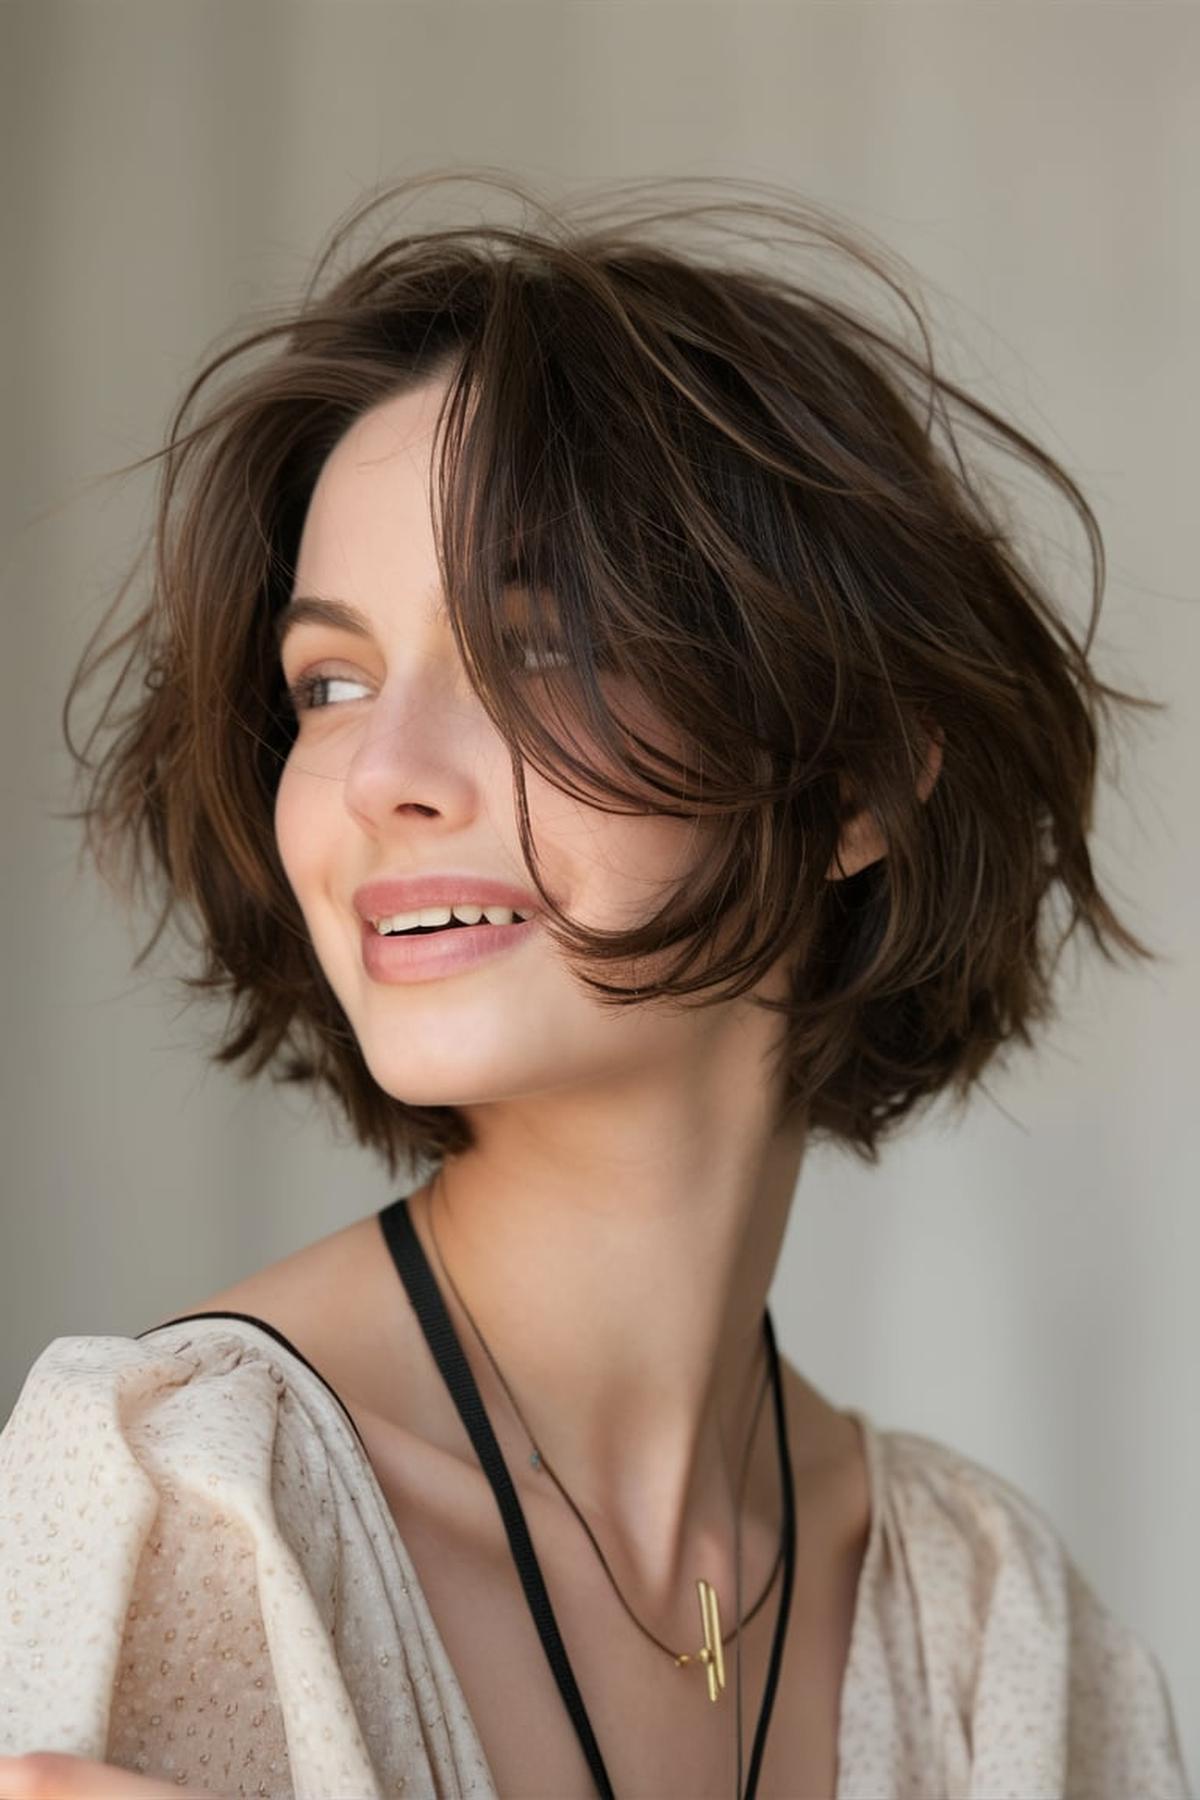
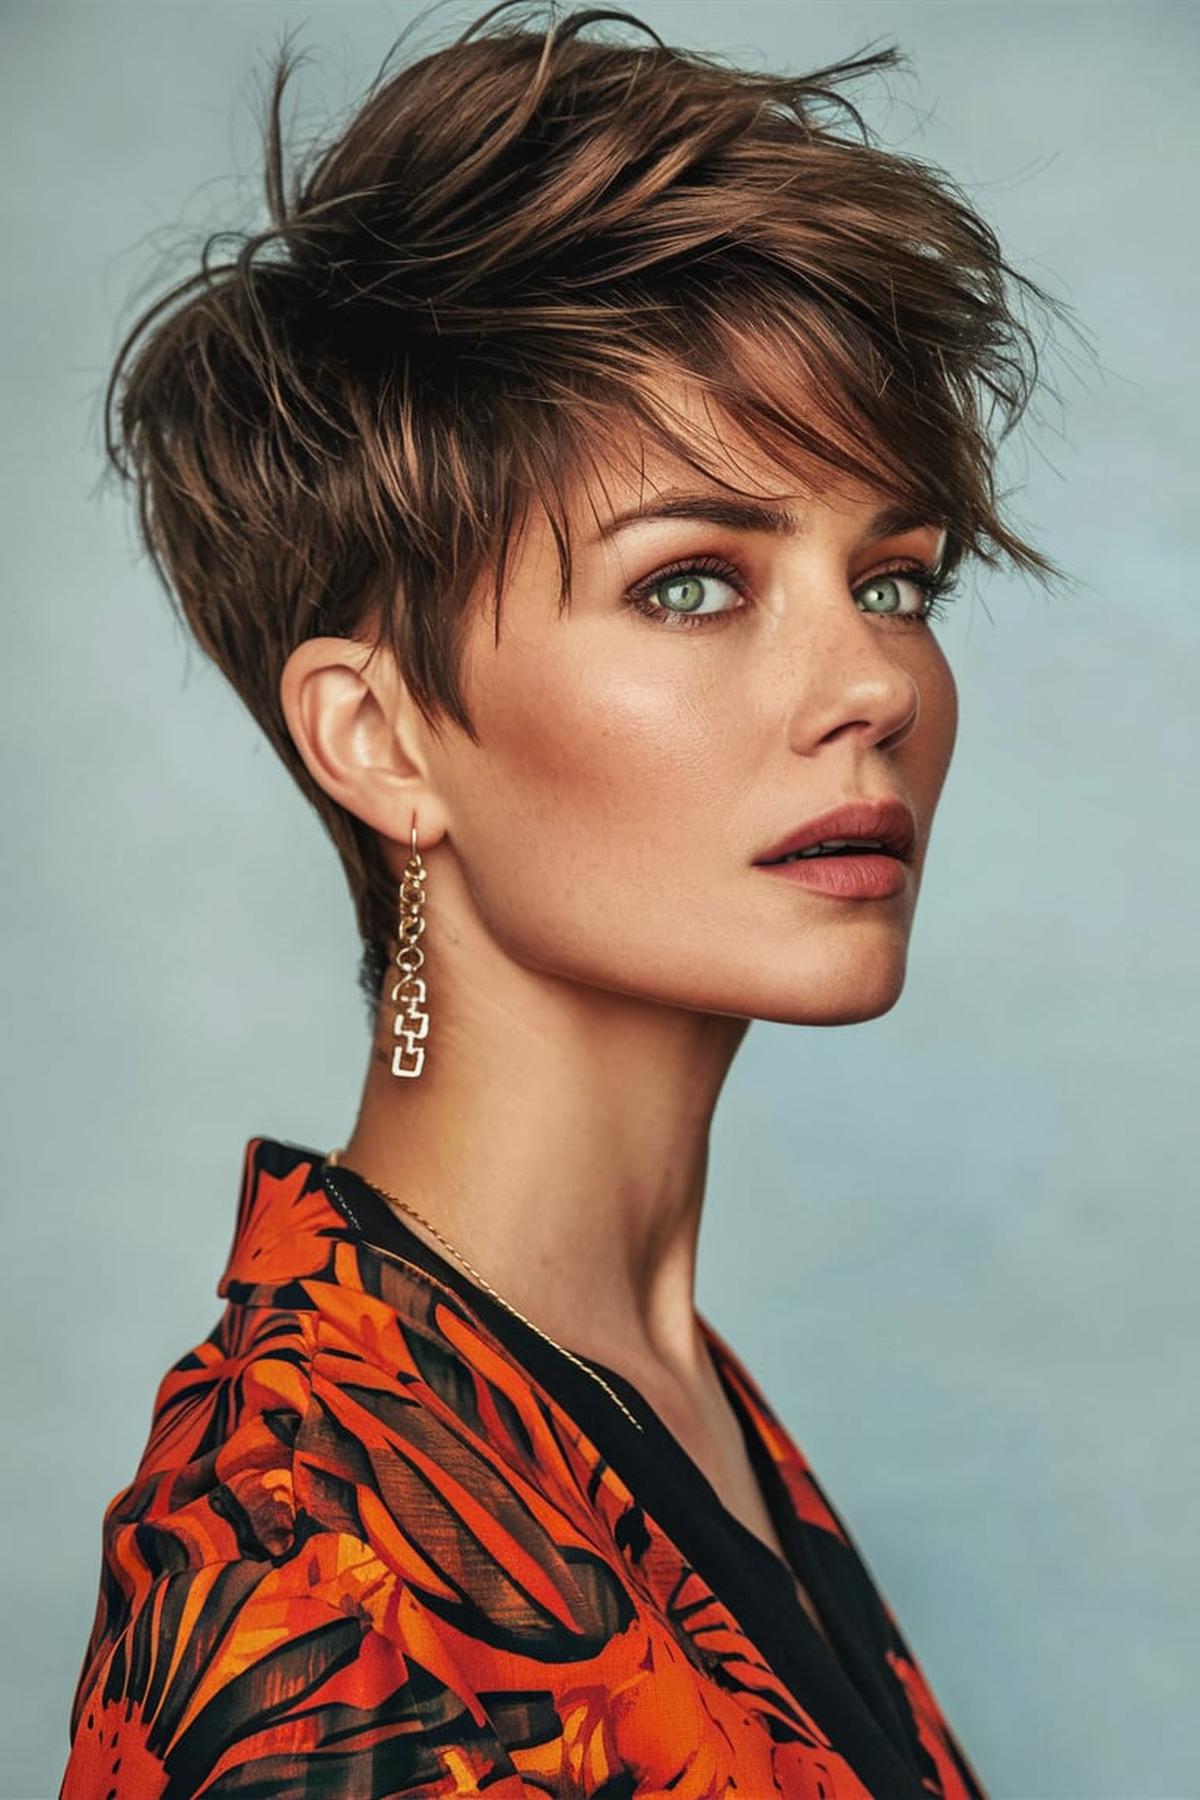
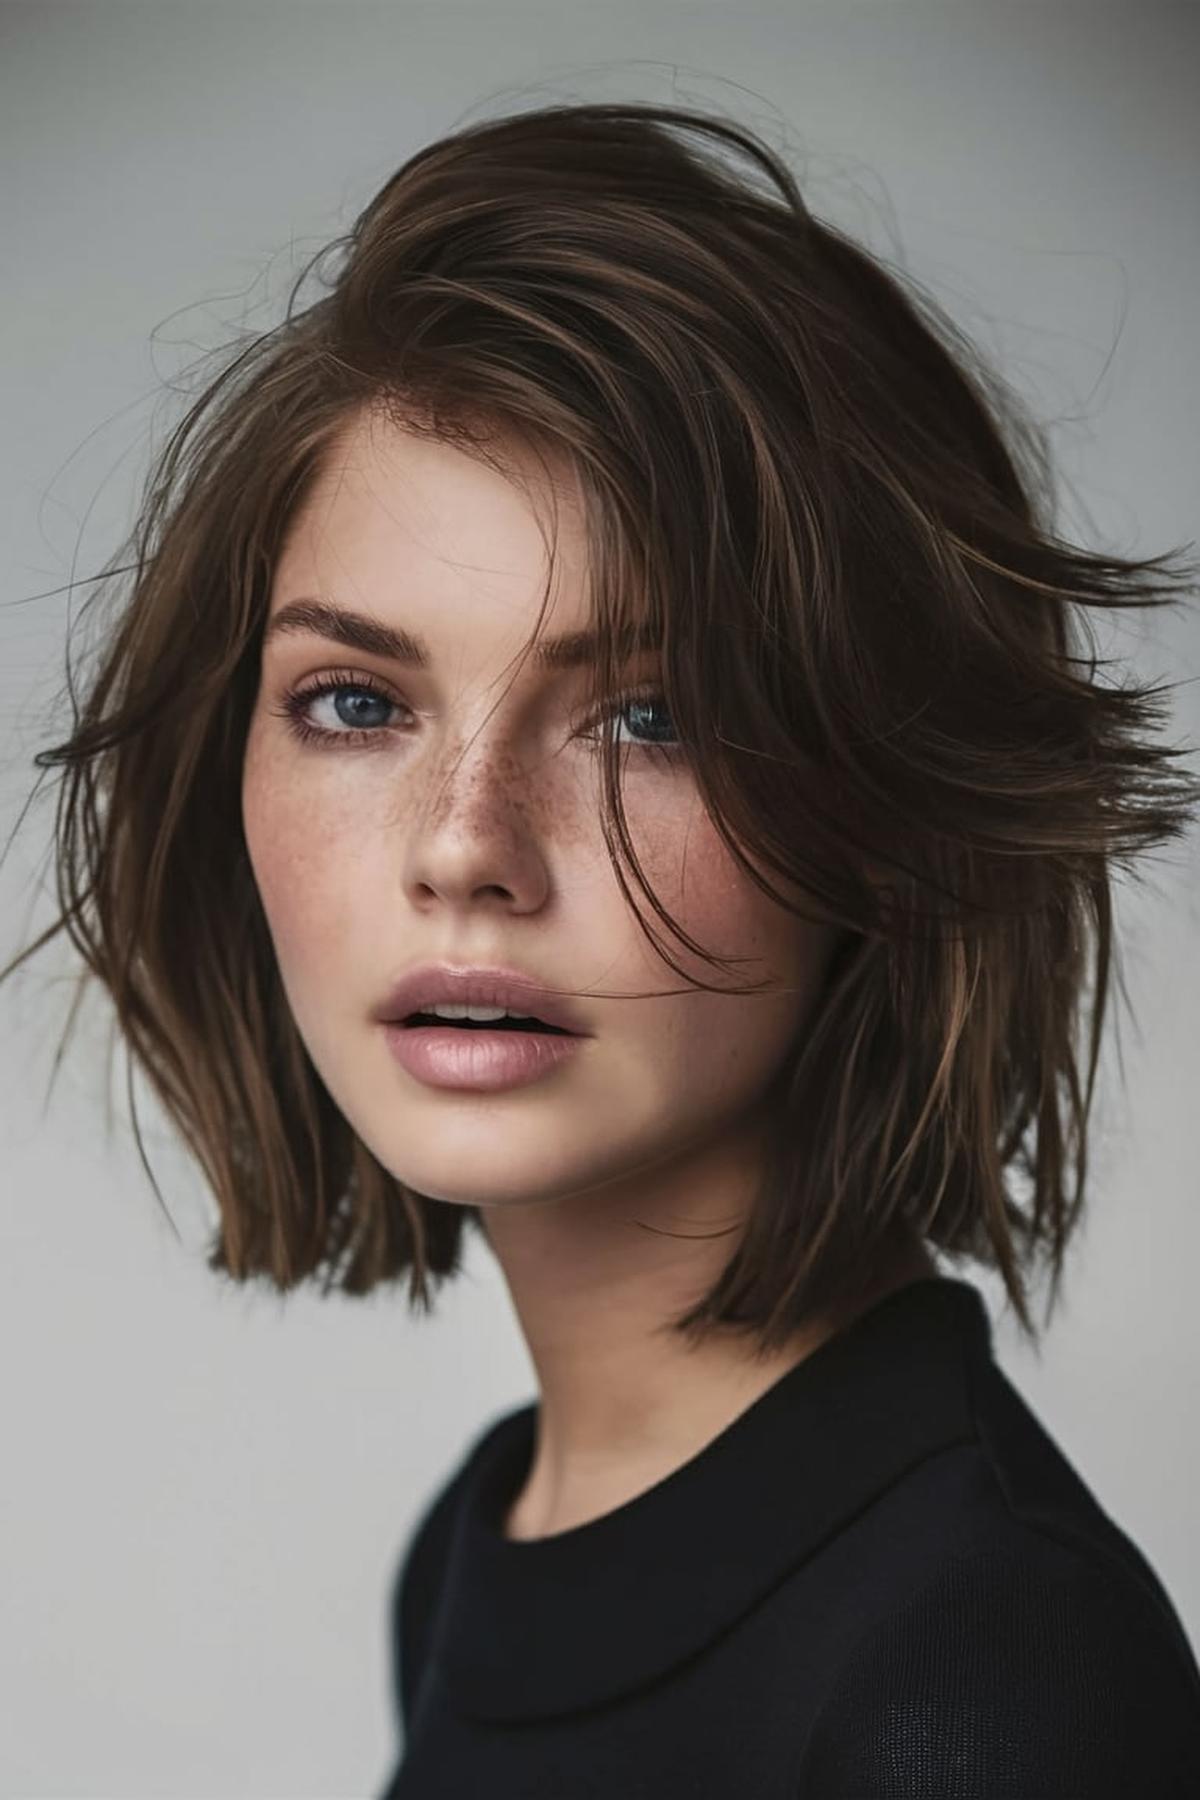
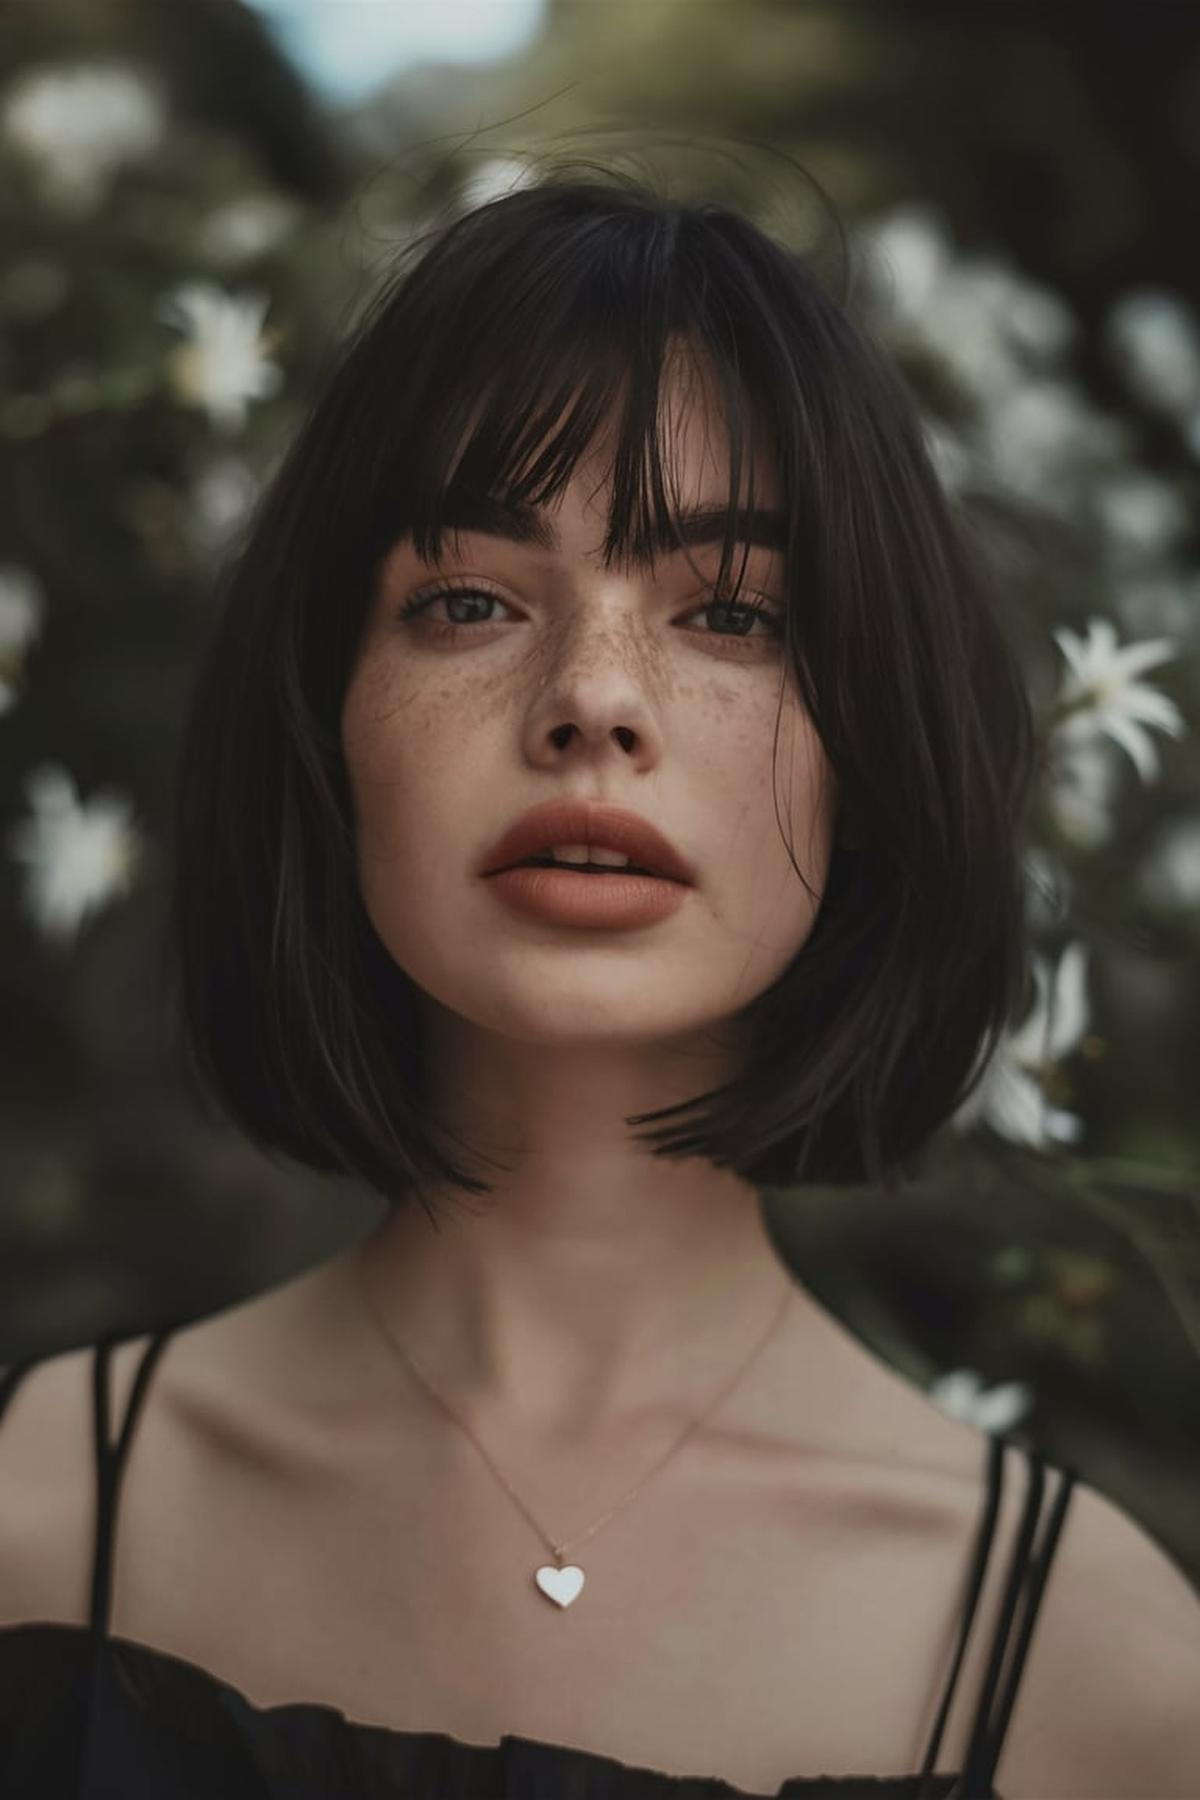
Choppy Ends Edge

This style features hair that is cut into layers with uneven ends, giving it a textured, edgy look. To achieve this, you can start by using sharp hair scissors to create those choppy layers. Instead of cutting straight across, use a technique called point cutting, where you cut into the ends of the hair at an angle.
You can use a texturizing spray or a sea salt spray to add volume and definition to your hair. After washing your hair, apply the spray and scrunch your hair with your hands to enhance the choppy texture.
Regular trims every 6-8 weeks will help maintain the shape and prevent split ends. Additionally, using a good quality conditioner will keep your hair healthy and shiny, which is essential for this edgy style. By practicing these techniques and caring for your hair, you can master the choppy ends edge and make it your own!
Q&As for hairstyles for natural straight hair
Q: How can I create a sleek middle part hairstyle with natural straight hair?
A: To achieve a sleek middle part, use a fine-tooth comb to create a straight line down the center of your head. Apply a smoothing serum or gel to keep the hair flat and shiny. Finish by using a flat iron to ensure the hair is pin-straight.
Q: What is the best way to style a high ponytail with natural straight hair?
A: Gather your hair at the crown of your head and secure it with a hair tie. Use a brush to smooth out any bumps and apply a bit of hairspray to keep it in place. For extra sleekness, wrap a small section of hair around the base of the ponytail to hide the hair tie.
Q: How can I style curtain bangs to make them look trendy with straight hair?
A: Use a round brush and a blow dryer to give your curtain bangs a slight curve. This will add volume and shape. You can also use a flat iron to gently bend the ends for a softer look.
Q: What is a simple way to achieve a blunt bob with boldness for straight hair?
A: A blunt bob looks best when it’s sleek and shiny. Use a flat iron to straighten the hair and apply a shine serum to enhance its glossiness. Make sure the ends are cut evenly for that bold, sharp look.
Q: How can I style a half-up half-down hairstyle for a cute look with straight hair?
A: Gather the top section of your hair and secure it with a clip or hair tie, leaving the rest down. You can add a twist or braid to the top section for extra flair. This style is versatile and works well for both casual and formal occasions.