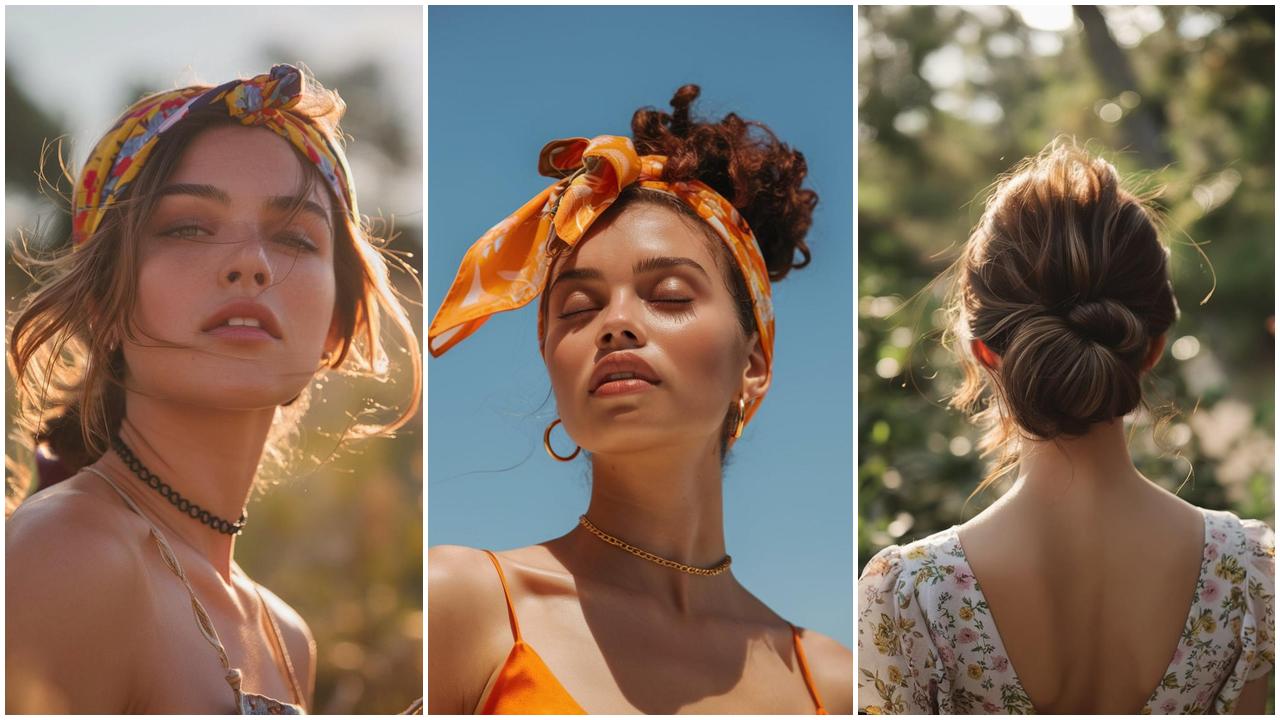
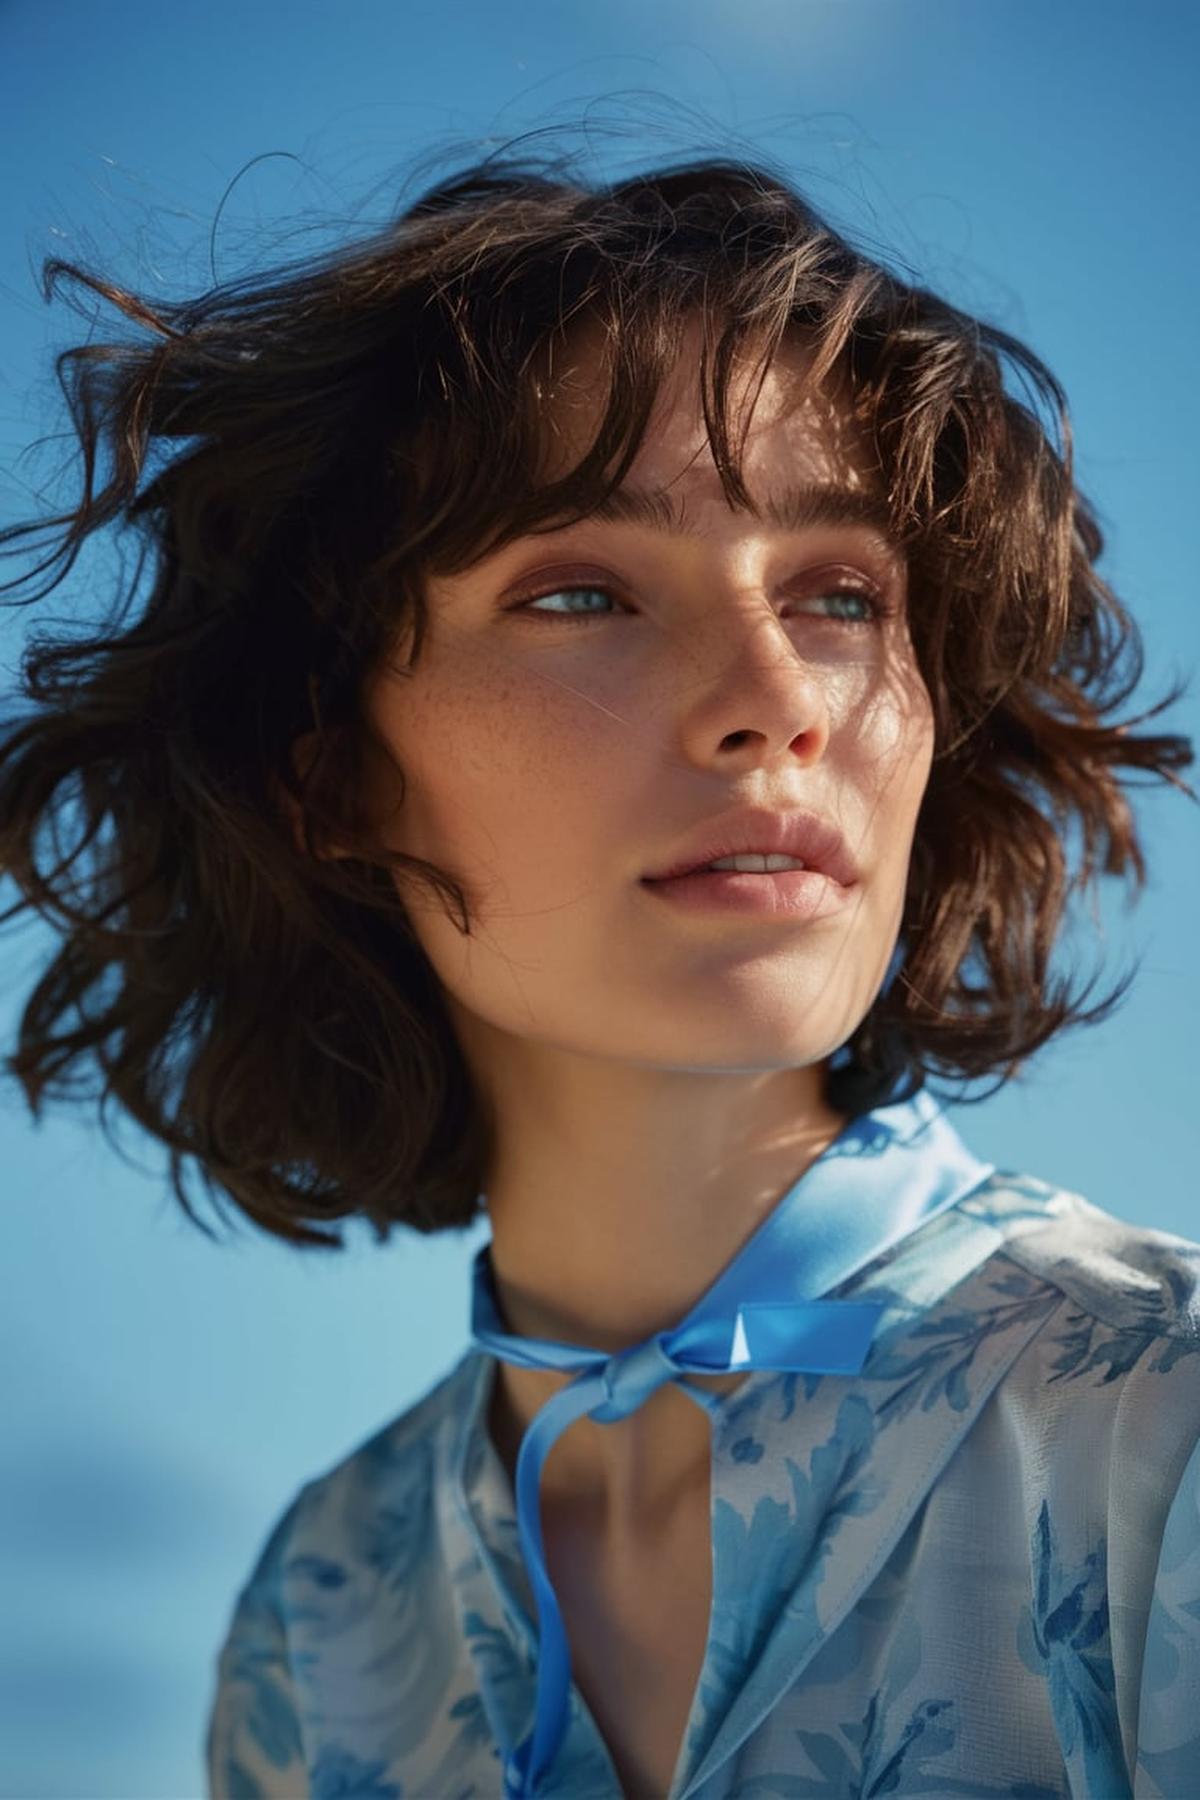
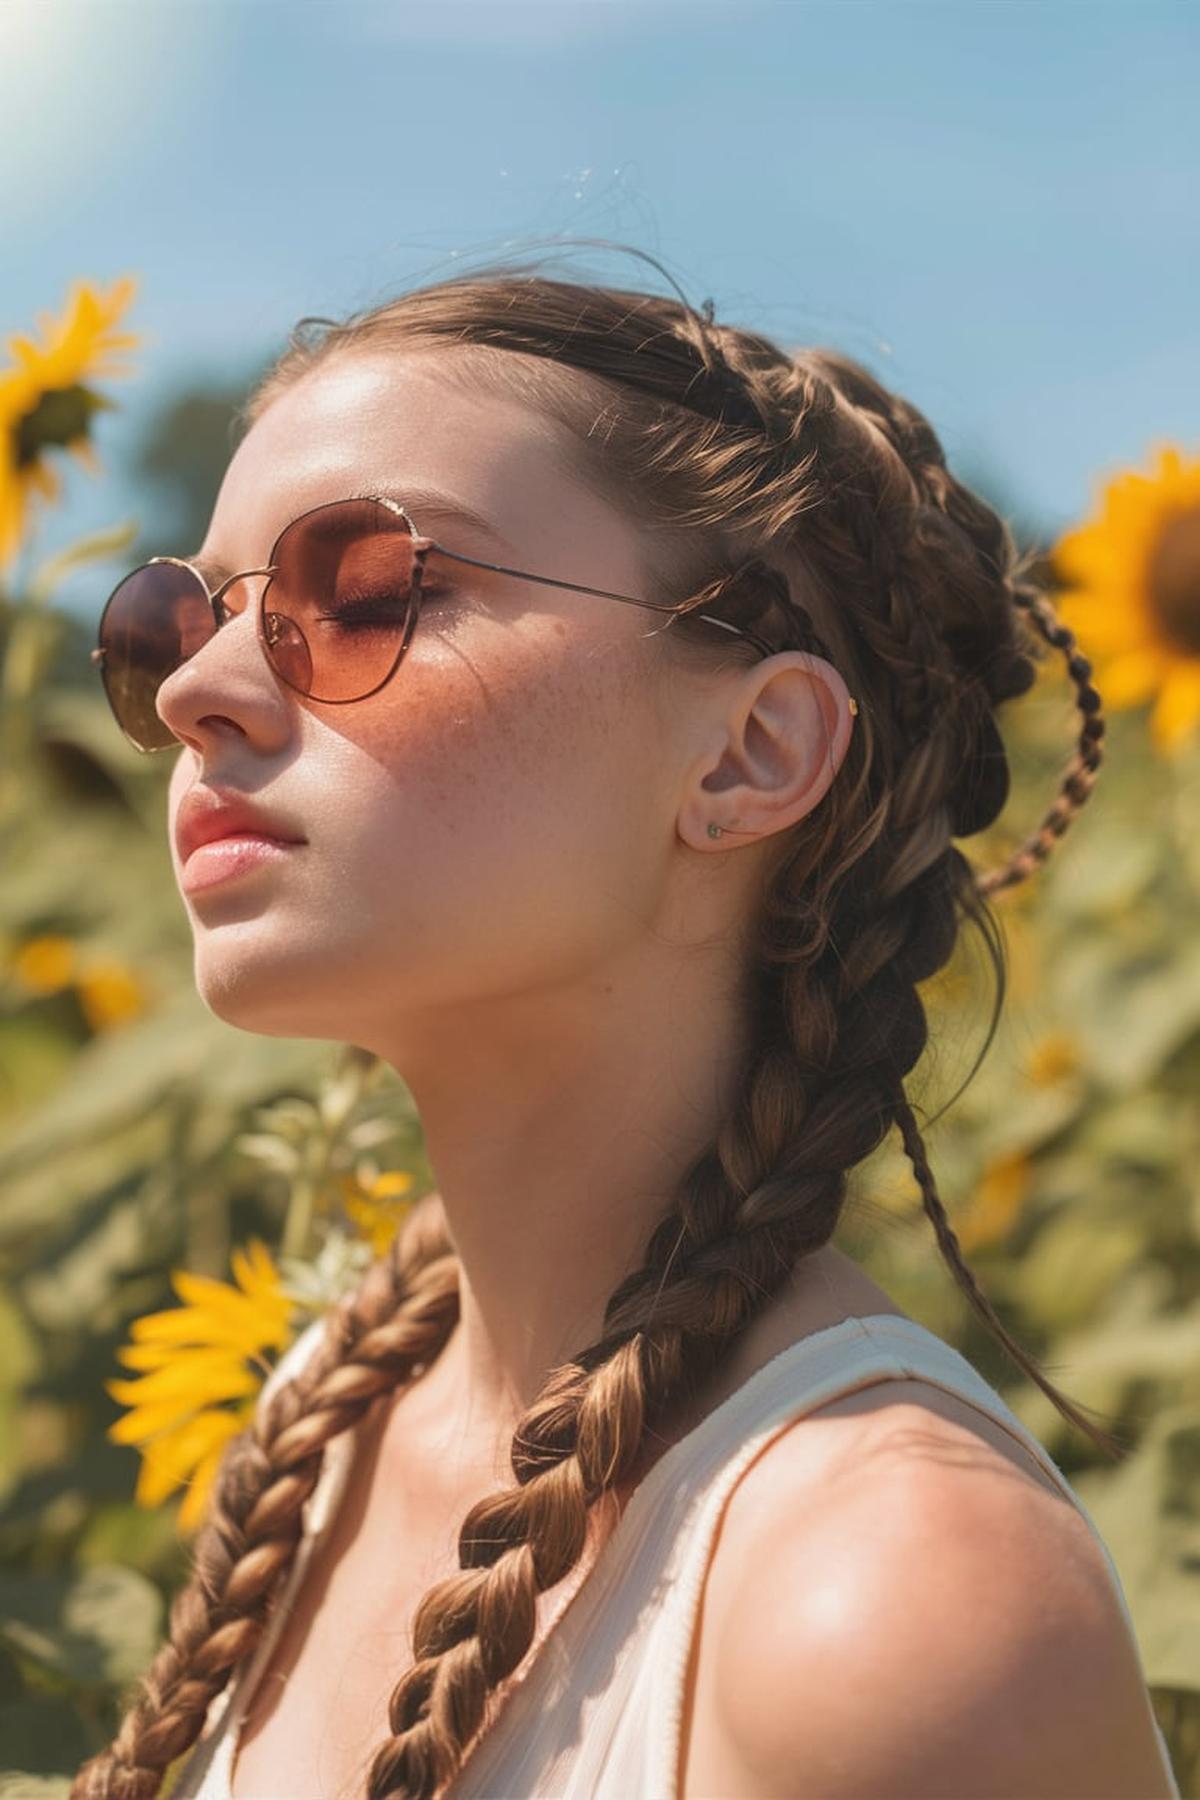
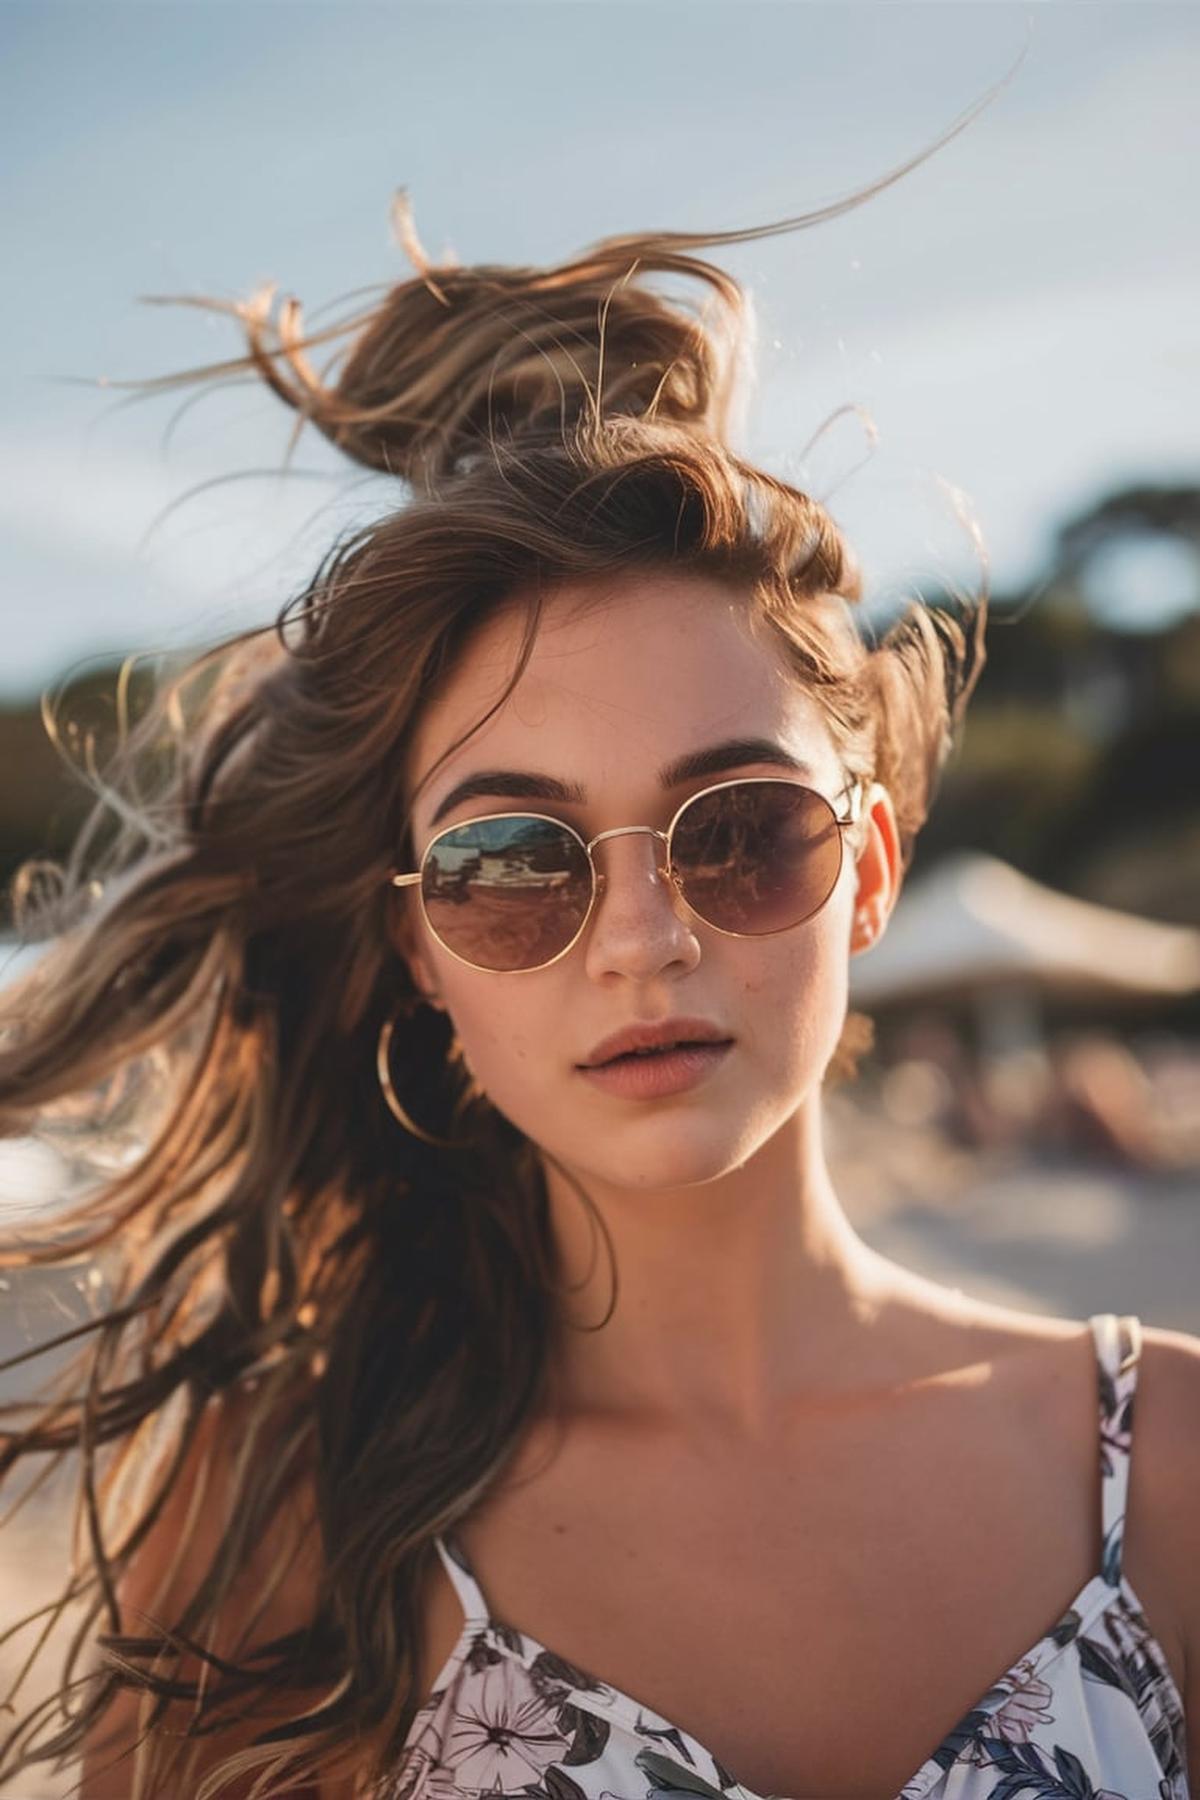
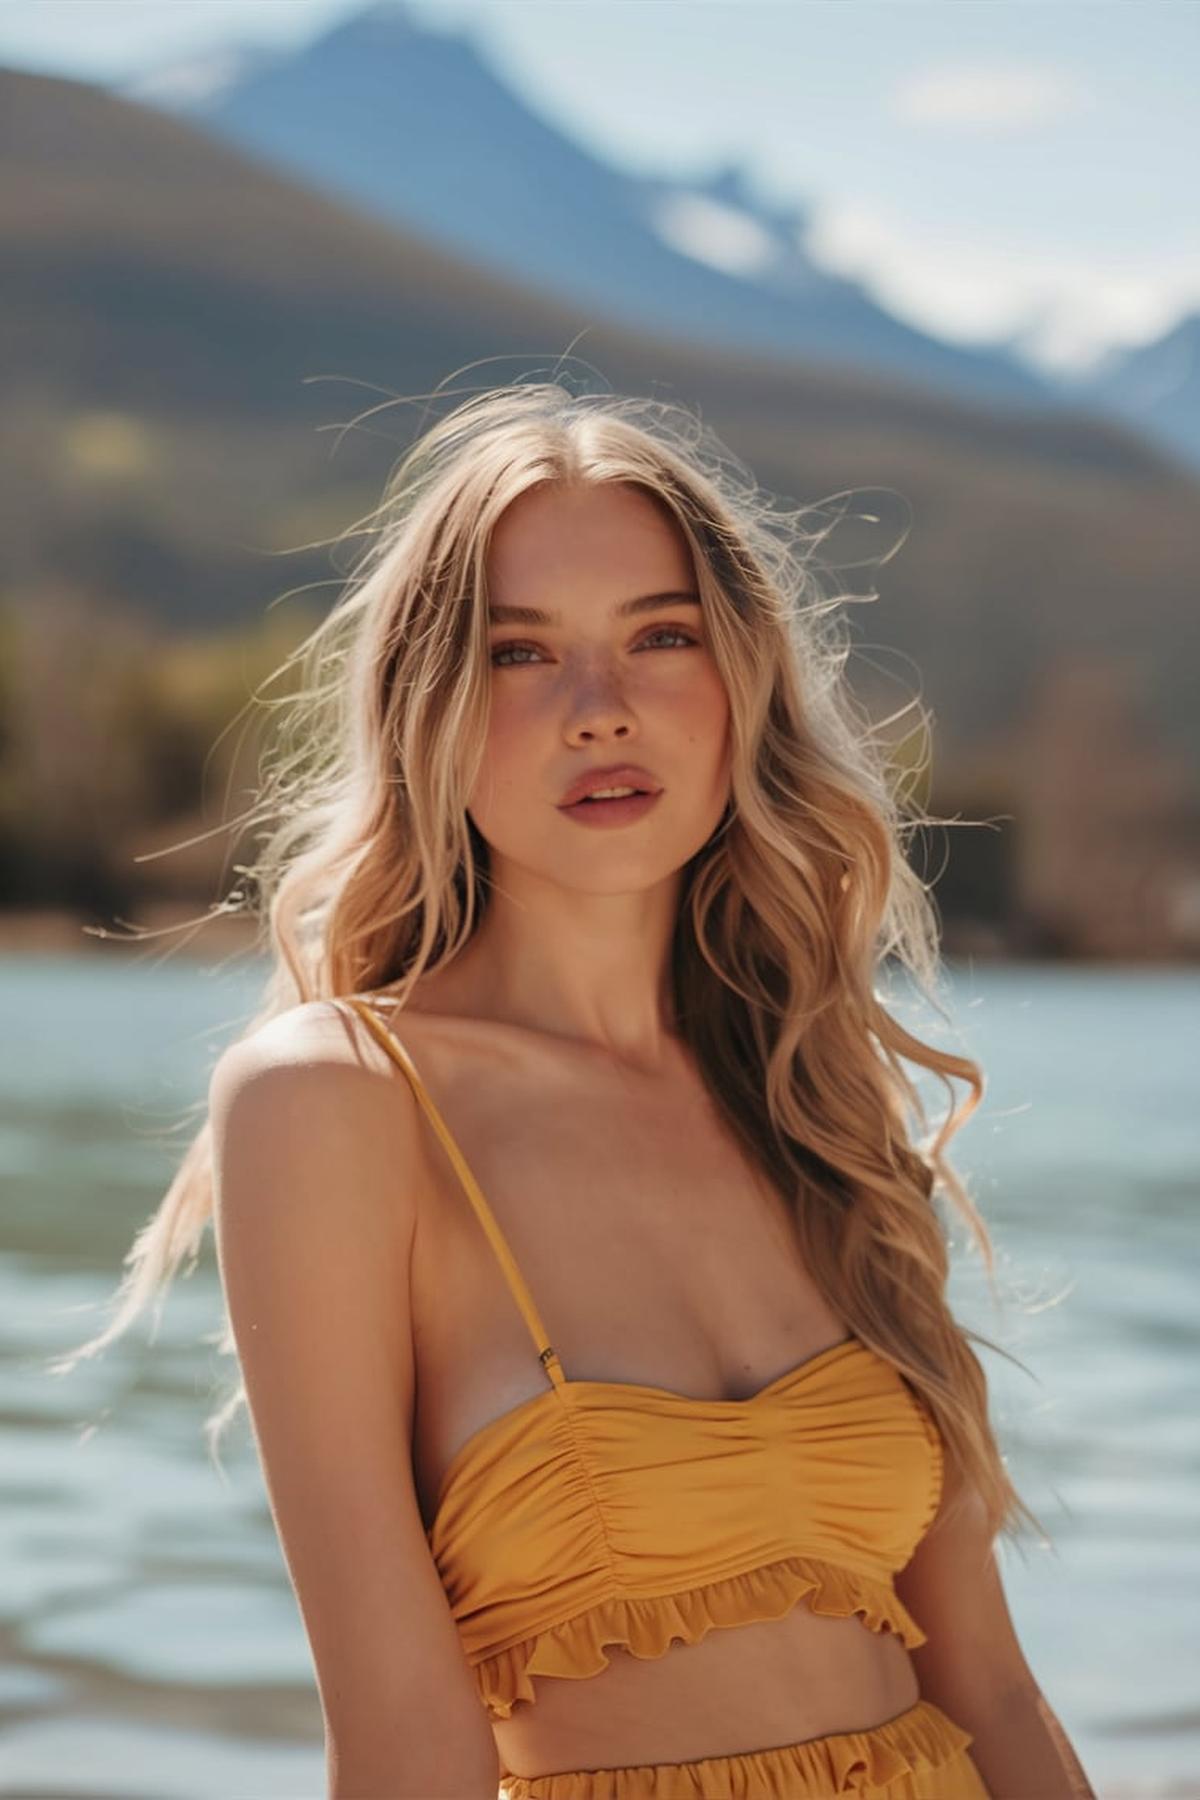
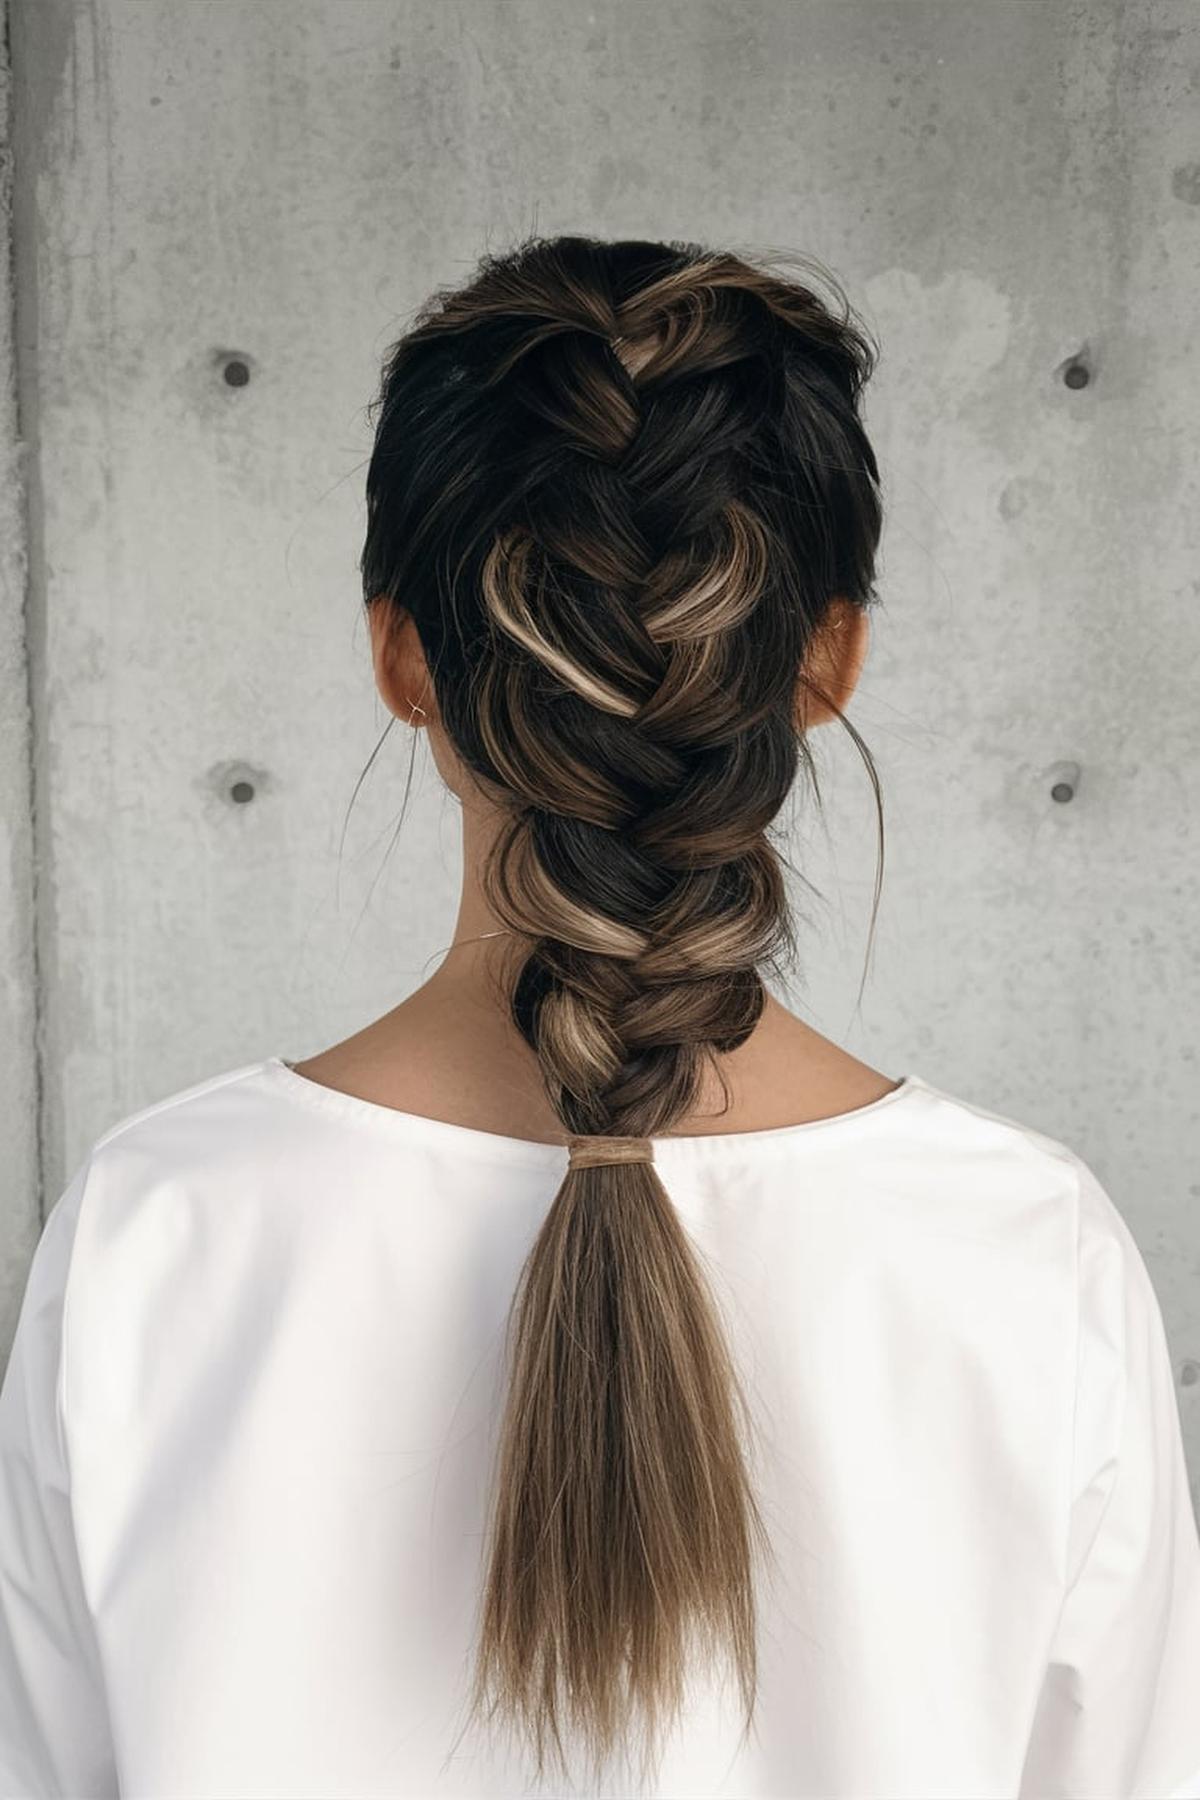
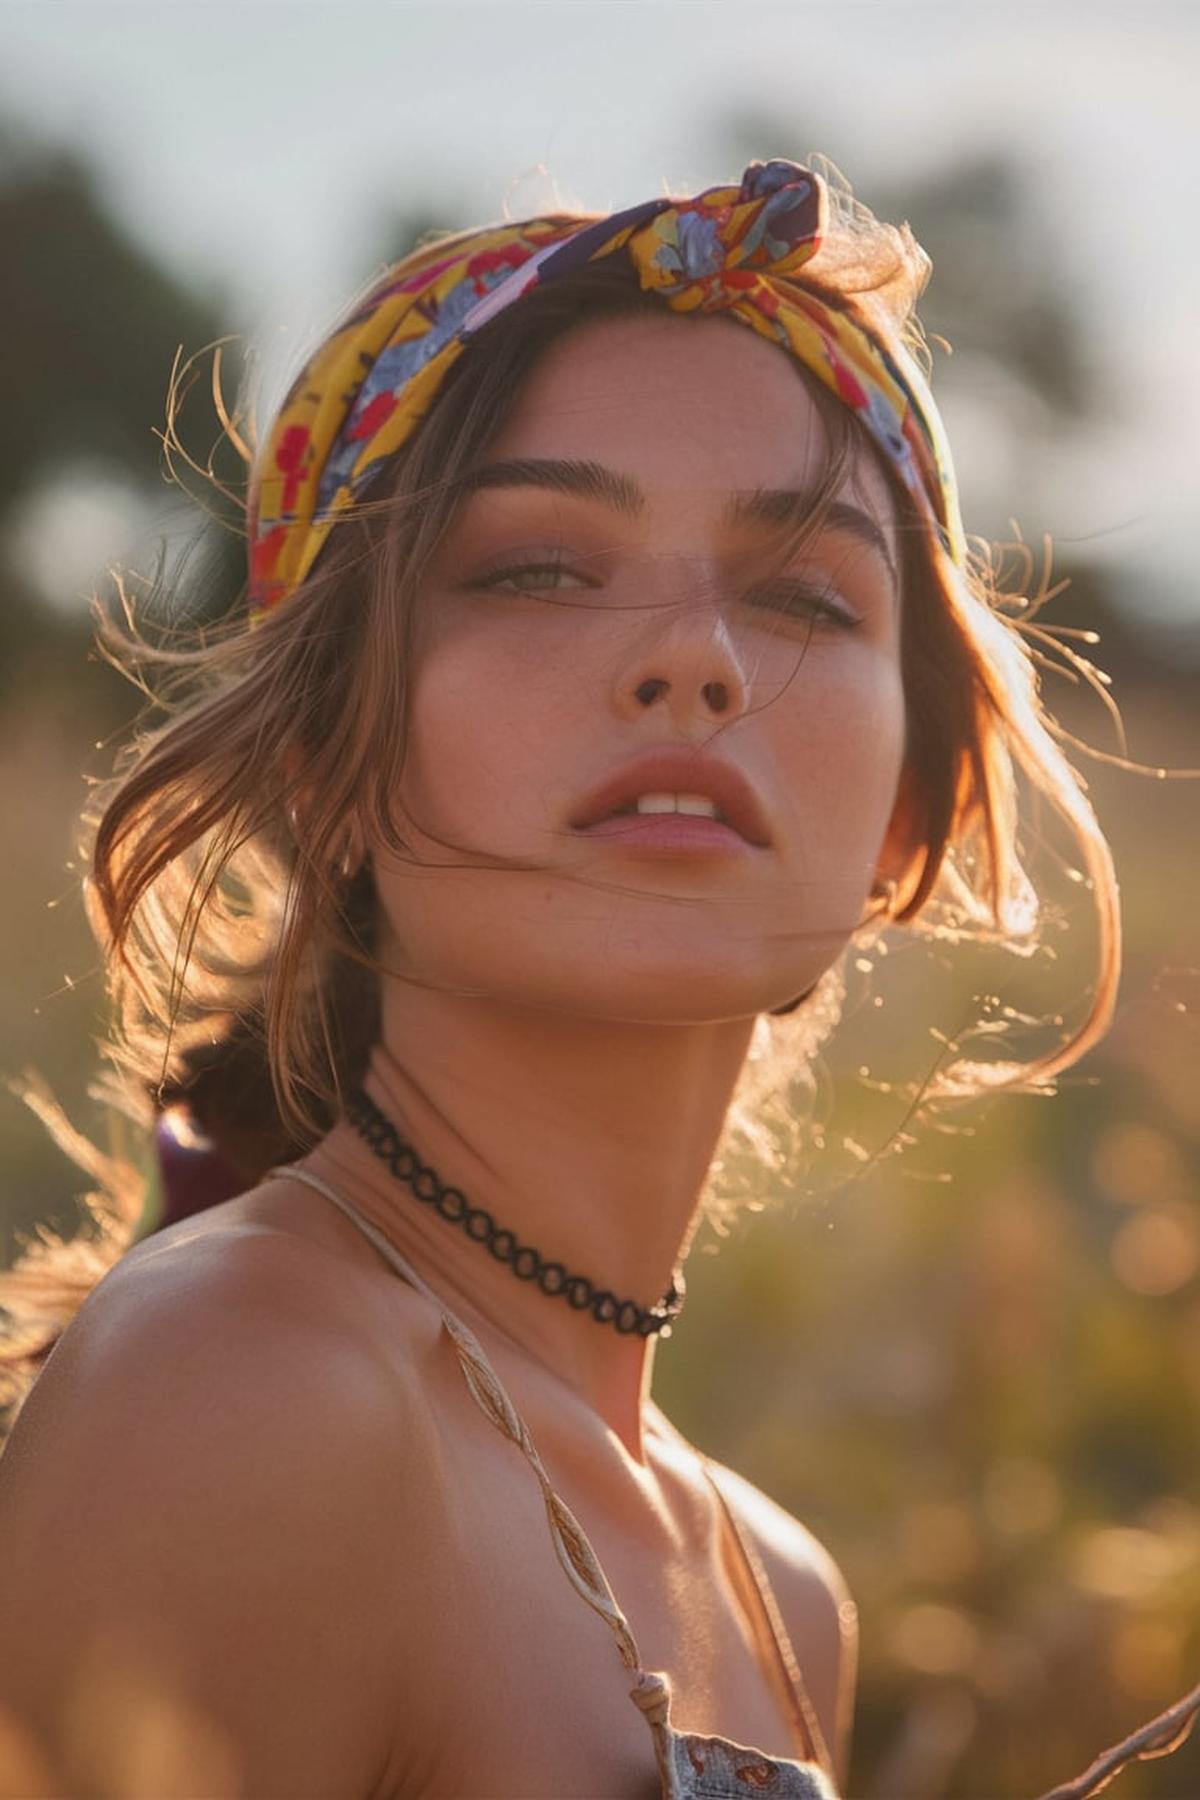
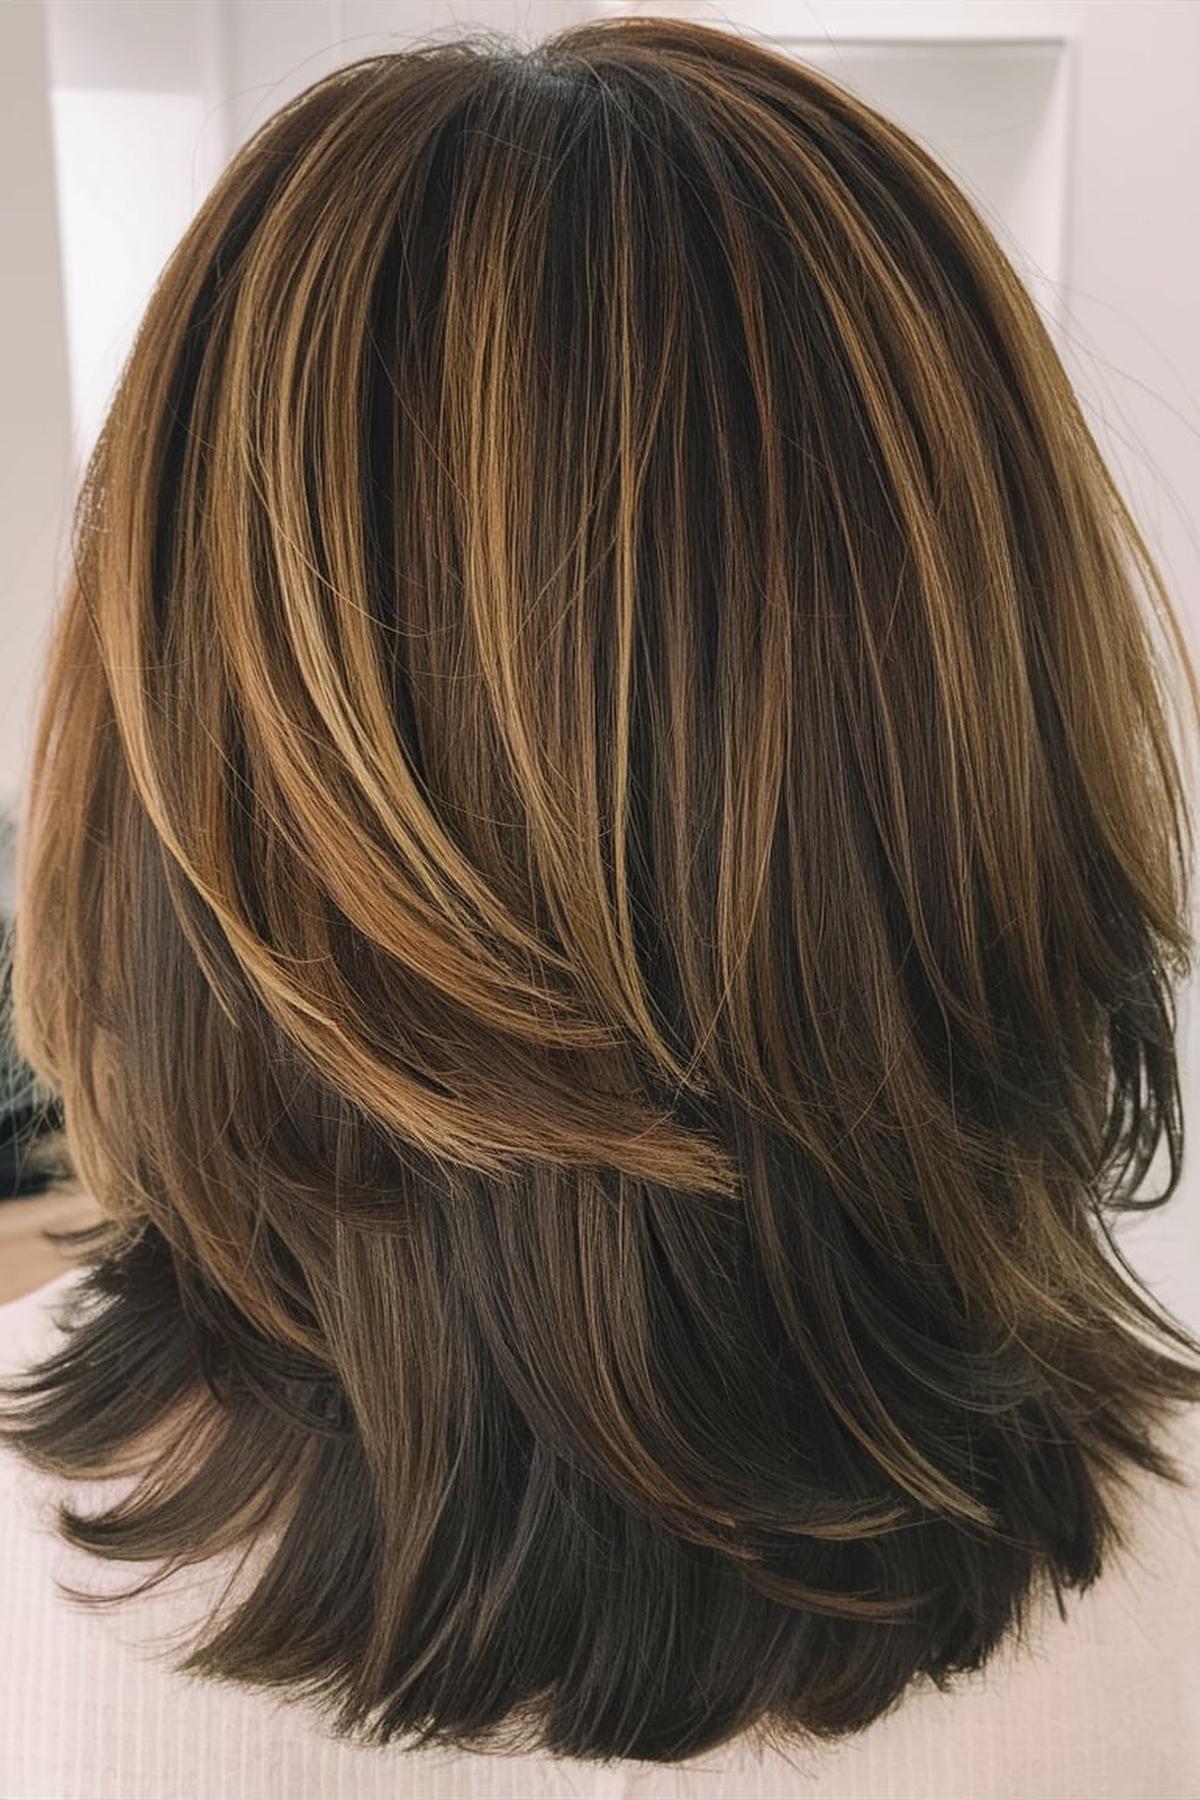
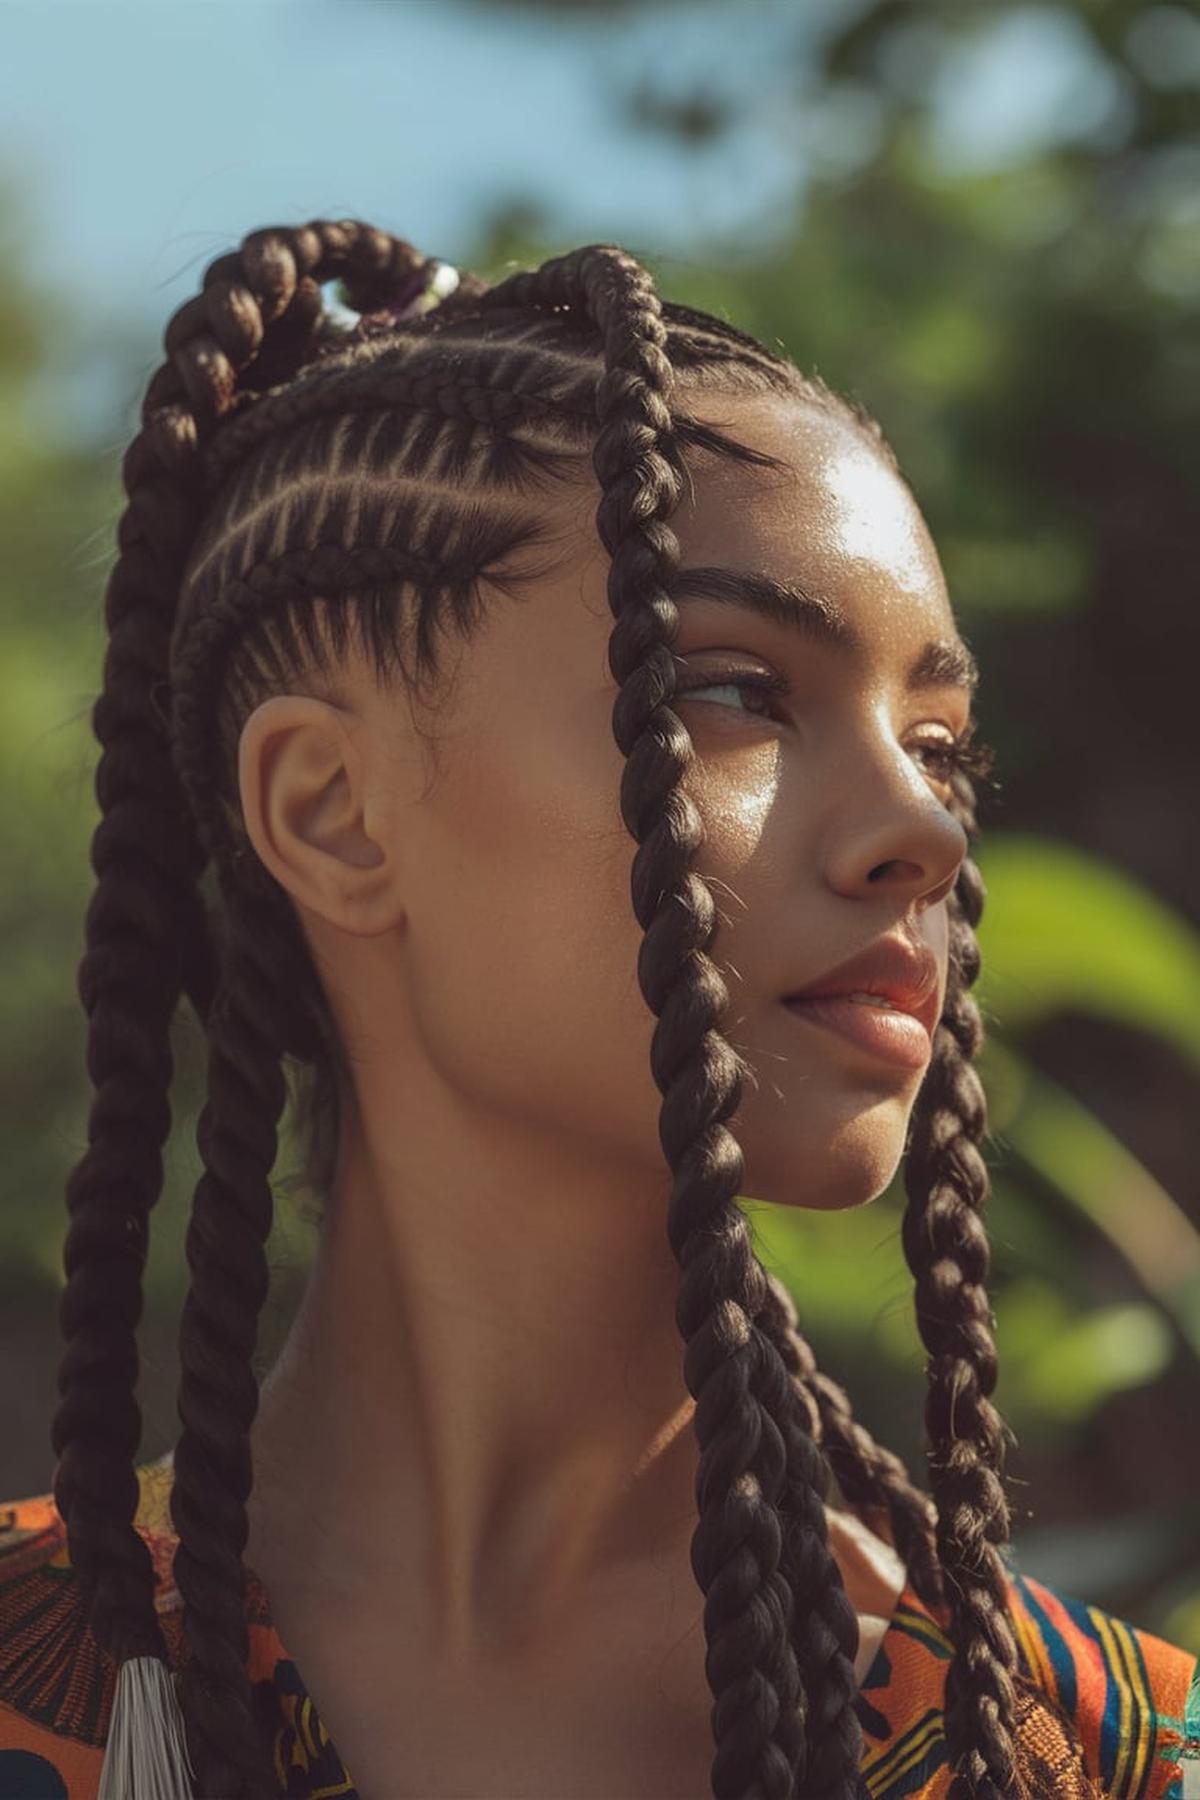
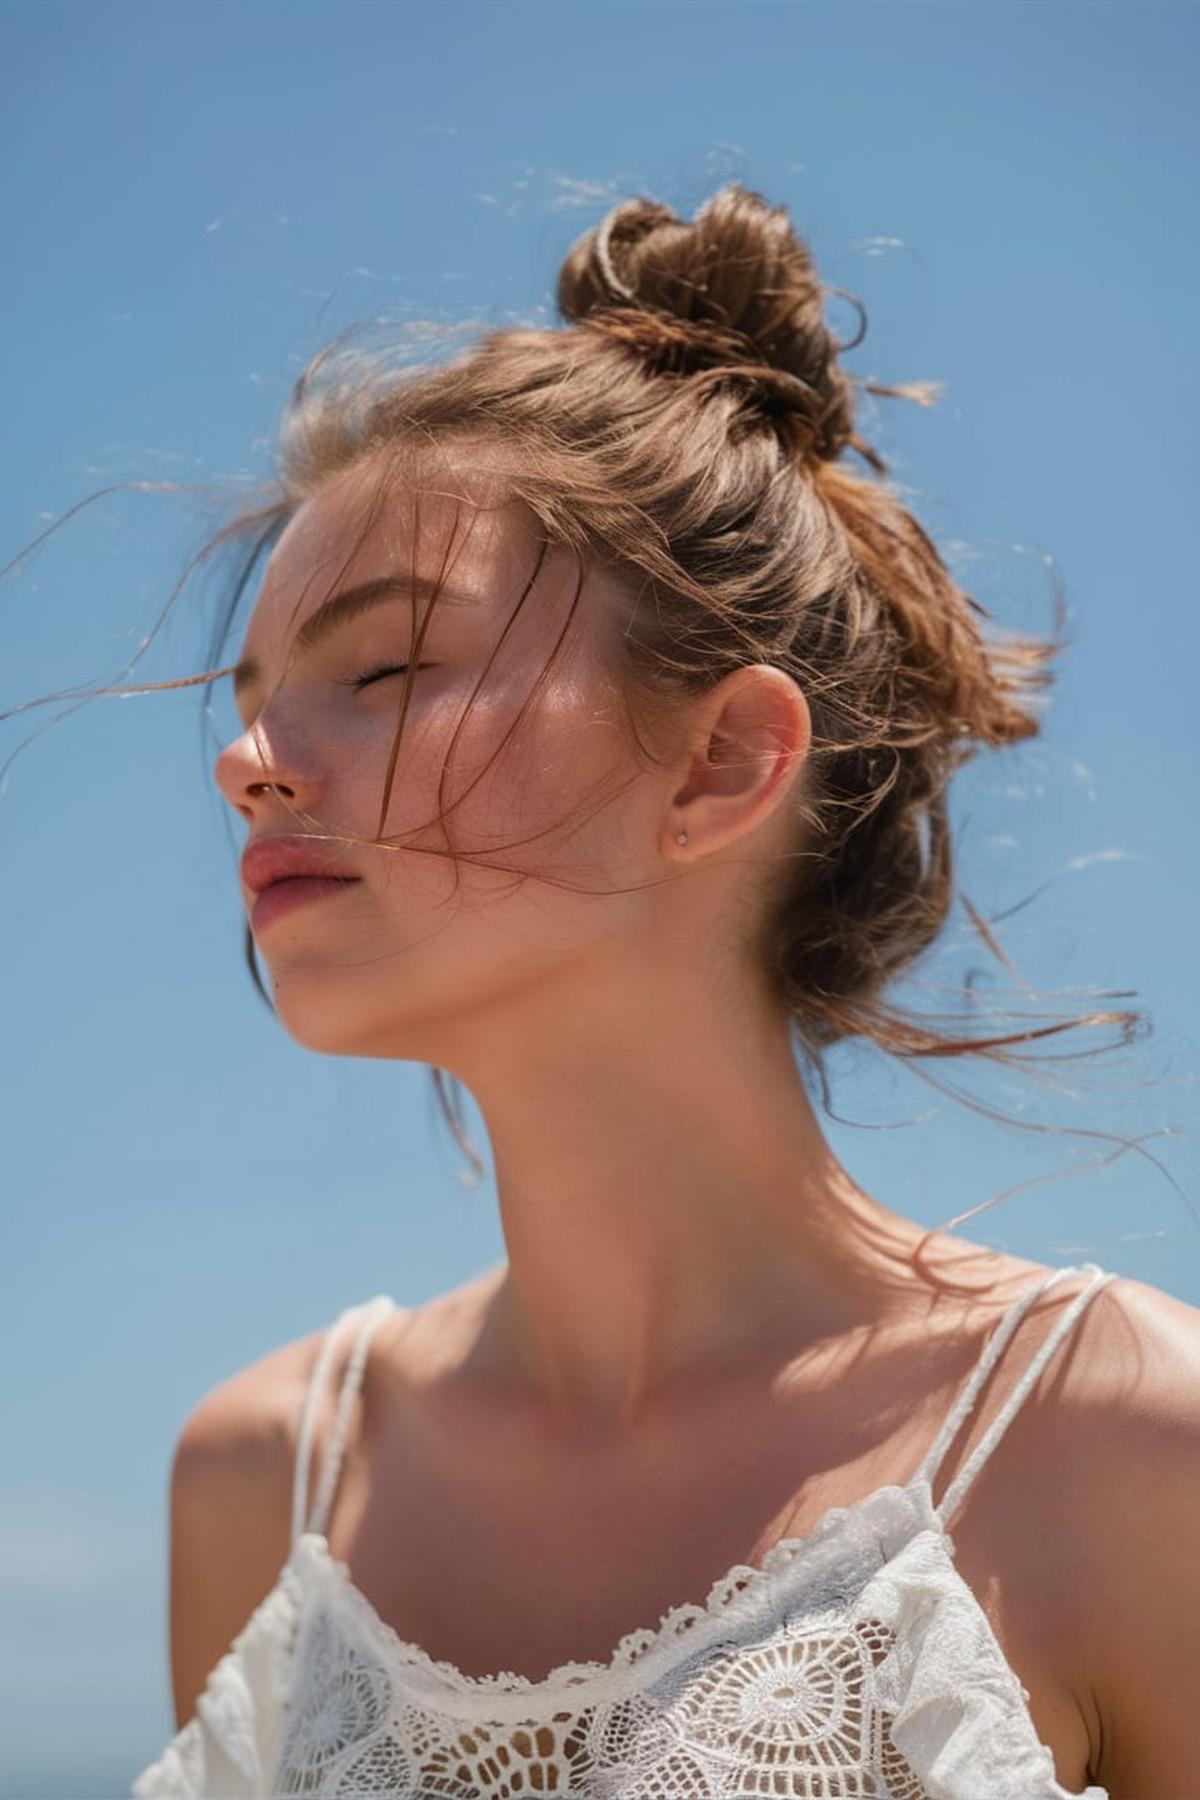
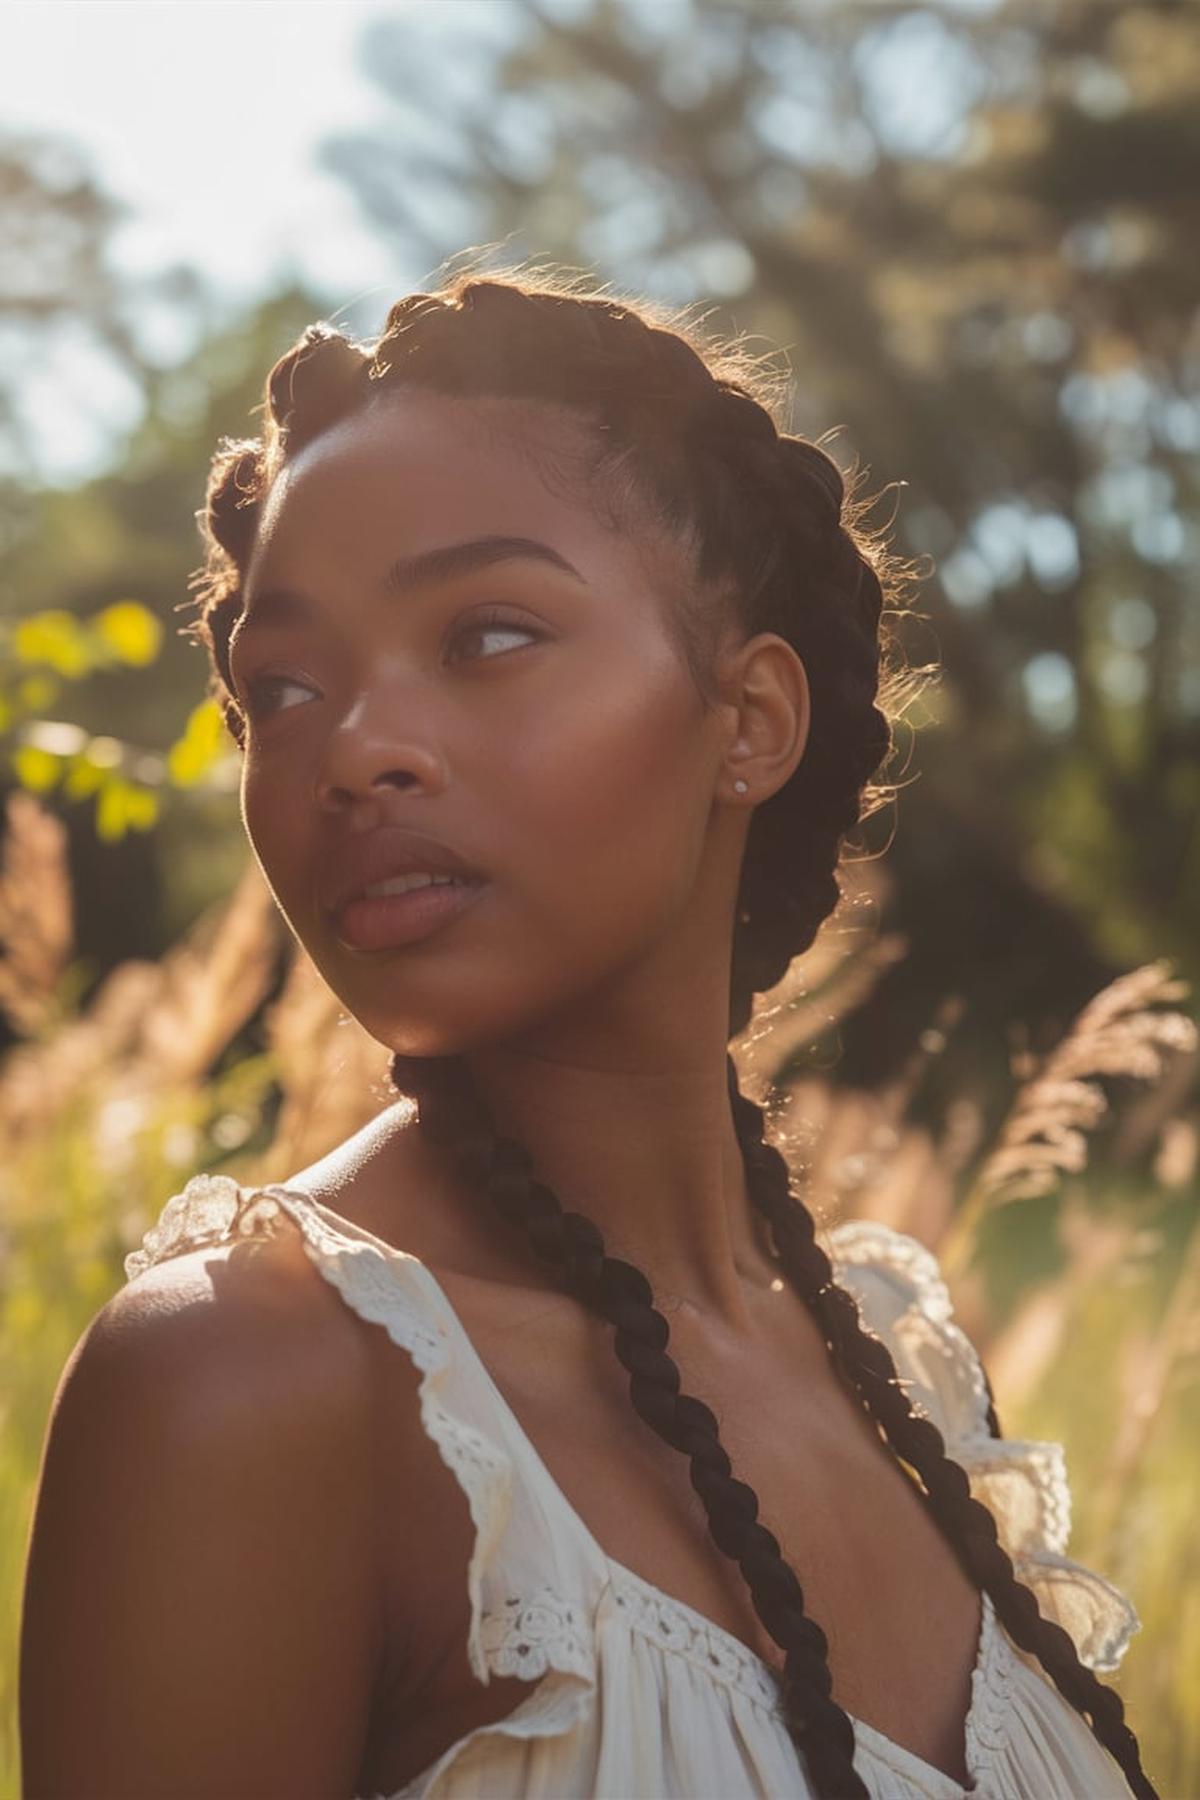
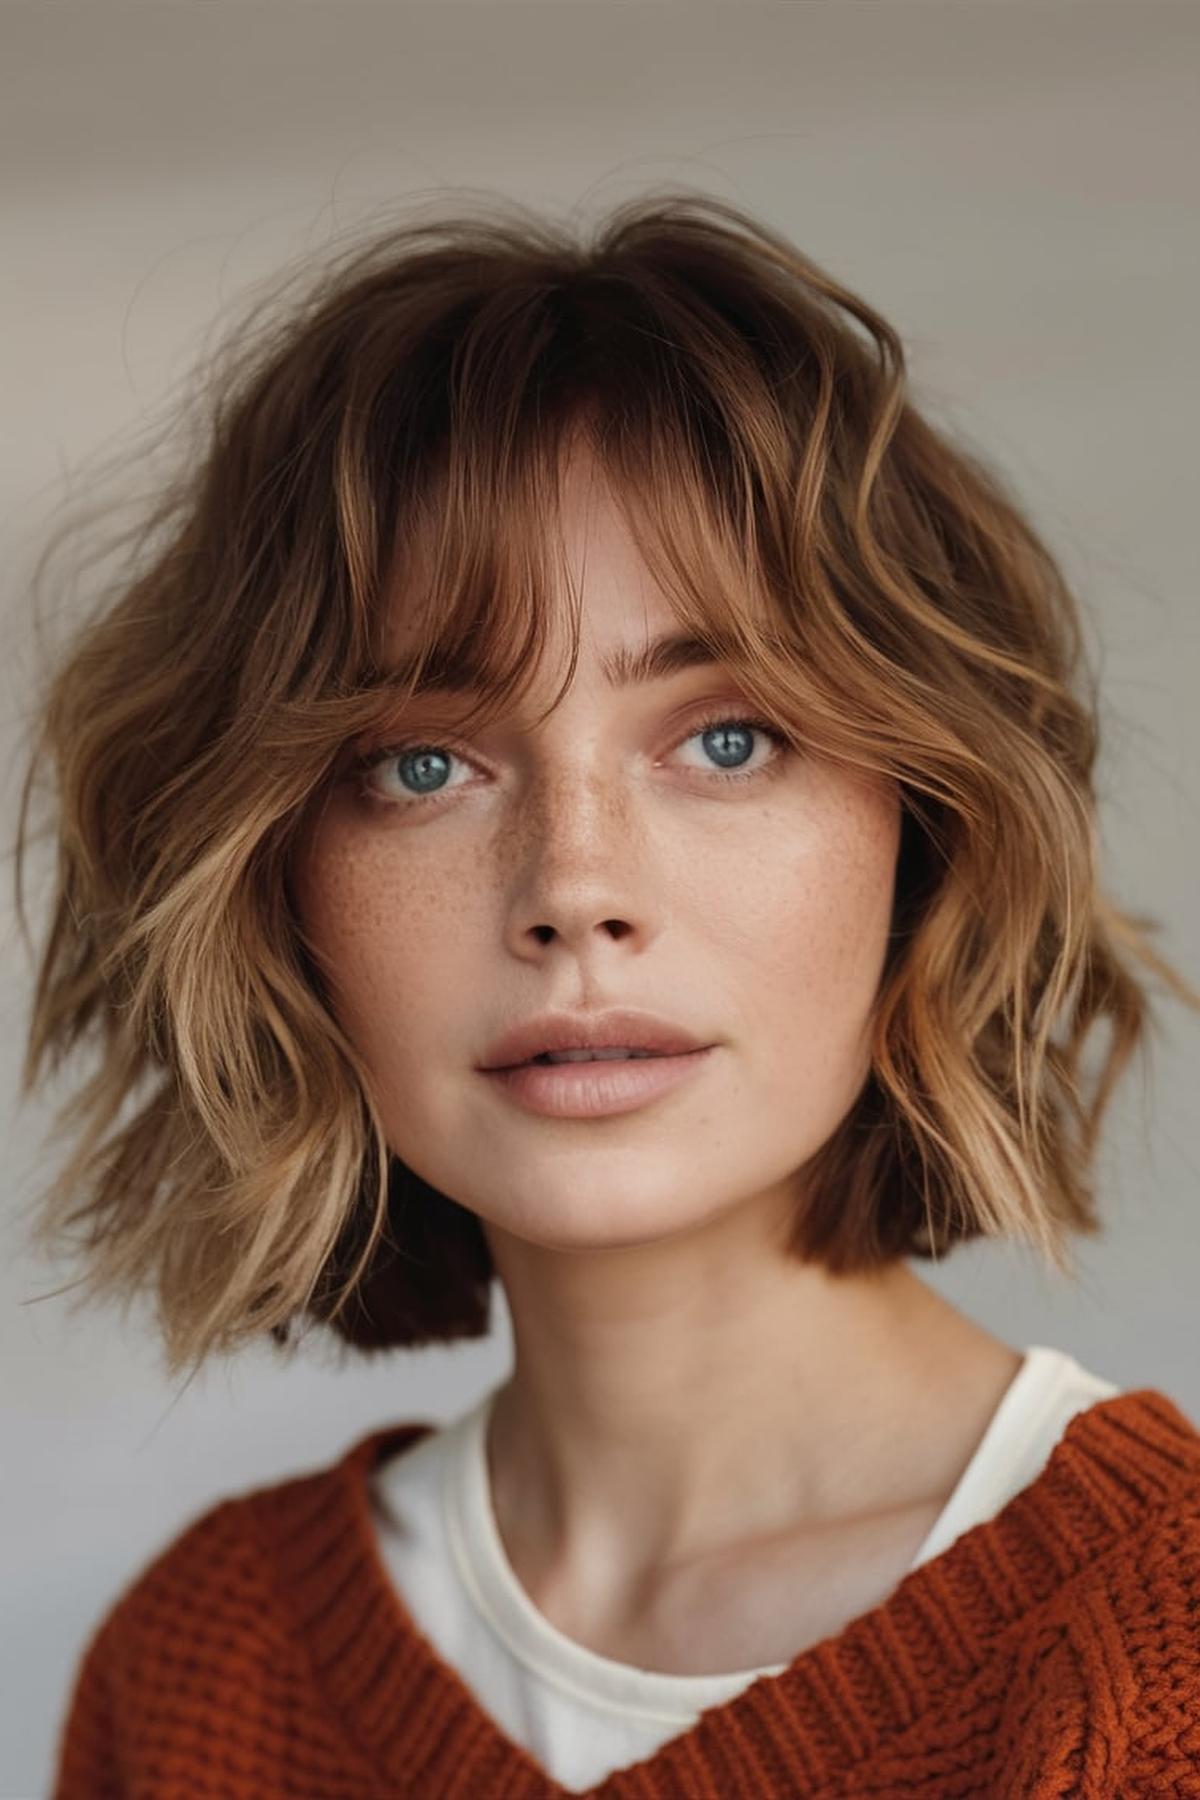
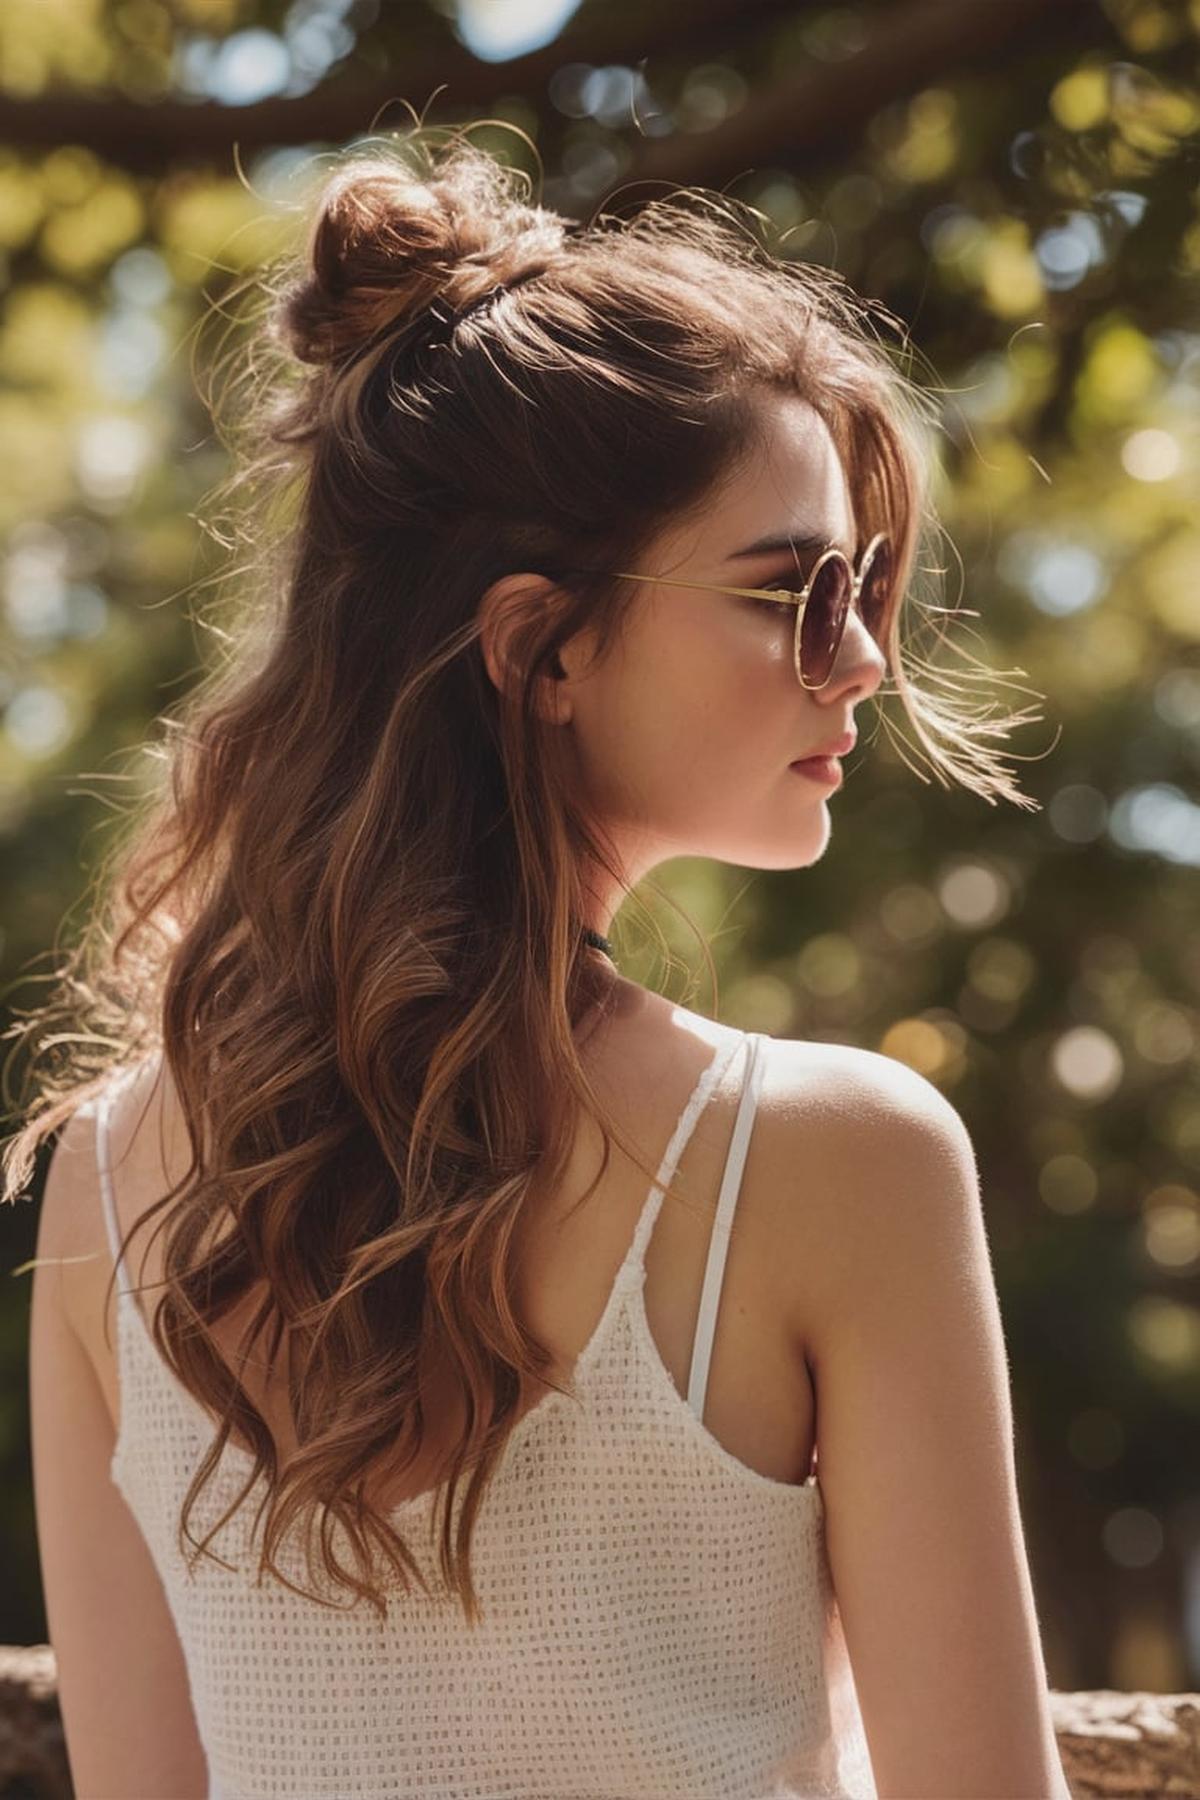
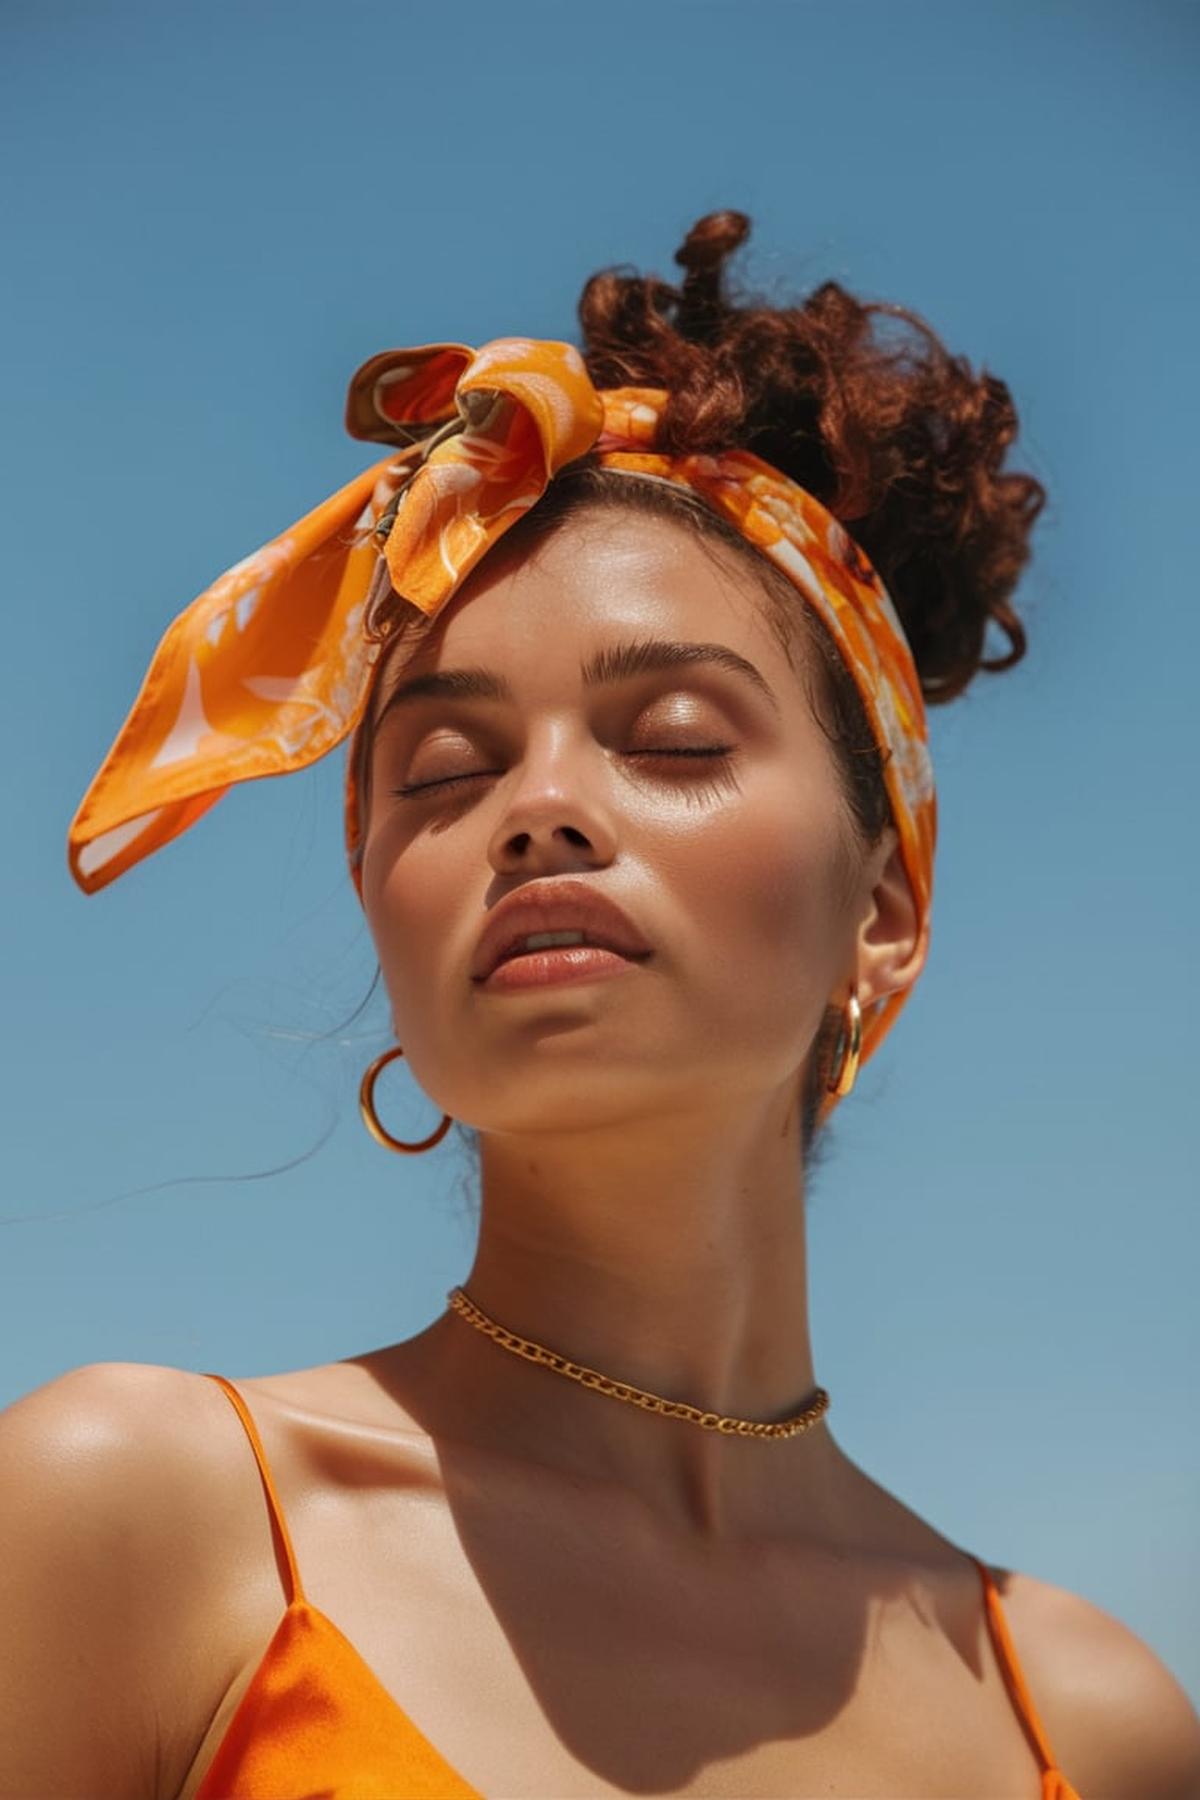
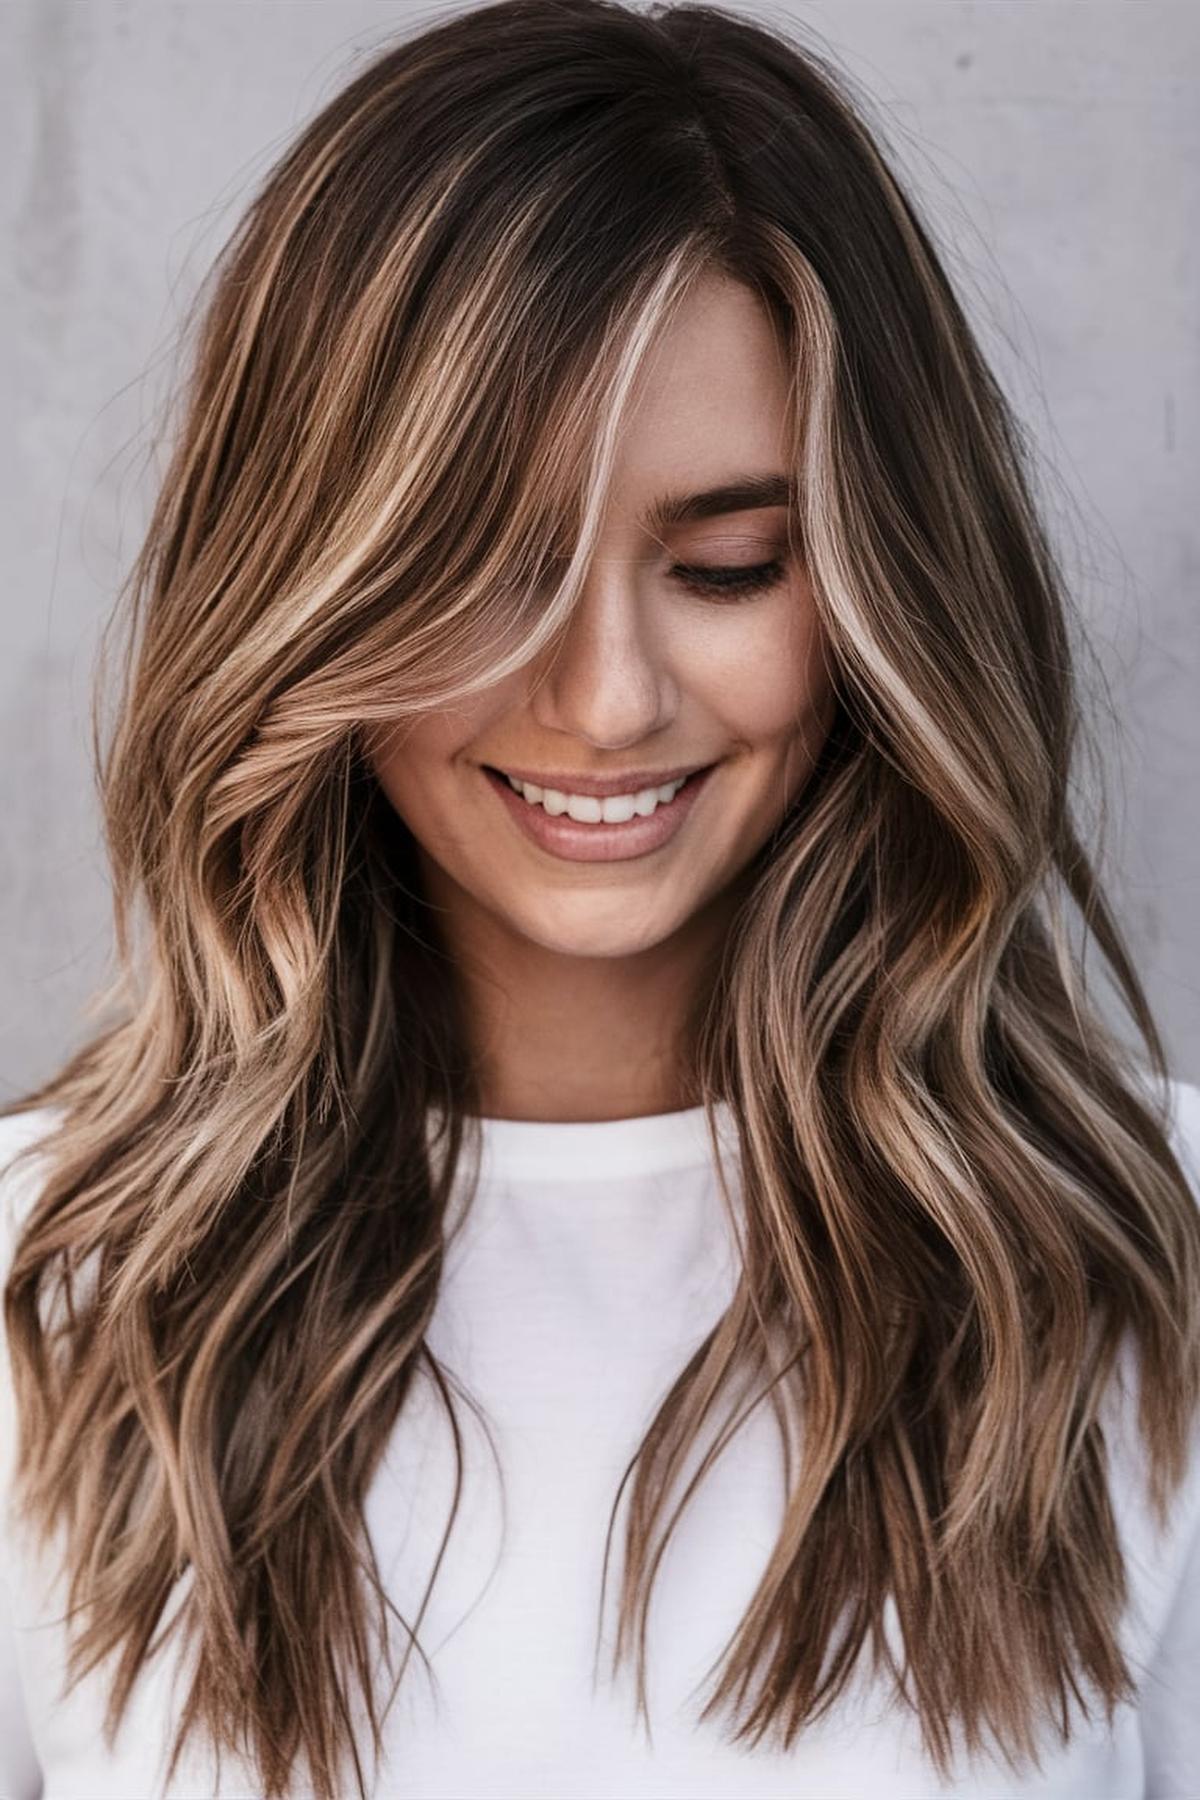
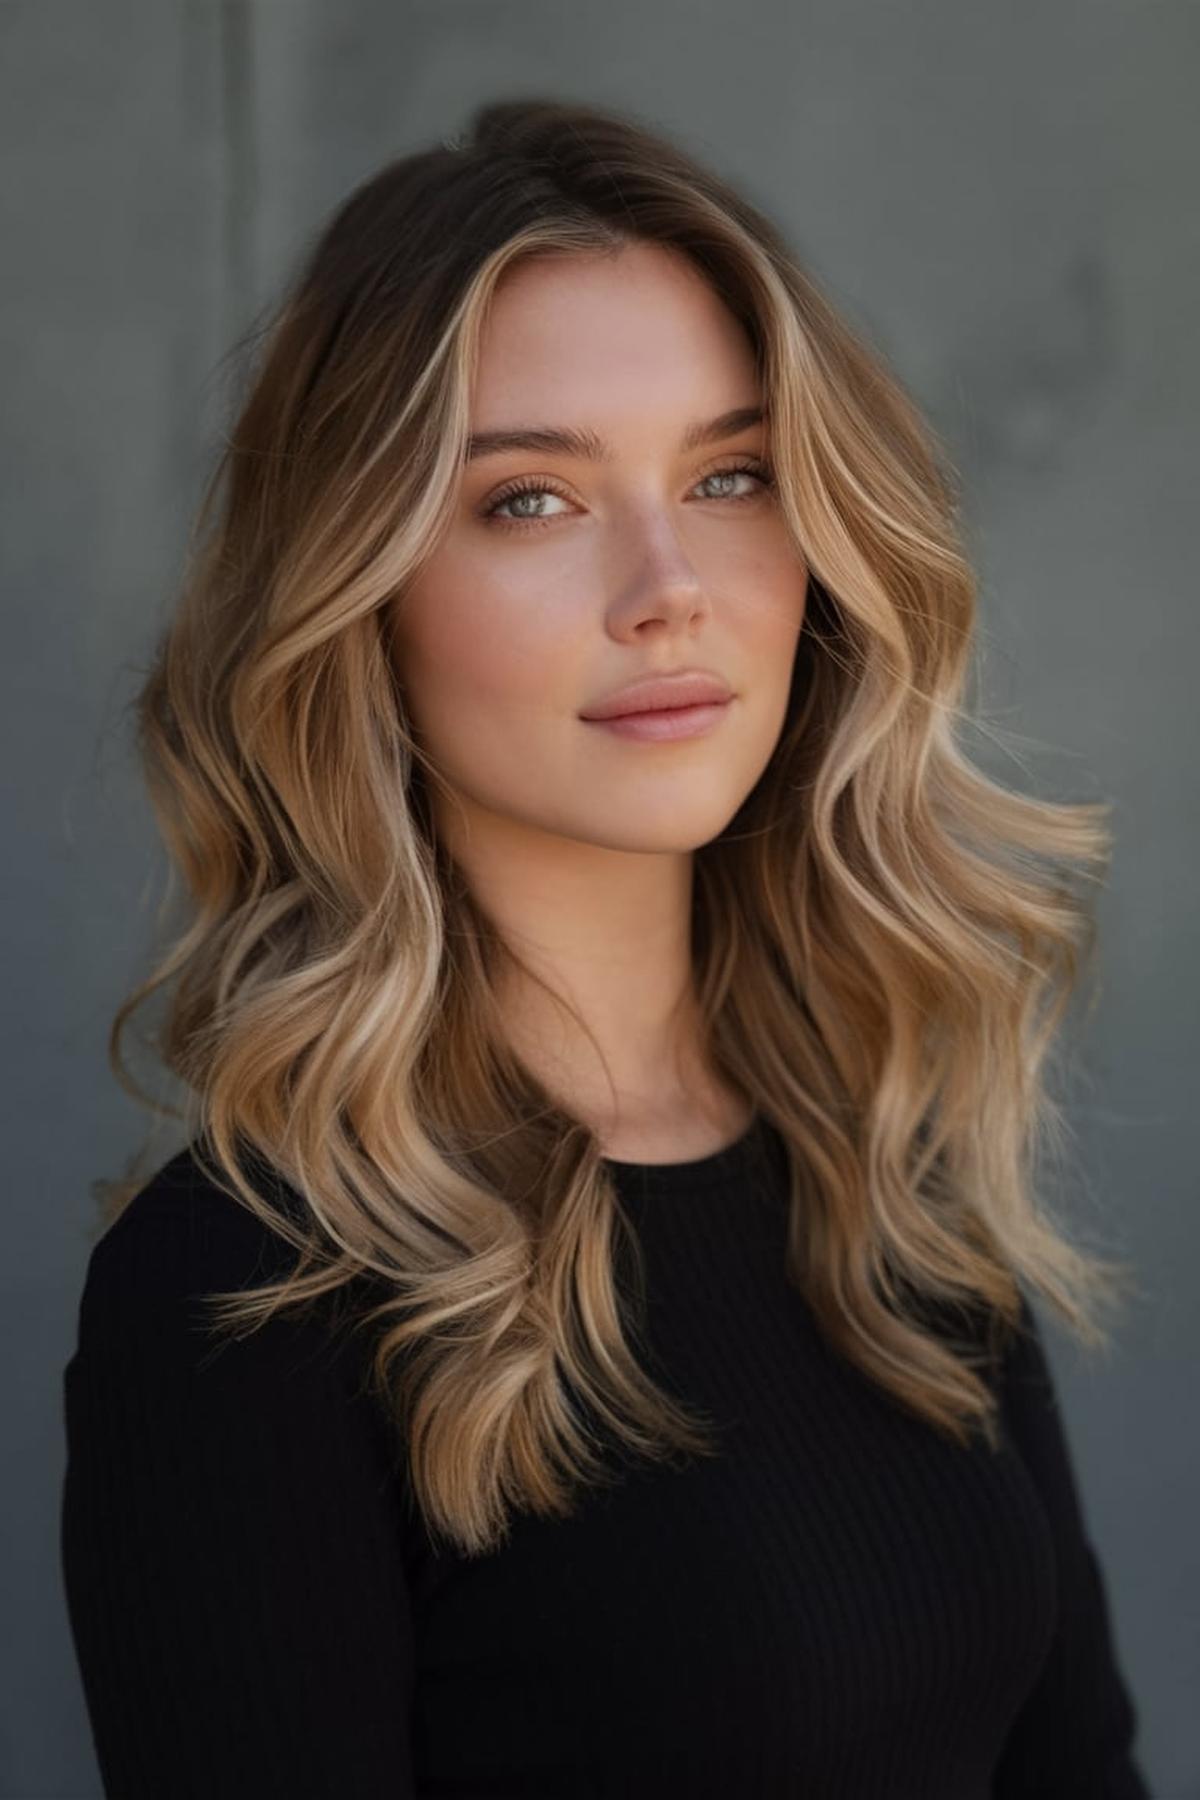
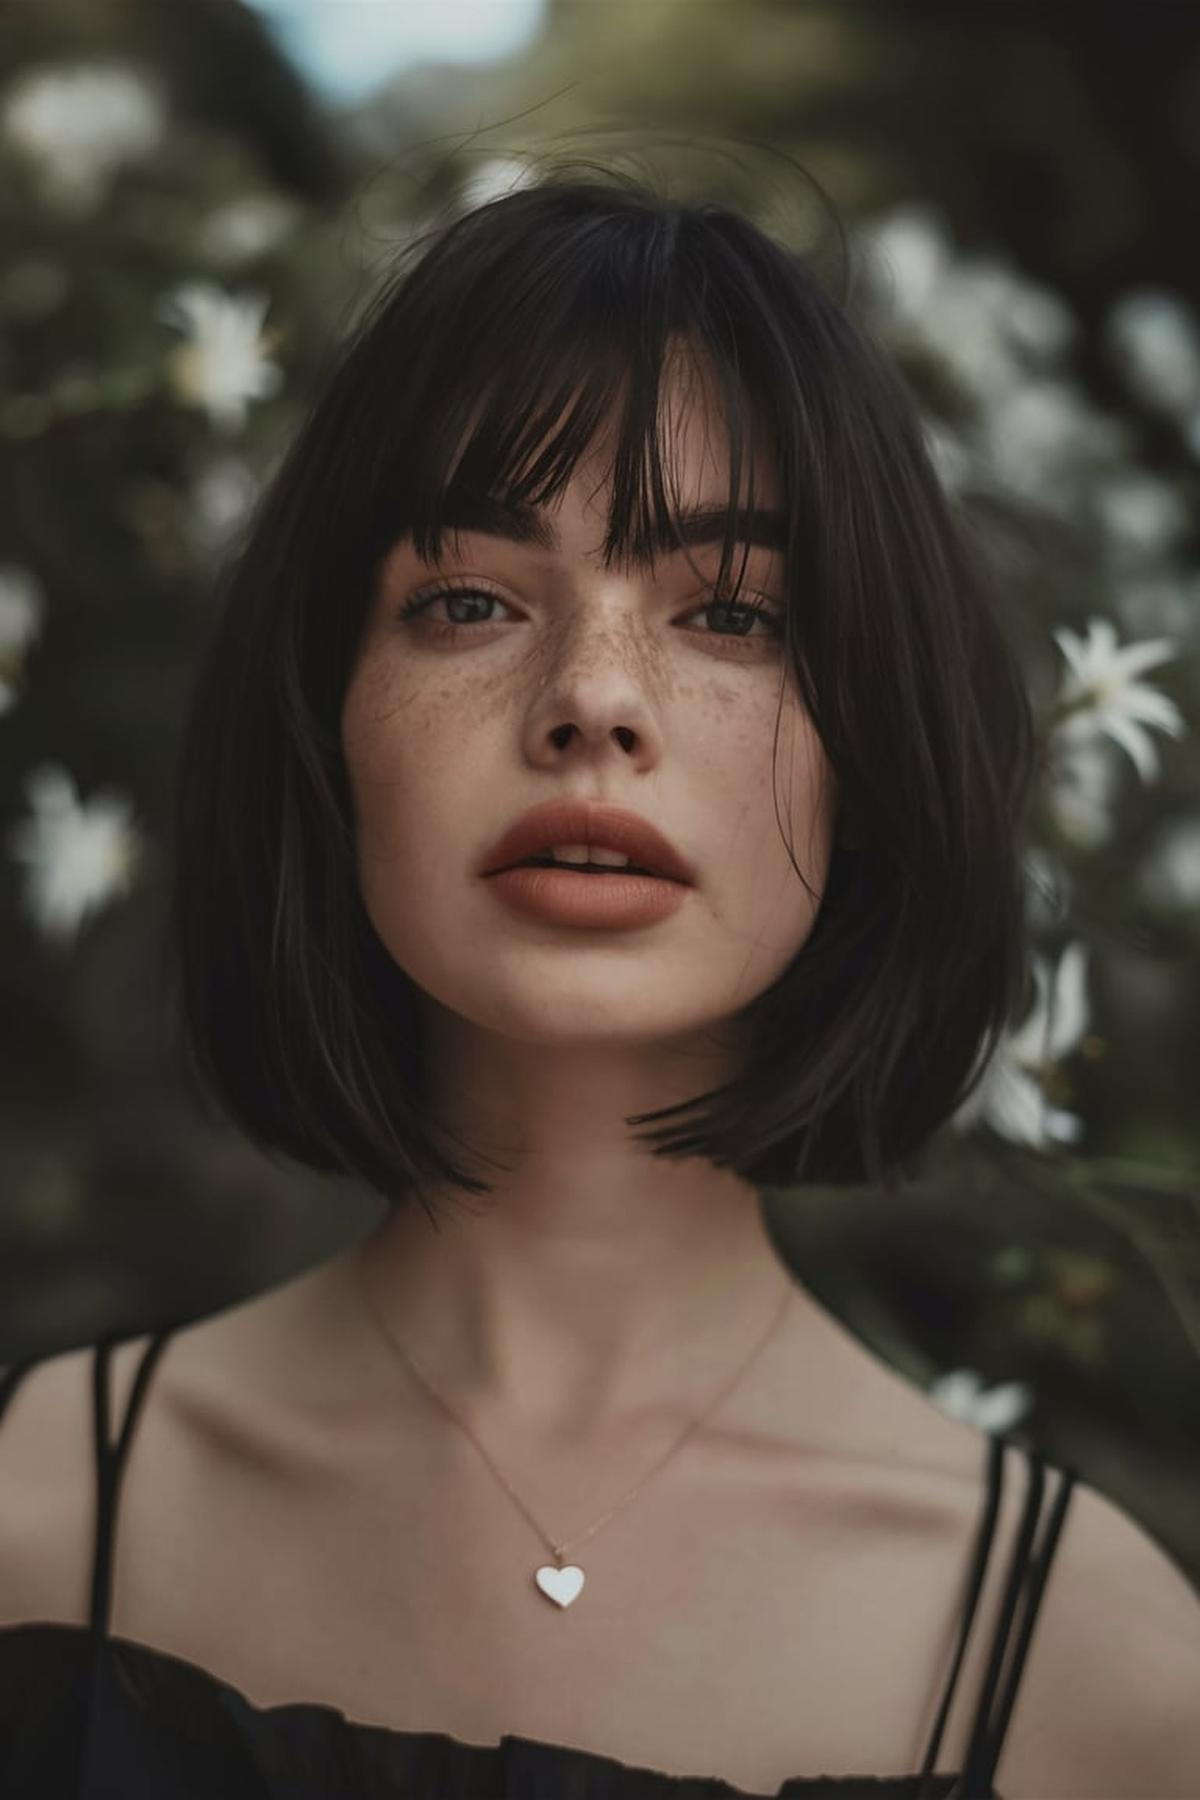
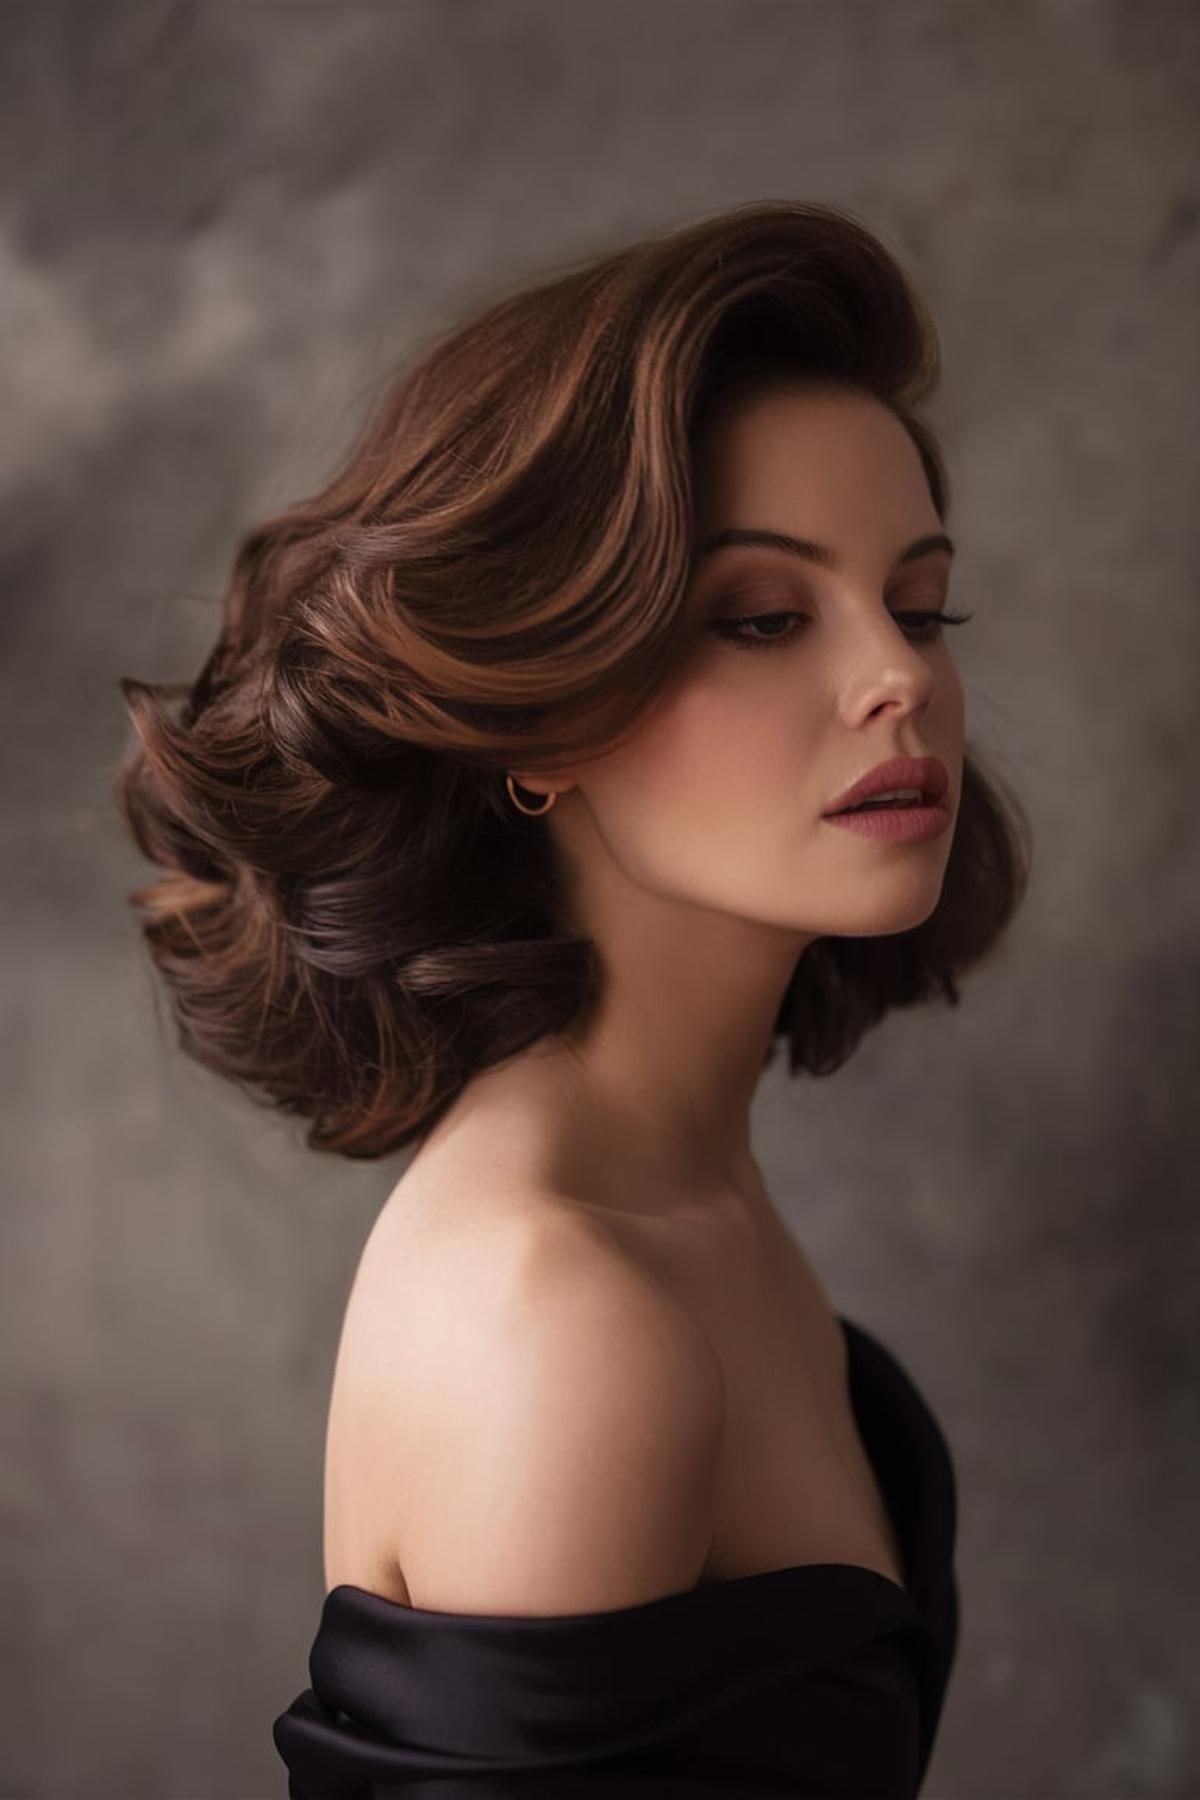
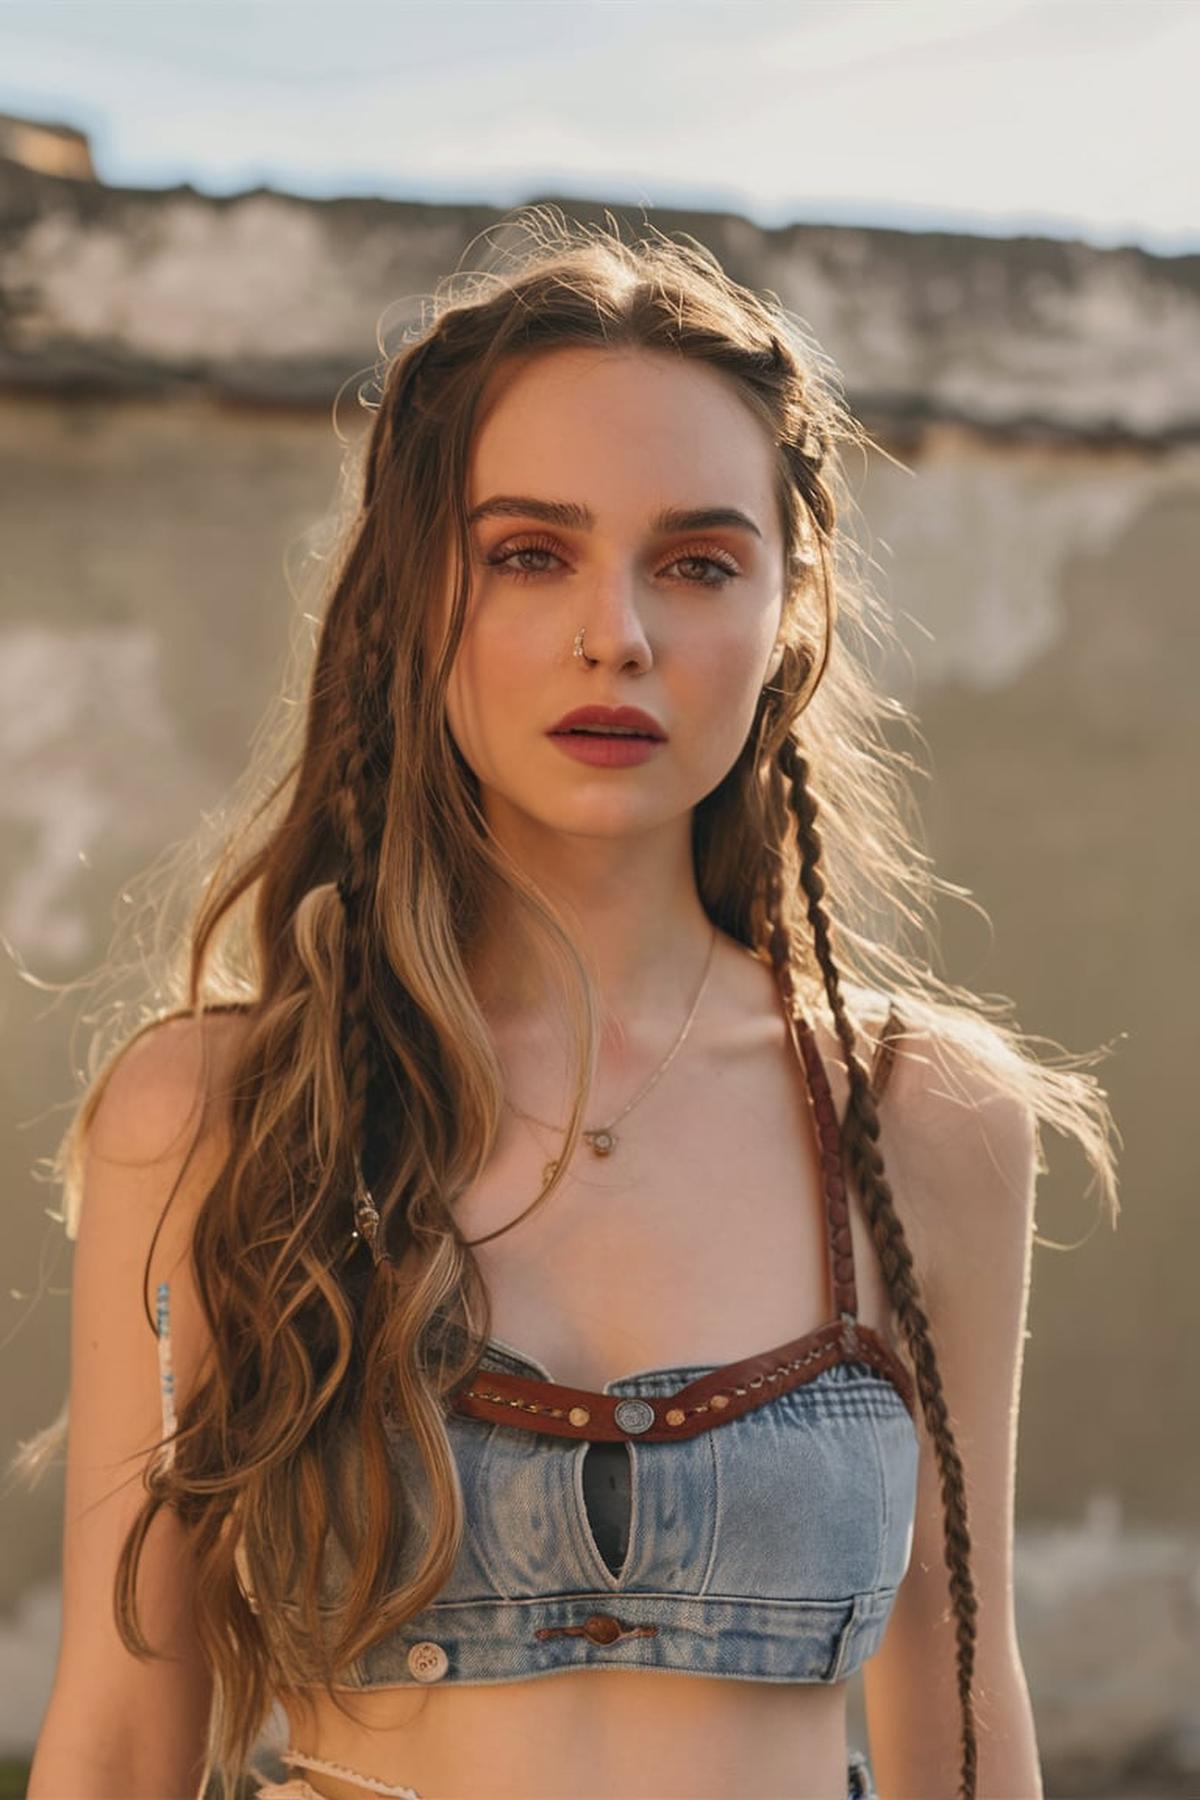
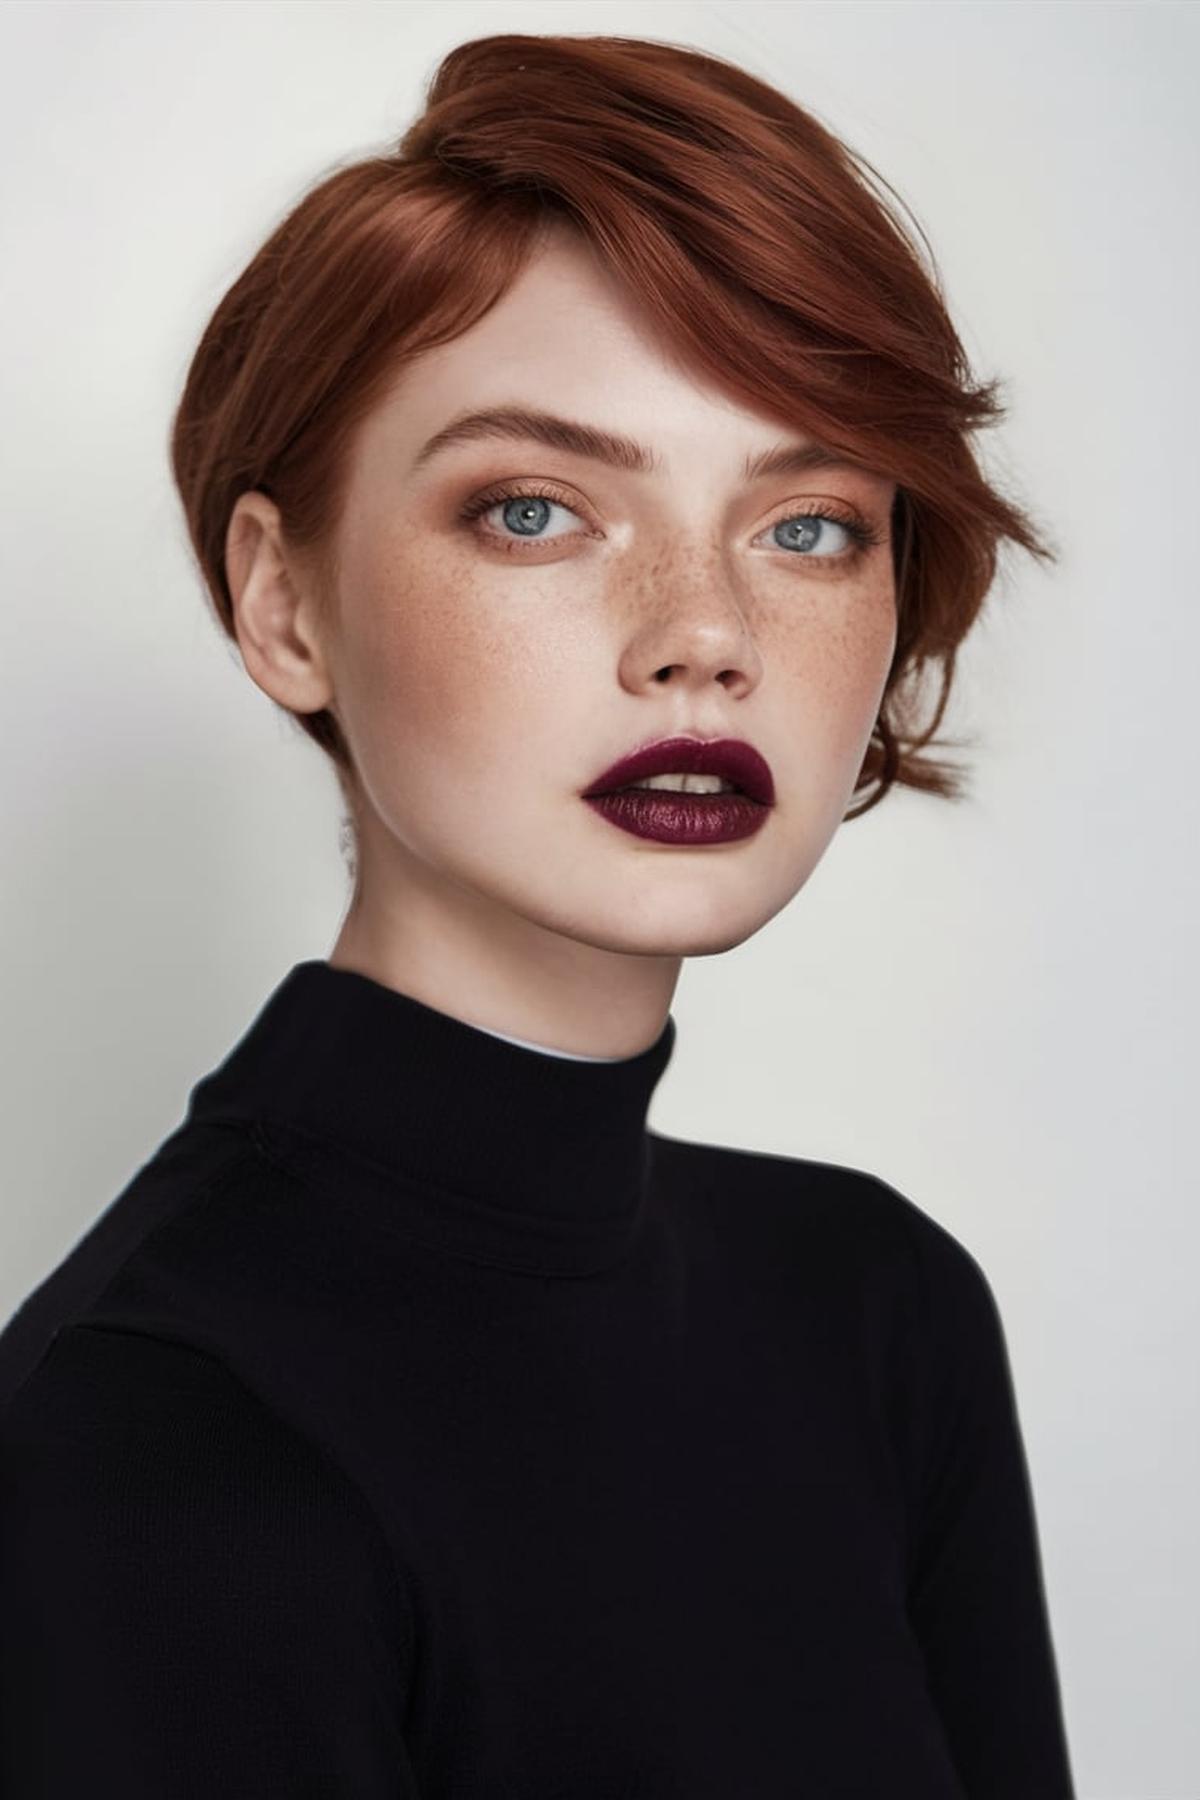
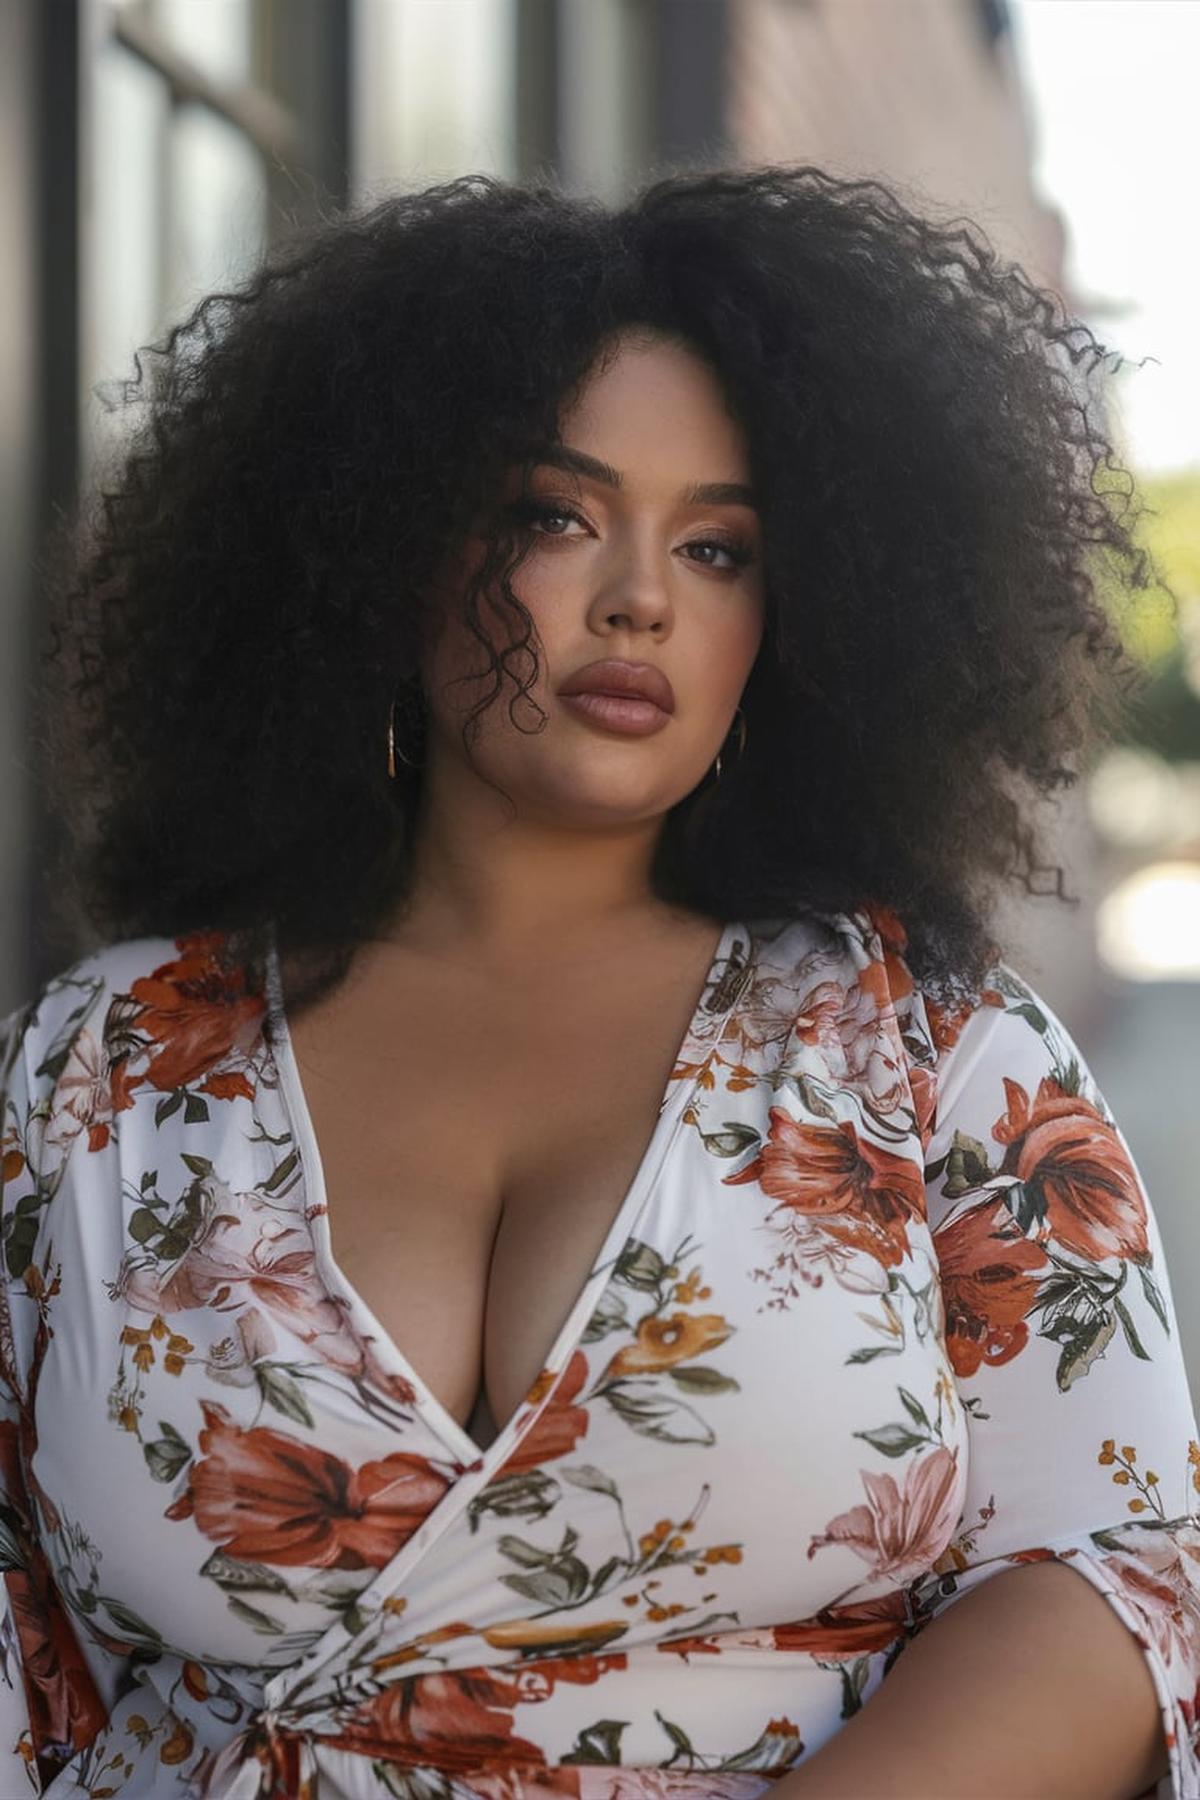
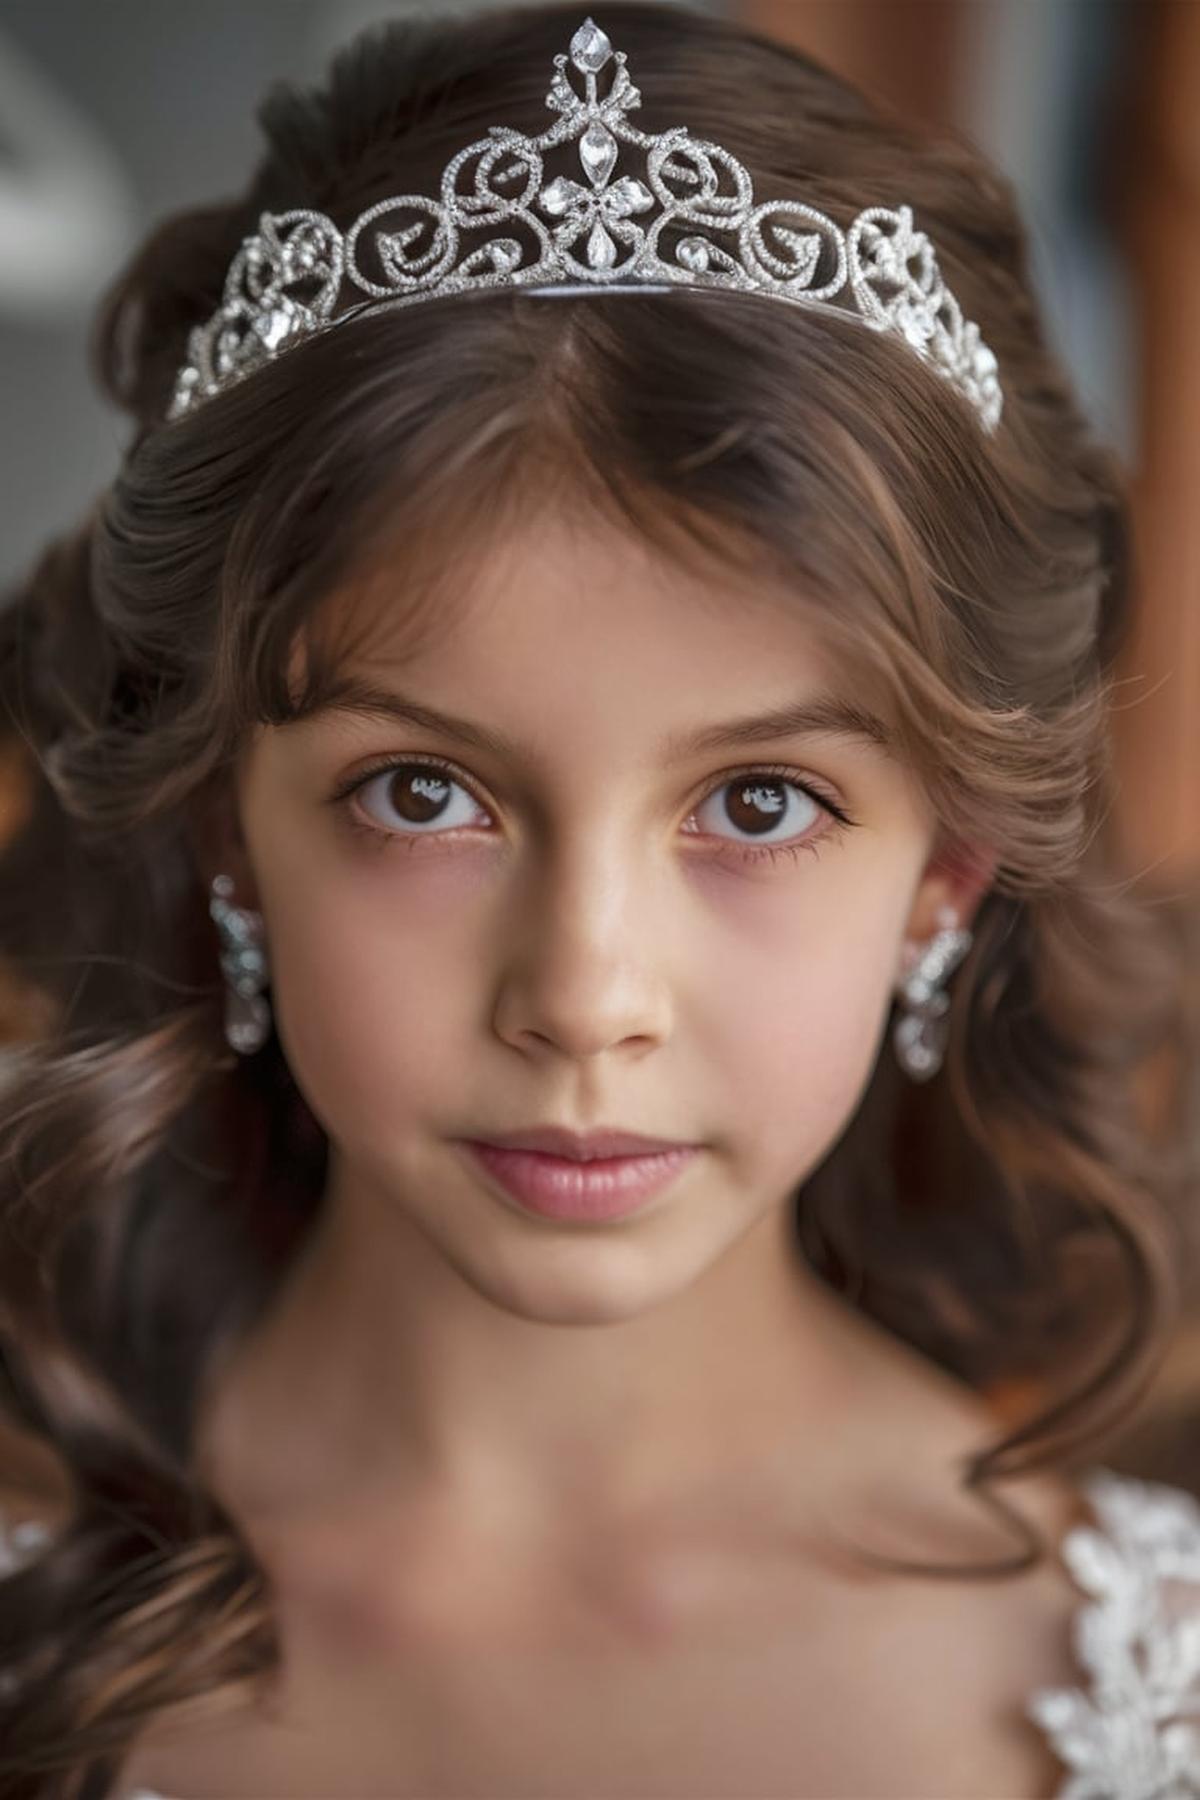
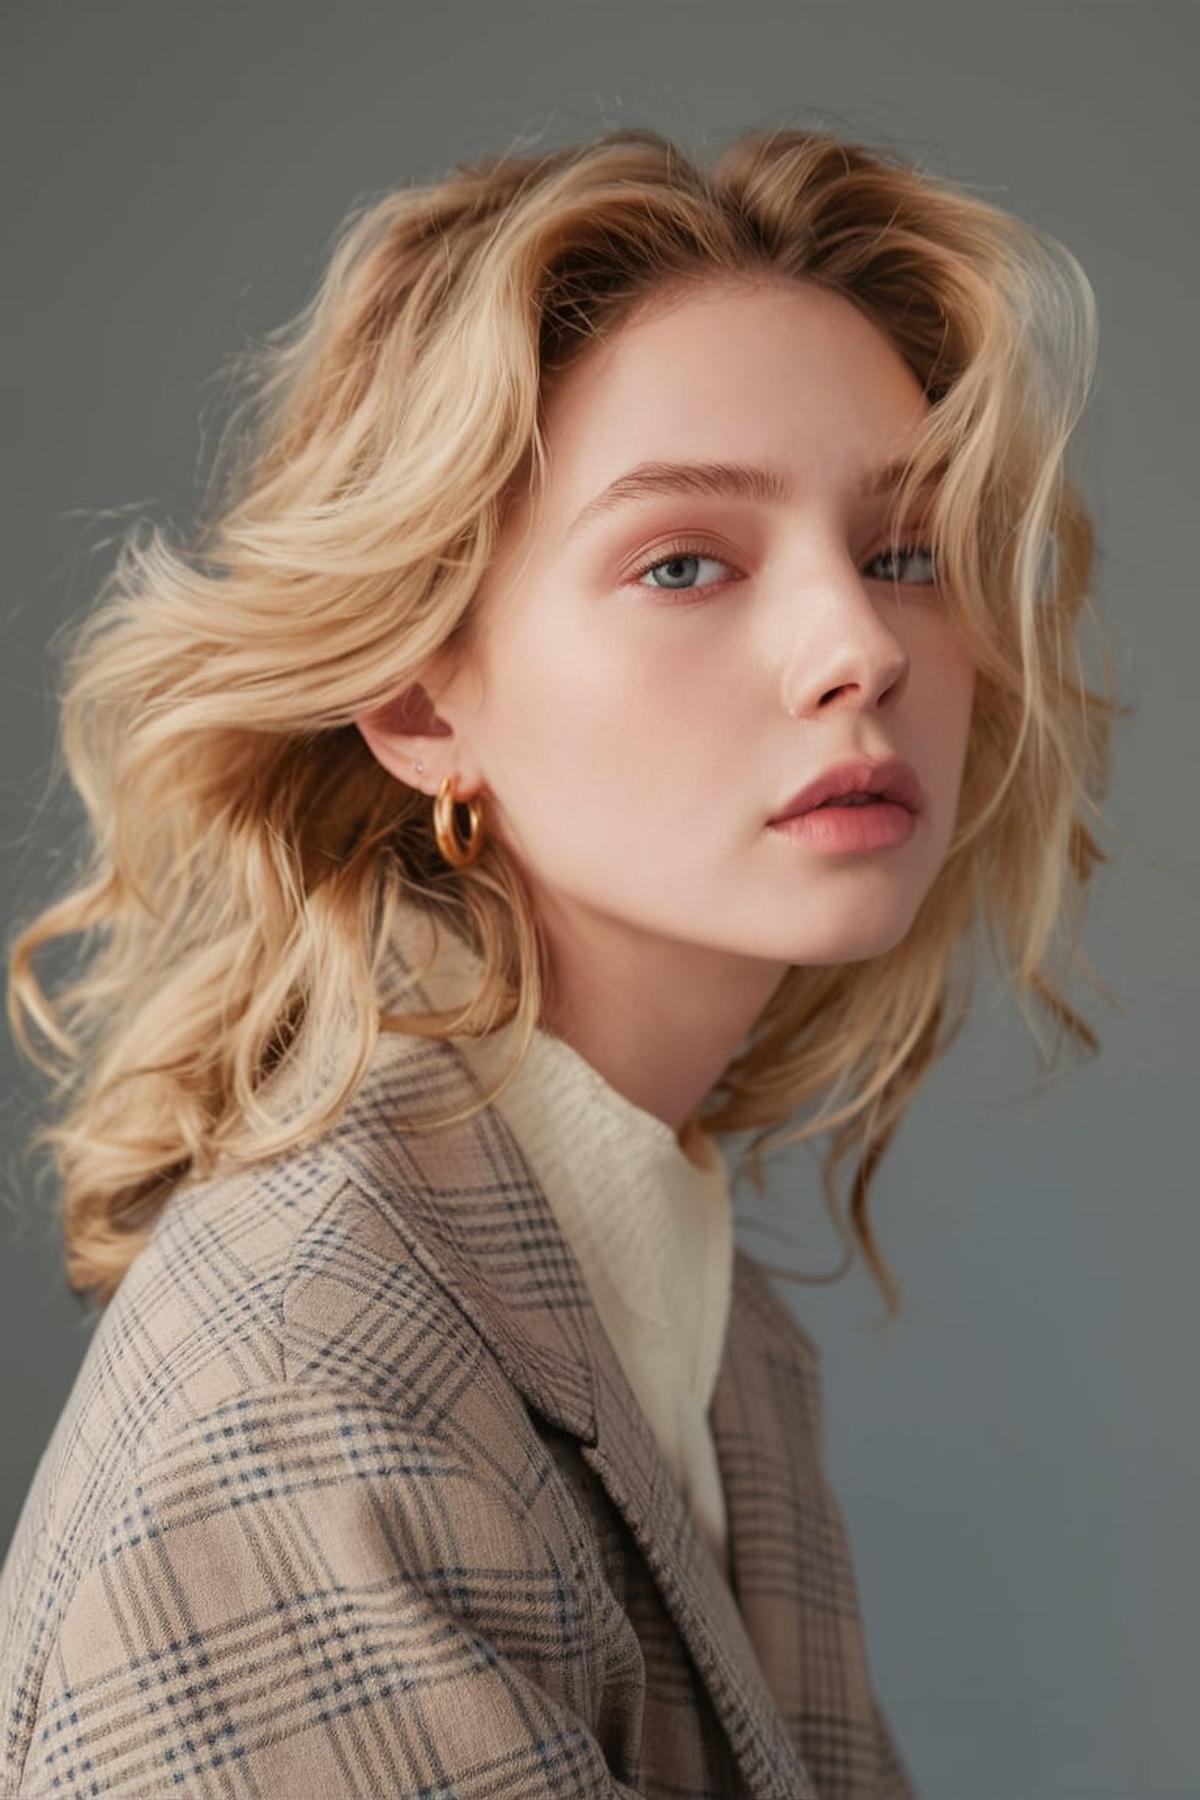
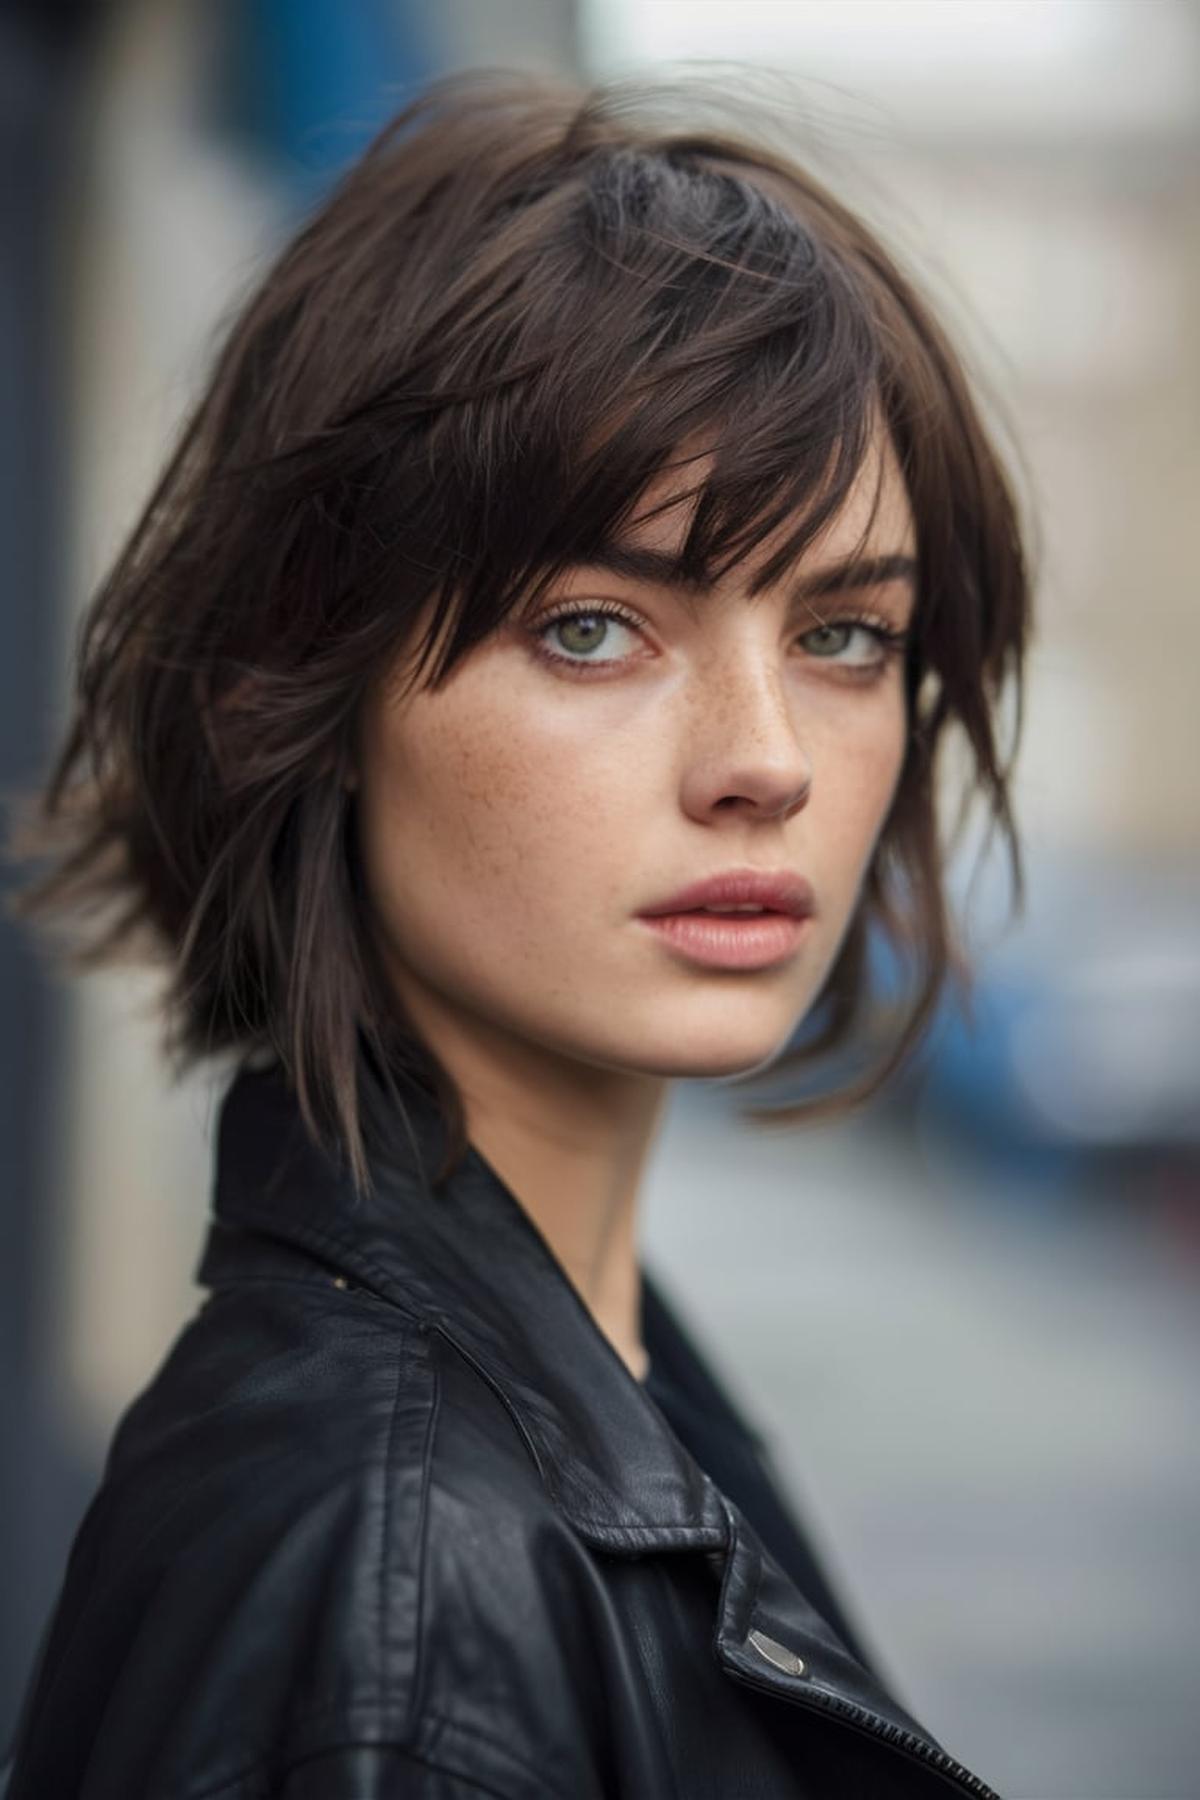
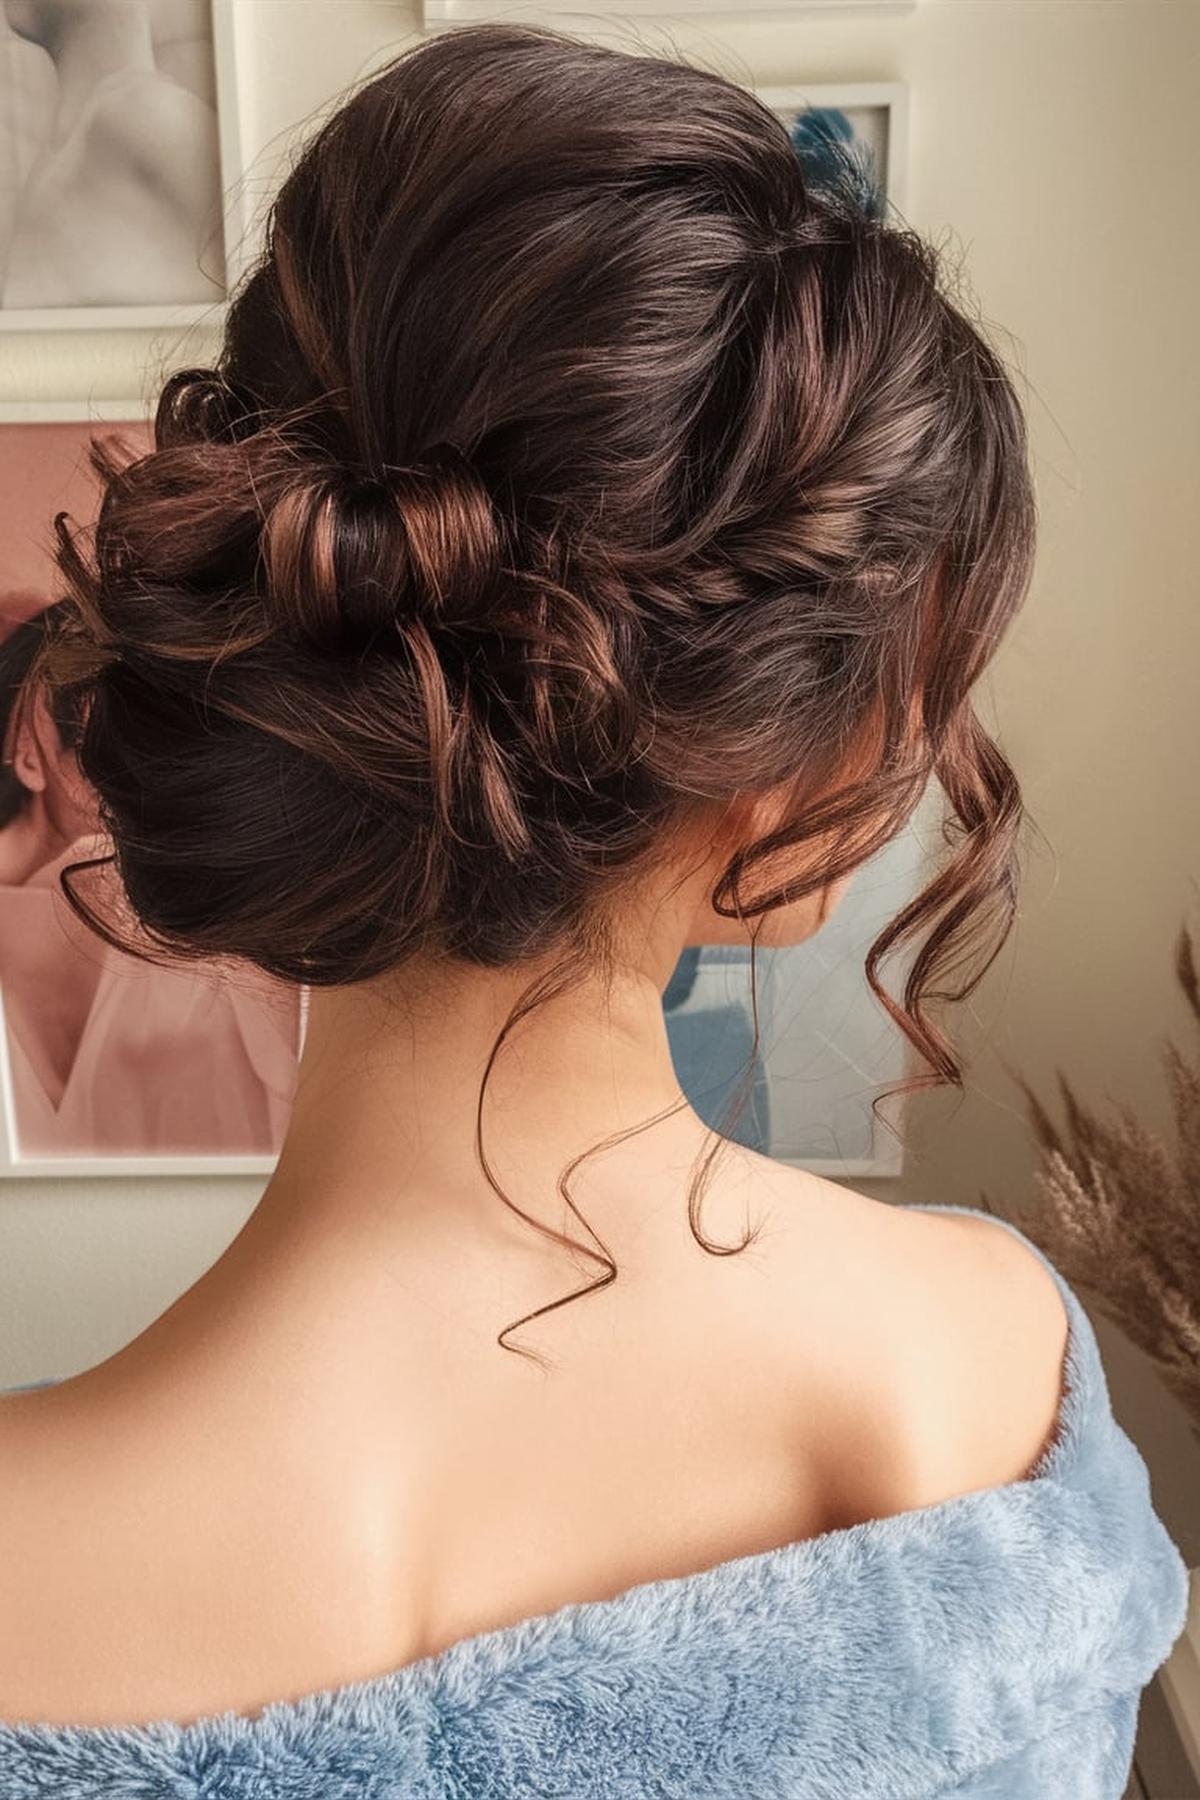
A messy bun is a perfect choice for those lazy summer days. Simply gather your hair loosely and secure it with a hair tie, allowing some strands to fall out for a relaxed vibe. This hairstyle is versatile and works for both casual outings and more formal events. Another fantastic option is the sleek ponytail, which can be enhanced with a stylish headscarf.
These braids not only keep your hair off your neck but also add a fun, bohemian touch to your outfit. If you’re heading to a beach or a festival, tousled beach waves or a fishtail braid can give you that effortless, breezy look. You can also try a half-up top knot for a trendy twist that keeps hair away from your face while still looking cute.
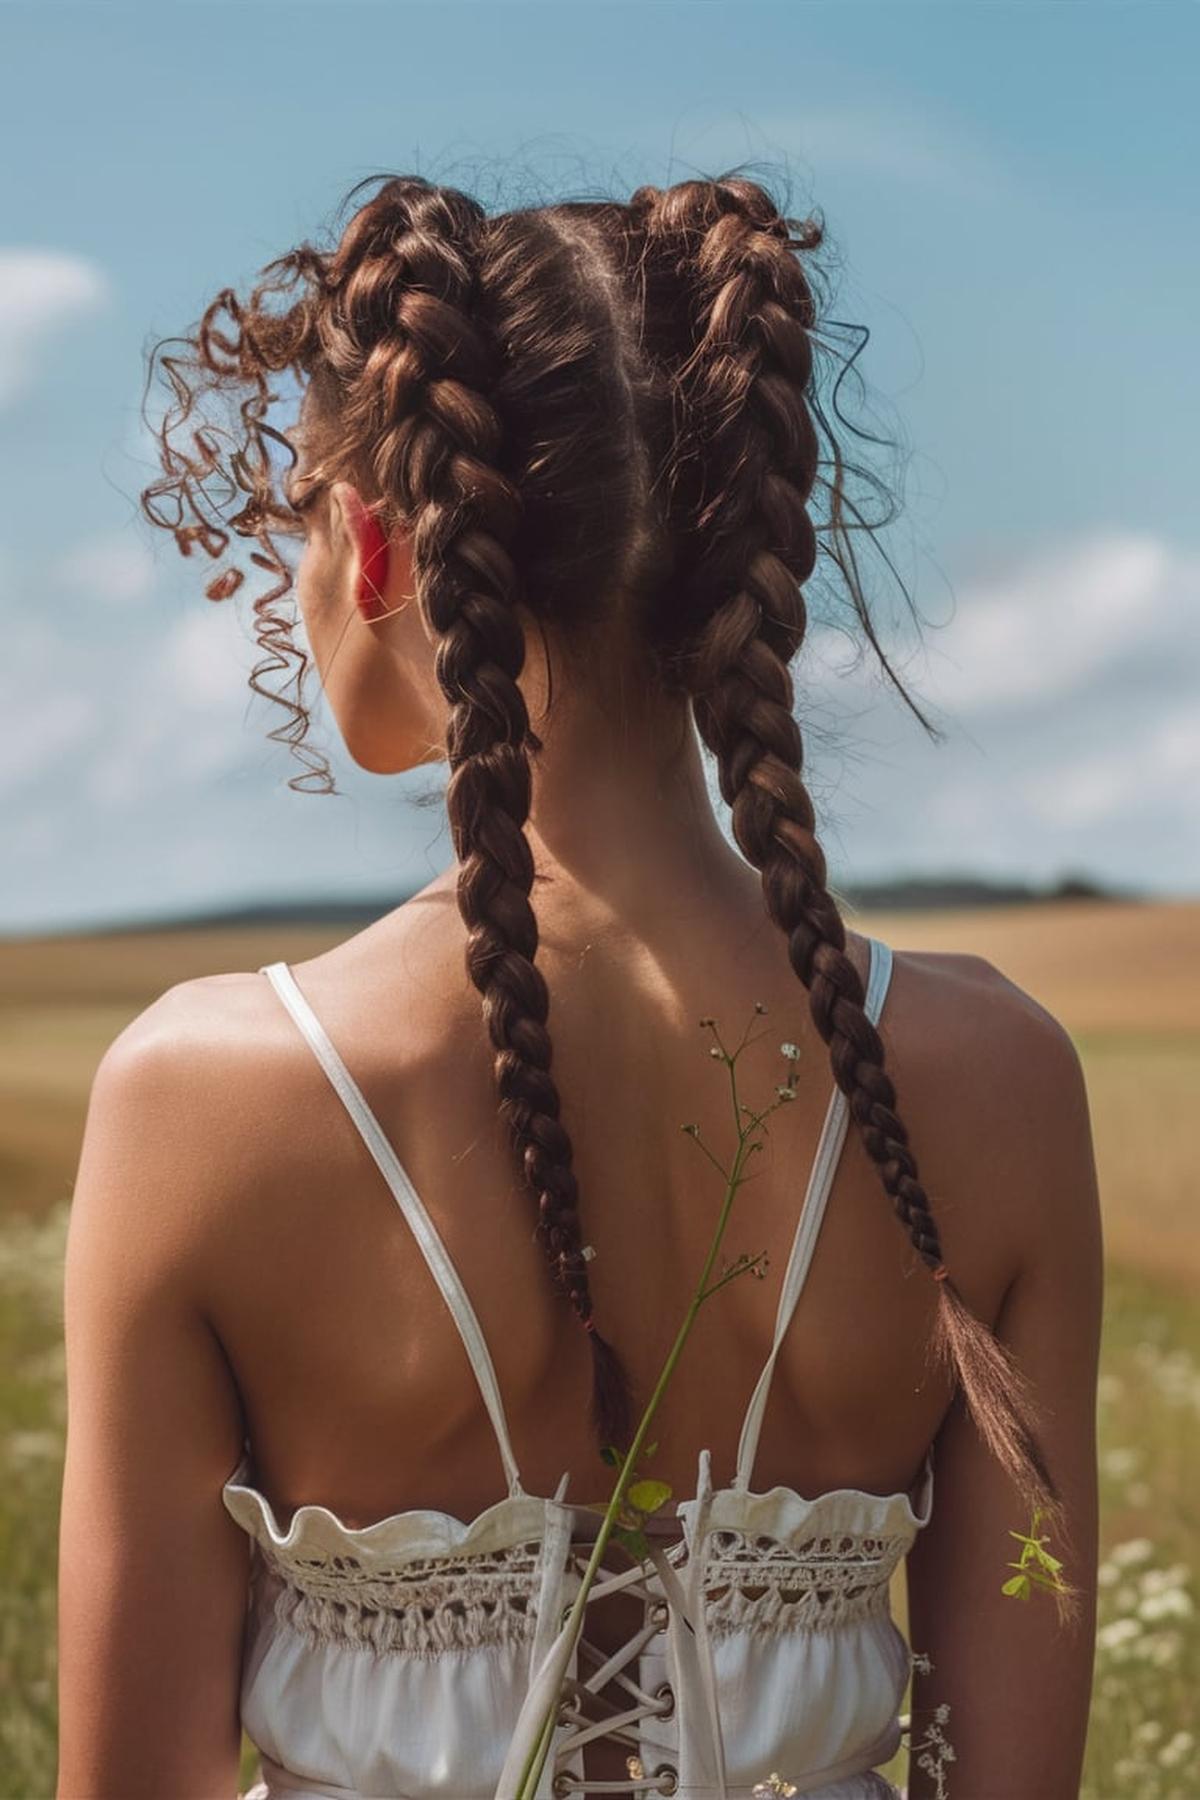
For a playful touch, try boxer braids or a halo braid. These styles are not only practical for hot weather but also allow you to express your personality and creativity.
Now, without further ado, let’s dive into 17 hot weather hairstyles to beat the heat.
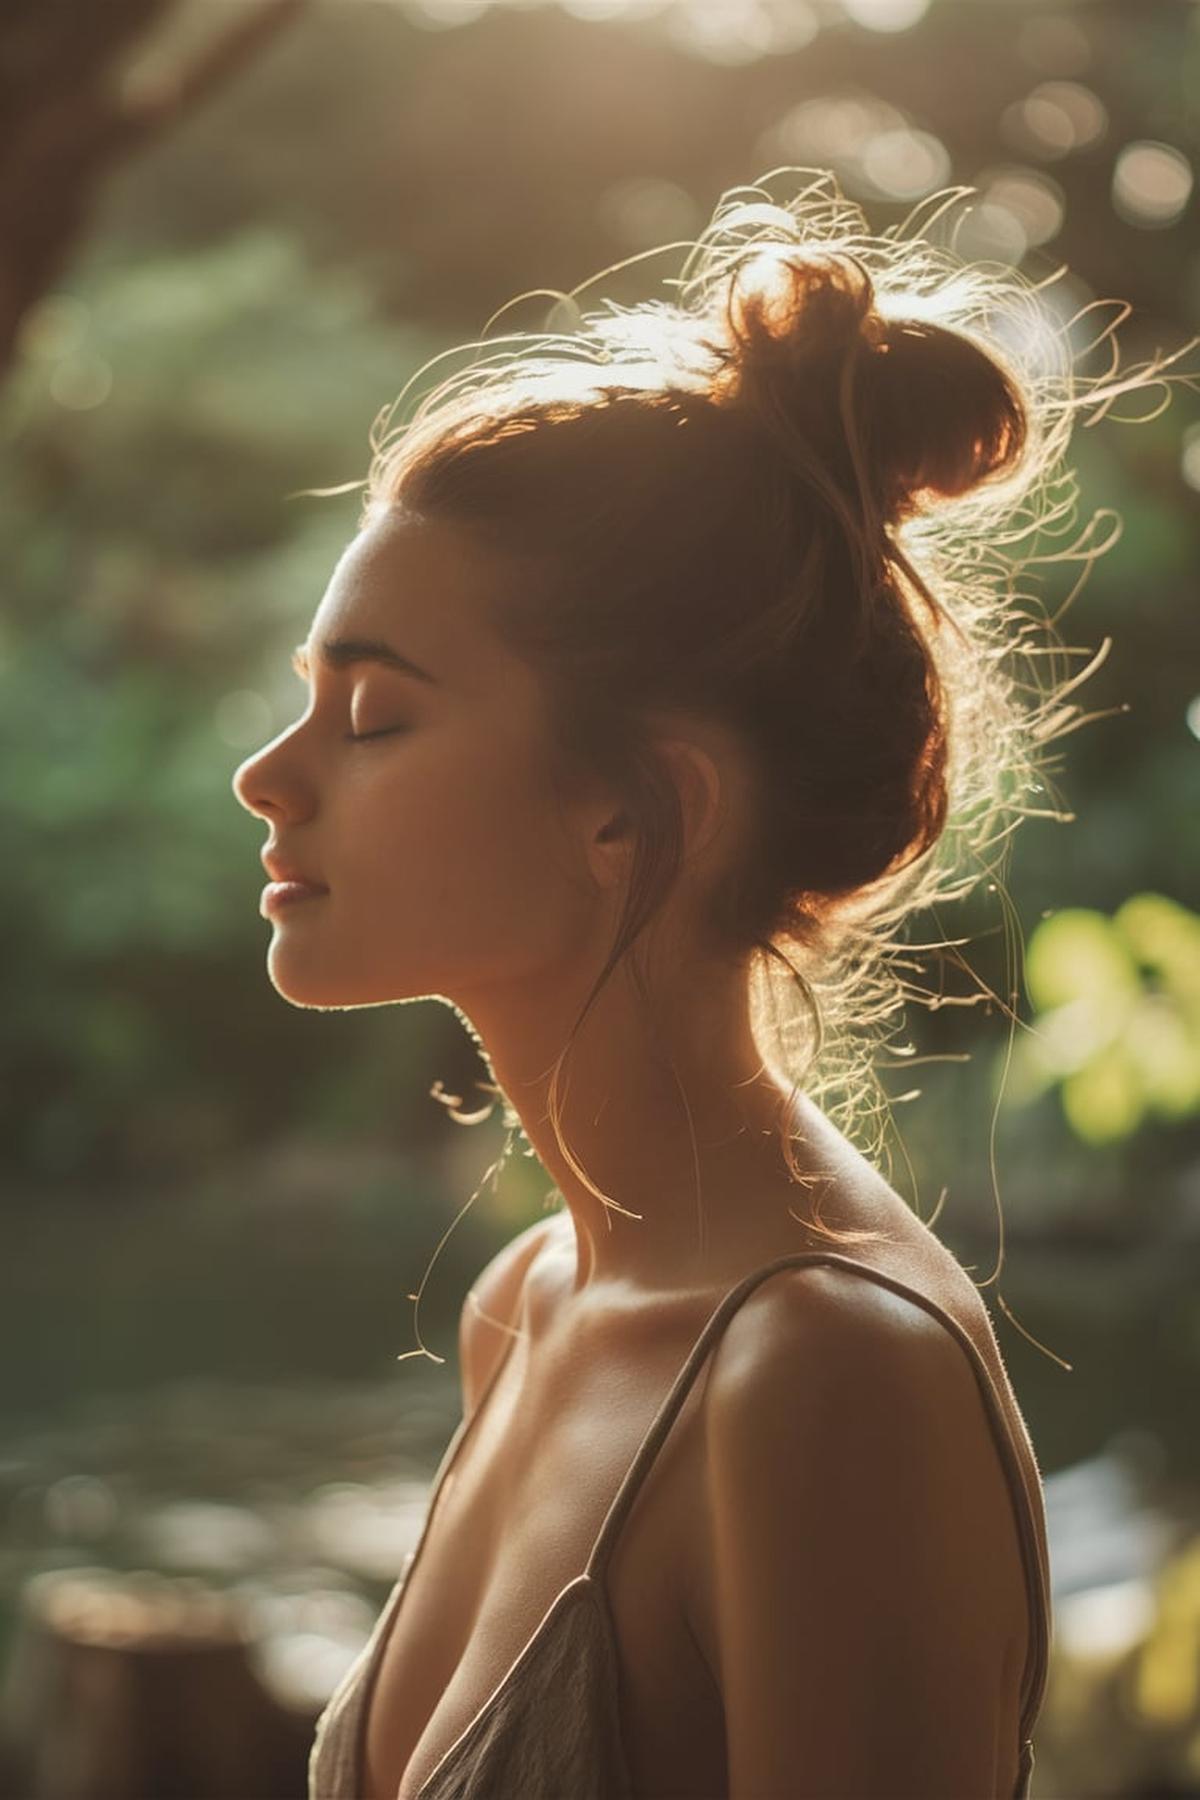
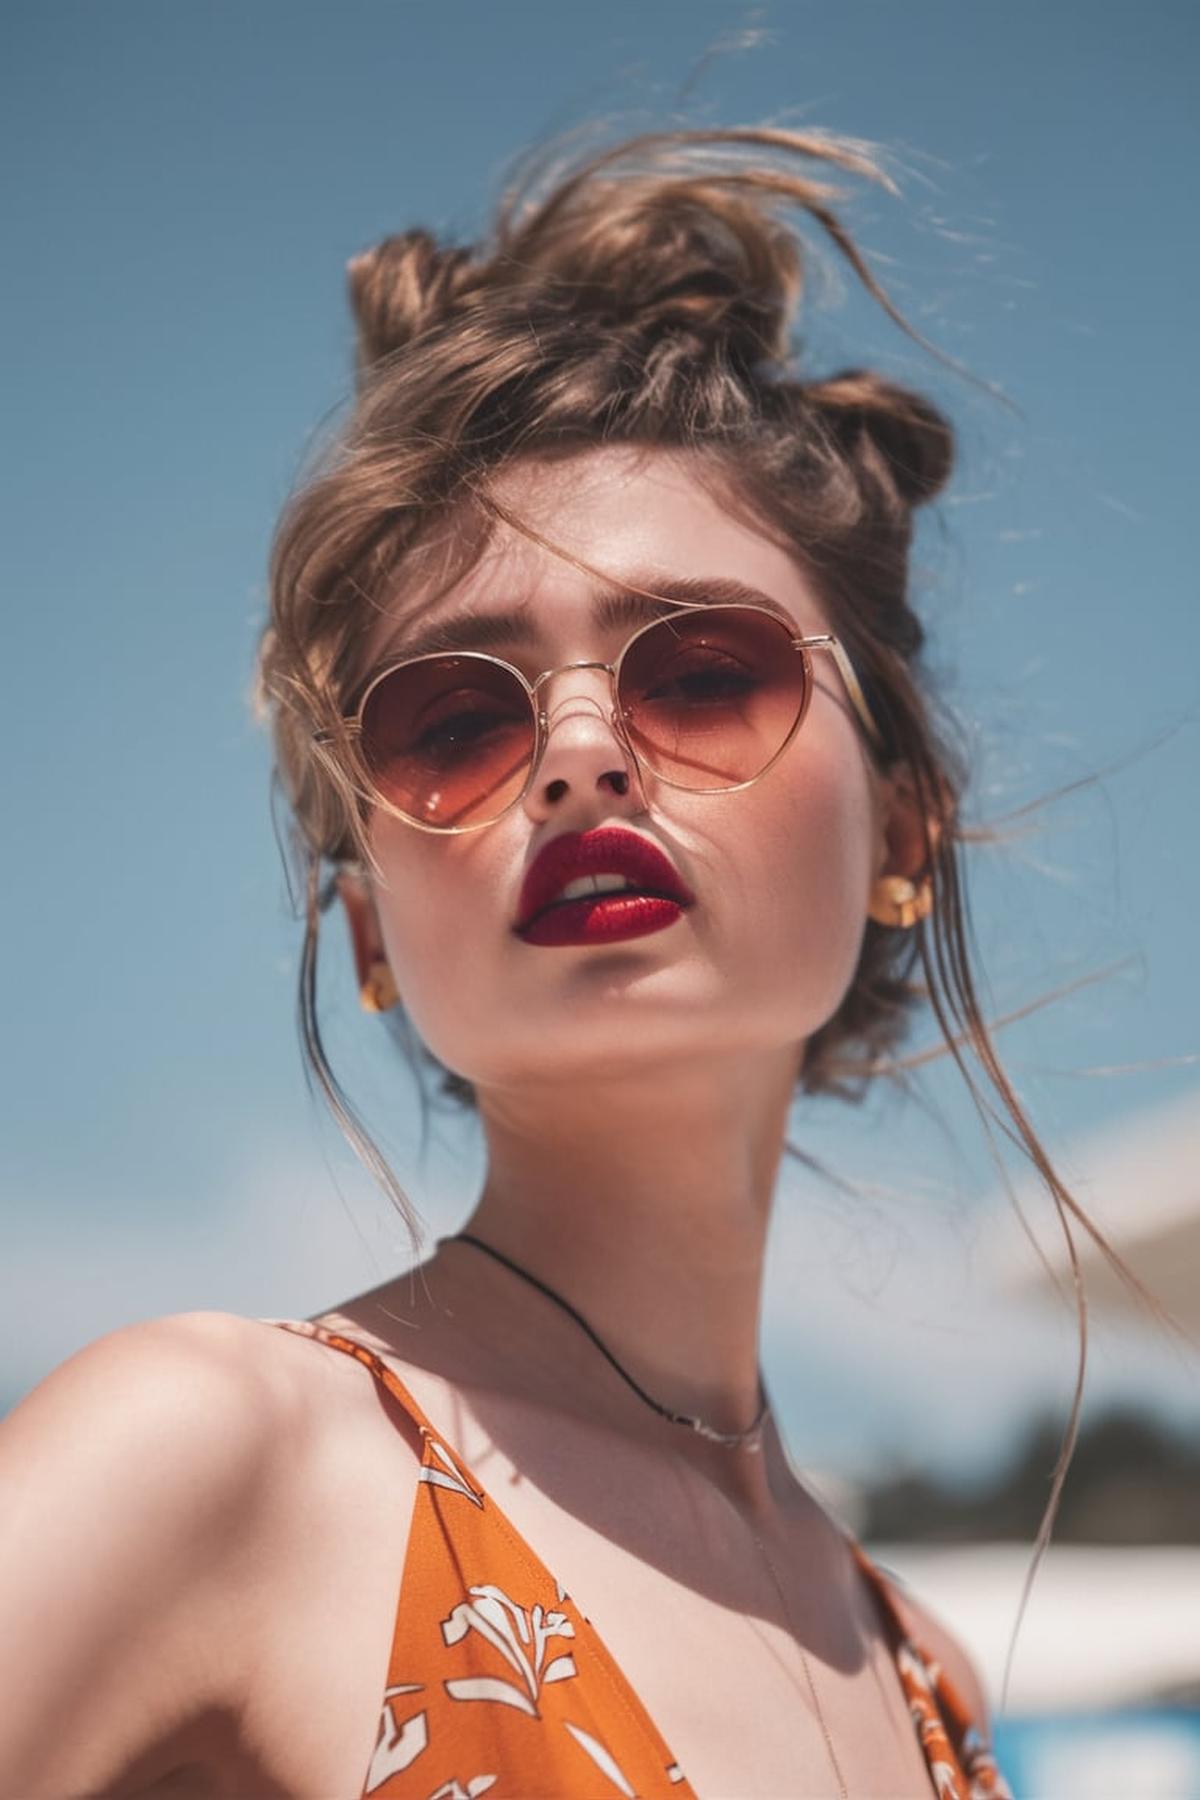
Messy Bun
The best messy buns often work best with hair that hasn’t been washed for a day or two, as this adds texture and grip. If your hair is feeling oily, use some dry shampoo to freshen it up. This will help your hair look voluminous and make it easier to style. When you’re ready, flip your head upside down and gather your hair into a loose ponytail at your desired height, whether high or low.
Twist the ponytail around the base to form a coiled shape, then wrap it around the hair tie. Secure it with another hair tie or a scrunchie. If your bun looks too neat, gently pull it apart with your fingers to create that relaxed, messy look.
Finally, to keep your messy bun looking great throughout the day, use some hairspray to hold it in place. This will help prevent any flyaways and keep your style intact. If you want to add a little flair, consider using hair accessories like cute scrunchies or decorative pins. With a bit of practice, you’ll be able to create a perfect messy bun that looks effortless and stylish for any occasion!
Sleek Ponytail
Begin by brushing your hair thoroughly to remove any tangles. This step is crucial because it helps create a smooth base for your ponytail. Once your hair is tangle-free, gather it at the height you want your ponytail to sit—either high on your head or lower at the nape of your neck. Hold the gathered hair with one hand while using the other to secure it with a hair tie.
After securing your ponytail, use a boar bristle brush to smooth down the top and sides of your hair. This type of brush is excellent for creating a sleek appearance. If you notice any bumps or unevenness, gently use a rat-tail comb to smooth those out.
Lastly, consider adding some personal flair to your sleek ponytail. You can wrap a small section of hair around the base of the ponytail to hide the hair tie or add a fun accessory like a bow or clip. If you have bangs or shorter strands, you can choose to leave them out or pin them back for a more polished look. Experimenting with different heights and styles will help you find the sleek ponytail that best suits you, making it a versatile choice for any occasion.
Milkmaid Braids
Make sure it’s clean and free of tangles. Part your hair down the middle to create two equal sections. Then, braid each section using a simple three-strand braid. Secure the ends of the braids with small clear elastics.
Next, it’s time to position the braids. Bring one braid over the top of your head, like a headband, and pin it in place with bobby pins. Make sure to pin it securely so it stays put. Then, take the second braid and wrap it around the opposite side, tucking the ends under the first braid.
Finally, to add some flair, you can pull out a few strands of hair around your face for a softer look. You can also curl or wave these pieces if you like. This hairstyle is not only cute but also practical, keeping your hair out of your face while looking stylish. With a little practice, you’ll be able to create beautiful milkmaid braids in no time.
Top Knot
Flip your head upside down to make it easier, then use a strong hair tie to secure the ponytail at the top of your head. This position gives the top knot its signature look. If your hair is fine or thin, you might want to use two hair ties to keep it secure.
Use bobby pins to secure the bun in place, especially if you have shorter hair. You can gently tug on the bun to make it look fuller and messier, which adds a stylish touch. If you want a more polished look, you can smooth down any flyaways with hairspray.
You can leave some strands of hair out around your face for a softer look or add accessories like headbands or scrunchies to make it unique. The top knot is versatile and can be dressed up for formal occasions or kept casual for everyday wear. With a bit of practice, you’ll be able to create different variations of the top knot that suit any situation.
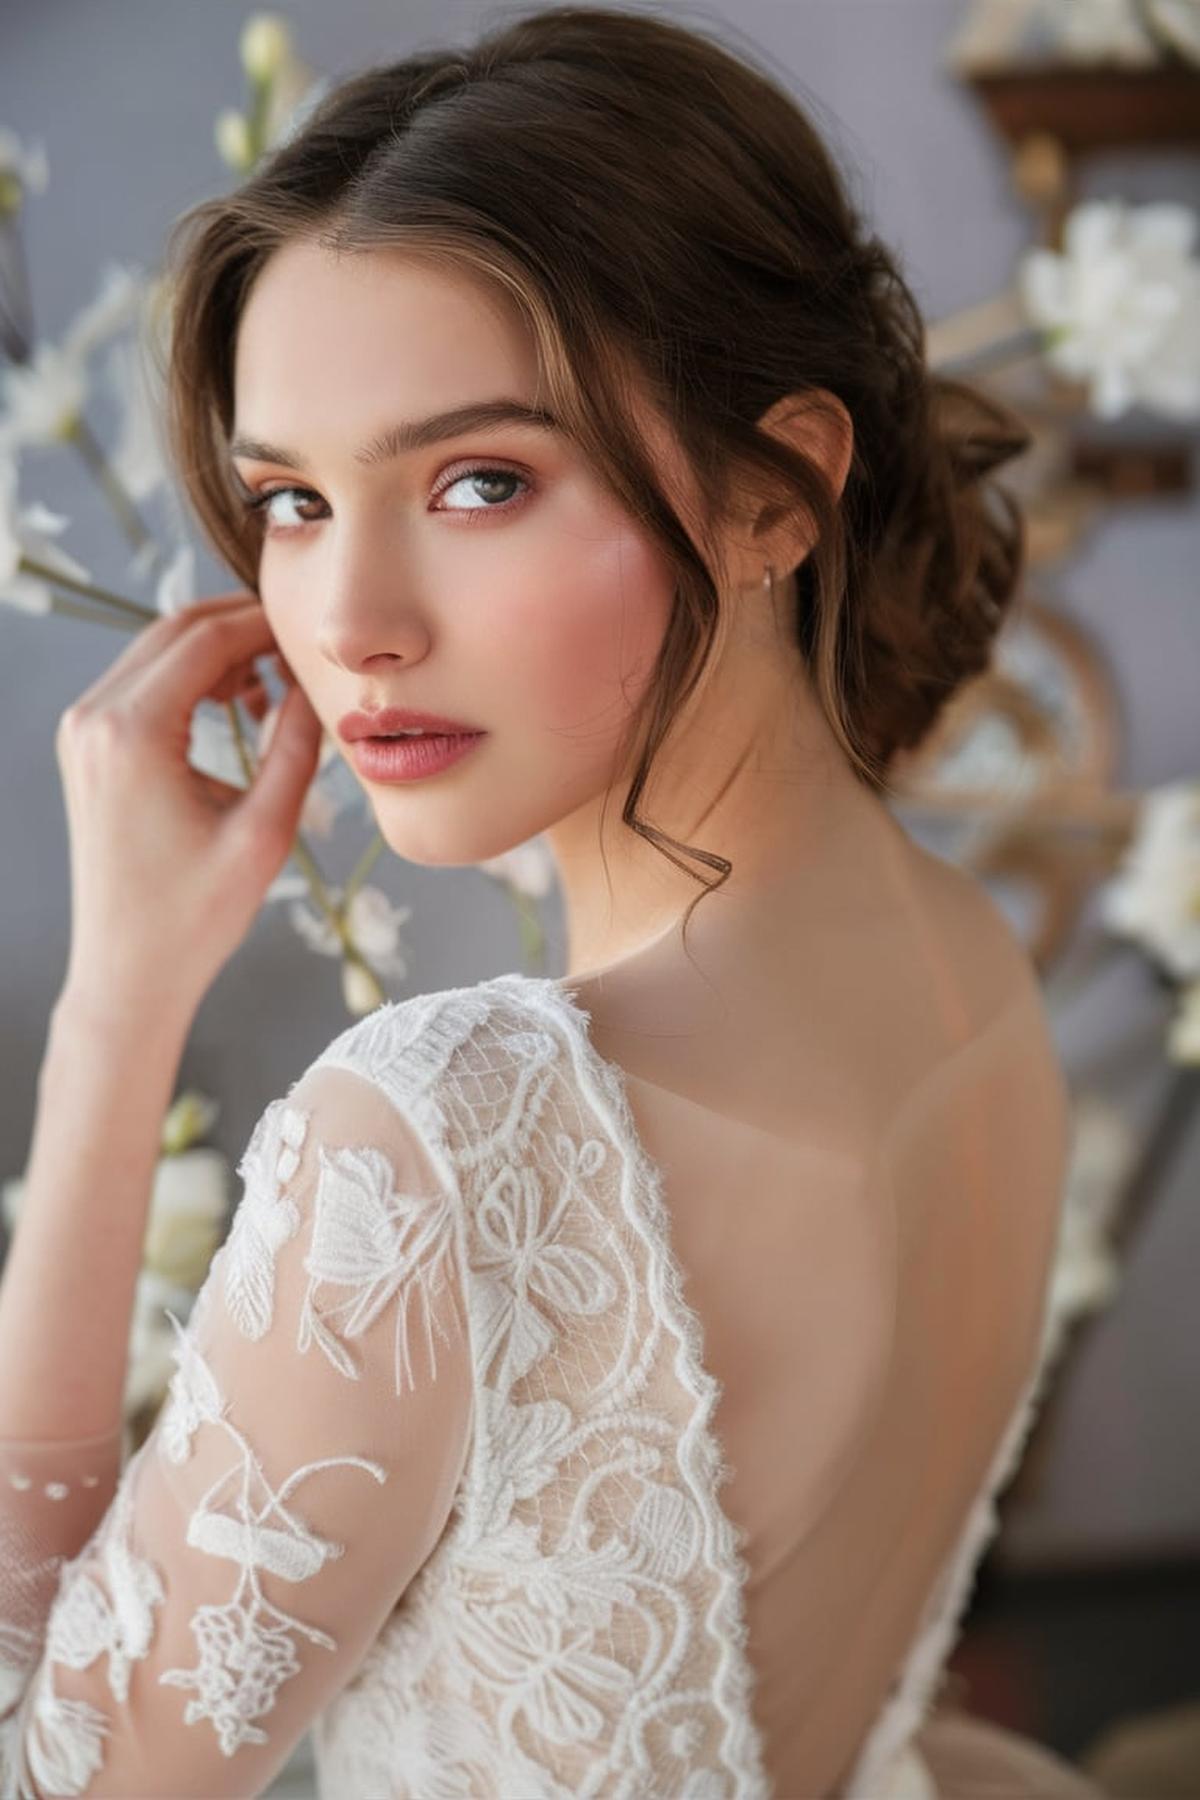
Low Chignon
First, gather your hair into a low ponytail at the nape of your neck. Make sure to leave out a few strands at the front to frame your face. Once your ponytail is secure, divide it into two sections.
Secure it with bobby pins as you go, making sure it feels tight and secure. Then, take the second section and wrap it around the first bun, pinning it down as well.
You can also use a little bit of texturizing spray to add dimension. Remember, practice makes perfect, so don’t worry if it doesn’t look flawless on your first try. With a little patience, you’ll have a beautiful low chignon that’s perfect for any occasion!
Double French Braids
You’ll need a comb or brush to detangle your hair, some rubber bands to secure the braids, and optional items like hairspray or bobby pins for finishing touches. It’s easier to braid with slightly dirty hair, as it holds better. Make a clean part down the middle of your head to separate your hair into two sections, which will help you create two braids. Next, begin with one side.
As you continue, add small pieces of hair from the sides into the braid. Keep your grip tight near your scalp for a neat look. Once you reach the nape of your neck, finish with a regular braid until you reach the ends, and secure it with a rubber band.
If you want to add a fun touch, consider tying ribbons at the ends or using hair accessories. Remember, practice is key! The more you braid, the easier it will become, so don’t get discouraged if it doesn’t look perfect right away. Keep trying, and soon you’ll be able to create beautiful double French braids with confidence.
Half-Up Top Knot
It’s best to begin with some texture, so consider curling your hair with a larger curling iron or wand to create loose waves. This adds volume and gives a more relaxed look. If you prefer straight hair, that’s fine too! Just make sure your hair is clean and dry.
Make sure not to pull it too tight, as you want to keep some volume at the base. Use a teasing brush to gently backcomb the ponytail, which will help create a fuller bun. Then, twist the ponytail around the base to form the top knot.
Finally, don’t be afraid to make the look your own! You can leave some strands down around your face for a softer look or add a fun braid to the side. Experiment with the height of your bun and how much hair you pull back to find what you like best. The half-up top knot is a versatile style that works for many occasions, so have fun trying it out!
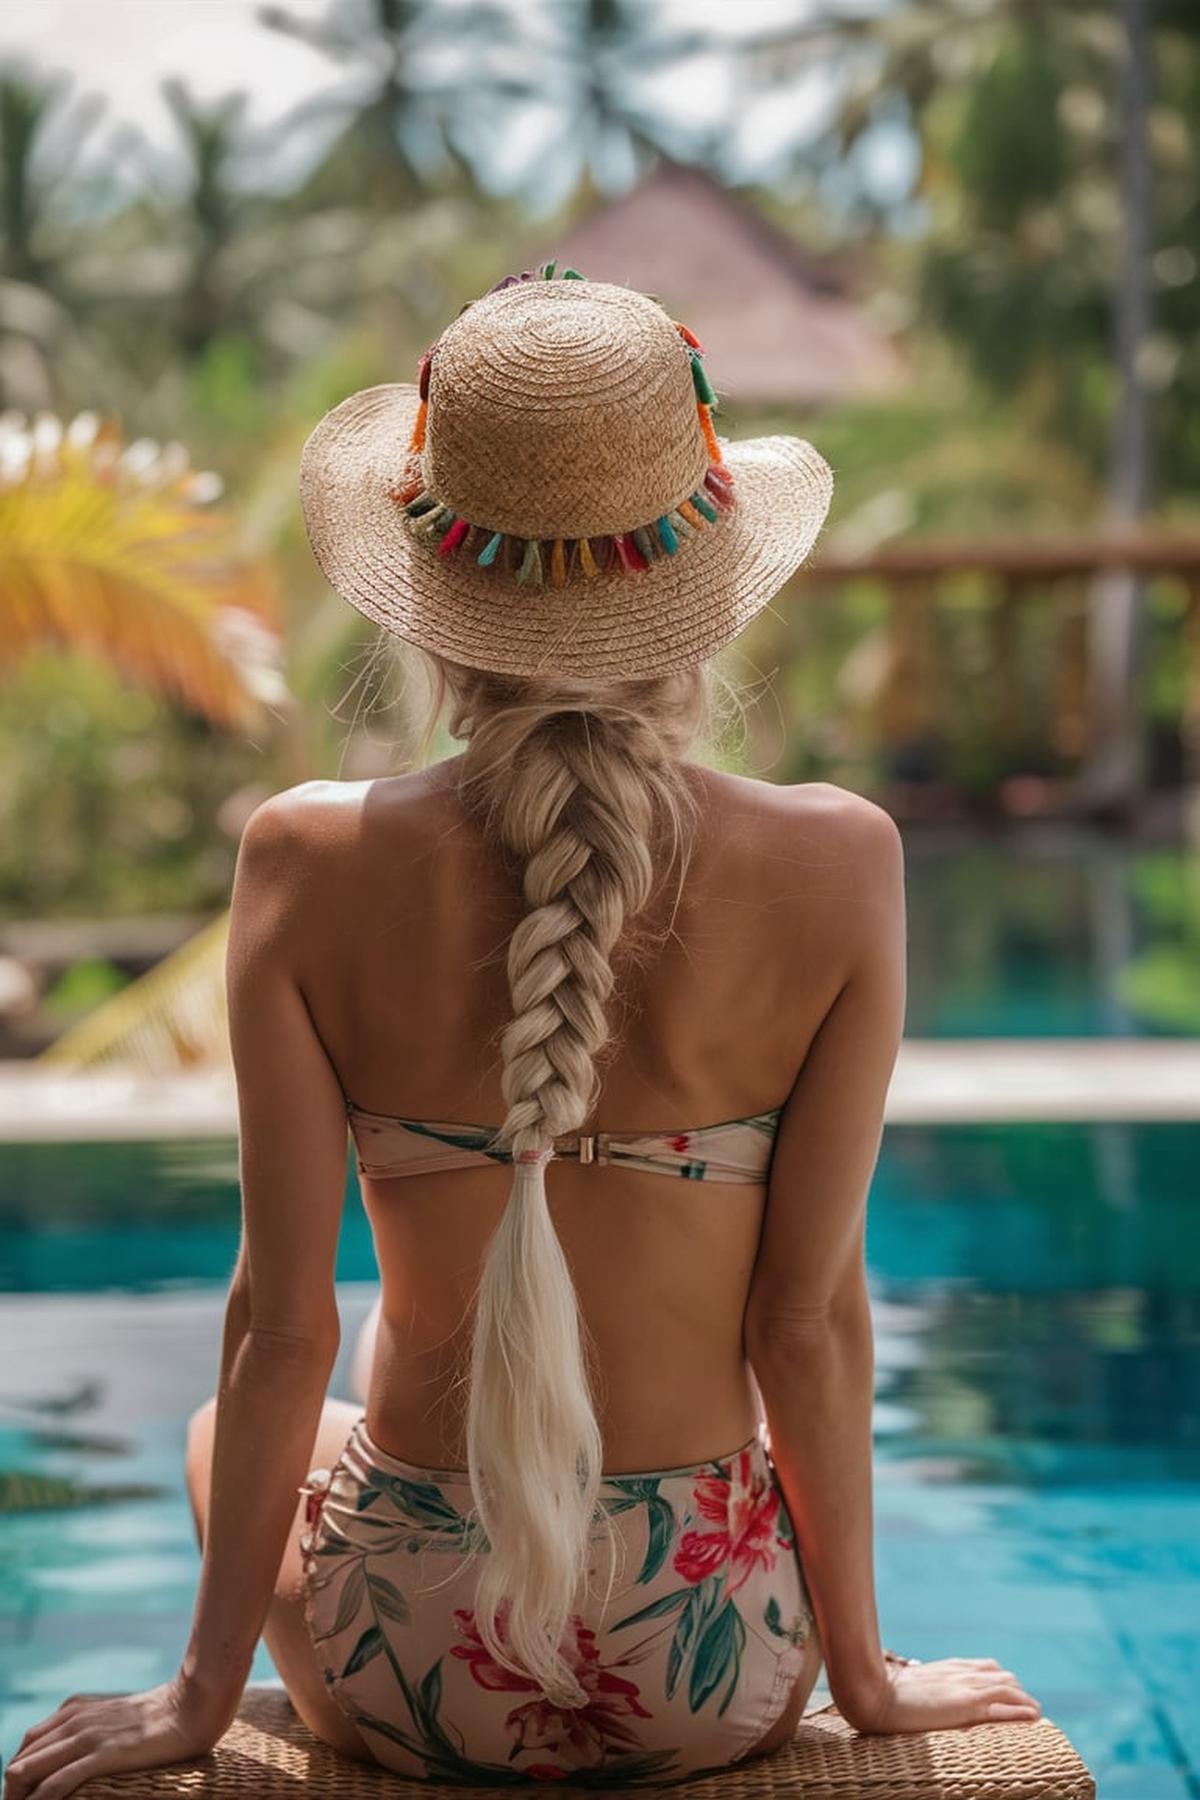
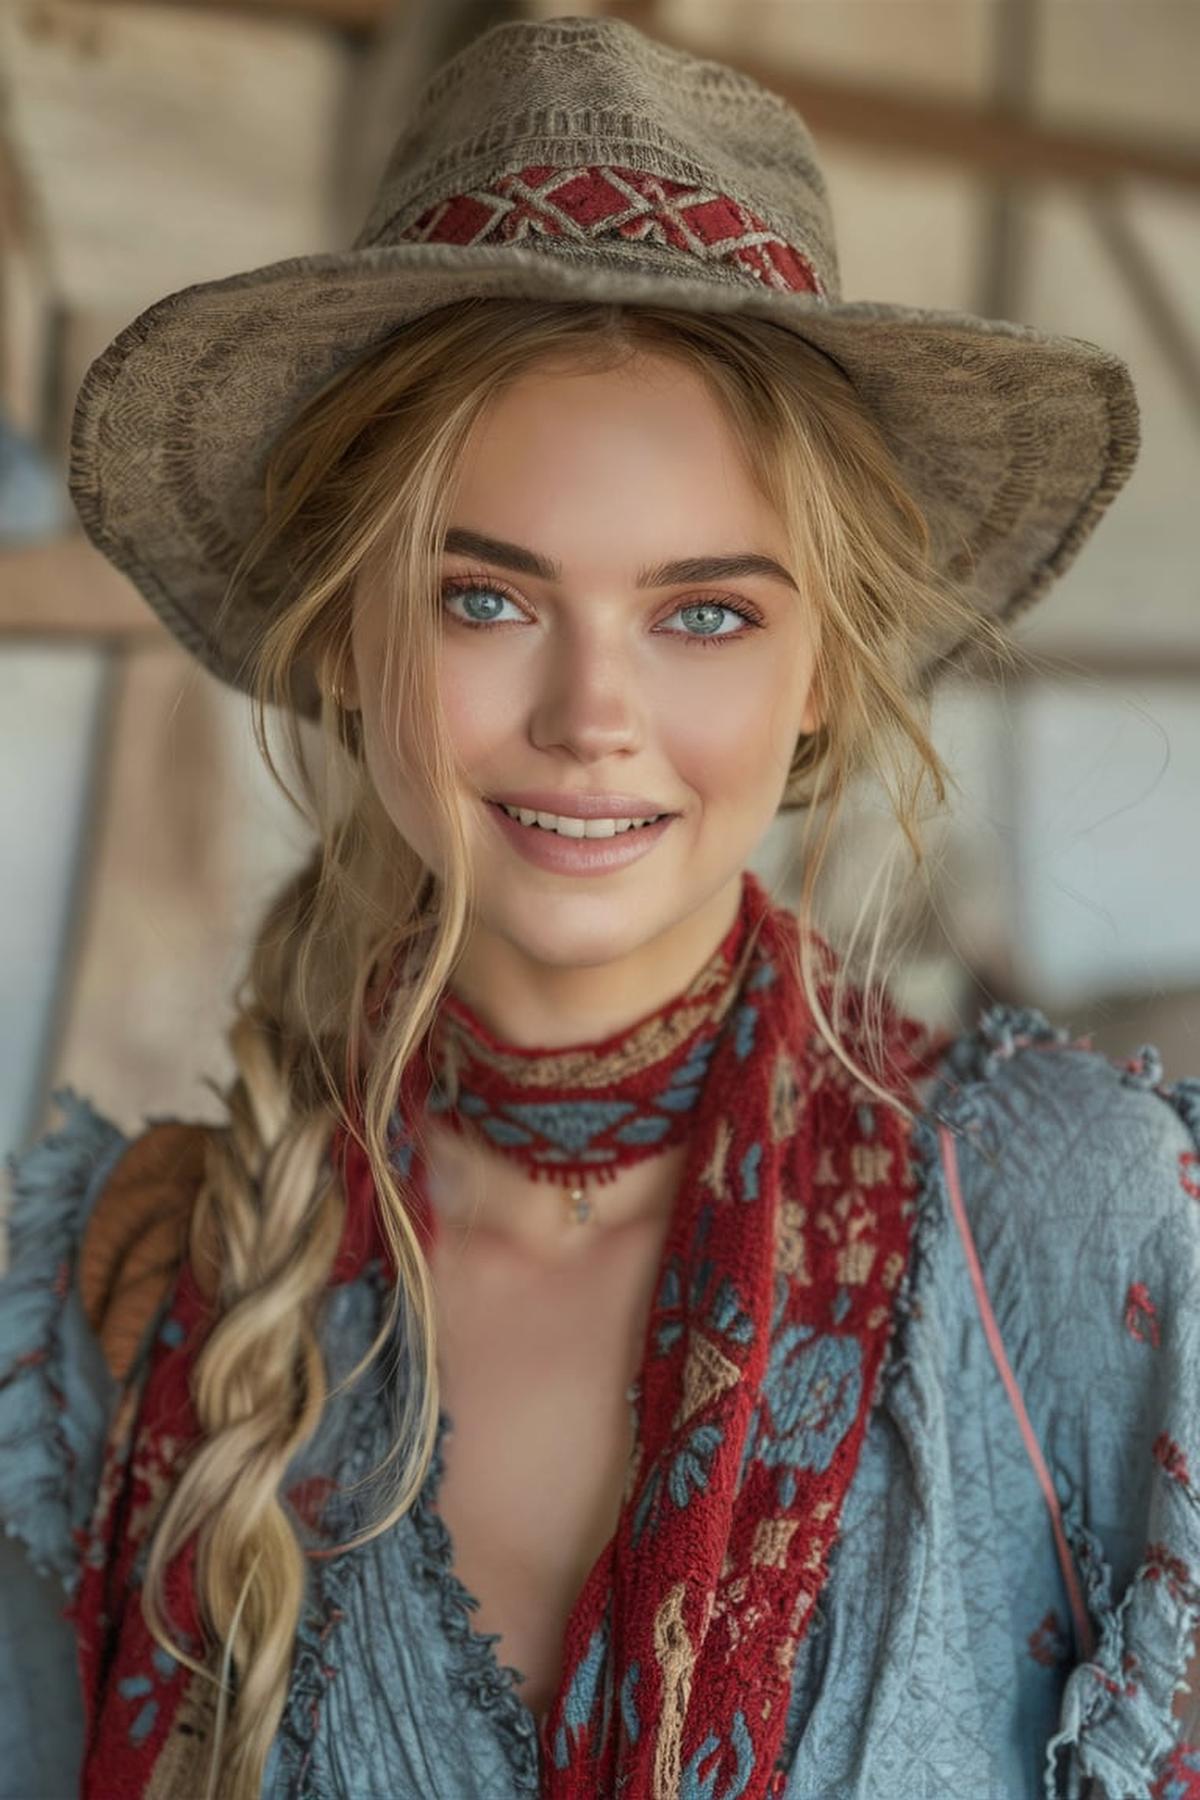
Fishtail Braid
It doesn’t matter which side you choose. Make sure to brush your hair to remove any tangles, then split the ponytail into two equal sections. The key to a fishtail braid is to take small pieces of hair from the outer edges of each section and cross them over to the opposite side. For example, take a small piece from the right section and cross it over to the left, then do the same from the left to the right.
This gives it a more relaxed, boho vibe. If you want to try something a bit more advanced, you can skip the ponytail altogether and start braiding directly from your hair down. Just divide your hair into two sections and follow the same crossing technique as before. This method can create a more intricate look without needing a ponytail to start with.
The fishtail braid can take some time to master, but with patience, you’ll be able to do it in your sleep. Once you feel confident, you can experiment with different styles, like a dutch fishtail braid, which adds even more texture and volume. Enjoy the process, and have fun creating beautiful hairstyles! .
Embellished Headband
There are many styles available, from simple and casual to fancy and eye-catching. For a laid-back vibe, opt for a thinner headband that complements your outfit. If you’re going for a more glamorous look, choose a headband with embellishments like pearls or rhinestones.
Begin by parting your hair in a way that feels comfortable for you, whether that’s down the middle or to the side. Place the headband over your hairline, leaving some strands in front to frame your face. This modern approach is much more flattering than the old style of pushing all your hair back.
You can wear it with loose waves for a casual look, or with a sleek bun for something more polished. If your hair is a bit messy or needs a wash, a headband can be a great way to hide that while still looking chic. Don’t forget to use some styling products like smoothing cream to keep everything neat and tidy. With practice, you’ll find that headbands can be a fun and versatile accessory for any hairstyle!
Boxer Braids
First, brush your hair to remove any tangles. If your hair is oily, use dry shampoo to give it some texture, which helps the braids hold better. You can also use a light pomade to make your hair a bit grippier. This step is important because it makes the braiding process easier and ensures your hairstyle lasts longer, whether you’re going to the gym or hanging out with friends.
For each section, take a small piece of hair from the front and divide it into three strands. Start braiding by crossing the outer strands under the middle strand, which is what makes it a Dutch braid. As you braid, keep adding more hair from the sides to the braid. Make sure to braid closely to your scalp and work towards the back of your head.
This creates a wider, more voluminous look. You can also fluff the top of the braid for extra volume. Once both sides are done, you can use bobby pins to secure any loose pieces and finish off with a light hairspray to keep everything in place. With practice, you’ll get better at this fun and trendy hairstyle.
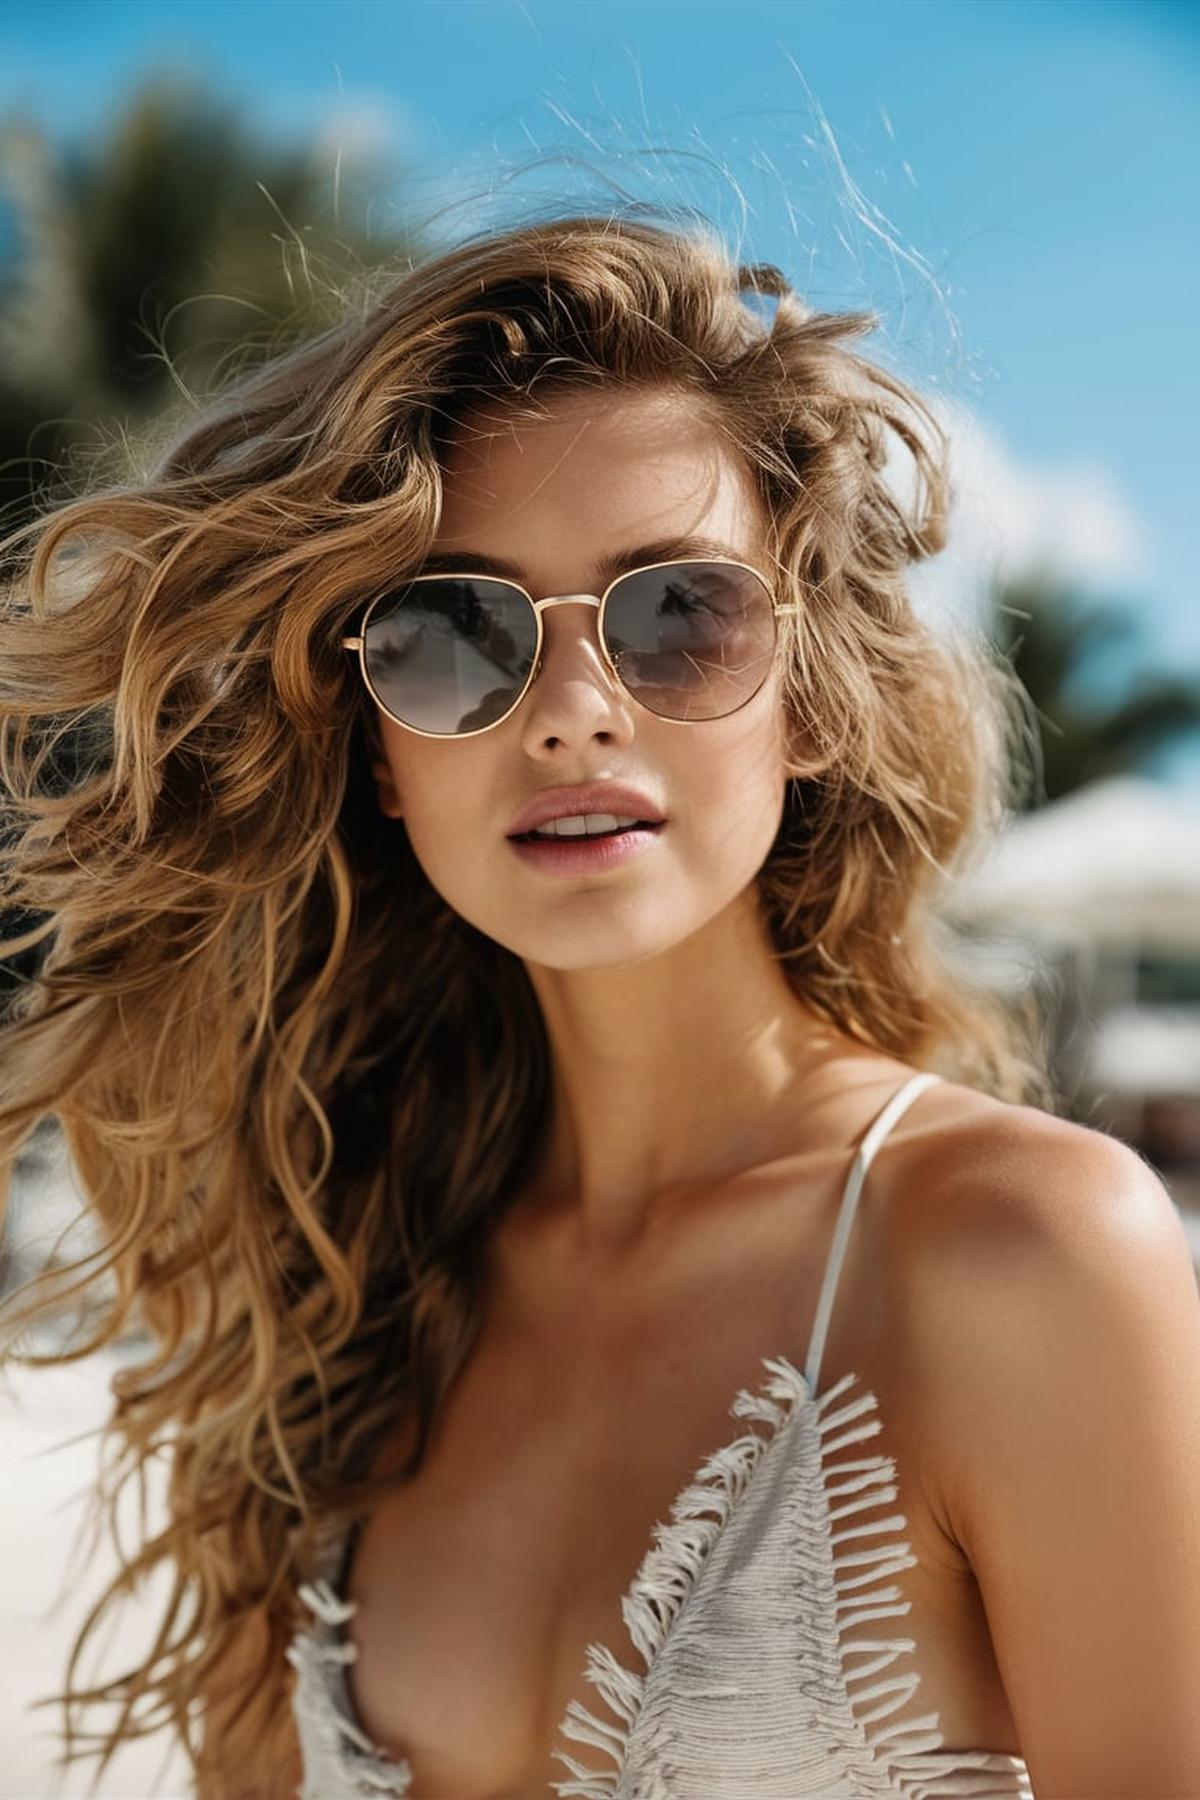
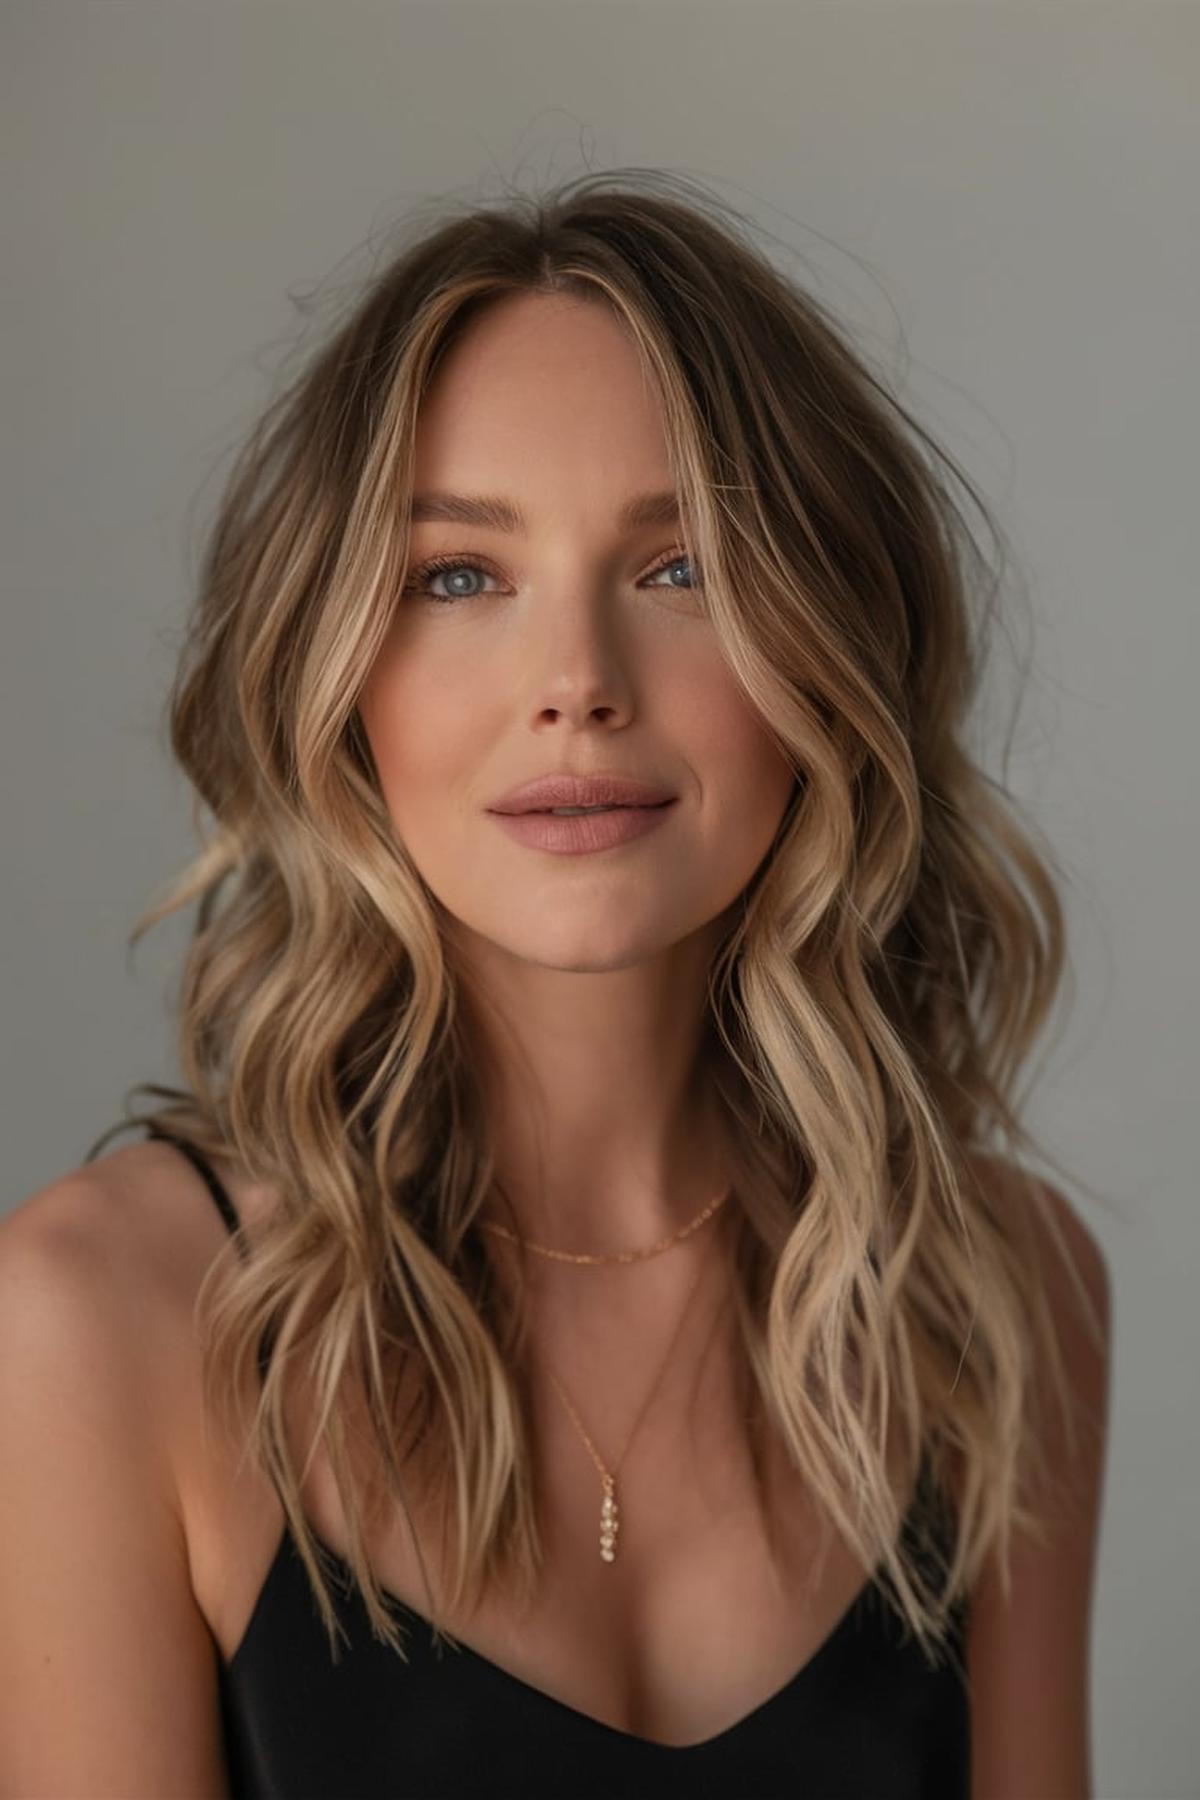
Tousled Beach Waves
It’s crucial to ensure your hair is smooth before curling, as this helps achieve that effortless look. You can blow-dry your hair and use a flat iron on the ends to make them straight. This step is important because leaving the ends straight gives the waves a more relaxed vibe, which is key for beach waves.
Wrap each section around the iron but leave the last inch out; this is what creates that tousled effect. It’s also helpful to alternate the direction you curl each piece—some away from your face and some towards it. This technique adds volume and makes the waves look more natural and less uniform.
A little hairspray can help keep everything in place, especially if you want your waves to last all day. If you want an even more relaxed look, you can also try braiding your hair while it’s damp and letting it dry overnight for natural waves without any heat. This method is great for a low-maintenance style that still looks fabulous!
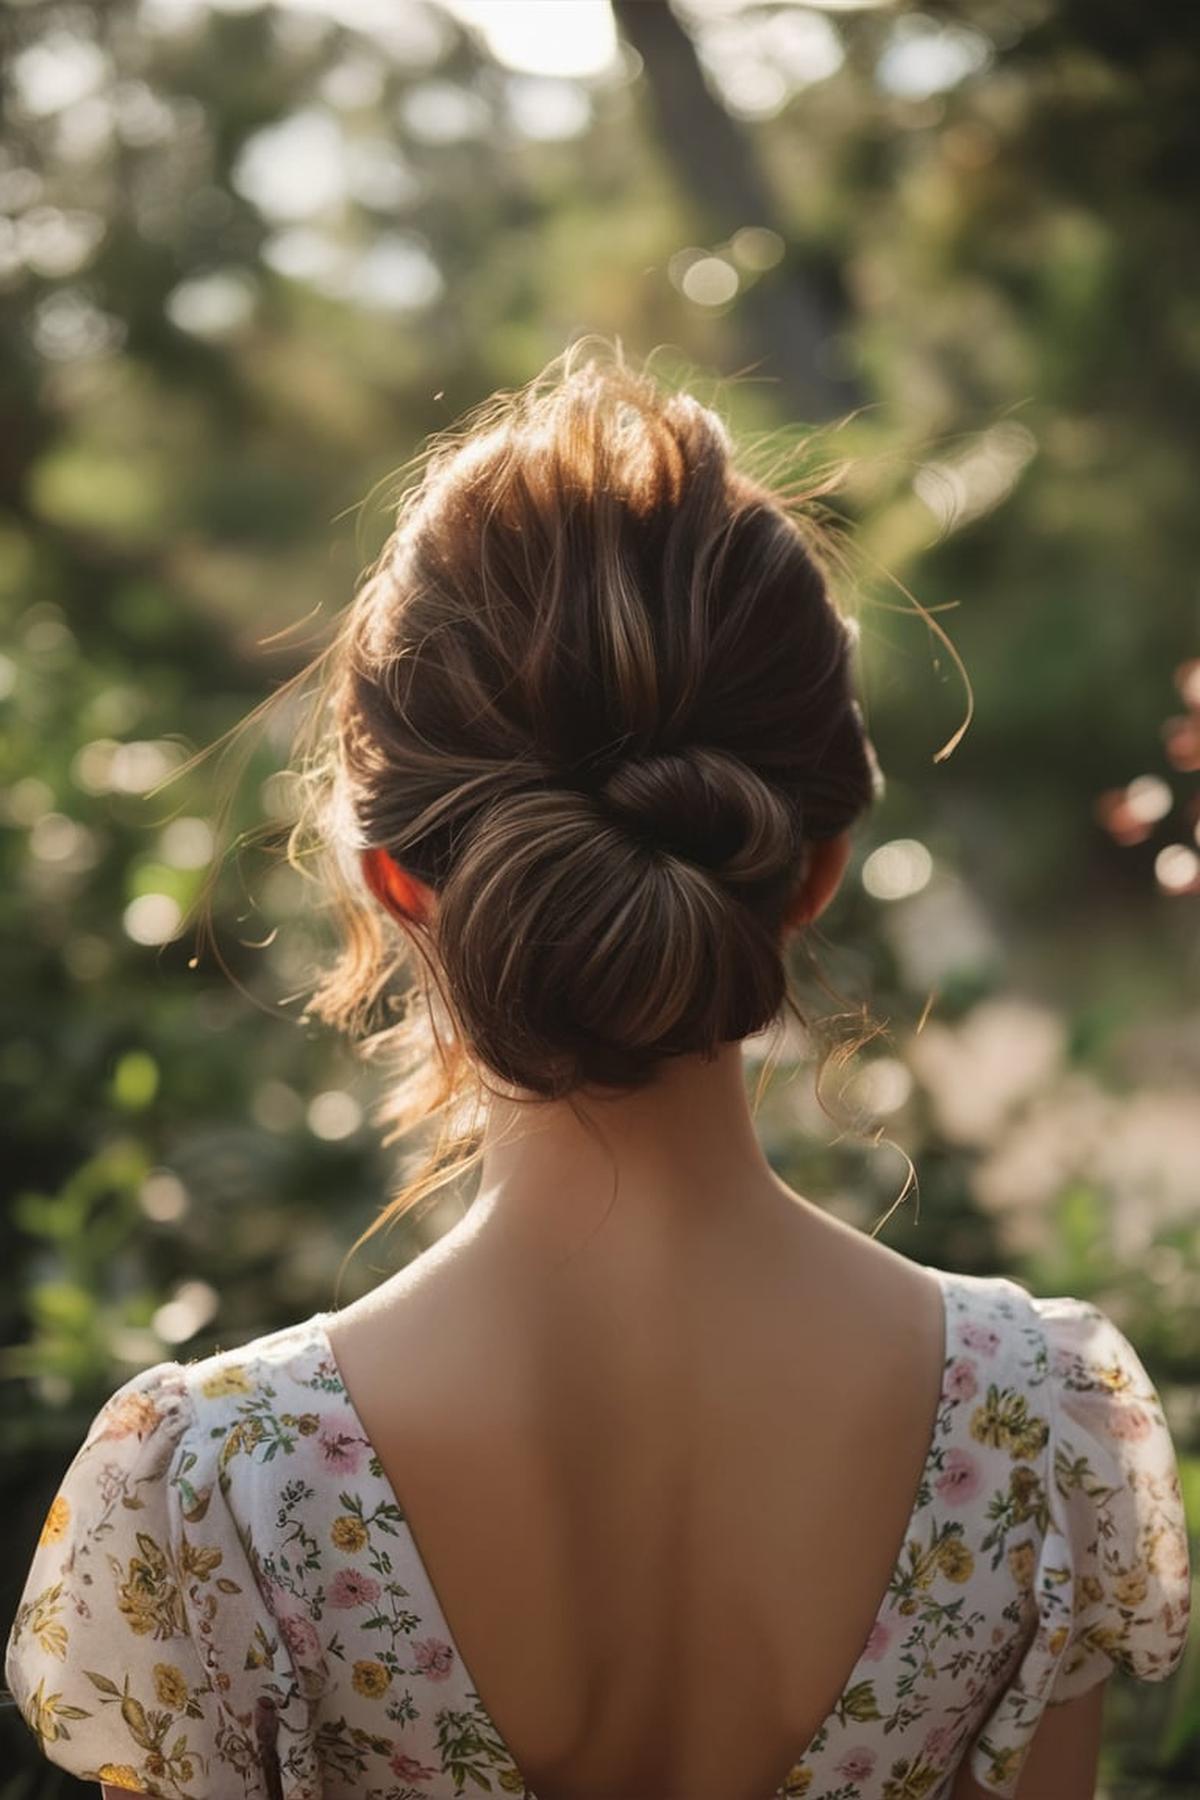
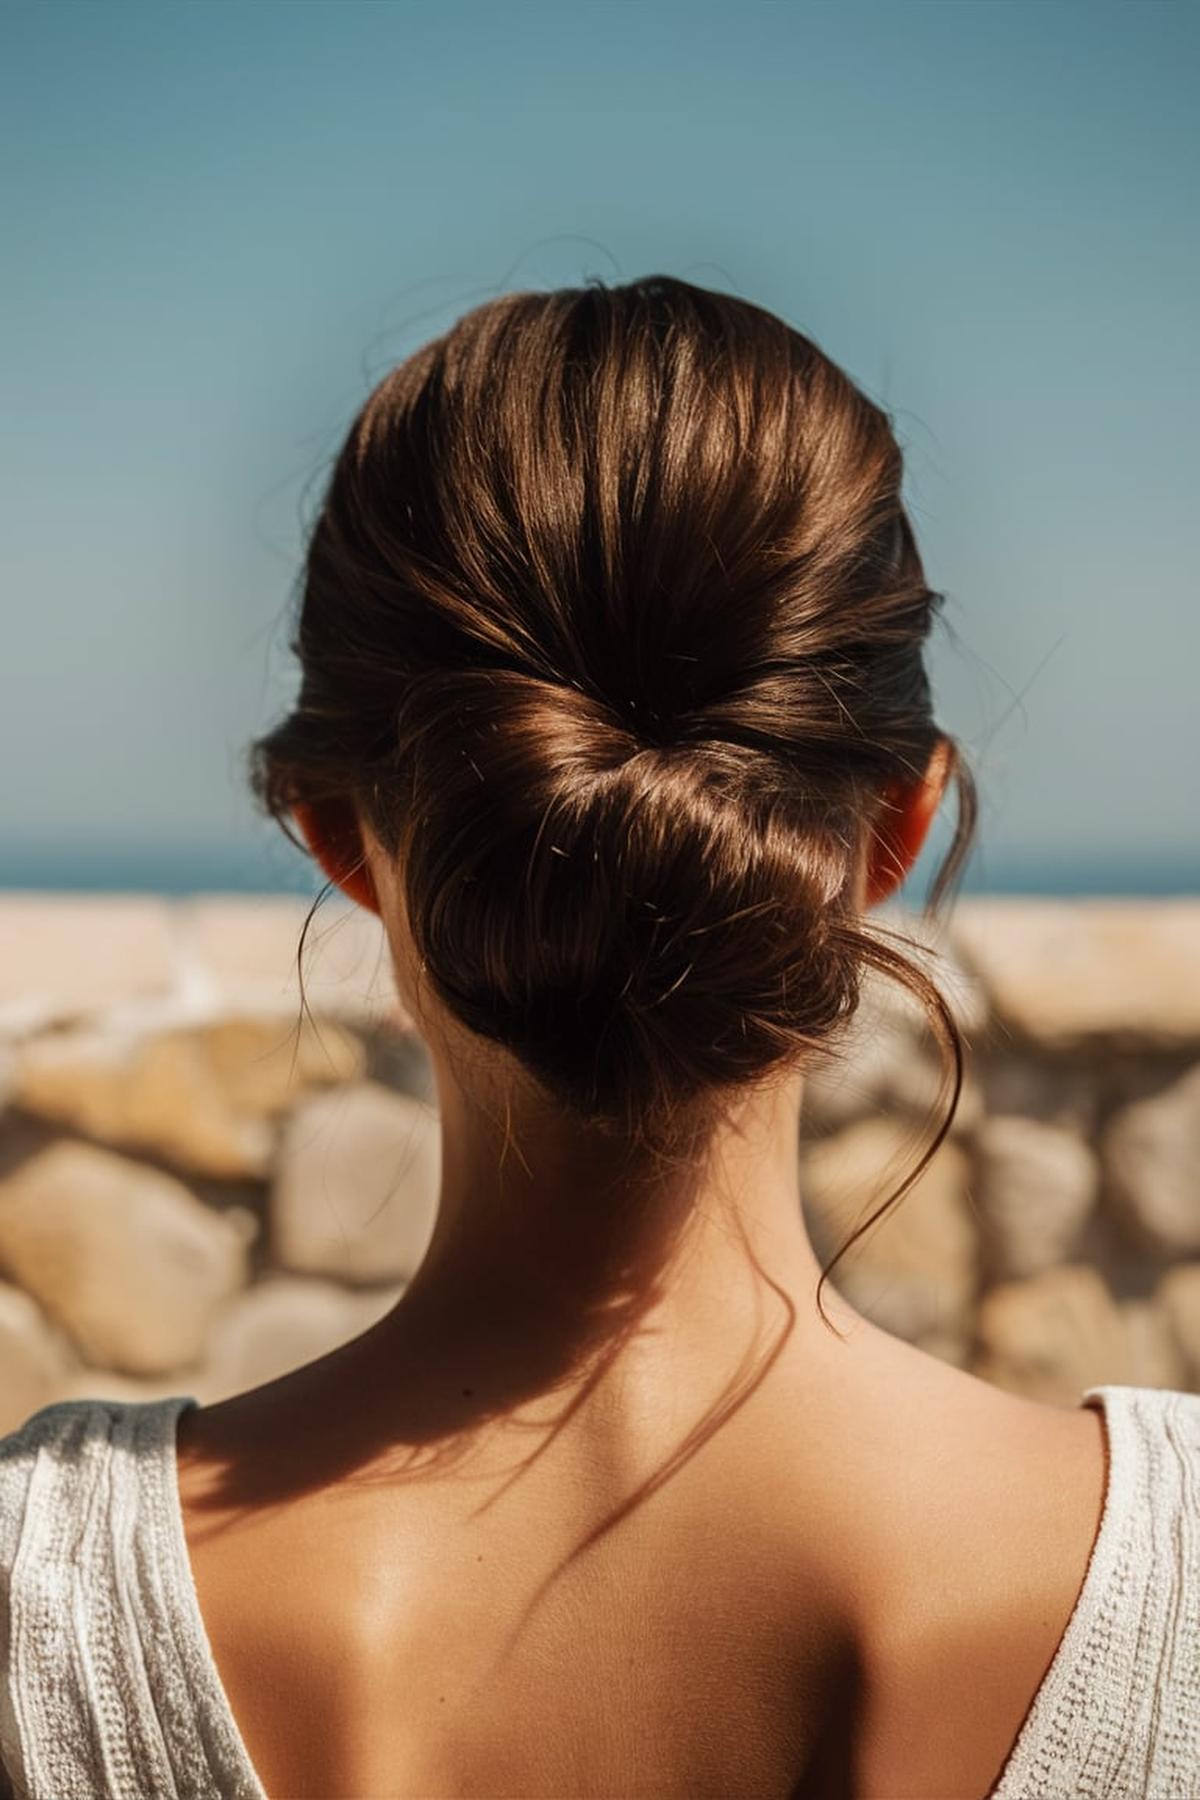
Twisted Low Bun
It’s best to work with hair that hasn’t just been washed, as slightly dirty hair holds styles better. Begin by gathering your hair into a low ponytail at the nape of your neck. Use a hair tie to secure it, but don’t pull all the way through on the last wrap—this creates a small bun.
Twist each section away from your face and wrap them around your bun, pinning them in place with bobby pins. Make sure to leave some loose strands for a relaxed look.
Finally, adjust any loose pieces and make sure the front of your hair frames your face nicely. This hairstyle is versatile and can be worn casually or dressed up for special occasions. With practice, you’ll be able to create a beautiful twisted low bun that looks polished and elegant in just a few minutes.
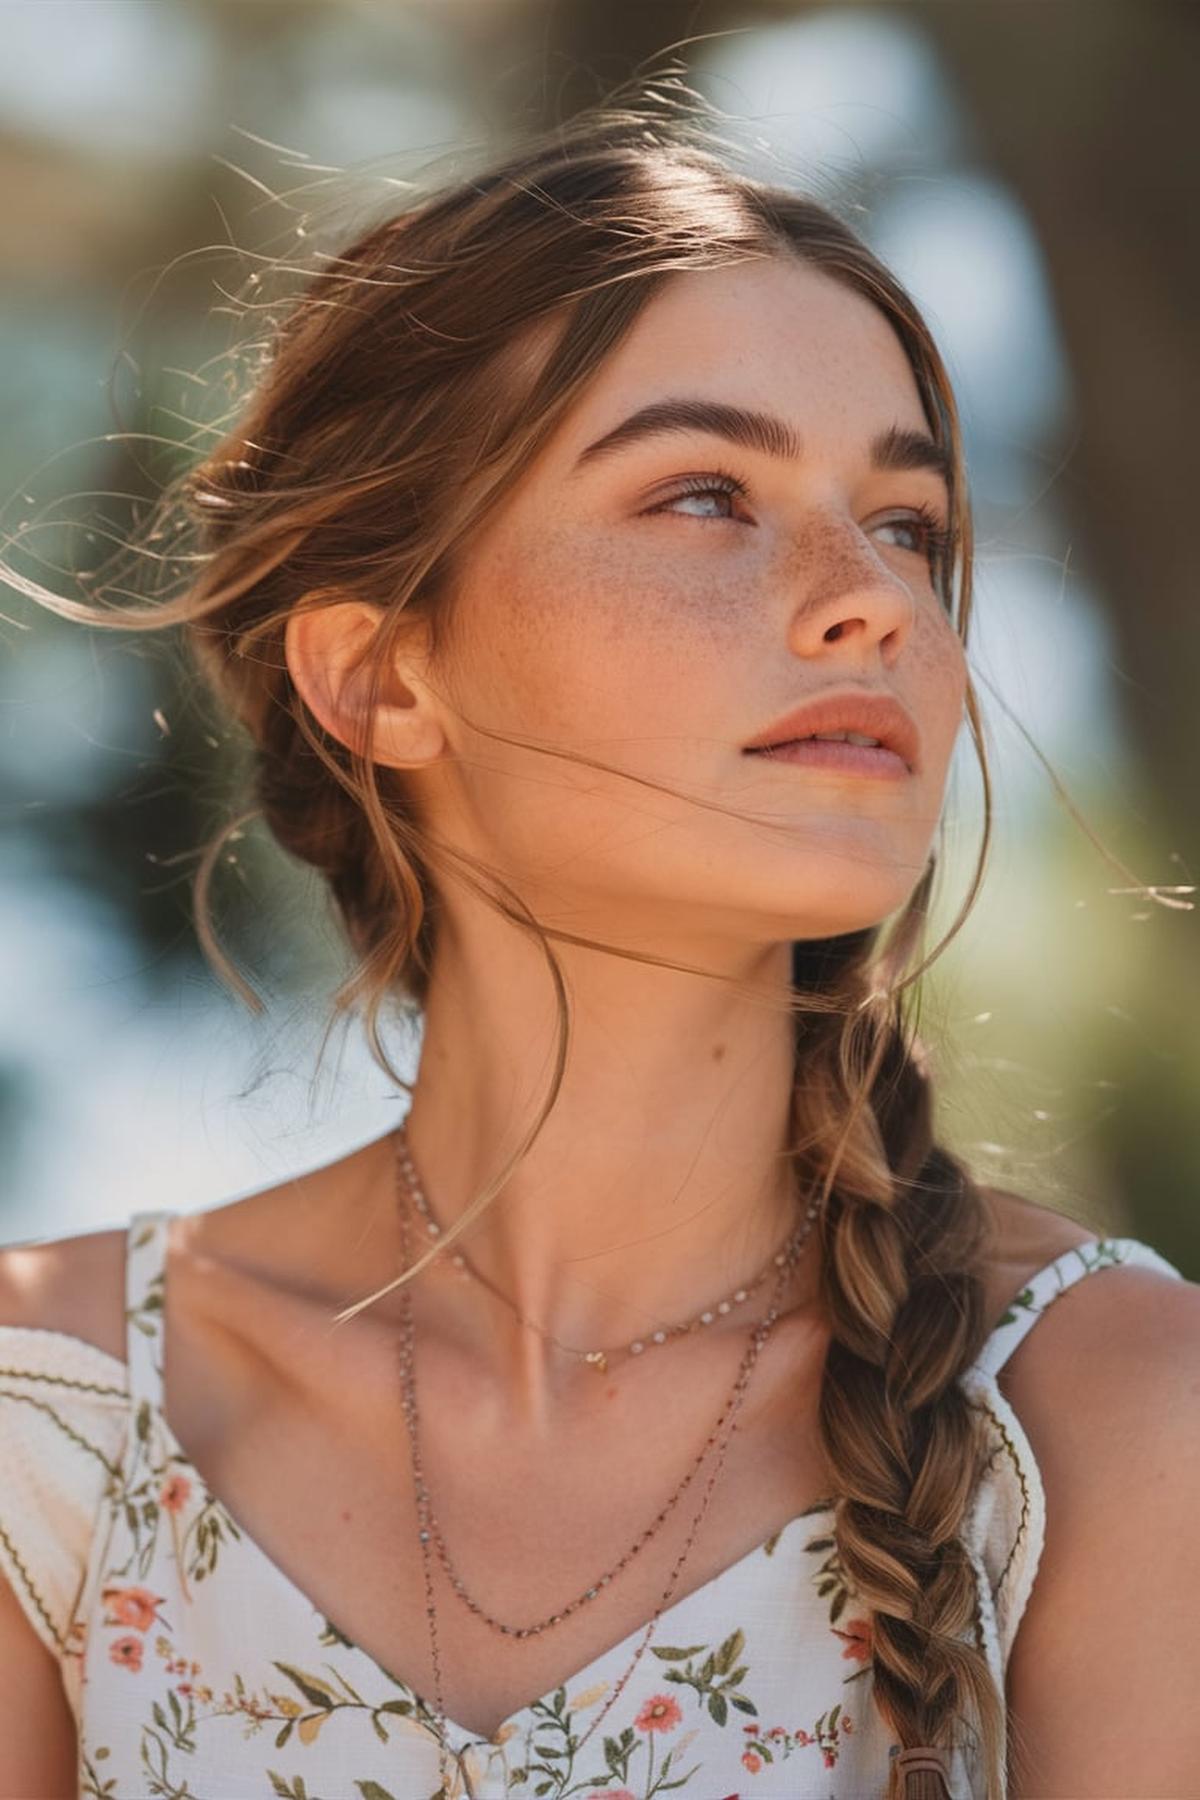
Side Braid
Part your hair slightly off-center, choosing the side where you have more hair. Take a small section of hair from the front, about two inches long, and divide it into three equal pieces.
Next, begin braiding by crossing the right section over the middle, then the left section over the new middle. As you braid, you can add more hair from the front to the right section only, which creates a half-French braid look.
Finally, to give your side braid a more relaxed and stylish look, gently pull on the edges of the braid to make it appear fuller and chunkier. You can also use a little hairspray to tame any flyaways. This hairstyle is versatile and can be dressed up or down, making it perfect for any occasion, whether you’re going to school or hanging out with friends.
Ballerina Bun
First, brush your hair back and gather it into a ponytail at the crown of your head. Use a strong hair tie to keep it secure. If your hair is slippery, you might want to use some hairspray or gel to help tame any flyaways.
As you wrap, use bobby pins to secure the bun in place. Make sure to pin it close to your scalp to avoid it popping out. If you have thick hair, you can split the ponytail into two sections, twisting and wrapping each separately to create a fuller bun.
This step is especially important for performances. Finish off by applying a bit more hairspray to hold everything together. With these steps, you’ll have a polished ballerina bun that looks great and stays in place, whether you’re dancing or just want a chic hairstyle for the day.
Halo Braid
You’ll need a hairbrush, hair elastics, and optionally some hairspray to keep everything in place. Begin by parting your hair down the middle. This gives you a clear starting point for your braid.
Use a traditional three-strand braid, and as you braid, incorporate small sections of hair from the side of your head. Continue this process around your head until you reach the other side.
Finally, finish your halo braid by curling any loose strands that frame your face for a soft, romantic look. You can also add some hairspray to ensure your hairstyle stays put throughout the day. With a little practice, you’ll be able to create this beautiful and elegant hairstyle for any occasion!.
Knotted Half-Up Style
Begin with damp hair and apply a texturizing spray to give it some grip. Roughly dry your hair while scrunching it to create a bit of volume.
Next, it’s time to create the knots. Gently tease each ponytail to add volume, then wrap each one loosely into a bun shape.
This step is optional but can enhance the overall style. Finally, finish your look with a small amount of texturizing putty on the ends of your hair to give it a piece-y finish, and use hairspray to hold everything in place. This hairstyle is not only cute but also versatile, making it perfect for various occasions, from casual outings to more formal events.
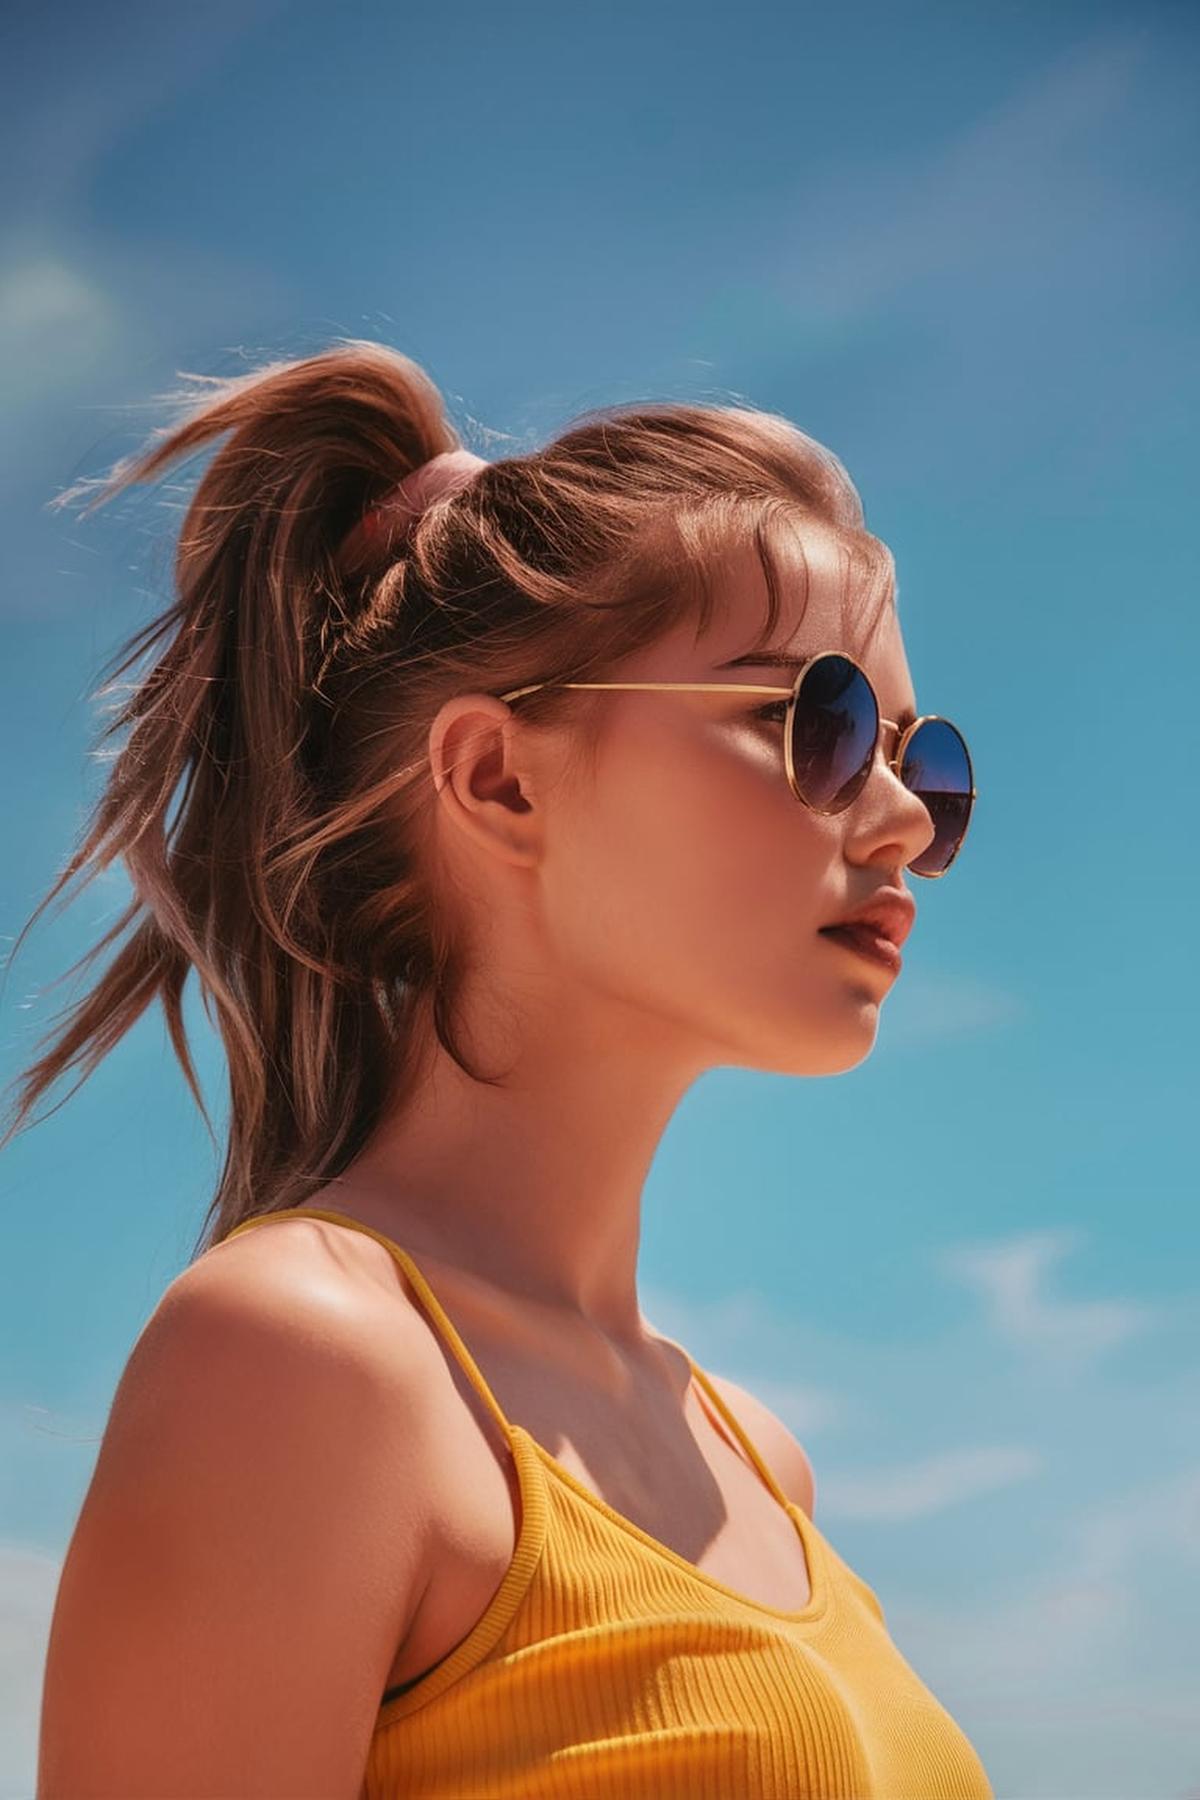
High Ponytail with Headscarf
First, brush your hair to remove any tangles and make it smooth. Tilt your head down to help gather all your hair at the top of your head. Use a brush to keep the hair neat as you pull it back. Once you have all your hair in one hand, secure it with a strong hair tie, making sure it’s tight enough to hold your ponytail in place without causing discomfort.
To do this, use a curling iron or a straightener to create soft waves at the tips. After securing your ponytail, take a small section of hair from the base and wrap it around the hair tie. This will hide the tie and make your ponytail look more polished. Secure the end of the wrapped hair with a bobby pin or tuck it under the ponytail.
Tie it around the base of your ponytail, making a knot or bow. This not only adds a fashionable touch but also helps keep any flyaways in place. Adjust the scarf as needed to ensure it sits comfortably and looks great. With practice, this hairstyle can become a quick and stylish option for any occasion.
Q&As for hot weather hairstyles
Q: What are some easy hairstyles for hot weather?
A: In hot weather, you can try styles like a messy bun, sleek ponytail, or milkmaid braids. These hairstyles keep your hair off your neck and help you stay cool while looking stylish.
Q: How do I make a messy bun?
A: To create a messy bun, gather your hair into a high or low ponytail, twist it loosely, and secure it with a hair tie. You can pull out a few strands to make it look relaxed and casual.
Q: What is a sleek ponytail and how do I do it?
A: A sleek ponytail is a smooth and polished hairstyle. To achieve it, brush your hair back into a ponytail, use gel or hairspray to tame flyaways, and secure it tightly. This look is great for both casual and formal occasions.
Q: What are milkmaid braids?
A: Milkmaid braids are two braids that wrap around your head. To do this, part your hair down the middle, braid each side, and then wrap the braids around your head, pinning them in place. It’s a cute and practical style for hot days.
Q: How can I add some fun to my hairstyle?
A: You can use accessories like an embellished headband or colorful hair ties to jazz up your hairstyle. These little touches can make simple styles like a top knot or side braid look more exciting!
