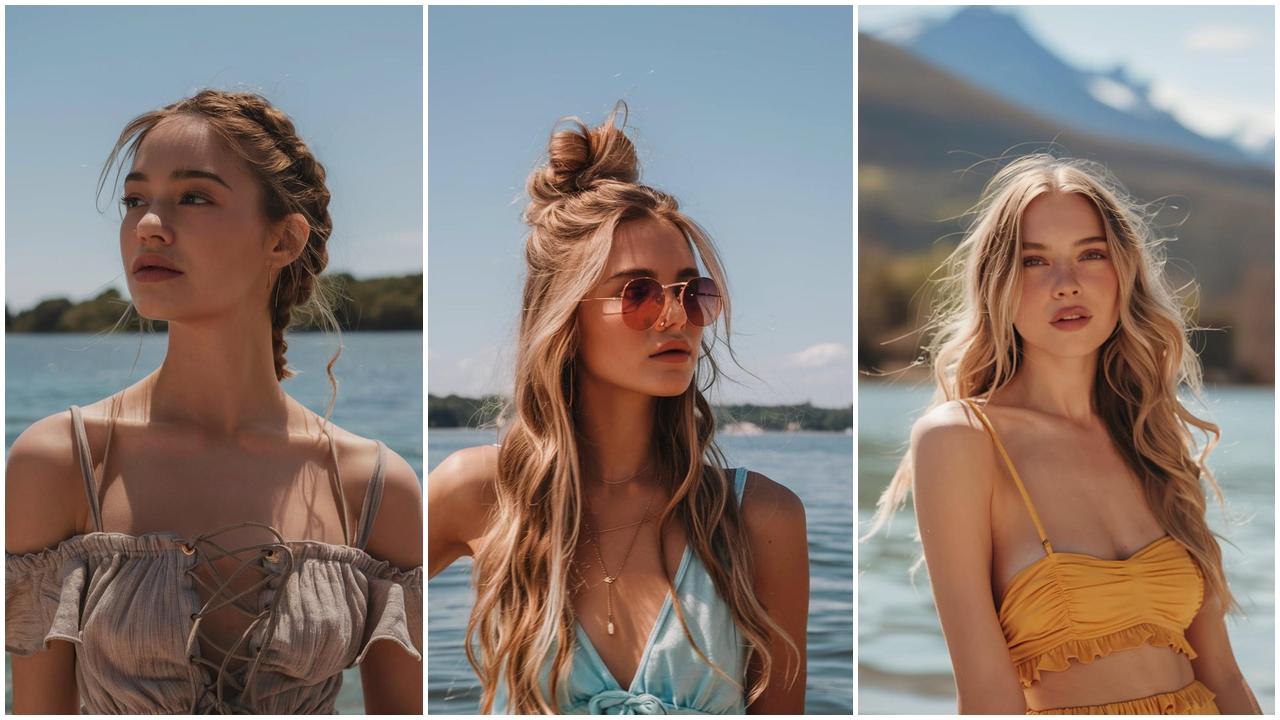
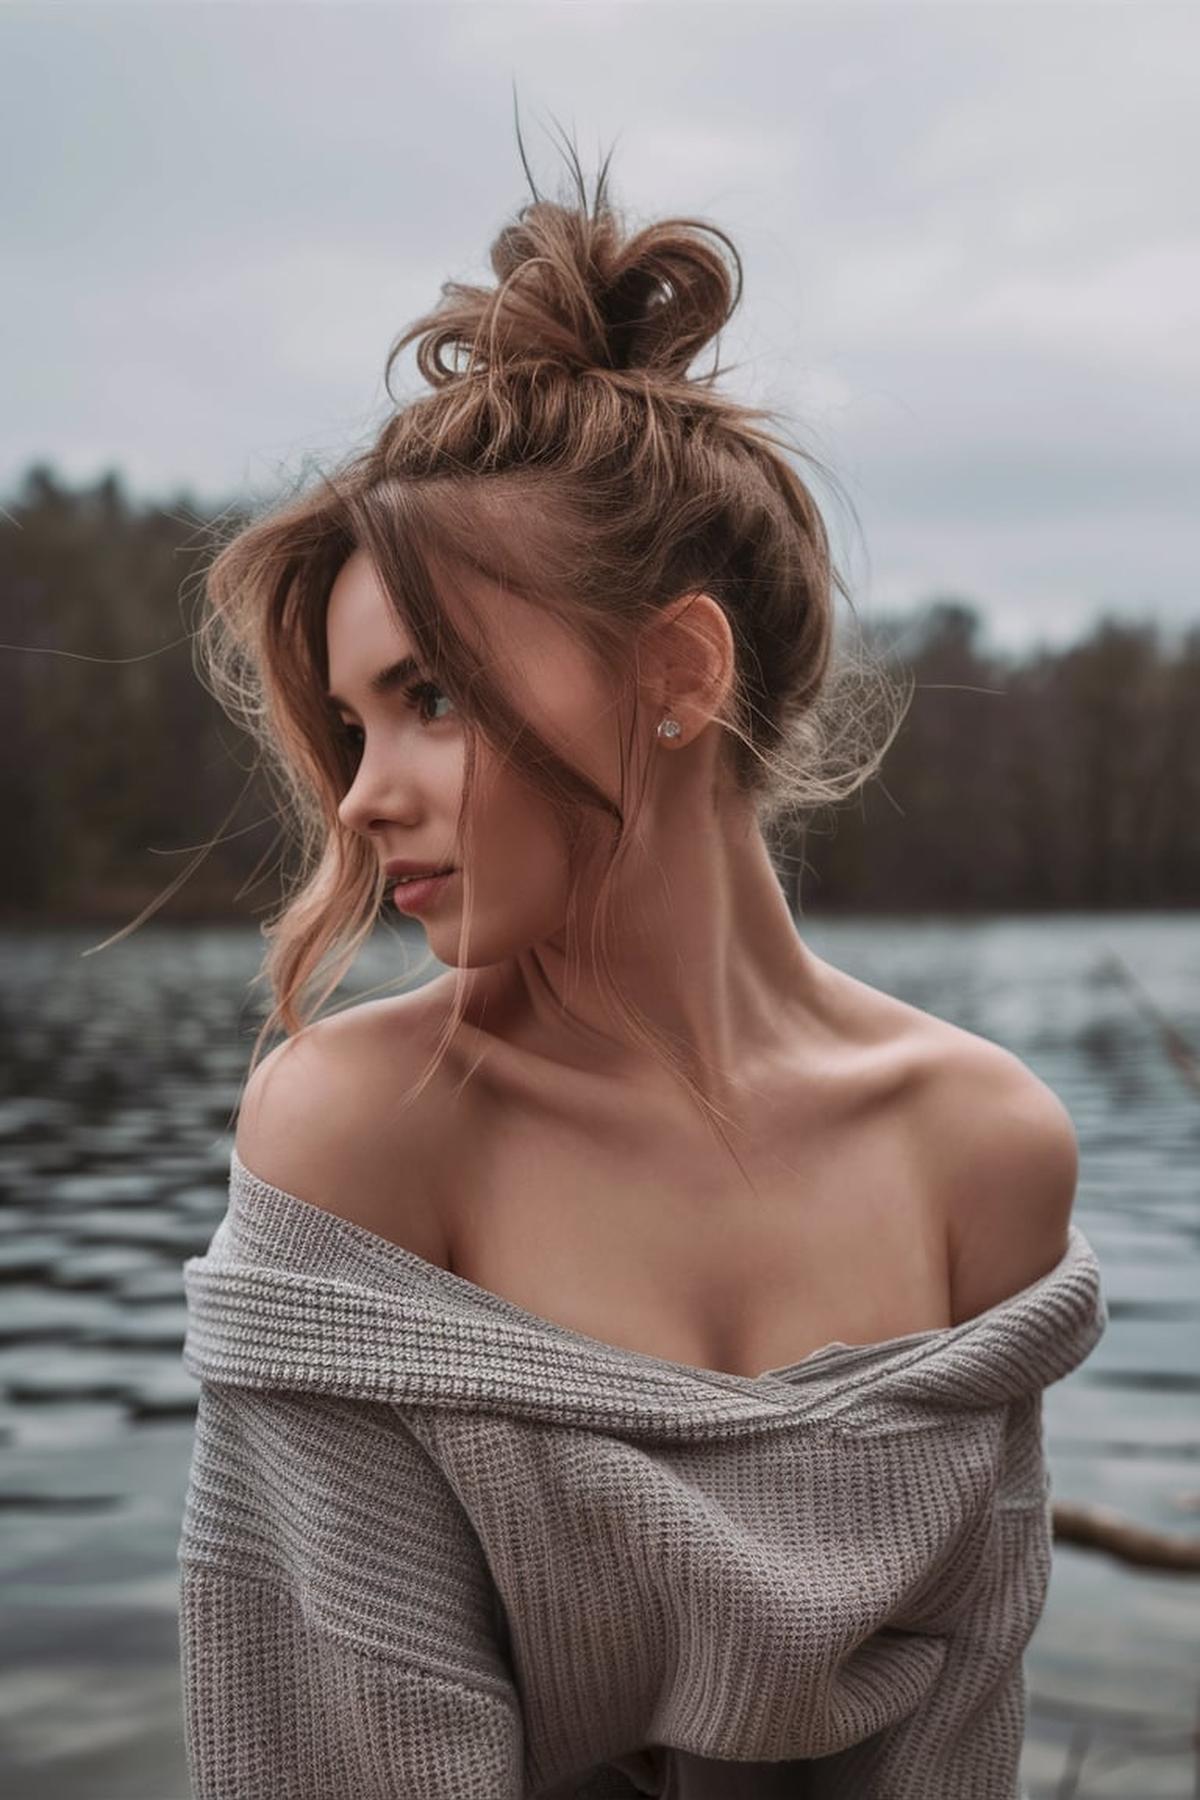
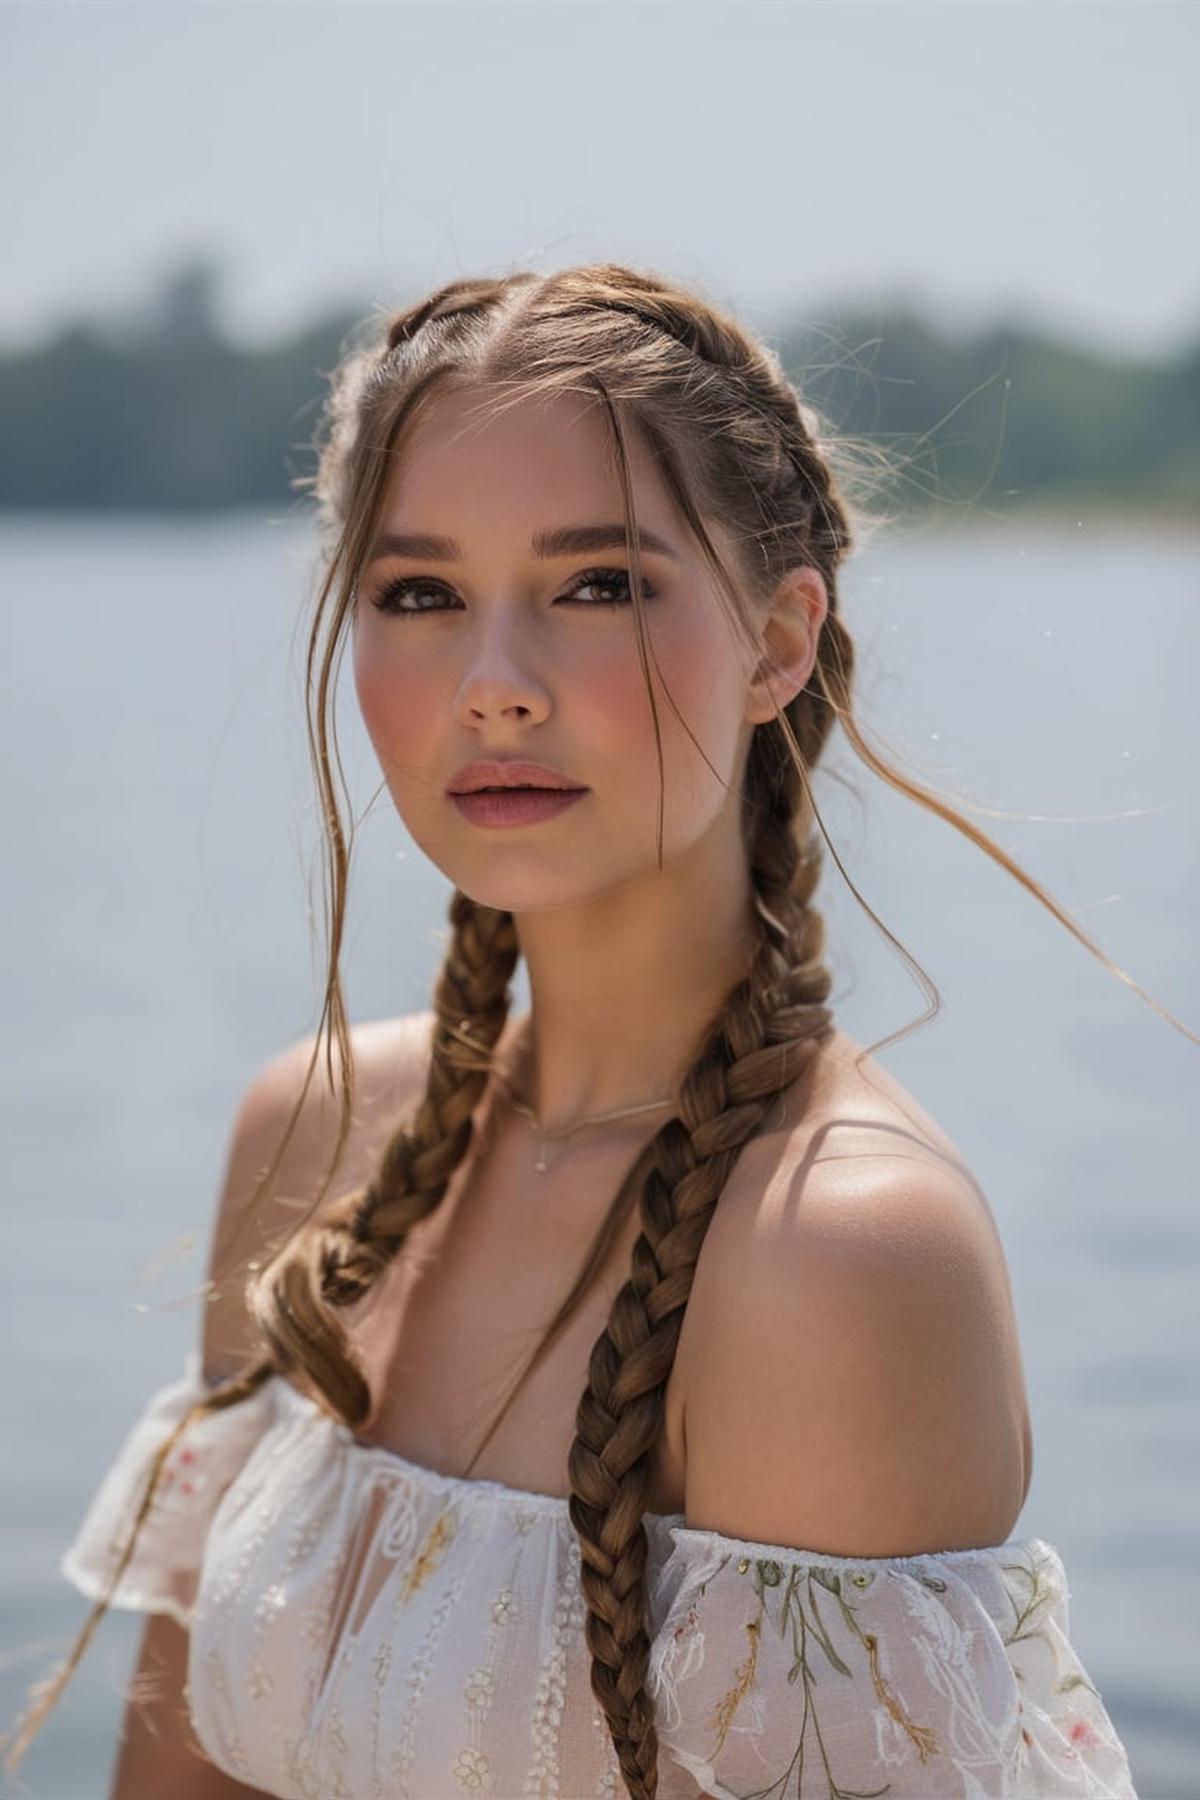
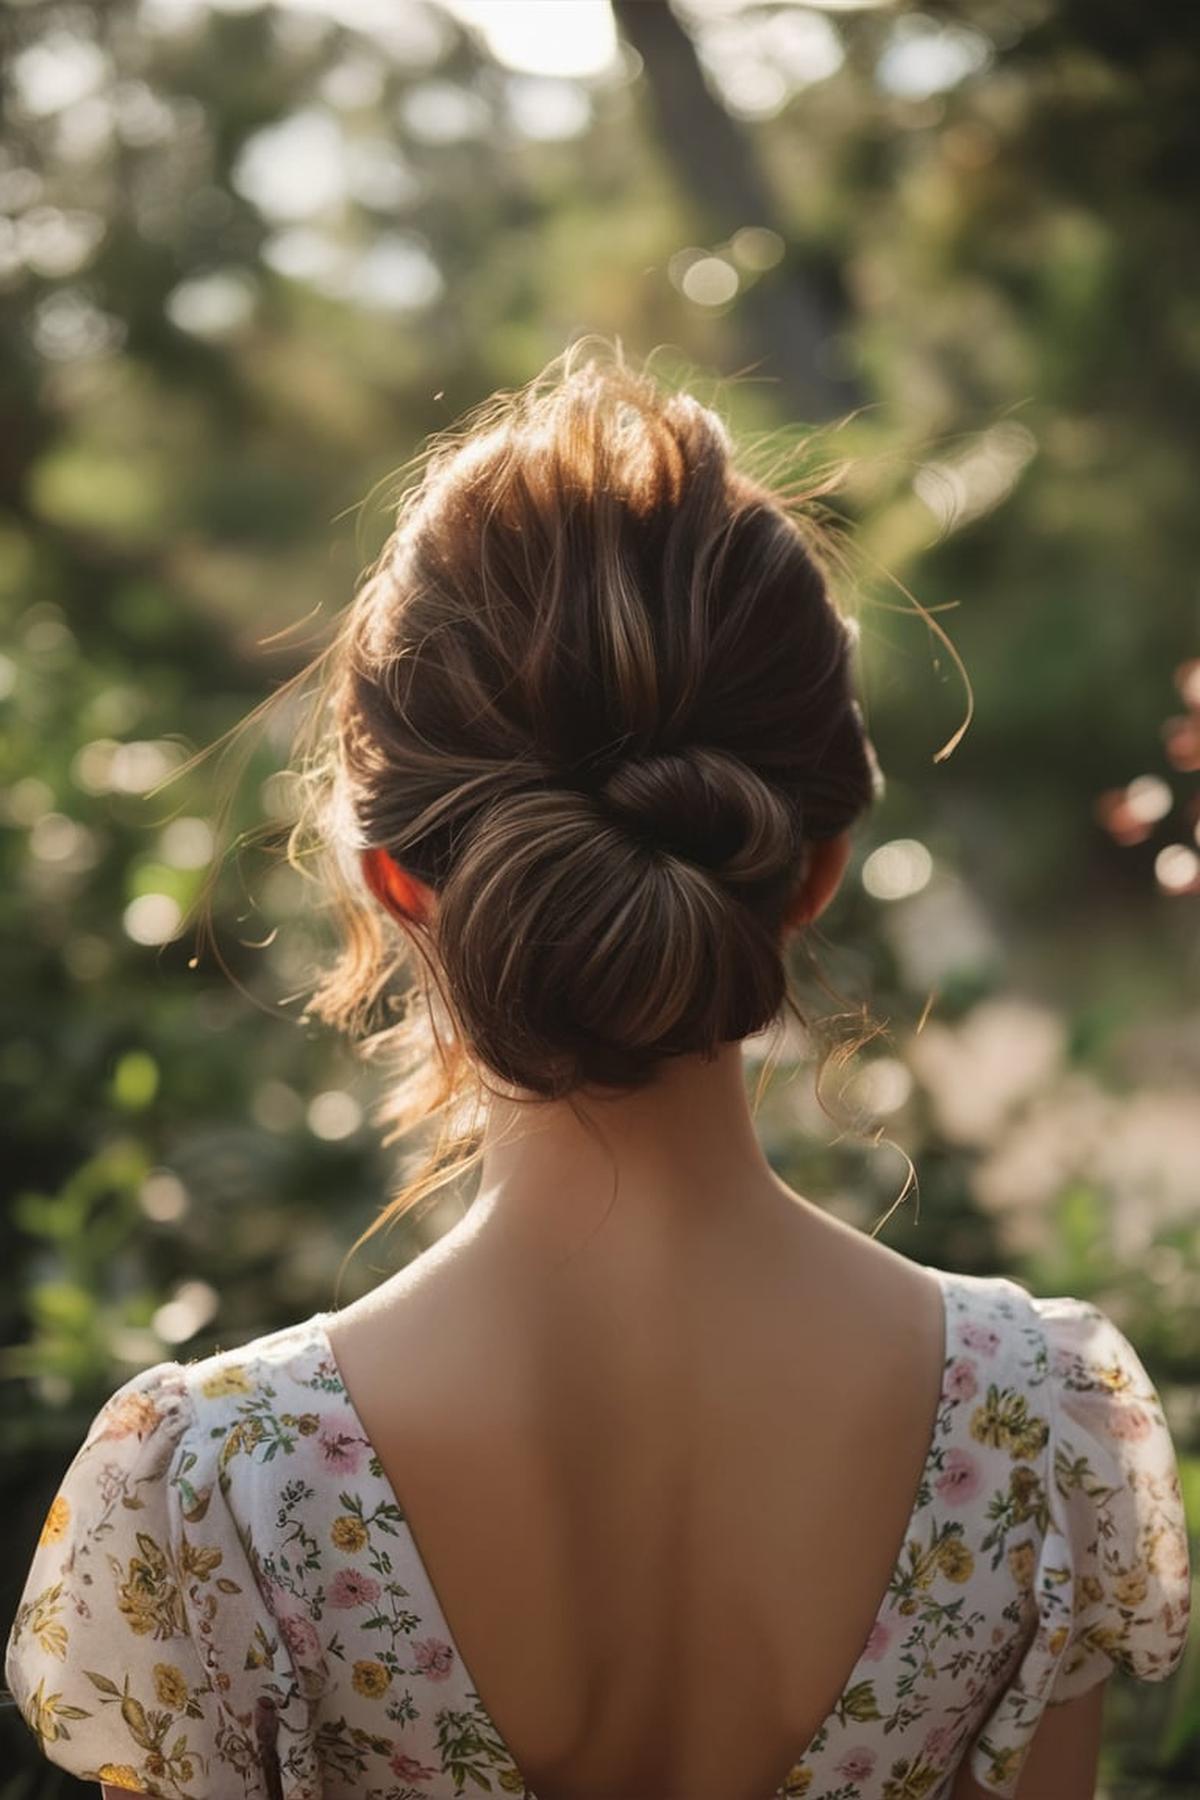
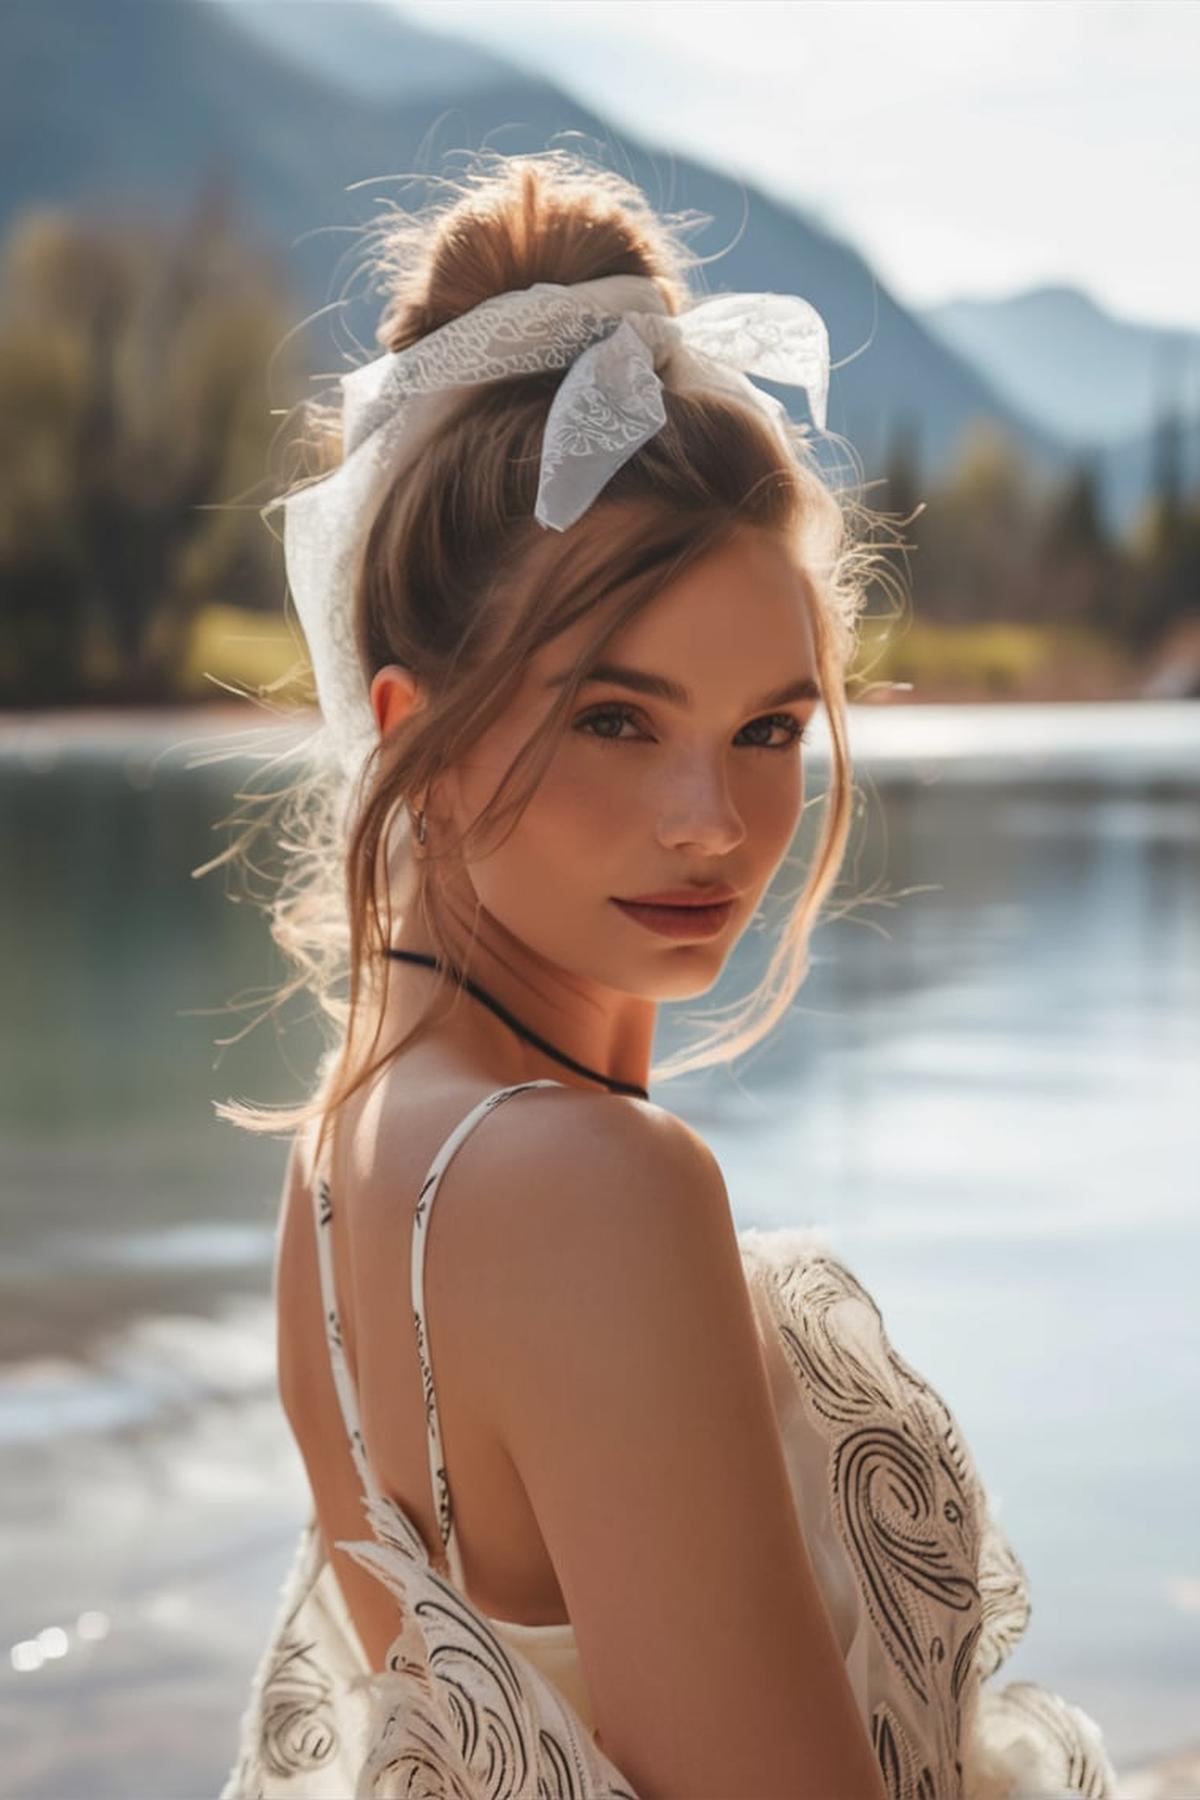
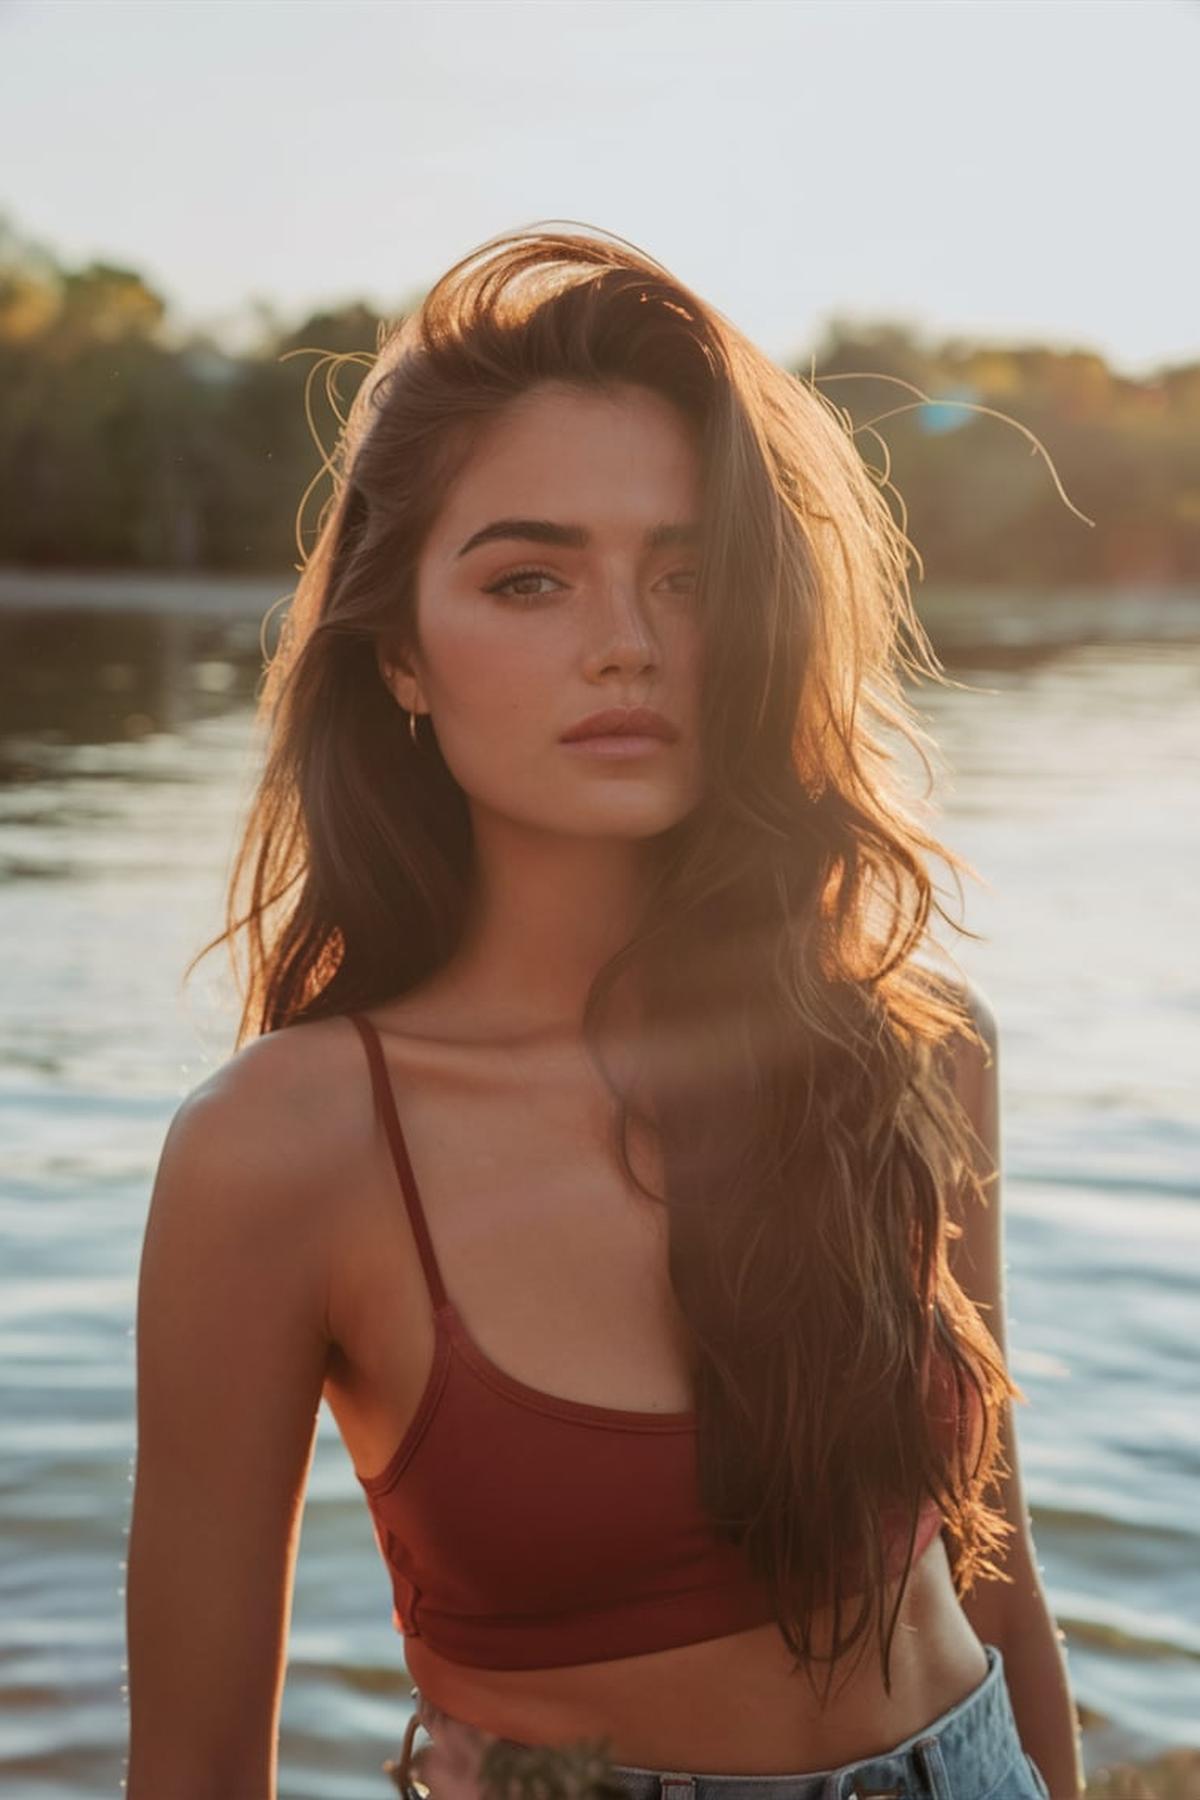
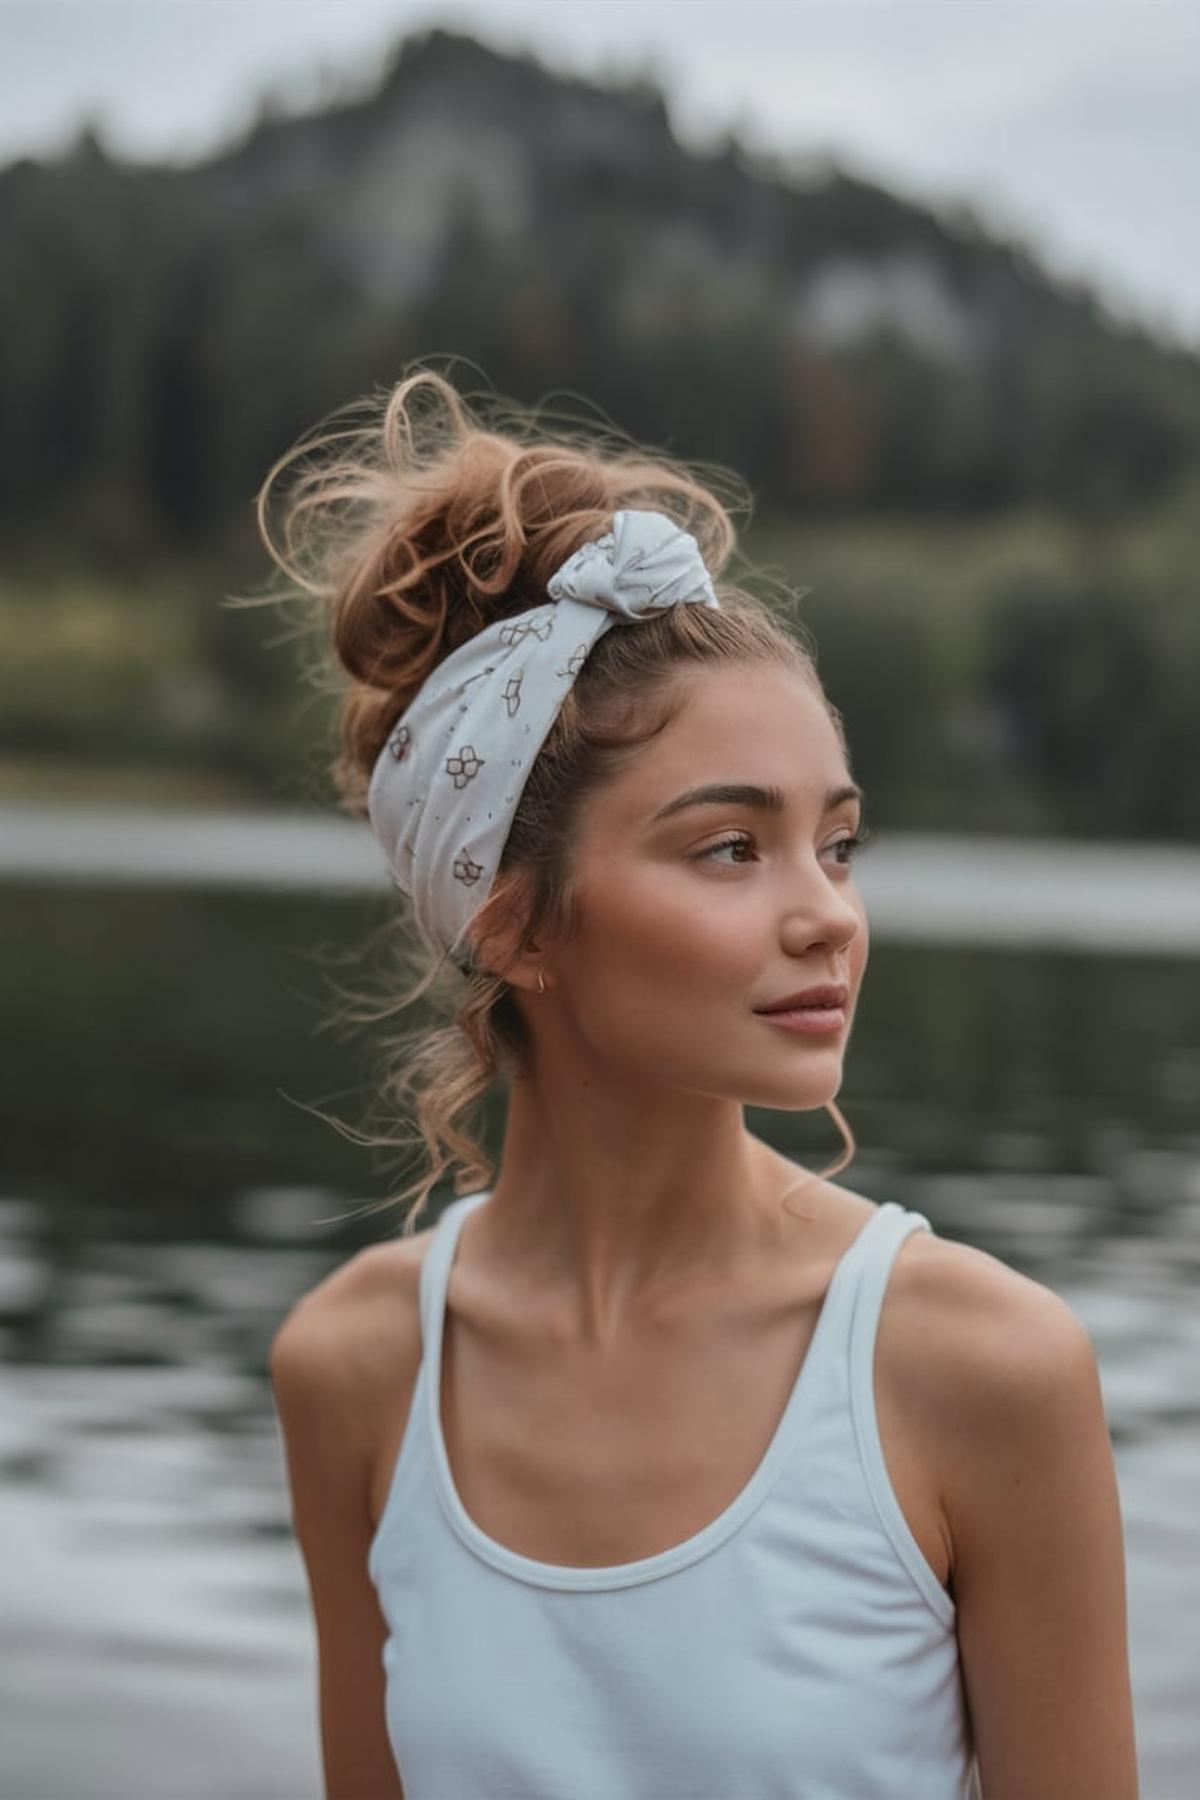
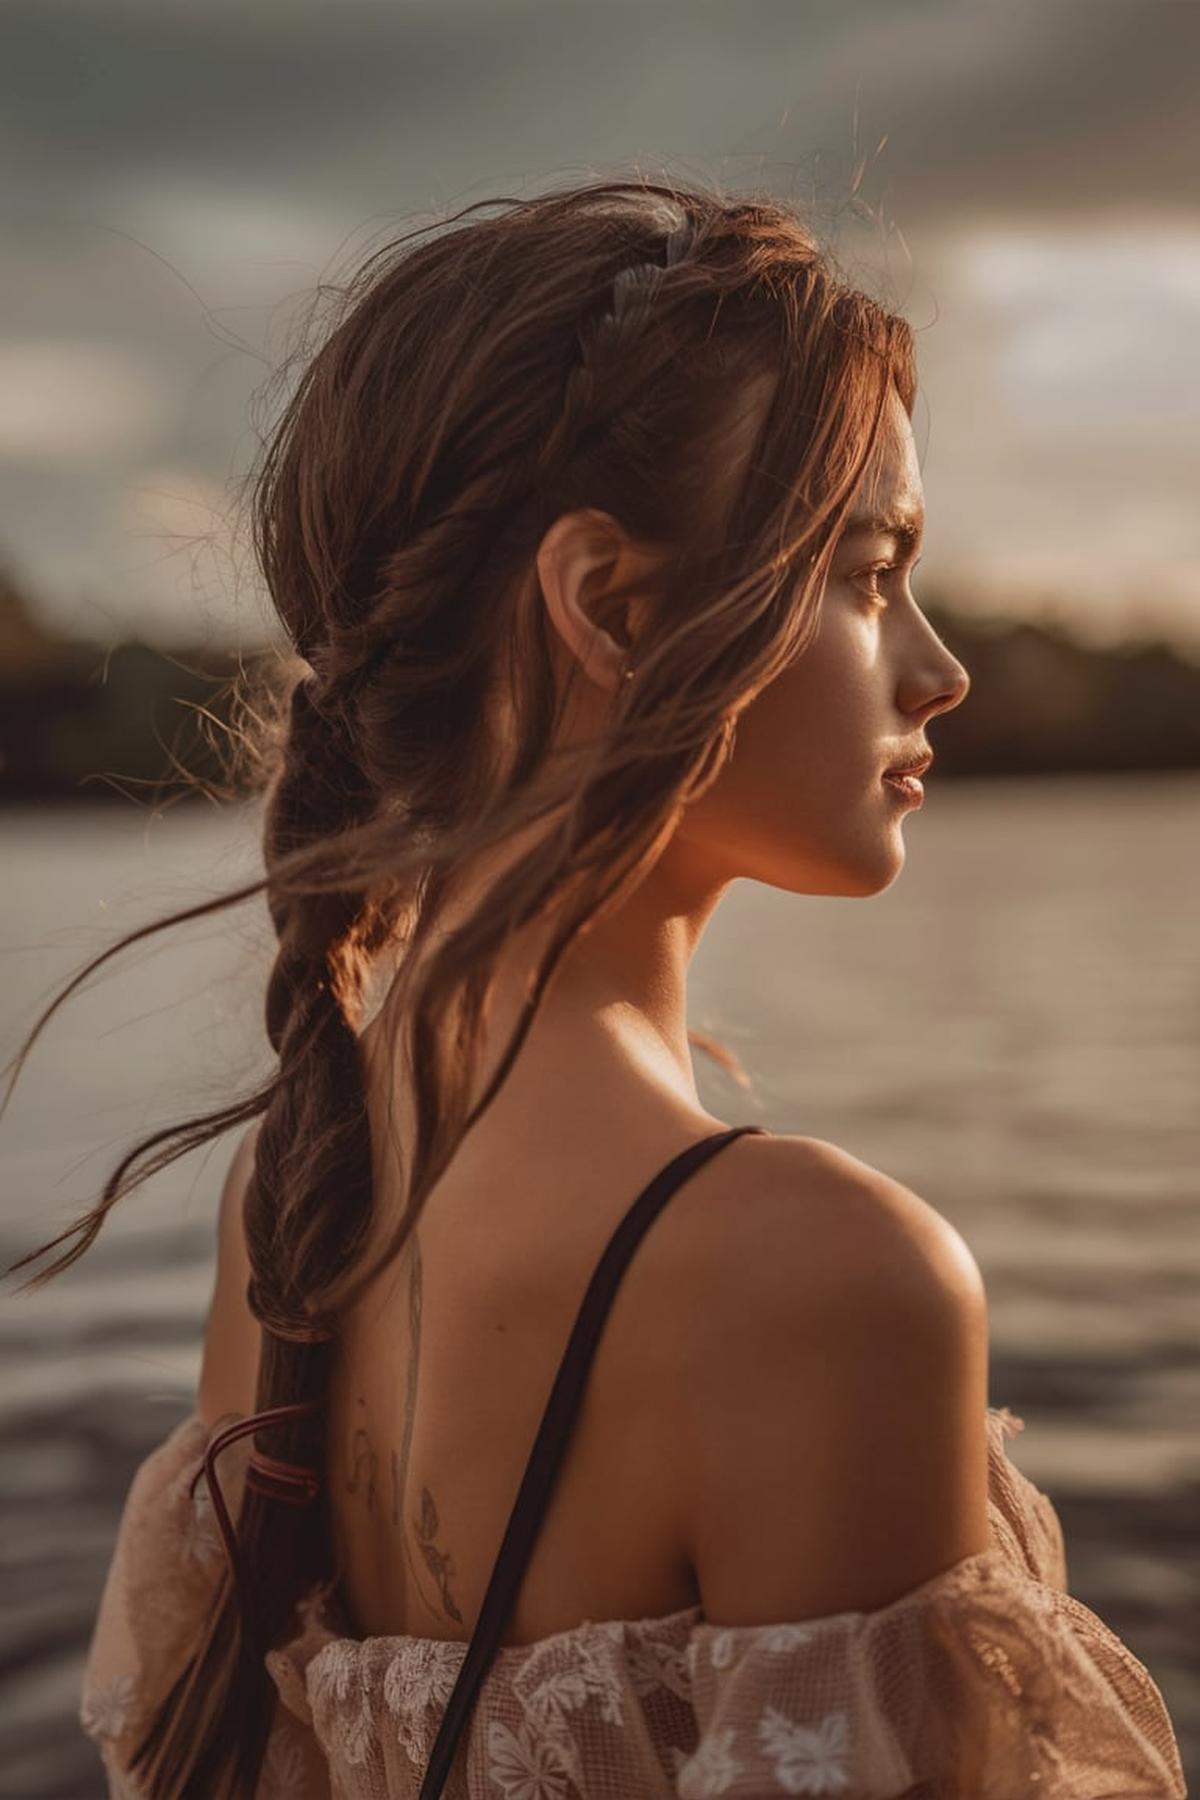
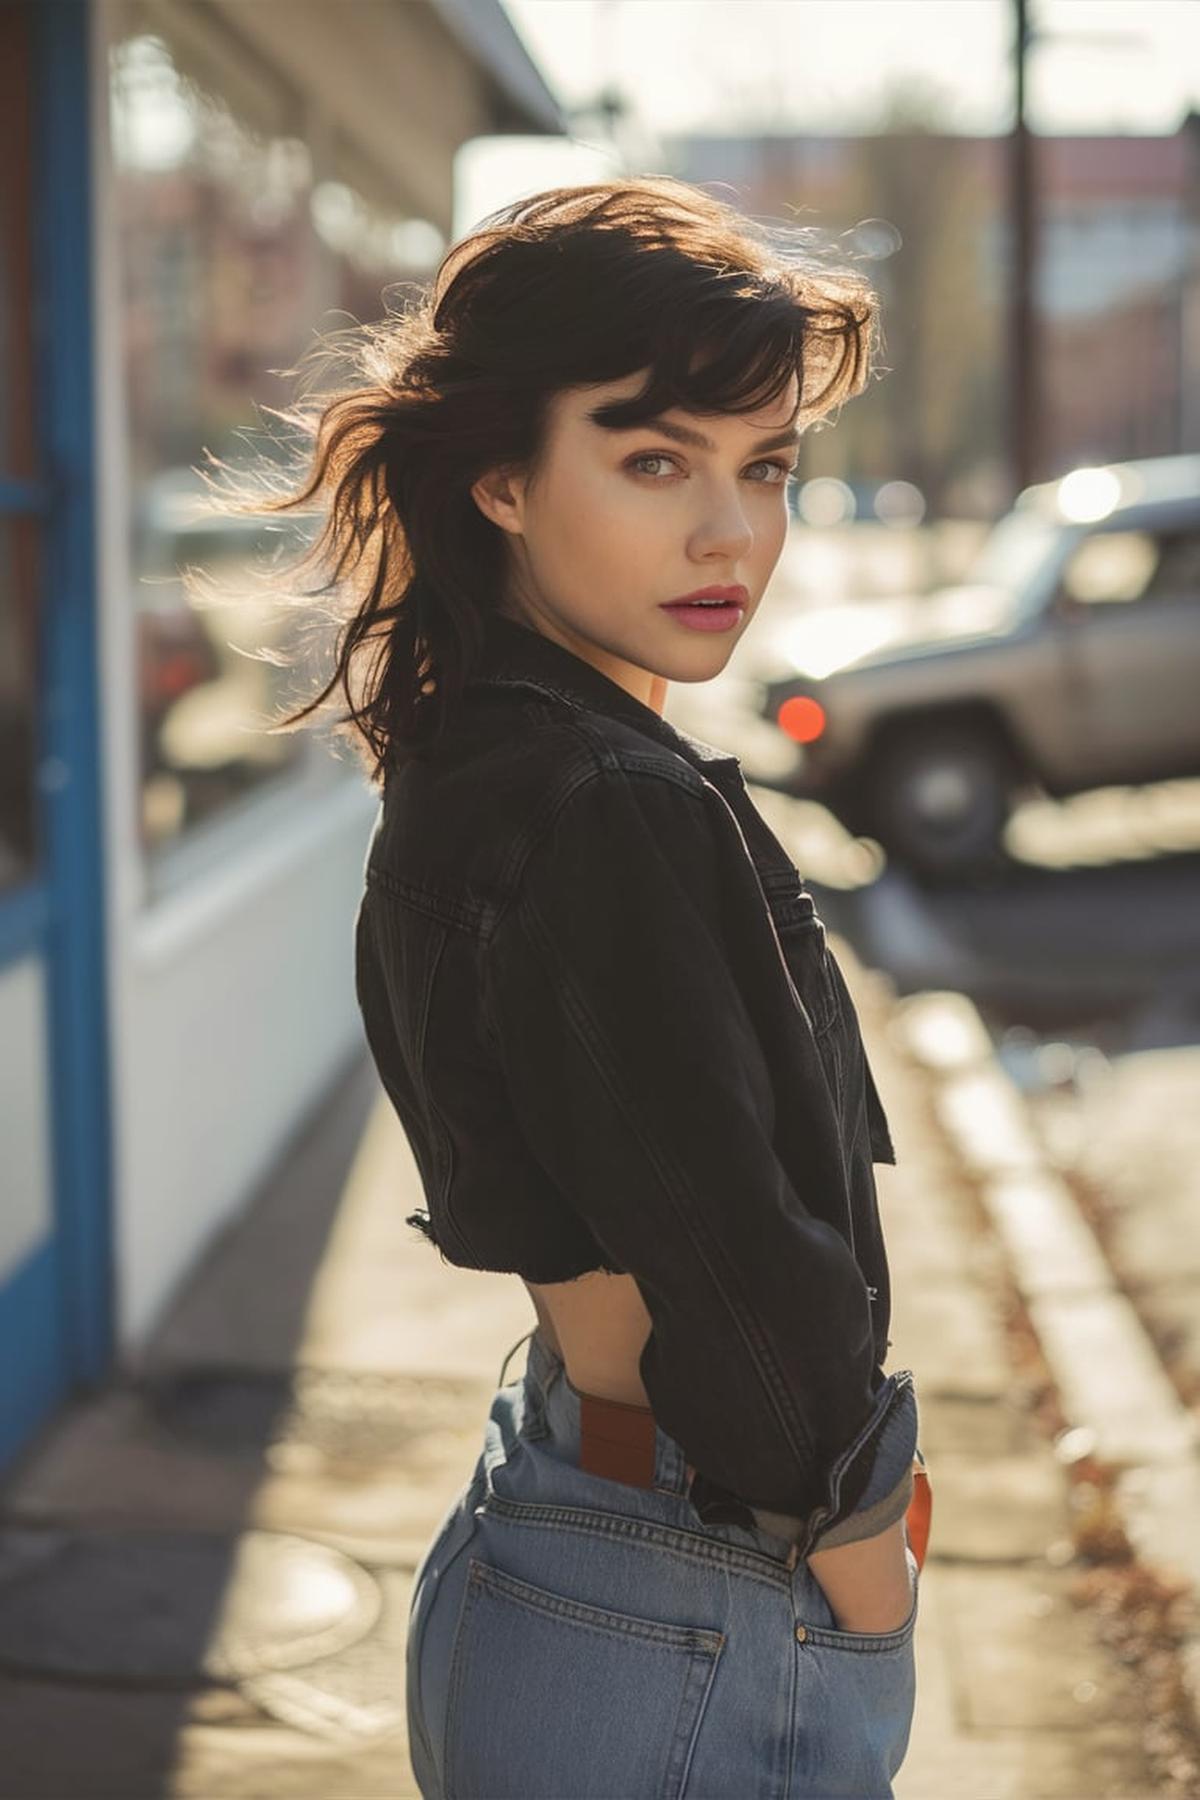
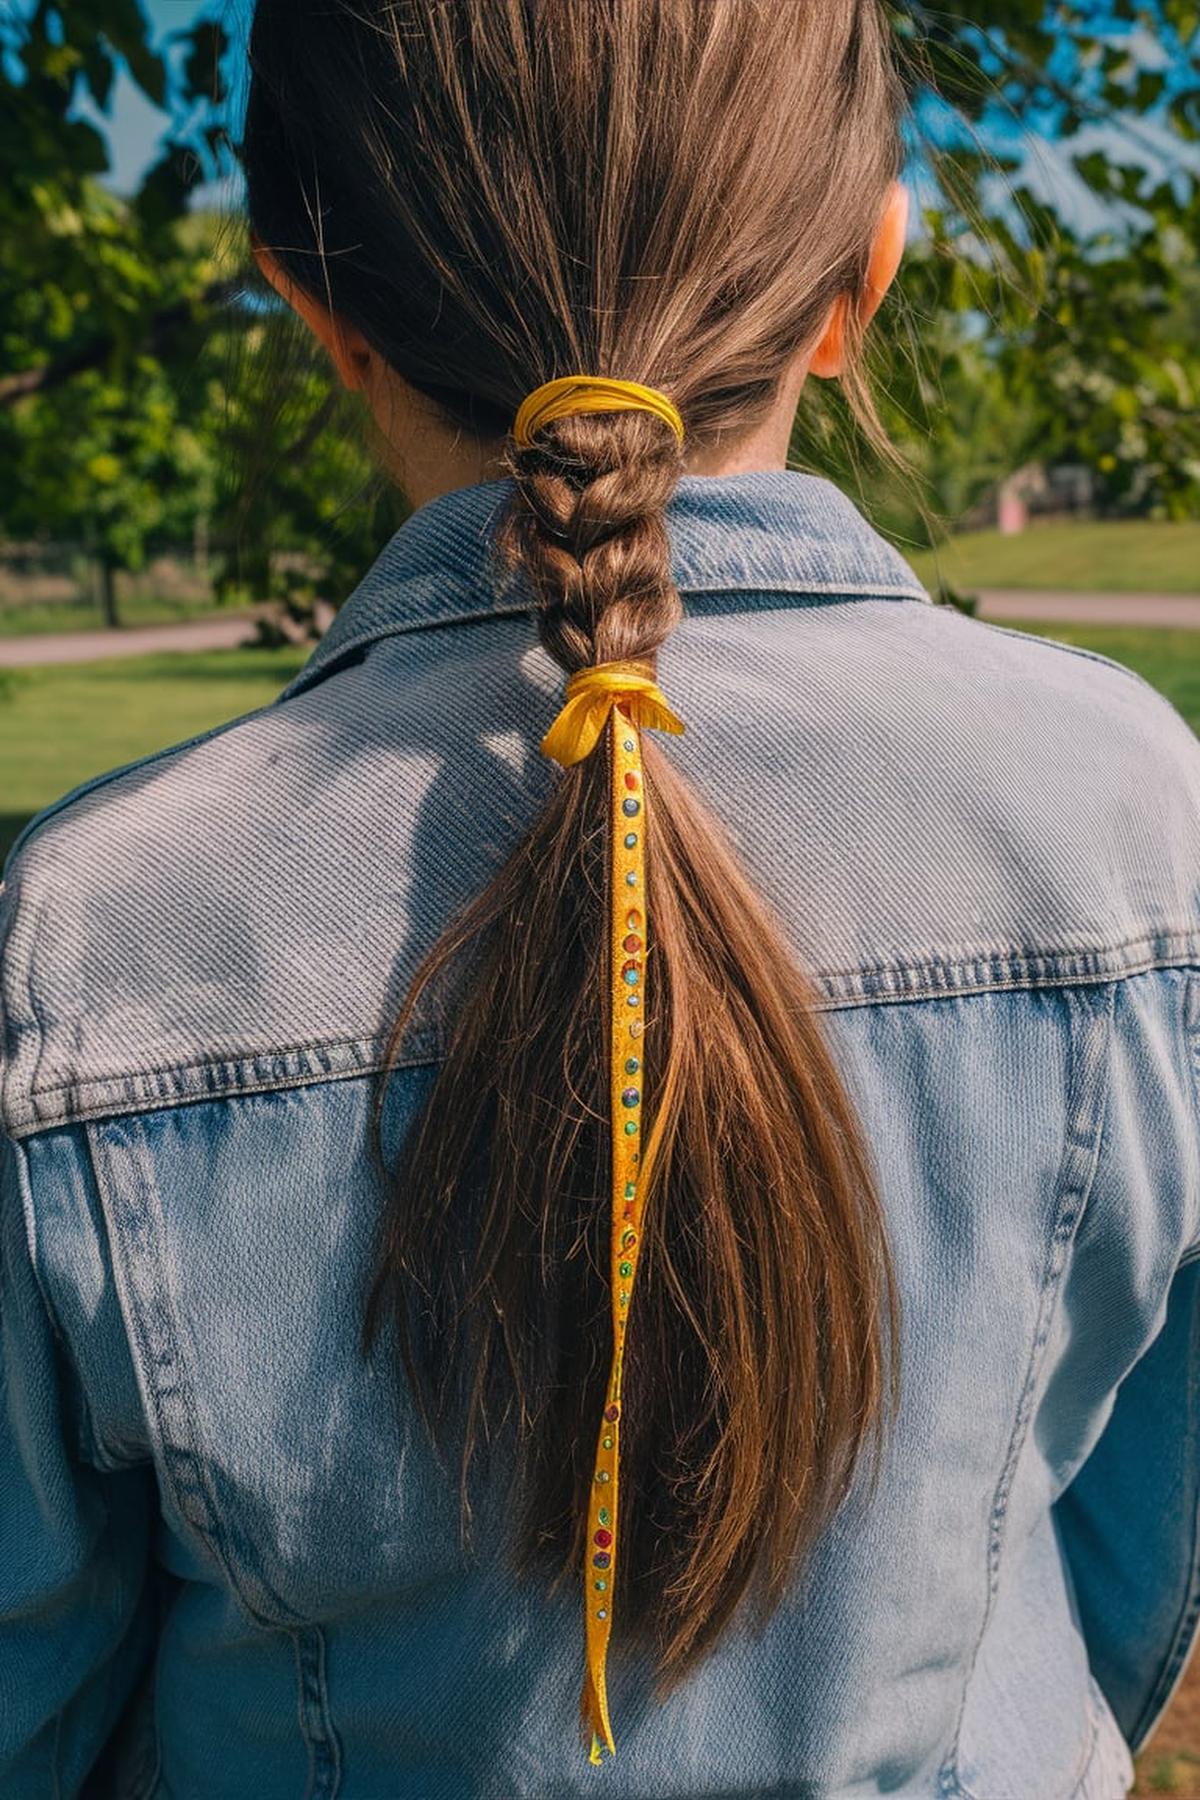
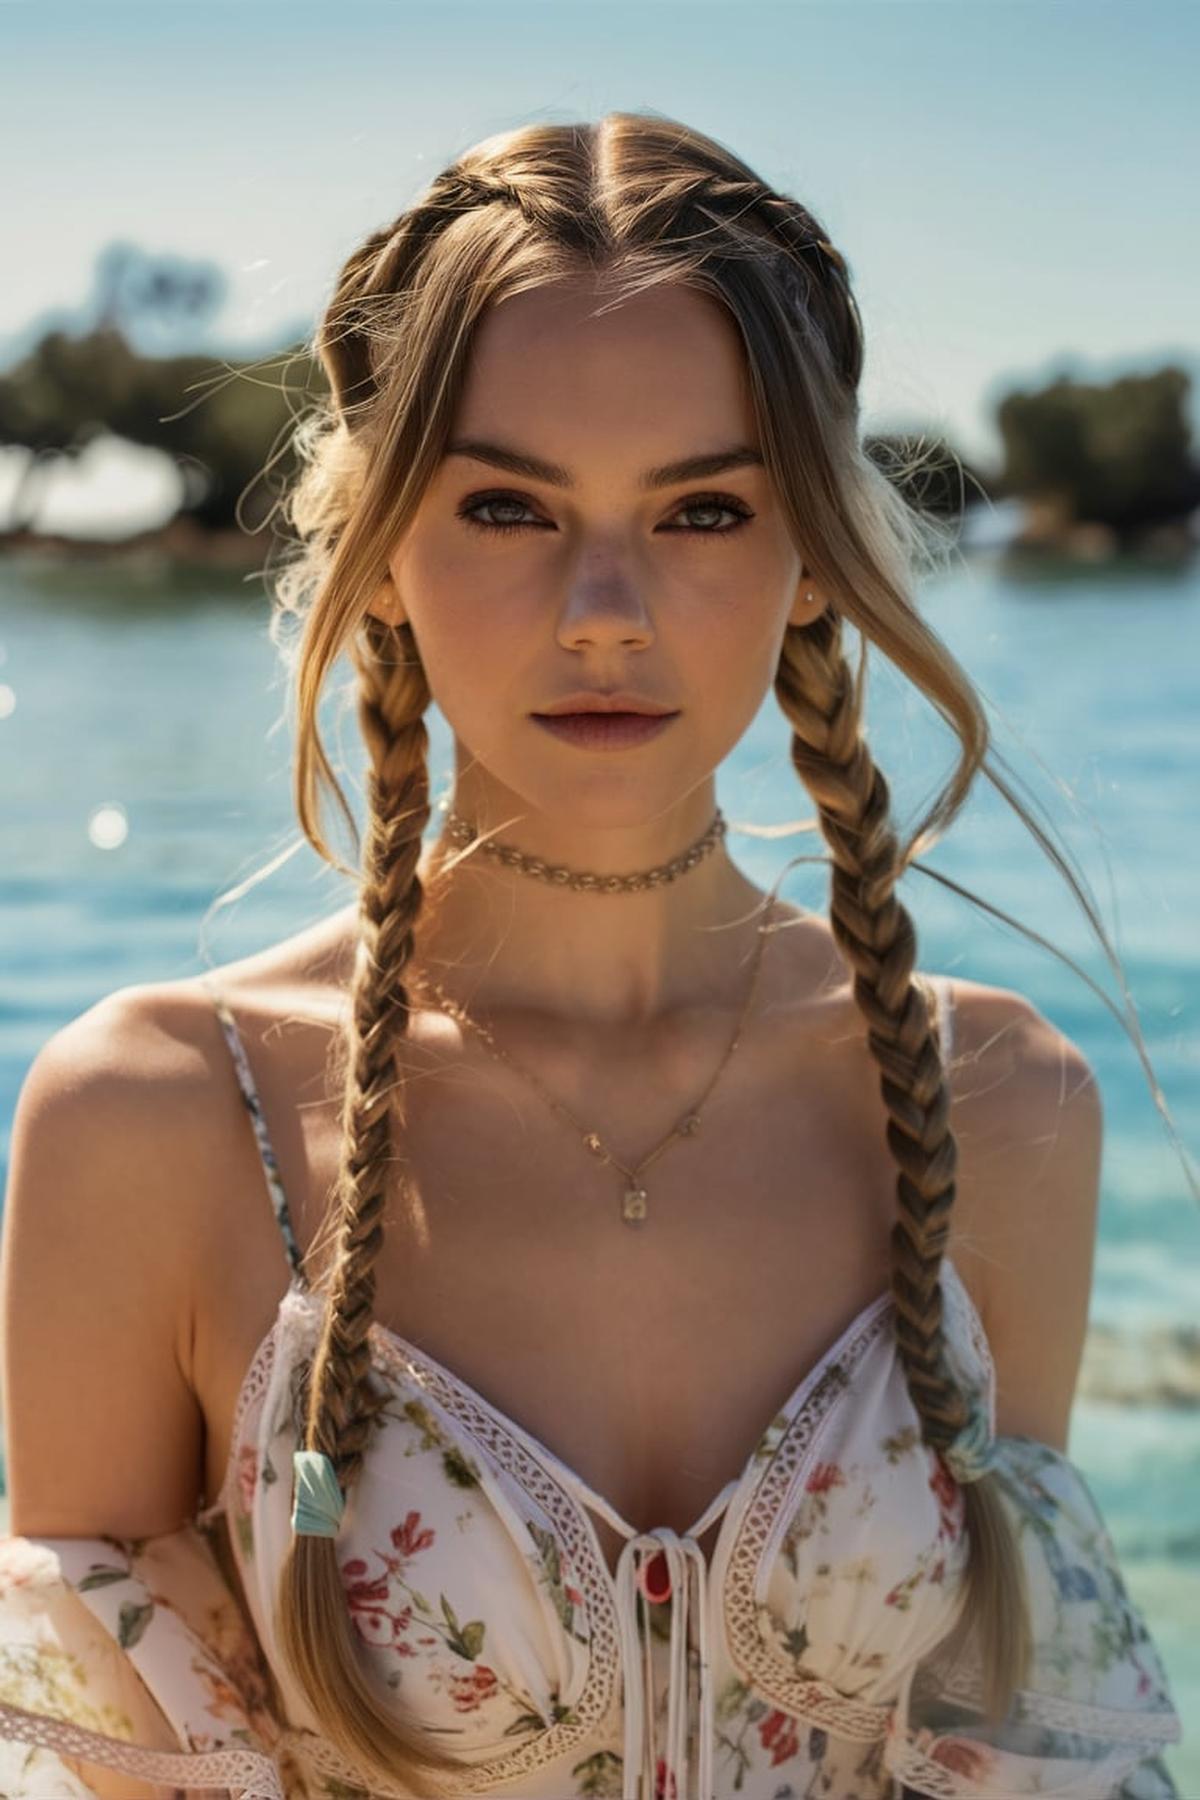
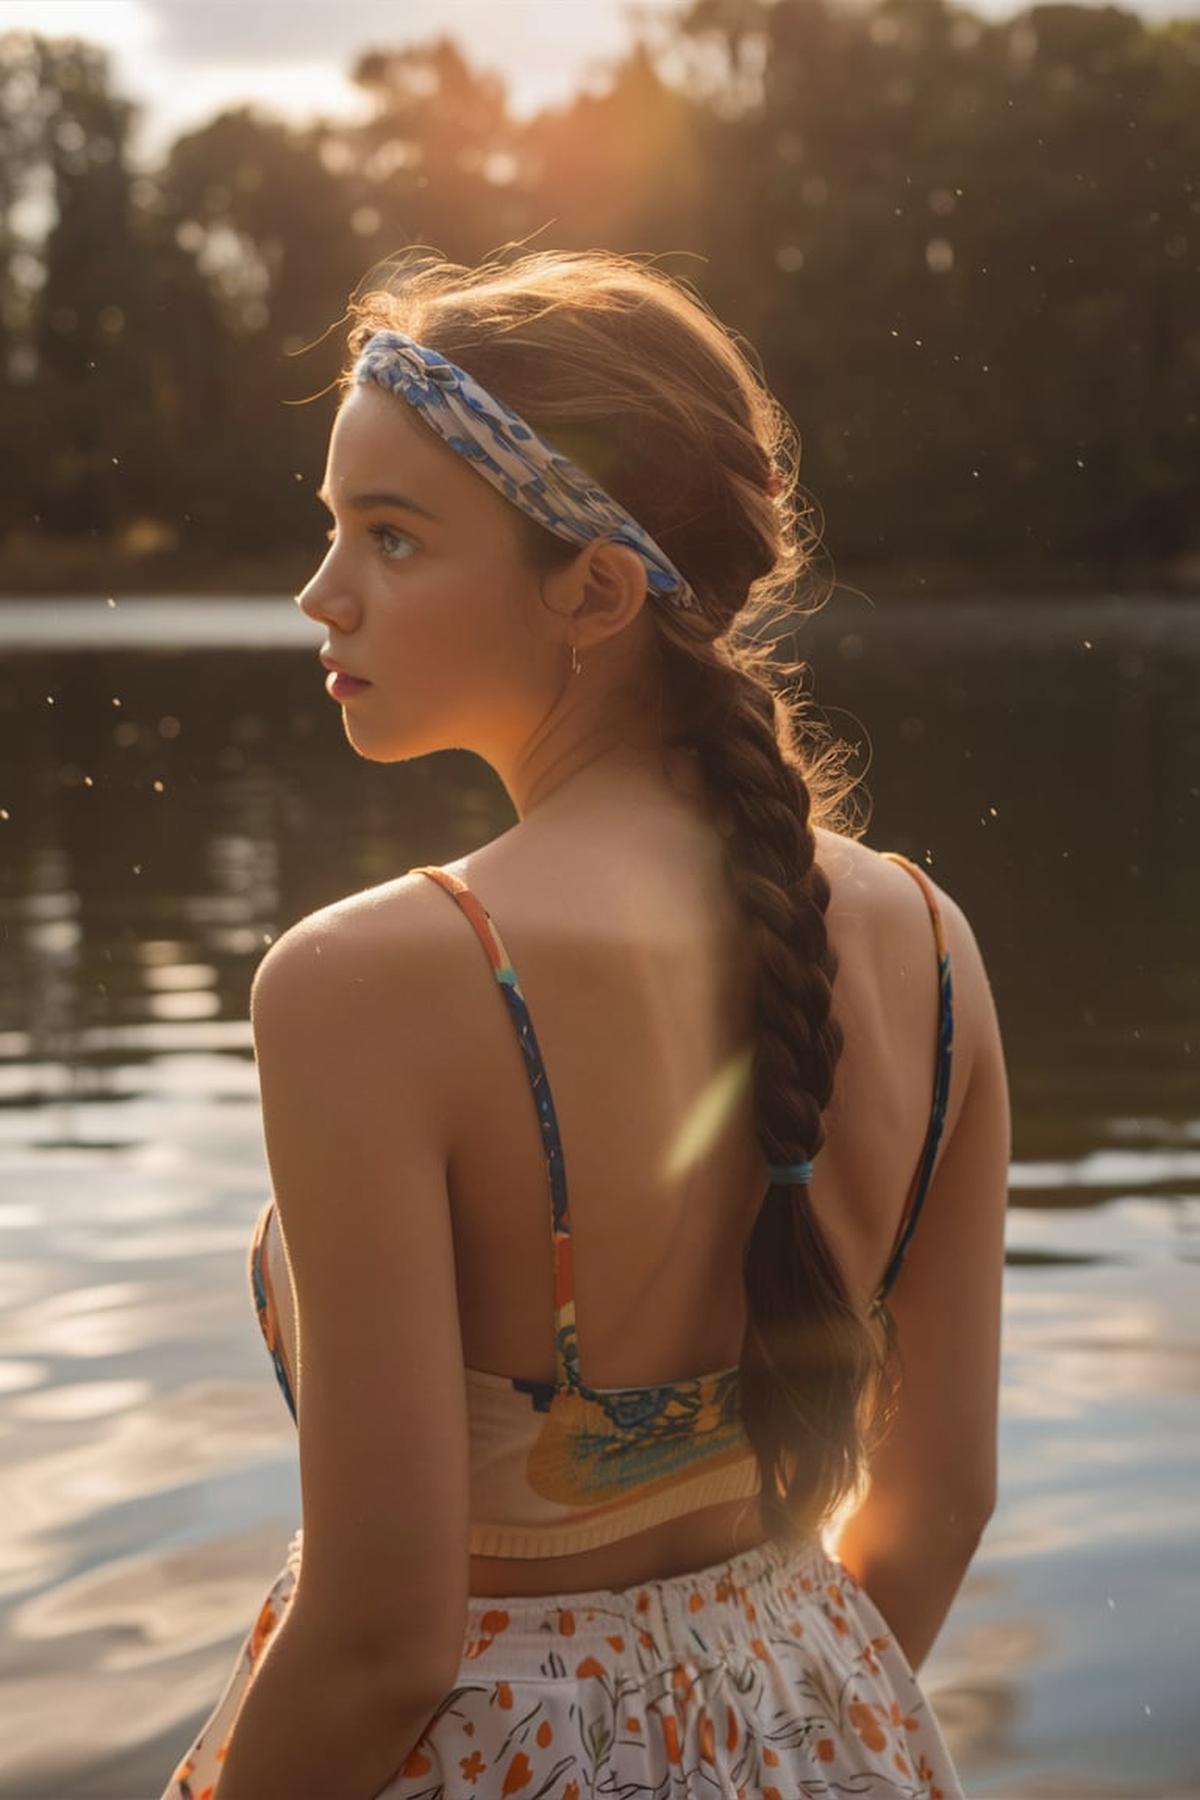
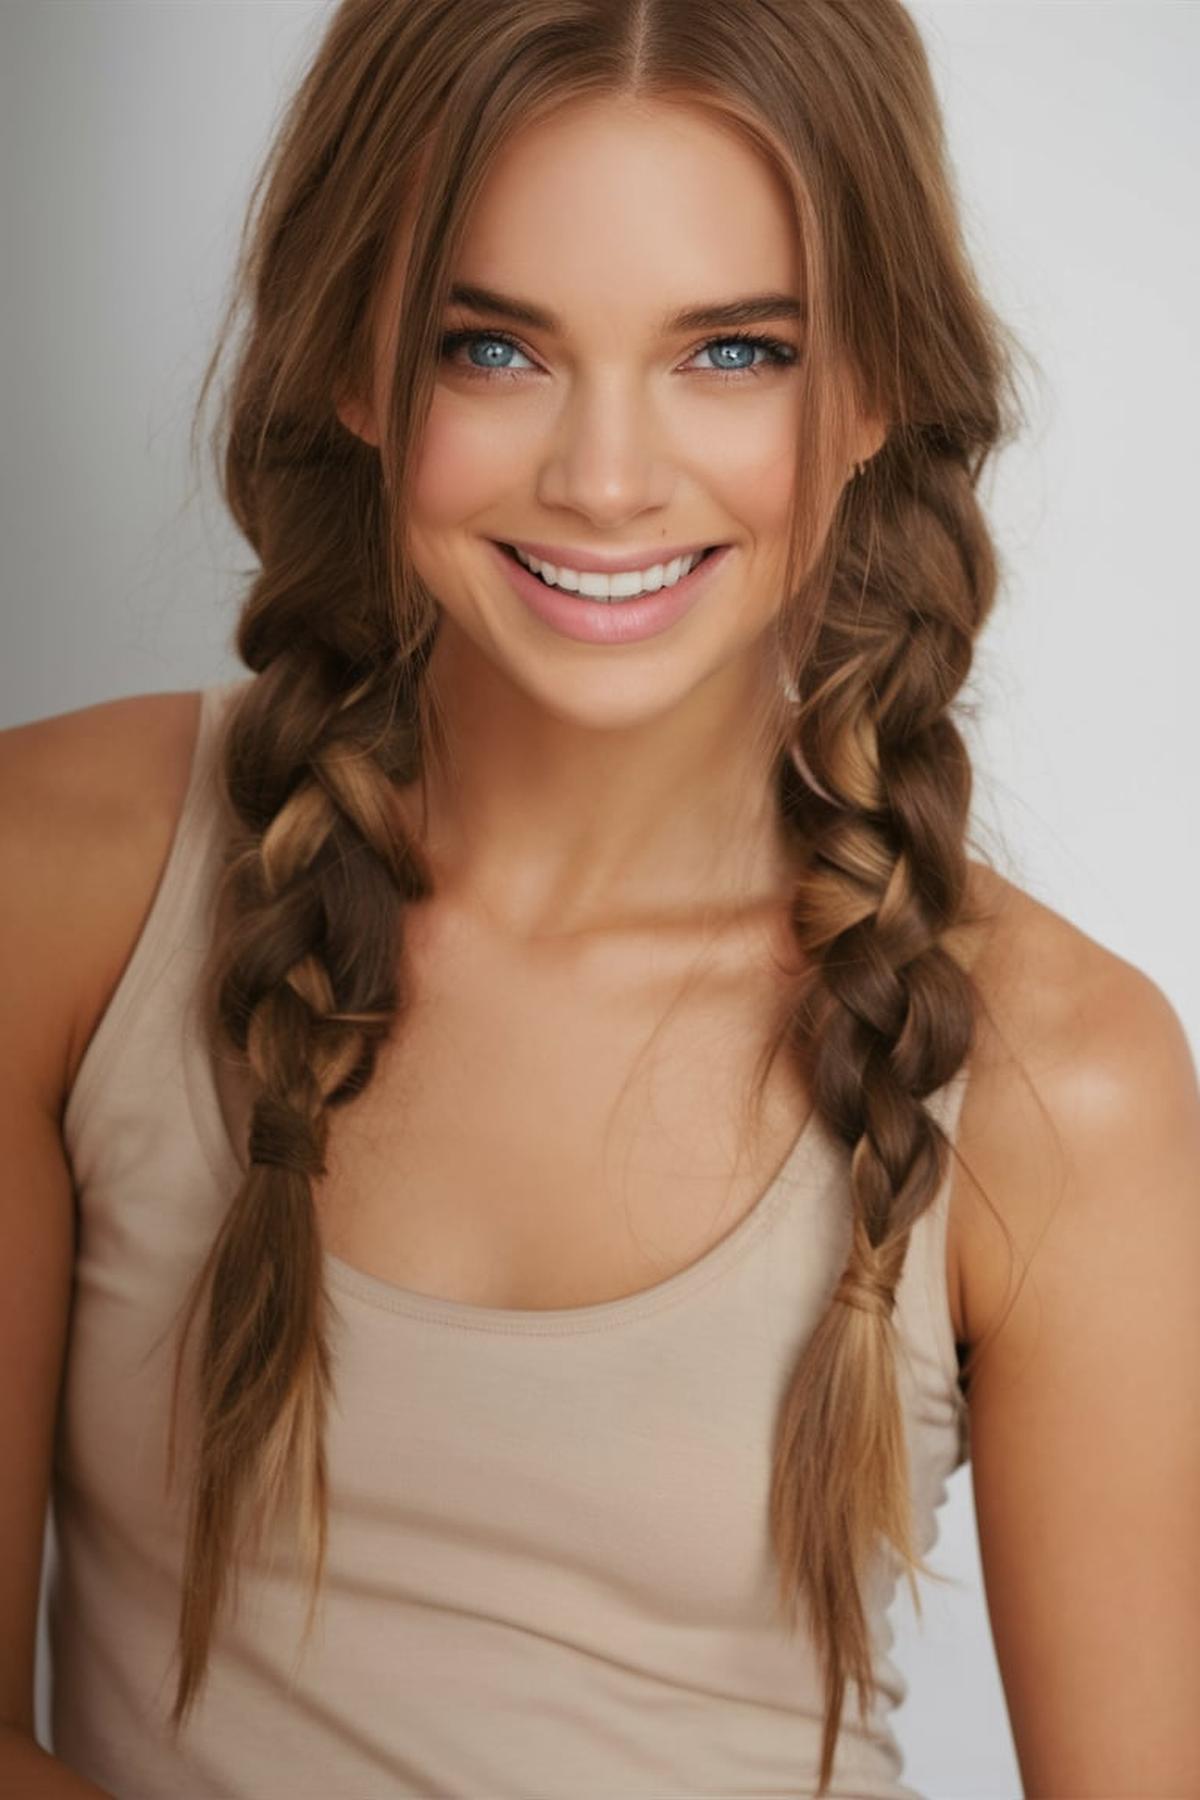
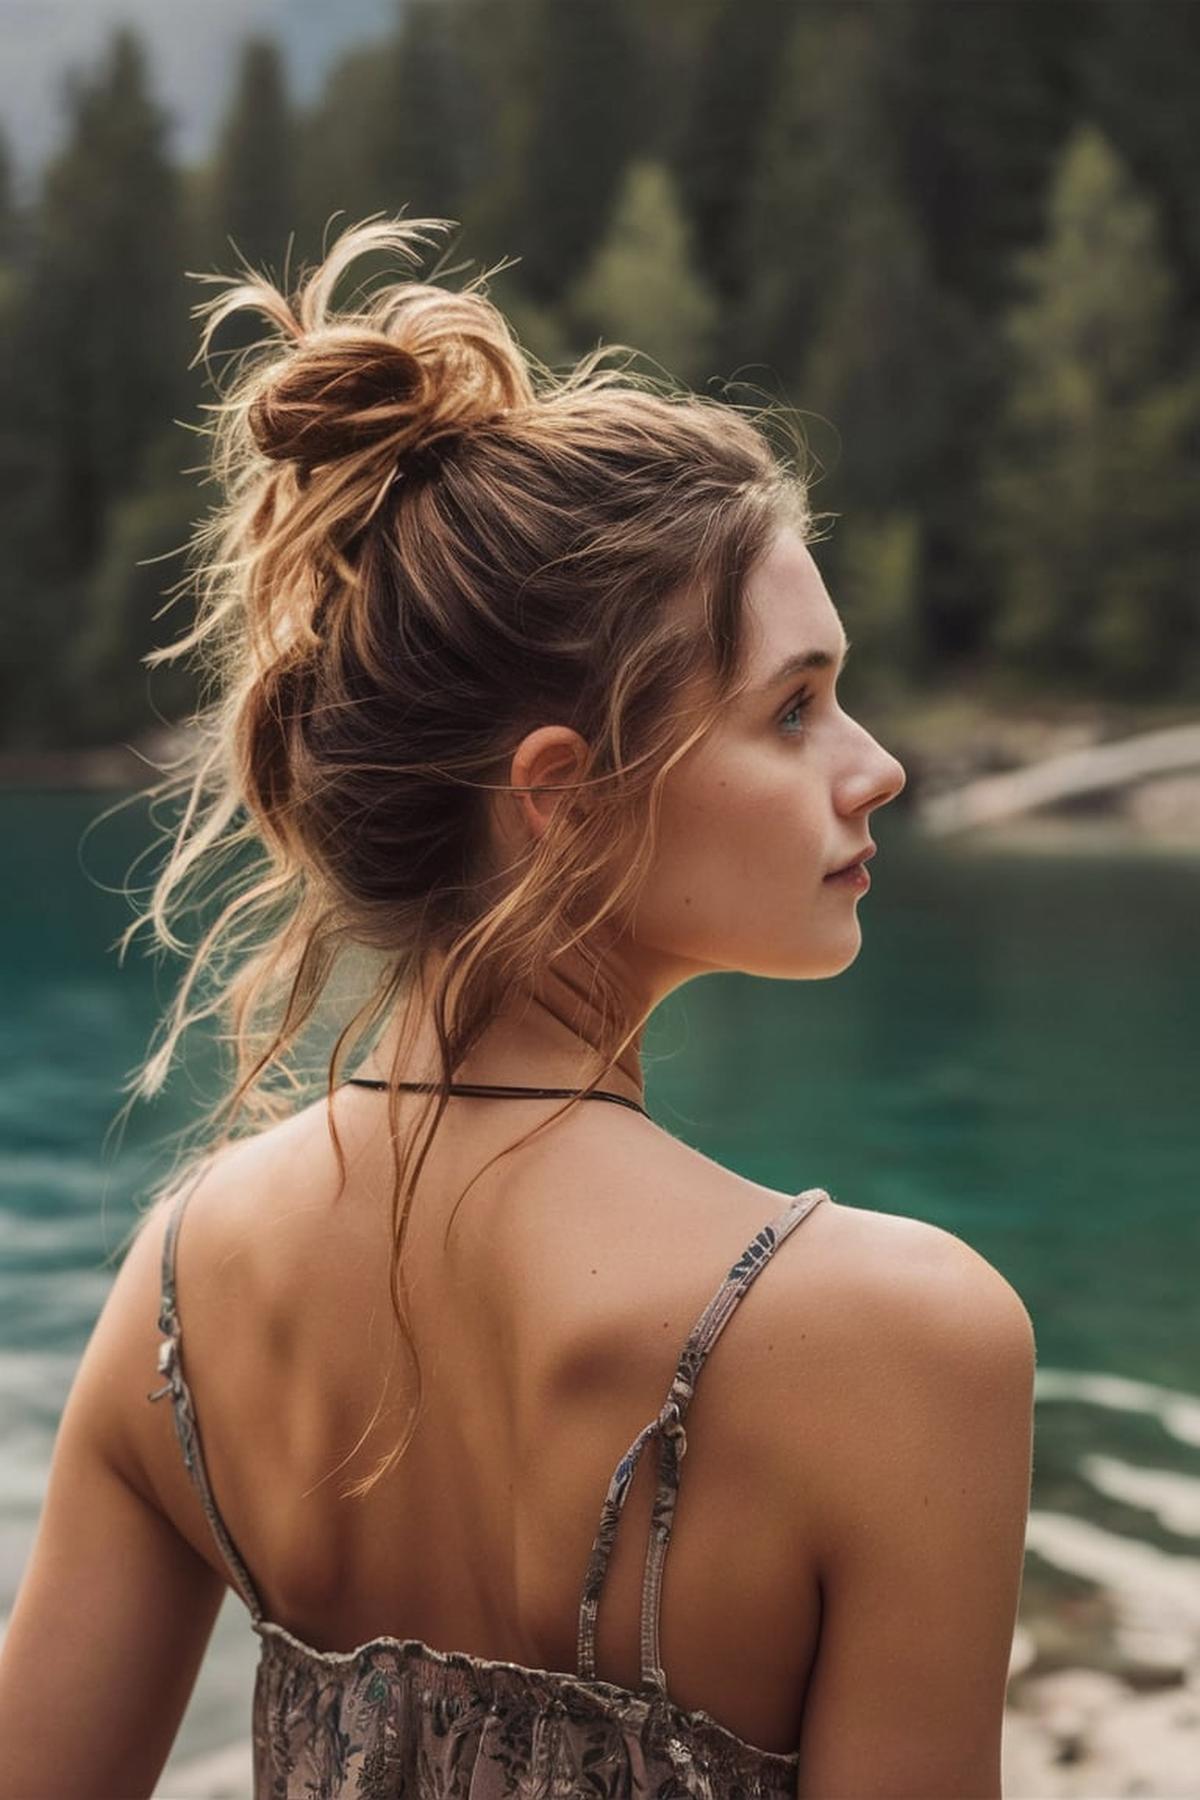
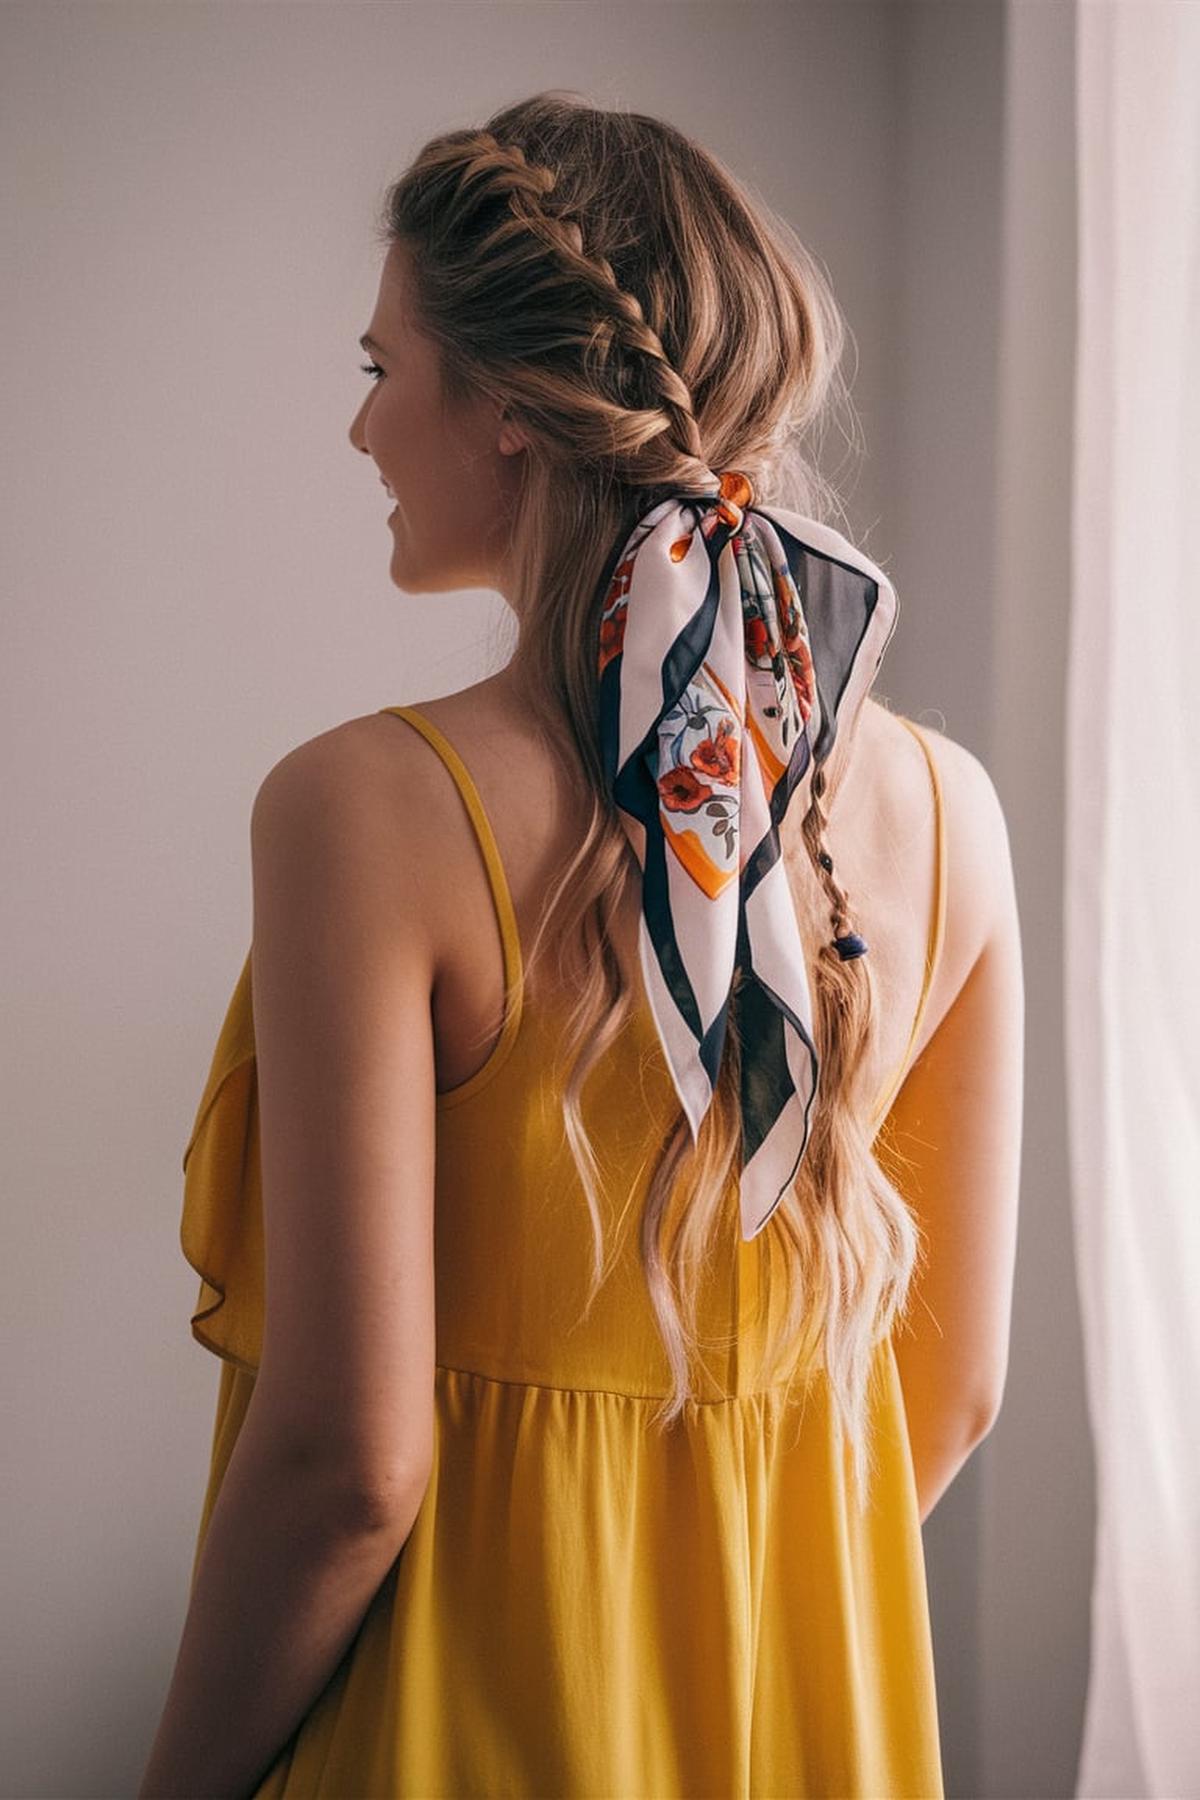
One popular choice is the messy bun, which is perfect for keeping hair off your neck while looking effortlessly stylish. You can also try braided pigtails for a playful vibe, or a slicked-back ponytail for a sleek and polished look.
They can be achieved with a curling wand or by scrunching damp hair for a more natural look. The half-up top knot is another great style that combines the best of both worlds—hair up and down.
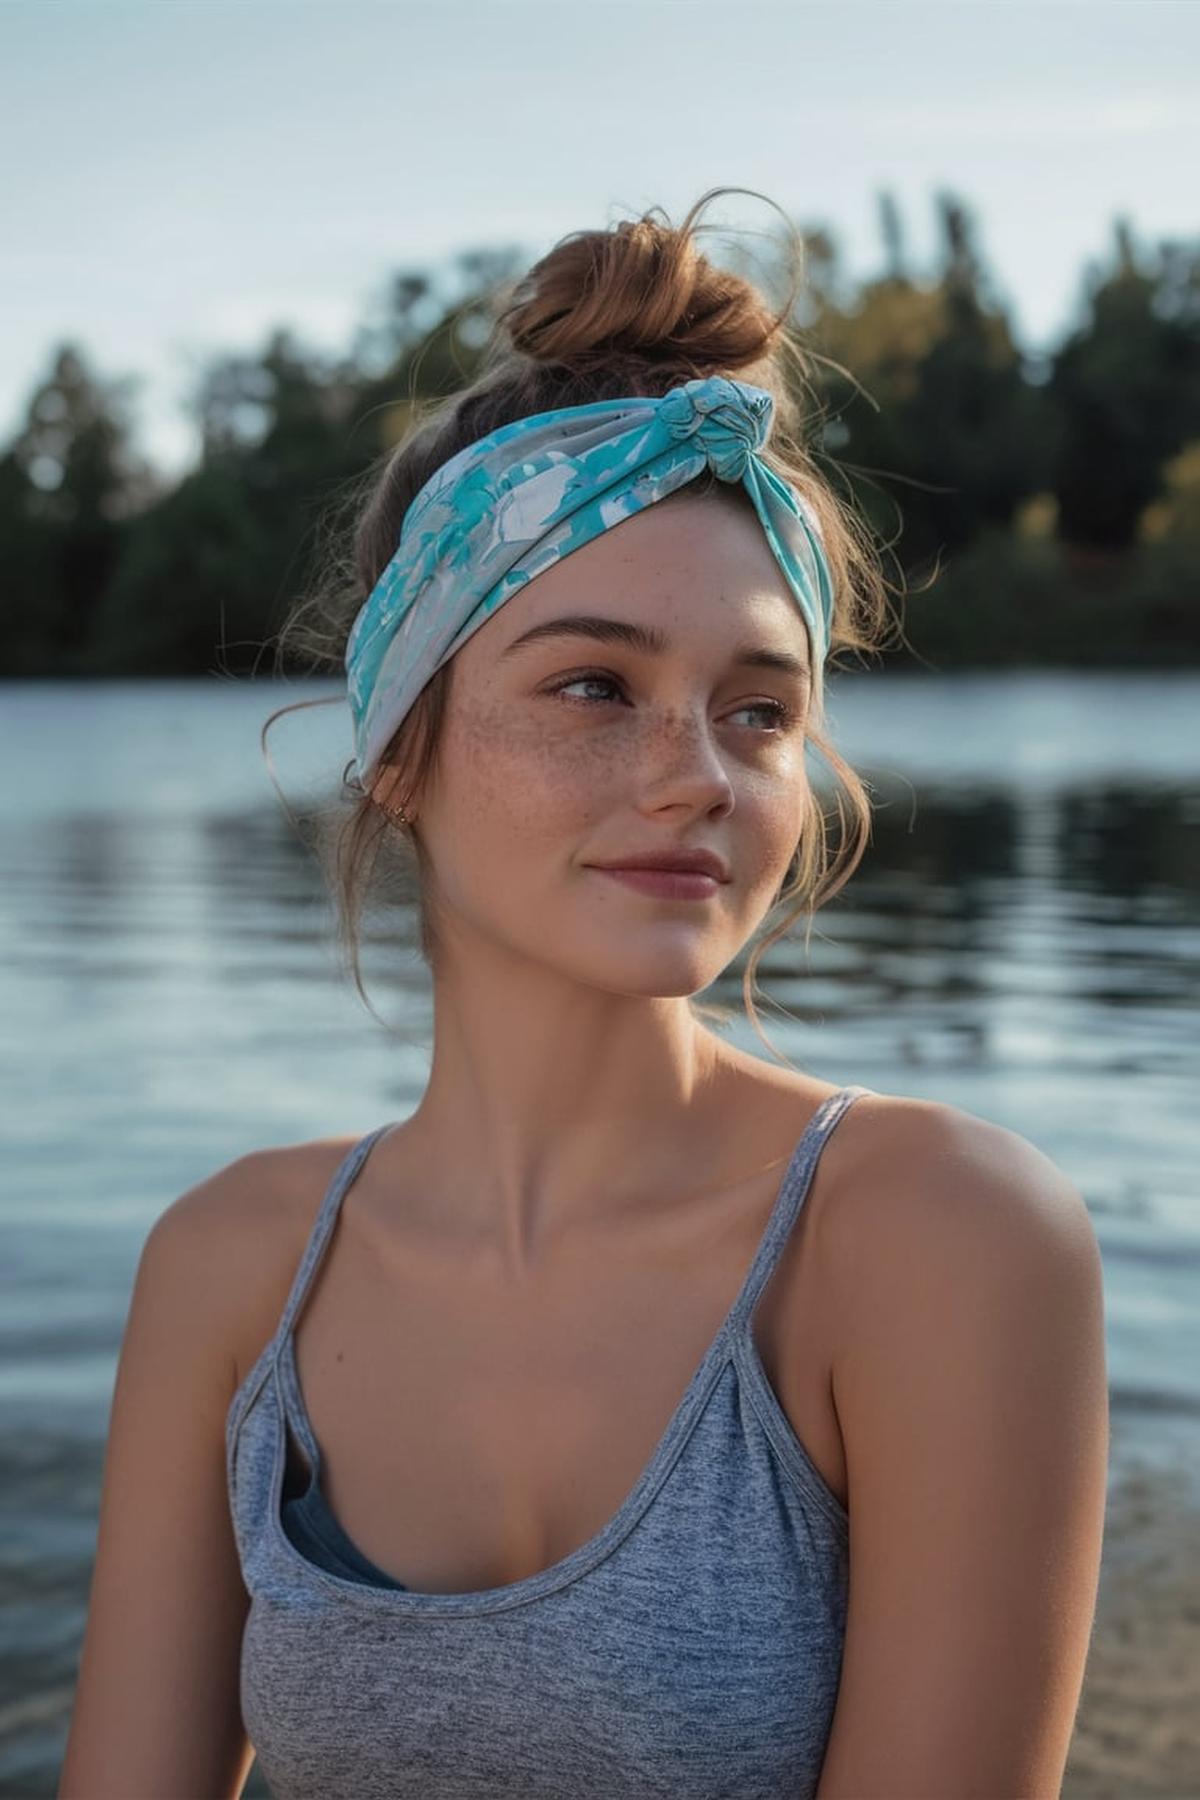
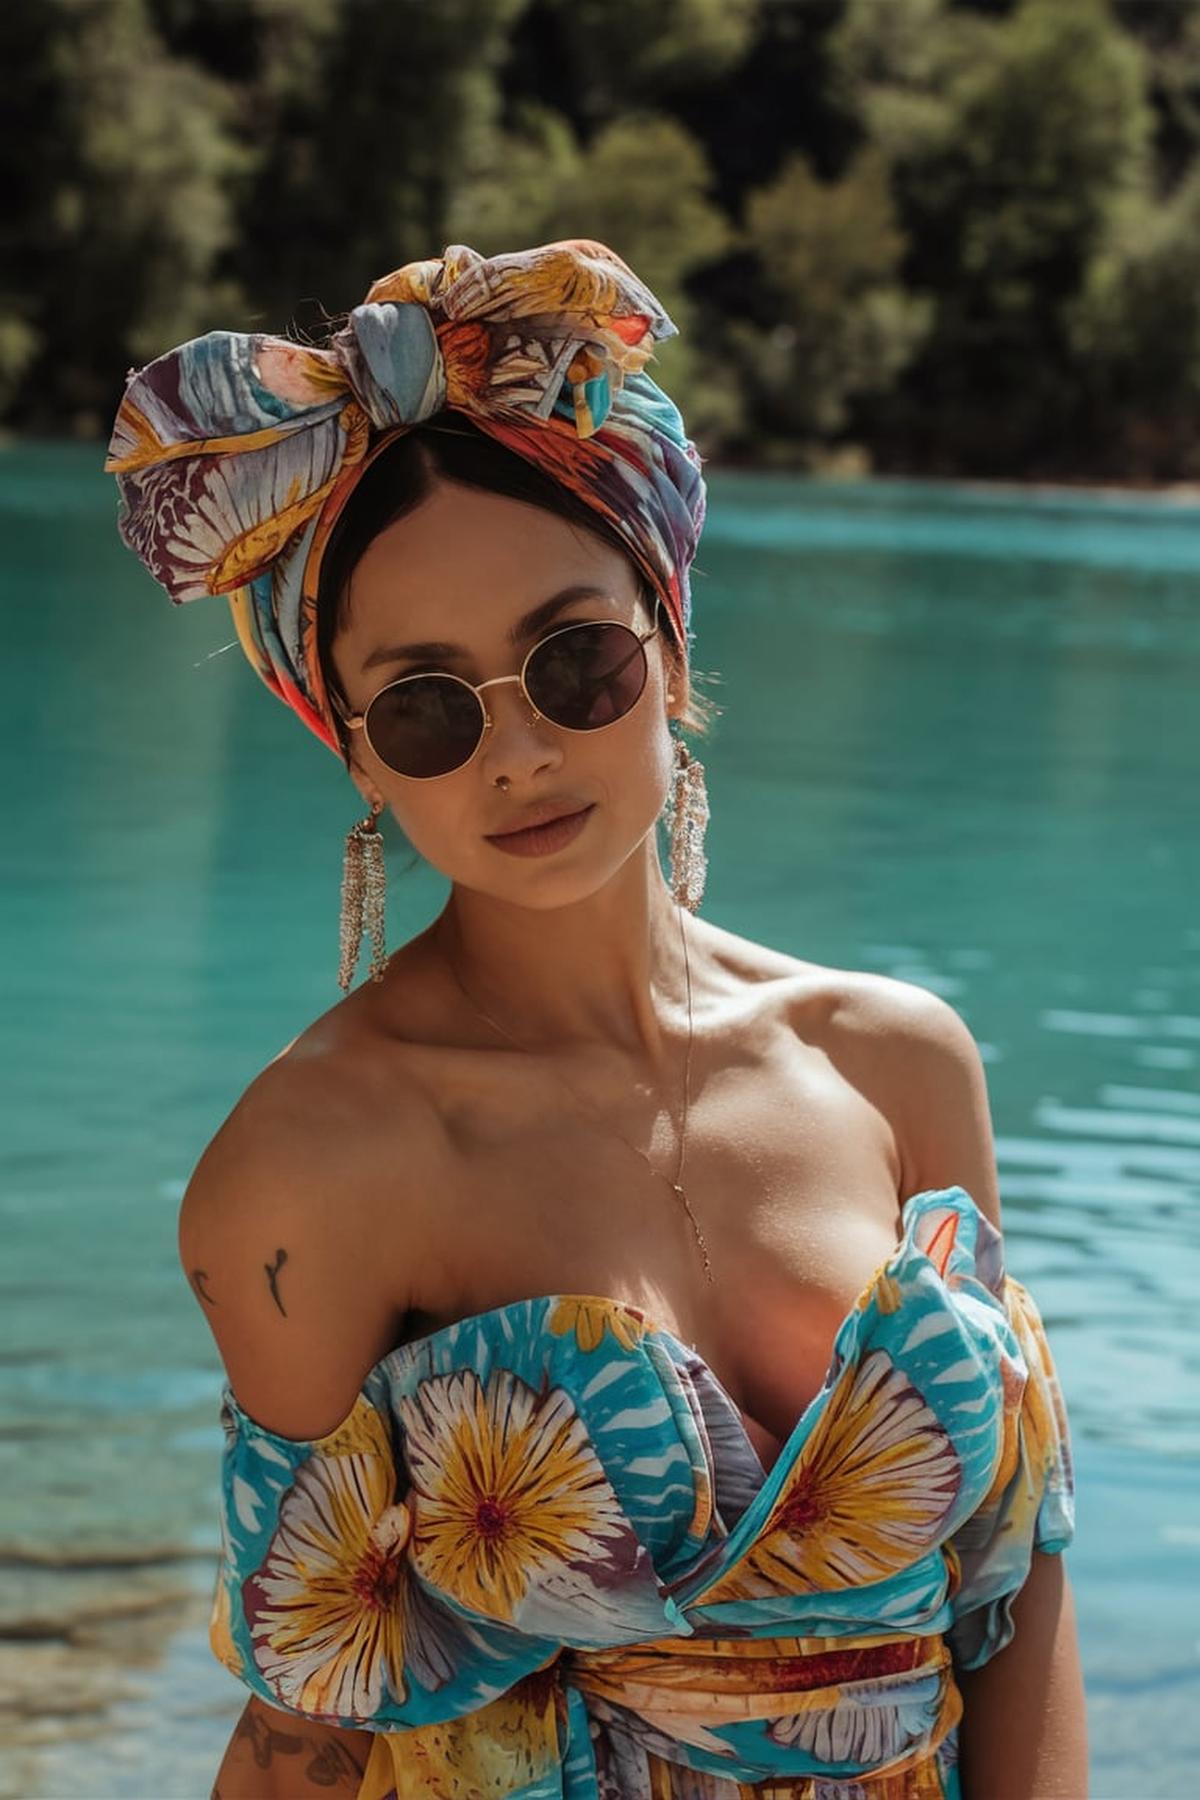
A headwrap or a bandana with a bun can add color and personality to your hairstyle. For a more intricate style, consider a fishtail braid or a halo braid. If you want to embrace the wet look, simply apply some gel to damp hair for a sleek finish.
Now, without further ado, let’s dive into 20 lake day hairstyles that’ll make you want to dive right in.
Messy Bun
This means it’s best to do it a day or two after washing your hair. Dirty hair has more texture and grip, making it easier to style. If your hair is clean, use dry shampoo or a texturizing spray to add volume and texture. Begin by flipping your head upside down and gathering your hair into a loose ponytail at your desired height.
The key here is to keep it loose and relaxed. After wrapping the hair around, secure it with a hair tie or some bobby pins. If you want to enhance the messy effect, gently pull out a few strands around your face.
Finally, adjust your bun until you’re happy with its shape and size. If you notice any flyaways or loose strands, you can use a bit of hairspray to keep everything in place. The messy bun is versatile and can be worn for casual outings or more formal events, depending on how you style it. With practice, you’ll find the perfect balance between messy and stylish, making this a go-to hairstyle for any occasion.
Braided Pigtails
First, you need to divide your hair into two equal sections. Secure one side with a clip so it stays out of the way while you work on the other side. Take three small sections of hair from the top of the loose side and begin your braid by crossing the right section over the middle, then the left section over the new middle section. This is the foundation of your braid.
Do the same on the left side. Continue this process, adding hair from the sides as you go down. Once you reach the end of your hair, secure the braid with a small elastic.
It might feel tricky at first, but the more you try, the easier it will become. If your arms get tired, take breaks and don’t rush. You can also use some styling products like hairspray to help manage any flyaways and keep your braids looking neat. With time, you’ll be able to create beautiful braided pigtails that are not only stylish but also practical for everyday wear.
Slicked-Back Ponytail
You can achieve this style on either damp or dry hair, but if your hair is a bit dirty, that’s okay too! In fact, a slicked-back ponytail can help hide oily roots. Begin by brushing your hair to remove any tangles, and then decide how you want to part it—either down the middle or to the side.
You have a few options for the height of the ponytail: it can be low at the nape of your neck, in the middle, or high on your head. Use a brush, preferably one with both nylon and boar bristles, to smooth your hair as you gather it. This type of brush helps eliminate static and creates a sleek finish.
Finally, finish off your slicked-back ponytail by taming any flyaways with a bit of pomade or hairspray. You can also add personal touches like accessories, braids, or different parts to make the style your own. Experiment with variations, such as a deep side part or a bubble ponytail, to keep the look fresh and exciting. With practice, you’ll be able to create a chic and confident slicked-back ponytail in just a few minutes.
Bandana Headband
Lay the bandana flat and fold it in half diagonally to form a triangle. Then, take the triangle’s tip and fold it back towards the base, creating a long strip. This will make it easier to tie around your head.
Next, you can style your hair in different ways while wearing the bandana. For a simple look, try a messy bun or a low ponytail. Just pull your hair back into a bun or ponytail and wrap the bandana around the base.
Finally, don’t be afraid to experiment with different looks! You can incorporate the bandana into braids or use it to create a top knot. The bandana can also be a fun accessory to match with your outfits. Whether you’re going for a retro vibe or a laid-back summer style, the bandana headband is a versatile accessory that can elevate your hairstyle effortlessly.
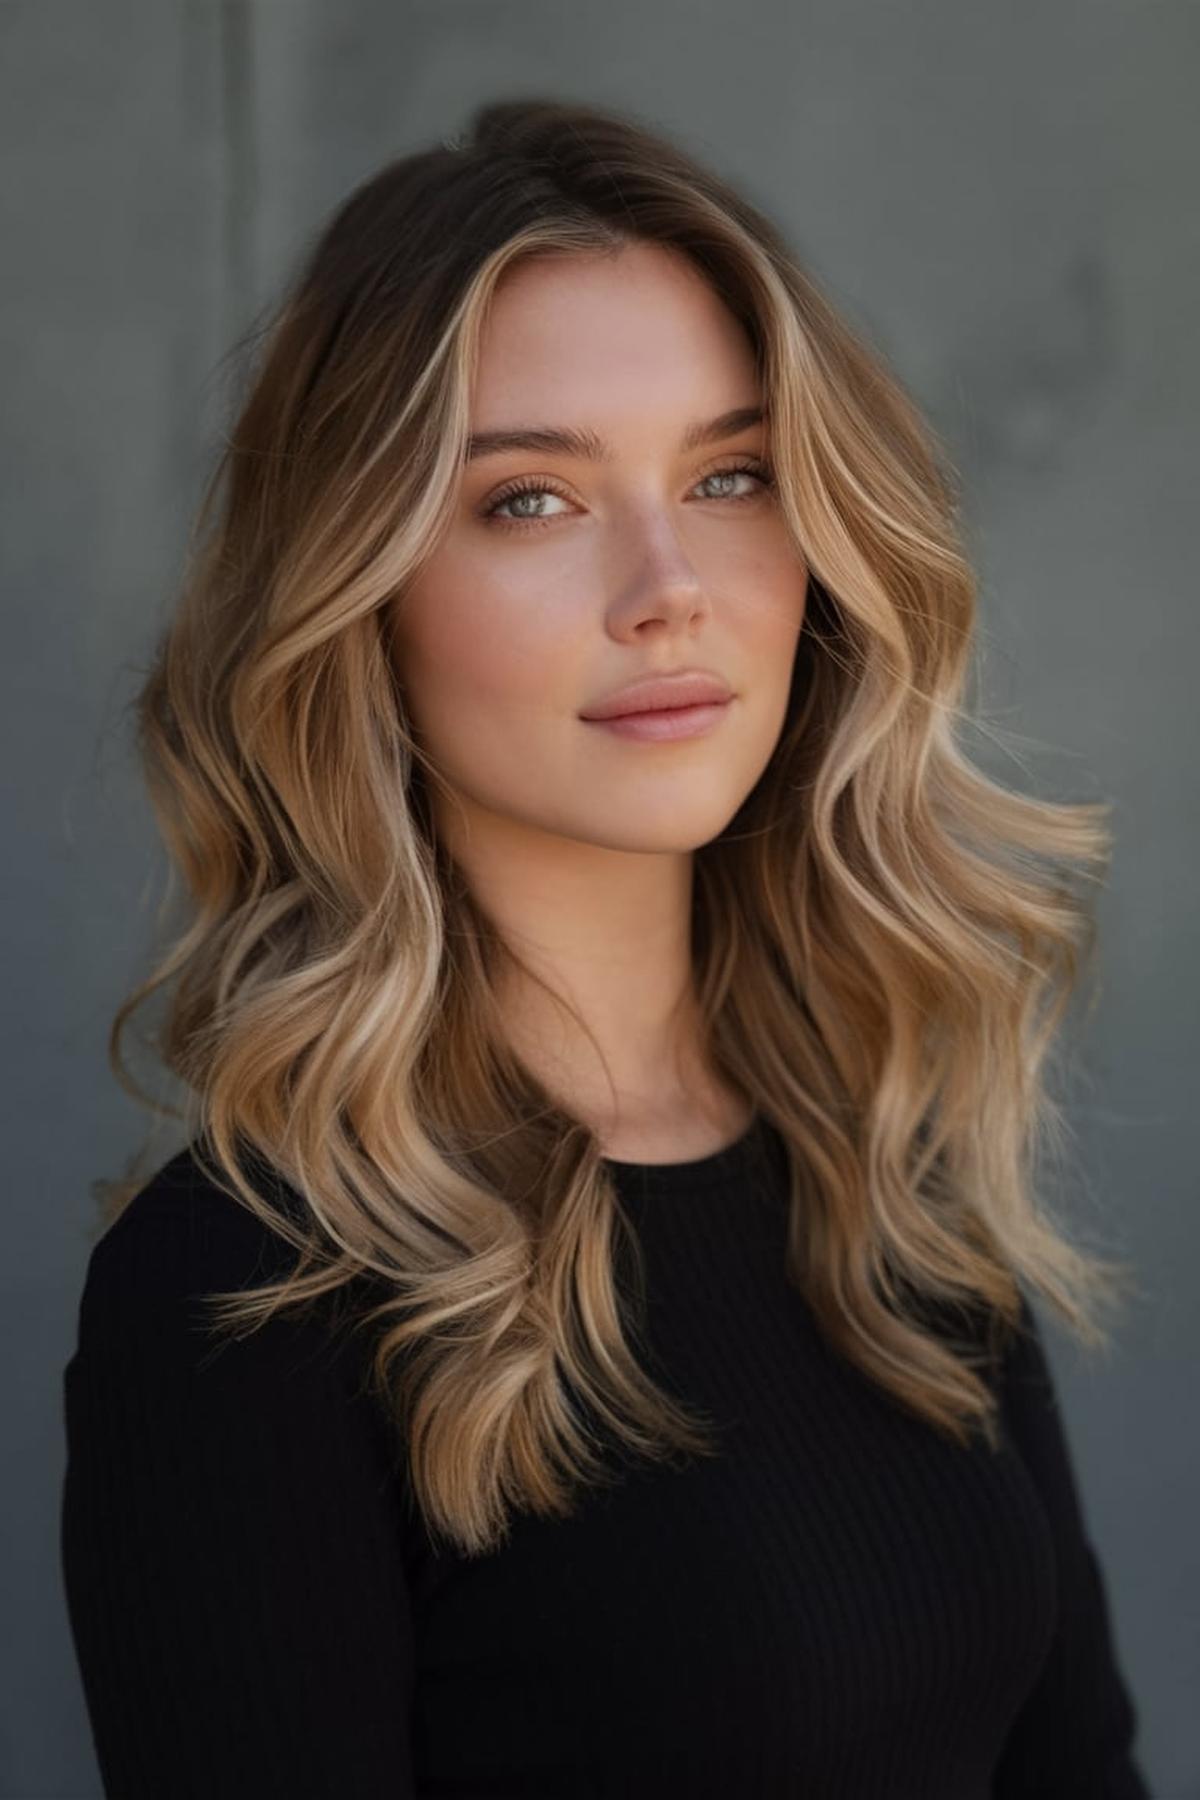
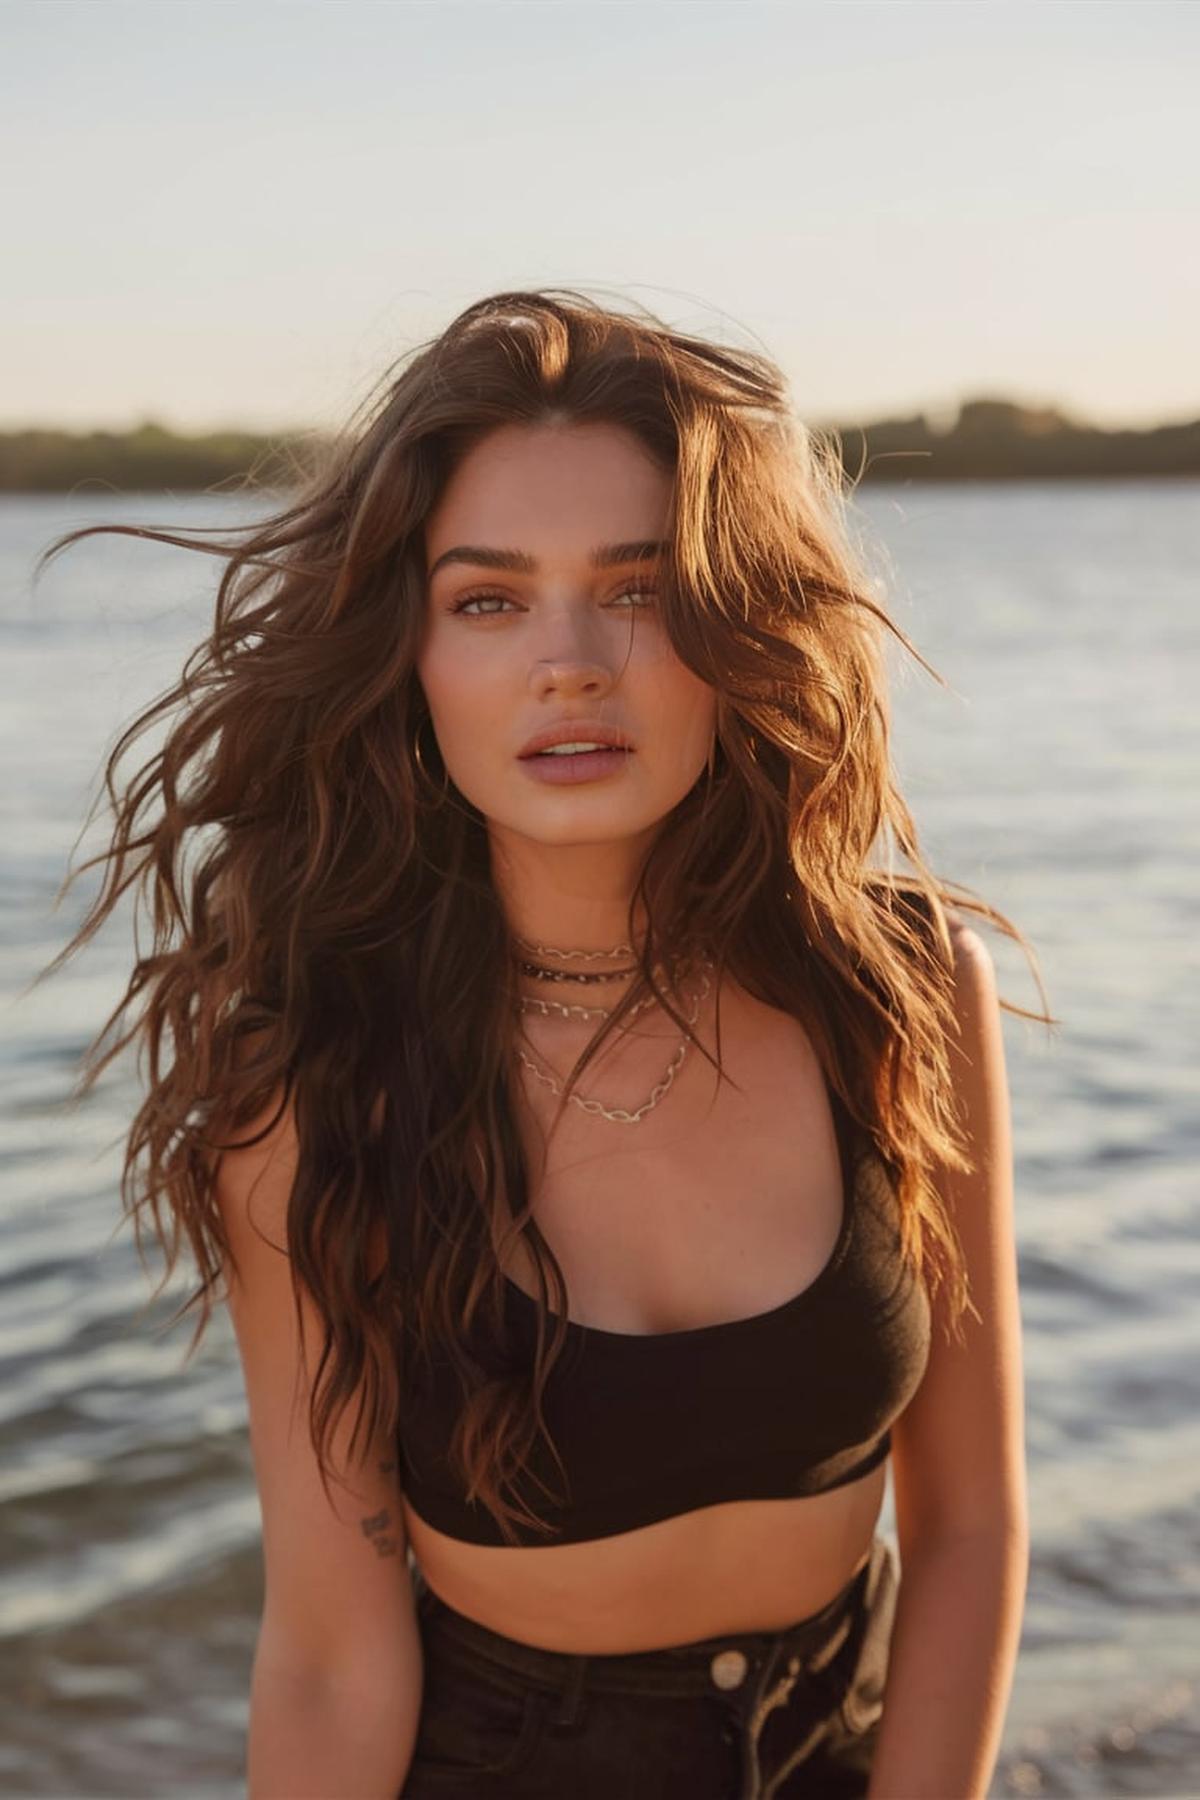
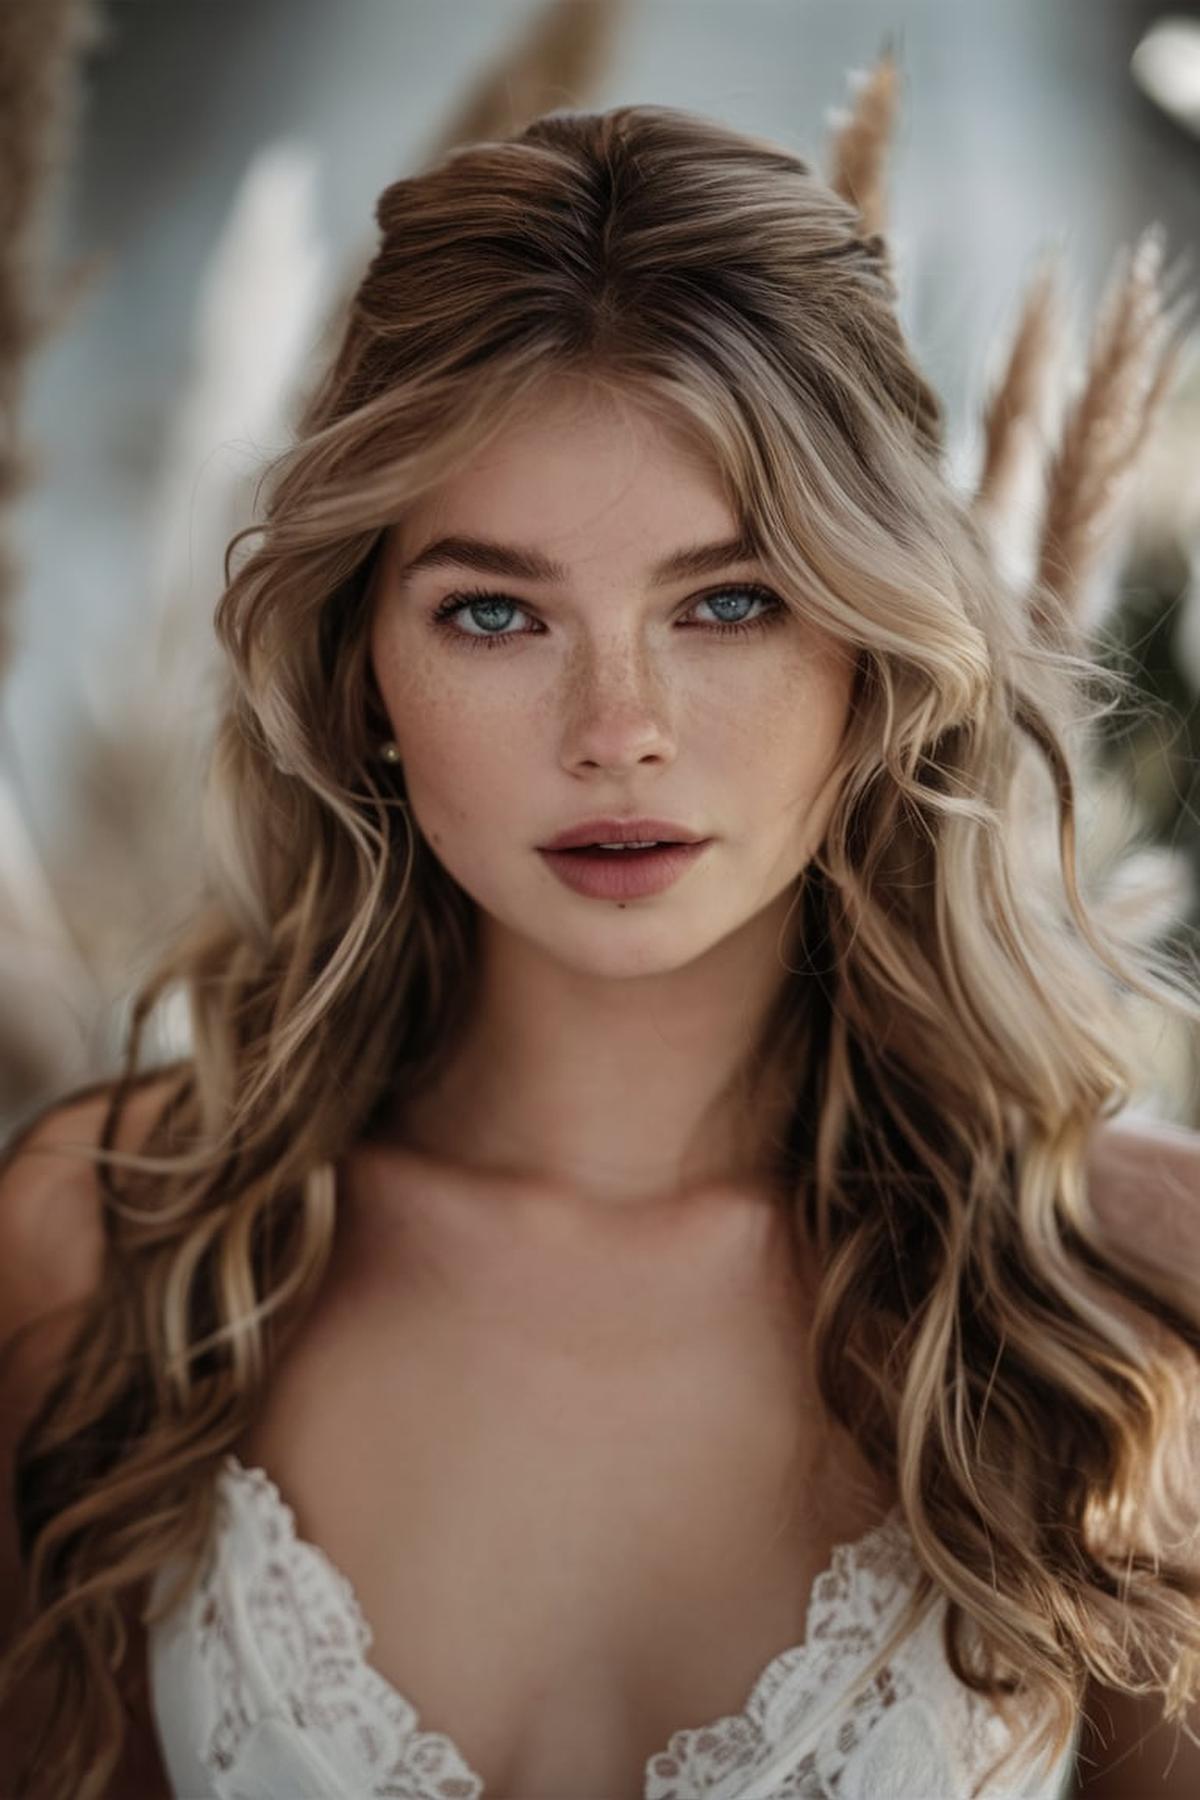
Beachy Waves
After washing and conditioning, let your hair air dry until it’s about 80% dry. This is important because it helps your waves hold better. Once it’s damp, apply a heat protectant spray to prevent damage from styling tools. When your hair is mostly dry, use a blow dryer while scrunching small sections of hair with your hands to create some natural wave.
Use a curling iron or a straightener, depending on what you prefer. For a curling iron, take 1-inch sections of hair and wrap them around the barrel, but leave the last inch or two straight. This is key for that effortless beach wave style. Remember to alternate the direction of your curls—curl some away from your face and others towards it.
Finally, finish your beachy waves with the right products. A salt spray can add texture and volume, making your waves look more tousled and beachy. After applying the spray, gently scrunch your hair again to enhance the waves. You can also use a light-hold hairspray to keep everything in place without making your hair feel stiff. With these steps, you can achieve beautiful beachy waves that look great and last for days!
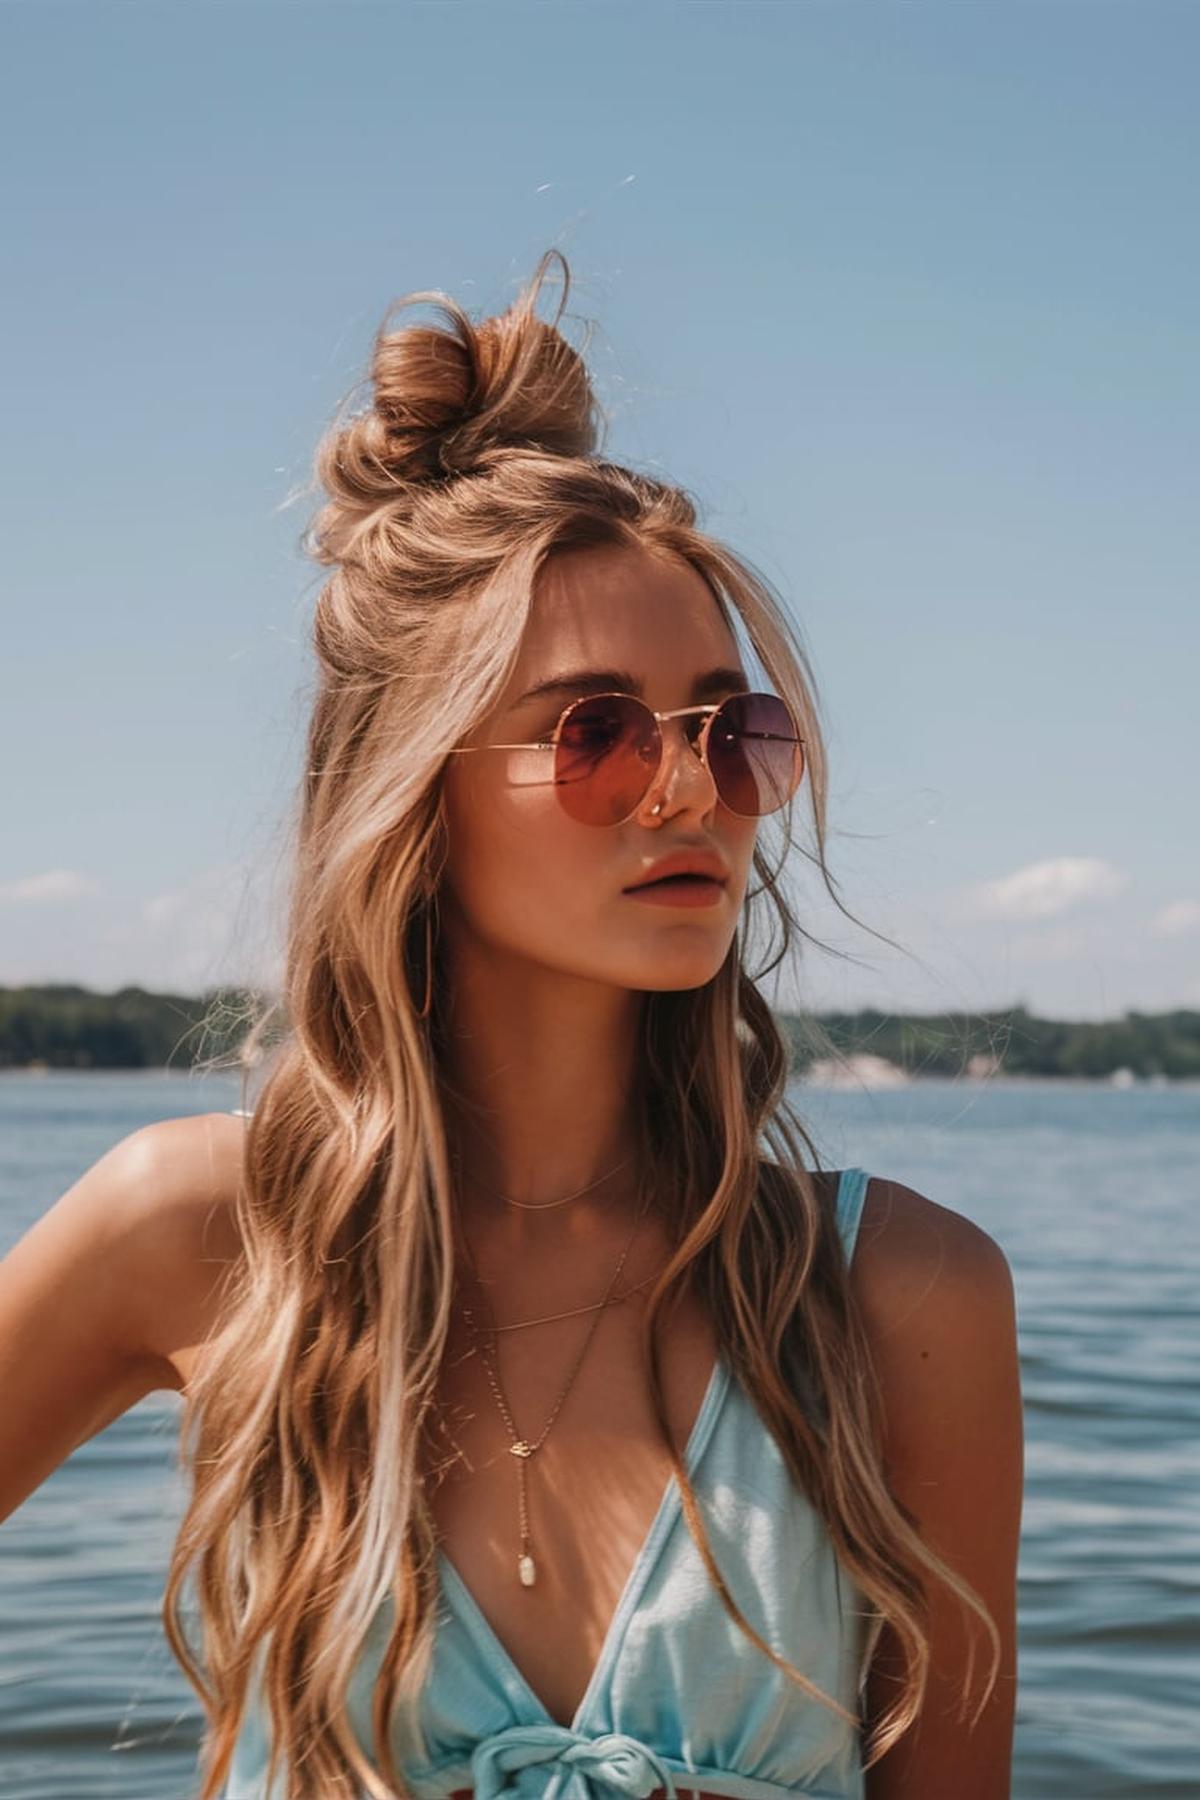
Half-Up Top Knot
You can achieve this by curling your hair with a larger curling iron or wand, which helps create loose, beachy waves. If you prefer, you can also use a straightener for a sleek look. This step is important because it gives your hair more volume and makes the top knot look more stylish and effortless.
This usually involves pulling back a chunk of hair from the front, about 3-4 inches wide, and tying it into a high ponytail. Make sure to keep this section tight to create a secure base for your bun. Once you have your ponytail, tease it gently with a brush to add extra volume.
Finally, finish off your look with some hairspray to hold everything in place. If you want to personalize your half-up top knot, consider adding braids or leaving some pieces of hair down to frame your face. This style is perfect for casual outings or when you want to keep your hair out of your face while still looking cute. With a bit of practice, you’ll be able to create this hairstyle in just a few minutes, making it a great go-to option for any occasion.
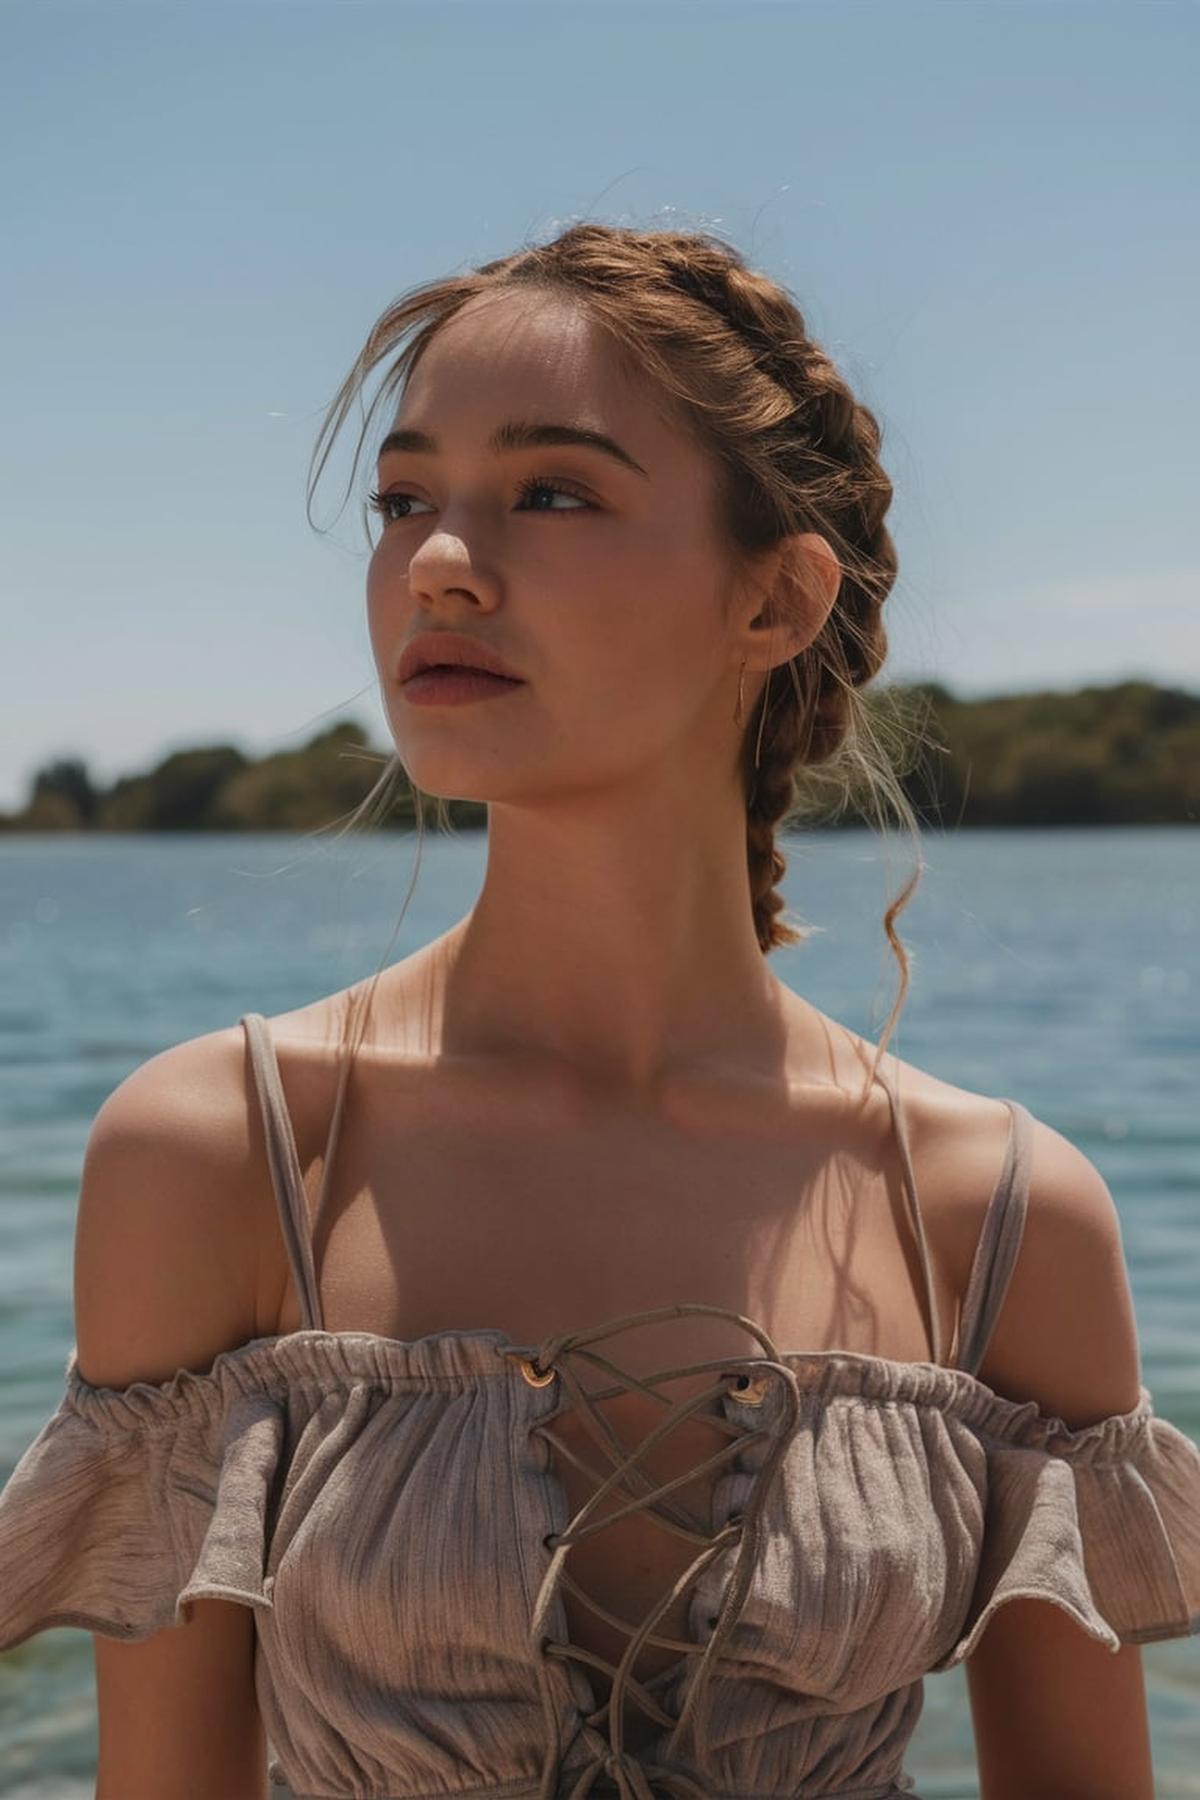
Milkmaid Braids
You can use clean or slightly messy hair, as both work well. If you want a beachy texture, consider applying some sea salt spray. This helps give your braids a more relaxed and effortless look.
For a classic milkmaid look, you can do regular braids or try inside-out French braids, which look fuller. To do inside-out braids, cross the outer sections over the middle section instead of the other way around. After braiding both sections, wrap one braid around your head and secure it with bobby pins behind your ear.
Finally, adjust the braids to make them look thicker by gently pulling them apart. You can also pull out a few face-framing strands for a softer appearance. Finish off with some hairspray to hold everything in place. With practice, you’ll be able to create beautiful milkmaid braids that are perfect for any occasion!
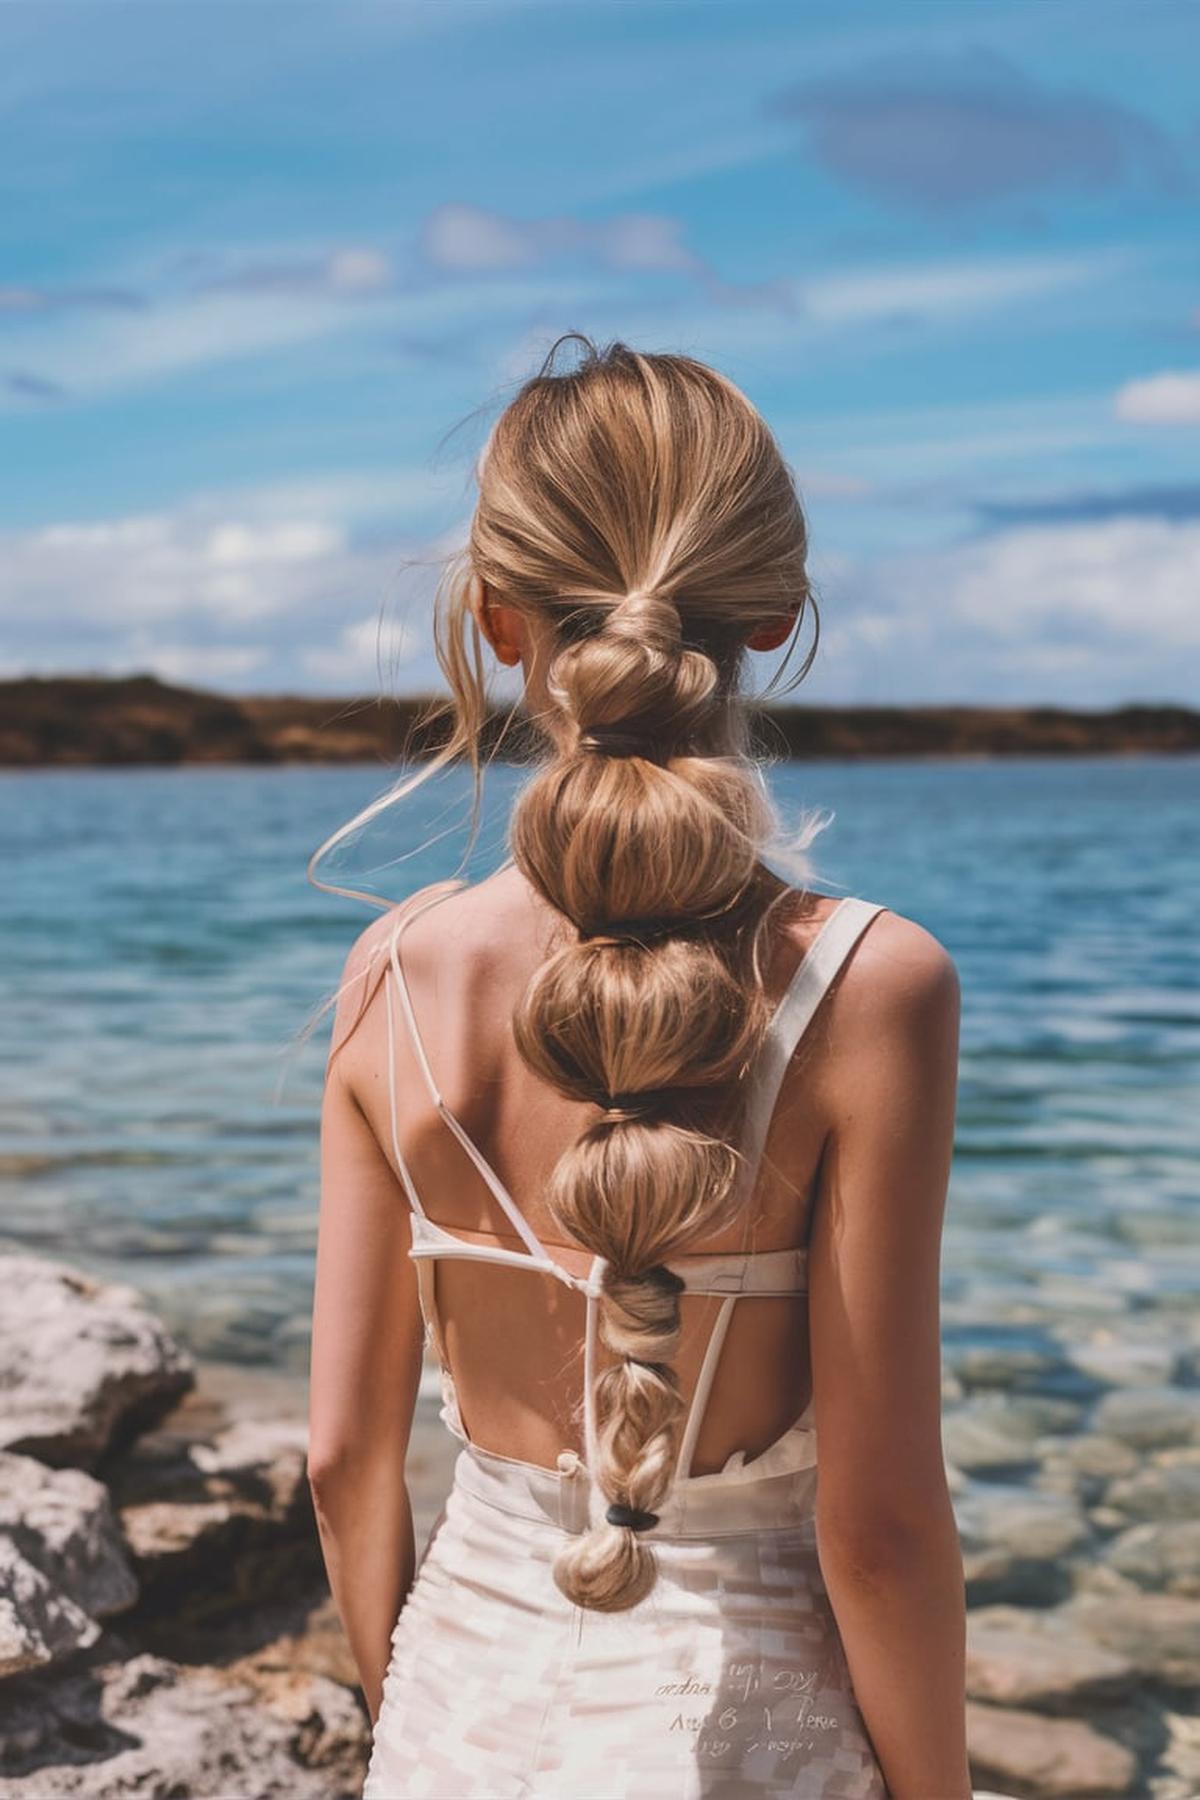
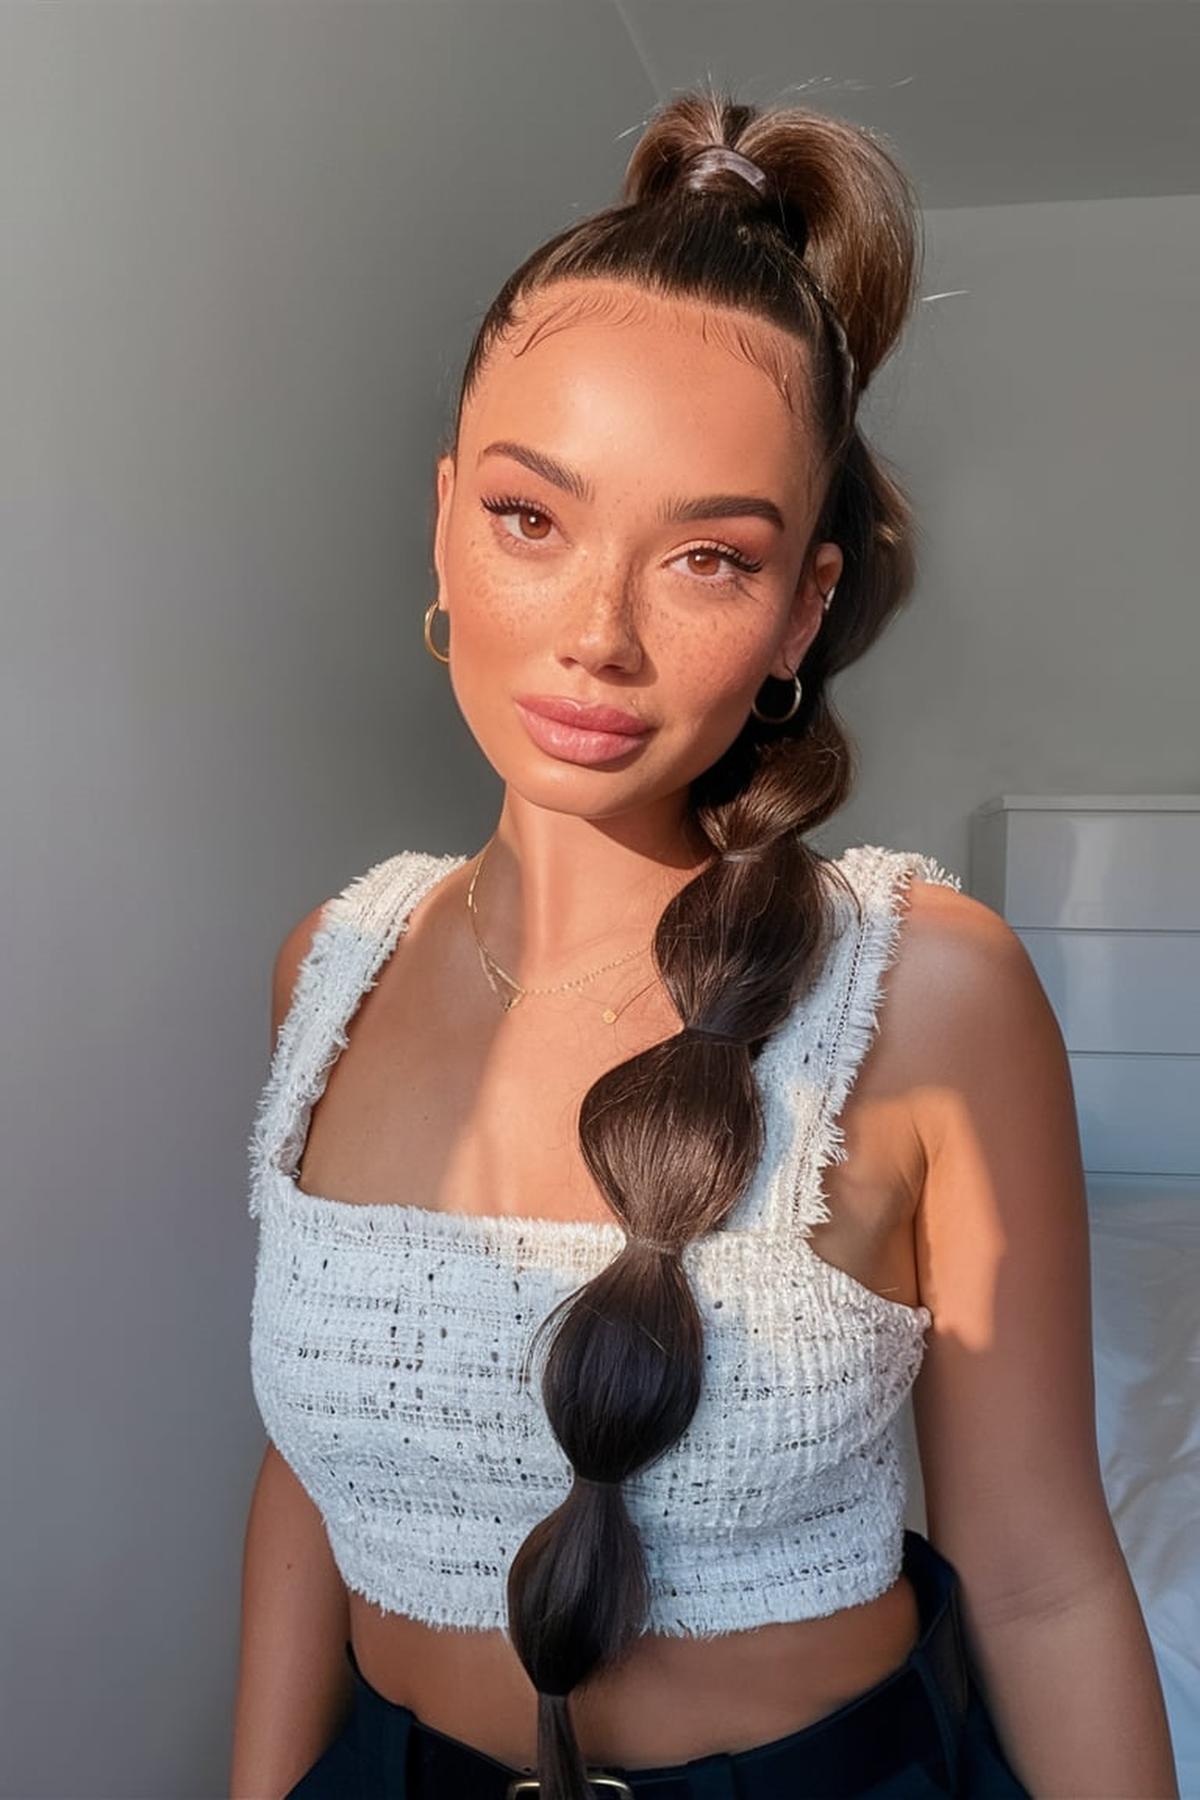
Bubble Ponytail
Use a clear elastic to secure it at the desired height on your head. This hairstyle works best with clean or slightly messy hair, so it’s perfect for second or third-day hair. If you want to add some volume, you can tease the hair at the base of the ponytail before securing it.
Space the elastics about 1-2 inches apart, depending on how long your hair is. After securing each section with an elastic, gently pull at the sides of the hair between the elastics to create the bubble shape. This is where the fun begins!
A light hairspray can help keep everything in place and tame any flyaways. If you want to add some flair, consider using colorful or sparkly elastics. You can also accessorize with headbands or hairpins to make your bubble ponytail stand out even more. This hairstyle is not only cute but also practical, making it a great choice for school or casual outings.
Headwrap
Lightweight materials like cotton or silk are great options because they are easy to tie and comfortable to wear. Look for vibrant colors or patterns that reflect your personality. You can find headwraps in stores or make your own by cutting a piece of fabric to your desired length and width.
Watching tutorial videos can be very helpful. For beginners, a basic wrap involves folding the fabric in half, placing it on your head, and tying the ends at the back. As you get more comfortable, you can experiment with styles that include twists, bows, or layering.
Don’t be afraid to adjust it throughout the day for comfort and style. You can also accessorize with earrings or a bold lip color to complete your look. The more you practice, the more confident you’ll become in styling your headwrap in unique ways that showcase your individuality.
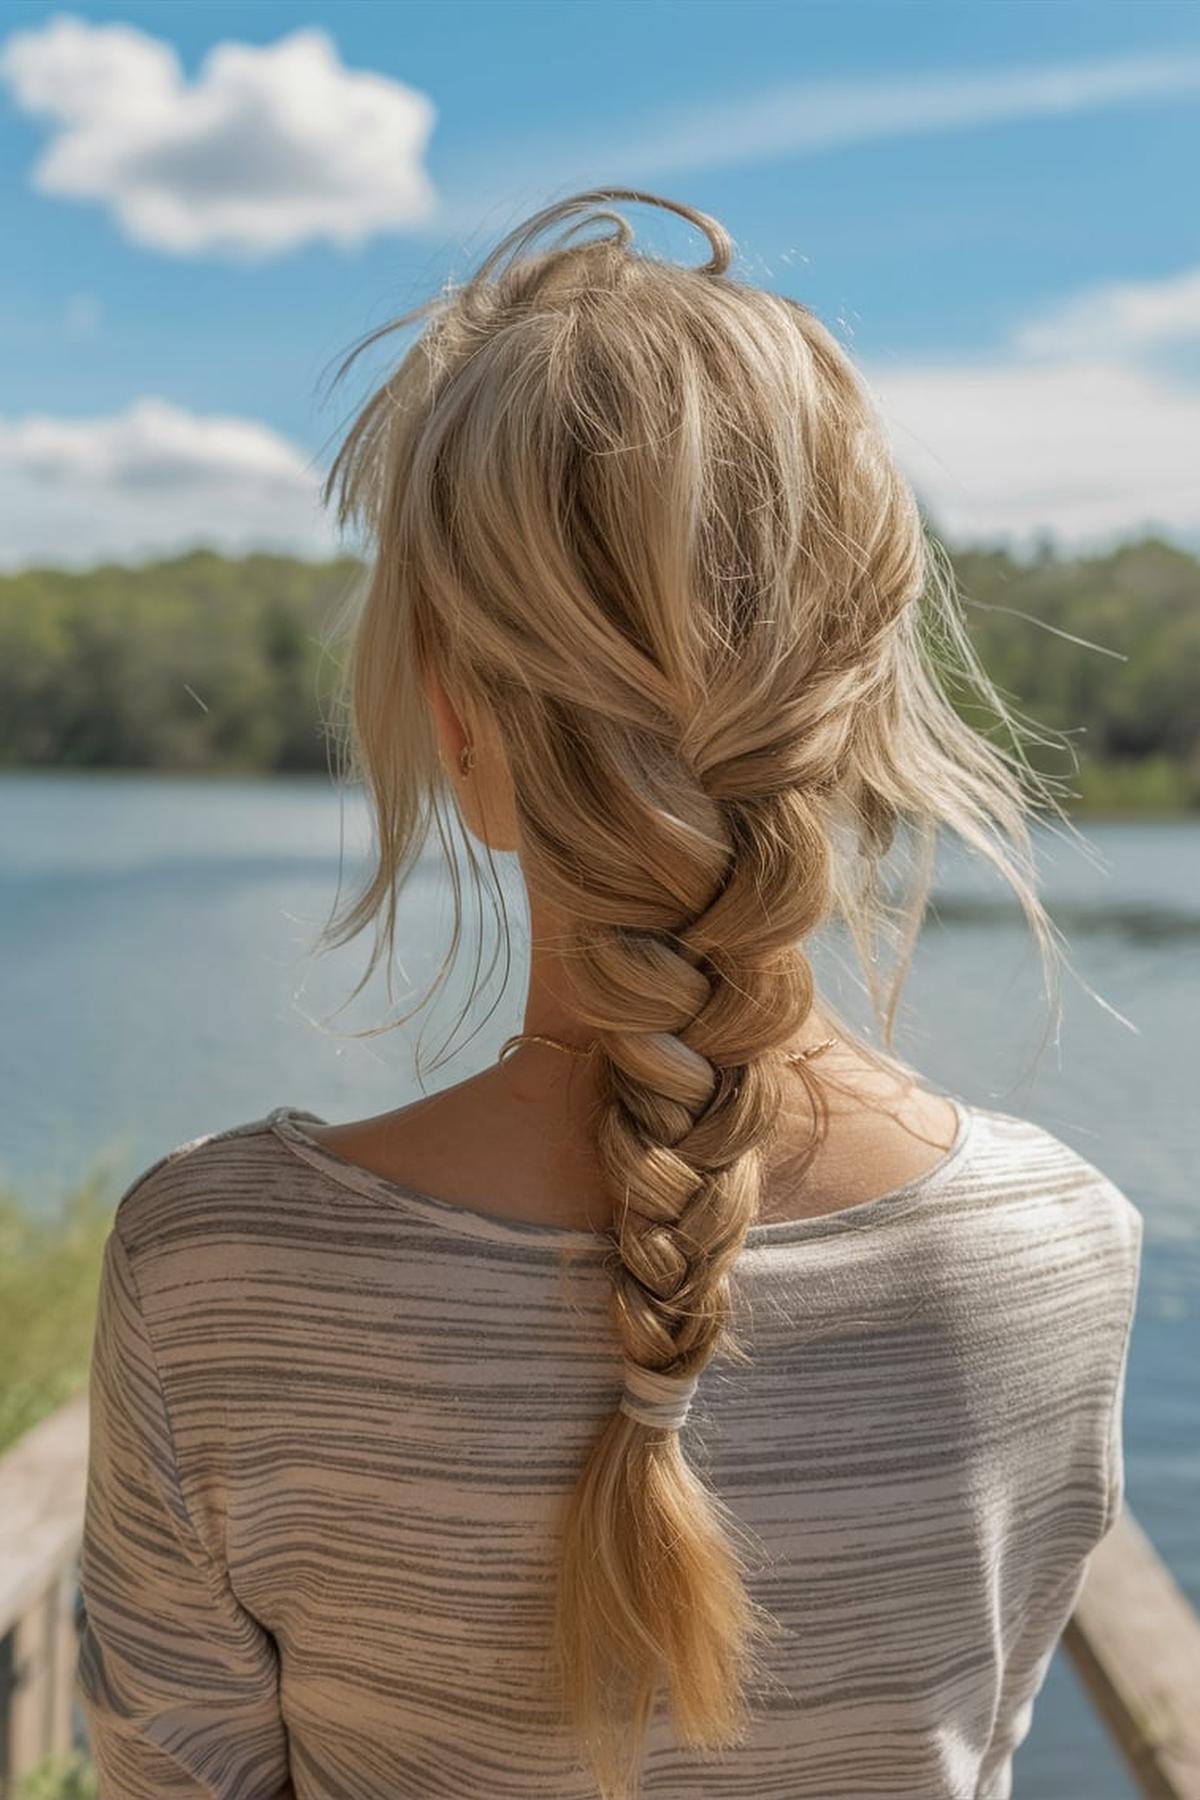
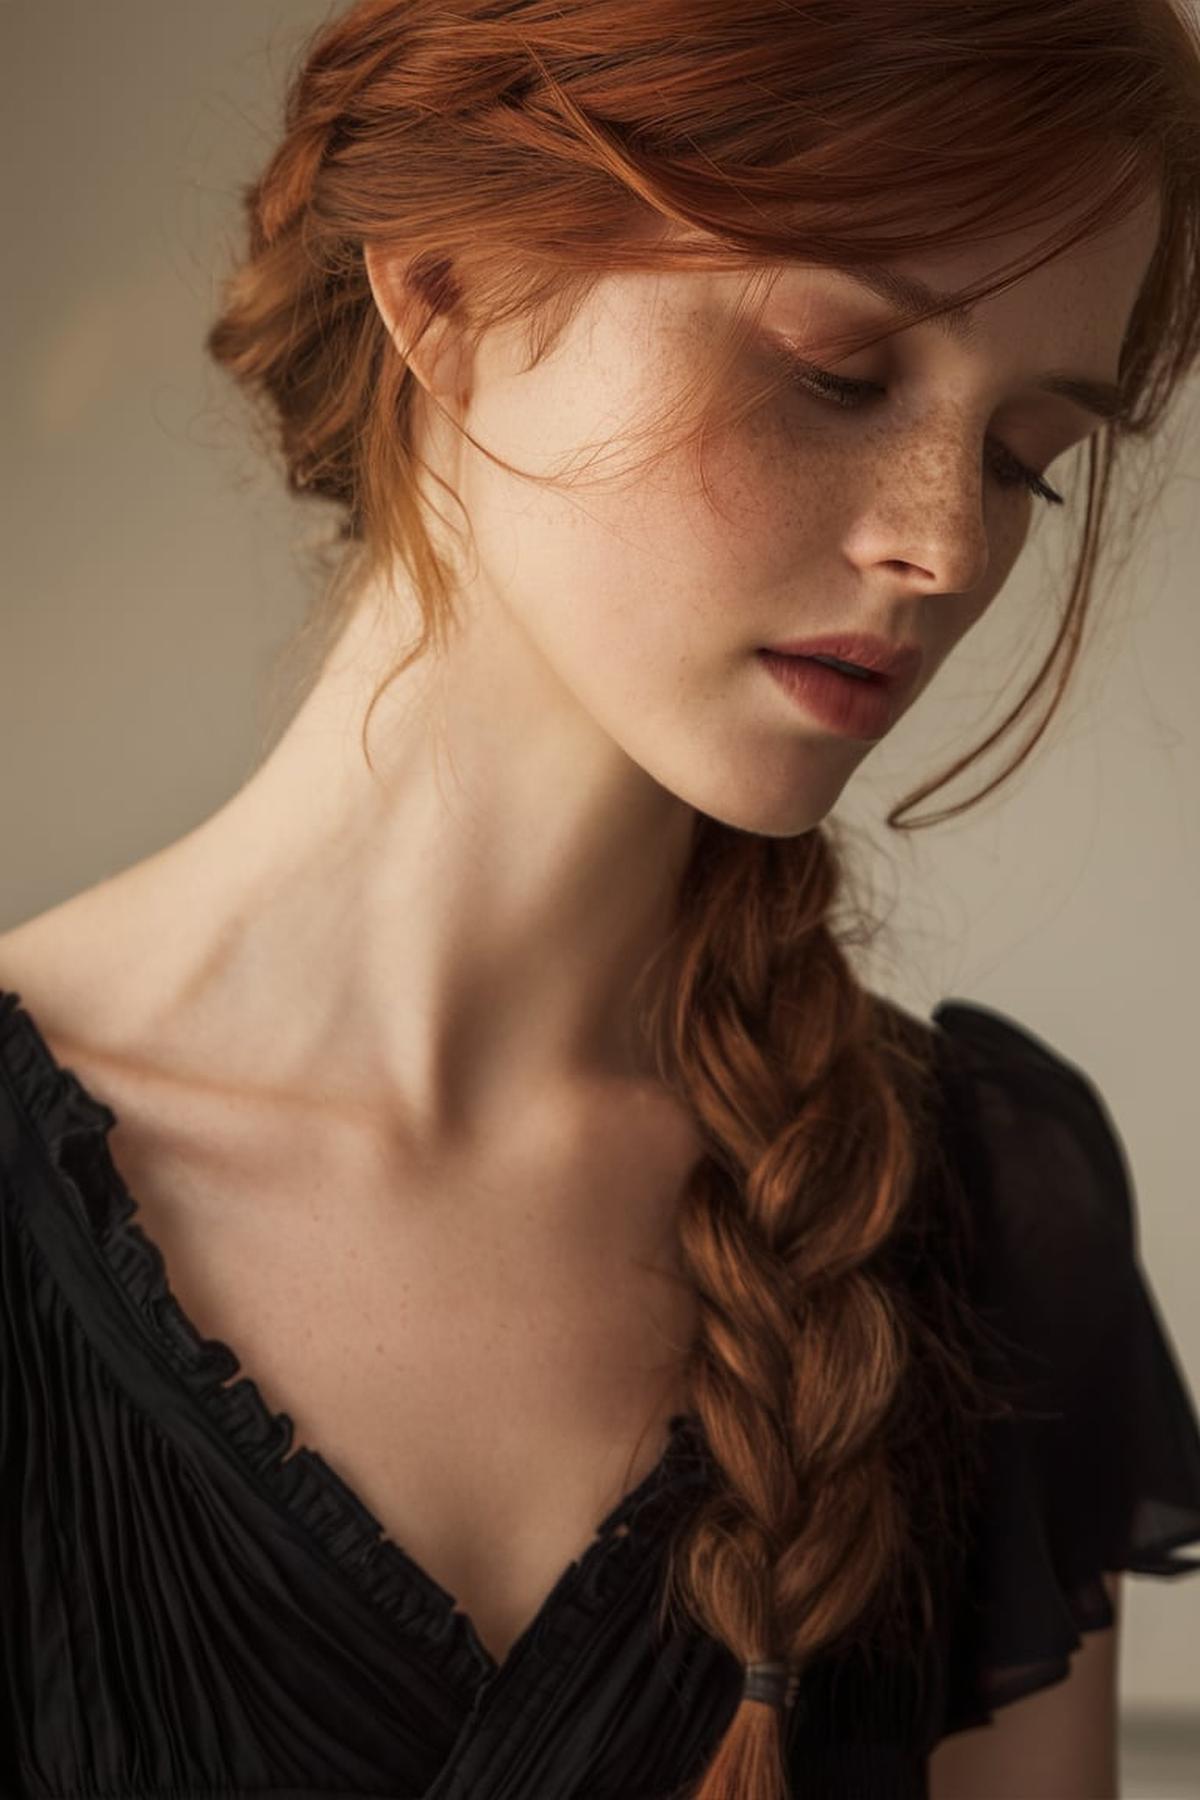
Fishtail Braid
It doesn’t matter which side you choose. Once your hair is smooth and free of tangles, divide it into two equal sections. The key to a fishtail braid is to take small pieces from each section and cross them over to the opposite side.
As you continue braiding, keep alternating sides and pulling small sections of hair from the outer edges of each section. It may feel tricky at first, but with practice, you’ll get the hang of it. Make sure to tighten the braid as you go, but not too tight, so it doesn’t look stiff.
If you find the traditional fishtail braid challenging, there are simpler variations. For instance, you can create a faux fishtail braid by making small ponytails and twisting them, which can give a similar look without the intricate technique. This method is perfect for beginners or anyone who wants a quick and easy hairstyle that still looks great.
Wet Look
After washing and conditioning your hair, towel dry it until it’s about 60% dry—this means it should be slightly damp but not dripping. This is important because if your hair is too wet, the styling products won’t stick properly.
You can choose to part your hair in the middle or on the side, depending on what looks best for your face shape. For a more creative touch, you can add braids or twists, which will give your hair some texture and make the look more interesting.
This will enhance the shine and help control any flyaways. Remember, the wet look is versatile, so feel free to experiment with different styles and accessories, like ribbons or clips, to make it your own!
Bandana with Bun
First, gather your hair into a high ponytail and twist it into a bun. Secure it with hair ties or bobby pins. The key to adding the bandana is to take a colorful scarf, fold it into a triangle, and wrap it around the base of your bun. Tie it in a knot to keep it secure.
For this look, pull the top half of your hair back into a ponytail, leaving the bottom half down. Use the bandana to wrap around the base of this ponytail, tying it in a knot. This style is cute and keeps your hair out of your face while allowing the rest of your hair to flow freely.
To do this, fold the bandana into a long strip and place it around your head, tying it at the back or side. This not only keeps your hair in place but also adds a retro vibe to your look. You can let some hair hang out in front to frame your face for a softer appearance. This style works well with both straight and wavy hair, making it versatile for any occasion.
Natural Waves
Wavy hair is typically categorized as type 2, which can range from loose waves (2A) to more defined waves (2B and 2C). Knowing your specific type helps in choosing the right haircut and products. For example, if you have type 2A hair, a simple one-length cut might work best, while type 2B hair could benefit from some classic layers to enhance the wave without making it too frizzy.
Instead, gently squeeze out excess water and apply your styling products while your hair is still wet. Use a light gel or cream to define your waves. A popular method is the “prayer hands” technique, where you press the product into your hair with your hands, helping to keep the waves together and reduce fluffiness.
If you’re in a hurry, you can use a diffuser attachment on your hair dryer to minimize frizz while drying. Once your hair is dry, you can lightly tousle it with your fingers to separate the waves and add volume. With practice and the right care, you can achieve beautiful, beachy waves that look effortless and stylish.
Bandana Headband Wrap
You can use a traditional square bandana or a stretchy one made from cotton fabric. If you want to make your own stretchy bandana headband, you can easily sew one using a half yard of fabric and some elastic. This DIY project takes about 15 minutes and is perfect for keeping your hair out of your face while looking stylish.
Bring the two ends around the back of your head and tie them in a knot. Make sure it’s snug but comfortable. You can adjust the bandana to sit higher or lower on your forehead depending on your preference.
You can wear it as a headband, a hair tie, or even a full wrap covering more of your hair. Experiment with different colors and patterns to see what looks best on you. Don’t be afraid to mix and match with other accessories, like earrings or sunglasses, to create a unique style that showcases your personality. With a little practice, you’ll be able to rock the bandana headband wrap effortlessly!
Halo Braid
You’ll need a hairbrush, hair elastics, and optionally some hairspray to keep everything in place. Begin by parting your hair down the middle or to one side, depending on your preference. This part will help you manage your hair better as you braid.
A Dutch braid is similar to a regular braid but involves crossing the strands under each other instead of over. As you braid, gradually add more hair from the sides to create a continuous braid that wraps around your head like a halo.
If you have any face-framing strands of hair, you can curl them for a softer look. Finish off by spraying some hairspray to hold the style in place. With practice, you’ll be able to create a beautiful halo braid that looks impressive for any occasion!
Scrunched Waves
First, wash your hair with a gentle conditioner instead of shampoo to keep it hydrated. After rinsing, apply a generous amount of styling gel while your hair is still wet. This helps define your waves. Use the “scrunching” technique by cupping your hair in your hands and gently squeezing it upwards towards your scalp.
You can either “plop” your hair by wrapping it in a cotton T-shirt for about 10-15 minutes to absorb excess water or simply scrunch out the water with the T-shirt. After that, let your hair air dry or use a diffuser on low heat. It’s important not to touch your hair while it dries to avoid frizz.
It might take a few tries to find the right products and techniques that work for your hair type. Don’t be discouraged if it doesn’t turn out perfectly at first. Experiment with different gels or creams, and keep adjusting your scrunching and drying methods until you achieve the waves you love. With time and patience, you’ll be able to master the art of scrunched waves!
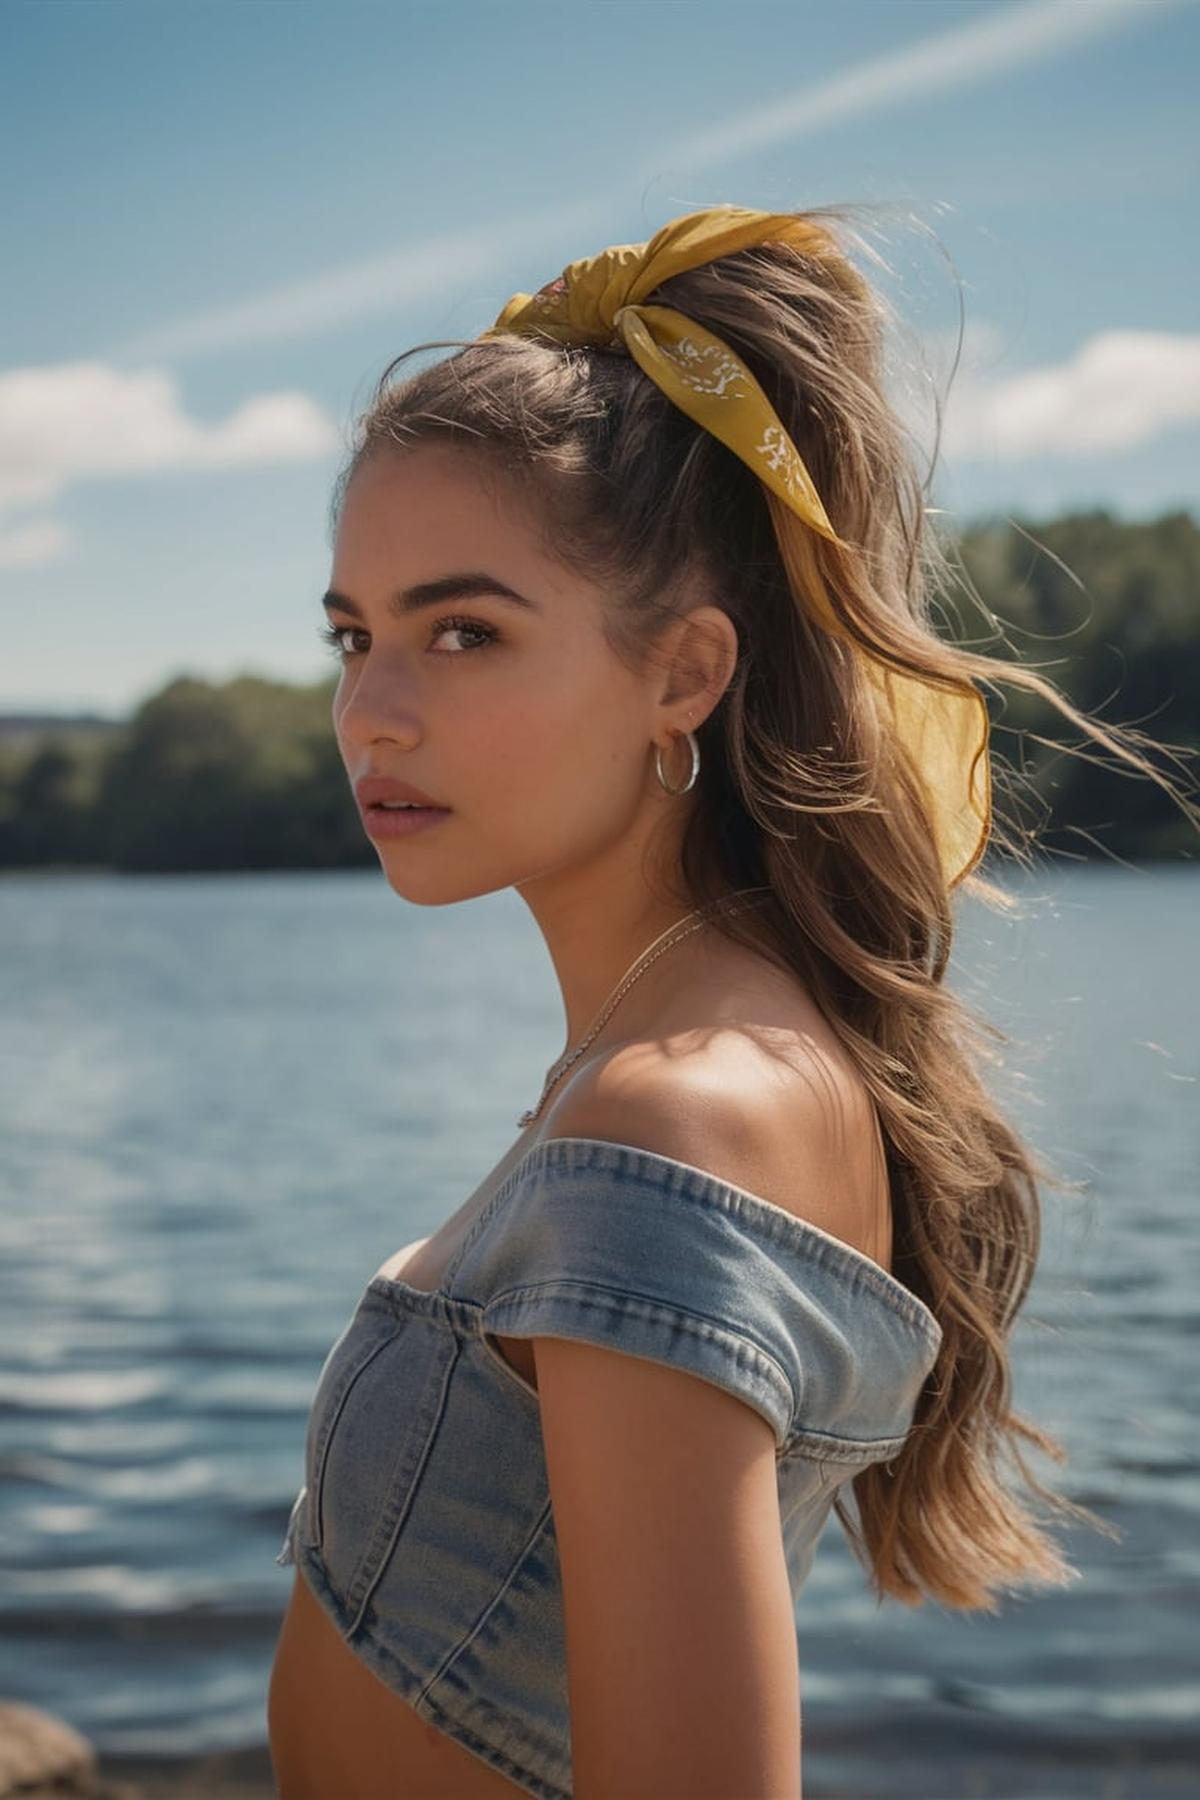
Bandana Half Up Ponytail
You can choose to make it high or low, depending on your style preference. Once your hair is in a ponytail, take a bandana and fold it into a triangle shape. Position the bandana around the base of your ponytail, tying it securely in a knot.
If you want a more playful look, you can pull out a few strands of hair around your face to frame it nicely. This gives the hairstyle a relaxed vibe, perfect for summer days.
You can wrap it around the ponytail multiple times or let the ends hang down for a cute effect. Remember, the key to this hairstyle is to have fun and make it your own. Whether you keep it simple or add braids and waves, the bandana half-up ponytail is a versatile look that can be dressed up or down for any occasion.
Braided Pigtails
Begin by parting your hair down the middle and securing one side with a clip. Take a small section of hair from the front and divide it into three equal parts. This is the foundation of your braid.
Once you’re comfortable with the three-strand braid, you can try French braiding. For this, start with your three sections again, but each time you cross a section over the middle, add a little more hair from the scalp to that section. This technique helps create a tighter and more secure braid that stays in place.
Don’t worry if your first attempts aren’t perfect; everyone starts somewhere. As you practice, try to keep the sections of hair even and taut for a neater look. You can also experiment with different styles, like Dutch braids, which cross the hair under instead of over, giving a unique appearance. Adding fun accessories like ribbons or hair clips can also enhance your braided pigtails and make them your own.
Headband Braid
You will need bobby pins and, ideally, long hair. If your hair isn’t long enough, you can use clip-in extensions to add length and volume. Begin by brushing your hair to remove any knots, then pick a section of hair just behind one ear.
Once you finish braiding, bring the braid across your forehead and pin it behind the opposite ear. This creates the look of a headband made from your own hair. If your hair is short, you can make two smaller braids, one behind each ear, and cross them over the top of your head to achieve a similar effect.
You can also pull out a few strands around your face to frame it nicely. If you want a more polished look, use bobby pins to secure the braid in place, preventing it from sliding around. This hairstyle is perfect for casual outings or special occasions, making it a versatile addition to your hair styling skills.
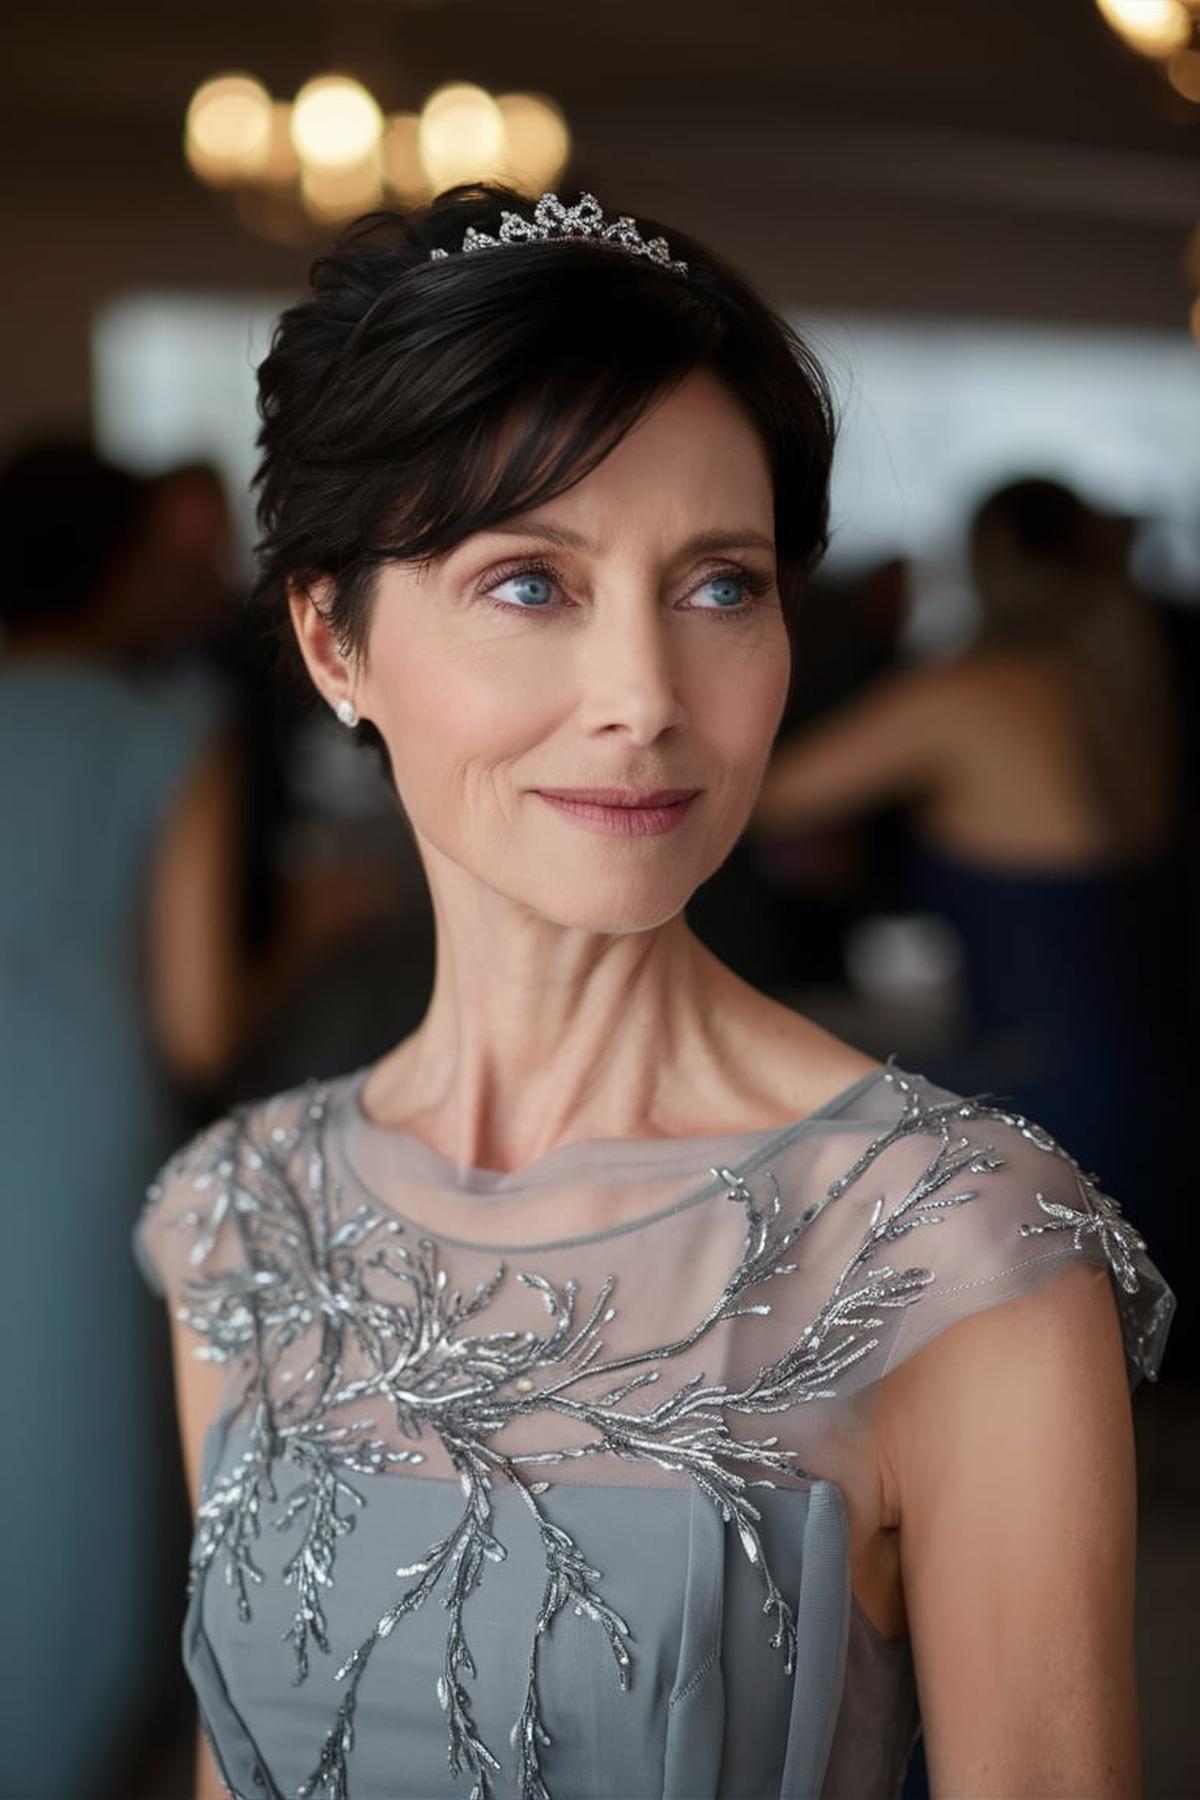
Messy Topknot
This style works best with second or third-day hair because it has more texture and grip. If your hair feels oily, use some dry shampoo to absorb the oil and add volume. Once your hair is prepped, gather it into a high ponytail at the top of your head. Make sure to hold the ponytail loosely to create that relaxed, messy look.
Tuck the ends of your hair into the loop or secure them with bobby pins. Now, take the loop and fan it out to give your bun more volume and a messy appearance. Feel free to pull out some strands around your face for a softer look.
Spin pins are great because they hold the bun without making it too tight. Use a few pins to anchor different sections of the bun, and if any pieces stick out, just pin them down. To finish, you can lightly mist your bun with hairspray to tame any flyaways and keep everything in place. With practice, you’ll be able to create a beautiful messy topknot in just a few minutes!
Q&As for lake day hairstyles
Q: What are some easy lake day hairstyles that can keep my hair off my neck and face?
A: Styles like a messy bun or slicked-back ponytail are great for keeping hair off your neck and face. They are simple to do and perfect for a day at the lake.
Q: How can I style my hair with a bandana for a lake day?
A: You can use a bandana as a headband or wrap it around a bun. It adds a stylish touch and helps keep your hair in place while you’re active.
Q: What are some braided hairstyles that work well for a day at the lake?
A: Braided pigtails and fishtail braids are excellent choices. They stay in place even when you’re swimming or playing, and they look cute too.
Q: How can I achieve beachy waves for a casual lake day look?
A: To get beachy waves, you can scrunch your hair with some styling product or use a salt spray. This gives your hair a natural, wavy look that’s perfect for the lake.
Q: What is a half-up top knot and how do I style it for a lake day?
A: A half-up top knot involves pulling the top section of your hair into a bun while leaving the rest down. It’s a trendy style that keeps hair out of your face while still looking relaxed and fun.
