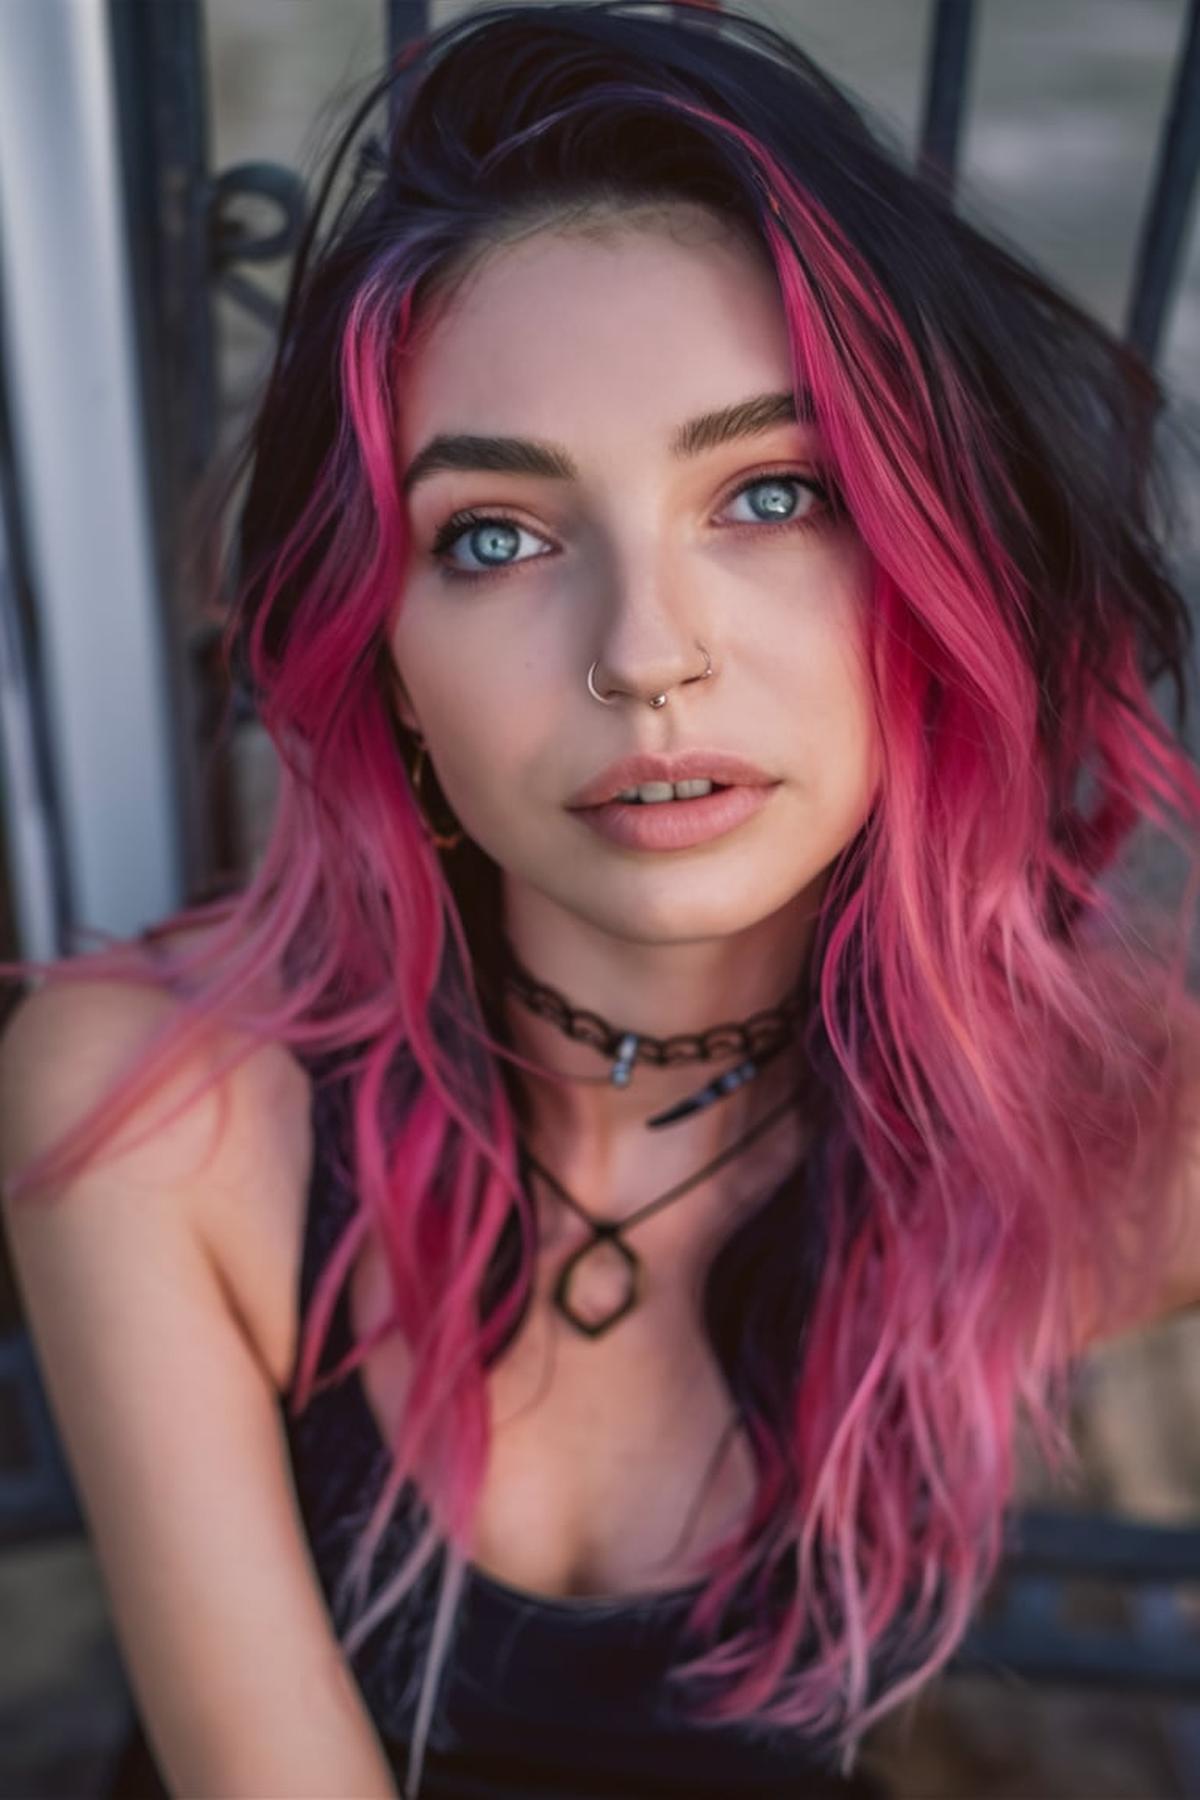
After washing, apply a leave-in conditioner and gently towel-dry your hair.

For straight hair, use a wide-toothed comb and tuck it behind your ears while it dries.
Simply brush your air-dried hair back, secure it at the nape of your neck, and wrap it into a bun if desired.
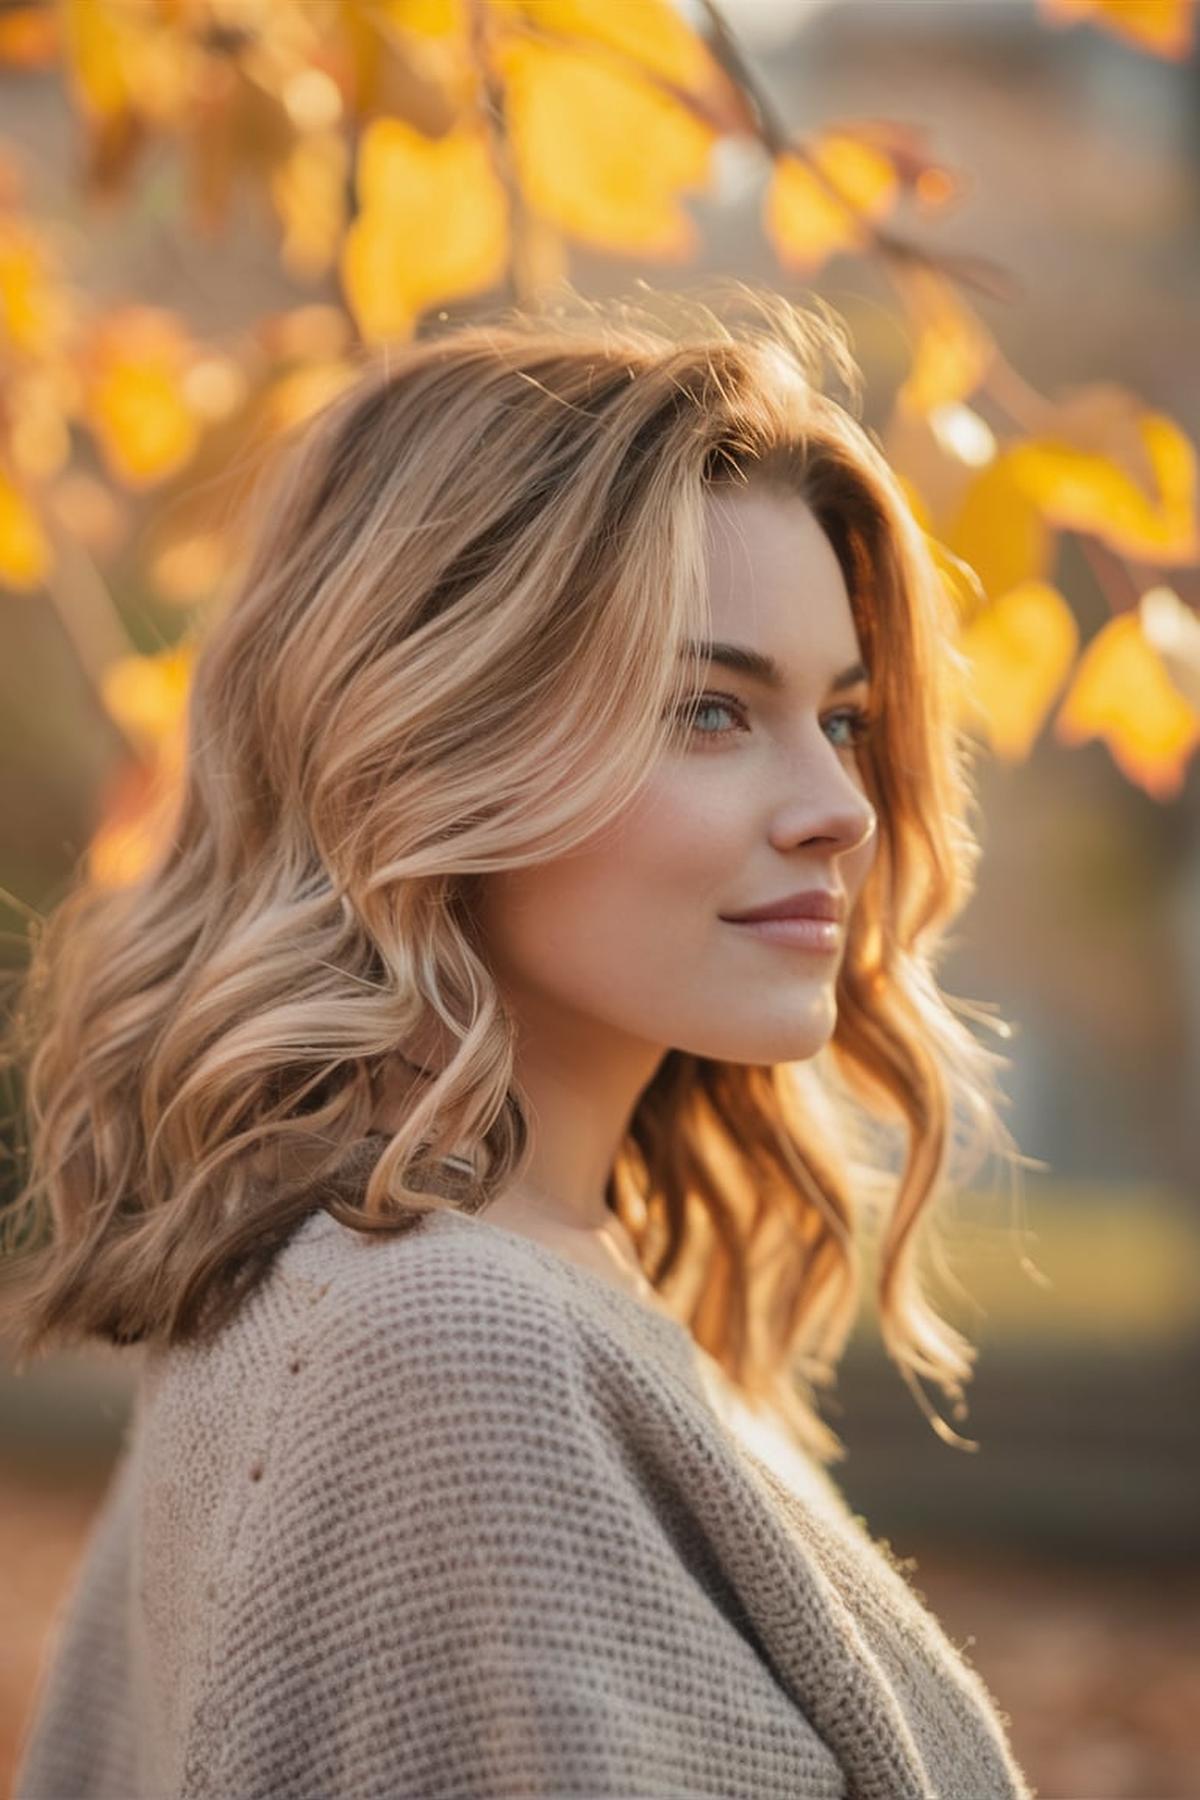
Now, without further ado, let’s dive into 20 air-dry styles for effortless fall work hair.
Low Ponytail

To create a low ponytail, start by gathering your hair at the nape of your neck and securing it with a hair tie.
You can curl your hair beforehand for a more dynamic look or leave some face-framing strands out for a softer appearance.
If you’re feeling creative, you can also wrap a small section of hair around the ponytail holder to hide it, or add accessories like clips or ribbons for a fun touch. With these tips, mastering the low ponytail will be a breeze!
You may also be interested in:
Sleek Bun

To start, create a center part in your hair using a comb. This helps set the foundation for your sleek bun.
Apply a strong hold gel or a nourishing hair mask to each section of your hair. This helps control any flyaways and keeps your hair sleek without the sticky feel of regular gel.
For a finishing touch, use hairspray to hold everything in place and give your bun a shiny look. You can also add hair accessories for a personal touch. With these steps, you can easily master the sleek bun and look effortlessly chic!
Half-Up, Half-Down

They allow you to show off your hair while keeping it out of your face. This style works for all hair types and lengths, making it versatile for any occasion.
Take a section from one side, twist it back, and secure it with a hair tie or bobby pins. Repeat on the other side, and you’ll have a stylish look in just a few minutes.
Take a small section of hair from the back and braid it, then use that braid as part of a larger braid that includes hair from the sides. This adds depth and texture to your hairstyle. Remember, practice makes perfect, so don’t hesitate to experiment with different techniques until you find what works best for you!
You may also be interested in:
Side Part with Clips

To achieve this look, start by creating a clean side part in your hair. Use a fine-toothed comb to help section your hair accurately. Once you have your part, use hair clips to secure the hair on the side you want to keep back.
For straight hair, you can use a bit of styling cream or pomade to add shine and hold the style in place. If you have wavy or curly hair, embrace your natural texture by gently defining the waves or curls while keeping the part neat.
Schedule trims every few weeks to prevent split ends and maintain the shape of your haircut. Additionally, experiment with different styling products to find what works best for your hair type. With practice and the right tools, you can master this timeless hairstyle and make it your own.
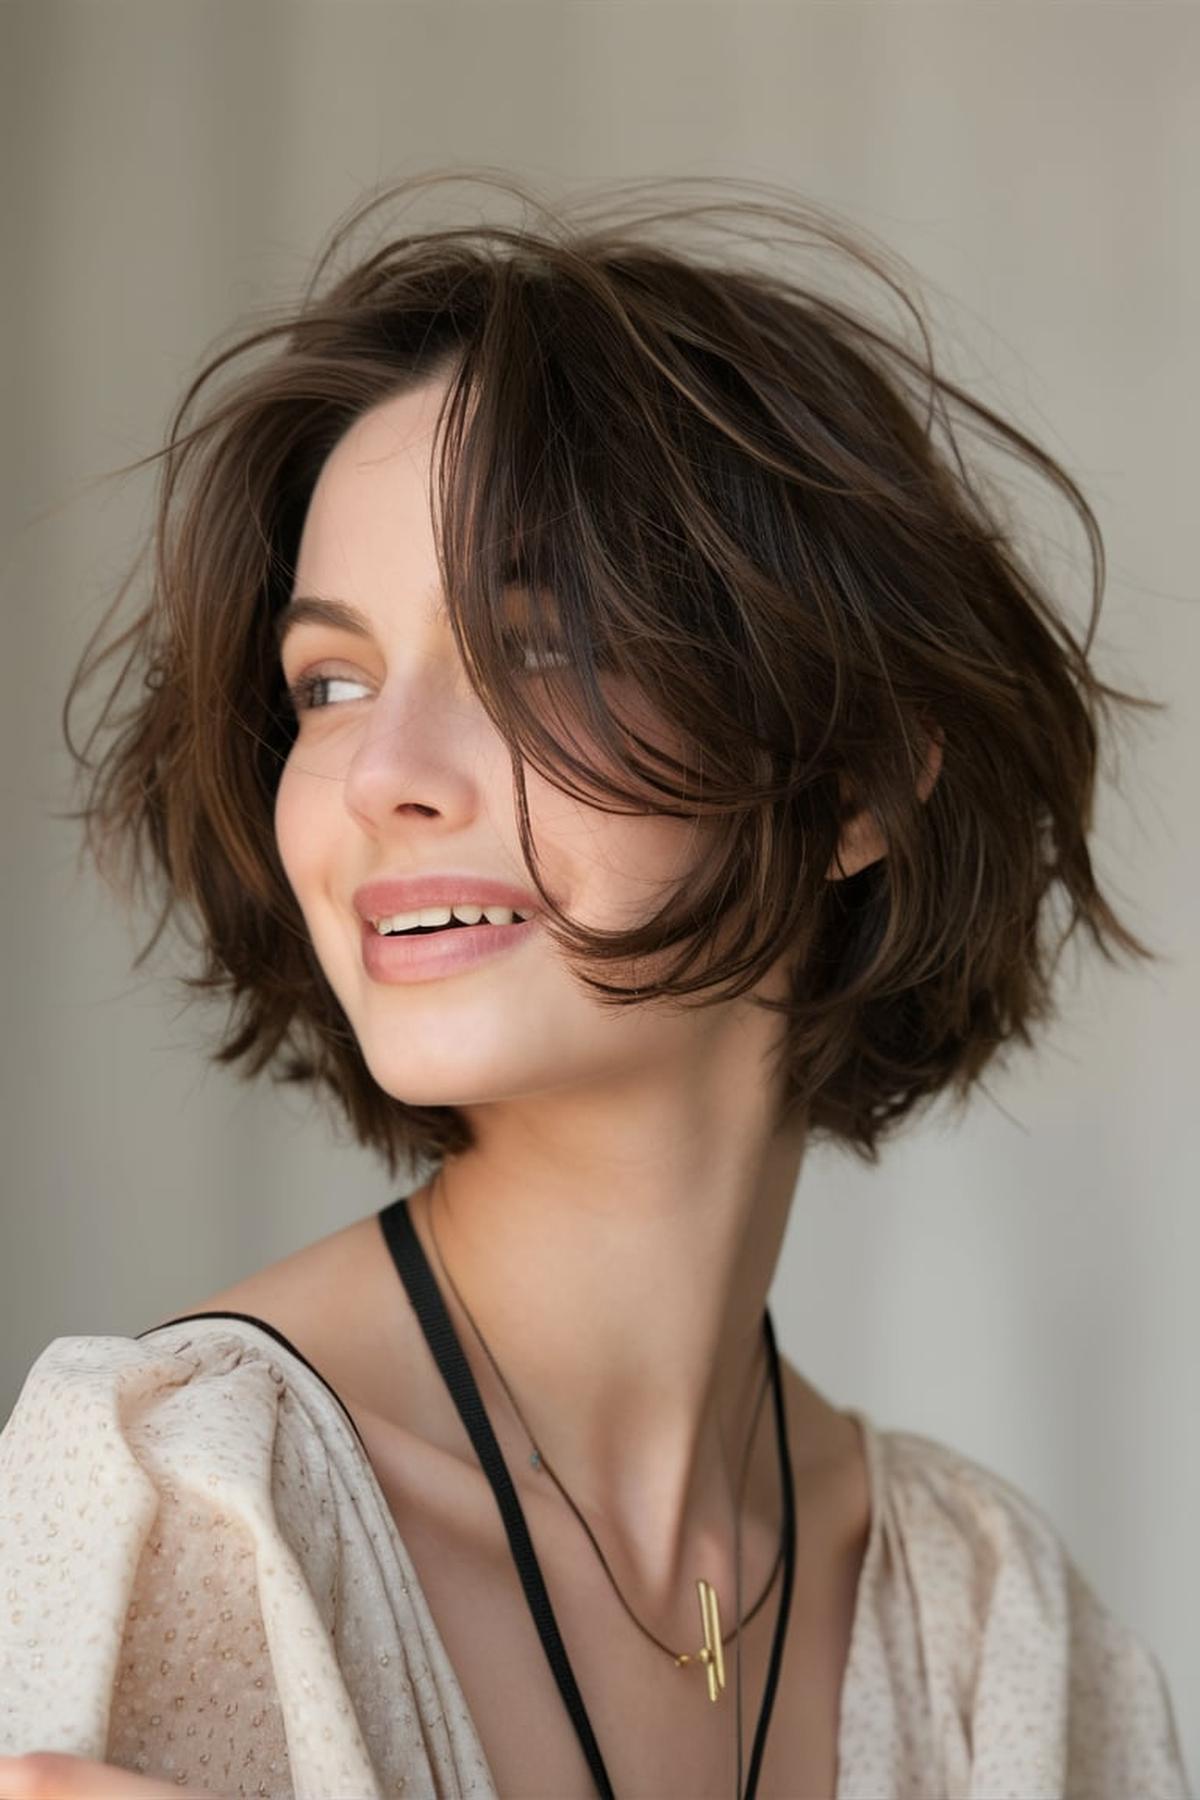
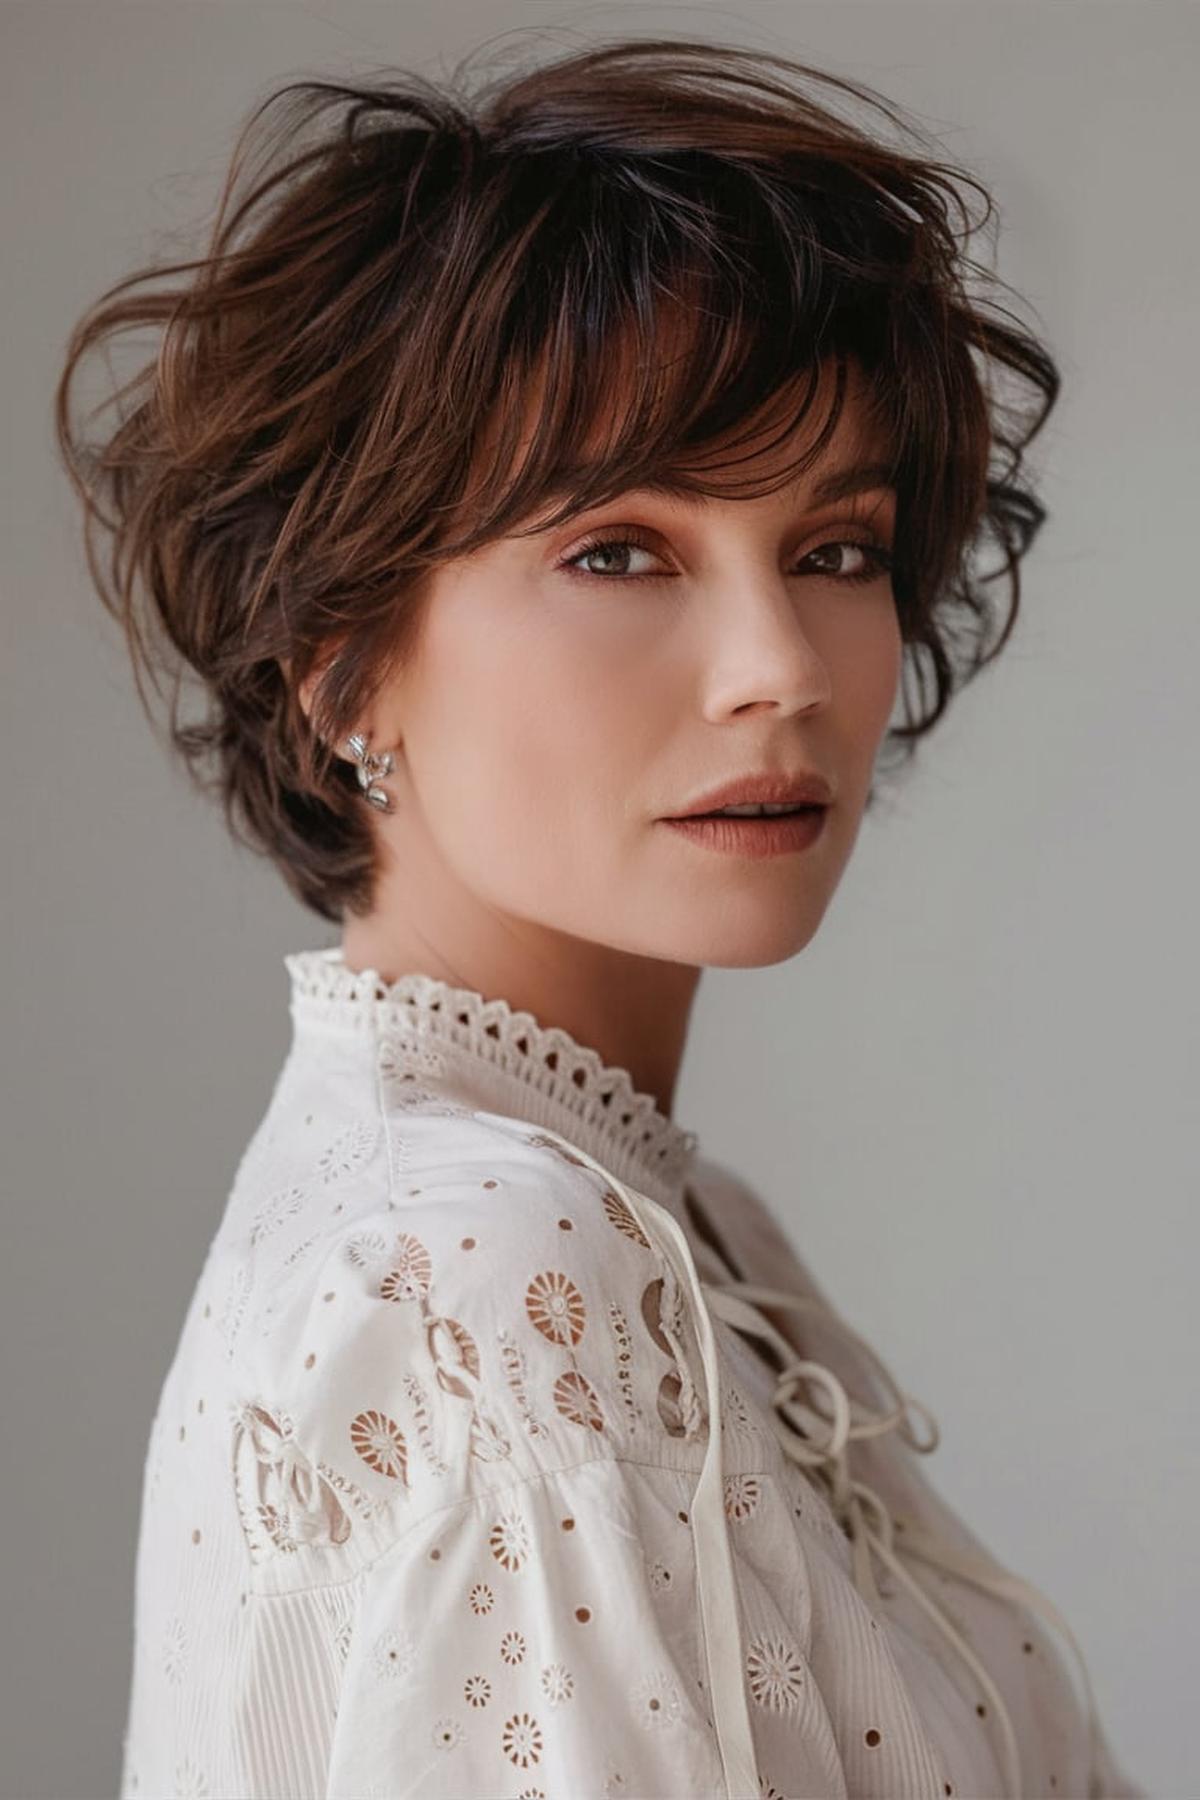
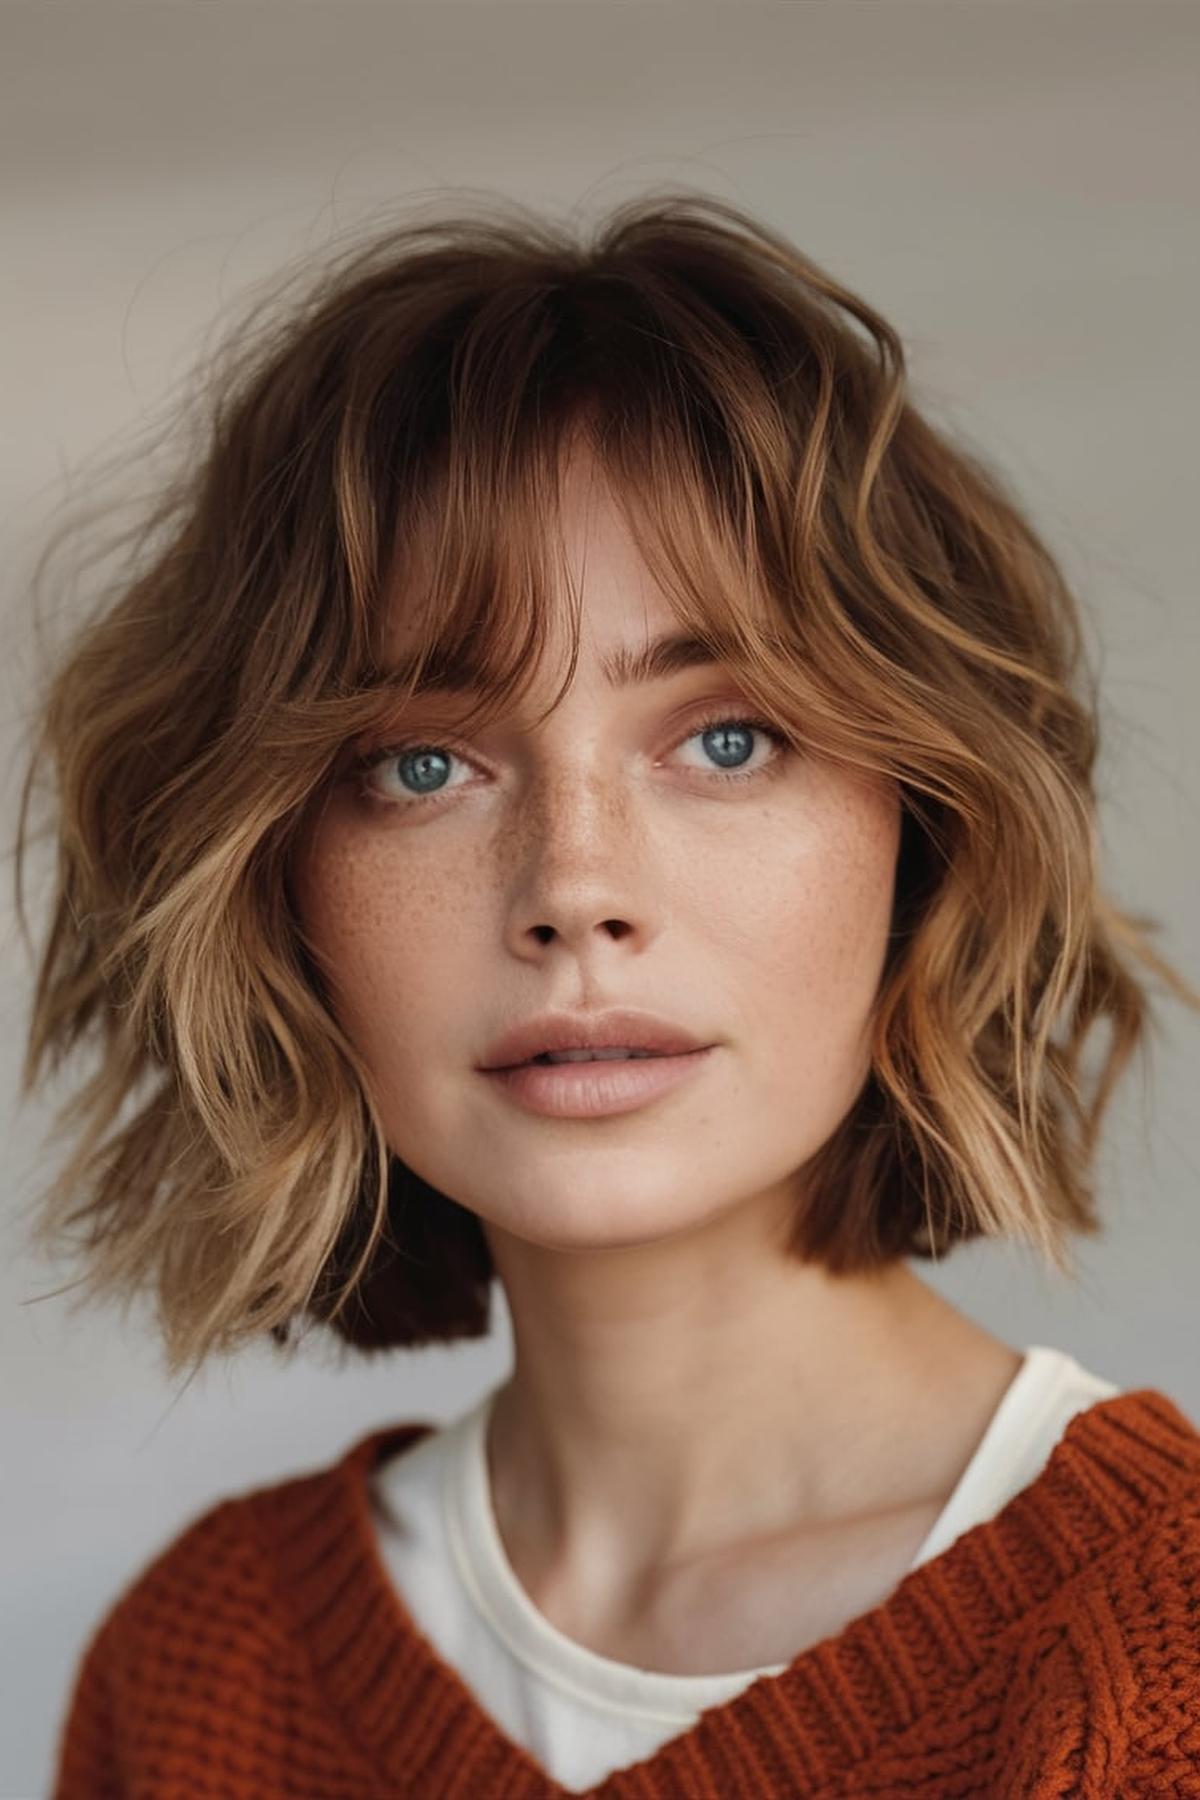
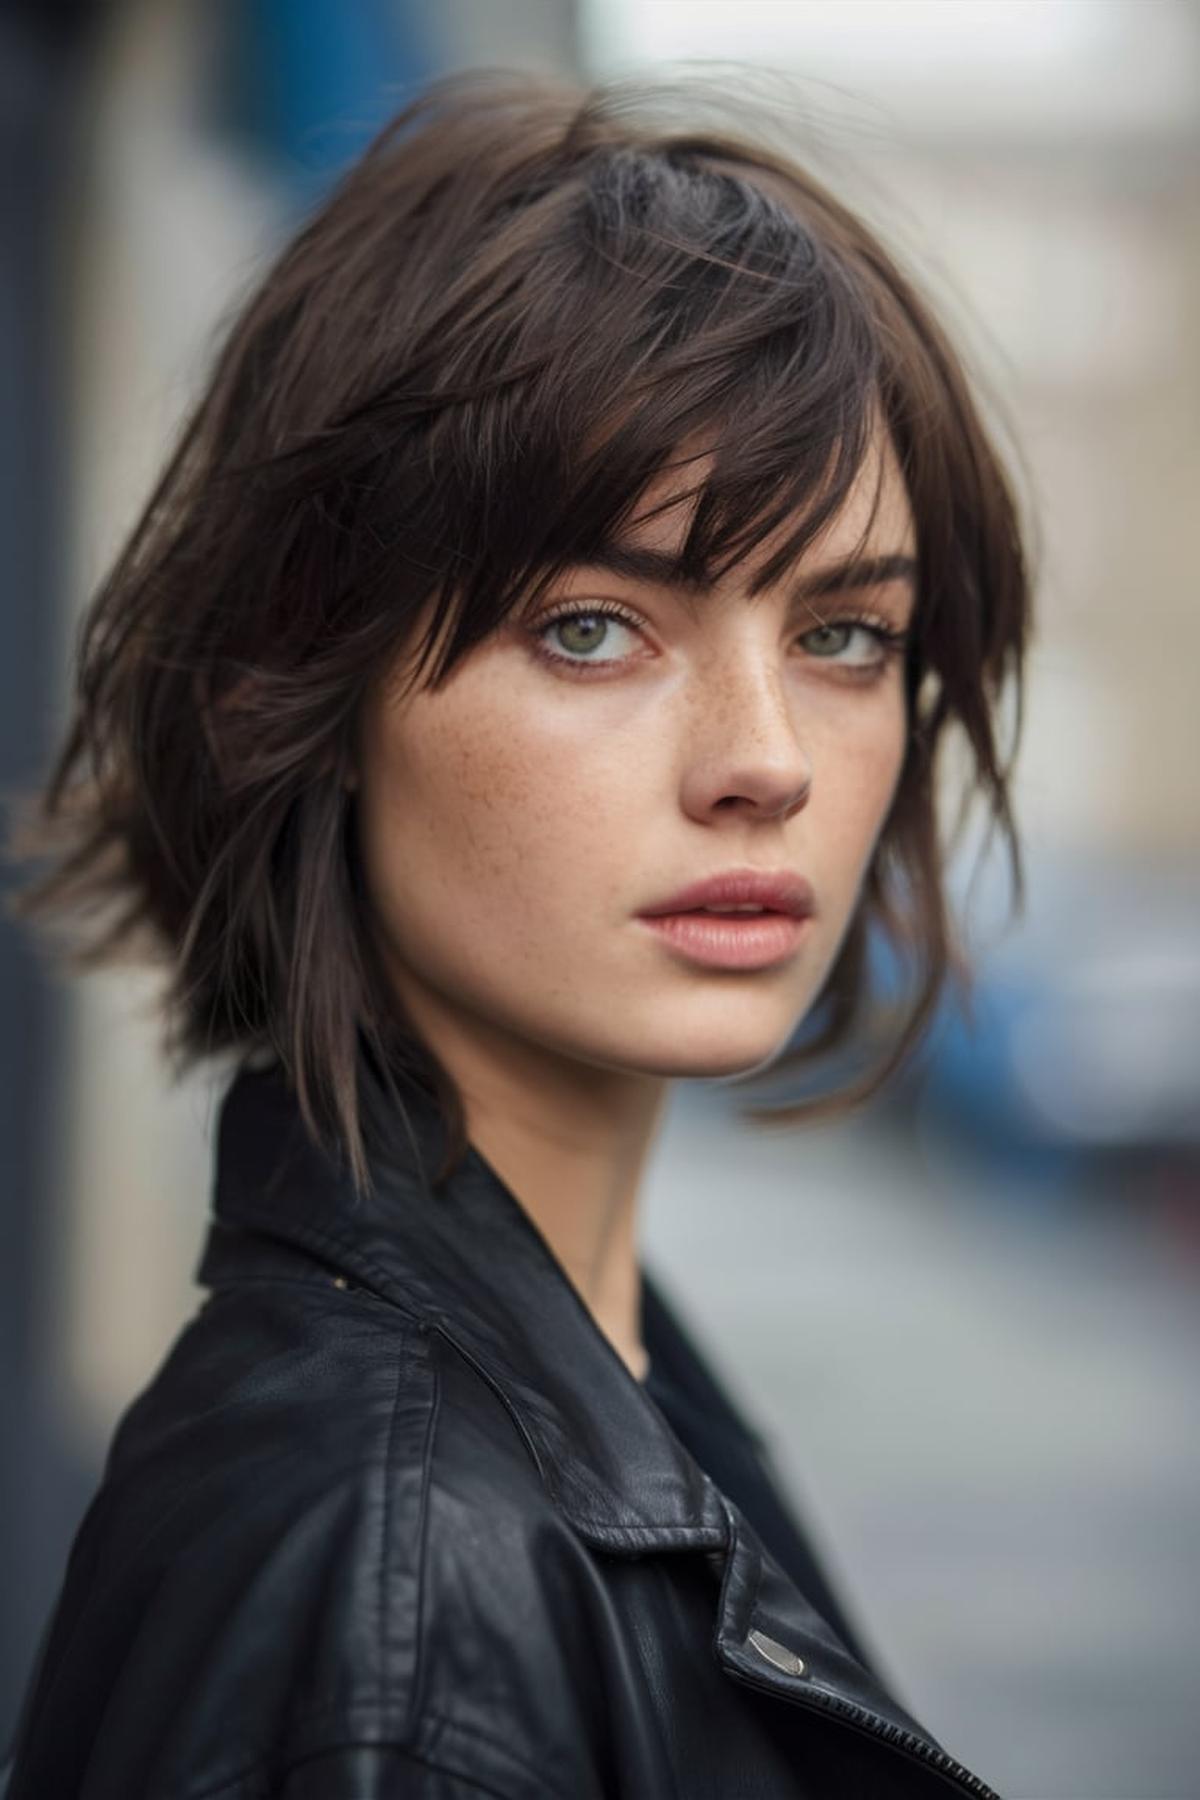
Textured Bob

To achieve a textured bob, you need to create layers and varied lengths in your hair. This style is less formal than a classic bob, making it perfect for those who want a chic but casual vibe.
Your stylist should use point cutting to create softer edges and slide cutting to remove bulk from the hair. This approach helps the hair fall nicely without looking too stiff or structured.
Use a curling iron to create loose waves, and then tousle your hair with your fingers for that messy yet stylish effect. You can also let your hair air dry to enhance its natural texture. Adding some hair products like texturizing spray can help define the waves and keep your hairstyle looking fresh throughout the day.
You may also be interested in:
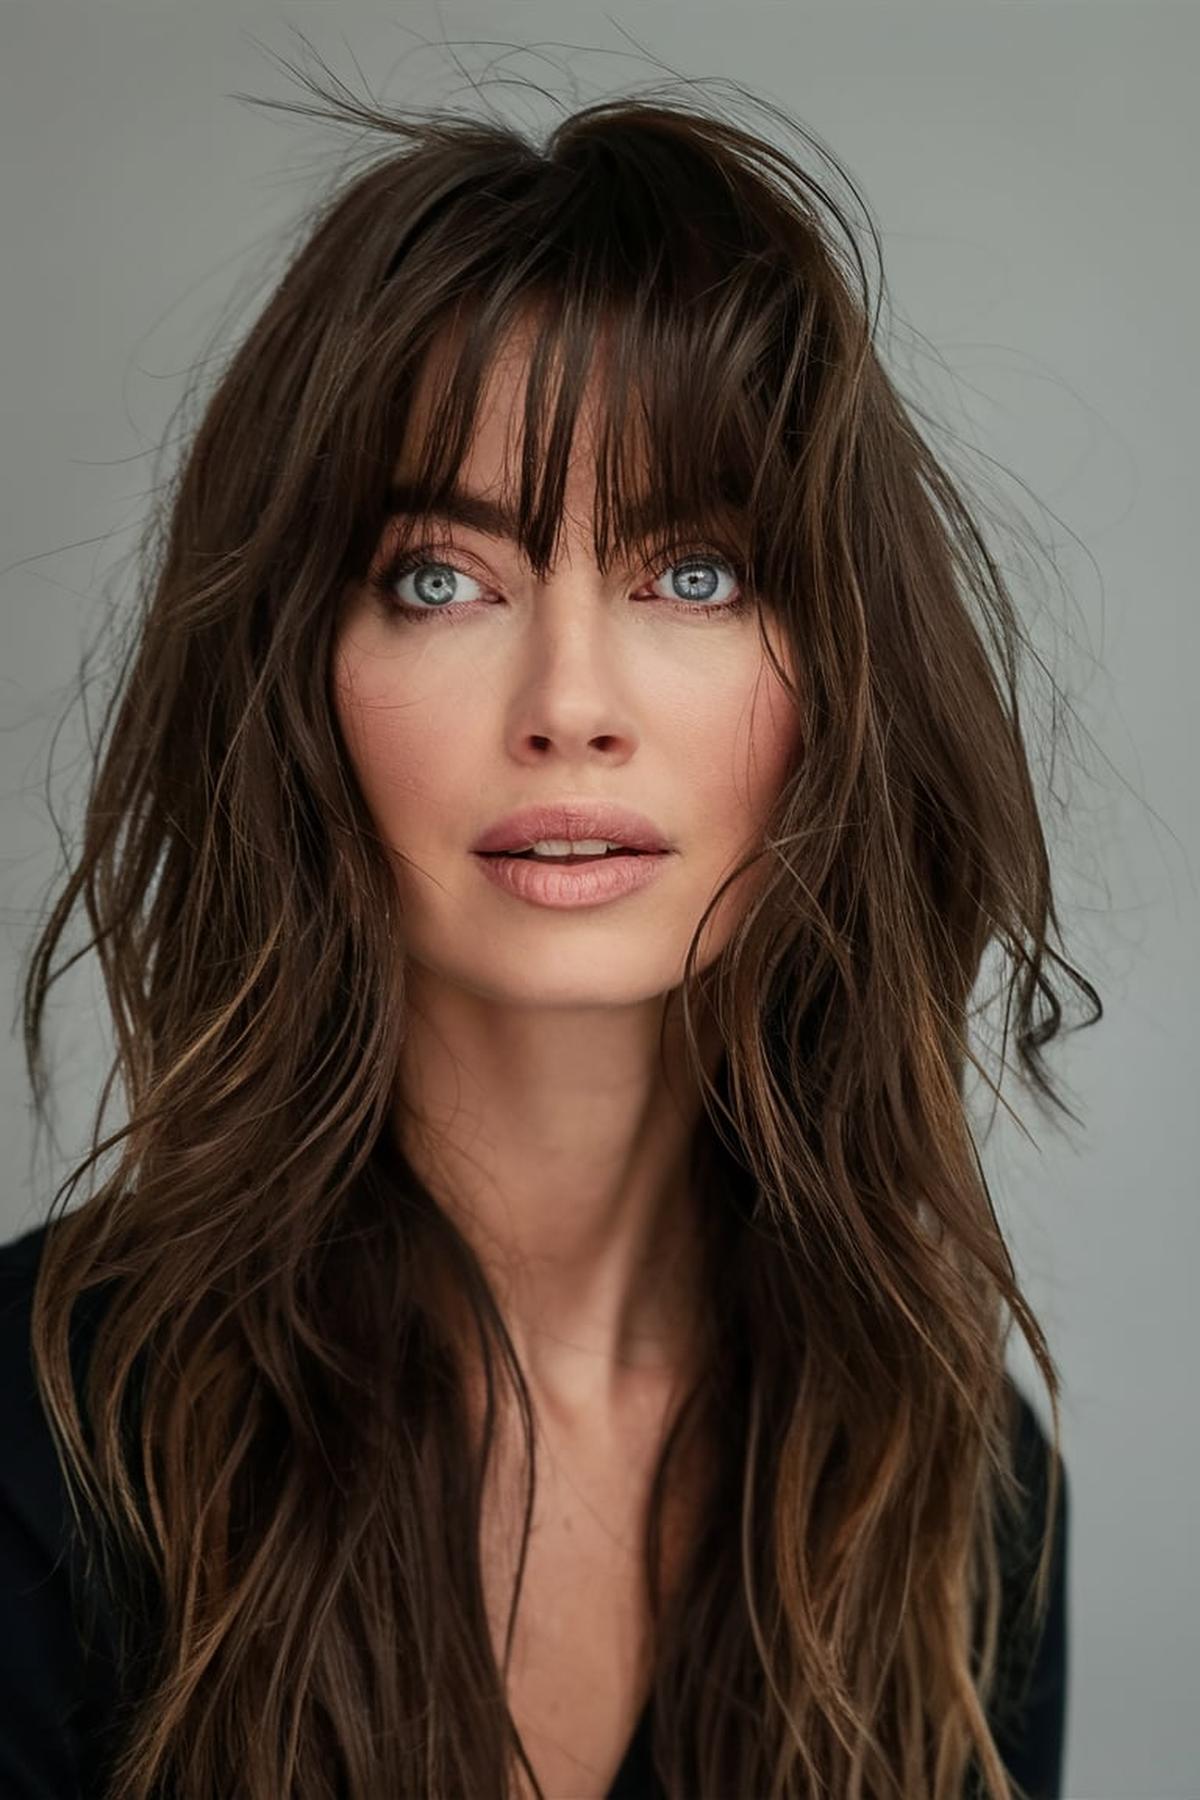
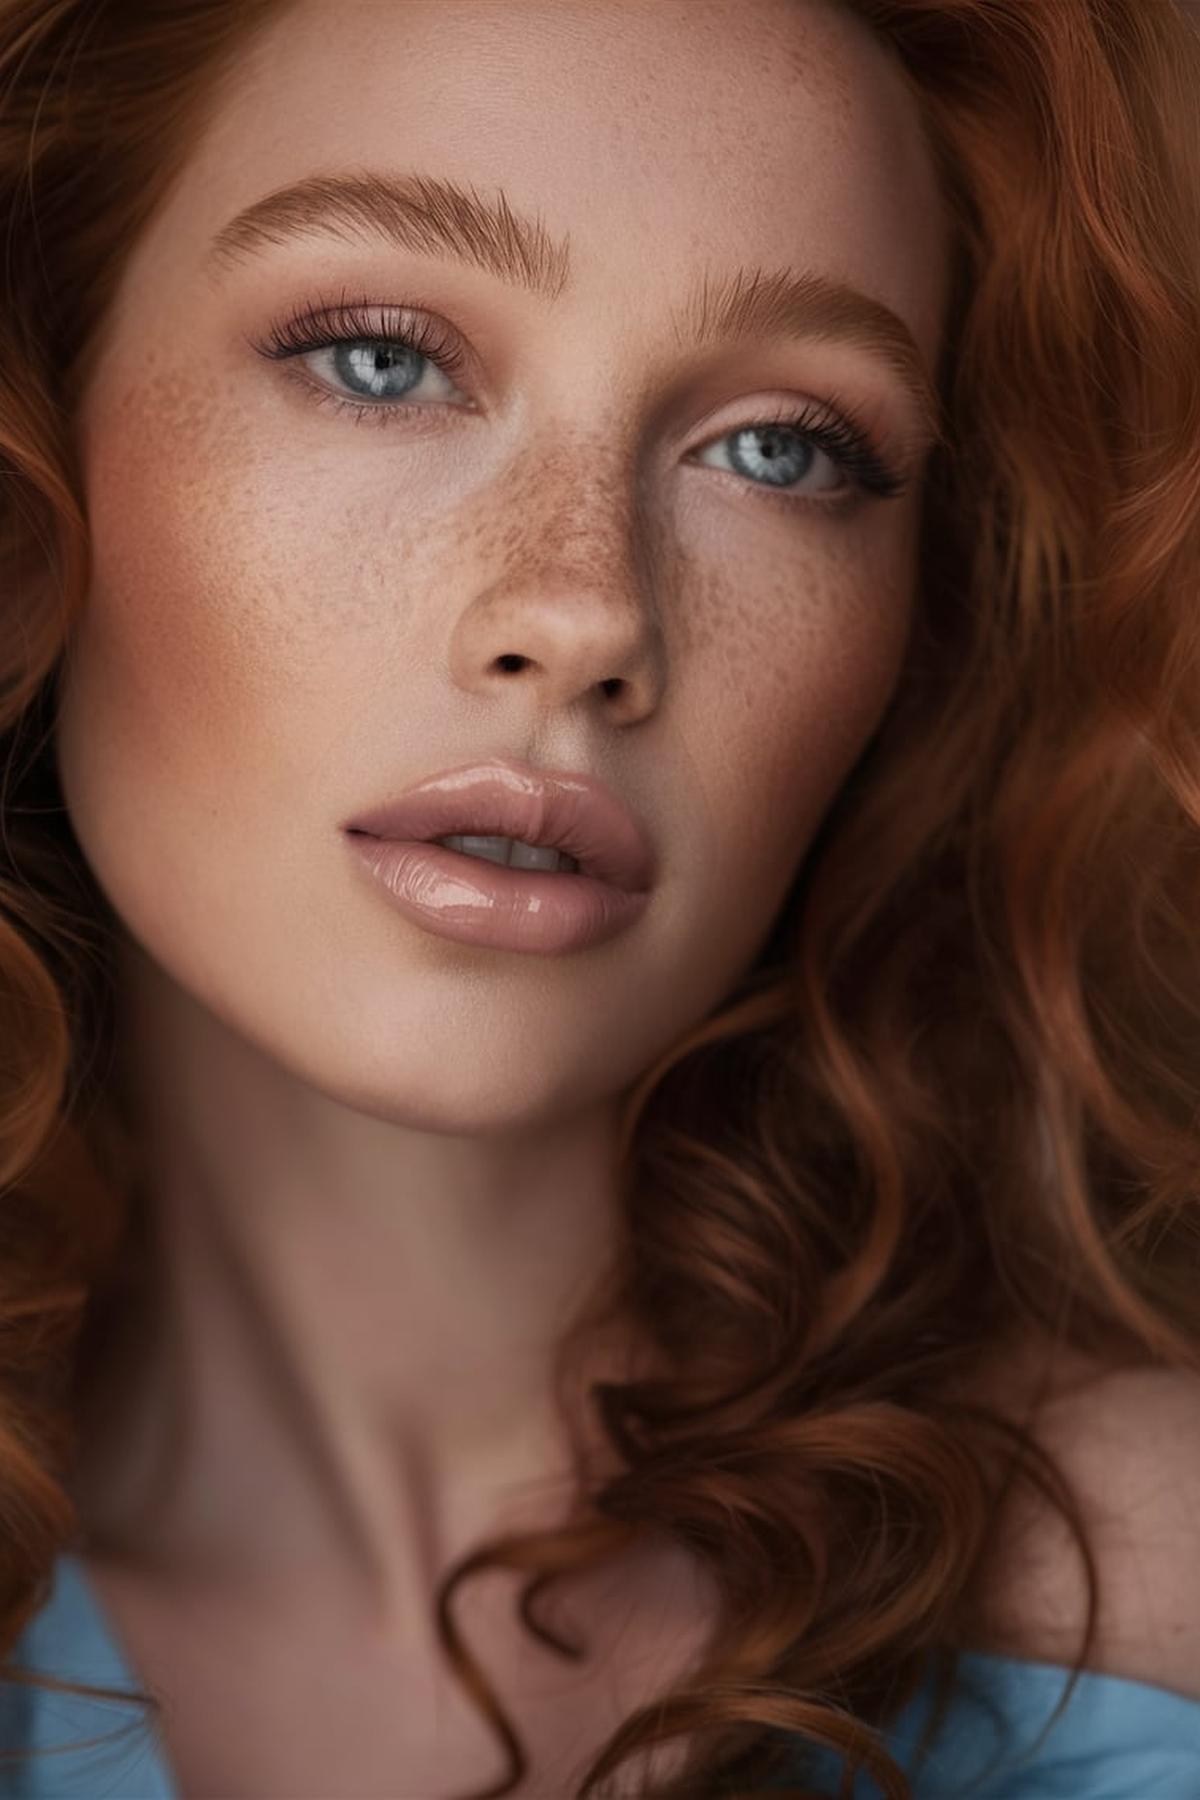
Loose Waves

To achieve this look, you can use a curling iron, a flat iron, or even braiding your hair when it’s slightly damp. The key is to create soft, bouncy waves that look natural rather than perfectly styled. Here’s a simple guide to help you master loose waves.
You can use a heat protectant spray to keep your hair healthy. When curling, take smaller sections of hair, about one inch wide, and wrap them around the curling iron. Leave the ends straight for a more relaxed look.
You can also tease the roots for added volume. Finish off your look by spritzing a light hairspray to keep the waves in place without making them stiff. Remember, the goal is to look effortlessly chic, so don’t worry if every curl isn’t perfect—embrace the messy, beachy vibe!
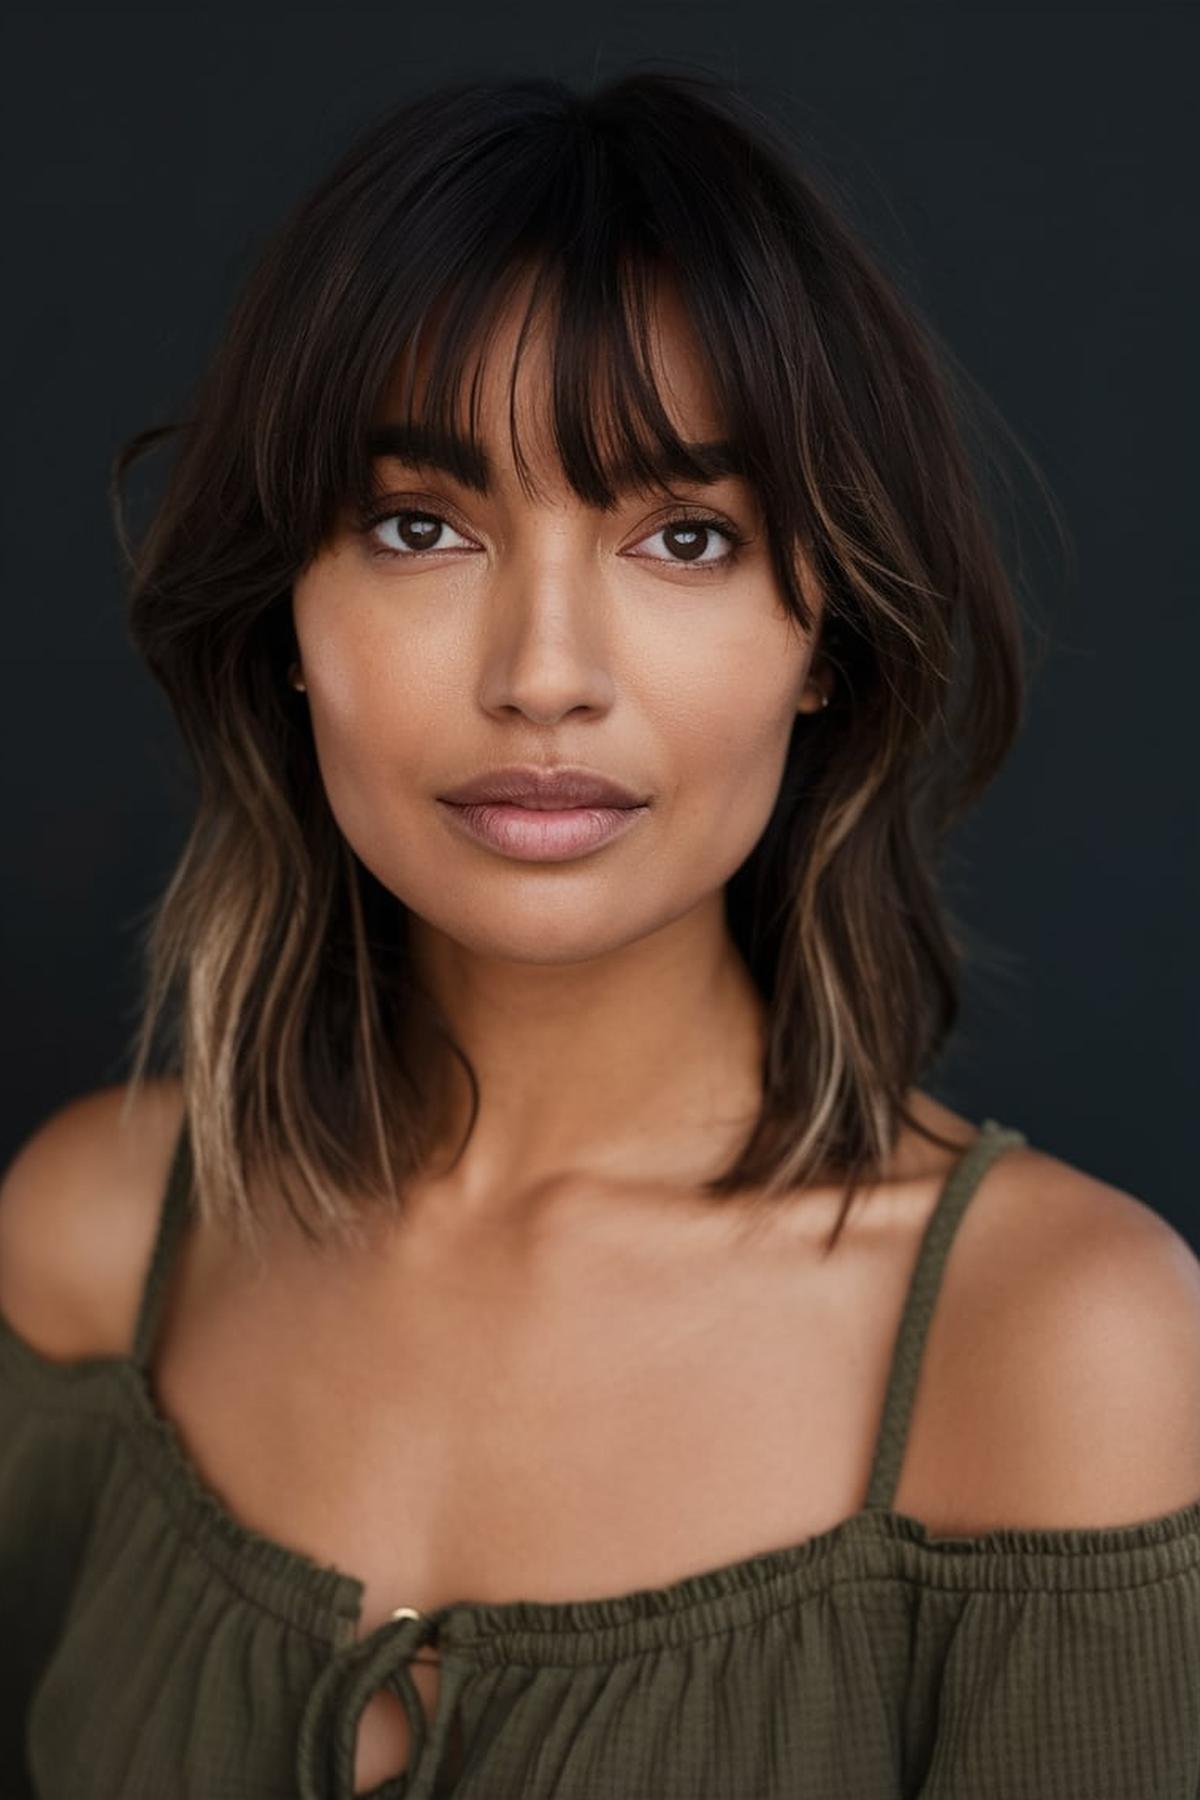
Straight and Tucked Behind Ears

To achieve this look, start by straightening your hair so it’s smooth and sleek. You can use a flat iron for this, making sure to go through all sections evenly. If your hair is already straight, you might just need to touch up any areas that need it.
Pull these sections back gently and tuck them behind your ears. To keep them in place, you can use hair ties or clips.
Finally, to finish the look, apply a bit of smoothing serum or hairspray to tame any flyaways and add shine. This will help your hairstyle look polished and keep it in place. With these simple steps, you can master the straight and tucked behind ears hairstyle effortlessly!
You may also be interested in:
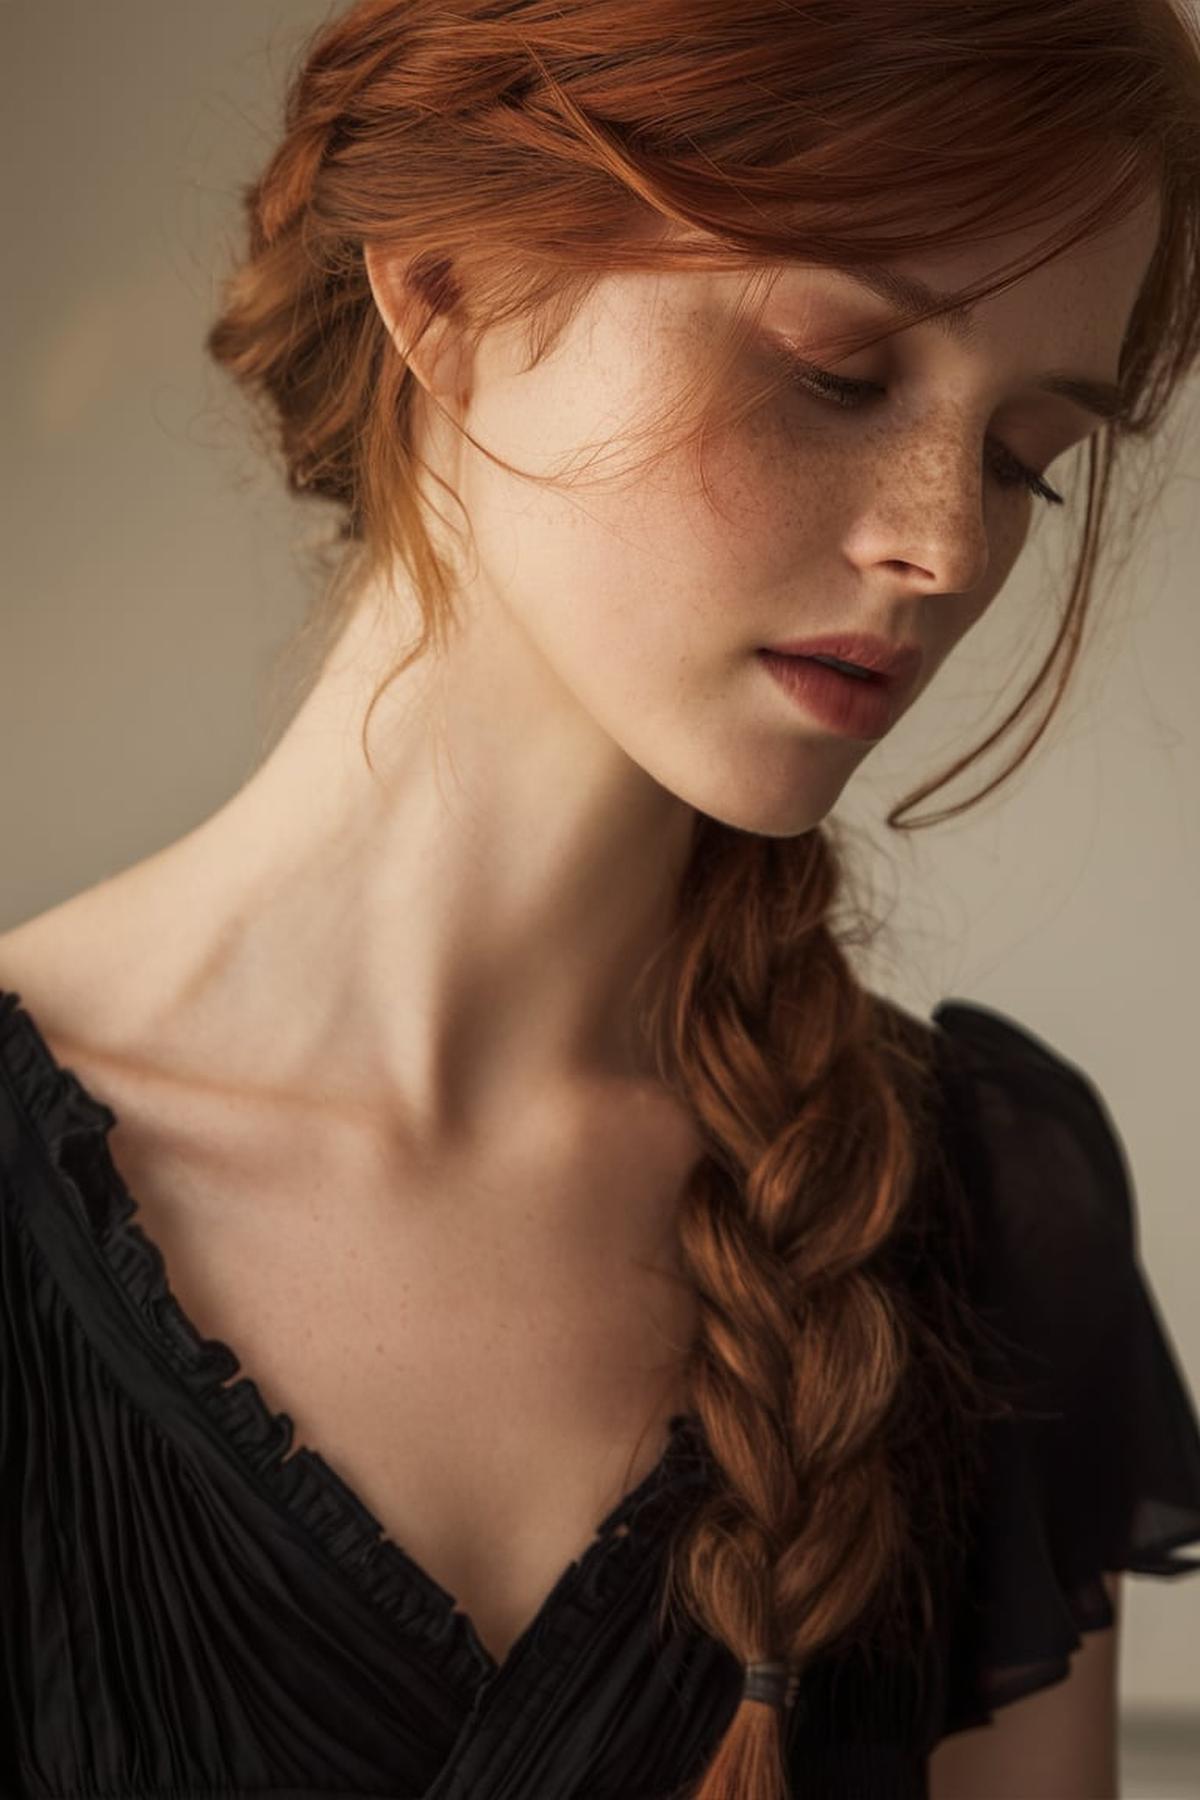
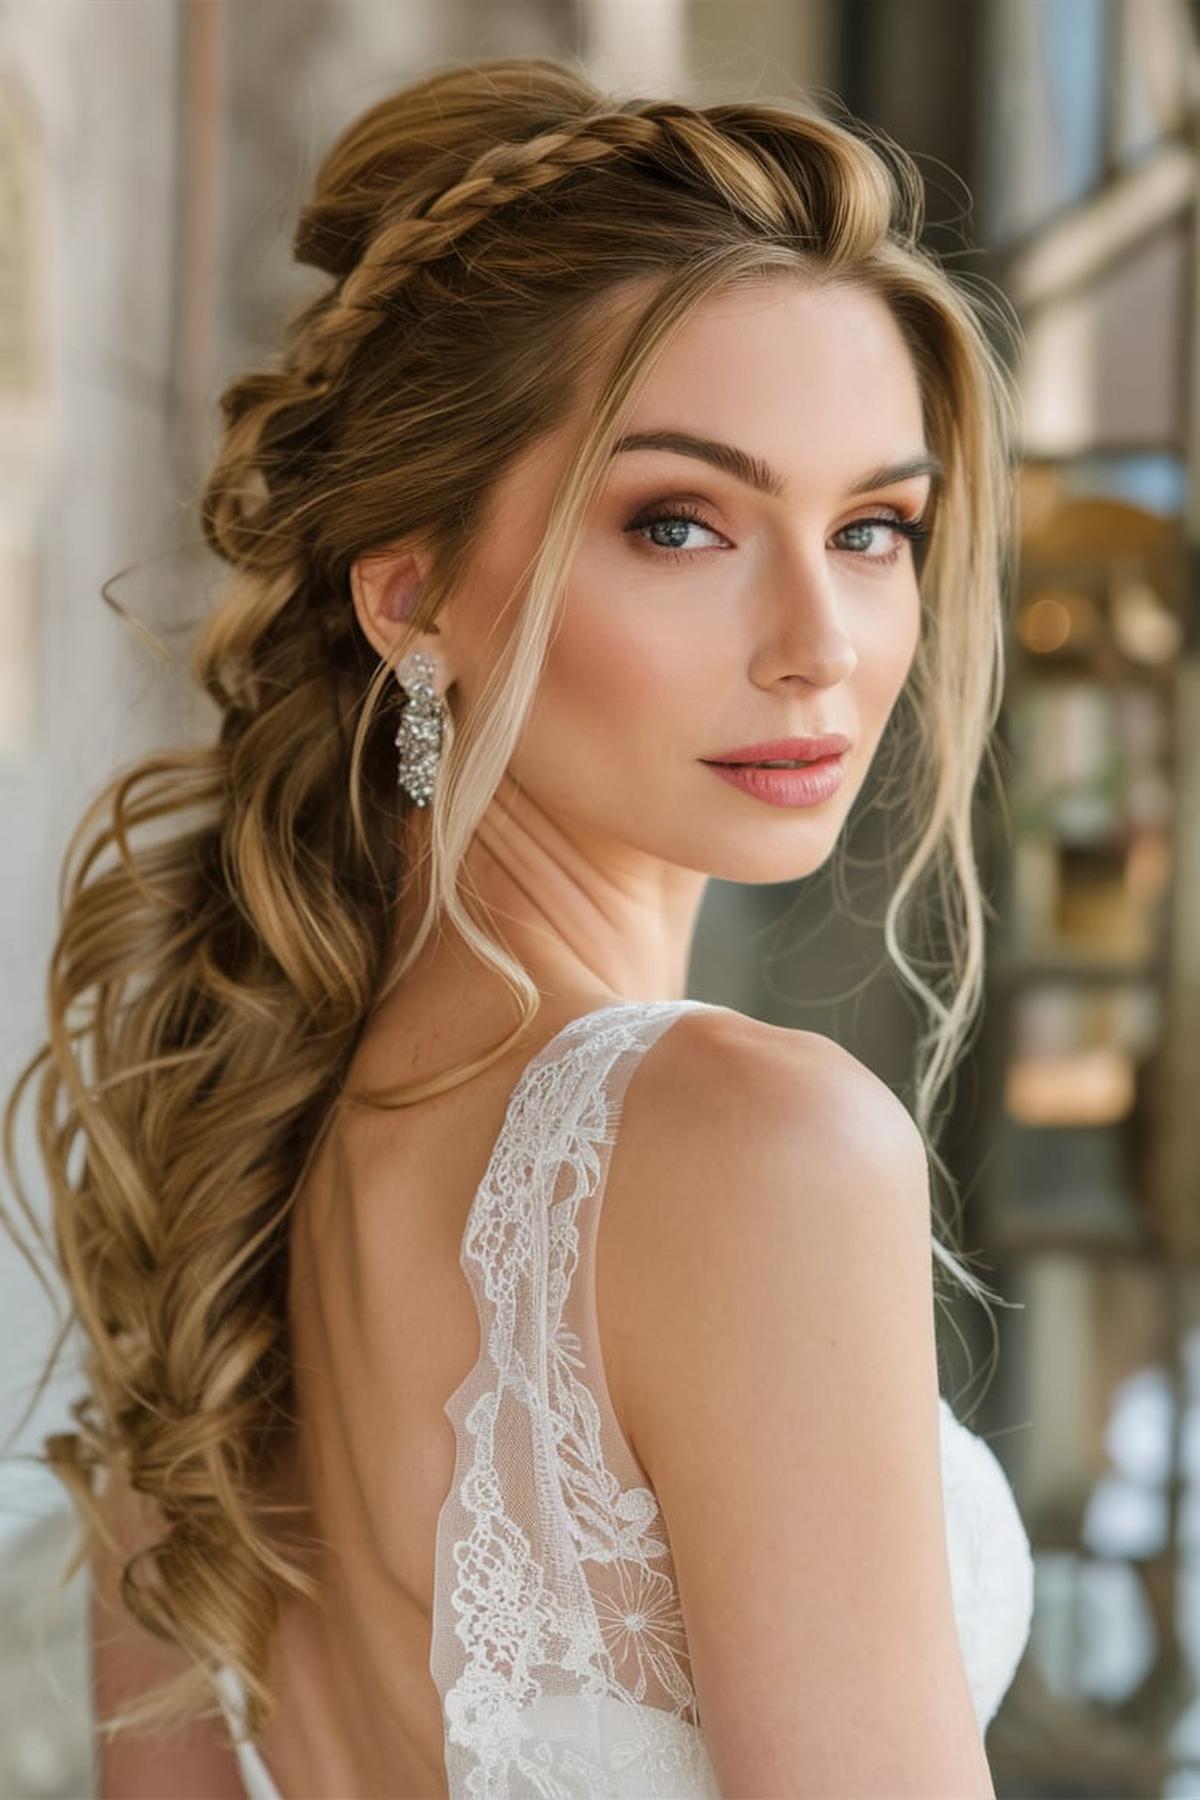
Braided Crown

This style is versatile and can be worn for various occasions, whether you’re going to school, a party, or just hanging out with friends. With a few simple steps, you can master the braided crown and impress everyone with your skills.
Begin by taking a small section of hair from behind your ear and dividing it into three equal strands. This is where your braid will start, and it helps create a seamless look as you continue around your head.
For added volume, gently pull apart the braid with your fingers. Finally, tuck the end of the braid under the crown and pin it in place, ensuring that any loose ends are hidden. A quick mist of hairspray will keep everything secure and in place, completing your gorgeous braided crown look!
Messy Bun

To start, prep your hair with some dry shampoo or texturizing spray if it’s clean. This helps create texture, making it easier to style. Next, flip your head upside down and gather your hair into a loose ponytail at your desired height.
Leave the ends out for that messy look. Use bobby pins to secure the bun in place, and if you have any loose strands, gently pull them out to frame your face.
If it looks too neat, use your fingers to mess it up a bit. A quick spritz of hairspray will help keep everything in place throughout the day. With practice, you’ll be able to create a perfect messy bun in just a few minutes, making it a go-to hairstyle for busy days!
You may also be interested in:
Pin Straight Hair

To start, it’s essential to protect your hair from heat damage by using a heat protectant spray before you begin straightening. This helps keep your hair healthy and shiny, even when using hot tools like flat irons.
Make sure your straightener is comfortable to hold, as you’ll need to work through sections of hair for the best results.
When using the flat iron, glide it down from the roots to the tips in one smooth motion, avoiding any twisting at the ends to maintain that sleek look. Once you’re done, let your hair cool down before styling it further to prevent any unwanted creases or waves.
Low Chignon

To start, make sure your hair is clean and dry. Begin by creating a side part in your hair. This will help frame your face nicely and give your chignon a polished look.
Then, take the ponytail and loop it under itself to form a bun. Use bobby pins to secure the bun in place.
Finally, to keep your low chignon looking great all day, use some hairspray for extra hold. You can also add some texture by gently pulling at the bun to make it look fuller and more relaxed. With practice, you’ll be able to create a beautiful low chignon that’s perfect for any occasion!
You may also be interested in:
Simple Twist

To start, you divide your hair into two sections and twist them around each other from the roots to the tips. This technique can be done on natural hair or with extensions, making it versatile for different looks. Simple twists are great for beginners because they are quicker to do compared to braids and can be styled in many ways.
Once your hair is ready, take a section of hair, split it into two parts, and start twisting them around each other. Keep twisting until you reach the end, then secure it with a hair tie.
For example, you can create a half-up look by twisting the front sections of your hair and pinning them back. Or, you can make a full twist hairstyle and wear it down or in a bun. With practice, you’ll find that simple twists can be both stylish and protective for your hair, allowing you to express your creativity while keeping your hair healthy.
Pinned Back Bangs

To start, gather a section of your bangs at the front of your head. You can tease or back-comb this section gently to give it some volume, which helps create a nice poof effect.
For a finishing touch, you might want to curl the ends of your bangs slightly towards your face, which adds a soft, polished look.
This not only keeps your bangs stylish but also adds a personal touch to your hairstyle. With these simple steps, mastering pinned back bangs can be easy and fun!
You may also be interested in:
Scarf Tie

First, you need a square scarf that’s at least 27 inches long. Start by folding the scarf into a triangle and rolling it up from the long side.
Twist the ends together once and then wrap them around the back again. Finally, tie the ends securely at the back of your head.
You can adjust how much hair shows in the front by pushing the scarf back slightly after tying it. Experiment with different placements and styles to find what looks best for you. With a bit of practice, you’ll be able to rock this hairstyle effortlessly!
Minimalist Top Knot

To create a minimalist top knot, start by gathering your hair into a high ponytail and securing it with an elastic band. This hairstyle is great for keeping your hair out of your face while still looking chic and put together.
For added volume, tease the ponytail before wrapping it, and don’t worry about making it look perfect—messy is often better with this look.
Hair clips, scrunchies, or ribbons can enhance the look and add a personal touch. This hairstyle is not only quick to do but also versatile, making it suitable for casual outings or more formal events.
You may also be interested in:
Slicked Back Look

To achieve this style, start by preparing your hair properly. First, wash your hair and towel dry it until it’s damp. Then, apply a leave-in conditioner to keep your hair hydrated and healthy.
A strong gel is a popular choice because it gives a shiny finish and keeps your hair slick throughout the day. Apply a generous amount of gel to your hands and run it through your hair, starting from the front and working your way back. If you prefer a more natural look, you can use a matte product like fiber or paste, which will give you hold without the shine.
However, anyone can pull it off with the right technique. You can also experiment with variations like a low bun or ponytail for a different vibe. Just remember to adjust the amount of product you use to avoid a greasy appearance, and you’ll be ready to rock this timeless hairstyle!
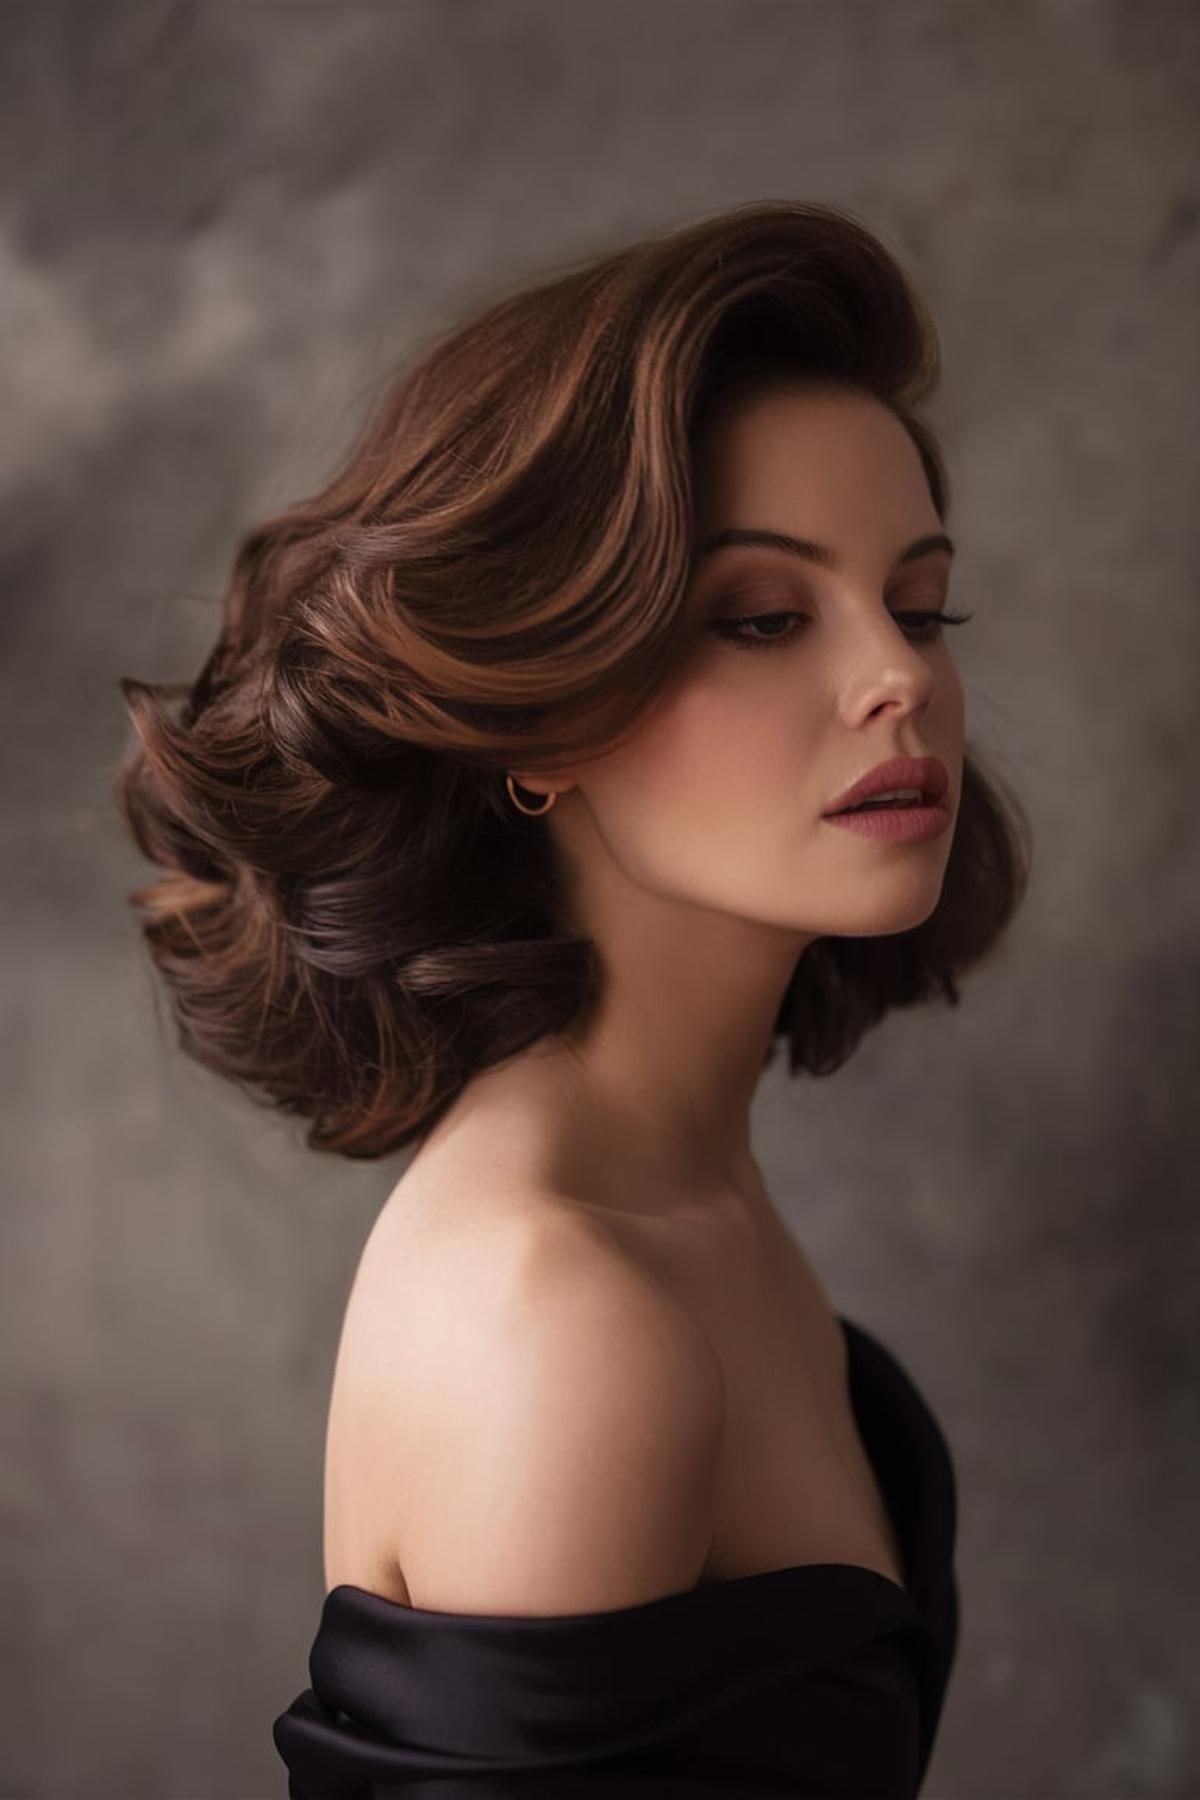
Soft Layering

This technique helps to remove weight from the hair, making it look fuller and more dynamic. To achieve soft layers, it’s important to communicate with your hairstylist about the desired length and style, ensuring they understand how much you want to keep while still getting the layered effect.
It’s also beneficial to apply a mousse or heat protectant to damp hair before styling, as this can help the layers hold their shape better. After blow-drying, you can use curling tools or rollers to add curls or waves, which will give your layers a bouncy and lively appearance.
Additionally, experimenting with different styling products, like creams or sprays, can help you find the best way to manage your layers and keep them looking great. Overall, mastering soft layering is about finding the right cut and styling techniques that work for your hair type.
You may also be interested in:
One-Side Tuck with Ear Cuff

To start, gather the hair on one side of your head and tie it back, leaving some strands in front to frame your face. This creates a cute look that’s both casual and chic.
This is where the ear cuff comes in! An ear cuff is a decorative piece that sits on your ear and adds a trendy touch to your hairstyle.
Finally, to keep everything secure, you might want to use a little hairspray or gel. This will help your hair stay tucked behind your ear and keep the style looking fresh throughout the day. With practice, the one-side tuck with ear cuff will become an easy go-to hairstyle for any occasion!
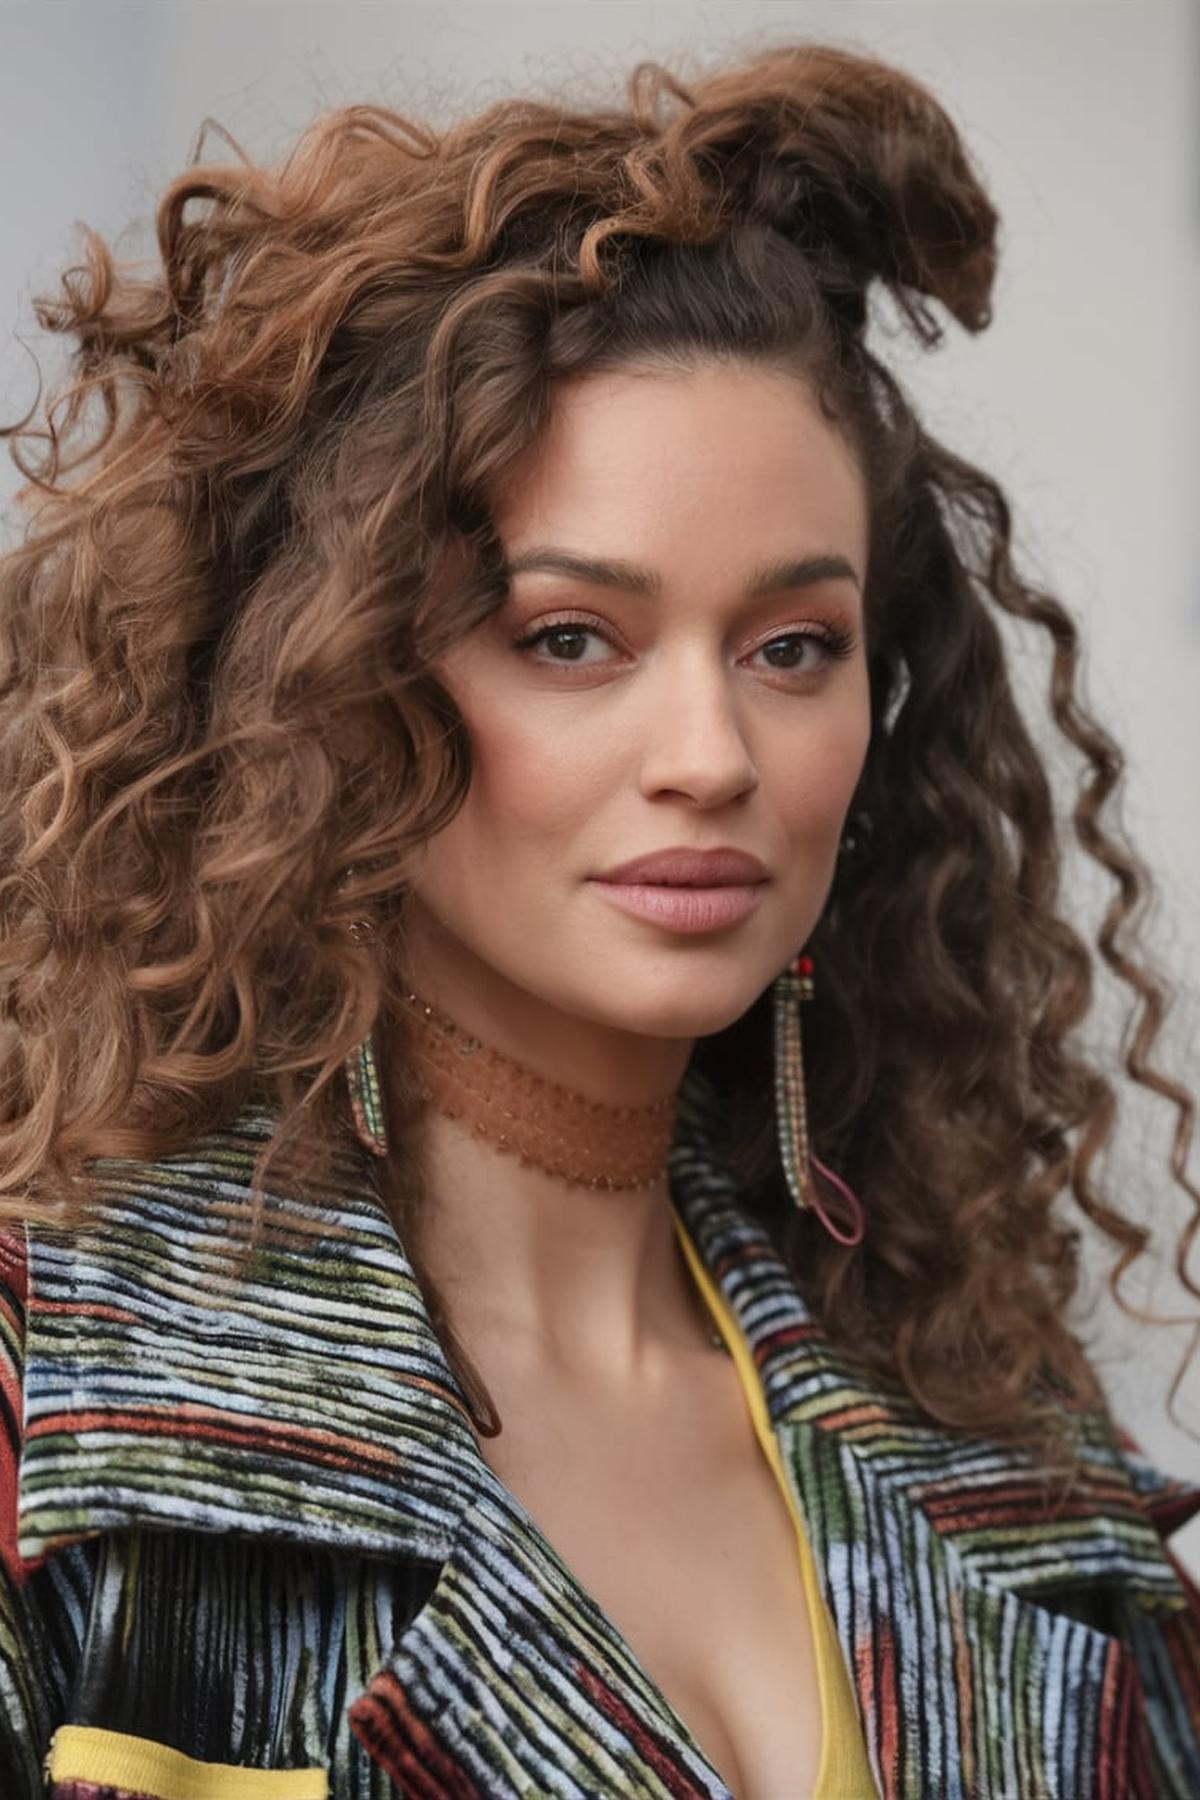
Natural Curls with Light Hold Product

To enhance your natural curls, start by washing your hair with a gentle shampoo and a moisturizing conditioner. After rinsing, apply a light leave-in conditioner or a curl cream that won’t weigh your hair down.
These products provide definition and control frizz while allowing your curls to bounce naturally. A good option is a mousse that offers a medium hold, which can help maintain your curls for longer without the stiffness that comes from stronger gels.
Once your curls are dry, you can gently scrunch out any crunchiness left from the product to reveal soft, bouncy curls. Remember, finding the right products may take some experimentation, so don’t hesitate to try different ones until you discover what works best for your unique curl type.
You may also be interested in:
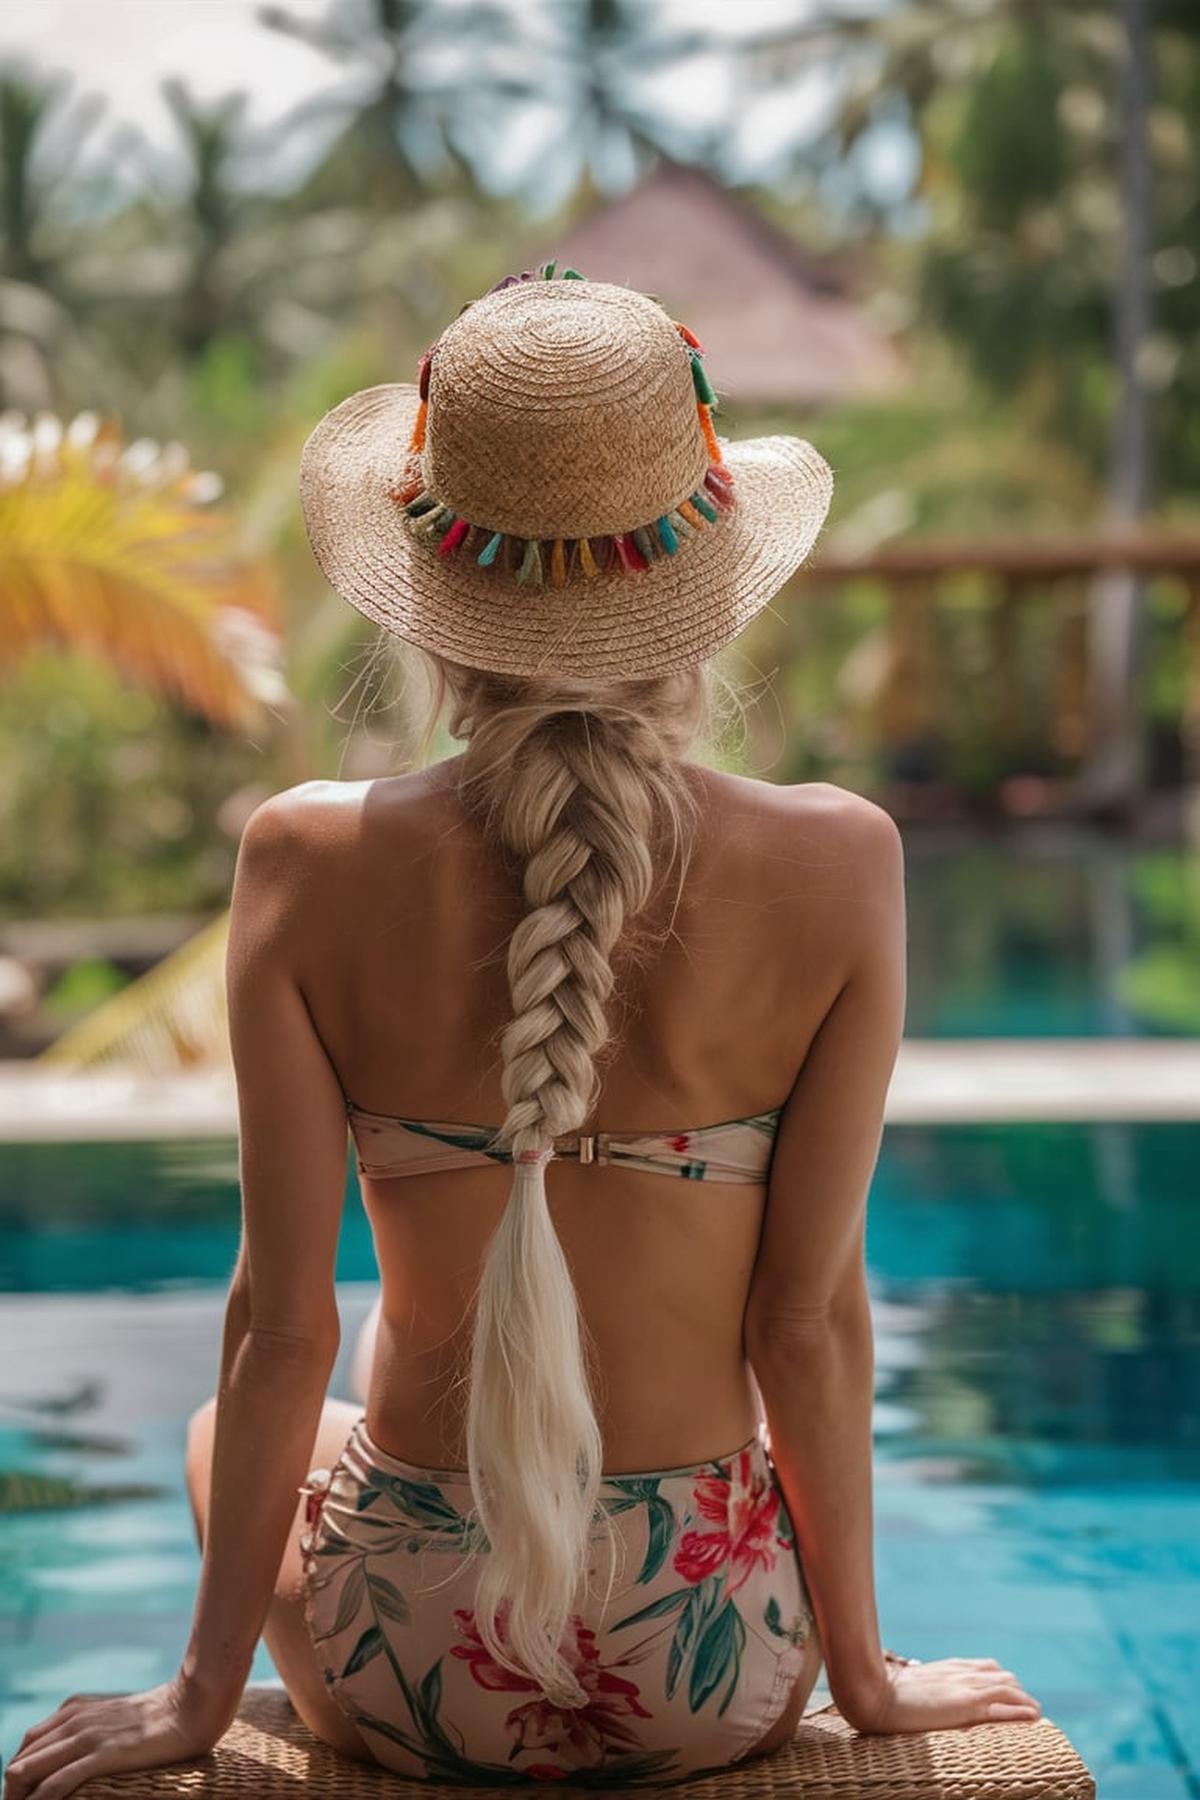
Low Side Braid

To start, gather your hair to one side and create a loose braid. You can do this with either straight or curly hair, and it works well for any length.
Low side braid can look more interesting if you pull it apart a bit after you finish braiding. This technique makes the braid appear fuller and more relaxed, giving it a bohemian vibe.
Low side braid is perfect for any occasion, whether you’re going to school, hanging out with friends, or even attending a special event. It’s a quick way to change up your hairstyle without a lot of fuss. With a little practice, you’ll be able to create a beautiful low side braid in just a few minutes!
Q&As for minimal styling for fall work hair
Q: What’s an easy hairstyle for fall that doesn’t need much styling?
A: A low bun is a great option. Simply twist your hair loosely and wrap it around itself at the nape of your neck. Secure it with a hair tie and pull out some face-framing pieces for a relaxed look.
Q: How can I air-dry my hair and still look professional?
A: Use a leave-in conditioner or styling cream on damp hair, then let it air dry. This enhances your natural texture while keeping your hair looking neat and professional.
Q: What’s a quick hairstyle that works for both casual and professional settings?
A: Try a half-up, half-down style. Pull the top section of your hair back and secure it with a clip or hair tie. This looks polished but only takes a minute to do.
Q: How often should I get my hair cut if I want a low-maintenance style?
A: With a good low-maintenance cut, you might only need a trim 1-2 times a year. Styles like long layers or blunt cuts grow out nicely and don’t require frequent upkeep.
Q: What’s a simple way to style wavy or curly hair for work?
A: Embrace your natural texture. Use a curl-enhancing product on damp hair, scrunch gently, and let it air dry. This creates a polished look without heat styling.